Home>Furniture>Outdoor Furniture>How To Power Wash A Patio
Outdoor Furniture
How To Power Wash A Patio
Modified: March 7, 2024
Learn how to power wash your outdoor furniture with these easy steps and bring new life to your patio. Transform your space with our expert tips and tricks.
(Many of the links in this article redirect to a specific reviewed product. Your purchase of these products through affiliate links helps to generate commission for Storables.com, at no extra cost. Learn more)
Introduction
Welcome to our comprehensive guide on how to power wash a patio. If you have an outdoor space, chances are that your patio is exposed to the elements and can accumulate dirt, grime, and stains over time. Power washing is an excellent way to restore your patio’s appearance and make it shine like new again.
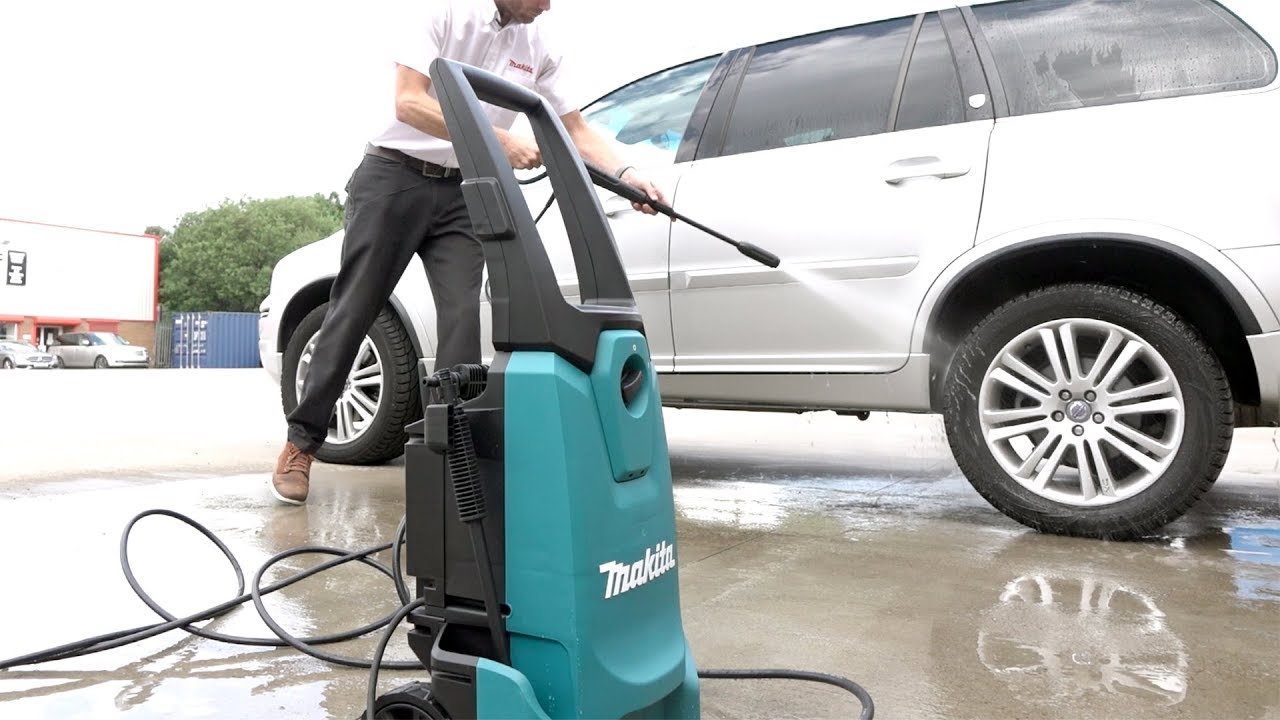
Power washing, also known as pressure washing, is a cleaning method that uses high-pressure water spray to remove dirt, algae, moss, mold, and other debris from surfaces. It can be highly effective in cleaning outdoor furniture, concrete, stone, brick, and other patio materials.
In this article, we will walk you through the step-by-step process of power washing your patio, covering everything from preparing the area and testing the pressure washer to effectively cleaning the surface and applying sealant (if desired). So, grab your materials and let’s get started!
Key Takeaways:
- Power washing a patio can restore its appearance by removing dirt and stains, but it’s important to gather materials, test the pressure washer, and clean carefully to avoid damage.
- Applying a sealant after power washing can protect the patio from weather and foot traffic, extending its life and maintaining its aesthetic appeal.
Read more: How Does A Power Washer Work
Step 1: Gather Your Materials
Before you begin power washing your patio, it’s essential to gather all the necessary materials. Having everything ready beforehand will make the process smoother and more efficient. Here’s a list of items you’ll need:
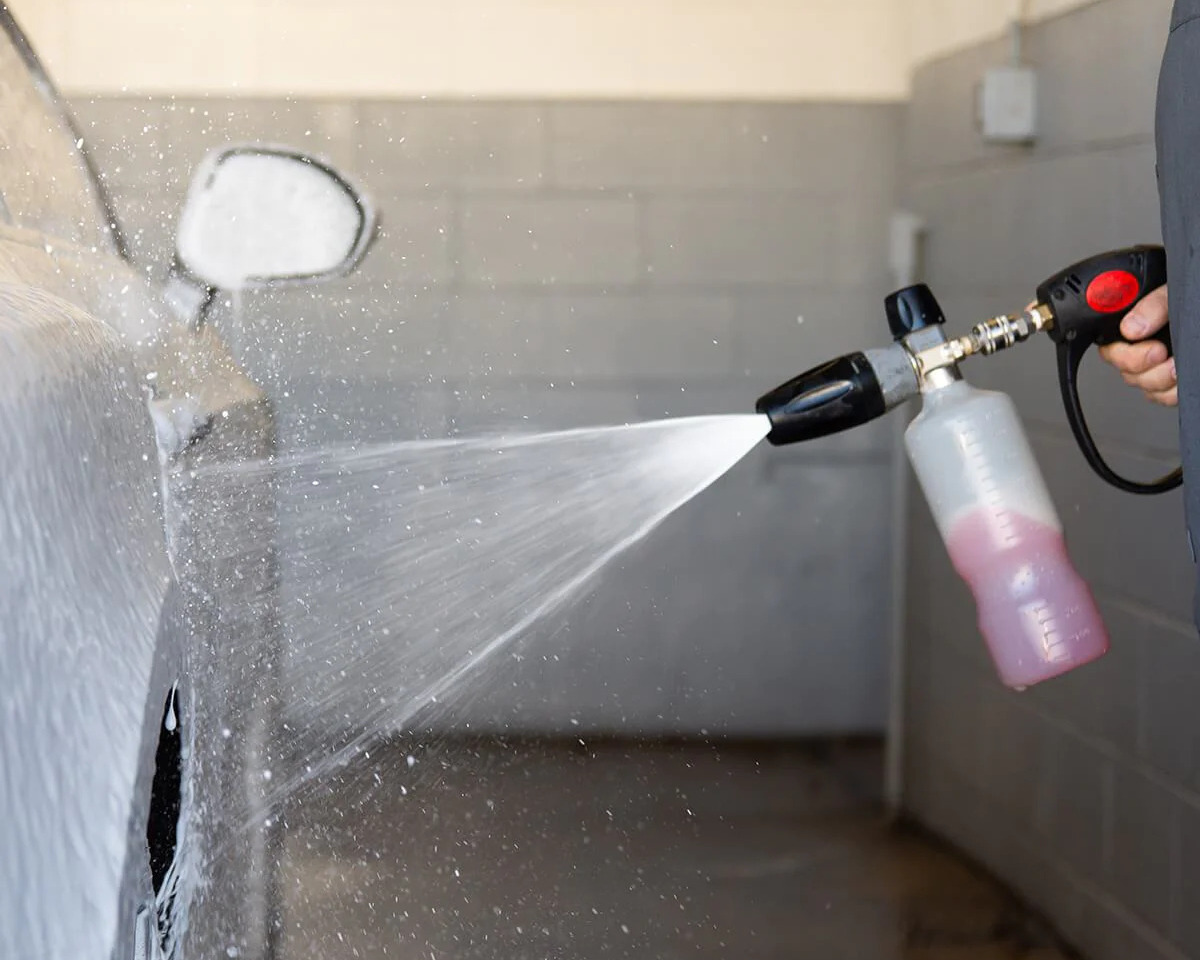
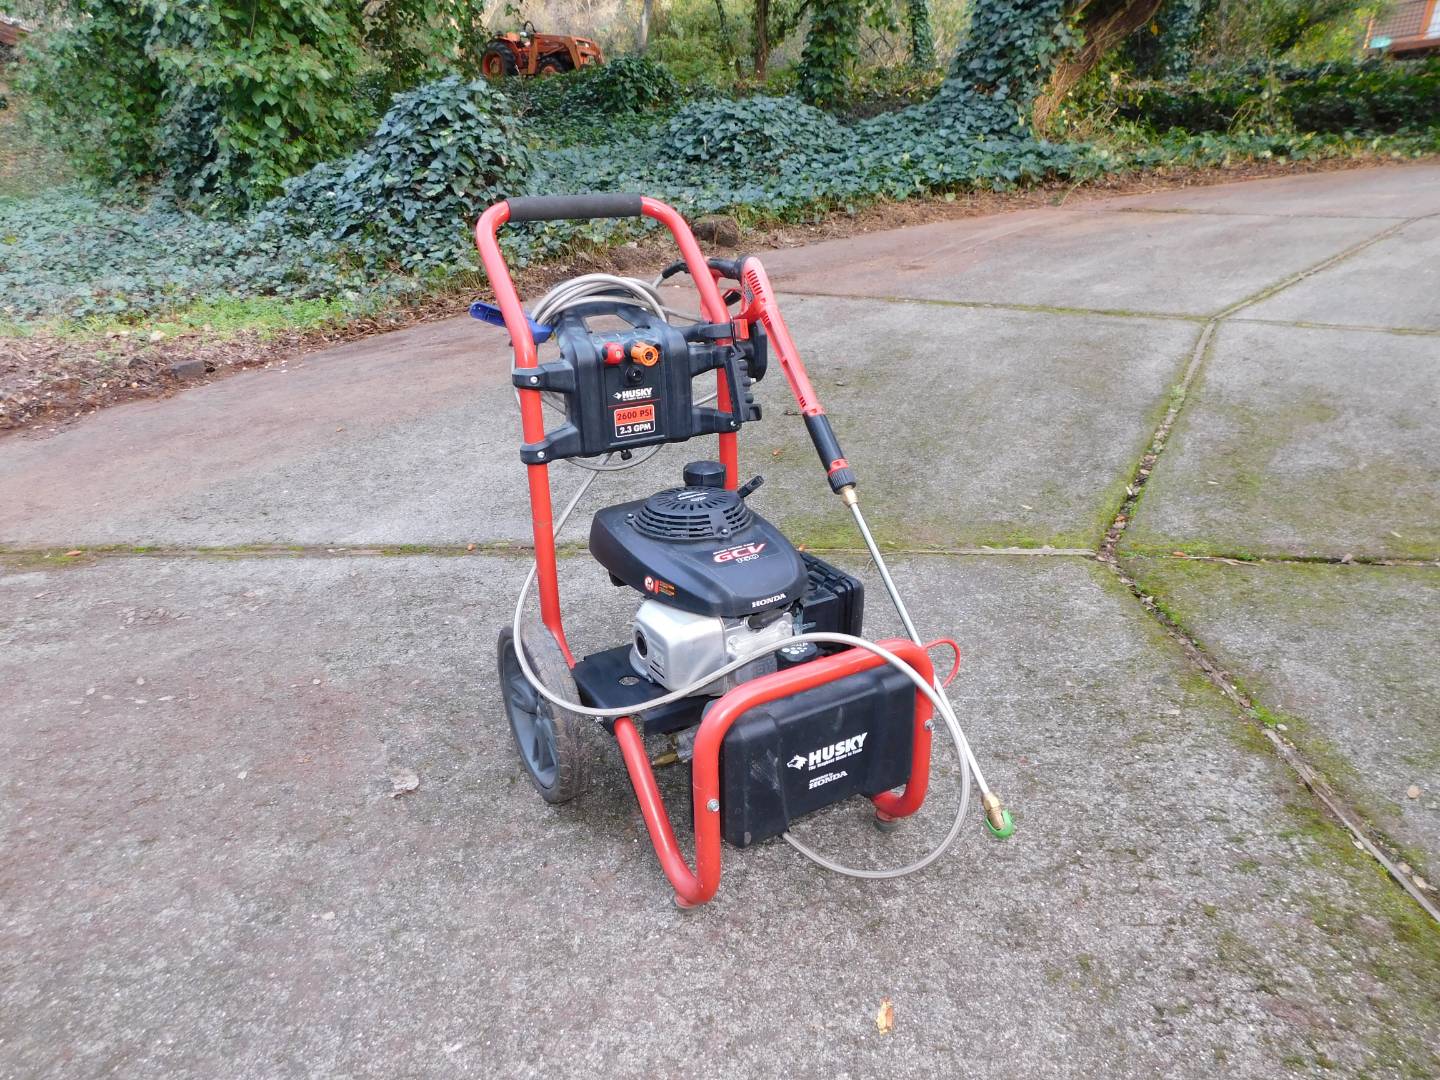
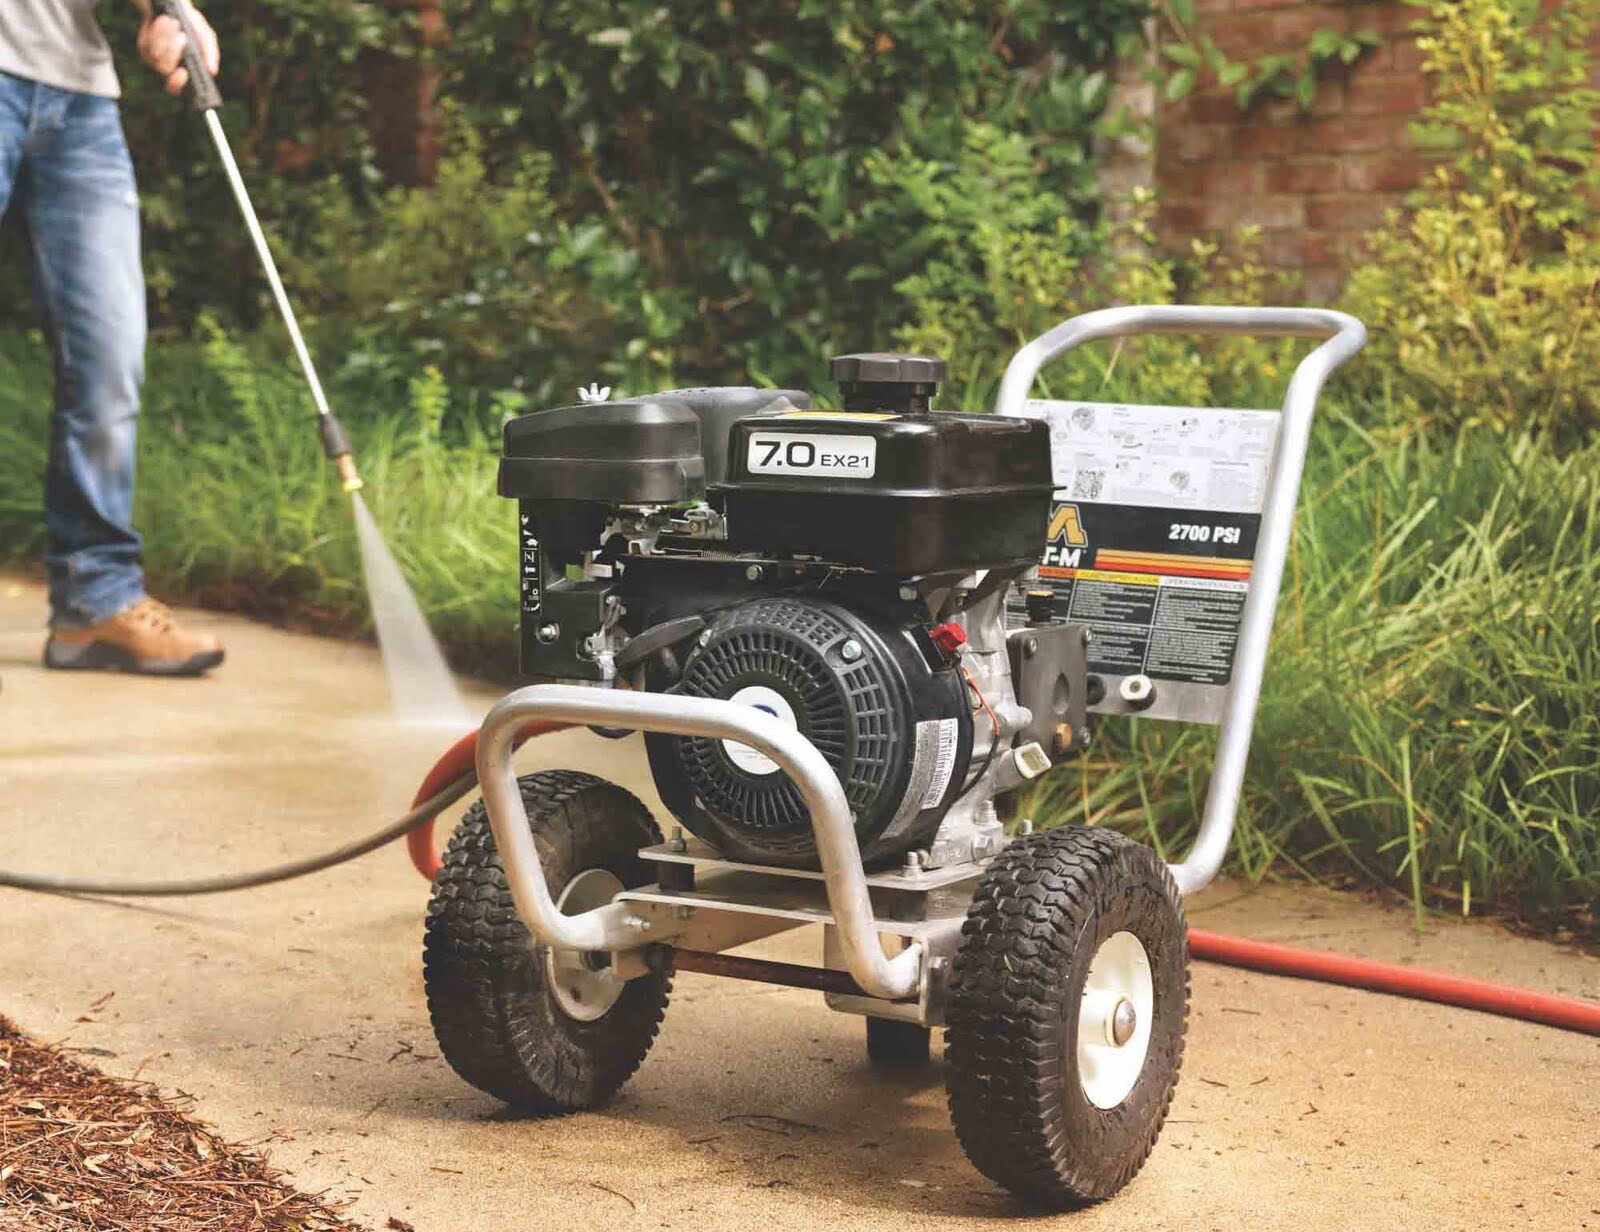
- Pressure Washer: Invest in a quality pressure washer that is suitable for outdoor use. Look for models with adjustable pressure settings to cater to different surfaces and materials on your patio.
- Nozzles: Most pressure washers come with a variety of nozzles that offer different spray patterns and pressures. Choose the appropriate nozzle based on the type of surface you are cleaning.
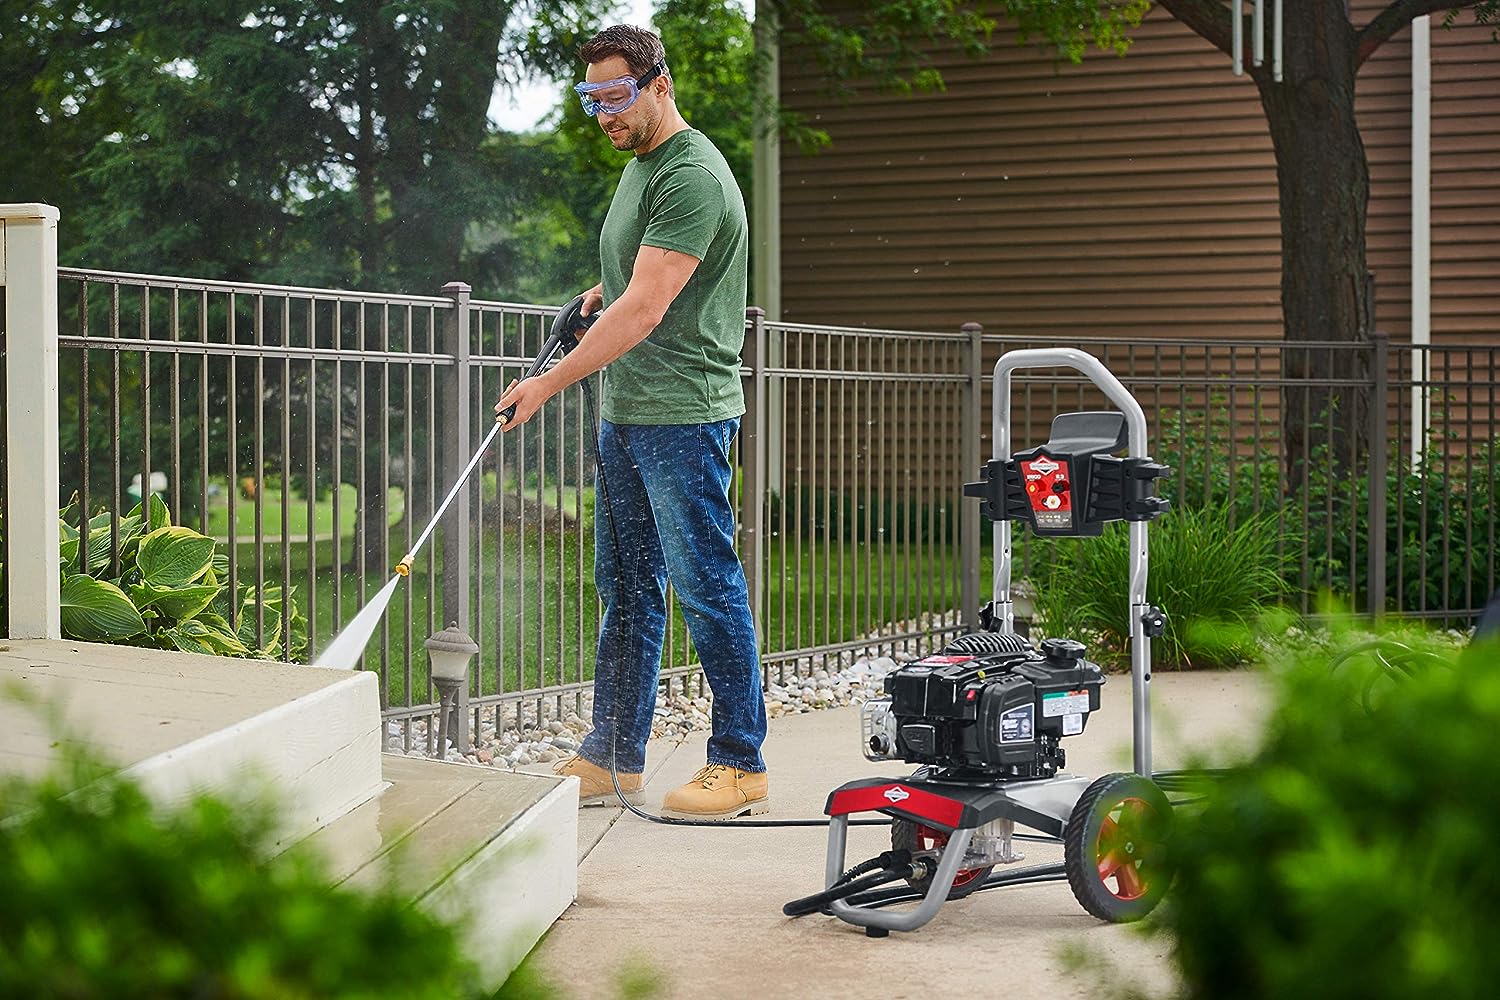
- Protective Gear: Wearing safety gear is crucial when power washing. Grab a pair of goggles to protect your eyes from debris and water splashes, and wear rubber gloves to shield your hands.
- Cleaning Solution: Depending on the level of dirt and stains on your patio, you may need a cleaning solution. There are various commercial options available, or you can make your own using household ingredients like vinegar and water.
- Broom or Brush: Before using the pressure washer, it’s a good idea to sweep or brush off loose dirt and debris from the patio surface.
- Extension Cord: If your pressure washer’s cord is not long enough to reach your patio, an extension cord will come in handy.
- Water Source: Ensure you have a nearby water source, such as an outdoor faucet or a garden hose, to connect to your pressure washer.
- Tarp or Plastic Sheeting: If you have nearby plants, furniture, or other objects that you want to protect from overspray or water, consider using a tarp or plastic sheeting to cover them.
Once you have gathered all these materials, you will be well-equipped to begin the power washing process. Remember, safety should always be a priority, so make sure to read the manufacturer’s instructions for your pressure washer and use the appropriate protective gear.
Step 2: Prepare the Patio
Now that you have all your materials ready, it’s time to prepare your patio for the power washing process. Proper preparation ensures that the cleaning is effective and minimizes the risk of damage to your patio or surrounding areas. Follow these steps to prepare your patio:
- Remove Furniture and Decorations: Start by clearing the patio of any furniture, accessories, or decorations. This will give you unobstructed access to the entire surface and prevent any potential damage to these items during the power washing.
- Sweep or Brush the Surface: Using a broom or brush, sweep or brush off any loose dirt, leaves, or debris from the patio surface. This step will help get rid of the larger particles and make the power washing more effective.
- Clear the Area: If you have any potted plants, toys, or other objects on the patio, remove them or relocate them temporarily to a safe area. You don’t want these items to get in the way or potentially get damaged during the cleaning process.
- Protect Nearby Plants and Sensitive Areas: If you have plants or delicate areas near your patio, consider using a tarp or plastic sheeting to cover them. This will protect them from any cleaning solution or overspray that may occur during the power washing.
- Pre-Wet the Surface: Before starting the power washer, it can be beneficial to pre-wet the patio surface with plain water. This helps to loosen any stubborn dirt or stains, making them easier to remove during the power washing.
By taking the time to prepare your patio properly, you ensure that the power washing process is efficient and safe. Removing furniture and decorations, sweeping the surface, and protecting nearby plants are essential steps that set the stage for a successful cleaning.
Once your patio is prepped and ready, it’s time to move on to the next step: testing the pressure washer.
Step 3: Test the Pressure Washer
Before diving into the actual power washing of your patio, it is essential to test the pressure washer to ensure it is working correctly and to get familiar with its settings. Performing a test run will help you become comfortable handling the equipment and determine the appropriate pressure for cleaning your patio surface. Here’s how to test your pressure washer:
- Read the User Manual: Start by carefully reading the user manual provided by the manufacturer. This will provide important information about operating the pressure washer and any specific instructions or precautions to follow.
- Connect the Water Source: Attach your pressure washer to a nearby water source, such as an outdoor faucet or a garden hose. Make sure the water supply is turned on and check for any leaks or loose connections.
- Prime the Pump: Follow the manufacturer’s instructions to prime the pump of your pressure washer. This typically involves holding down the trigger to let water flow through the system and remove any air pockets.
- Choose the Appropriate Nozzle: Select the nozzle that suits the type of surface you will be cleaning. Different nozzles offer various spray patterns and pressure levels. Attach the chosen nozzle securely to the pressure gun.
- Adjust the Pressure: Most pressure washers have an adjustable pressure setting. Start with a lower pressure setting and gradually increase it as needed. It’s important not to use excessive pressure, as this can cause damage to your patio or surfaces.
- Test on an Inconspicuous Area: Pick a small, inconspicuous area of your patio to test the pressure washer. This could be a corner or an area hidden behind furniture. Start spraying water and observe the results.
- Observe the Cleaning Power: Pay attention to how effectively the pressure washer cleans the test area. Adjust the pressure and nozzle settings as needed until you achieve optimal cleaning without causing any damage.
By testing the pressure washer beforehand, you can become familiar with its operation and ensure that you are using the correct settings for your patio surface. This step also allows you to make any necessary adjustments and avoid potential mistakes during the actual power washing process.
Once you are satisfied with the results of the test run, it’s time to move on to the next step: starting the power washing on your patio.
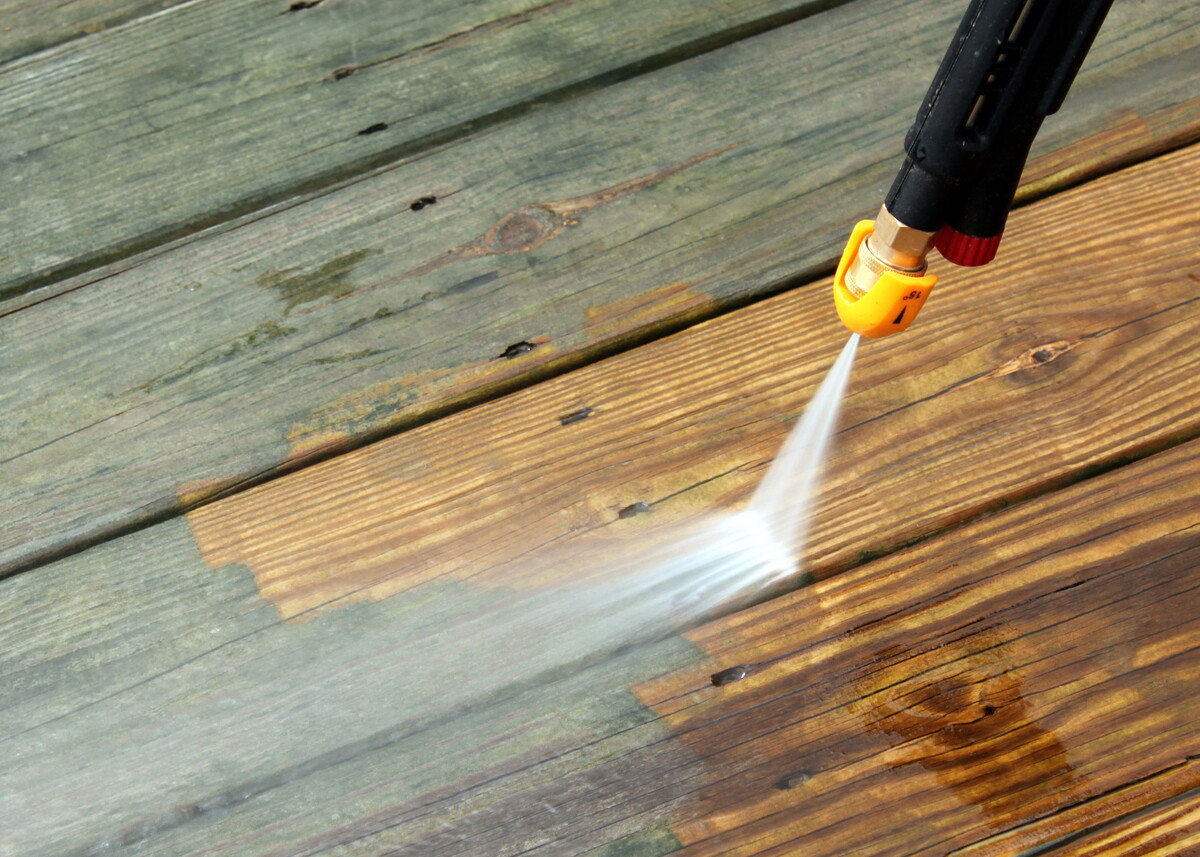
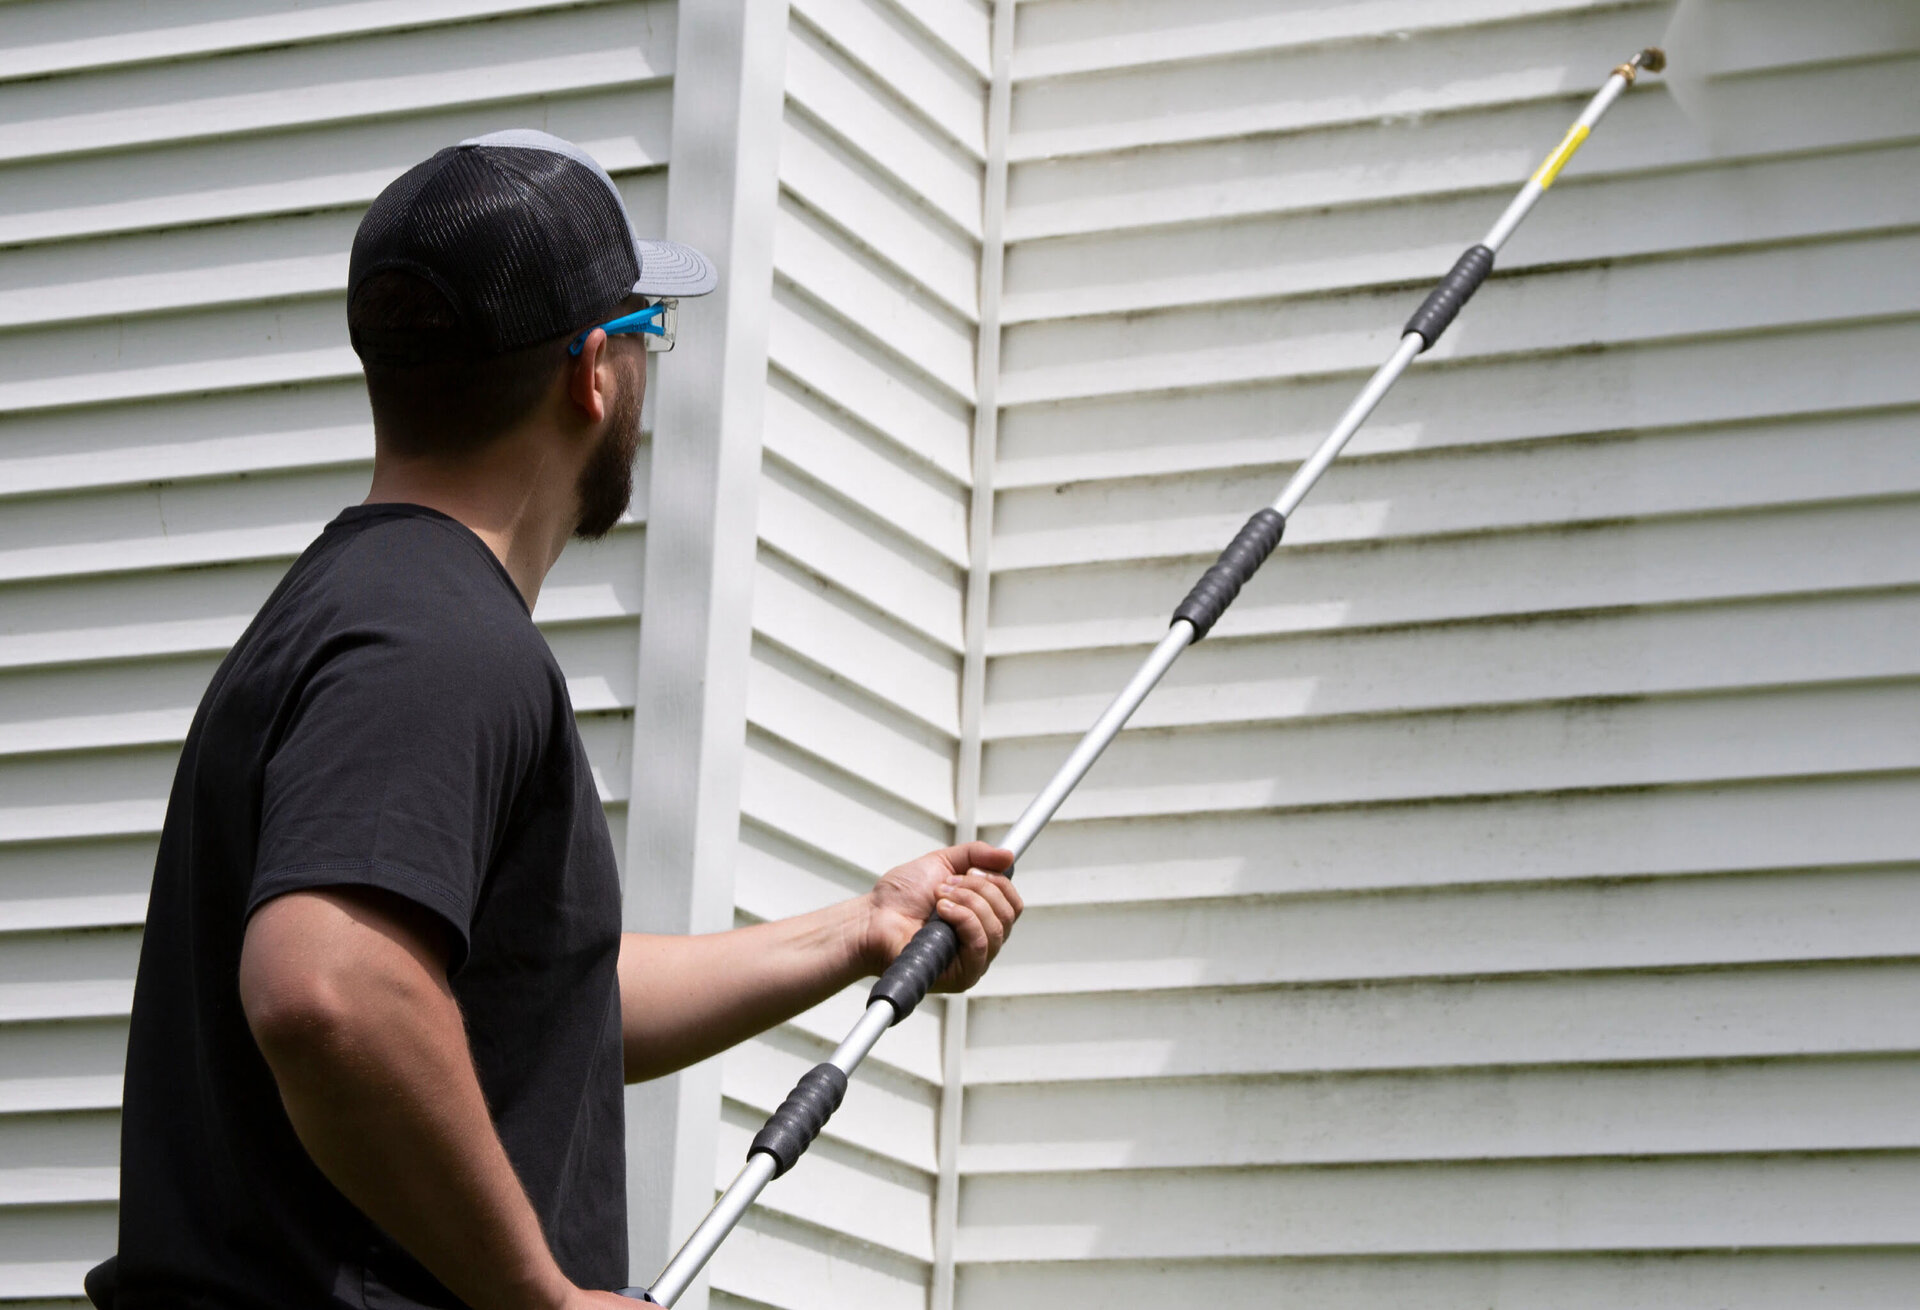
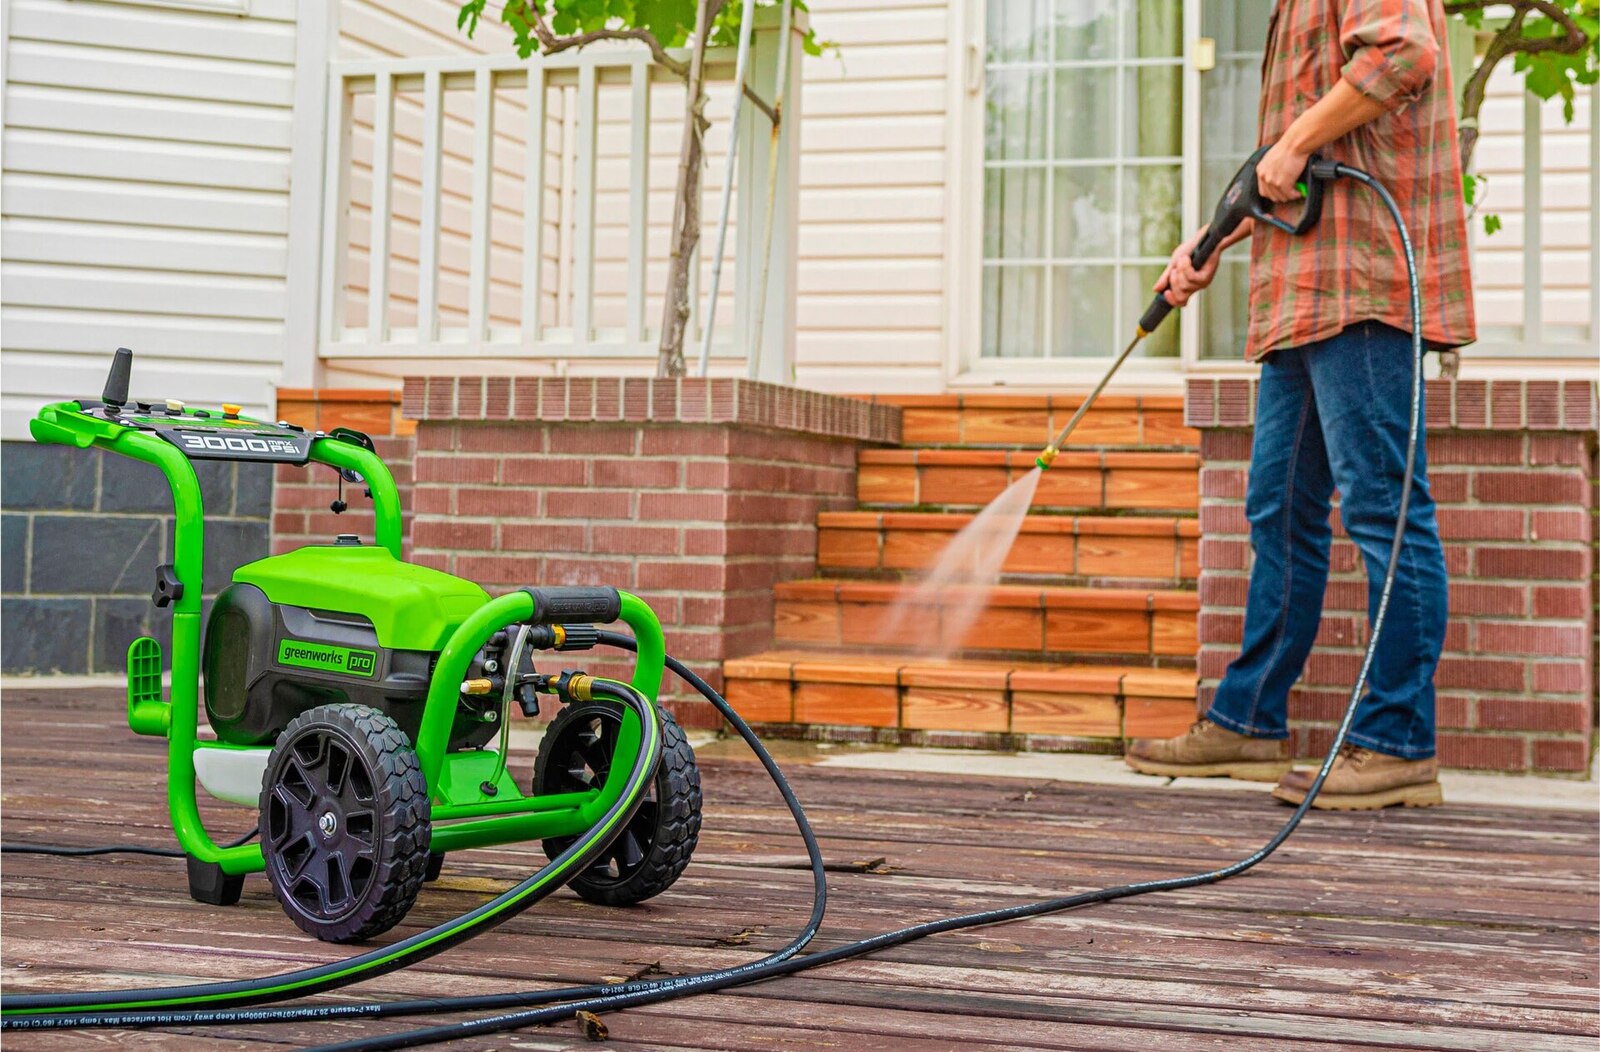
Step 4: Start Power Washing
Now that you have tested the pressure washer and are comfortable with its settings, it’s time to start power washing your patio. Follow these steps to effectively clean the surface:
- Begin with a Low Pressure Setting: Start the power washer with a low pressure setting to avoid damaging the patio surface. You can always increase the pressure later if needed.
- Hold the Pressure Gun at a 45-Degree Angle: Hold the pressure gun at a 45-degree angle relative to the patio surface. This angle helps to prevent water from getting underneath the surface and causing damage.
- Move in a Controlled and Even Motion: Move the pressure gun in a controlled and even back-and-forth motion. Aim for overlapping passes to ensure thorough cleaning and avoid streaks or missed spots.
- Clean in Sections: To maintain control and efficiency, work on cleaning your patio in sections. Start from one end and gradually progress to the other, taking your time to thoroughly clean each area before moving on.
- Pay Attention to Stubborn Stains: If you encounter stubborn stains or areas that require extra attention, you may need to adjust the pressure settings or use a stronger cleaning solution. Test a small area first before applying more pressure or switching to a different cleaning solution.
- Keep a Safe Distance: Maintain a safe distance between the pressure gun and the patio surface. Typically, a distance of around 12 to 18 inches is recommended. This helps to prevent any damage and allows for better control over the cleaning process.
- Take Breaks: Depending on the size of your patio, power washing can be physically demanding. Take regular breaks to rest and hydrate, especially if you have a large area to clean.
As you power wash your patio, periodically take a step back to assess the progress. Pay close attention to any areas that may require additional cleaning or spots that you may have missed. Adjust the pressure and technique as necessary to ensure a thorough and even cleaning.
Remember, patience is key. Take your time and work systematically to achieve the best results. Once you have completed power washing your patio, it’s time to move on to the next step: cleaning the edges and corners.
Before power washing your patio, make sure to sweep away any debris and clear the area. This will prevent the power washer from pushing dirt and grime into the surface, and ensure a more effective clean.
Read more: What Is The Best Power Washer
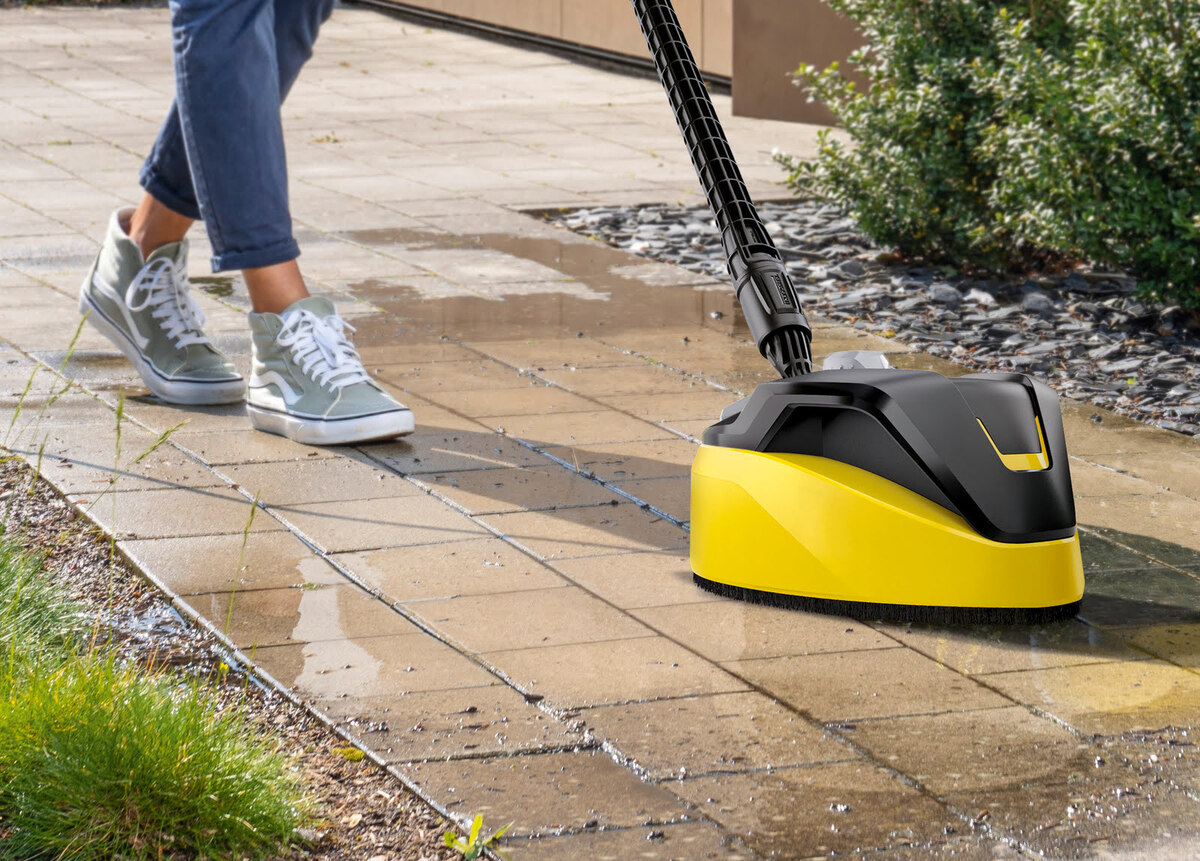
Step 5: Clean the Edges and Corners
After power washing the main surface of your patio, it’s important not to overlook the edges and corners. These areas tend to accumulate dirt and grime and can be challenging to clean with the pressure washer alone. Follow these steps to effectively clean the edges and corners of your patio:
- Switch to a Lower Pressure Setting: Since the edges and corners are more delicate than the main surface, it’s best to switch to a lower pressure setting on your pressure washer. This will help minimize the risk of damaging these areas.
- Use a Brush or Scrubbing Tool: In combination with the lower pressure setting, use a brush or scrubbing tool to manually clean the edges and corners. Scrubbing will help dislodge any stubborn dirt or stains that the pressure washer may not completely remove.
- Apply Cleaning Solution if Needed: If the edges and corners have particularly stubborn stains or buildup, you may need to apply a cleaning solution. Use a mild detergent or a mixture of vinegar and water and scrub the affected areas gently.
- Rinse Thoroughly: Once you have scrubbed the edges and corners, rinse them thoroughly with the pressure washer or plain water from a hose. Ensure that no cleaning solution or debris remains in these areas.
- Check for Any Missed Spots: After cleaning the edges and corners, take a step back and inspect the entire patio surface. Look for any missed spots or areas that require additional cleaning. Use the pressure washer or a brush to touch up these areas if necessary.
By paying attention to the edges and corners, you ensure that your entire patio receives a thorough cleaning. Scrubbing the areas manually and using a lower pressure setting on the pressure washer will help protect these more delicate parts of your patio while still achieving a pristine finish.
Once you are satisfied with the cleanliness of the edges and corners, it’s time to move on to the next step: rinsing and removing excess water.
Step 6: Rinse and Remove Excess Water
After power washing and cleaning the edges and corners of your patio, it’s important to thoroughly rinse off any remaining dirt, cleaning solution, and excess water. This step ensures that your patio surface is left clean and ready for the next stage. Follow these steps to rinse and remove excess water:
- Switch to a Wide Spray Pattern: Change the nozzle on your pressure washer to a wide spray pattern, such as a 25 or 40-degree angle. This will help effectively rinse the patio surface without applying excessive pressure or causing damage.
- Start from the Top: Begin rinsing the patio surface from the top and work your way down. This allows the water to naturally flow downwards, carrying away any remaining dirt or debris.
- Move in Overlapping Passes: Similar to the power washing process, move the pressure washer in overlapping passes to ensure thorough rinsing. Pay extra attention to areas that were heavily soiled or treated with cleaning solution.
- Remove Excess Water: After rinsing, use a broom or squeegee to remove excess water from the patio surface. This will help speed up the drying process and prevent any water pooling or potential slip hazards.
- Check for Any Missed Spots: As you remove excess water, keep an eye out for any missed spots or areas that may require additional rinsing. Take the time to go over these areas again to ensure a consistent clean surface.
By thoroughly rinsing your patio and removing excess water, you prevent any residual dirt or cleaning solution from drying onto the surface. This step also helps to enhance the overall appearance and allows for a quicker drying time.
Once you have completed rinsing and removing excess water, it’s time to proceed to the next step: allowing the patio to dry before any further maintenance or treatment.
Step 7: Allow the Patio to Dry
After rinsing and removing excess water from your patio, it’s important to allow sufficient time for it to dry completely. This will ensure that the surface is ready for any further maintenance or treatment, such as applying sealant or rearranging furniture. Here’s what you should do to allow your patio to dry:
- Check the Weather Conditions: Before proceeding, check the weather forecast to ensure that there is no rain or excessive moisture expected in the coming hours or days. Drying time may vary depending on weather conditions.
- Provide Adequate Ventilation: Maximize airflow by opening doors, windows, or using fans to help speed up the drying process. Proper ventilation will aid in evaporating any residual moisture on the patio surface.
- Remove Excess Water or Puddles: If there are any remaining puddles or standing water on the patio, use a mop, a towel, or a wet-dry vacuum to remove them. Excess moisture can prolong the drying time and potentially cause slip hazards.
- Patience Is Key: Allow the patio surface ample time to air dry naturally. The drying time can vary depending on factors such as humidity levels, temperature, and the type of material your patio is made of. It may take a few hours to a full day for the surface to completely dry.
- Check for Dampness: To ensure that the patio is fully dry, check for any damp spots on the surface. Touch different areas and look for any signs of moisture. If you detect any dampness, give it more time to dry before proceeding with any other maintenance tasks or treatments.
Patience is key when it comes to allowing your patio to dry. Rushing the process could lead to the trapping of moisture, which could potentially cause problems in the long run. Taking the time to let the patio completely dry ensures the optimal condition for any subsequent treatments or activities.
Once you are confident that your patio is thoroughly dry, you can move on to the next step: optionally applying sealant to protect and enhance its appearance.
Step 8: Apply Sealant (optional)
Applying a sealant to your patio can provide an extra layer of protection against the elements and help enhance its appearance. While sealing your patio is optional, it can be a beneficial step to consider to prolong its lifespan and keep it looking fresh. Follow these steps to apply a sealant:
- Choose the Right Sealant: Select a sealant that is specifically designed for your patio material. There are different types of sealants available for various surfaces such as concrete, stone, or pavers. Read the instructions and specifications on the sealant product to ensure compatibility with your patio.
- Clean the Surface: Before applying the sealant, make sure the patio surface is clean and dry. Remove any remaining dirt, debris, or loose particles using a broom or brush. If necessary, you can use a mild detergent and water solution to clean stubborn stains.
- Follow the Manufacturer’s Instructions: Read and carefully follow the instructions provided by the sealant manufacturer. The application method, drying time, and recommended tools may vary depending on the product.
- Apply the Sealant: Using a paintbrush, roller, or sprayer, apply the sealant evenly to the patio surface. Start from one end and work your way towards the other, ensuring complete coverage. Pay extra attention to the edges and gaps between patio pieces for thorough sealing.
- Allow Sufficient Drying Time: After applying the sealant, allow it ample time to dry according to the manufacturer’s instructions. This typically ranges from a few hours to a full day. Avoid any foot traffic or placing furniture on the patio until the sealant is completely dry.
- Maintain and Reapply as Needed: Sealants may require periodic maintenance and reapplication. Keep an eye on the condition of your patio and observe if there are any signs of wear or water absorption. Follow the manufacturer’s recommendations for resealing, which can vary depending on factors such as climate and usage.
Applying a sealant is an optional step, but it can provide valuable protection for your patio, especially in outdoor environments where it is exposed to weather conditions and foot traffic. Sealing can help prevent stains, discoloration, and cracking, ultimately extending the life of your patio and maintaining its aesthetic appeal.
Once the sealant is dry and any necessary maintenance is complete, you can now enjoy your newly power washed and sealed patio. Relax and appreciate the clean and refreshed space that you have created!
That concludes our comprehensive guide on how to power wash a patio. We hope you found this information helpful and that you achieve outstanding results in cleaning and maintaining your outdoor space. Happy patio cleaning!
Read more: What Does Power Wash Mean On A Maytag Washer
Conclusion
Power washing a patio is an effective way to restore its appearance and remove built-up dirt, grime, and stains. By following the step-by-step process outlined in this guide, you can achieve impressive results and enjoy a clean and refreshed outdoor space.
Remember to gather all the necessary materials, prepare the patio, and test the pressure washer before starting the power washing process. Take your time to clean the surface, paying attention to the edges and corners, and rinse off any remaining dirt and cleaning solution. Allow sufficient drying time before considering optional steps like applying a sealant.
Throughout the entire process, prioritize safety, and use the proper protective gear. Be mindful of the pressure settings on your pressure washer to avoid any damage to your patio surface. Take breaks as needed and stay hydrated, especially during longer cleaning sessions.
It’s important to note that maintenance and regular cleaning are essential to keep your patio in top condition. Regular sweeping or brushing, as well as periodic power washing, will help prevent the buildup of dirt and grime. Consider applying a sealant to protect and enhance the longevity and appearance of your patio.
We hope this guide has provided you with valuable insights and useful tips for power washing your patio. By taking the time and effort to maintain your outdoor space, you can create an inviting area for relaxation, entertainment, and enjoyment for years to come. Now grab your pressure washer and get ready to transform your patio into a spot that truly shines!
Frequently Asked Questions about How To Power Wash A Patio
Was this page helpful?
At Storables.com, we guarantee accurate and reliable information. Our content, validated by Expert Board Contributors, is crafted following stringent Editorial Policies. We're committed to providing you with well-researched, expert-backed insights for all your informational needs.


0 thoughts on “How To Power Wash A Patio”