Home>Furniture>Outdoor Furniture>How To Hang Patio Lights On A Covered Patio

Outdoor Furniture
How To Hang Patio Lights On A Covered Patio
Modified: September 2, 2024
Learn how to hang patio lights on your covered patio to create a cozy and inviting outdoor space. Browse our wide selection of outdoor furniture, including patio sets and dining tables, to complete your dream patio setup.
(Many of the links in this article redirect to a specific reviewed product. Your purchase of these products through affiliate links helps to generate commission for Storables.com, at no extra cost. Learn more)
Introduction
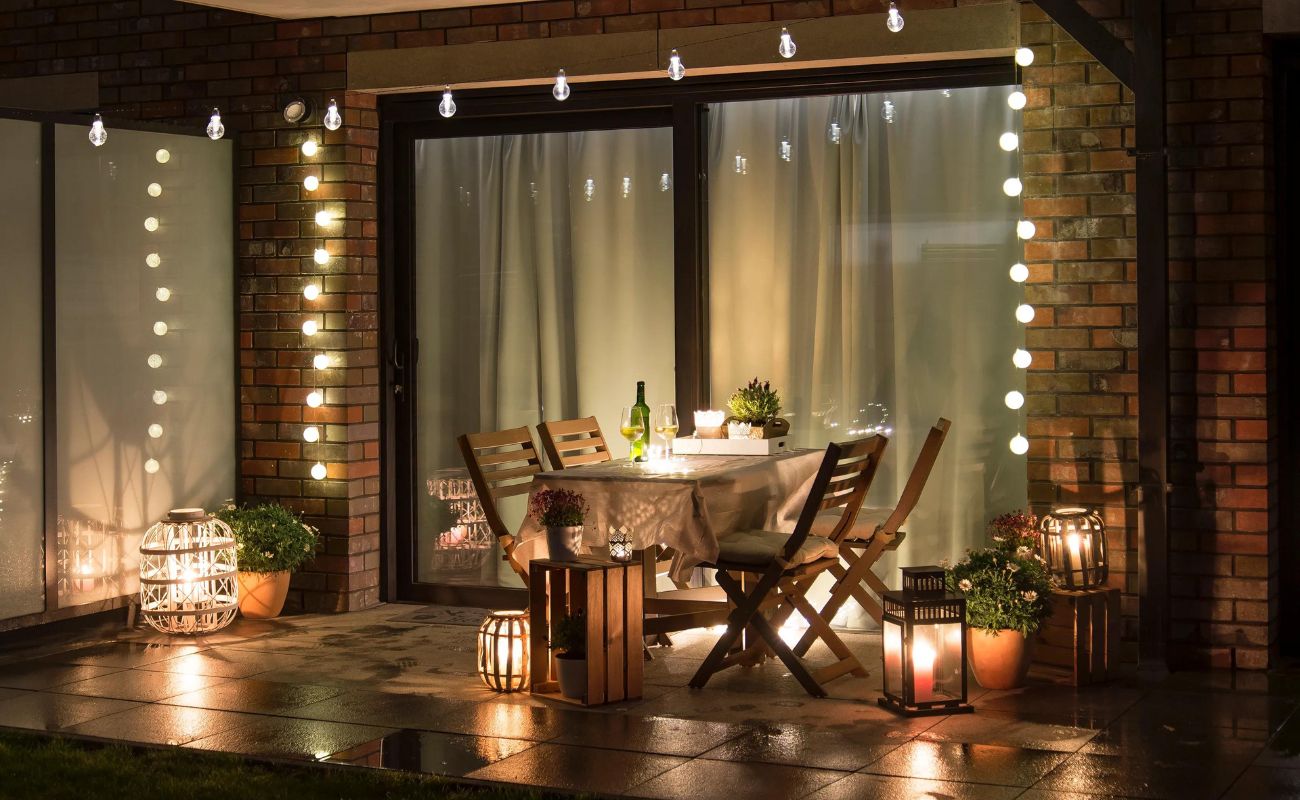
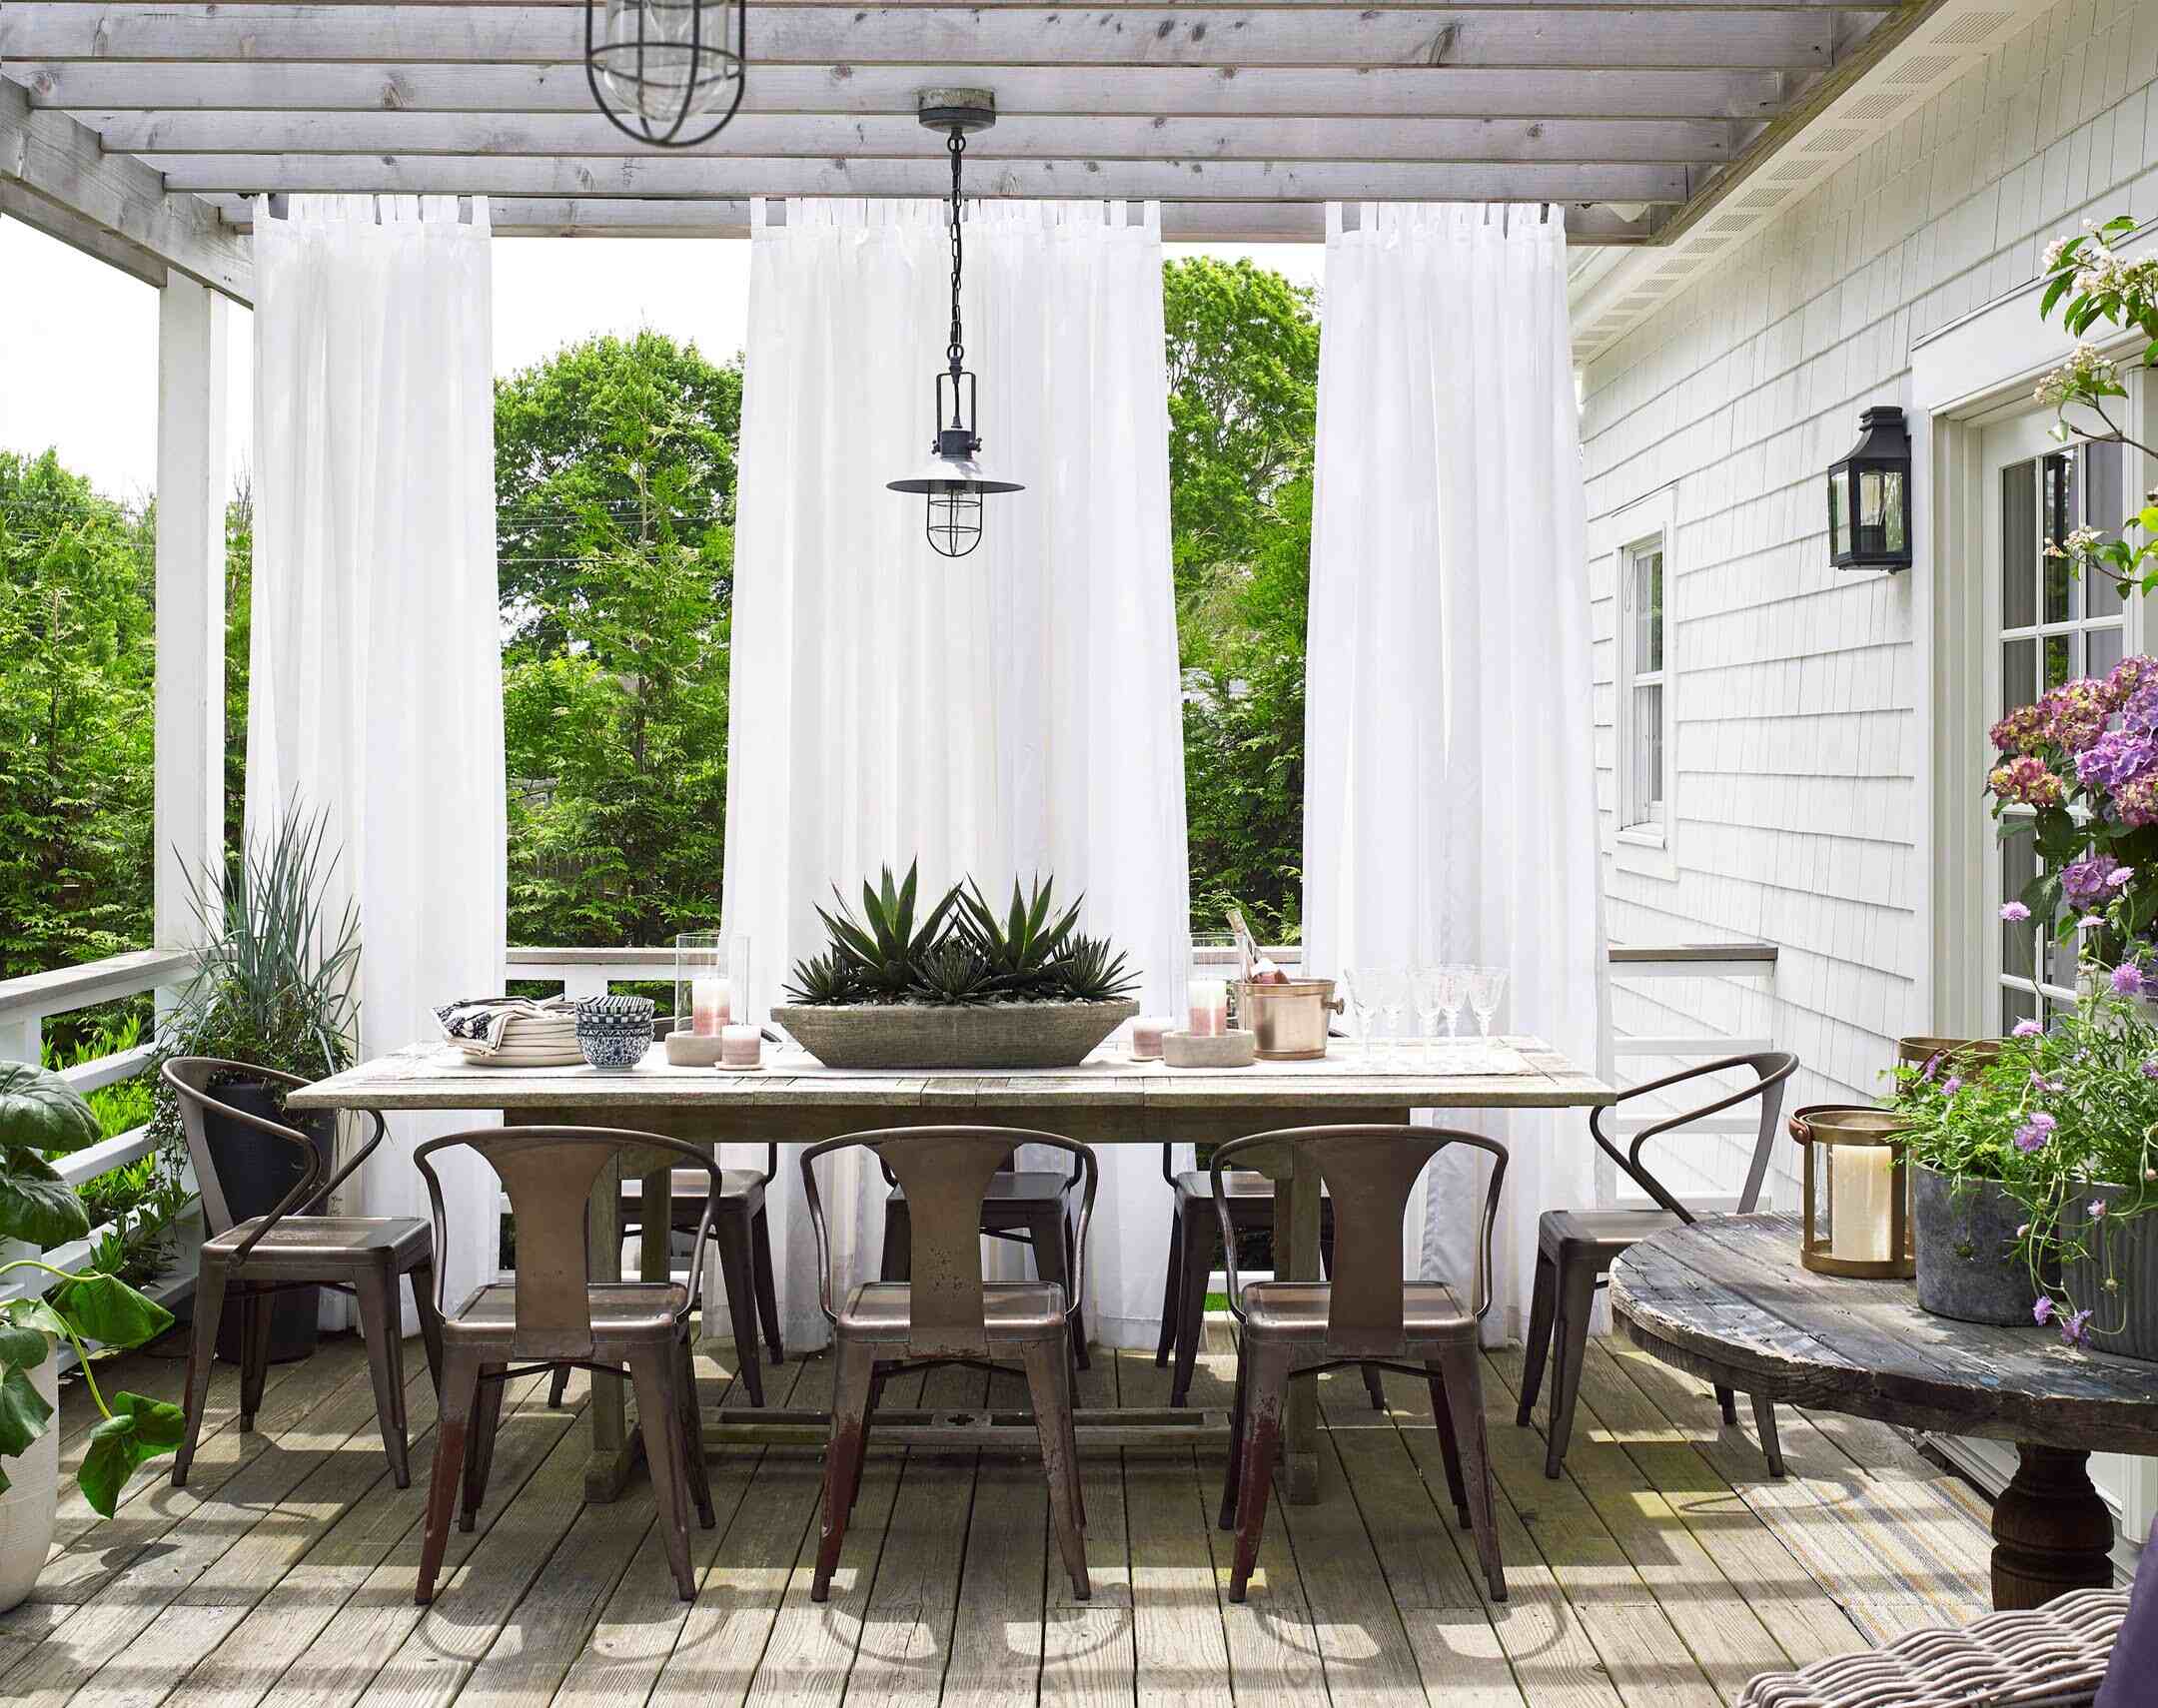
Welcome to our comprehensive guide on how to hang patio lights on a covered patio! Adding string lights to your outdoor space can create a warm and inviting atmosphere, perfect for relaxing or entertaining guests. Whether you’re looking to enhance your backyard oasis or create a cozy corner for enjoying your morning coffee, patio lights can transform your covered patio into a magical retreat.
In this article, we will provide step-by-step instructions on how to hang patio lights on a covered patio. We’ll cover everything from determining the layout and design to connecting and testing the lights. By following these simple steps, you’ll be able to create a stunning lighting display that will elevate the ambiance of your outdoor space.
But before we dive into the process, it’s important to consider the design and layout of your covered patio. Understanding the size and shape of your space will help you determine the quantity of lights you’ll need and how to position them effectively. So, let’s get started!
Key Takeaways:
- Create a magical retreat by hanging patio lights on your covered patio. Plan the layout, gather materials, and follow the steps to enjoy a cozy and inviting outdoor space.
- Transform your covered patio into a stunning illuminated oasis. String the lights, adjust and secure them, then sit back and enjoy the enchanting ambiance with friends and family.
Step 1: Determine the Layout and Design
The first step in hanging patio lights on your covered patio is to determine the layout and design. This step involves assessing the size and shape of your patio, as well as considering the overall aesthetic you want to achieve.
Start by measuring the length and width of your covered patio. This will help you determine the number of lights you’ll need and how far apart they should be spaced. As a general rule of thumb, aim for 12-18 inches of space between each light bulb.
Next, consider the overall design of your patio. Do you want a straight line of lights, or would you prefer a zigzag or crisscross pattern? You can also get creative and experiment with different layouts, such as draping the lights in a canopy style or creating a cascading effect.
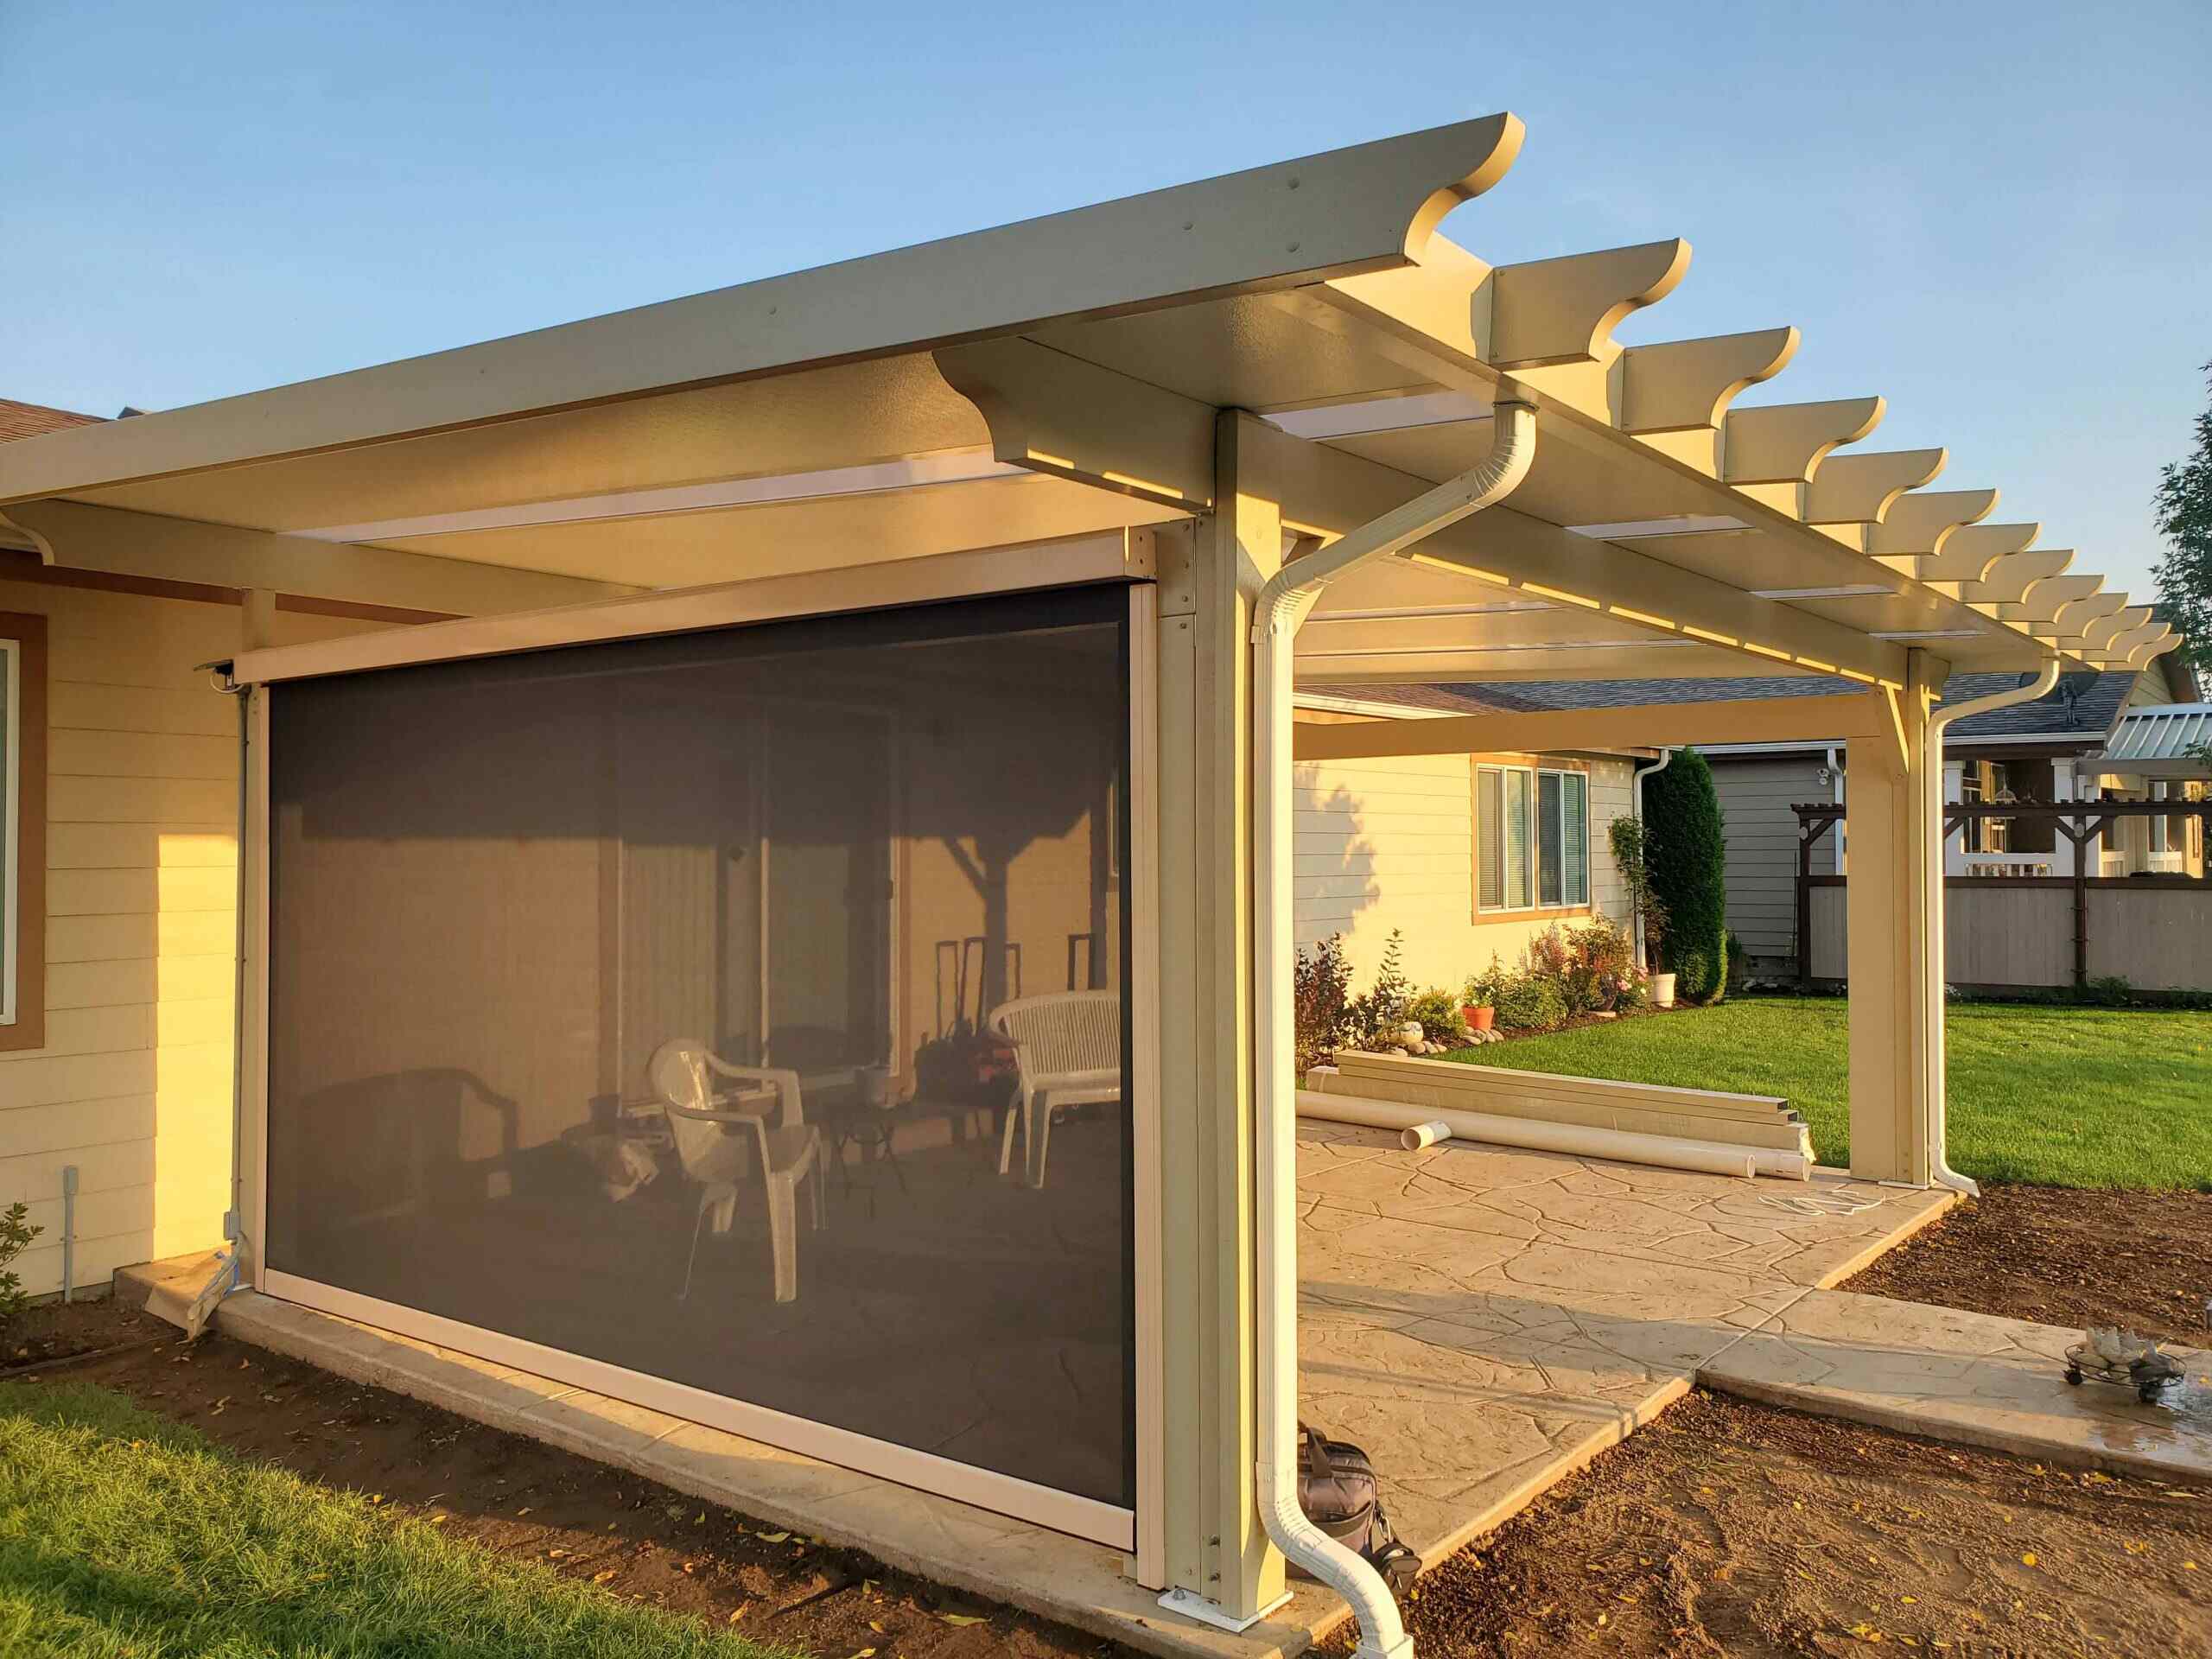
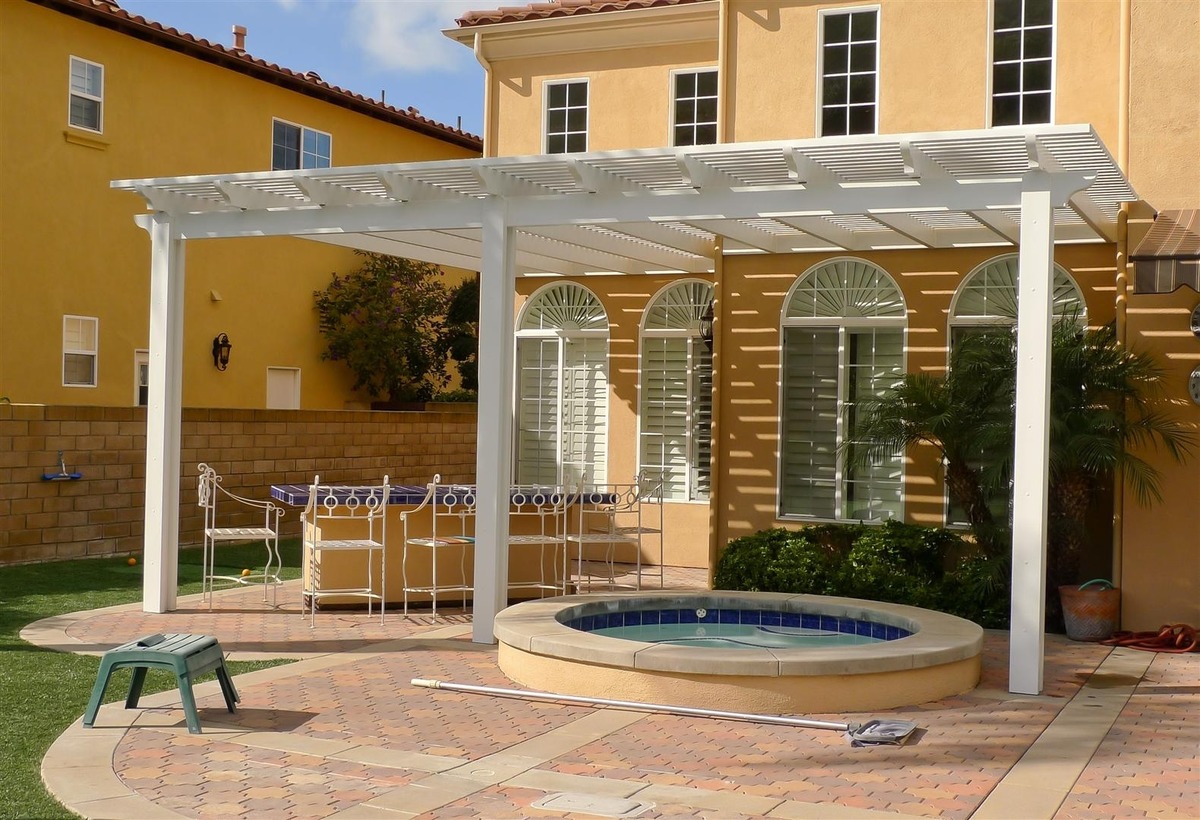
Think about the focal points on your patio and how you can accentuate them with lights. For example, if you have a pergola or a trellis, you can wrap the lights around the beams or hang them in a swag pattern. This will create a visually appealing focal point and draw attention to that area.
It’s also important to consider the power source for your lights. If you have an electrical outlet nearby, you can opt for plug-in lights. Alternatively, if accessibility is an issue, you can choose battery-operated or solar-powered lights.
Take some time to visualize different design ideas and layouts that will complement your covered patio. Consider the mood and ambiance you want to create, whether it’s a cozy and intimate space or a vibrant and festive setting. Once you have a clear vision in mind, you’re ready to move on to the next step.
Step 2: Gather the Necessary Materials
Once you’ve determined the layout and design for your patio lights, it’s time to gather the necessary materials. Having all the supplies on hand before you start will make the installation process much smoother.
Here are some essential materials you’ll need:
- String Lights: Choose high-quality outdoor string lights that are weatherproof and durable. Look for strands that are long enough to cover the desired length of your patio.
- Hanging Hardware: Depending on your patio’s structure, you may need hooks, anchors, or clips to hang the lights. Ensure that the hardware you choose is suitable for outdoor use and can support the weight of the lights.
- Measuring Tape: A measuring tape will come in handy for determining the spacing between each light and ensuring a symmetrical design.
- Extension Cords: If your electrical outlet is not within reach of the lights, you’ll need extension cords to connect them. Make sure to choose outdoor-rated extension cords that are the appropriate length.
- Timers or Dimmers (optional): If you want to automate your lighting or adjust the brightness, consider using timers or dimmers. These allow you to control the lights without manually turning them on and off.
- Ladder or Step Stool: Depending on the height of your patio, you may need a ladder or step stool to reach the hanging points comfortably.
- Cable Ties or Twine: Cable ties or twine can be used to secure the lights and prevent them from sagging or tangling.
Take inventory of these materials and make sure you have everything you need before proceeding to the next step. It’s better to have everything ready rather than needing to make last-minute trips to the hardware store.
Once you have all the necessary materials, you’re ready to move on to the next step, which involves installing anchors or hooks for hanging the lights. Let’s get started!
Step 3: Install Anchors or Hooks
Now that you have gathered all the necessary materials, it’s time to install anchors or hooks for hanging your patio lights. The type of installation method will depend on the structure of your covered patio.
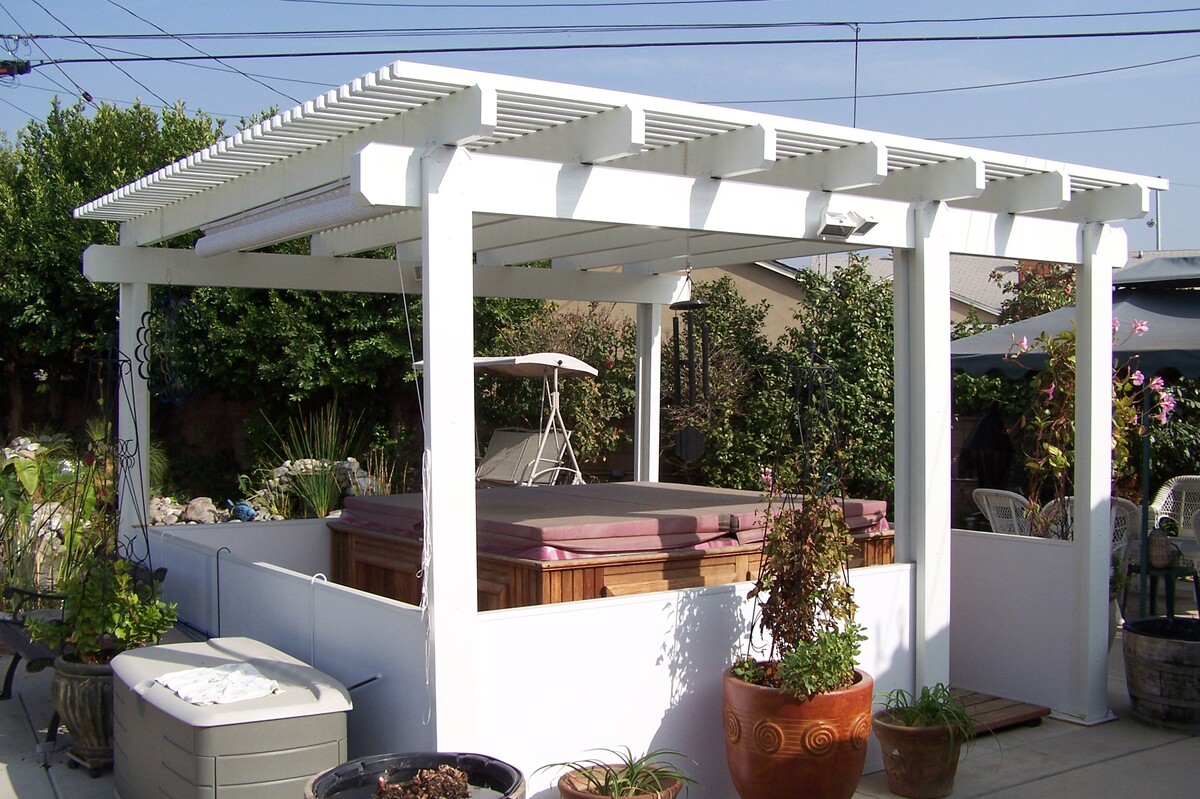
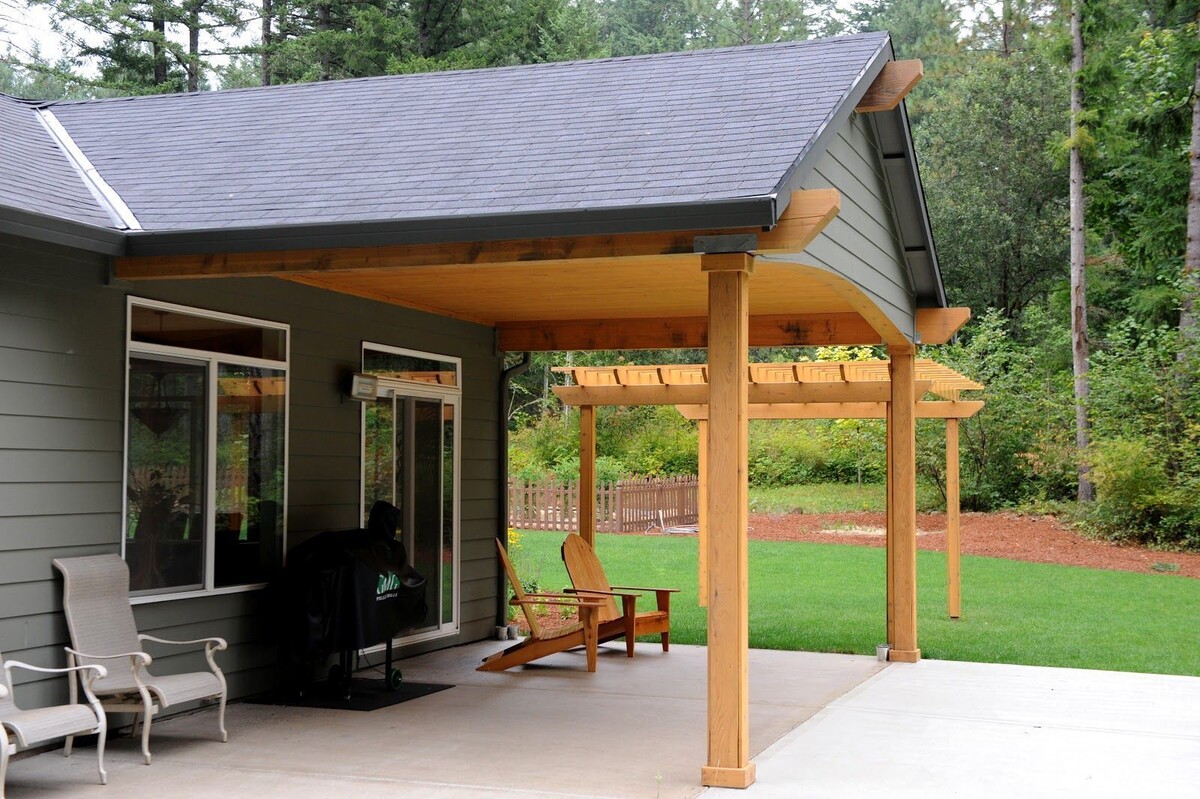
If your patio has exposed beams or support columns, you can use screw-in hooks or eye hooks to hang the lights. Simply twist the hooks into the wood or metal surface at regular intervals along the desired light pattern.
For patios with solid ceilings or walls, you can use adhesive hooks or outdoor-rated clips. These can be attached to the surface using adhesive backing or screws. Make sure to follow the manufacturer’s instructions for proper installation.
If you’re unsure about the best installation method for your patio, consult with a professional or seek advice from a hardware store employee. They can provide guidance based on your specific patio structure and ensure a secure hanging solution.
When installing the anchors or hooks, make sure they are evenly spaced and aligned according to your planned light pattern. Use a measuring tape or mark the placement points with a pencil to ensure accuracy.
It’s important to note that if you’re using electrical string lights, you should plan the installation route with access to a nearby power source in mind. This will make it easier to connect the lights later on.
Once you have installed the anchors or hooks, it’s time to move on to stringing the lights. This is where the magic happens! Join us in the next step to learn how to create a beautiful lighting display on your covered patio.
Step 4: String the Lights
Now that you have your anchors or hooks in place, it’s time to start stringing the lights! This step requires a bit of patience and attention to detail to ensure a smooth and seamless installation.
Begin by unraveling the string lights and locating the starting point. If your lights have a male and female end, make sure the male end is closer to the power source for easy connection later on.
Starting at one anchor or hook, begin draping the lights along the designated path. If you’re following a specific design or pattern, carefully follow the lines you’ve planned. Keep in mind the spacing between each light bulb, aiming for 12-18 inches of distance.
Secure the lights to the hooks or anchors using cable ties or twine. This will prevent the lights from sagging or tangling. Alternatively, some string lights come with built-in clips that can be used to attach them to the hanging hardware.
As you continue to string the lights, step back occasionally to ensure the arrangement is symmetrical and visually appealing. Adjust as needed, making sure the lights are evenly distributed and creating the desired effect.
If you’re using multiple strands of lights, make sure to connect them properly. Follow the manufacturer’s instructions for connecting end-to-end safely. It’s a good idea to test the lights at this stage to ensure they are working correctly before moving on.
Continue stringing the lights until you reach the last anchor or hook. Make any necessary adjustments along the way to achieve your desired lighting display. It’s better to take your time and get it right than to rush through the process.
With all the lights strung up, you’re almost there! The next step involves connecting and testing the lights to ensure everything is functioning as it should. Join us in the next step to complete the installation process and bring your covered patio to life with beautiful illumination.
Use outdoor-rated string lights and hooks or clips to hang patio lights on a covered patio. Plan your layout, measure the space, and secure the lights to avoid sagging.
Step 5: Connect and Test the Lights
Now that you have successfully strung the lights along your covered patio, it’s time to connect and test them to ensure everything is working correctly. This step is crucial to address any potential issues before securing the lights permanently.
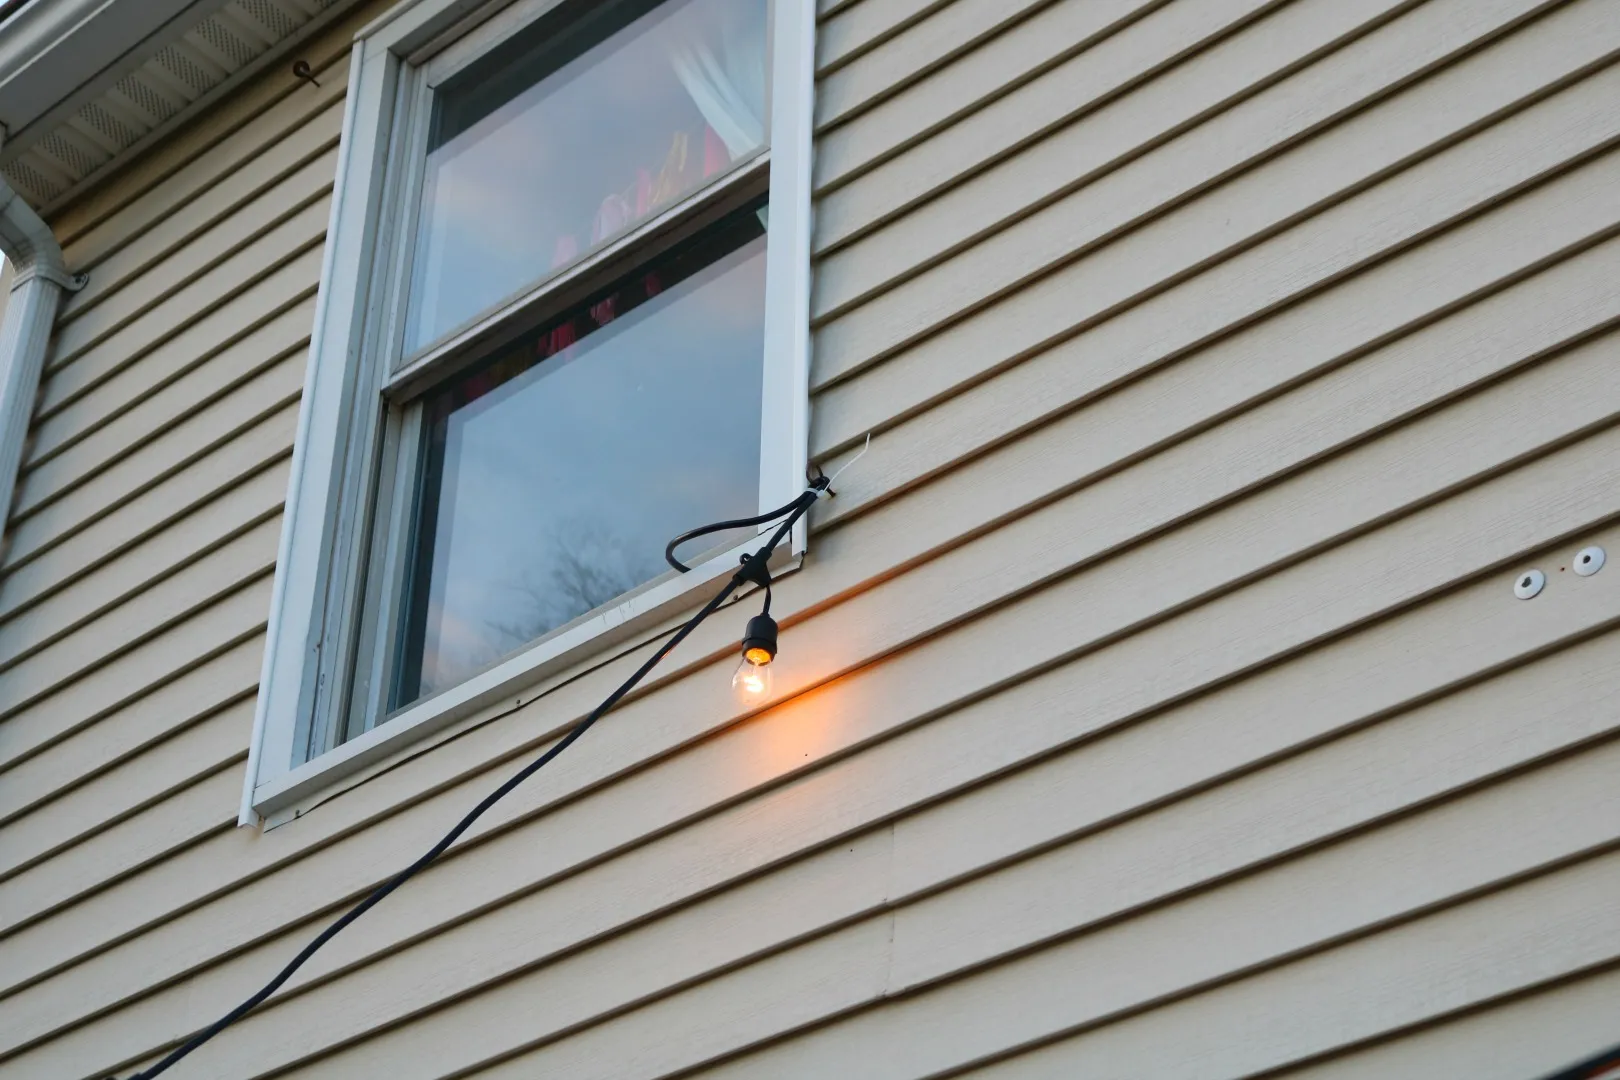
If you’re using plug-in lights, locate the nearest electrical outlet and connect the male end of the lights to the outlet. If needed, use an outdoor-rated extension cord to reach the power source. Ensure that the connection is secure to avoid any accidents or tripping hazards.
If you’re using battery-operated or solar-powered lights, follow the manufacturer’s instructions for connecting and activating them. Some lights may require the insertion of batteries or exposure to sunlight to start working.
Once the lights are connected, it’s time to test them. Turn on the lights and inspect each bulb to ensure they are illuminated. Check for any flickering bulbs or areas of dim light that may indicate a faulty connection or a damaged bulb.
If you notice any issues, double-check the connections and make sure they are secure. Replace any faulty bulbs or make the necessary adjustments to fix the problem. It’s important to address these issues before proceeding to the next step.
Take a moment to bask in the warm glow of your newly lit patio. Observe the overall effect and make any additional adjustments if needed. This is the time to fine-tune the lighting display and ensure it meets your expectations.
Once you’re satisfied with the lighting, it’s time to move on to the next step, where we’ll discuss how to adjust and secure the lights for long-lasting enjoyment.
Step 6: Adjust and Secure the Lights
Now that you’ve connected and tested the lights, it’s time to make any necessary adjustments and secure them in place. This step ensures that your patio lights will stay in position and create a stunning ambiance for years to come.
Start by taking a step back and assessing the overall appearance of the lighting display. Look for any areas where the lights may be sagging or unevenly spaced. Adjust the cable ties or twine as needed to straighten and align the lights.
Pay special attention to any focal points or areas where you want the lights to shine the brightest. Ensure that these areas are properly illuminated and draw the eye towards them. You can tweak the positioning of the lights or add additional hooks or anchors if needed.
As you adjust the lights, be careful not to pull them too tightly, as this may lead to breakage or damage. Strike a balance between a secure installation and a gentle, draped appearance.
Once you’re satisfied with the arrangement, secure the lights in their final position. Use cable ties or twine to fasten the lights to the hooks or anchors, making sure they are snugly in place. Be mindful not to overtighten, as this can strain the light strands.
If you’re using adhesive hooks or clips, double-check that they are securely attached to the surface. Press them firmly to ensure a strong bond. If necessary, apply additional hooks or clips to reinforce the installation.
Take a final walk around your covered patio and assess the stability of the lights. Gently tug on the strands to confirm that they are securely in place. This will ensure that your lights can withstand wind and other environmental factors.
Now that your patio lights are adjusted and securely fastened, you can move on to the final step, where we’ll discuss how to enjoy and maintain your beautifully lit covered patio.
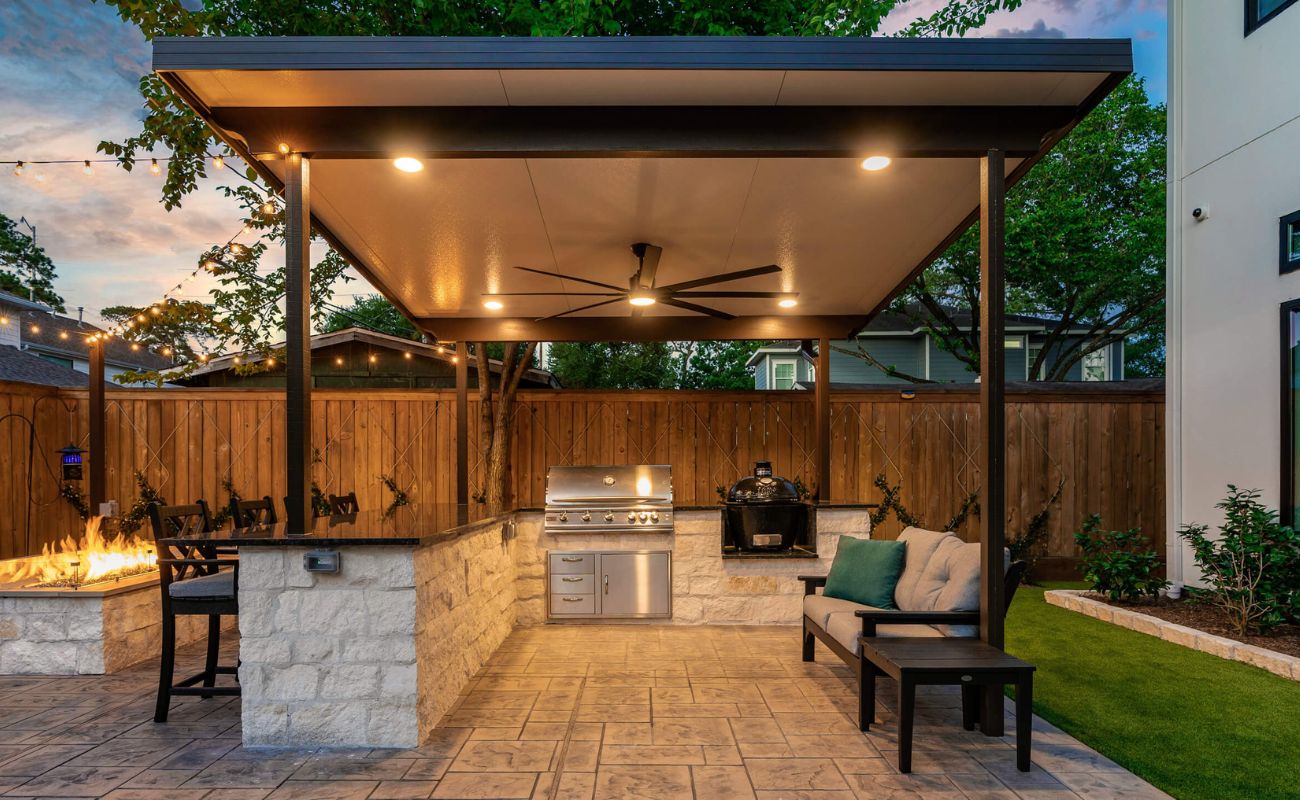
Step 7: Enjoy Your Beautifully Lit Covered Patio
Congratulations! You’ve successfully hung patio lights on your covered patio, and now it’s time to sit back, relax, and enjoy the beautiful ambiance created by your lighting installation.
Whether you’re hosting a gathering with friends and family or simply unwinding after a long day, your beautifully lit covered patio will provide the perfect setting for any occasion.
Take advantage of the inviting atmosphere by arranging comfortable seating, adding cozy blankets or cushions, and incorporating additional decor elements that complement the overall aesthetic.
Once you’re ready to enjoy your well-lit outdoor space, consider implementing the following tips:
- Experiment with different lighting settings: If your lights have dimming capabilities or are connected to a timer or remote control, explore different brightness levels to create the desired mood.
- Add additional decorative elements: Enhance the atmosphere by incorporating lanterns, candles, or potted plants to further elevate the ambiance of your covered patio.
- Host memorable gatherings: Use your beautifully lit covered patio as a backdrop for unforgettable outdoor events such as dinner parties, game nights, or cozy bonfire gatherings.
- Maintain the lights: Regularly inspect your patio lights to ensure they are in good condition. Replace any burnt bulbs promptly and check for any wear and tear on the strands. Keep the lights clean by gently wiping them with a damp cloth as needed.
- Enjoy year-round: Don’t limit your enjoyment of your covered patio lights to just one season. Embrace the beauty of your outdoor space throughout the year, whether it’s during warm summer nights or chilly winter evenings.
Remember, your covered patio is an extension of your living space, and the addition of patio lights can transform it into a cozy and inviting oasis. Collect cherished moments and create lasting memories in this charming outdoor setting.
By following the steps outlined in this guide, you have successfully transformed your covered patio into a stunning illuminated retreat. Now it’s time to unwind, relax, and enjoy the magical atmosphere you’ve created.
Thank you for joining us on this journey of hanging patio lights on a covered patio. We hope you found this guide helpful, and we wish you many enjoyable moments in your beautifully lit outdoor space!
Conclusion
Creating a beautifully lit covered patio is a wonderful way to enhance your outdoor space and create an inviting atmosphere. By following the steps outlined in this guide, you’ve learned how to hang patio lights and transform your patio into a magical retreat.
Starting with determining the layout and design, you carefully planned the arrangement of the lights to complement your patio’s size and shape. Gathering the necessary materials ensured a smooth installation process, while installing anchors or hooks provided a sturdy foundation for hanging the lights.
Stringing the lights allowed you to bring your vision to life, creating a stunning lighting display. Connecting and testing the lights ensured they were working correctly and allowed you to make any necessary adjustments.
Adjusting and securing the lights was essential in providing a stable and visually pleasing installation. Finally, after completing all the steps, you can now enjoy your beautifully lit covered patio, creating a welcoming and charming atmosphere for your outdoor activities.
Remember, maintaining your patio lights and regularly inspecting them will ensure their longevity and continued functionality. With proper care, your beautifully lit covered patio will bring joy and warmth to every moment spent in your outdoor sanctuary.
We hope this comprehensive guide has provided you with the knowledge and confidence to successfully hang patio lights on your covered patio. Embrace the magical ambiance, create unforgettable memories, and enjoy the breathtaking beauty of your illuminated outdoor haven.
Thank you for joining us on this journey, and may your covered patio become a haven of tranquility and joy for years to come!
Now that you've mastered hanging lights on your covered patio, why not take your outdoor space to the next level? For those eager to brighten things up, our guide on outdoor lighting ideas offers creative and practical tips that promise to transform your patio into a radiant haven. You'll find inspiration to suit every style, ensuring your outdoor gatherings shine just as brightly as your newly lit covered area.
Frequently Asked Questions about How To Hang Patio Lights On A Covered Patio
Was this page helpful?
At Storables.com, we guarantee accurate and reliable information. Our content, validated by Expert Board Contributors, is crafted following stringent Editorial Policies. We're committed to providing you with well-researched, expert-backed insights for all your informational needs.


0 thoughts on “How To Hang Patio Lights On A Covered Patio”