Home>Furniture>Outdoor Furniture>How To Set Up An Eno Hammock

Outdoor Furniture
How To Set Up An Eno Hammock
Modified: March 16, 2024
Learn how to set up an Eno hammock for ultimate outdoor relaxation. Get expert tips on choosing the perfect outdoor furniture for your next adventure.
(Many of the links in this article redirect to a specific reviewed product. Your purchase of these products through affiliate links helps to generate commission for Storables.com, at no extra cost. Learn more)
Introduction
Setting up an Eno hammock is a great way to relax and enjoy the outdoors. Whether you’re camping, hiking, or simply spending a day at the park, having a comfortable and sturdy hammock can make all the difference. Eno hammocks are known for their durability, ease of setup, and comfortable design. In this guide, we will walk you through the step-by-step process of setting up an Eno hammock, ensuring that you have a smooth and enjoyable experience.
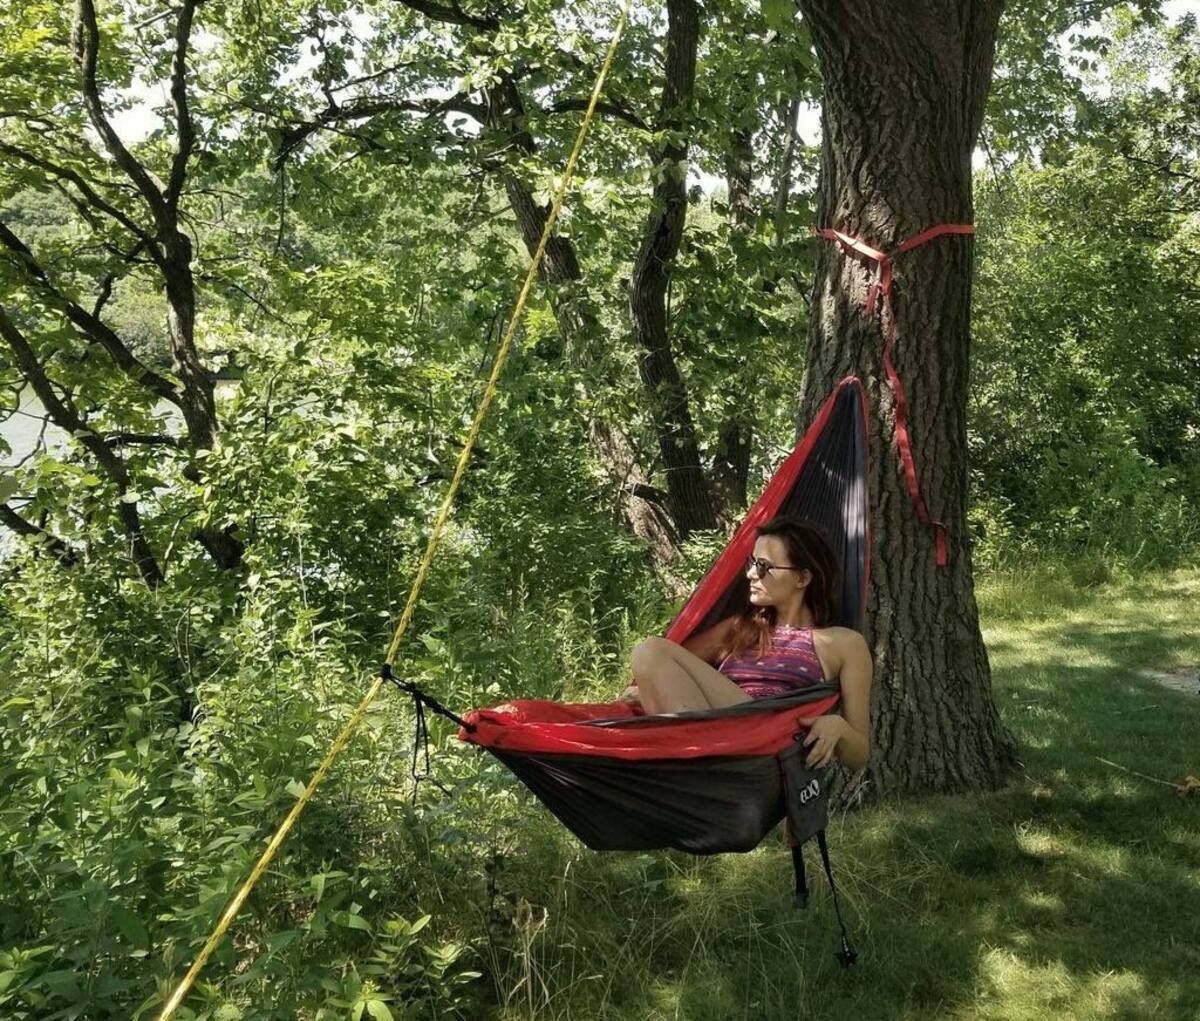
Before we dive into the details, let’s quickly go over the basic components of an Eno hammock setup. Eno hammocks consist of a hammock body, suspension straps, carabiners, and tree-friendly straps. The hammock body is made of lightweight and breathable nylon material, providing a comfortable and supportive surface to relax on. The suspension straps and carabiners are used to secure the hammock to trees or other sturdy anchor points. The tree-friendly straps help protect tree bark from damage while providing a secure attachment for the suspension straps.
Now that we have a basic understanding of the equipment, let’s move on to the step-by-step process of setting up an Eno hammock. By following these instructions, you’ll be able to set up your hammock safely and securely, allowing you to unwind and enjoy the great outdoors.
Key Takeaways:
- Setting up an Eno hammock is easy! Choose a sturdy location, find secure anchor points, and adjust the height and tension for a relaxing outdoor experience.
- Enjoy your Eno hammock by finding your perfect position, soaking in nature, and sharing the experience with loved ones. Remember to relax and unwind safely!
Step 1: Choose the Right Location
The first step in setting up an Eno hammock is to choose the right location. Look for a spot with sturdy and healthy trees, at least 12-15 feet apart. The trees should be able to support your weight and provide a stable anchor point for your hammock. Avoid trees with dead branches or signs of decay, as they may not be strong enough to hold the hammock.
Consider the surrounding environment when selecting a location. Look for a spot with a beautiful view, a calming breeze, or a peaceful ambiance. Keep in mind any potential hazards such as overhead branches, uneven terrain, or insect nests. It’s also important to choose a location that has enough clearance around the hammock to prevent any accidents or inconvenience.
Additionally, consider the accessibility of the location. Make sure it’s easy to reach and doesn’t require trekking through dense brush or difficult terrain. You want to be able to enjoy your hammock without too much hassle or risk.
Once you’ve found the perfect location, take a moment to visualize how the hammock will fit into the space. Imagine yourself lying in the hammock, taking in the surroundings, and soaking up the tranquility. This will help you ensure that the chosen location is ideal for setting up your Eno hammock.
Keep in mind that some parks or camping sites may have specific rules or guidelines regarding hammock usage. Be sure to check for any restrictions before setting up your hammock.
Now that you’ve chosen the right location, it’s time to move on to the next step: finding secure anchoring points for your Eno hammock.
Step 2: Find Secure Anchoring Points
Once you have chosen the right location for your Eno hammock, the next step is to find secure anchoring points. As mentioned earlier, you will need two trees or sturdy anchor points that are at least 12-15 feet apart.
When selecting trees, look for those with a diameter of at least 6-8 inches. This ensures that they are strong enough to hold the weight of the hammock and the person using it. Avoid trees that are too close together or too far apart, as this may compromise the stability and comfort of your hammock setup.
Inspect the trees to ensure they are healthy and free from any signs of rot or decay. Look for any sharp or protruding branches that could potentially damage your hammock or cause injury. It’s important to prioritize safety when choosing anchoring points.
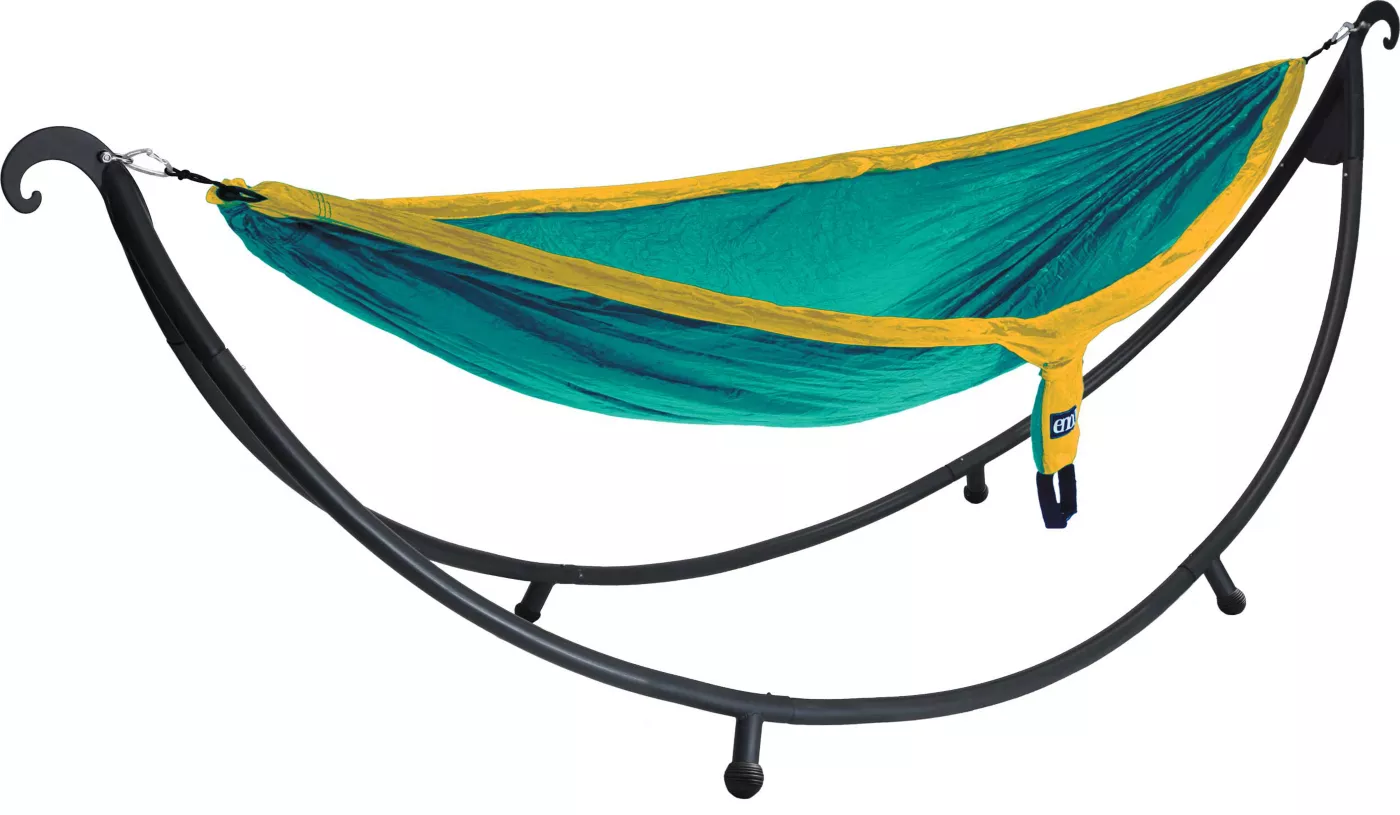
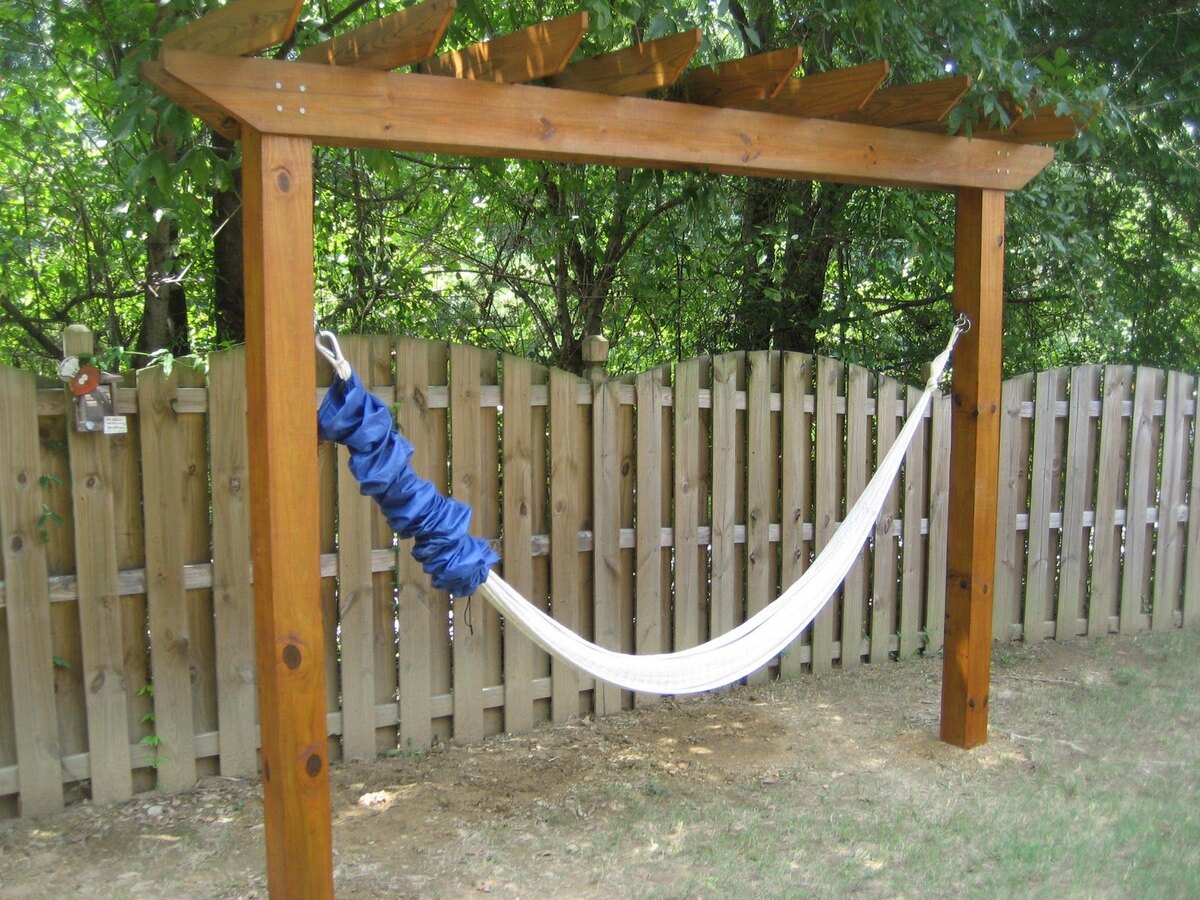
While trees are the most common anchoring points for Eno hammocks, other options include sturdy posts, beams, or columns. Just make sure they are capable of supporting the weight and movement of the hammock.
Before attaching the suspension straps to the anchor points, make sure there are no obstacles between the trees or anchor points that could interfere with the hammock setup or pose a safety risk. Clear away any branches, rocks, or other objects that could affect the stability and comfort of your hammock experience.
Once you have identified the secure anchoring points, it’s time to move on to the next step: setting up the suspension system for your Eno hammock.
Step 3: Set Up the Suspension System
Setting up the suspension system for your Eno hammock is an essential step in ensuring a safe and comfortable setup. The suspension system consists of the suspension straps, carabiners, and tree-friendly straps.
1. Begin by wrapping one end of the suspension strap around the anchor point, such as a tree or sturdy post. Make sure the strap is securely wrapped and the buckle is facing outward.
2. Pull the free end of the suspension strap through the loop created by the wrapped portion. This will create a secure attachment point for your hammock.
3. Repeat the process with the second suspension strap, wrapping it around the other anchor point.
4. After attaching both suspension straps to the anchor points, adjust the height of the straps to your desired level. Make sure they are at a height that allows for easy entry and exit from the hammock while remaining taut.
5. Once you have adjusted the height of the suspension straps, secure the loose end of each strap by inserting it through the small loop located near the buckle. This will prevent the straps from coming loose during use.
6. Next, take the carabiners and attach one to each suspension strap. The carabiners will serve as the connection point between the suspension straps and the hammock.
7. Double-check that the carabiners are securely fastened and locked, ensuring a safe and stable connection between the suspension straps and the hammock.
8. To protect the trees and ensure the longevity of your hammock setup, wrap tree-friendly straps around the suspension straps where they come into contact with the anchor points. These straps distribute the weight more evenly and help prevent damage to the trees’ bark.
Now that the suspension system is set up, it’s time to move on to the next step: attaching the hammock to the suspension system.
When setting up an Eno hammock, make sure to find sturdy anchor points, such as trees or posts, and use strong straps to secure the hammock. Always test the stability before getting in.
Step 4: Attach the Hammock to the Suspension System
With the suspension system in place, it’s time to attach the hammock to the straps. Follow these steps to securely attach your Eno hammock:
1. Unroll your hammock and locate the loops at each end. These loops will be used to connect the hammock to the suspension straps.
2. Hold one suspension strap with the carabiner and locate the loop at the end of the hammock.
3. Insert the carabiner through the loop, ensuring that the carabiner fully engages with the loop.
4. Repeat the process with the other suspension strap and the loop at the opposite end of the hammock.
5. Double-check that the carabiners are securely attached to the hammock loops. Give them a gentle tug to confirm that they are properly locked in place.
6. Ensure that the hammock is spread out evenly and not twisted or tangled. This will ensure a comfortable and supportive surface when you lie down in the hammock.
By attaching the hammock to the suspension system using the loops and carabiners, you create a secure and stable connection that will keep the hammock in place during use.
Congratulations! You have successfully attached your Eno hammock to the suspension system. Now, let’s move on to adjusting the height and tension of the hammock.
Read more: How To Wash An Eno Hammock
Step 5: Adjust the Height and Tension of the Hammock
Adjusting the height and tension of your hammock is crucial for achieving a comfortable and enjoyable experience. Follow these steps to ensure that your hammock is set up properly:
1. Stand beside your hammock and hold onto one suspension strap near the attachment point.
2. Carefully sit down on the hammock, distributing your weight evenly.
3. Slowly lift your feet off the ground, allowing the hammock to support your weight.
4. Take note of the height at which the hammock is hanging. If it feels too low, you can increase the height by adjusting the suspension straps. If it feels too high, you can lower the height by adjusting the suspension straps accordingly.
5. To adjust the height, simply slide the suspension strap through the buckle or adjustment mechanism. Make sure to adjust both suspension straps evenly to maintain balance.
6. Once you have adjusted the height, assess the tension of the hammock. A properly tensioned hammock should have a slight sag in the middle, creating a comfortable and supportive position.
7. If the hammock feels too slack, you can increase the tension by tightening the suspension straps. If it feels too tight, you can release some tension by loosening the suspension straps slightly.
8. Test the tension by lying down in the hammock and adjusting it further if needed. Remember, the goal is to find a balance between support and comfort.
By adjusting the height and tension of your hammock, you can tailor it to your preferred comfort level and ensure a relaxing experience.
Now that the height and tension are adjusted, let’s move on to the next step: testing the stability of the hammock.
Step 6: Test the Stability of the Hammock
Before you fully settle into your hammock, it’s important to test its stability to ensure a safe and secure setup. Follow these steps to test the stability of your Eno hammock:
1. Gently and gradually shift your weight from one side to the other while inside the hammock. This will help you assess how stable the hammock feels and if it swings too much.
2. Pay attention to any excessive swinging or twisting motion. If the hammock feels unstable or unbalanced, you may need to readjust the suspension straps or find a more suitable location.
3. If needed, make further adjustments to the height and tension of the hammock to achieve a stable and comfortable position. Remember to adjust both sides of the hammock evenly.
4. Conduct a visual inspection of the suspension system, ensuring that the straps are securely wrapped around the anchor points and that the carabiners are properly locked into place.
5. Sit or lie down in the hammock and test its stability by gently rocking back and forth. Take note of any excessive movement, sagging, or discomfort.
6. If you’re satisfied with the stability and comfort of the hammock, congratulations! You’re ready to relax and enjoy your Eno hammock.
It’s important to periodically check the stability of your hammock during use, especially if you plan on spending an extended period of time in it. Ensure that the suspension straps and anchor points remain secure and that the hammock continues to provide a stable and comfortable experience.
Now that you’ve tested the stability, it’s time to move on to the final step: relaxing and enjoying your Eno hammock.
Step 7: Relax and Enjoy
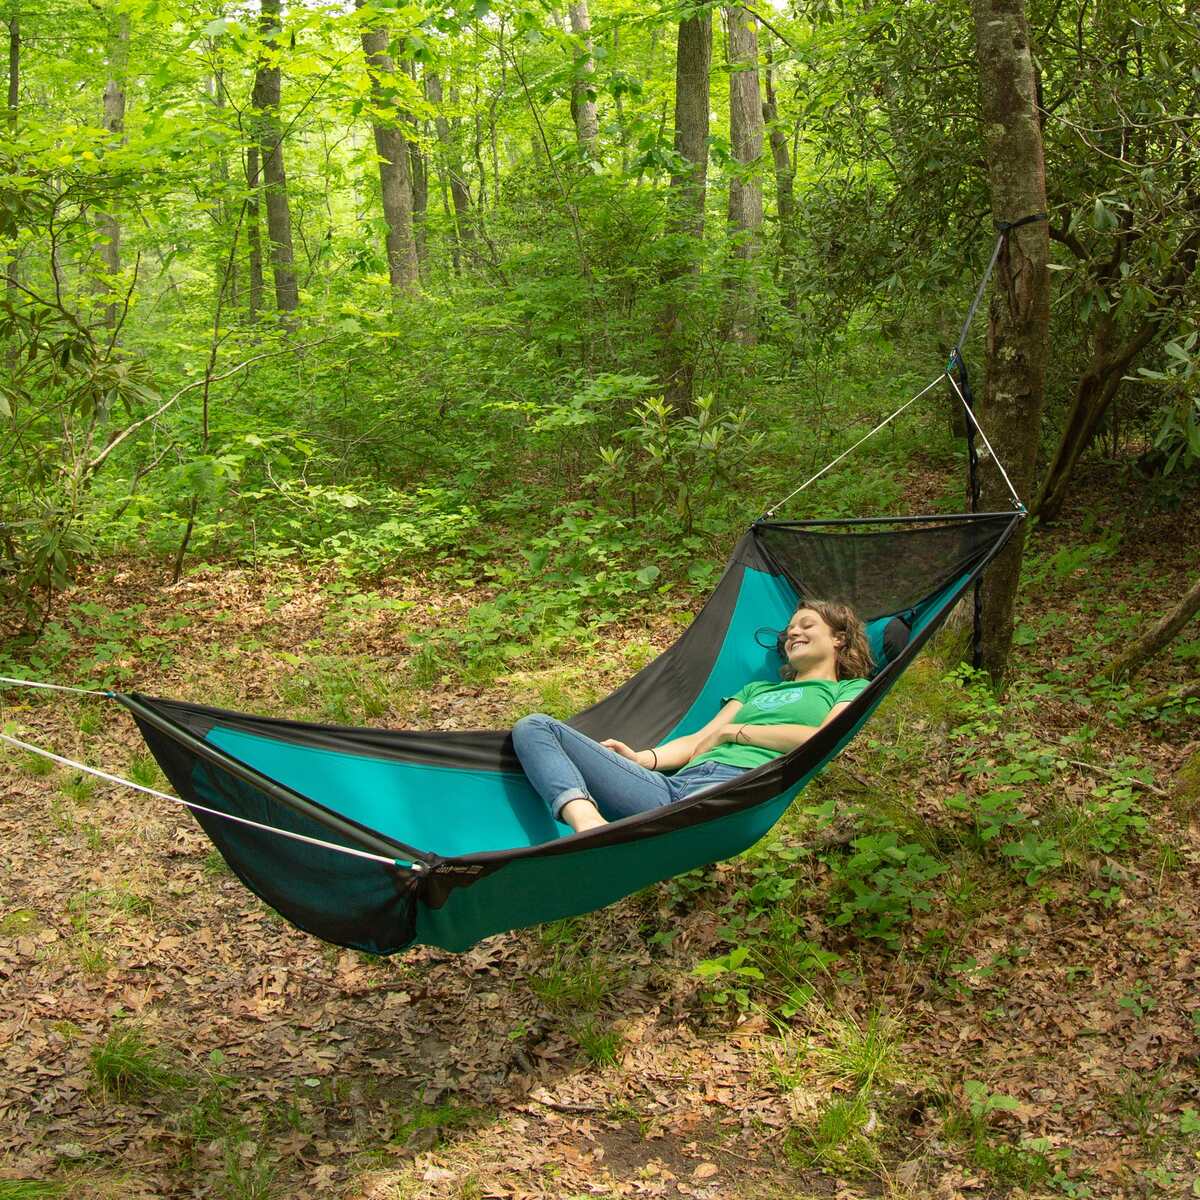
After completing all the necessary steps to set up your Eno hammock, it’s finally time to relax and enjoy the great outdoors. Here are some tips to enhance your hammock experience:
1. Find your ideal position: Whether you prefer lying flat, lounging diagonally, or sitting up, find the position that feels most comfortable to you. Adjust the tension and position of the hammock as needed to create your perfect relaxation spot.
2. Bring some essentials: Enhance your hammock experience by bringing along a good book, your favorite playlist, or a refreshing beverage. Use a small accessory pouch that can be attached to your hammock to keep your essentials within reach.
3. Soak in nature: Take this opportunity to disconnect from the digital world and immerse yourself in nature. Listen to the birds chirping, feel the gentle breeze, and take in the sights and sounds around you.
4. Take a nap or meditate: Hammocks are perfect for catching some shut-eye or practicing mindfulness. Close your eyes, focus on your breath, and let go of any stress or worries. Allow yourself to fully unwind and recharge.
5. Share the experience: Hammocks can be enjoyed solo, but they’re also great for spending quality time with loved ones. Invite a friend, family member, or significant other to join you and create special memories together.
6. Observe safety precautions: While hammocks offer a peaceful retreat, it’s important to observe safety precautions. Avoid jumping or making sudden movements in the hammock to prevent accidents. Always use caution when getting in and out of the hammock.
Remember, the purpose of setting up an Eno hammock is to relax, rejuvenate, and connect with nature. Take the time to fully immerse yourself in the experience and let the stresses of daily life melt away.
So, grab your favorite book, find your perfect spot, and let the gentle sway of the hammock whisk you away into a state of tranquility and bliss.
Enjoy your Eno hammock adventure!
Frequently Asked Questions about How To Set Up An Eno Hammock
Was this page helpful?
At Storables.com, we guarantee accurate and reliable information. Our content, validated by Expert Board Contributors, is crafted following stringent Editorial Policies. We're committed to providing you with well-researched, expert-backed insights for all your informational needs.







0 thoughts on “How To Set Up An Eno Hammock”