Home>Dining>Tableware>How To Tie Up Cutlery Place Settings With Twine
Tableware
How To Tie Up Cutlery Place Settings With Twine
Modified: August 25, 2024
Learn how to add a rustic touch to your tableware by tying up cutlery place settings with twine. Impress your guests with this charming and unique presentation.
(Many of the links in this article redirect to a specific reviewed product. Your purchase of these products through affiliate links helps to generate commission for Storables.com, at no extra cost. Learn more)
Introduction
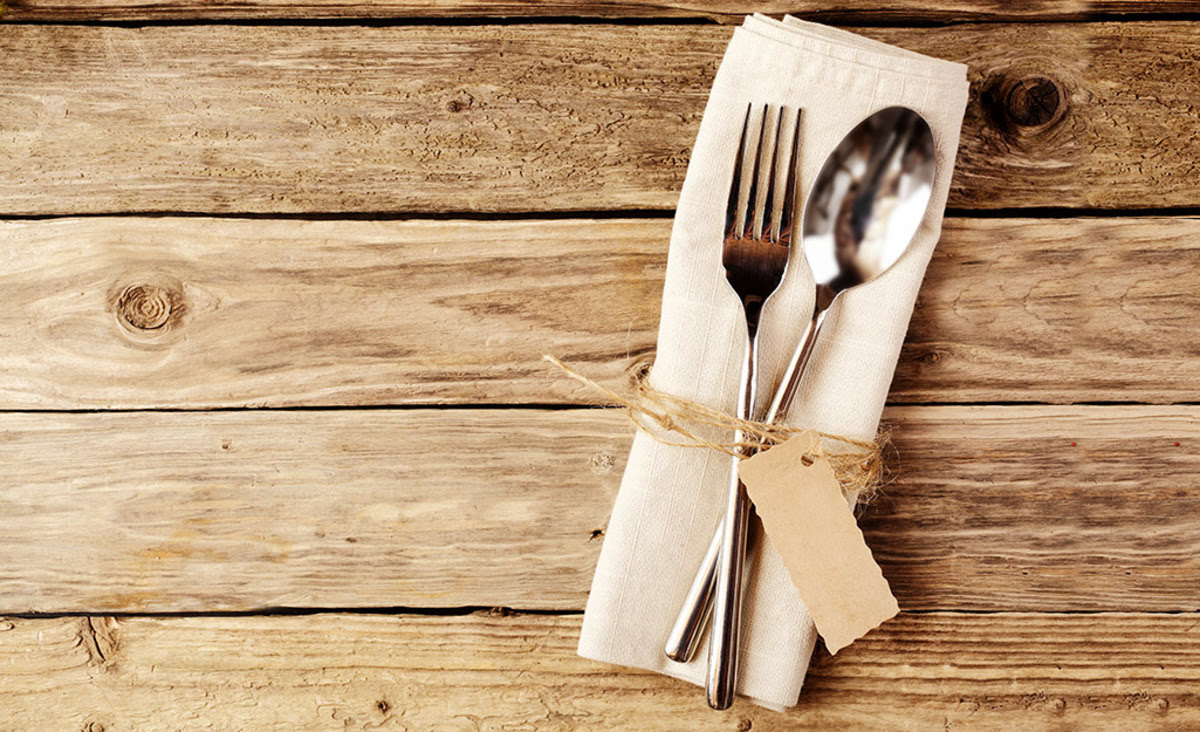
Welcome to our guide on how to tie up cutlery place settings with twine. This simple yet charming technique adds a rustic and personalized touch to any tableware arrangement. Whether you are hosting a casual dinner party, a cozy family gathering, or a rustic-themed wedding, tying up your cutlery with twine can elevate the overall aesthetic and make your guests feel like they are in a beautifully styled setting. In this article, we will provide a step-by-step tutorial on how to achieve this artistic and functional tableware presentation.
When it comes to tableware, the presentation is just as important as the food itself. By taking the time to tie up your cutlery with twine, you can create an instant visual impact that will impress your guests. This technique is not only easy to execute but also allows you to unleash your creativity by choosing different twine colors or adding decorative elements like sprigs of herbs or small flowers.
In this guide, we will outline the supplies needed, the step-by-step process, and provide tips for arranging the tied cutlery on the table. So, let’s get started and learn how to tie up cutlery place settings with twine to create a memorable dining experience!
Key Takeaways:
- Elevate your tableware presentation by tying up cutlery with twine, adding a charming rustic touch that impresses guests and enhances the overall dining experience.
- Unleash your creativity with twine, creating visually appealing and functional tied cutlery place settings for any event, from casual gatherings to formal dinners.
Read more: Which Way To Place Cutlery In Dishwasher
Supplies Needed
Before you begin tying up your cutlery place settings with twine, it’s important to gather all the necessary supplies. Here’s a list of what you’ll need:
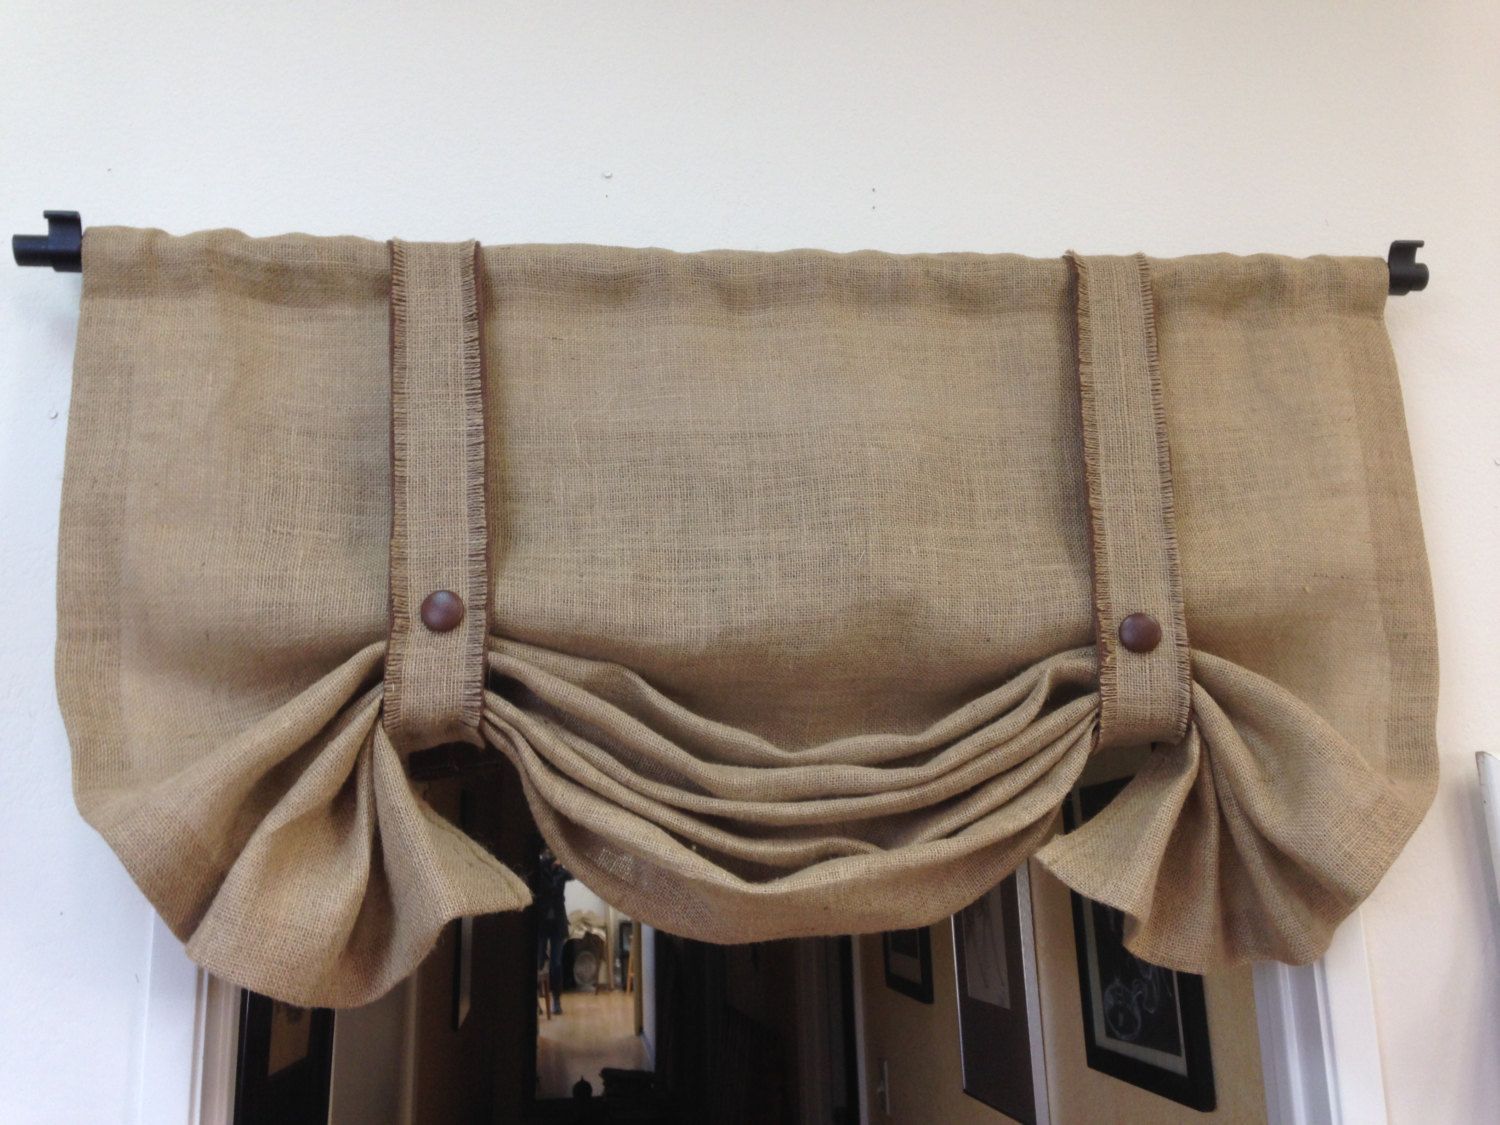
- Twine: Choose a twine that is durable and aesthetically pleasing. Natural jute twine or rustic burlap twine are popular choices for this project.
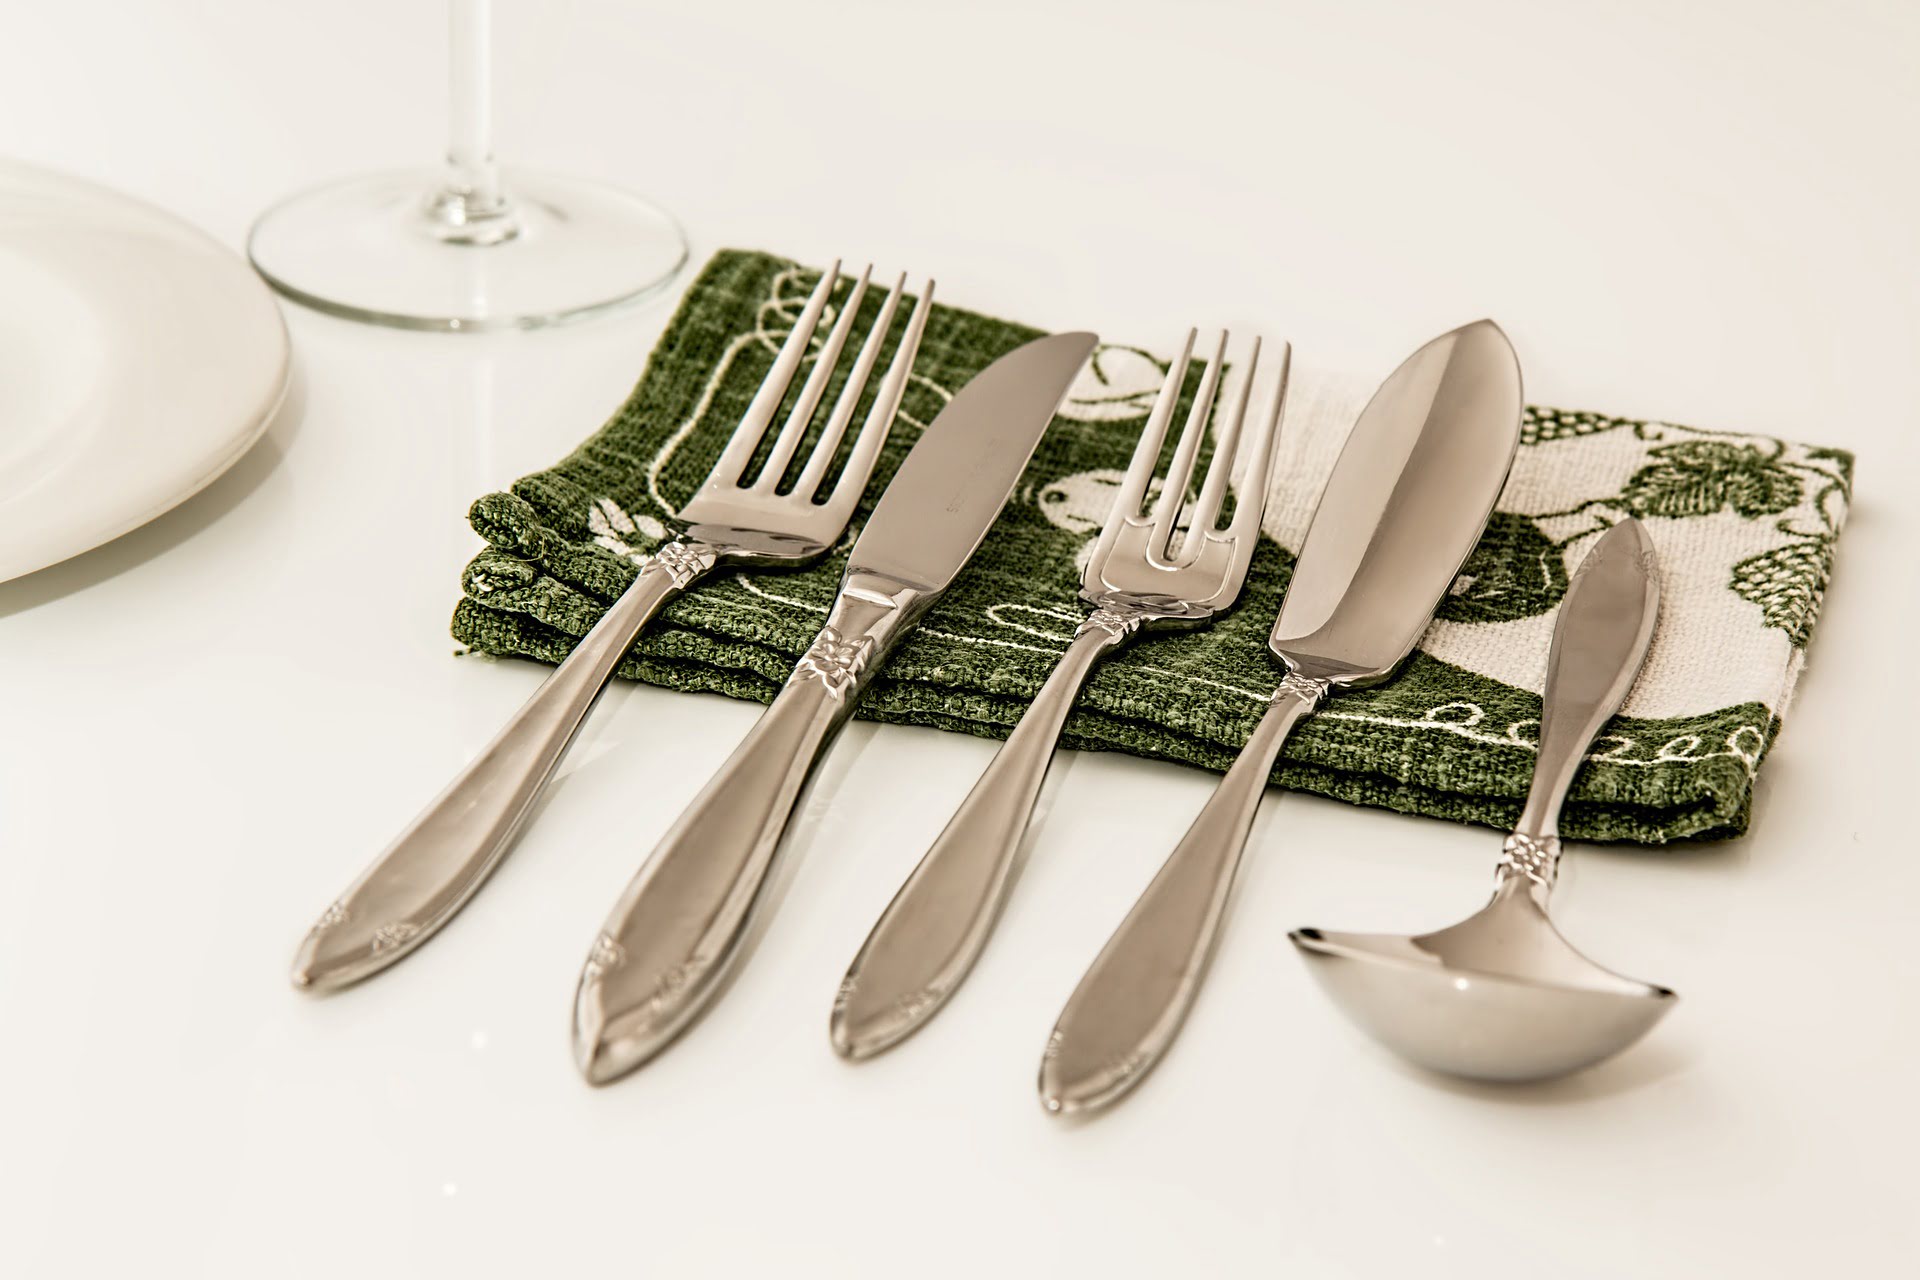
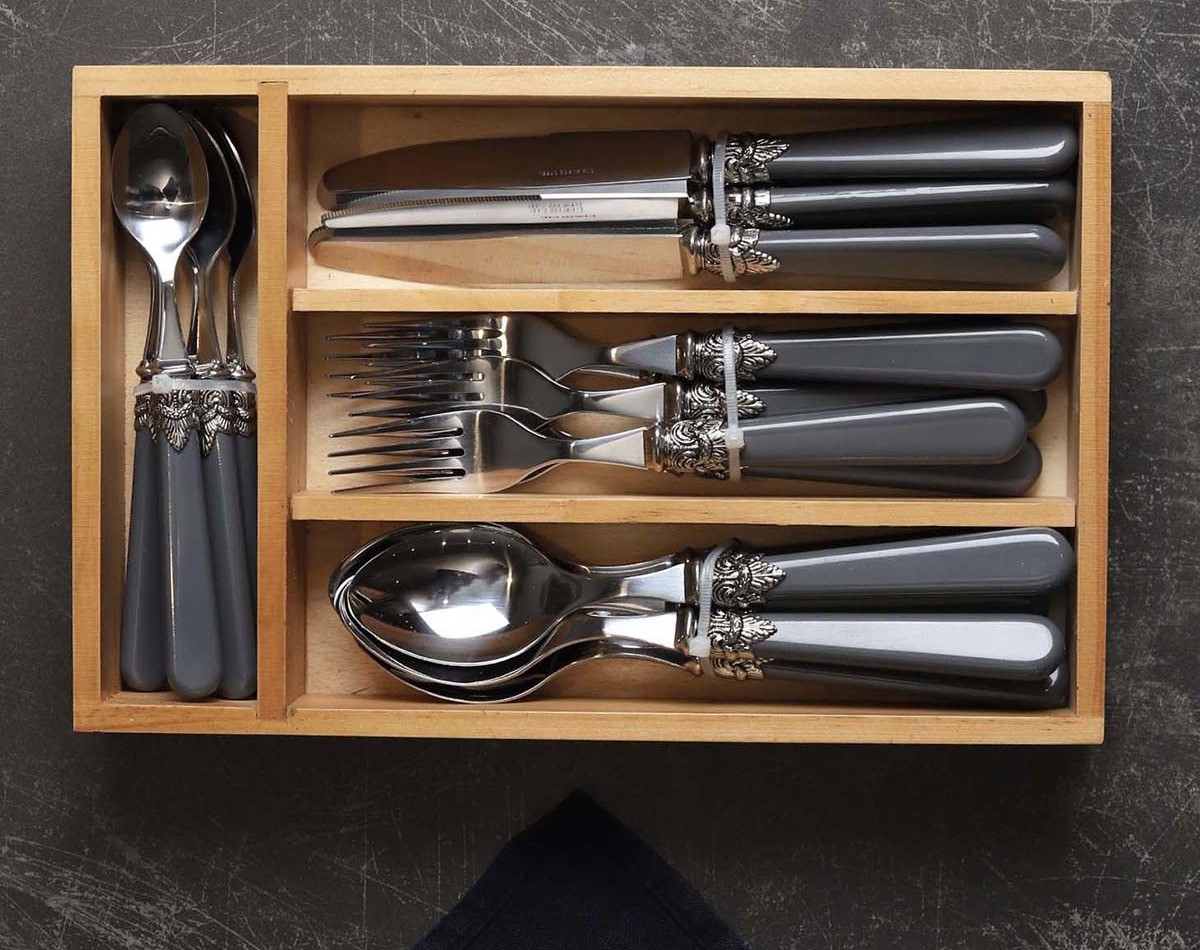
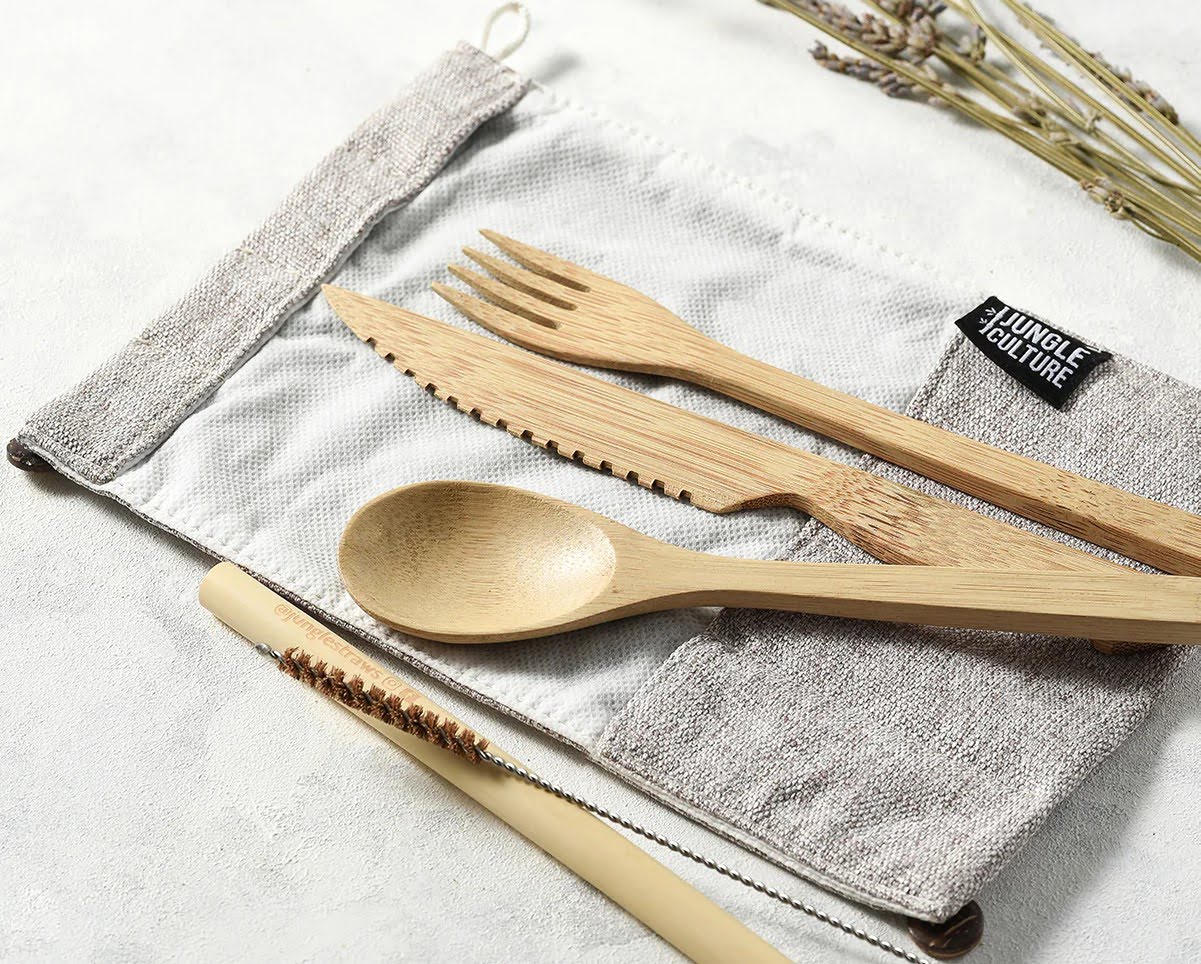
- Cutlery: Select the cutlery you want to tie up. This can include a knife, fork, and spoon, or even just a fork and spoon depending on your table setting.
- Scissors: You’ll need a pair of scissors to cut the twine to the desired length.
- Decorative elements (optional): If you want to add extra flair to your tied cutlery, consider incorporating decorative elements such as small flowers, herbs, or personalized tags.
Ensure that you have all these supplies readily available before you begin the process. You can find twine and other necessary items at your local craft store or online. Once you have everything at hand, you’re ready to move on to the next steps!
Step 1: Gather the Cutlery
The first step in tying up cutlery place settings with twine is to gather the cutlery you plan to use. This typically includes a knife, fork, and spoon, but you can customize it based on your dining needs or preferences. If you’re hosting a more formal event, you might choose to include all three pieces of cutlery. For a more casual setting, a fork and spoon may suffice.
Ensure that the cutlery is clean and dry before proceeding. It’s also a good idea to organize the cutlery in sets, so it’s easier to tie them together later. For instance, group the knife, fork, and spoon for each place setting.
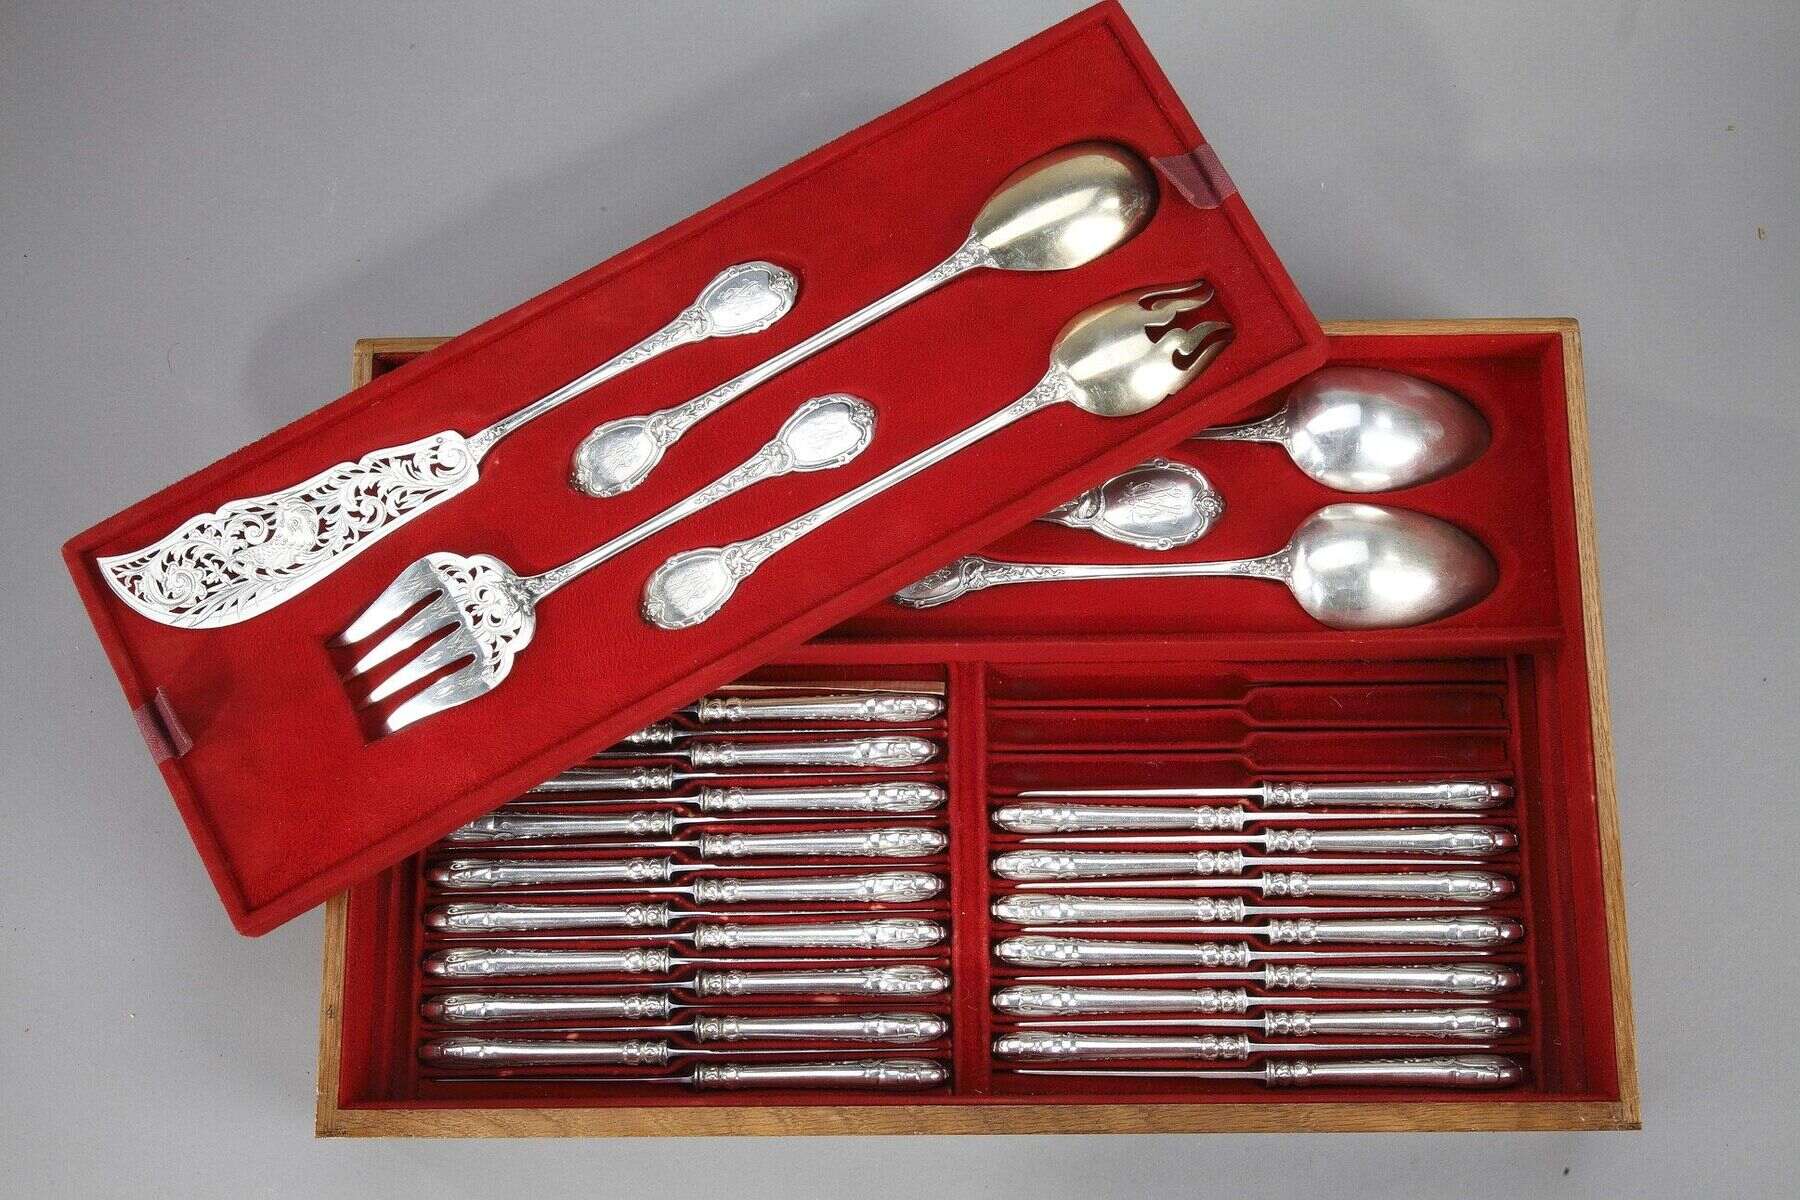
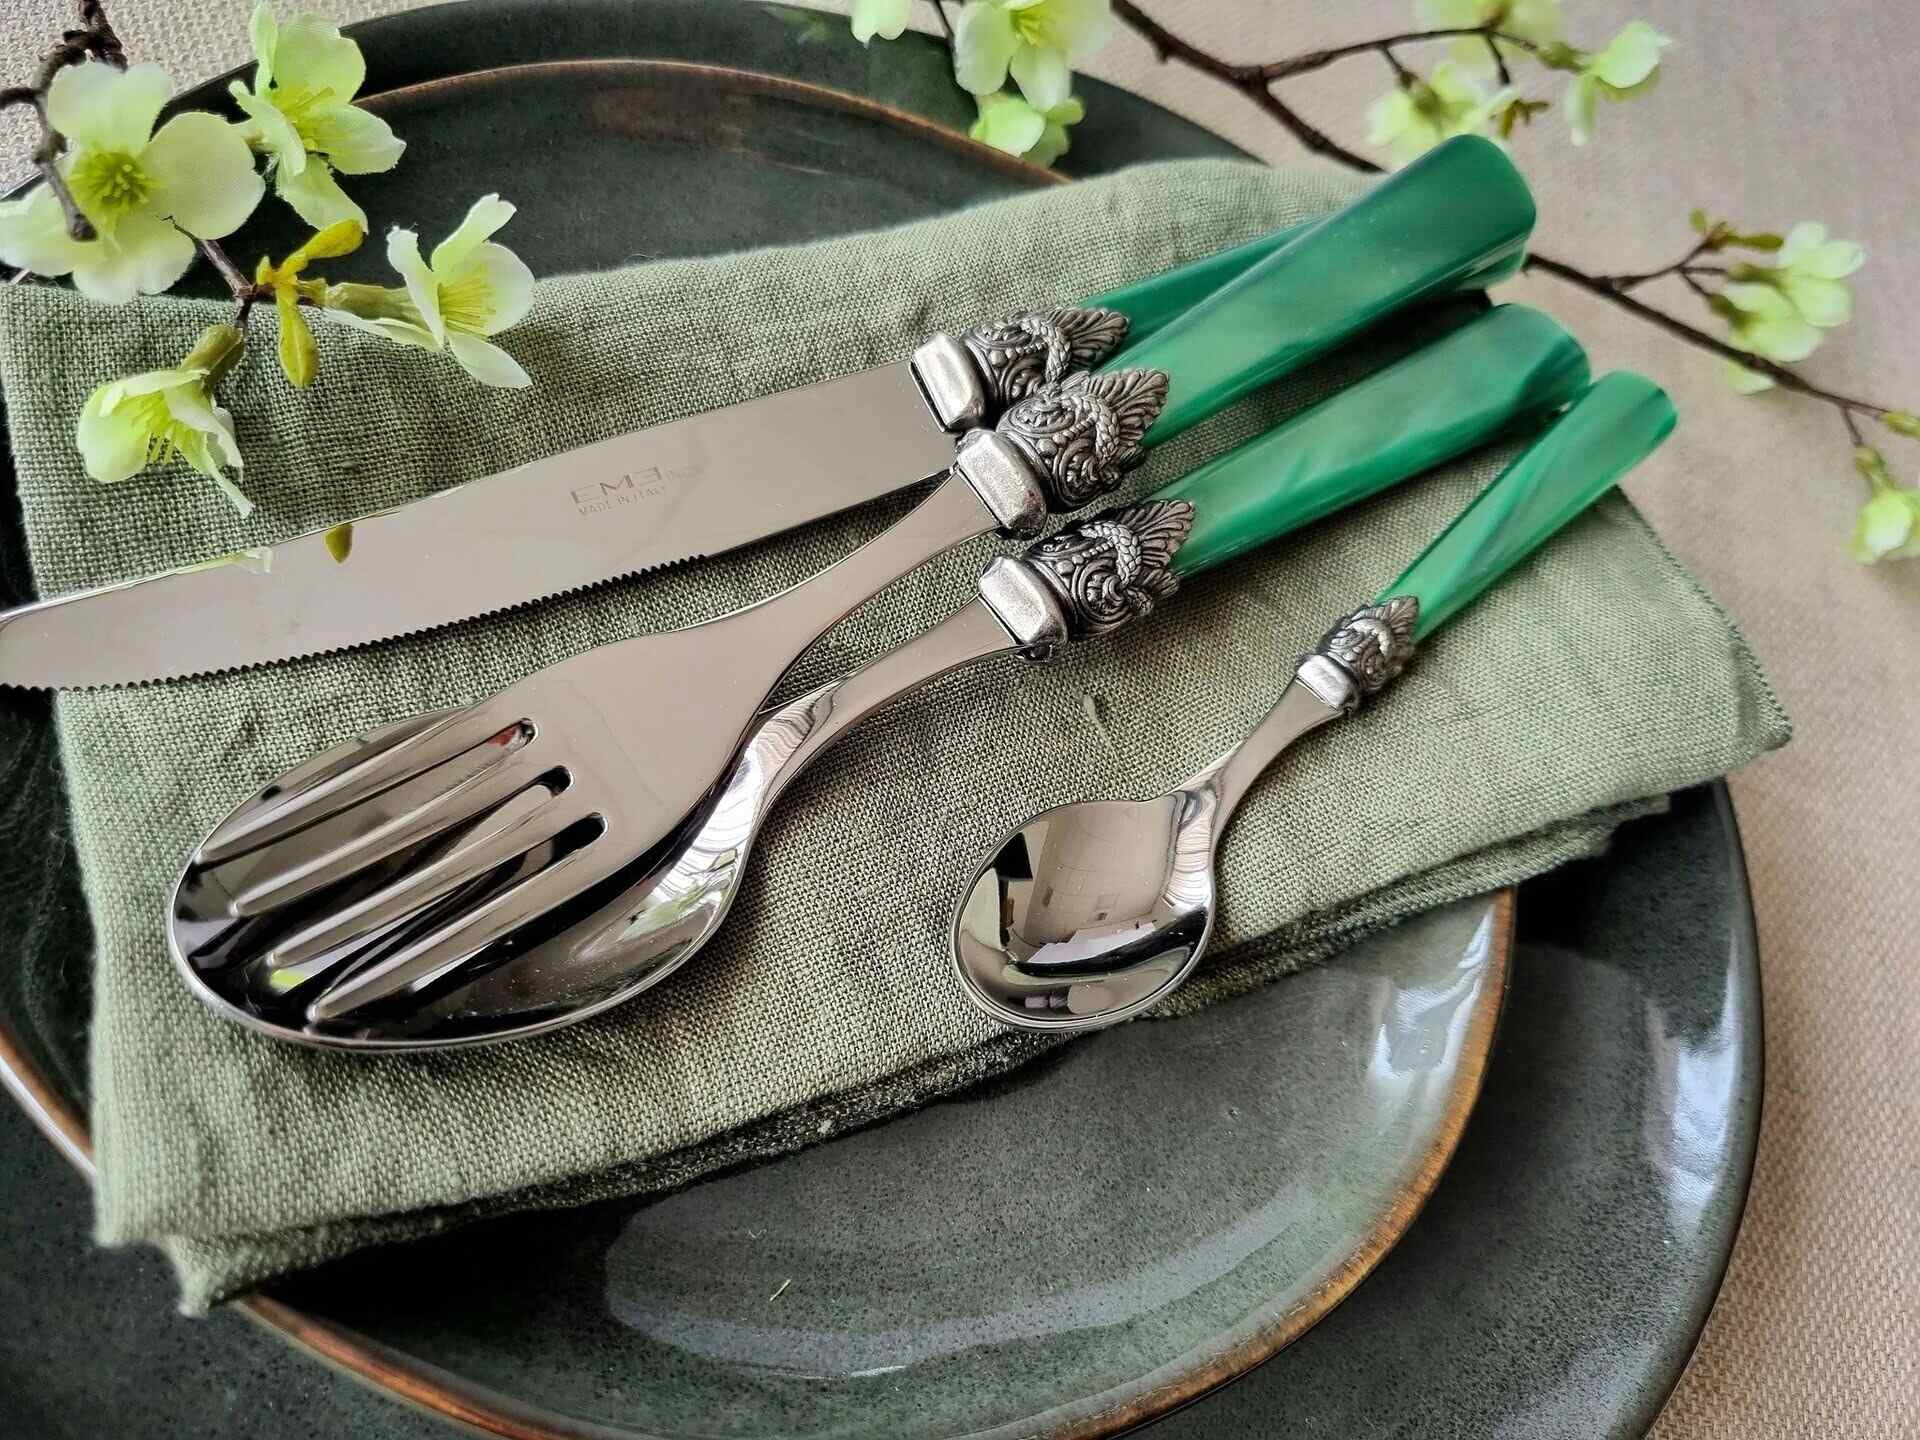
Consider the style and design of your cutlery as well. If you have a particular set that matches the theme or color scheme of your event, it will enhance the overall aesthetic when tied up with twine.
By gathering and organizing your cutlery in advance, you’ll be ready to move on to the next step seamlessly.
Step 2: Cut the Twine
Now that you have your cutlery gathered, it’s time to cut the twine to the desired length. The length of the twine will depend on the size of your cutlery and how you want it to be tied up. Typically, a length of 12-18 inches (30-45 cm) should be sufficient.
Using a pair of scissors, carefully cut the twine to your desired length. It’s always a good idea to cut the twine slightly longer than you think you’ll need to allow for adjustments and tying knots later on.
If you want a neat and clean look, consider using a ruler or measuring tape to ensure that all the pieces of twine are the same length. This will create a uniform and cohesive look for your tied cutlery place settings.
Remember, the length of the twine may vary depending on your personal preference and the size of your cutlery, so feel free to experiment with different lengths to achieve the desired look.
Once you have cut the twine to the appropriate length, it’s time to move on to the next step of wrapping the twine around the cutlery.
Step 3: Wrap the Twine Around the Cutlery
With your twine cut to the desired length, it’s time to start wrapping it around the cutlery. This step will secure the cutlery together and create the rustic aesthetic you’re aiming for.
- Take one end of the twine and hold it against the back of the cutlery.
- Wrap the twine tightly around the handles of the cutlery, starting from the top and working your way down.
- Continue wrapping the twine until you reach the bottom of the handles or reach your desired point of coverage.
- Hold the end of the twine against the back of the cutlery once again.
It’s essential to wrap the twine tightly around the cutlery to ensure that it stays in place. If the twine feels loose, you can go back and wrap it again, making sure to maintain even tension throughout.
Keep in mind that there are different wrapping techniques you can use to create varying styles. For a simple look, wrap the twine in a straight line down the handles. If you prefer a more intricate design, you can experiment with crisscross or diagonal patterns.
Remember to leave enough twine at both ends to tie a secure knot in the next step. Don’t worry if the ends seem a bit messy at this stage; you’ll tidy them up later on.
Once you have wrapped the twine around the cutlery, it’s time to move on to the next step and tie a secure knot.
When tying up cutlery place settings with twine, make sure to wrap the twine around the utensils tightly to secure them in place. You can also add a decorative touch by incorporating a small sprig of herbs or a personalized tag.
Read more: How To Place Cutlery When Done Eating
Step 4: Tie a Secure Knot
After wrapping the twine around the cutlery, it’s important to tie a secure knot to hold everything in place. This will ensure that the twine doesn’t unravel and that your tied cutlery remains intact throughout your event or meal.
- Take both ends of the twine and cross them over each other, forming an “X” shape at the back of the cutlery.
- Bring the ends of the twine around to the front of the cutlery, creating a loop.
- Pass one end of the twine through the loop from underneath.
- Gently pull both ends of the twine in opposite directions to tighten the knot.
Ensure that the knot is tight enough to securely hold the twine in place, but be careful not to pull it too tight, as it may break the twine or cause the cutlery to shift awkwardly.
Take a moment to adjust the positioning and tightness of the twine around the cutlery handles, ensuring that it feels secure and looks visually appealing. You can slide the twine up or down the handles slightly to fine-tune its placement.
Additionally, you can use this step to tidy up the ends of the twine. Trim any excess with scissors, leaving a clean and neat finish. Alternatively, you can leave the ends longer for a more rustic and textured look.
Once you have tied a secure knot and tidied up the ends, you’re ready to move on to the next step and repeat the process for each place setting.
Step 5: Repeat for Each Place Setting
Now that you have successfully tied up one set of cutlery, it’s time to repeat the process for each place setting. This step ensures consistency and creates a cohesive look across your table setting.
- Take another set of clean and dry cutlery and gather them together.
- Cut a new piece of twine to the desired length, just like in Step 2.
- Wrap the twine around the handles of the cutlery, following the technique described in Step 3.
- Tie a secure knot, as outlined in Step 4.
- Repeat this process for each additional place setting, until all the cutlery is tied up with twine.
As you work on each place setting, try to maintain consistency in the length of the twine and the tightness of the knot. This will create a unified appearance and ensure that all the tied cutlery looks cohesive and intentionally arranged.
Remember to take your time and enjoy the process. Creating a visually appealing table setting with tied cutlery can be a calming and satisfying activity, allowing your creativity to shine.
Once you have tied up the cutlery for each place setting, you’re ready to move on to the next step and arrange the tied cutlery on the table.
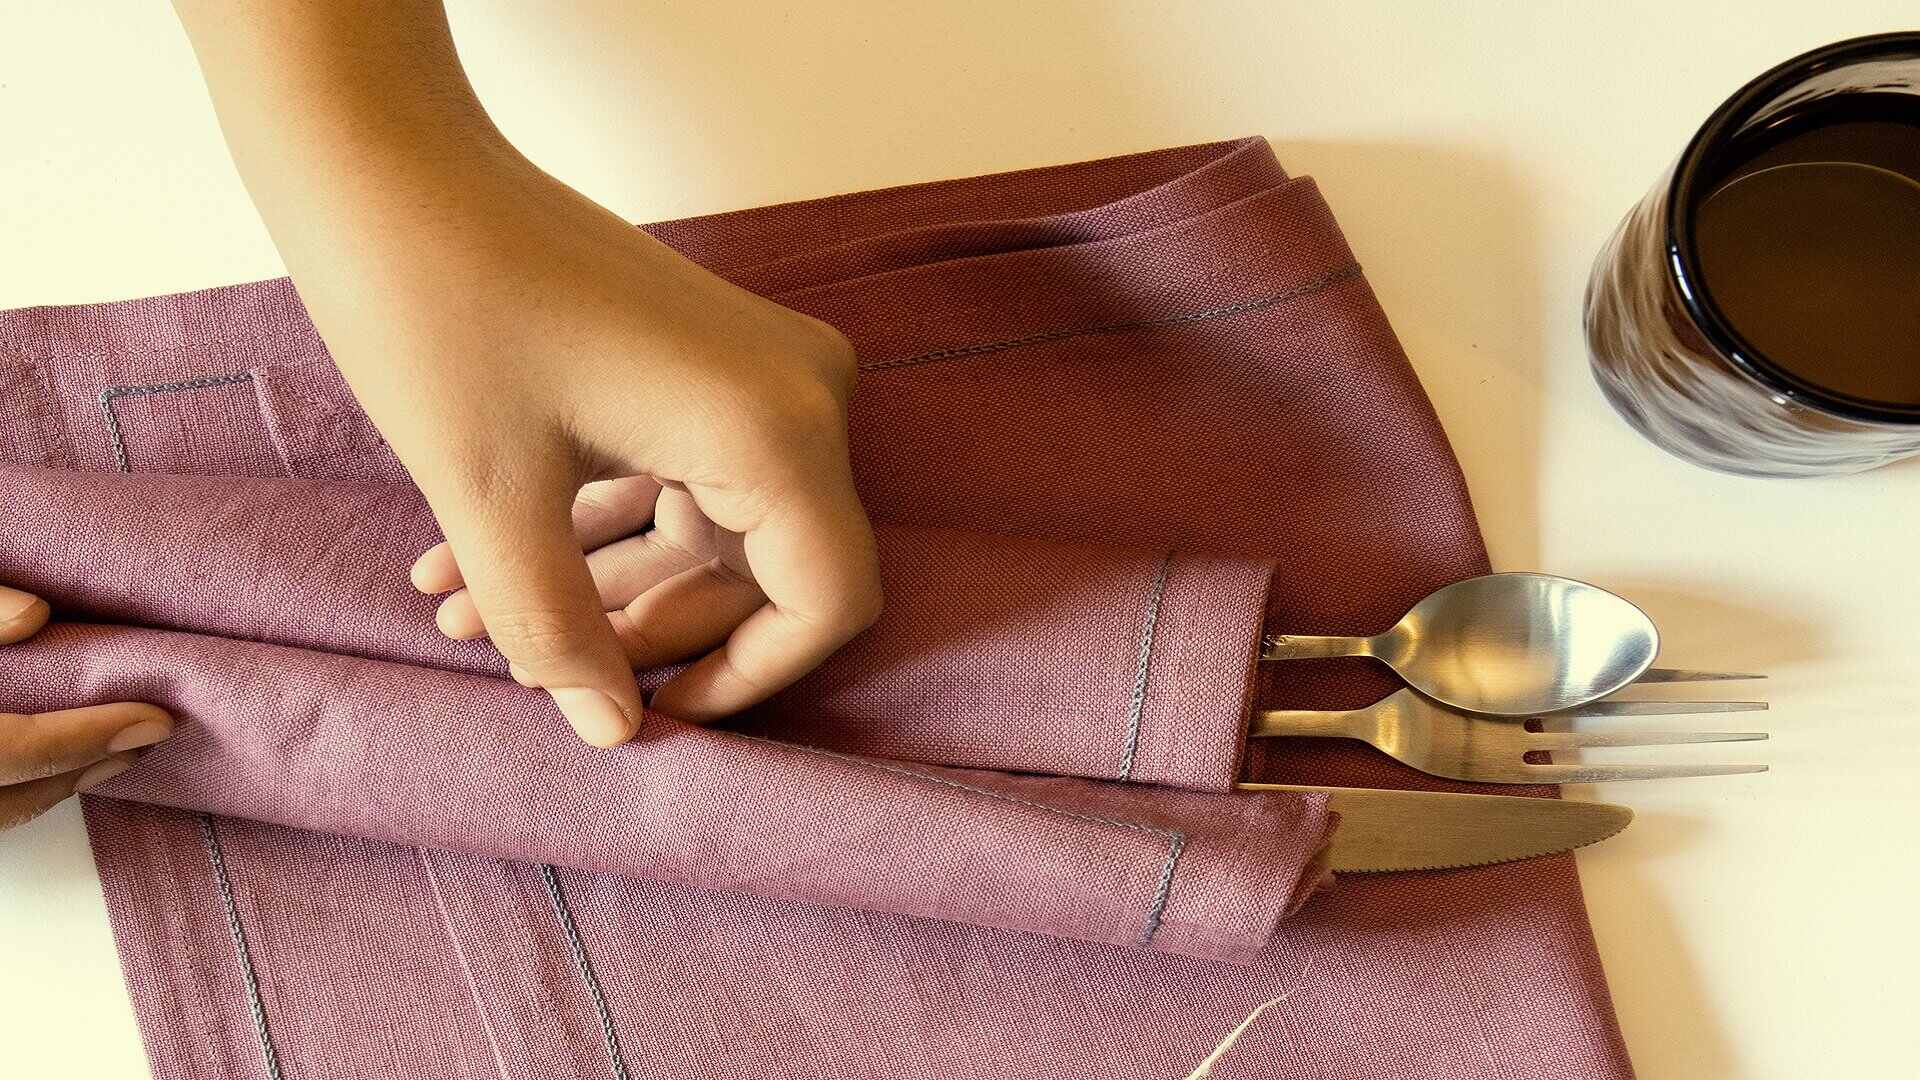
Step 6: Arrange the Tied Cutlery on the Table
Now that you have all the cutlery tied up with twine, it’s time to arrange them on the table. The placement of the tied cutlery will contribute to the overall aesthetic and ambiance of your dining experience.
- Start by determining the placement of each tied cutlery set. You can position them on the dinner plates or alongside the plate, depending on your table setting.
- Consider the overall table decor and layout. Arrange the tied cutlery in a way that complements the other elements, such as the tablecloth, centerpieces, and dinnerware.
- Ensure that the tied cutlery is positioned symmetrically and evenly spaced on the table. This will create a pleasing visual balance.
- If you have additional decorative elements, such as sprigs of herbs or personalized tags, incorporate them into the arrangement. You can place the herbs between the twine wraps or attach the tags to the twine knots for a personalized touch.
- Take a step back and assess the overall arrangement. Make any necessary adjustments to achieve the desired look.
Remember that the tied cutlery serves not only as a visual element but also as functional utensils. Ensure that they are easily accessible to your guests, allowing for comfortable dining while still maintaining the aesthetic appeal.
By taking the time to arrange the tied cutlery thoughtfully, you’ll create a captivating table setting that will impress your guests and elevate the dining experience.
Congratulations! You’ve successfully learned how to tie up cutlery place settings with twine and arrange them on the table. Enjoy the beautiful table setting you’ve created.
Now, go ahead and host your event or meal, and let your guests admire your attention to detail and artistic flair.
Conclusion
Congratulations on completing this guide on how to tie up cutlery place settings with twine! By following the steps outlined in this article, you have learned a simple yet effective technique to add a rustic and personalized touch to your tableware arrangement.
By using twine to tie up your cutlery, you have the opportunity to showcase your creativity and create a visually appealing table setting. Whether you’re hosting an intimate dinner party, a family gathering, or even a wedding reception, this technique can elevate the overall aesthetic and make your guests feel like they’re in a beautifully styled setting.
Remember to gather all the necessary supplies, including twine and cutlery, before you begin. Take the time to cut the twine to the desired length and wrap it around the cutlery handles, ensuring a tight and secure fit. Tie a secure knot to hold everything in place, and repeat the process for each place setting. Finally, arrange the tied cutlery on the table in a way that complements the overall table decor and layout.
By incorporating twine into your tableware presentation, you can create a charming and rustic ambiance that will surely impress your guests. The versatility of this technique allows you to customize the look by choosing different twine colors or adding decorative elements like herbs or personalized tags.
Whether you’re hosting a formal dinner or a casual gathering, the tied cutlery will serve as a beautiful and functional addition to your table. This attention to detail will not only be visually appealing but also enhance the overall dining experience for everyone present.
We hope you find this guide helpful and inspiring as you embark on your tableware styling journey. Have fun experimenting with different twine colors, patterns, and decorative elements to create unique and captivating tied cutlery place settings. Enjoy the process, and may your beautifully arranged table bring joy and delight to your guests!
Frequently Asked Questions about How To Tie Up Cutlery Place Settings With Twine
Was this page helpful?
At Storables.com, we guarantee accurate and reliable information. Our content, validated by Expert Board Contributors, is crafted following stringent Editorial Policies. We're committed to providing you with well-researched, expert-backed insights for all your informational needs.
0 thoughts on “How To Tie Up Cutlery Place Settings With Twine”