Home>Garden Essentials>How Long Does It Take To Grow Mums From Seeds
Garden Essentials
How Long Does It Take To Grow Mums From Seeds
Modified: August 17, 2024
Discover how long it takes to grow garden mums from seeds and unleash your green thumb in cultivating these beautiful flowering plants.
(Many of the links in this article redirect to a specific reviewed product. Your purchase of these products through affiliate links helps to generate commission for Storables.com, at no extra cost. Learn more)
Introduction
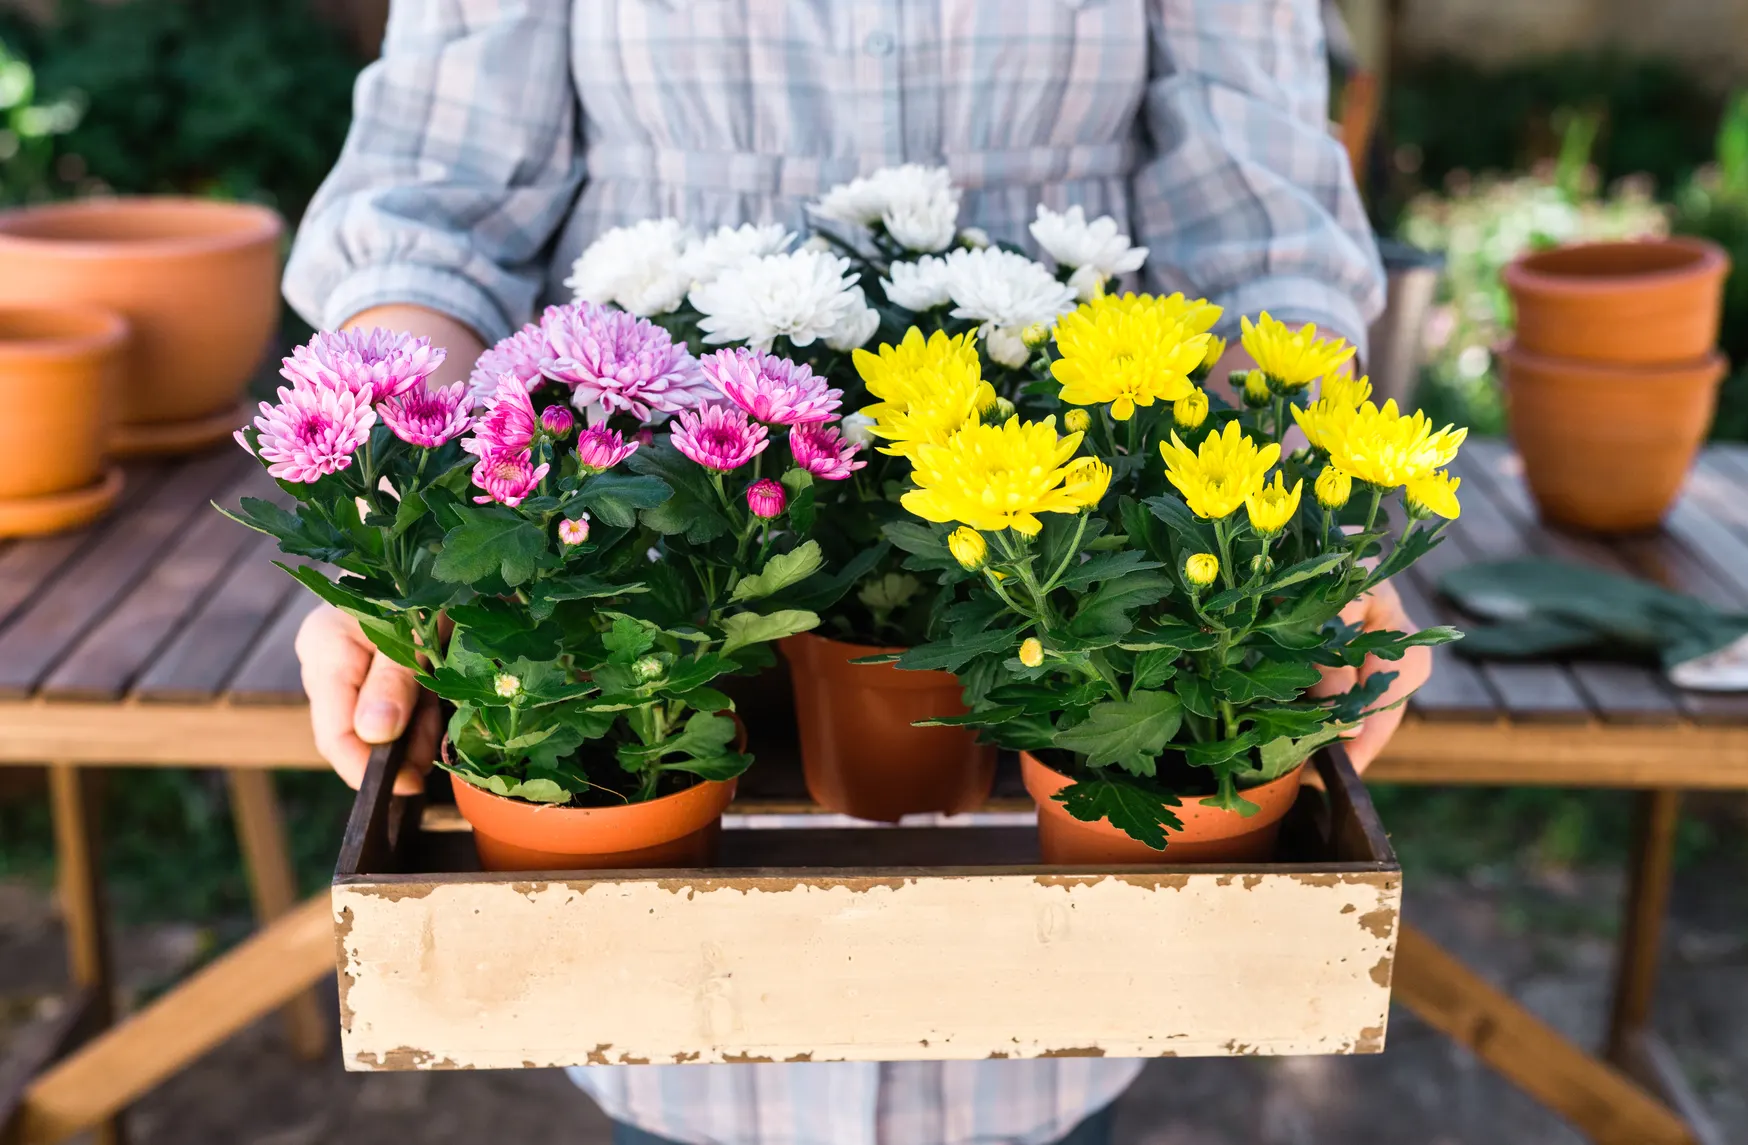
Welcome to the wonderful world of gardening! If you’re a gardening enthusiast looking to grow your own beautiful and vibrant chrysanthemums, you’ve come to the right place. Chrysanthemums, also known as mums, are a popular choice for gardeners due to their wide range of colors and varieties. While you can purchase chrysanthemum plants from nurseries or garden centers, growing them from seeds can be a rewarding and cost-effective option.
In this article, we will delve into the process of growing chrysanthemums from seeds. We’ll explore the germination process, the planting requirements, and the care and maintenance involved. Additionally, we’ll discuss the timeframe for growth and when you can expect to enjoy a beautiful display of blooming mums. So, let’s get started!
Before we dive into the specifics of growing chrysanthemums from seeds, it’s important to understand a bit about these lovely flowers. Chrysanthemums belong to the Asteraceae family and are native to Asia and northeastern Europe. They come in various shapes, sizes, and colors, making them a versatile choice for any garden.
Chrysanthemum seeds are typically available in two types: heirloom and hybrid. Heirloom seeds are open-pollinated and produce plants with characteristics that remain relatively stable across generations. Hybrid seeds, on the other hand, are the result of cross-pollination between two different chrysanthemum varieties. These seeds offer the advantage of traits like disease resistance, uniformity, and specific colors, but they may not produce offspring with the same characteristics when saved and replanted.
Growing chrysanthemums from seeds provides a unique opportunity to witness the complete life cycle of these beautiful flowers. From tiny seeds to vibrant blooms, the journey is truly remarkable. So, let’s explore how to go about germinating and growing chrysanthemums from seeds in the upcoming sections.
Key Takeaways:
- Growing chrysanthemums from seeds is a delightful journey, from tiny seeds to vibrant blooms. Patience, proper care, and optimal conditions lead to a stunning display of colorful flowers.
- Harvesting chrysanthemums is a rewarding part of the process. Enjoy the vibrant blooms indoors, share them as gifts, or preserve them for longer-lasting arrangements.
Understanding Chrysanthemum Seeds
If you’ve decided to grow chrysanthemums from seeds, it’s essential to have a good understanding of the seeds themselves. Chrysanthemum seeds are small, brown or black in color, and have a feathery appearance. They are a bit different from traditional flower seeds in that they are actually achenes, which are dry, one-seeded fruits.
When it comes to choosing chrysanthemum seeds, you have the option of going with heirloom or hybrid varieties. Heirloom seeds are a great choice if you’re looking to preserve specific traits and characteristics across generations. They are open-pollinated, which means they can be saved and replanted year after year, maintaining a consistent appearance. Hybrid seeds, on the other hand, offer advantages such as disease resistance, uniformity, and vibrant colors. However, keep in mind that saving hybrid seeds may not produce offspring with the same traits.
Before sowing chrysanthemum seeds, it’s advisable to perform a germination test. This will help determine the viability of the seeds and save you from disappointment later on. Simply place a few seeds between moist paper towels and keep them in a warm location. Check the seeds daily for any signs of germination, such as sprouting. If a significant number of seeds germinate within a week, you can proceed with confidence!
Chrysanthemum seeds have specific temperature requirements for optimal germination. Most varieties prefer temperatures between 70-75°F (21-24°C). You can use a seed starting heat mat to maintain a consistent temperature if necessary. Additionally, chrysanthemum seeds require darkness to germinate, so cover the tray or container with a plastic lid or plastic wrap to create a dark environment.
It’s worth noting that chrysanthemum seeds may take anywhere from 10 days to several weeks to germinate, depending on the variety and conditions. Therefore, patience is key when it comes to growing chrysanthemums from seeds.
Now that we have a good understanding of chrysanthemum seeds, let’s move on to the germination process and how to ensure successful seedling growth.
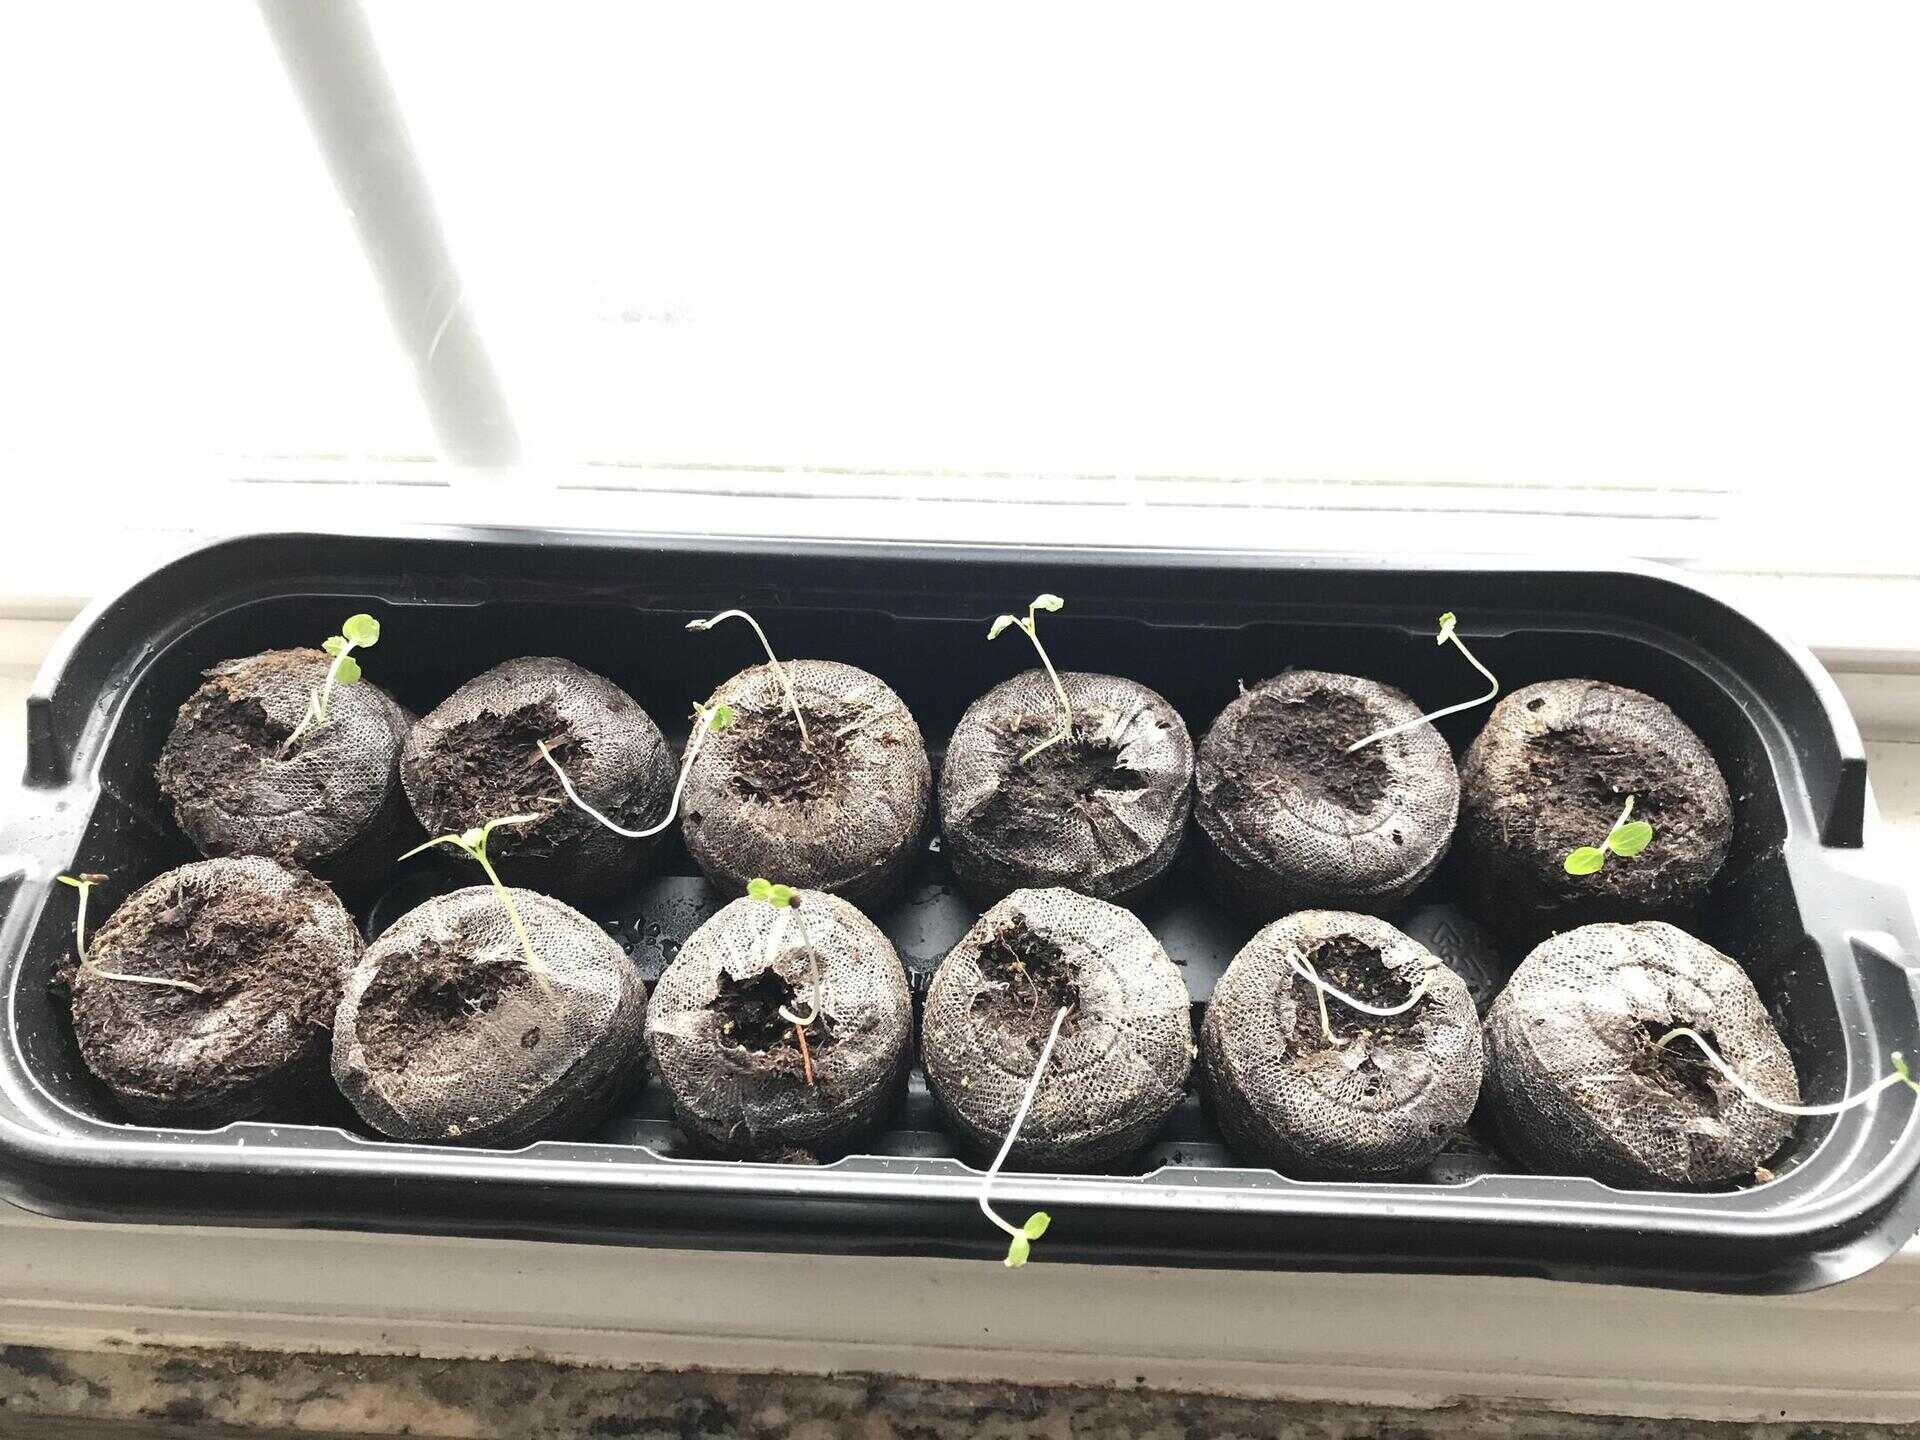
Germination Process
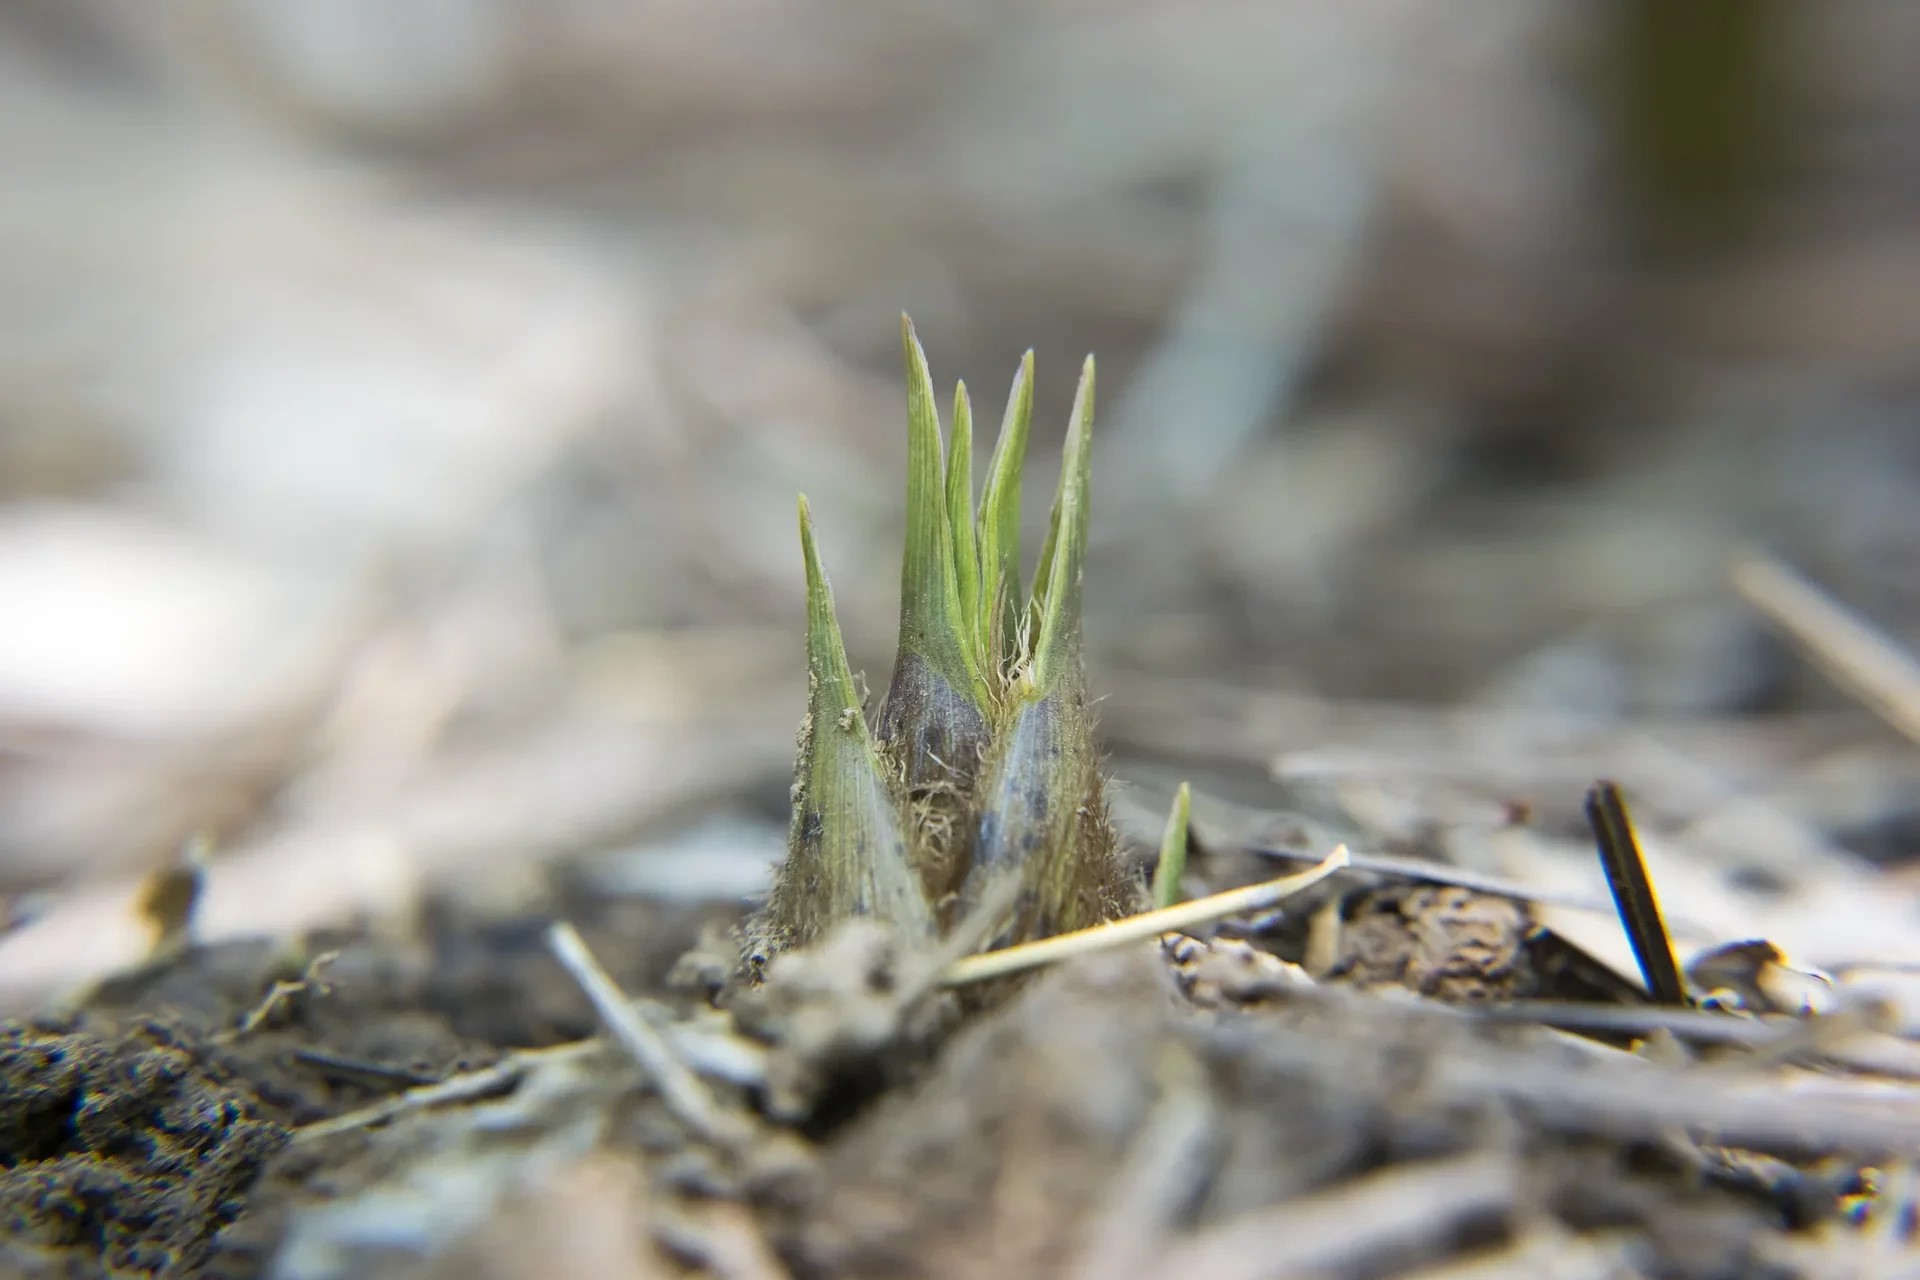
The germination process is an exciting stage in growing chrysanthemums from seeds. It’s the moment when those tiny seeds burst with life and begin their journey towards becoming beautiful blooming plants.
To start the germination process, you’ll need a seed tray or small pots filled with a well-draining seed starting mix. Moisten the mix before planting the chrysanthemum seeds to ensure they have adequate moisture for germination.
Next, scatter the chrysanthemum seeds over the surface of the soil, evenly spacing them apart. It’s important not to bury the seeds too deep, as they require light to germinate. Gently press the seeds into the soil to ensure good seed-to-soil contact.
After planting the seeds, cover the tray or pots with a clear plastic lid or plastic wrap to create a mini greenhouse-like environment. This helps to retain moisture and warmth, creating optimal conditions for germination.
Place the tray or pots in a warm location, maintaining a temperature between 70-75°F (21-24°C) for successful germination. Using a seedling heat mat can provide consistent warmth if your environment is cooler. Check the soil regularly and mist it with water if it starts to dry out.
Within 7 to 14 days, you should start to see the chrysanthemum seeds sprouting. Be patient, as it may take longer for certain varieties. Once the seedlings have emerged, remove the plastic cover to allow air circulation and prevent the growth of mold or fungus.
As the seedlings continue to grow, keep them in a well-lit area. Chrysanthemums require at least 6 hours of direct sunlight per day. If natural sunlight is limited, you can use grow lights to provide adequate light for healthy seedling development.
During the germination process, it’s important to monitor the moisture levels and avoid overwatering. Allow the top layer of soil to dry out slightly before watering again. Overwatering can lead to root rot and cause the seedlings to become weak or die.
Once the chrysanthemum seedlings have developed their second or third set of true leaves, usually after 4-6 weeks, they are ready to be transplanted into individual pots or the garden. Gradually expose them to the outdoor environment by placing them in a shaded area for a few hours a day to prevent shock.
With the germination process complete, your chrysanthemum seedlings are well on their way to transforming into beautiful plants. Next, we’ll explore the planting requirements and how to care for your growing mums.
Planting Requirements
Now that your chrysanthemum seedlings are ready to be transplanted, it’s important to understand the planting requirements to ensure their successful growth. Whether you plan to grow your mums in containers or in a garden bed, here are some key factors to consider:
Location: Choose a location that receives full sun or partial shade. Chrysanthemums thrive in bright sunlight, but they can also tolerate some shade, especially in hot climates.
Soil: Chrysanthemums prefer well-draining soil with a slightly acidic to neutral pH (6.0-7.0). Amend the soil with organic matter, such as compost, to improve its fertility and drainage. Avoid heavy clay soils that retain too much water.
Spacing: When planting chrysanthemums, provide adequate spacing between the plants. This allows proper air circulation, reducing the risk of fungal diseases. Space the plants about 18-24 inches apart in all directions to give them room to grow and spread.
Watering: Proper watering is essential for the healthy growth of chrysanthemums. Water the plants deeply, ensuring the soil is moist but not waterlogged. Avoid overhead watering, as this can lead to leaf diseases. Instead, water at the base of the plants to keep the foliage dry.
Fertilizer: Chrysanthemums benefit from regular feeding to promote strong growth and abundant blooms. Apply a balanced slow-release fertilizer or a water-soluble fertilizer according to the package instructions. Avoid overfertilizing, as it can cause lush foliage but few flowers.
Support: Some chrysanthemum varieties may require support to keep their stems upright as they grow. Install stakes or plant supports around the plants early on to prevent bending or breakage.
Mulching: Applying a layer of organic mulch around the plants helps conserve moisture, suppress weeds, and regulate soil temperature. Use materials like straw, shredded leaves, or bark chips, and avoid piling the mulch around the stems to prevent rotting.
Pruning: Regular pruning helps maintain the shape and encourages bushier growth. Pinch back the tips of the young plants when they reach around 6 inches in height. This encourages branching and results in fuller, more compact plants.
By providing the proper planting requirements, you’ll create an ideal environment for your chrysanthemums to thrive. With their basic needs met, it’s time to dive into the care and maintenance routines necessary for their continued health and growth.
Mums can take 12-16 weeks to grow from seeds. Start them indoors 8-10 weeks before the last frost, then transplant them outside once the weather warms up. Keep the soil moist and provide plenty of sunlight for healthy growth.
Care and Maintenance
Proper care and maintenance are crucial to ensure the health and vitality of your chrysanthemums. By following these guidelines, you can help your plants thrive and produce abundant blooms:
Watering: Chrysanthemums require consistent watering to keep the soil evenly moist. Water deeply, allowing the water to reach the root zone. Be careful not to overwater, as it can lead to root rot. Regularly check the soil moisture and adjust your watering schedule based on the weather conditions.
Fertilizing: To support healthy growth and abundant blooms, fertilize your chrysanthemums regularly. Use a balanced fertilizer specifically formulated for flowering plants. Apply according to the package instructions, usually every 4-6 weeks during the growing season. Avoid fertilizing too late in the season, as it may hinder bud formation.
Deadheading: Remove faded and spent flowers regularly through deadheading. This promotes continuous blooming and redirects the plant’s energy towards new bud formation. Use clean, sharp pruners or your fingers to pinch off the old flowers just above a leaf node or a healthy set of leaves.
Pest and Disease Management: Monitor your chrysanthemums for common pests such as aphids, spider mites, and leafhoppers. If necessary, use organic insecticides or insecticidal soaps to control these pests. Additionally, keep an eye out for fungal diseases like powdery mildew or gray mold. Provide proper air circulation by spacing the plants adequately and avoid overhead watering to prevent disease development.
Support: As your chrysanthemums grow taller and produce more blooms, they may require additional support. Install stakes or plant supports to prevent bending or breaking of the stems. Secure the stems loosely to the supports using gardening twine, allowing flexibility for natural movement.
Pruning: Regular pruning is essential to maintain the shape and size of your chrysanthemums. Throughout the growing season, pinch back the tips of the stems to encourage branching and a bushier growth habit. This will result in more compact plants with an abundance of flowers.
Winter Care: Chrysanthemums have varying cold hardiness levels depending on the cultivar. In colder regions, provide winter protection by mulching around the base of the plants to insulate the roots. Consider covering the plants with a thick layer of straw or using frost blankets during extreme cold spells.
By following these care and maintenance practices, you’ll give your chrysanthemums the best chance at thriving and producing a spectacular display of colorful blooms. Now, let’s explore the timeframe for growth and when you can expect to enjoy the fruits of your labor.
Timeframe for Growth
When it comes to growing chrysanthemums from seeds, it’s important to have realistic expectations regarding the timeframe for growth. Chrysanthemums are not fast-growing plants, and they require time to establish and develop before they begin to bloom. Here’s a general timeline to give you an idea of what to expect:
Seed Germination: Chrysanthemum seeds typically take around 10 to 14 days to germinate, although some varieties may take longer. During this stage, the seeds sprout, and tiny seedlings emerge from the soil.
Seedling Growth: After germination, the chrysanthemum seedlings require about 4 to 6 weeks to grow and develop their second or third set of true leaves. At this stage, they are ready for transplantation into individual pots or the garden.
Establishment Phase: Once transplanted, the chrysanthemum plants enter an establishment phase where they focus on root development and acclimating to their new environment. During this phase, it’s important to provide consistent care, including adequate watering and fertilization, to encourage healthy growth.
Bud Formation: Depending on the variety and environmental conditions, chrysanthemums typically start forming buds in late summer or early fall. This is an exciting phase as you witness the formation of flower buds on the plant.
Blooming: The timeframe for chrysanthemum blooming can vary depending on the variety and growing conditions. In general, you can expect your chrysanthemums to begin blooming within 8 to 12 weeks after bud formation. The vibrant and colorful flowers will bring joy and beauty to your garden.
Flower Longevity: Chrysanthemum blooms can last anywhere from a couple of weeks to several weeks, depending on the variety and weather conditions. Deadheading spent flowers regularly can help prolong the blooming period and encourage new bud formation.
It’s worth noting that the specific timeframe for chrysanthemum growth and blooming can vary based on factors such as the variety of chrysanthemum, climate, soil conditions, and cultivation techniques. By providing optimal growing conditions and practicing proper care and maintenance, you can help your chrysanthemums reach their full potential and enjoy a stunning floral display.
Now that you have an idea of the growth timeframe, let’s explore how to harvest the blossoms and make the most of your chrysanthemums.
Harvesting Mums
Harvesting chrysanthemums is an exciting and rewarding part of the journey. It’s the time when you can finally enjoy the beautiful blooms you’ve nurtured from seeds. Here’s what you need to know about harvesting your chrysanthemums:
Timing: Harvesting should be done when the chrysanthemum flowers are fully opened but before they start to wilt. The best time to harvest is in the morning, after the dew has dried, as the flowers are at their freshest and most vibrant.
Cutting: Use clean, sharp pruners or scissors to cut the chrysanthemum stems. Cut the stems at an angle, about 4 to 6 inches below the flower head. Avoid cutting too close to the base of the plant, as this can weaken the plant’s growth and future blooming.
Leaves: When harvesting chrysanthemums, remove any leaves that will be submerged in water. This helps prevent decay and keeps the water clean. Leave a few leaves on the stem to provide nourishment to the plant.
Water: Immediately after cutting, place the chrysanthemum stems in a bucket of clean, lukewarm water. This helps hydrate the flowers and prolong their vase life. Remove any foliage that may be below the water level to prevent bacteria growth.
Vase Life: Chrysanthemums have a relatively long vase life compared to other cut flowers. With proper care, they can last up to two weeks. Change the water every few days, recut the stems at an angle, and remove any wilting flowers or leaves to keep the bouquet looking fresh.
Drying Flowers: If you wish to preserve your chrysanthemums for longer-lasting arrangements, you can dry them. Hang the harvested stems upside down in a well-ventilated area away from direct sunlight. Once fully dried, the flowers can be used in dried arrangements or used in crafts.
With your chrysanthemums harvested and showcased in a bouquet or dried arrangement, you can now enjoy their beauty indoors. Share the joy by giving them as gifts to friends or family, or simply savor their vibrant colors and enchanting aroma.
As you explore the world of chrysanthemum gardening, remember that each step of the process, from germination to harvesting, is a remarkable journey. With patience, care, and a touch of creativity, you’re sure to cultivate a stunning display of chrysanthemums that will captivate all who see them.
Now that we’ve covered the essentials of growing and harvesting chrysanthemums, it’s time for you to put your knowledge into practice and embark on your own chrysanthemum-growing adventure. Happy gardening!
Conclusion
Growing chrysanthemums from seeds is a rewarding and fulfilling experience that allows you to witness the complete life cycle of these beautiful flowers. From the initial germination process to the vibrant blooms and the joy of harvesting, every step is filled with wonder and excitement.
By understanding the nuances of chrysanthemum seeds, providing optimal growing conditions, and practicing proper care and maintenance, you can cultivate healthy and vibrant chrysanthemum plants. Remember to be patient during the germination process, ensuring the seeds have the right conditions to sprout and thrive.
Once your chrysanthemum seedlings are ready for transplantation, pay attention to the planting requirements such as sunlight, well-draining soil, and proper spacing. Take the time to nurture and support your plants, providing them with adequate water, nutrients, and protection from pests and diseases.
As your chrysanthemums grow and develop, you’ll eagerly await the sight of their blossoming flowers. The timeframe for growth may vary depending on various factors, but with the right care, your patience will be rewarded with a stunning display of colorful blooms.
When the time comes, carefully harvest your chrysanthemum flowers, appreciating their beauty and preserving them for longer-lasting enjoyment. With proper care, your chrysanthemums can grace your home or be shared as thoughtful gifts with loved ones.
Through each stage of the chrysanthemum growing process, remember to enjoy the journey. Gardening is a wonderful way to connect with nature, find solace in nurturing living things, and create stunning displays of beauty in your surroundings.
So, with your newfound knowledge and a touch of creativity, it’s time to embark on your chrysanthemum-growing adventure. Immerse yourself in the magic of growing these enchanting flowers from seeds, and witness the transformation of tiny seeds into vibrant blooms that will captivate all who see them.
Get your hands dirty, be patient, and savor the joys and surprises that each step brings. Happy gardening and may your chrysanthemum garden be filled with an abundance of beauty and joy!
Frequently Asked Questions about How Long Does It Take To Grow Mums From Seeds
Was this page helpful?
At Storables.com, we guarantee accurate and reliable information. Our content, validated by Expert Board Contributors, is crafted following stringent Editorial Policies. We're committed to providing you with well-researched, expert-backed insights for all your informational needs.


0 thoughts on “How Long Does It Take To Grow Mums From Seeds”