Home>Garden Essentials>How Long To Grow A Pumpkin From Seed

Garden Essentials
How Long To Grow A Pumpkin From Seed
Modified: October 28, 2024
Discover how long it takes to grow a pumpkin from seed in your garden. Get expert tips and guidance to maximize your pumpkin harvest.
(Many of the links in this article redirect to a specific reviewed product. Your purchase of these products through affiliate links helps to generate commission for Storables.com, at no extra cost. Learn more)
Introduction
Welcome to the world of gardening! Growing your own pumpkins can be a rewarding and enjoyable experience. From the moment you plant the seed to the time you harvest a fully grown pumpkin, every stage of growth is fascinating to witness.
In this article, we will guide you through the process of growing a pumpkin from seed. We will explore the various stages of pumpkin growth and provide valuable insights on how long it takes for each stage to complete. By understanding the growth patterns and requirements of pumpkins, you can ensure that your efforts are fruitful and rewarding.
Whether you plan to use your pumpkins for Halloween decorations, delicious pies, or simply for the sheer joy of gardening, this article will walk you through everything you need to know about the timeline of pumpkin growth.
So grab your gardening tools, put on your sun hat, and let’s dive in!
Key Takeaways:
- It takes about 7 to 10 days for a pumpkin seed to sprout and grow into a seedling. During this time, it’s important to keep the soil moist and protect the seeds from extreme temperatures.
- Pumpkins go through several stages of growth, from germination to harvesting. Each stage requires specific care and attention, such as providing sunlight, water, and nutrients, to ensure successful pumpkin growth.
Read more: How Many Pumpkins Can Grow From One Seed
Understanding Pumpkin Growth
Before we delve into the specific stages of pumpkin growth, it’s important to have a basic understanding of how pumpkins develop. Pumpkins are warm-season plants that belong to the Cucurbitaceae family, which also includes cucumbers and melons. They are annual plants, meaning they complete their entire life cycle in one growing season.
The growth of a pumpkin plant can be divided into several distinct stages: germination, seedling development, transplanting, vegetative growth, flowering, fruit development, and harvesting. The duration of each stage can vary depending on various factors such as climate, soil conditions, and cultivar.
Throughout each stage, the pumpkin plant undergoes significant changes and requires specific care and attention. By understanding these stages, you can nurture your pumpkin plants effectively and maximize their growth potential.
Now let’s explore each stage in detail, starting with the first stage: germination.
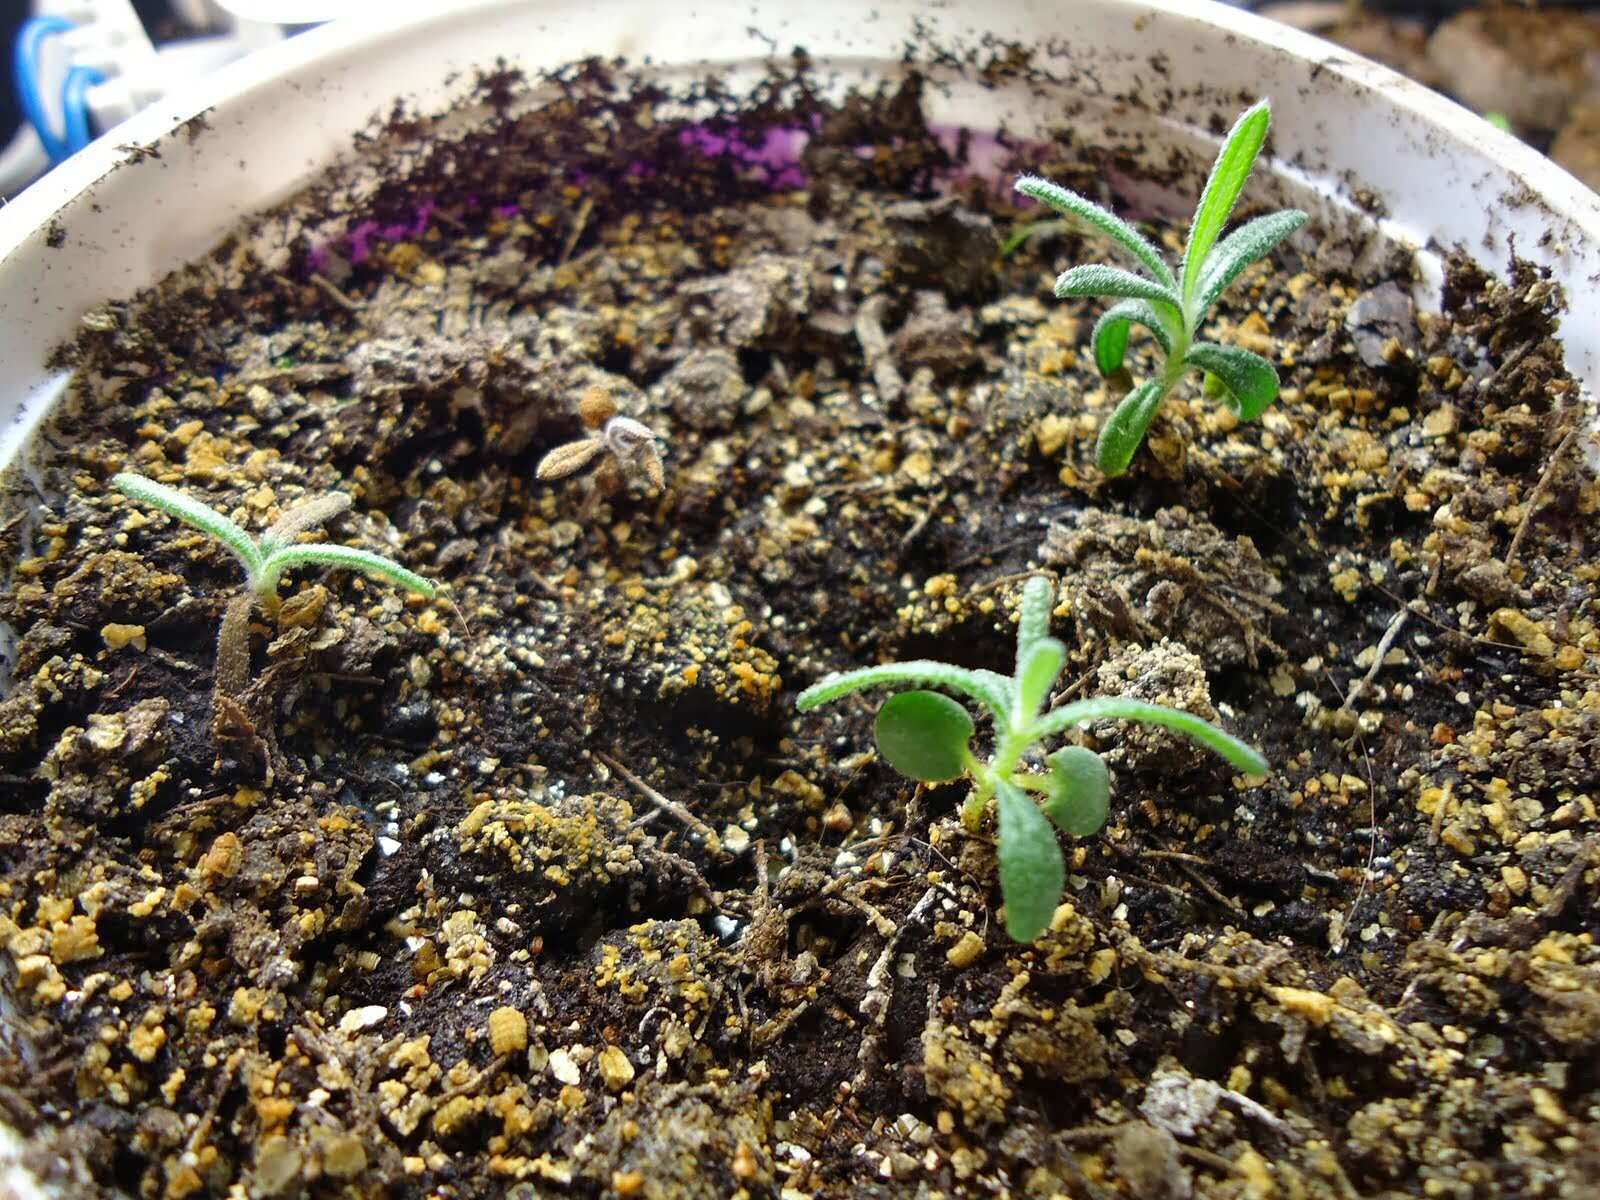
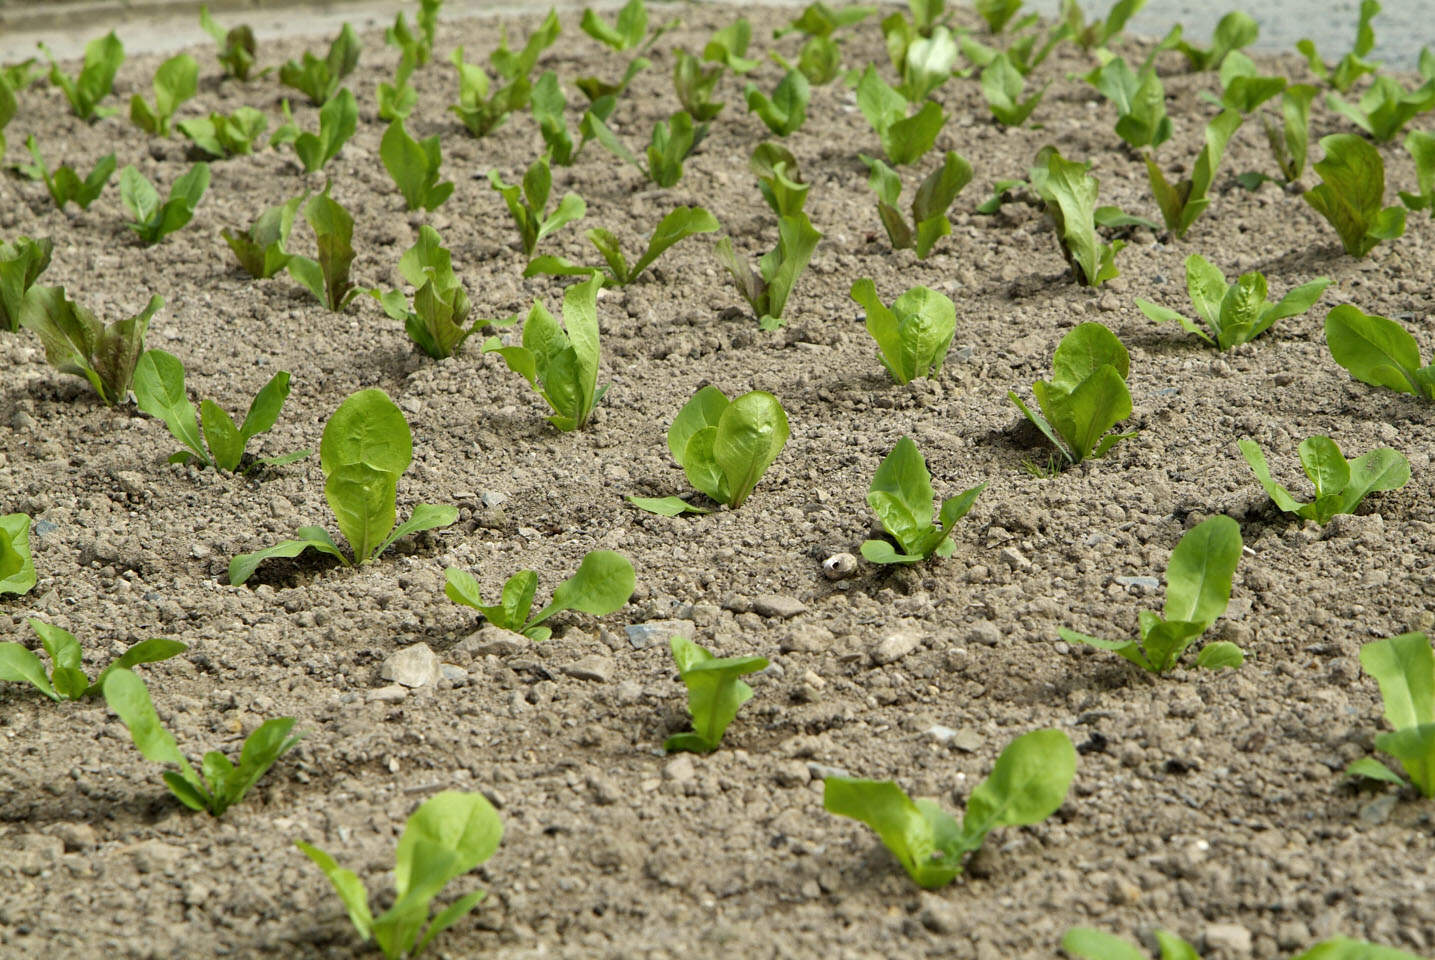
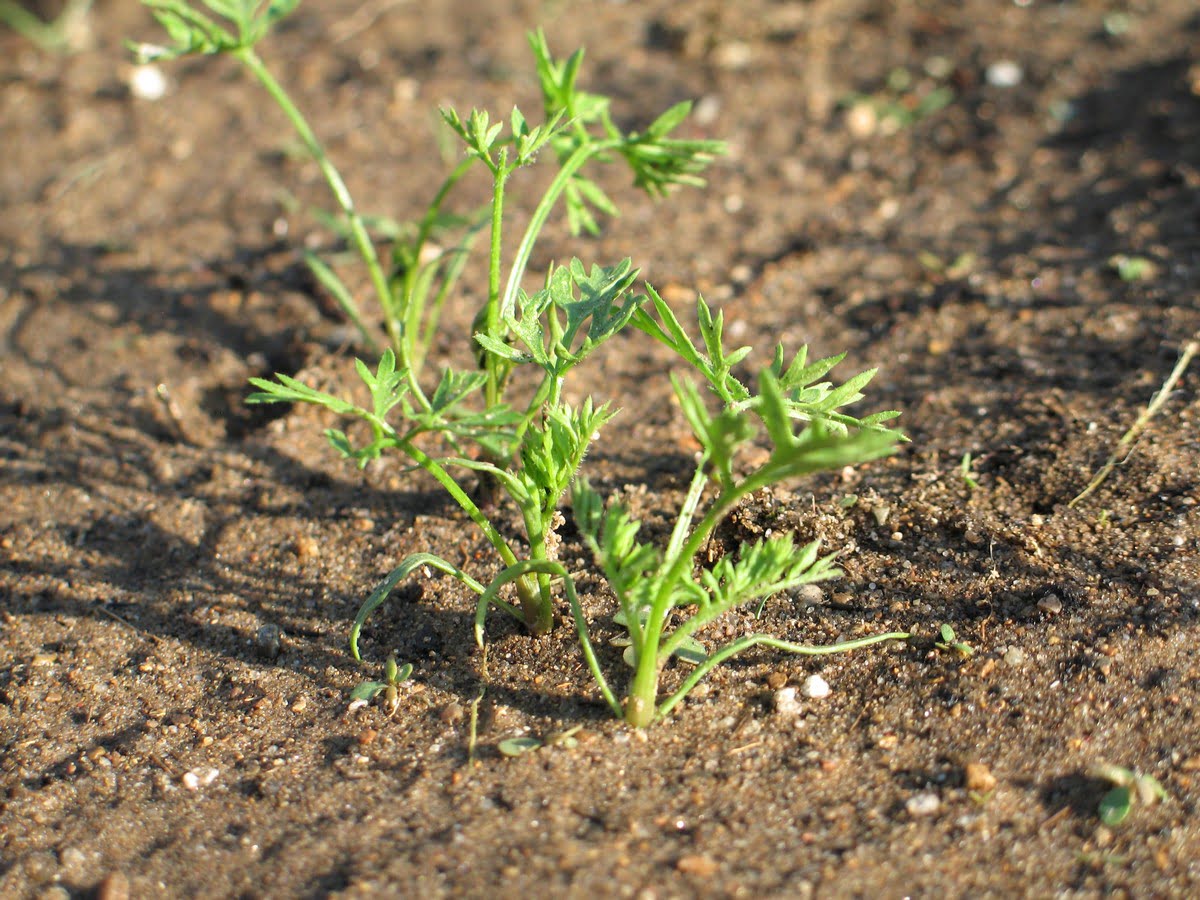
Germination
The germination stage is where the magic begins. It is the period when the pumpkin seed sprouts and develops into a seedling. Germination usually takes around 7 to 10 days, but this can vary depending on the variety of pumpkin you are growing and the environmental conditions.
To initiate germination, plant pumpkin seeds in well-draining soil that has been enriched with organic matter. Ensure the soil is moist, but not waterlogged, as excessive moisture can lead to rotting of the seeds.
Plant the seeds about 1 inch deep and 2 to 3 feet apart, allowing enough room for the vines to spread as they grow. Cover the seeds with soil, gently pressing down to ensure good soil-to-seed contact.
Keep the soil consistently moist during the germination stage, watering the plants lightly whenever the top inch of soil feels dry. Protect the seeds from extreme temperatures and harsh weather conditions by covering them with a thin layer of mulch.
As the days pass, you’ll start to see the first signs of germination. The seed will crack open, and a small, white root will emerge. Soon after, the seedling will push through the soil surface, unfurling its first set of leaves.
Be patient and resist the urge to overwater or disturb the seedling during this stage. Allow it to establish a strong root system and develop sturdy leaves before moving on to the next stage of growth.
Now that your pumpkin seeds have successfully germinated, it’s time to move on to the next phase: seedling development.
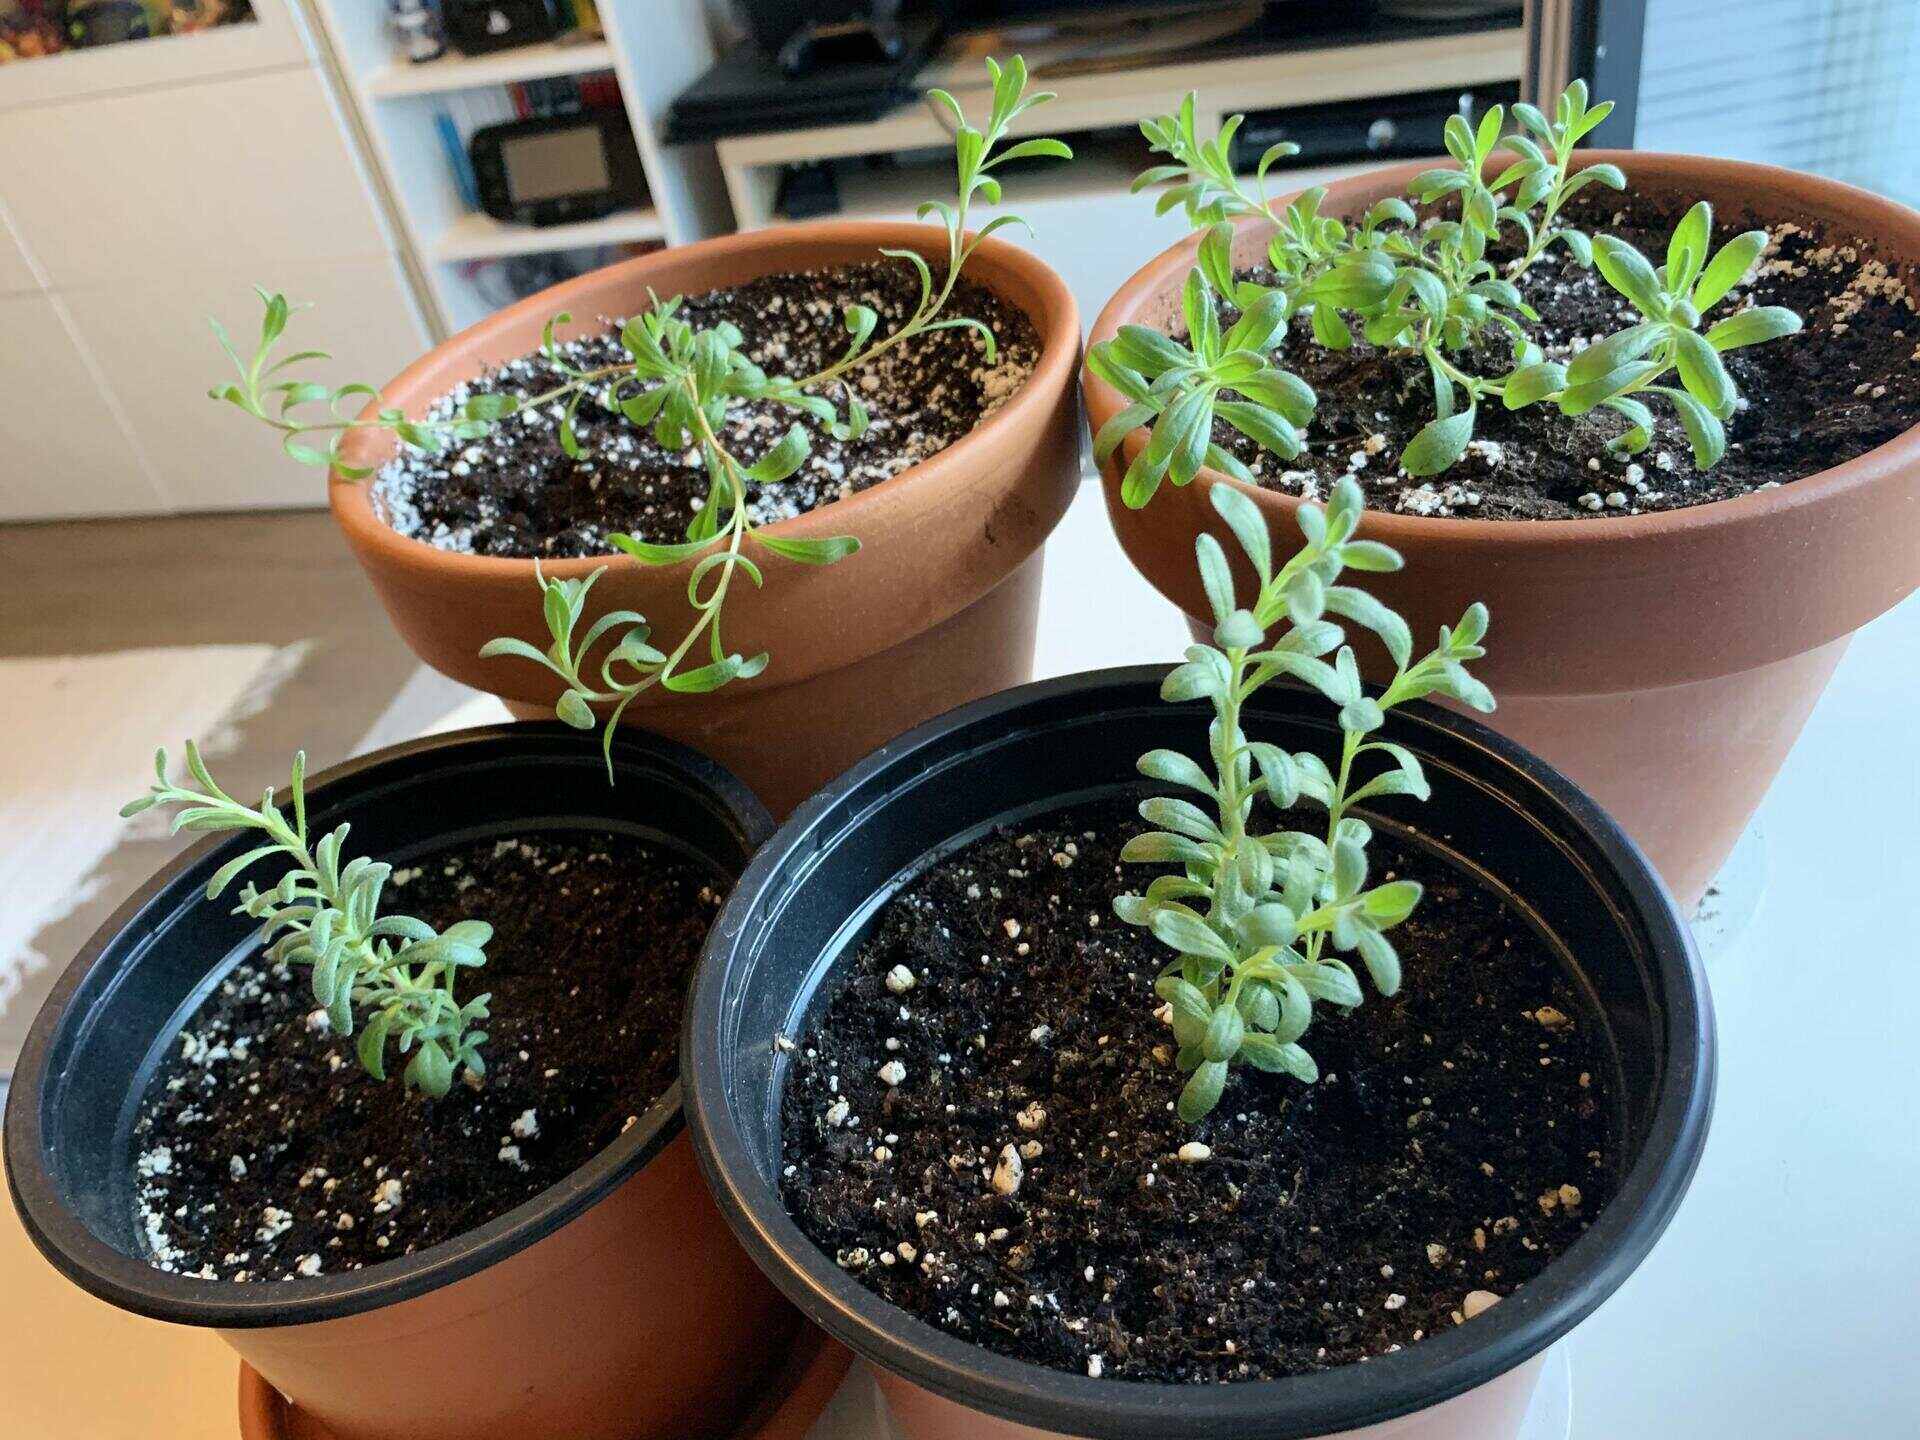
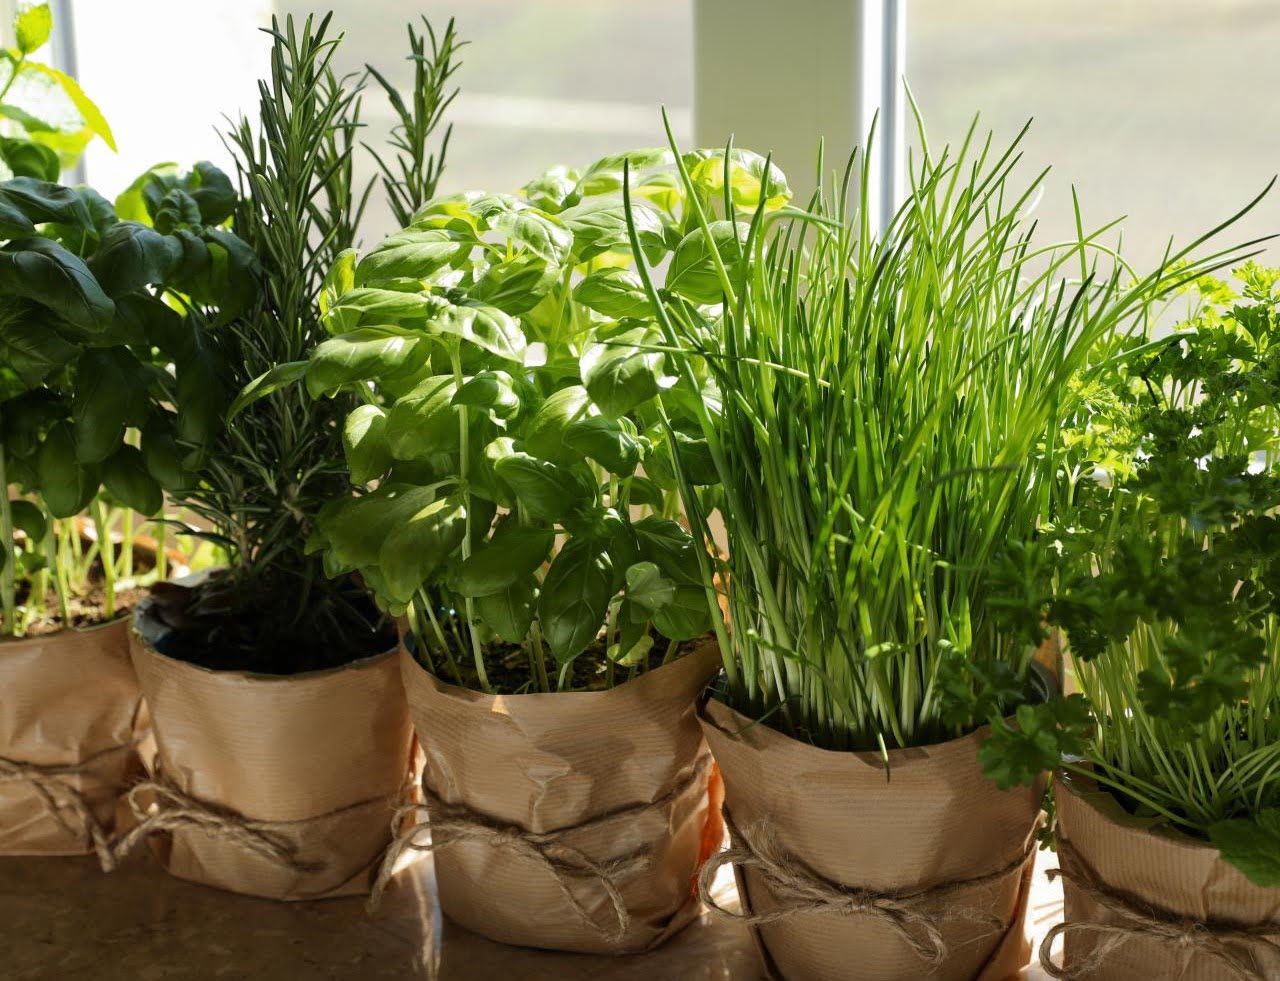
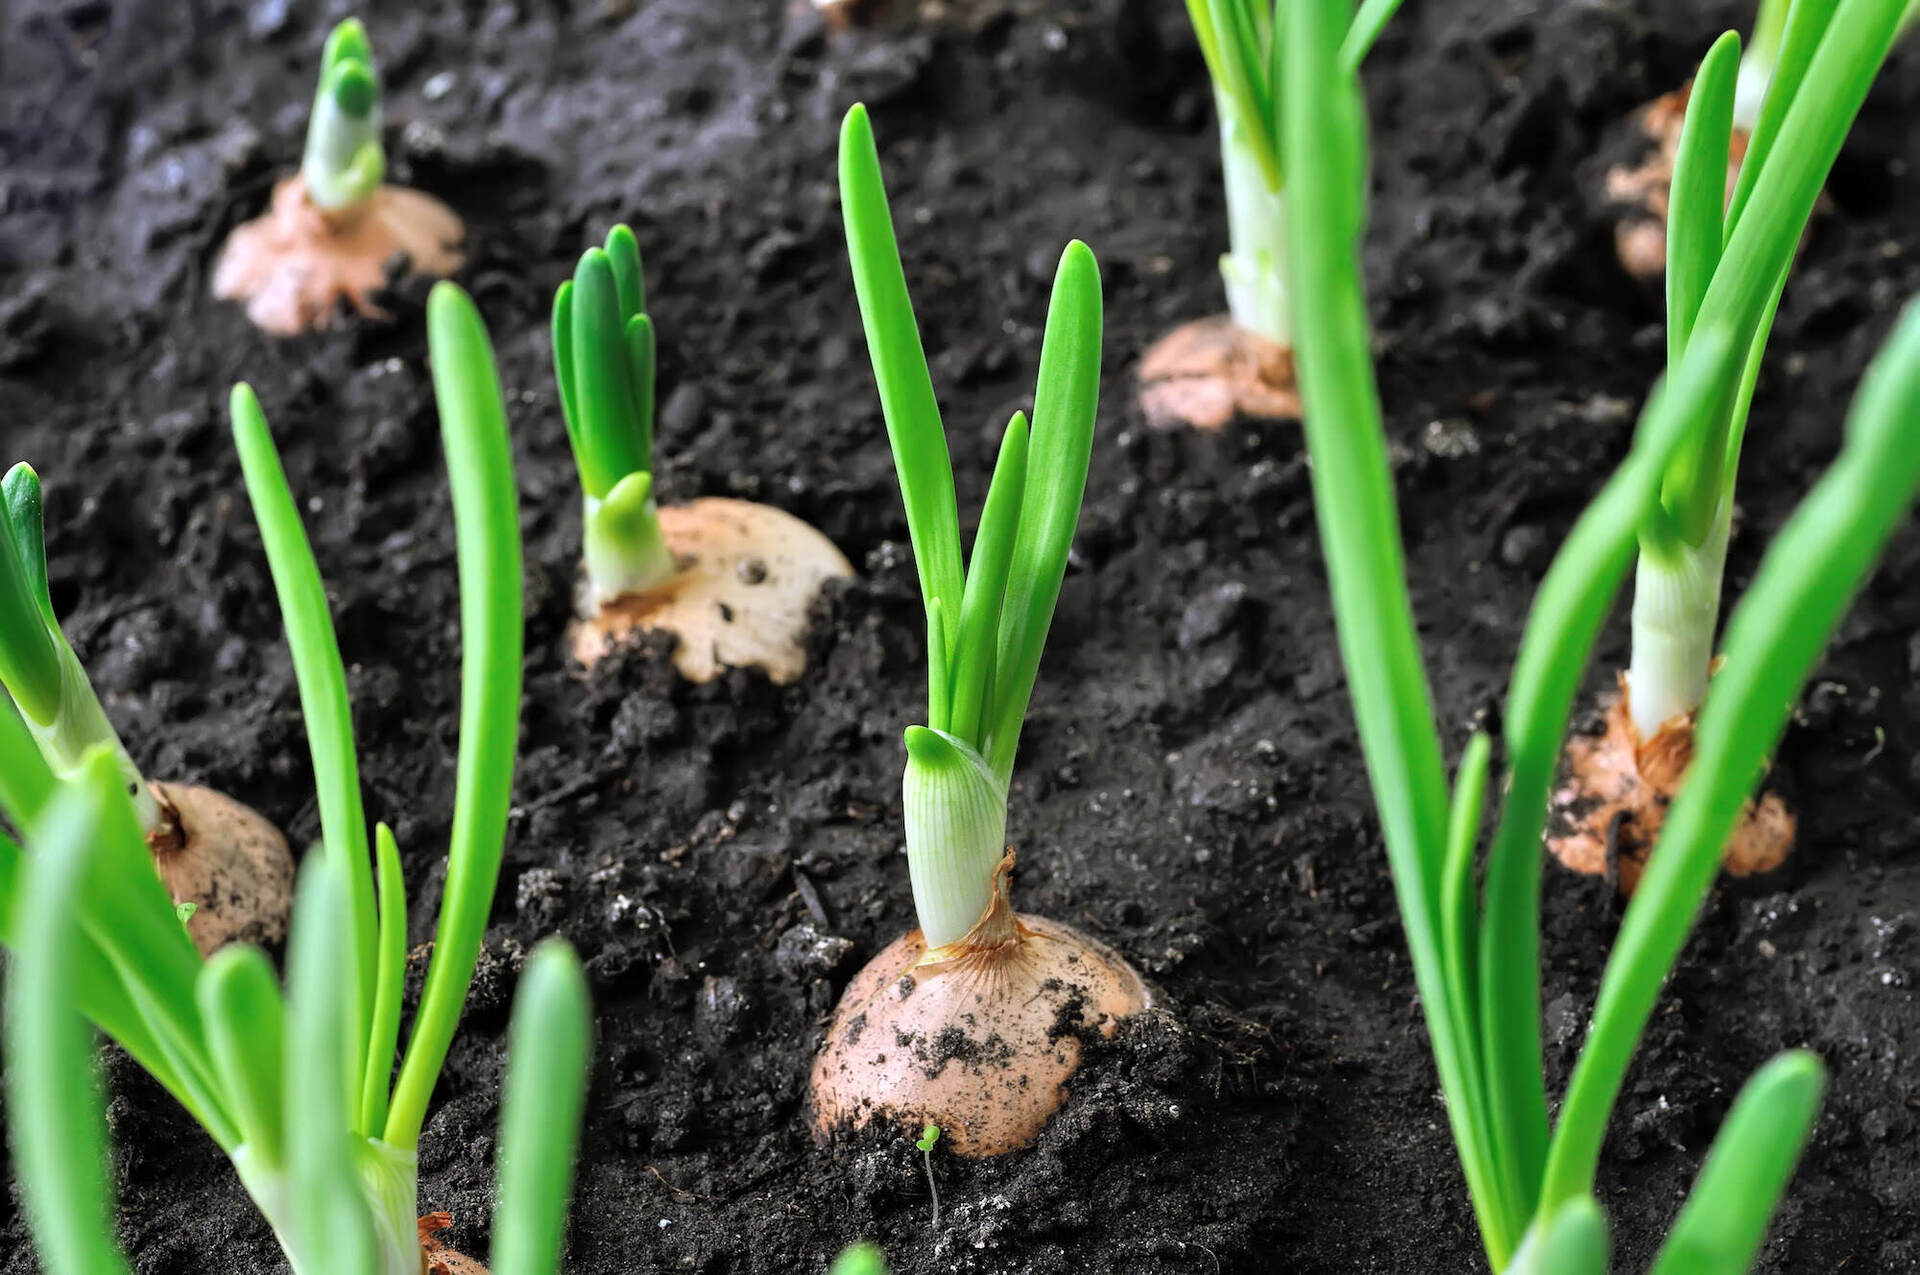
Seedling Development
After the germination stage, the pumpkin seedling will continue its growth and enter the seedling development stage. During this phase, the young plant will establish a strong root system and develop its second set of leaves, known as true leaves.
Seedling development typically lasts for 2 to 3 weeks. During this time, it is important to provide the seedlings with adequate sunlight, water, and nutrients to ensure healthy growth.
Place the seedlings in a location where they can receive at least 6 hours of direct sunlight each day. If you are growing pumpkins indoors, use grow lights to provide the necessary light. Keep the soil consistently moist but avoid overwatering, as this can lead to root rot.
As the seedlings grow, it’s important to thin them out and provide sufficient spacing between each plant. Thin the seedlings to the strongest and healthiest plant per hill to give it room to thrive.
During this stage, you can also start incorporating organic fertilizers or compost to provide the plants with necessary nutrients. Follow the instructions on the fertilizer package to ensure proper application.
Continue to monitor the seedlings for any signs of pests or diseases and take appropriate measures to protect them. Remove any competing weeds that may hinder the growth of the young pumpkin plants.
By the end of the seedling development stage, your pumpkin plants will be stronger and ready for the next step: transplanting.
Stay tuned for the next section as we dive into the process of transplanting pumpkin seedlings and nurturing them through the vegetative growth stage!
Transplanting
Transplanting is a critical stage in the growth of your pumpkin plants. It involves moving the seedlings from their initial containers or seedbeds to their final growing location, such as a garden bed or large containers. Transplanting is usually done when the seedlings have developed a strong root system and have a few sets of true leaves.
Before transplanting, choose a planting location that receives full sun and has well-draining soil. If you are planting in the ground, prepare the soil by loosening it and incorporating organic matter to improve its fertility and drainage.
Dig holes large enough to accommodate the root ball of each seedling, spacing them according to the specific requirements for the pumpkin variety you are growing.
Gently remove the seedlings from their containers, being careful not to damage the roots. Place each seedling in its designated hole, making sure that the soil level matches the level of the seedling’s soil in its original container.
Backfill the hole with soil, firming it gently around the seedling to ensure good root-to-soil contact. Water the transplanted seedlings thoroughly to help them settle into their new environment.
Keep a close eye on the transplanted seedlings, providing them with regular water to keep the soil evenly moist. Protect them from harsh weather conditions or extreme temperatures by providing shade or using protective covers.
As the plants continue to grow, train the vines to follow a desired direction and provide support for the heavy fruits to come. You can use trellises, garden fences, or even old pantyhose to support the developing pumpkins.
Transplant shock is common after the seedlings are moved, but with proper care and attention, the plants will quickly recover and enter the next stage of growth: vegetative growth.
In the next section, we will explore the exciting period of rapid growth and vine development known as vegetative growth. Keep reading to learn more!
Pumpkins take 80-120 days to grow from seed to harvest. Plant in late spring for a fall harvest. Provide plenty of water, sunlight, and space for the vines to spread.
Read more: When To Grow Pumpkin Seeds
Vegetative Growth
Vegetative growth is an exciting stage in the life of a pumpkin plant. During this period, the plant focuses on developing a strong and healthy vine system, which will support the growth of leaves, flowers, and ultimately, pumpkins.
Vegetative growth typically occurs from the time of transplanting until the plant starts to produce flowers, which can last anywhere from 3 to 6 weeks, depending on the variety and growing conditions.
During the vegetative growth stage, it is crucial to provide the pumpkin plants with the right growing conditions and care to encourage vigorous growth.
First and foremost, ensure that the plants receive ample sunlight. Pumpkin plants thrive in full sun, so make sure they receive at least 6 to 8 hours of direct sunlight every day.
Regular watering is essential to keep the soil consistently moist, especially during hot and dry periods. Deep watering is preferred to encourage the growth of strong roots. Aim to provide approximately 1 inch of water per week, either through rainfall or irrigation.
Fertilizing the pumpkin plants during this stage can also be beneficial. Use a balanced fertilizer, such as one with an NPK ratio of 10-10-10, and apply it according to the manufacturer’s instructions.
Keep an eye out for any pests or diseases that may affect the plant’s growth. Regular monitoring and early intervention are crucial to prevent any potential issues from escalating.
As the vines grow, you may need to provide support by using trellises, stakes, or other structures. This will help keep the vines off the ground, allowing for better airflow and preventing diseases.
Remember to regularly prune the vines to redirect their energy towards fruit production. Trim off any excessive foliage or side shoots to ensure that the nutrients are focused on proper fruit development.
As the vegetative growth stage progresses, you will eventually notice the formation of beautiful flowers on your pumpkin plants. This sign marks the transition into the next stage of growth: flowering.
Stay tuned for the next section as we delve into the fascinating world of pumpkin blossoms and their role in fruit development!
Flowering
The flowering stage is a pivotal moment in the life of a pumpkin plant. It is during this stage that the plant produces beautiful and vibrant blossoms, setting the stage for the development of the iconic pumpkin fruits.
Pumpkin plants typically produce separate male and female flowers. The male flowers, which are typically the first to appear, have a slender stem and do not contain a small fruit at their base. These flowers are responsible for producing pollen.
The female flowers, on the other hand, have a small swelling or immature pumpkin at their base, indicating their potential to develop into a fruit. These flowers require pollination to initiate fruit growth.
Bees and other pollinators play a crucial role in the pollination process. They transfer pollen from the male flowers to the stigma of the female flowers, allowing fertilization to occur.
To attract pollinators to your pumpkin patch, provide a diverse and abundant source of nectar-rich flowers nearby. Avoid using pesticides that may harm bees and other beneficial insects.
During the flowering stage, it is important to maintain consistent watering and provide adequate nutrients to support fruit development. Proper care during this stage will help ensure a successful fruit set.
While it is normal for some flowers to drop off without producing fruits, a healthy pumpkin plant will continue producing new flowers throughout the flowering stage.
Once the flowers have been successfully pollinated, you will start to see the beginning of fruit development: tiny green pumpkins forming at the base of the female flowers.
The journey from flower to fruit is an extraordinary process that we will explore further in the next section on fruit development.
So keep nurturing your pumpkin plants and watch as they transform from blossoms to beautiful, growing pumpkins!
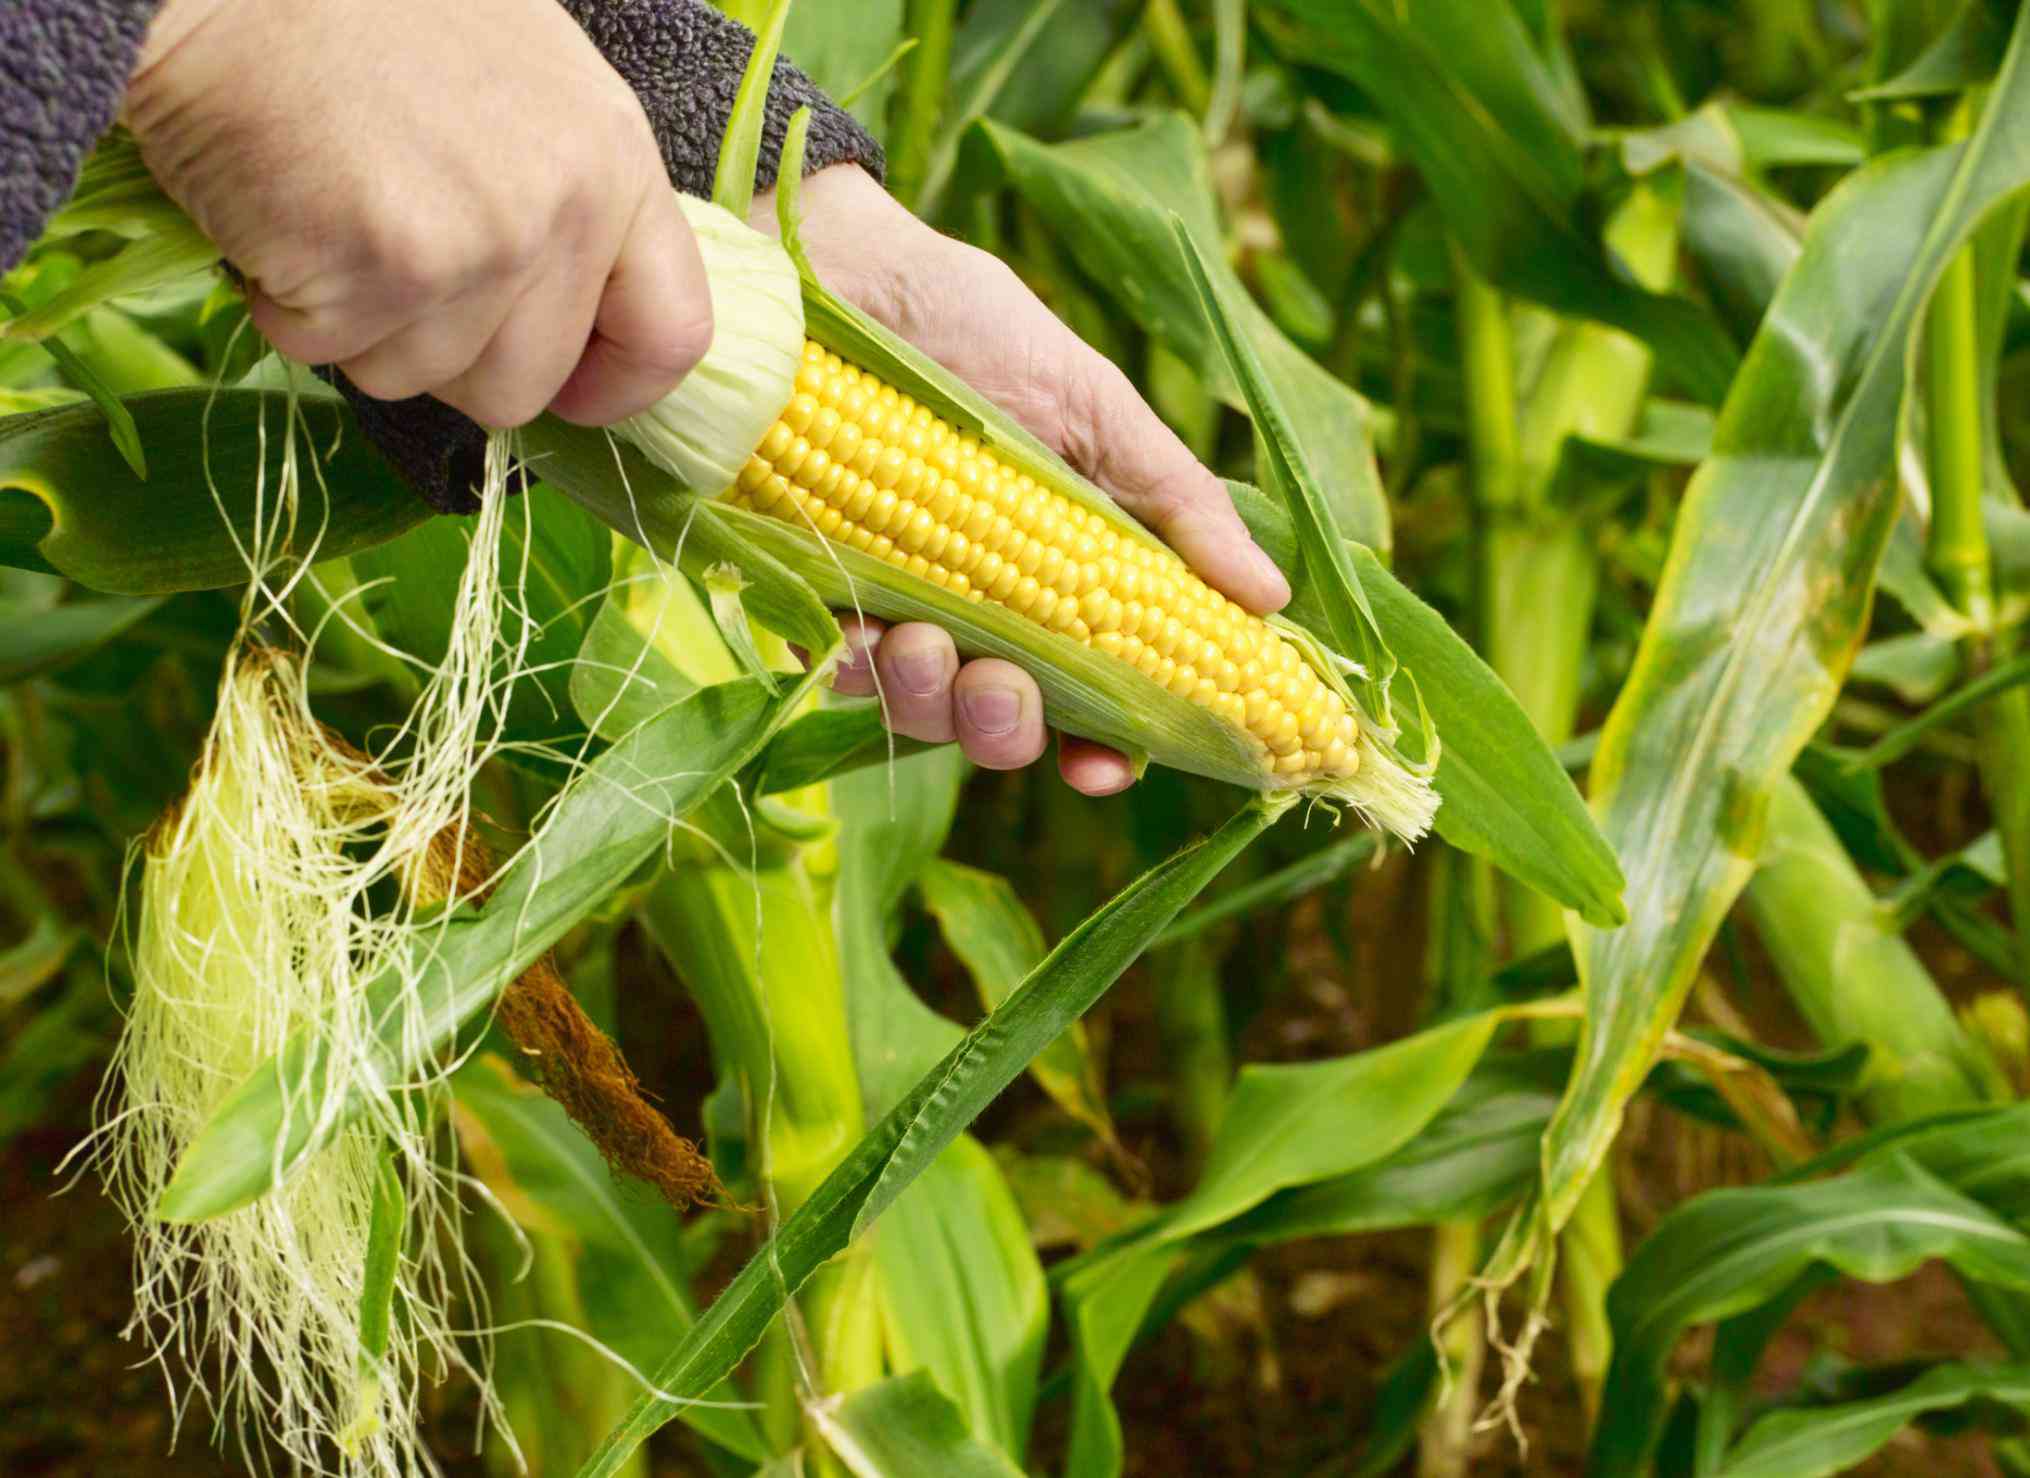
Fruit Development
The fruit development stage is the most thrilling phase of growing pumpkins. This is when the tiny green pumpkins that formed after successful pollination start to grow and mature into their full-sized, vibrant orange selves.
During the fruit development stage, it is crucial to provide the growing pumpkins with the appropriate care and attention to ensure healthy and robust growth.
Continue to water the plants regularly, keeping the soil consistently moist. Inconsistent watering can cause the fruits to develop unevenly or may cause them to crack open. Aim to provide 1 to 2 inches of water per week, adjusting for rainfall and weather conditions.
Apply a layer of mulch around the base of the plants to help retain moisture in the soil and suppress weed growth. Mulching also helps regulate soil temperature and prevents soil splashing onto the developing fruit, which can lead to disease or decay.
As the pumpkins grow, it’s important to provide proper support to ensure they don’t weigh down the vine or touch the ground. Placing a soft, protective layer, such as straw or a piece of cardboard, under each growing pumpkin can help prevent damage and rotting.
Monitor the plants closely for any signs of pests or diseases, which can threaten the development of the pumpkins. Regularly inspect the leaves, vines, and fruits, and take appropriate measures for pest or disease control.
Depending on the pumpkin variety, it can take approximately 75 to 120 days from pollination to achieve full fruit maturity. Monitor the color and size of the pumpkins to determine if they are ready for harvest.
A fully matured pumpkin will have a firm outer skin, a vibrant orange color, and a hollow sound when tapped. Use a sharp knife or pruning shears to carefully cut the pumpkins from the vine, leaving a short stem attached to the fruit.
Once harvested, store the pumpkins in a cool, dry location with good ventilation. Depending on the variety and storage conditions, pumpkins can last for several months.
Now that you’ve successfully reached the fruit development stage, it’s time to enjoy the fruits of your labor. Whether you use them for decorative purposes or delicious pumpkin-based recipes, your homegrown pumpkins will be a source of pride and satisfaction.
Congratulations on reaching this milestone! Now, let’s wrap up our journey through the growth of pumpkins.
Harvesting
The harvesting stage is an exciting and rewarding time in the life of a pumpkin plant. After months of careful nurturing, it’s finally time to reap the fruits of your labor and enjoy the bountiful harvest.
Harvesting pumpkins at the right time is crucial to ensure optimum flavor, texture, and longevity. Here are a few key indicators to determine if your pumpkins are ready for harvest:
1. Skin color: Mature pumpkins will have a deep, consistent, vibrant orange color. Avoid harvesting pumpkins that still have patches of green or yellow on their skin, as they are not fully ripened.
2. Skin hardness: Gently press your finger against the pumpkin’s skin. If it feels firm and resists your pressure, it is likely ready for harvest. Avoid pumpkins with soft or mushy skin, as they may be overripe or damaged.
3. Stem drying: Check the stem attached to the pumpkin. If it has turned brown and is starting to dry out, it’s a good indication that the pumpkin is ready to be harvested. Avoid forcefully pulling the pumpkin from the vine; instead, cut the stem about 2 to 4 inches above the pumpkin using a sharp knife or pruners.
When harvesting pumpkins, handle them carefully to avoid bruising or damaging the skin. Don’t carry them by the stem, as it may detach from the pumpkin and increase the risk of rotting.
Once harvested, place the pumpkins in a cool, dry location with good ventilation to cure. This process involves allowing the skin to harden and any minor cuts or scratches to heal, which will extend their shelf life.
Properly cured pumpkins can last for several months. Ensure that they are stored away from extreme temperatures, moisture, and direct sunlight. Inspect them periodically and remove any pumpkins that show signs of rotting or decay.
Remember, fresh homegrown pumpkins are not only great for decorating, but they also make delicious additions to various recipes, including pies, soups, and breads. So, make the most of your harvest by incorporating them into your favorite dishes.
Congratulations on successfully growing and harvesting your own pumpkins! It’s a remarkable accomplishment that showcases your gardening skills and dedication. Take pride in the fruits of your labor and enjoy the delights that come with homegrown pumpkins.
With the knowledge you’ve gained from this article, you can continue to explore the world of gardening and try your hand at growing other fruits, vegetables, or flowers. Happy gardening!
Read more: How Long To Grow Cantaloupe From Seed
Conclusion
Growing pumpkins from seed is a fulfilling and rewarding experience that allows you to witness the miraculous journey of a tiny seed transforming into a vibrant and bountiful pumpkin. By understanding the various stages of pumpkin growth and providing appropriate care and attention, you can ensure successful results and a thriving harvest.
From the germination stage, where the seed bursts to life, to the seedling development where the young plant takes root, and the exciting process of transplanting, each stage requires patience, diligence, and proper nurturing.
The vegetative growth stage brings the thrill of rapid vine development, while the flowering stage introduces the beauty of pumpkin blossoms and the crucial role of pollination in fruit development.
Finally, the fruit development stage rewards your efforts with fully matured pumpkins that are ready for harvest. Knowing the signs of ripeness and properly storing them will ensure that you can enjoy your homegrown pumpkins for months to come.
As you embark on your pumpkin growing journey, remember to provide the plants with adequate sunlight, water, and nutrients. Regularly monitor for pests and diseases, and take proactive measures to protect your plants.
Through dedication and care, you can experience the joy of nurturing nature and witnessing the miracle of growth right in your own backyard.
So, gather your gardening tools, prepare the soil, and sow those pumpkin seeds with confidence. With the knowledge you’ve gained from this article, you are well-equipped to grow beautiful pumpkins and create lasting memories with your loved ones.
Happy gardening and may your pumpkin patch flourish with abundance and delight!
Frequently Asked Questions about How Long To Grow A Pumpkin From Seed
Was this page helpful?
At Storables.com, we guarantee accurate and reliable information. Our content, validated by Expert Board Contributors, is crafted following stringent Editorial Policies. We're committed to providing you with well-researched, expert-backed insights for all your informational needs.


0 thoughts on “How Long To Grow A Pumpkin From Seed”