Home>Garden Essentials>How To Attach Greenery To A Sign

Garden Essentials
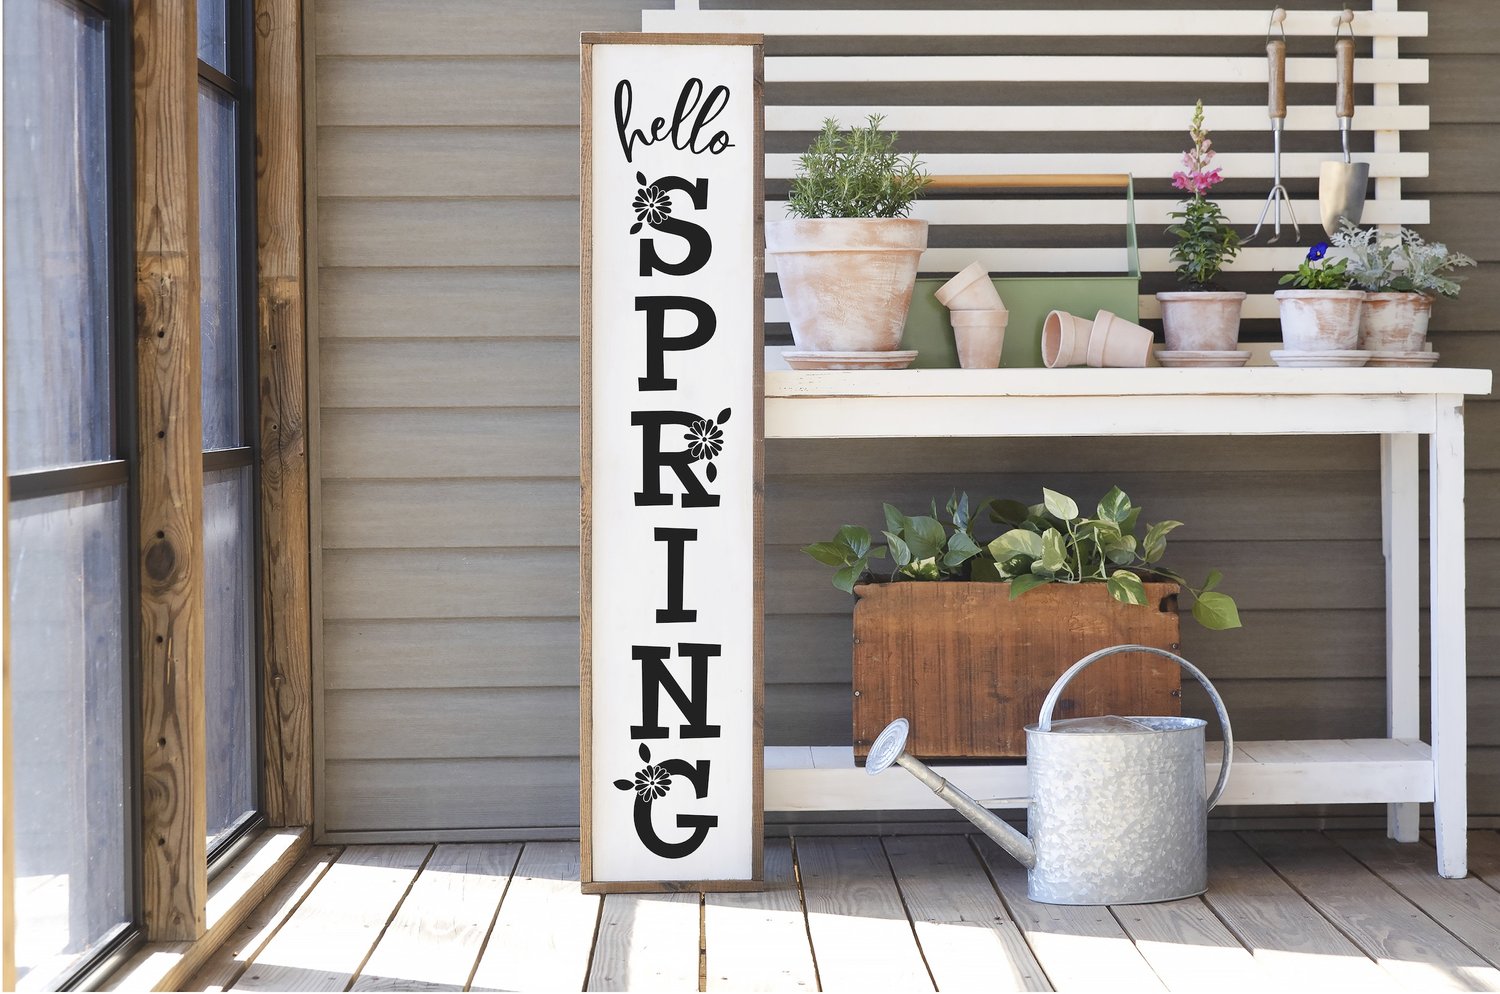
How To Attach Greenery To A Sign
Modified: March 7, 2024
Learn the best techniques to attach beautiful greenery to your garden sign and create a stunning outdoor display. Discover step-by-step instructions and helpful tips.
(Many of the links in this article redirect to a specific reviewed product. Your purchase of these products through affiliate links helps to generate commission for Storables.com, at no extra cost. Learn more)
Introduction
Welcome to the world of creative gardening! One way to transform a simple sign into a stunning visual display is by attaching greenery to it. Whether you’re promoting a special event, marking a garden plot, or simply adding some aesthetic charm to your outdoor space, attaching greenery to a sign can make a significant impact.
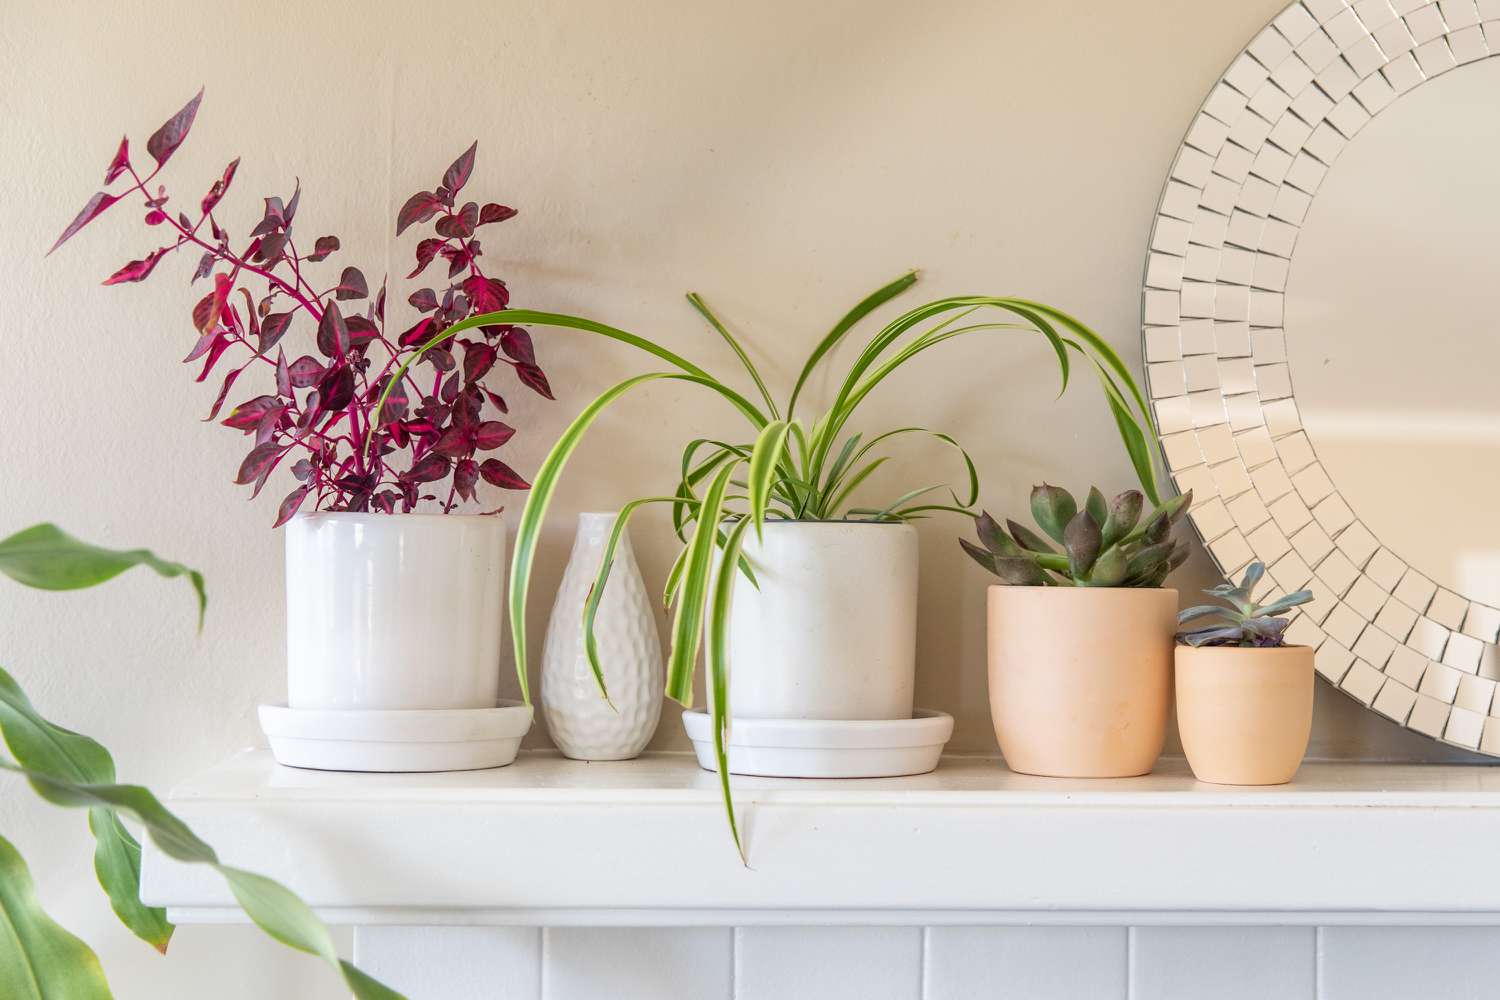
Choosing the right greenery for your sign is crucial. It can be anything from tall, leafy plants to delicate flowers or vibrant vines. The choice depends on the overall look and feel you want to achieve and the location where the sign will be displayed.
In this article, we will discuss various methods to attach greenery to a sign. Whether you prefer wire, adhesive, or zip ties, we’ll cover all the bases to ensure your greenery stays securely in place. So, let’s get started and dive into the exciting world of attaching greenery to your sign!
Key Takeaways:
- Elevate your sign’s appeal by attaching greenery using wire, adhesive, or zip ties. Choose sturdy greenery, consider the weight, and balance the design for a captivating and durable display.
- Prepare your sign by cleaning, priming, and planning the placement before attaching greenery. Experiment with different attachment methods and customize for different occasions to create eye-catching displays.
Read more: How To Attach Greenery To Mantle
Choosing the Right Greenery
When it comes to selecting the perfect greenery for your sign, there are a few factors to consider. First and foremost, think about the overall aesthetic you want to achieve. Are you going for a lush and verdant look with large, leafy plants, or do you prefer a more delicate and colorful display with flowers and vines?
Next, consider the location of the sign. Is it indoors or outdoors? If it’s indoors, you’ll want to choose greenery that thrives in low-light conditions, such as pothos or snake plants. For outdoor signs, opt for hardy plants that can withstand various weather conditions, like ivy or ferns.
Additionally, take into account the size and shape of your sign. If you have a small sign, choose greenery that won’t overpower it. On the other hand, if you have a larger sign, go for more substantial plants or a combination of different types of greenery to create a visually striking display.
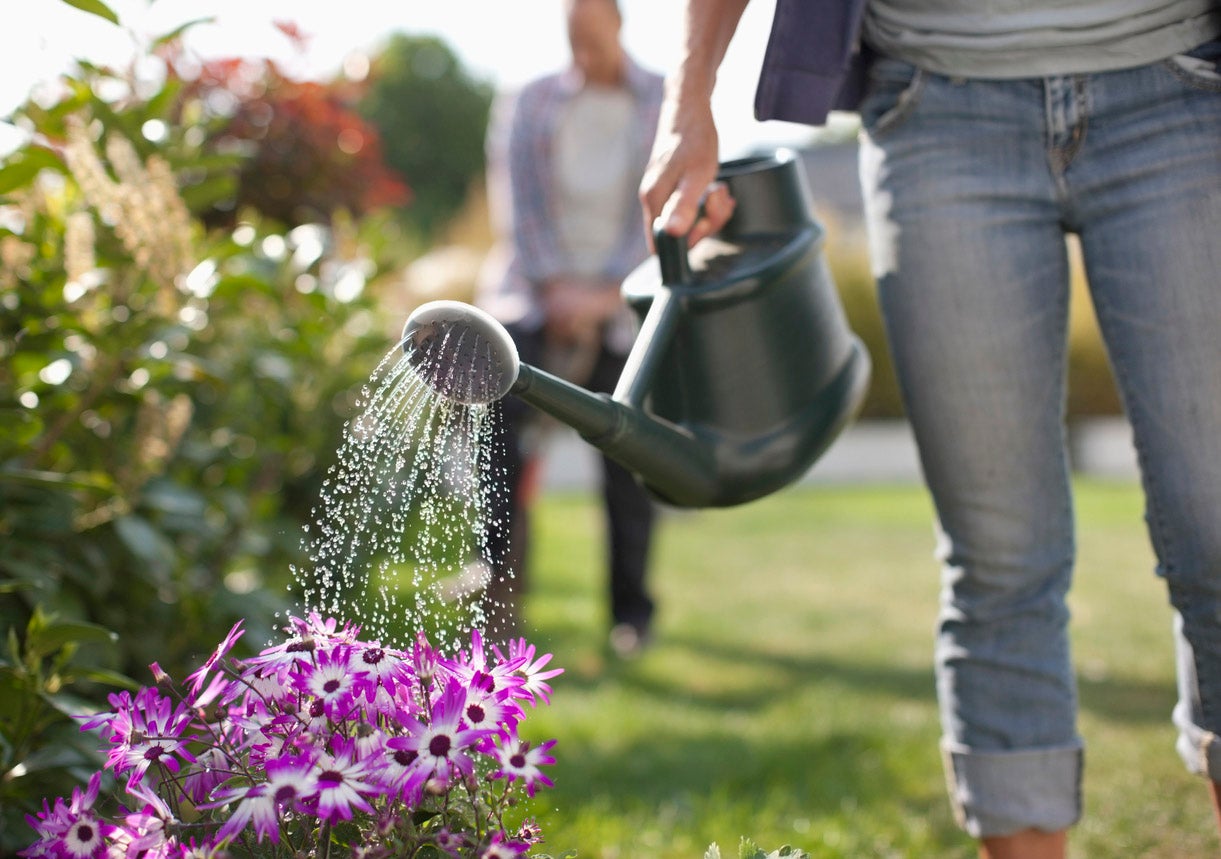
One crucial aspect to keep in mind is the maintenance required for the greenery you choose. Some plants need regular watering and pruning, while others are more low-maintenance. Consider how much time and effort you’re willing to invest in caring for the greenery attached to your sign.
Finally, think about the color scheme. If you have specific branding or a theme to follow, select greenery that complements or enhances those colors. For example, if your brand features shades of blue, consider using greenery with silver accents or blue flowers to create a cohesive look.
Remember, the right greenery will not only enhance the look of your sign but also create a welcoming and attractive ambiance. So, take your time, explore different options, and choose greenery that reflects your style and meets your specific requirements.
Preparing the Sign
Before attaching greenery to your sign, it’s essential to properly prepare it to ensure a secure and long-lasting attachment. Here are some steps to follow:
- Clean the sign: Start by cleaning the surface of the sign to remove any dust, dirt, or debris. Use a mild detergent, water, and a soft cloth or sponge to gently scrub the sign. This step will ensure that the adhesive or attachment method adheres properly to the surface.
- Consider the material: Take note of the material your sign is made of. Different materials may require different preparation methods. For example, if your sign is made of plastic or metal, lightly sanding the surface can help improve the adhesion of adhesive or wire.
- Prime or seal the sign: Depending on the material and if desired, you may choose to prime or seal the sign before attaching the greenery. This step can help protect the surface and provide a better grip for the adhesive or attachment method.
- Plan the placement: Decide where you want to attach the greenery on the sign. Consider the overall design and layout, as well as any visual elements or text on the sign that you want to avoid covering. Mark the desired placement with a pencil or masking tape, if necessary.
- Optional: Add a backing: If your sign has a smooth surface or if you want to provide additional support for the greenery, you can add a backing material such as foam board or plywood. Cut it to fit the size of the sign and securely attach it to the back.
By properly preparing your sign, you ensure a clean and suitable surface for attaching the greenery. This step is crucial for ensuring a strong and durable attachment that will withstand various weather conditions and maintain a polished appearance.
Attaching Greenery with Wire
One popular method for attaching greenery to a sign is by using wire. This method offers flexibility and stability, allowing you to create various arrangements and secure the greenery firmly to the sign. Here’s a step-by-step guide to attaching greenery with wire:
- Select the wire: Choose a wire that is durable and rust-resistant, such as floral wire or craft wire. Ensure that the wire is long enough to wrap around the greenery and secure it to the sign.
- Prepare the greenery: Trim the greenery to the desired length, removing any excess leaves or branches. This step ensures that the greenery fits neatly on the sign without overwhelming it.
- Wrap the wire around the stem: Take a piece of wire and wrap it tightly around the stem or base of the greenery. Make several wraps to create a secure hold.
- Position the greenery on the sign: Place the wired greenery on the sign in the desired location. Adjust the position until you are satisfied with the arrangement.
- Secure the wire to the sign: Wrap the wire around the sign, ensuring it is tight and secure. Twist the wire ends together at the back of the sign to create a firm attachment.
- Trim and hide excess wire: Once the greenery is securely attached, use wire cutters to trim any excess wire. Be careful not to cut the wire too close to the sign to avoid any potential sharp edges. If desired, you can also cover the wire ends with decorative elements or tape to conceal them.
Attaching greenery with wire provides stability and flexibility, allowing you to easily adjust and reposition the greenery as needed. It’s a versatile method that works well for both indoor and outdoor signs, ensuring that your greenery stays securely in place and enhances the visual appeal of your sign.
Use floral wire or hot glue to attach greenery to a sign. Wrap the wire around the stems and secure it to the back of the sign, or apply hot glue to the back of the greenery and press it onto the sign.
Attaching Greenery with Adhesive
If you prefer a hassle-free method to attach greenery to your sign, using adhesive can be a convenient and effective option. Adhesive allows for a seamless attachment without the need for wires or additional hardware. Follow these steps to attach greenery with adhesive:
- Select the adhesive: Choose a strong adhesive that is suitable for the materials of your sign and the greenery you are attaching. Options include craft glue, hot glue, or specialized floral adhesive.
- Prepare the sign and greenery: Ensure that the sign is clean and dry. Trim the greenery to the desired length and remove any excess leaves or branches.
- Apply the adhesive: Apply a small amount of adhesive to the back of the greenery, focusing on the areas that will make contact with the sign. Be careful not to use too much adhesive, as it can create a messy appearance and may not bond well.
- Press the greenery onto the sign: Carefully press the greenery onto the sign, ensuring that it adheres firmly. Hold it in place for a few seconds to allow the adhesive to bond.
- Allow the adhesive to dry: Follow the manufacturer’s instructions regarding drying time. It’s crucial to let the adhesive fully dry and set to ensure a secure attachment.
Attaching greenery with adhesive offers a clean and streamlined look, as there are no visible wires or attachments. However, keep in mind that weather and temperature conditions may affect the adhesive’s durability. If you plan to display your sign outdoors or in an area prone to high humidity, choose an adhesive that is weather-resistant and can withstand the elements.
Remember to always test the adhesive on a small, inconspicuous area of the sign and greenery before fully applying it. This will help ensure that the adhesive does not damage or discolor the material and that it creates a strong and reliable bond.
Attaching Greenery with Zip Ties
If you’re looking for a quick and secure method to attach greenery to your sign, zip ties can be a practical solution. Zip ties, also known as cable ties, are strong and durable, providing a reliable hold. Follow these steps to attach greenery with zip ties:
- Select the appropriate zip ties: Choose zip ties that are long enough to wrap around the greenery and secure it to the sign. Opt for strong and weather-resistant zip ties to ensure they can withstand outdoor conditions.
- Prepare the greenery: Trim the greenery to the desired length and remove any excess leaves or branches. This will ensure a neat and organized appearance once attached to the sign.
- Position the greenery on the sign: Place the greenery in the desired location on the sign. Adjust the position until you are satisfied with the arrangement.
- Wrap the zip tie around the greenery and sign: Take a zip tie and wrap it around the stem or base of the greenery, as well as the sign. Ensure that it is tight and secure, without damaging the plant or sign.
- Secure the zip tie: Pull the end of the zip tie through the locking mechanism and tighten it until it is secure. Trim any excess length from the zip tie using wire cutters.
- Hide the zip tie: If desired, you can use additional greenery, ribbon, or decorative elements to conceal the zip tie and create a more polished look.
Using zip ties to attach greenery offers a quick and efficient solution, especially for outdoor signs or areas prone to wind or movement. The strength and durability of zip ties ensure that your greenery will stay securely in place even in challenging conditions.
Remember to consider the color and size of the zip ties to ensure they blend well with the greenery and the overall aesthetic of your sign. If visibility is a concern, you can choose zip ties that match the color of the greenery or the sign, making them less noticeable.
With the ease of use and reliability of zip ties, you can create stunning displays of greenery on your sign in no time.
Tips and Advice
Attaching greenery to a sign can be a fun and rewarding project. To ensure the best results, here are some tips and advice to keep in mind:
- Choose sturdy greenery: Select greenery that is strong and has sturdy stems, especially if you plan to use wire or zip ties for attachment. Delicate plants may not hold up well under the weight of the attachment method.
- Consider the weight: Pay attention to the weight of the greenery you are attaching to the sign. Make sure the sign and any backing material can support the weight without bending or breaking.
- Balance the design: Create a balanced and visually appealing arrangement by distributing the greenery evenly on the sign. Mix different types of foliage, textures, and sizes to add interest and dimension.
- Regular maintenance: Keep an eye on the greenery attached to your sign and make necessary adjustments or replacements as needed. Trim any wilted or overgrown leaves to maintain a fresh and vibrant appearance.
- Consider the environment: If your sign will be exposed to sunlight or extreme weather conditions, choose greenery that can withstand these factors. Opt for drought-tolerant plants for outdoor signs or select artificial greenery if natural options are not feasible.
- Experiment with different attachment methods: Don’t be afraid to try different attachment methods and see which one works best for your specific sign and greenery. You may find that a combination of methods or alternative options suits your needs and preferences.
- Take safety precautions: Be careful when handling tools, wires, or adhesives to avoid any accidents or injuries. Follow the instructions provided by the manufacturer for safe use of these materials.
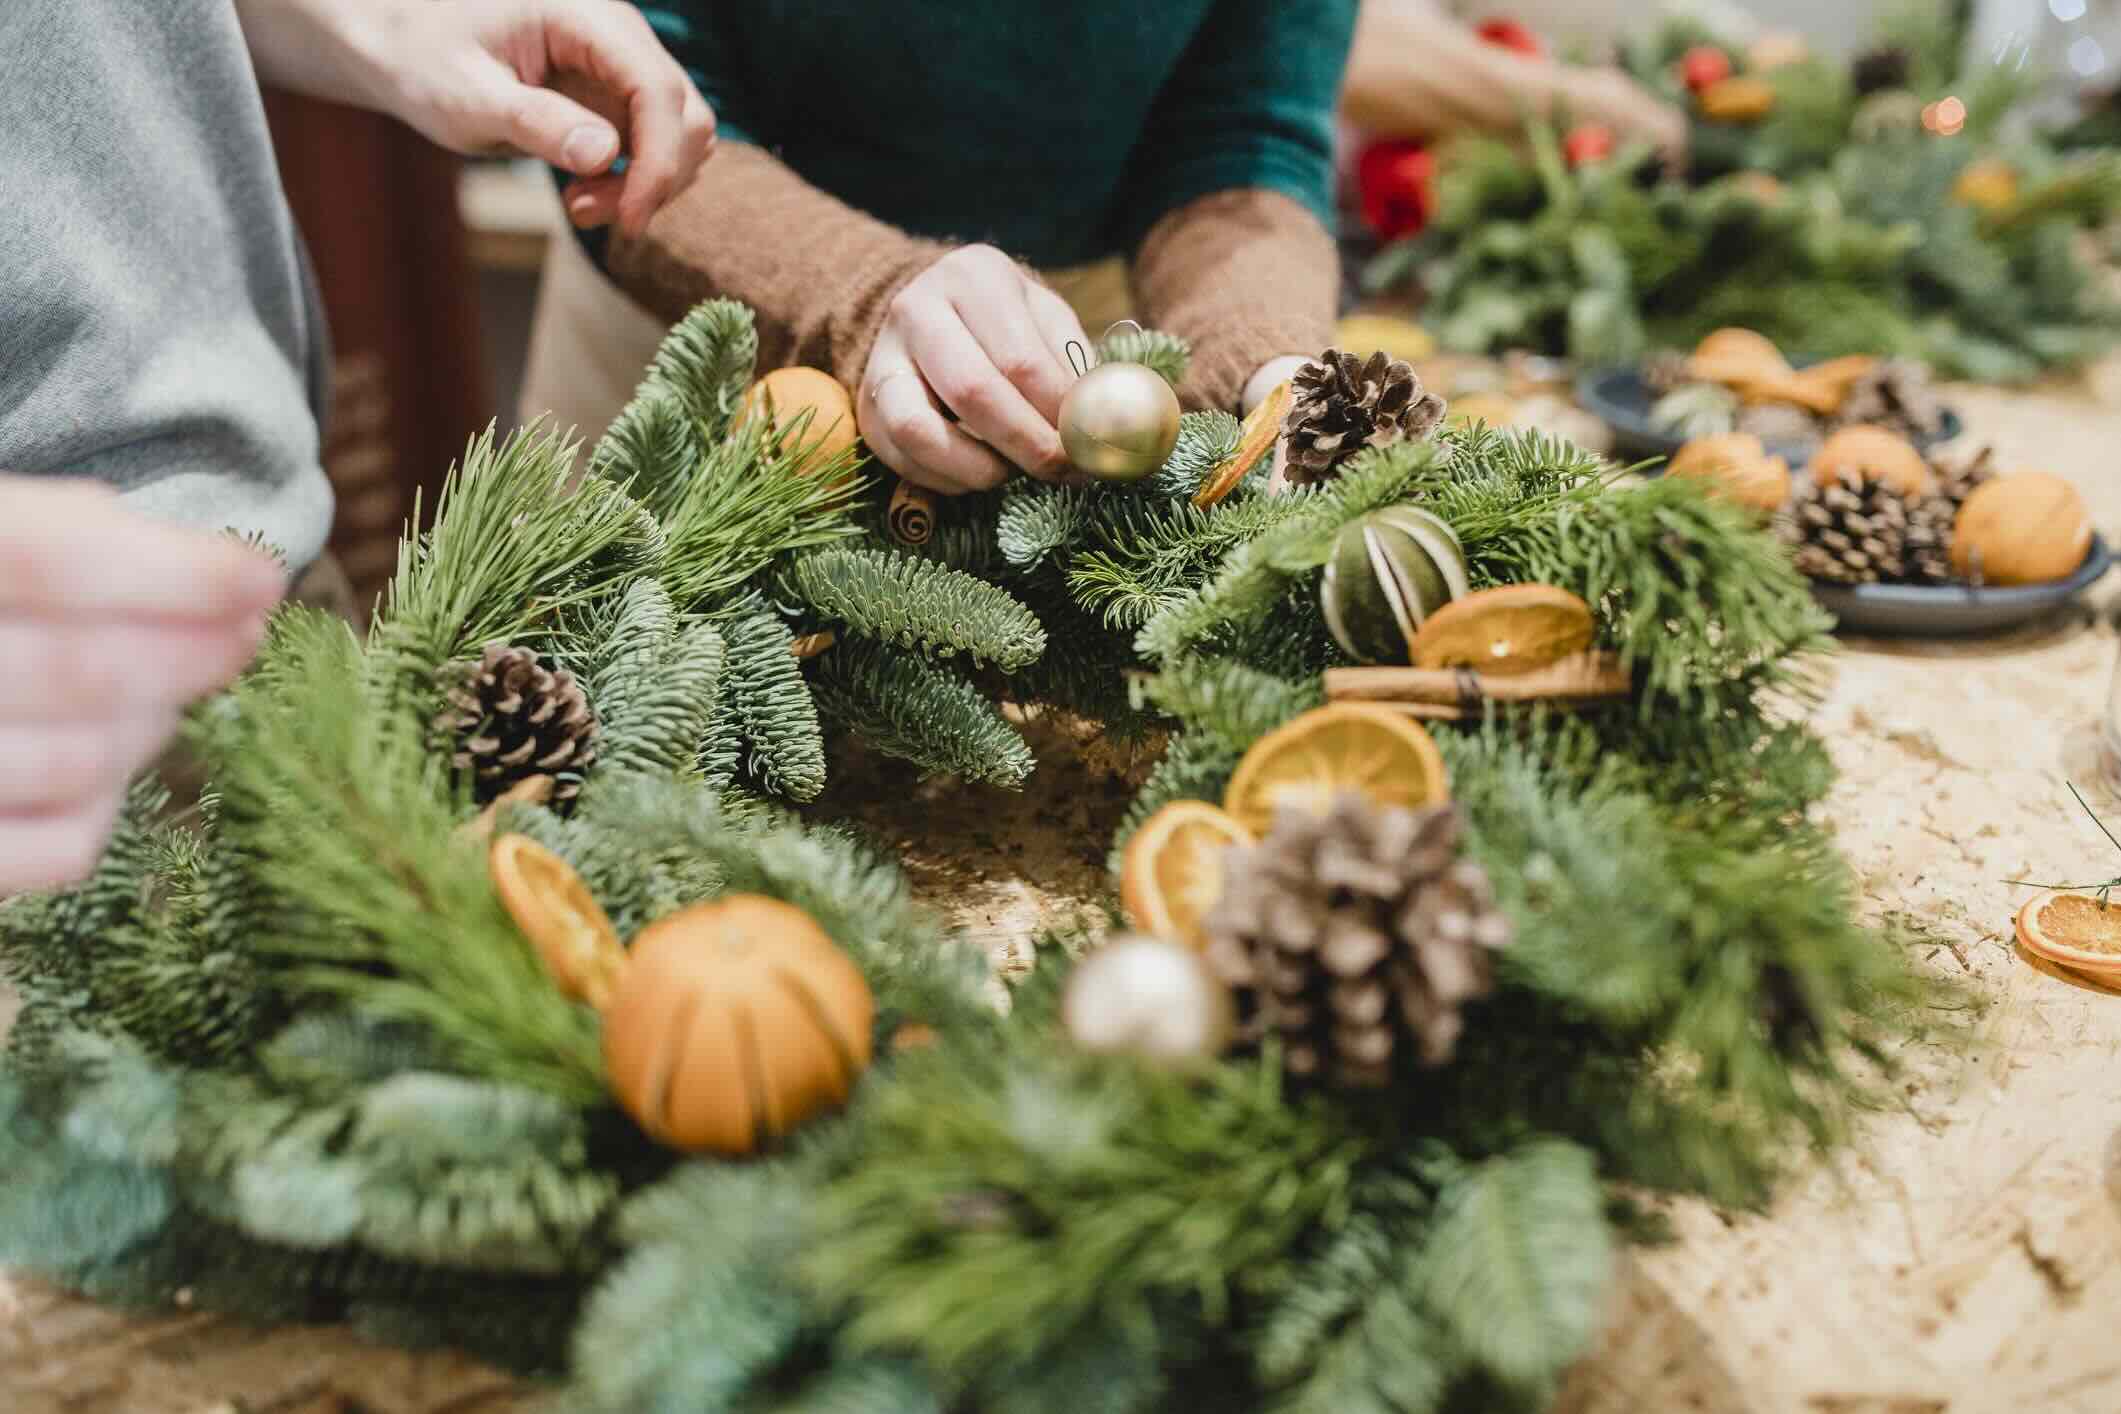
- Use natural elements: Enhance the visual appeal of your sign by incorporating natural elements like twigs, pine cones, or small flowers in addition to the greenery. These additions can bring a touch of uniqueness and charm to your display.
- Customize for different occasions: Experiment with different greenery and decorative elements to suit different events or seasons. Adjust the color palette, flowers, or foliage accordingly to create a versatile and adaptable sign display.
Remember, attaching greenery to a sign is a creative and personal endeavor. Embrace your own style and preferences while considering practicality and maintenance. With these tips and advice, you can create eye-catching and captivating displays that will impress and inspire others.
Conclusion
Attaching greenery to a sign is a fantastic way to elevate its visual appeal and create a captivating display. Whether you’re looking to promote an event, add charm to your garden, or simply enhance the ambiance of a space, greenery can make a significant difference.
In this article, we explored various methods for attaching greenery to a sign, including wire, adhesive, and zip ties. Each method offers its own advantages and considerations, allowing you to choose the one that best suits your needs and preferences.
When choosing greenery, consider factors such as the location, size, and maintenance requirements. Select plants that complement the overall aesthetic of your sign and create the desired atmosphere. Properly preparing the sign and providing a clean and suitable surface is essential for a secure and long-lasting attachment.
Whether you opt for wire, adhesive, or zip ties, all these methods provide reliable ways to attach greenery to your sign. It’s important to find the balance between practicality, durability, and visual appeal to create a display that stands out and brings life to your sign.
Remember to regularly maintain and adjust the greenery as needed, ensuring its freshness and vibrancy over time. Experiment with different types of greenery, decorative elements, and attachment methods to create unique and eye-catching designs for various occasions.
So, let your creativity blossom and have fun attaching greenery to your sign! With the right approach and a little bit of imagination, you can transform a simple sign into a stunning centerpiece that captures attention and creates a memorable impression.
Frequently Asked Questions about How To Attach Greenery To A Sign
Was this page helpful?
At Storables.com, we guarantee accurate and reliable information. Our content, validated by Expert Board Contributors, is crafted following stringent Editorial Policies. We're committed to providing you with well-researched, expert-backed insights for all your informational needs.


0 thoughts on “How To Attach Greenery To A Sign”