Home>Garden Essentials>How To Attach Greenery Picks To An Embroidery Hoop Design
Garden Essentials
How To Attach Greenery Picks To An Embroidery Hoop Design
Modified: March 7, 2024
Learn how to attach greenery picks to your embroidery loop design in your garden. Enhance your DIY project with these helpful tips and techniques.
(Many of the links in this article redirect to a specific reviewed product. Your purchase of these products through affiliate links helps to generate commission for Storables.com, at no extra cost. Learn more)
Introduction
Welcome to our comprehensive guide on how to attach greenery picks to an embroidery loop design. If you are a gardening enthusiast or a DIY lover, you know that adding greenery to your projects can bring a fresh and vibrant touch. Whether you are creating a beautiful wreath, a unique wall hanging, or a stunning centerpiece, incorporating greenery picks can elevate your design to the next level.
In this article, we will walk you through the step-by-step process of attaching greenery picks to an embroidery loop design. We will cover the materials you’ll need, the selection of the perfect greenery picks, and the proper techniques to secure them in place. By the end of this guide, you will have the knowledge and confidence to create stunning botanical masterpieces in no time.
So, roll up your sleeves, gather your materials, and let’s dive into the world of greenery picks and embroidery loop designs!
Key Takeaways:
- Adding greenery picks to embroidery loops is a fun and creative way to elevate your DIY projects. Choose high-quality faux greenery that complements your design and secure them with floral wire for a stunning botanical masterpiece!
- When attaching greenery picks, consider style, color, texture, and size. Secure the picks with hot glue for extra reinforcement and make necessary adjustments for a balanced and visually pleasing arrangement. Let your creativity flourish!
Read more: How To Hang A DIY Hoop With Greenery
Materials Needed
Before you begin attaching greenery picks to your embroidery loop design, make sure you have the following materials handy:
- Embroidery loop: Choose a size that suits your design. Common sizes include 6-inch, 8-inch, and 10-inch loops.
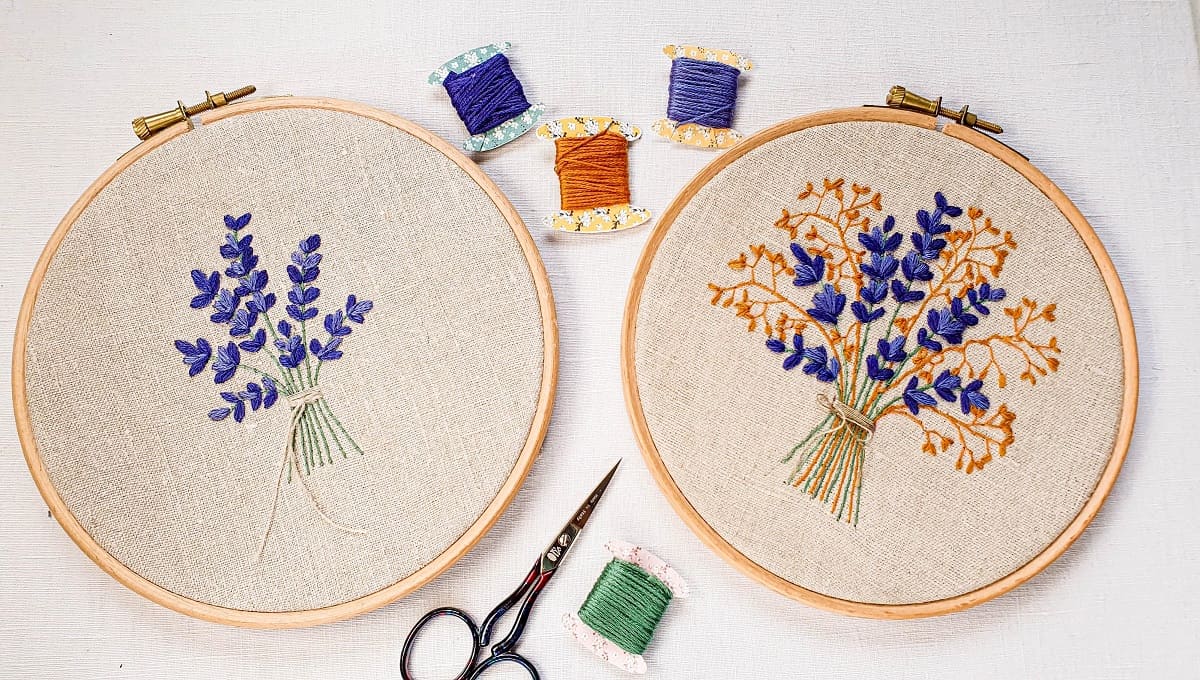
- Greenery picks: Opt for a variety of faux greenery picks, such as eucalyptus, ferns, vines, or any other foliage that complements your design.
- Floral wire: This will help secure the greenery picks to the embroidery loop.
- Wire cutters: Essential for cutting and bending the floral wire.
- Hot glue gun (optional): If you want extra security, a hot glue gun can be used to attach certain greenery picks to the loop.
- Ribbon or twine: This will be used to hang the finished embroidery loop design.
- Scissors: For trimming excess wire or ribbon.
Once you have gathered these materials, you are ready to bring your embroidery loop design to life with the addition of greenery picks. Let’s move on to the next step: preparing the embroidery loop.
Step 1: Preparing the Embroidery Loop
Before attaching the greenery picks, it’s important to prepare the embroidery loop. Follow these steps:
- Ensure that your embroidery loop is clean and free from any dust or debris. You want a clean surface to work with.
- If your embroidery loop has a screw or clamp mechanism, loosen it to separate the two hoops. If your loop doesn’t have any mechanism, simply separate the hoops by pulling them apart.
- Decide which hoop will be the top one and which will be the bottom. The top hoop is usually the smaller one and will be the visible frame of your design.
- Take the bottom hoop and set it aside for now. We will focus on attaching the greenery picks to the top hoop first.
By preparing the embroidery loop, you ensure that it is ready to securely hold the greenery picks and provide a sturdy base for your design. Now that your loop is ready, let’s move on to the next step: choosing the greenery picks.
Step 2: Choosing the Greenery Picks
Choosing the right greenery picks is crucial for creating a beautiful and cohesive embroidery loop design. Here are some tips to help you select the perfect greenery:
- Consider the style and theme of your design. Are you aiming for a more rustic, bohemian look? Or perhaps a modern, minimalist aesthetic? Choose greenery picks that align with your desired style.
- Take into account the color scheme of your design. If you have a specific color palette in mind, look for greenery picks that either complement or contrast with those colors.
- Think about the texture and shape of the greenery. Mix and match different types of foliage, such as ferns, eucalyptus, or vines, to add depth and visual interest to your design.
- Consider the size and scale of the greenery. Make sure the picks you choose fit well within the size of your embroidery loop.
- Opt for high-quality faux greenery picks that look realistic and are durable. This will ensure that your embroidery loop design lasts for a long time.
Once you have chosen your greenery picks, it’s time to move on to the next step: attaching the greenery picks to the embroidery loop.
Use floral wire to attach greenery picks to an embroidery loop design. Wrap the wire around the pick and loop, then twist to secure. Trim any excess wire for a clean finish.
Step 3: Attaching the Greenery Picks
Now that you have your embroidery loop prepared and your greenery picks selected, it’s time to attach them to the loop. Follow these steps:
- Start by taking one of your greenery picks and positioning it on the embroidery loop. You can place it at any desired location to create a starting point.
- Take a piece of floral wire and cut it to a length of about 4-6 inches. This will provide enough wire to securely attach the greenery to the embroidery loop.
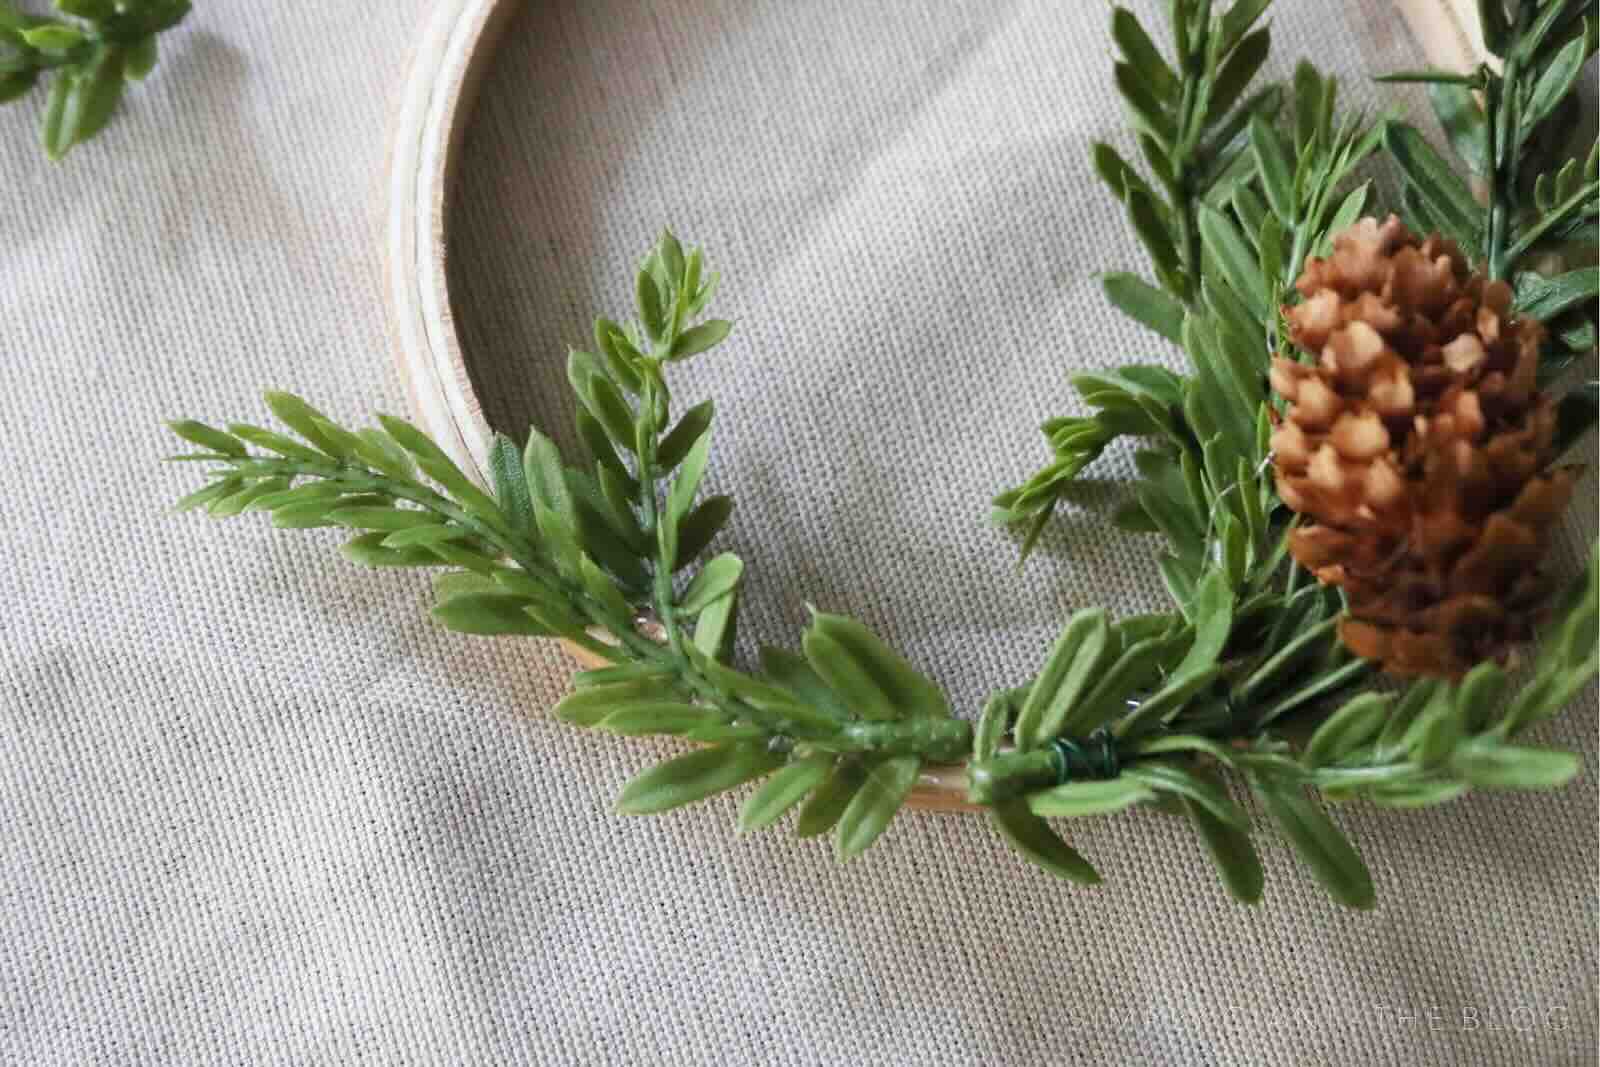
- Wrap the floral wire around the stem of the greenery pick and twist it tightly to secure it in place. Be sure to leave a bit of excess wire on both ends for later adjustments.
- Next, take the ends of the floral wire and carefully thread them through the embroidery loop. You can pass them through the gaps between the two hoops or through the fabric of the loop if it is loose enough.
- Pull the wire ends through the loop and twist them tightly around each other on the backside of the loop. This will ensure that the greenery pick is securely attached.
- Repeat these steps with the rest of your greenery picks, placing them around the embroidery loop in a balanced and visually pleasing arrangement. You can vary the lengths of the wire and the positions of the picks to add depth and dimension to your design.
Remember to step back and assess your design as you attach the greenery picks. Make any adjustments or reposition picks as needed to achieve the desired look. Once you have attached all the greenery picks, it’s time to move on to the next step: securing them in place.
Read more: How To Attach Basketball Hoop To Trampoline
Step 4: Securing the Greenery Picks
Now that you have attached the greenery picks to the embroidery loop, it’s important to secure them in place to ensure they stay in position. Follow these steps to secure the picks:
- Inspect the backside of your embroidery loop design. If you notice any loose ends of floral wire sticking out, trim them with wire cutters to prevent any potential snagging or scratching.
- If you want extra security for your greenery picks, you can use a hot glue gun to add a small dot of glue at the base of each pick where it meets the embroidery loop. This will provide additional reinforcement and keep the picks securely in place.
- Be cautious when using hot glue, as it can be hot and may cause burns. Make sure to follow the manufacturer’s instructions for your specific glue gun and take necessary safety precautions.
- Allow the hot glue to dry completely before moving on to the next step.
By securing the greenery picks with hot glue, you ensure that they will stay in place and maintain their desired positioning. It adds an extra layer of stability to your embroidery loop design. Now that your picks are secure, it’s time to add some final touches and make any necessary adjustments.
Step 5: Final Touches and Adjustments
As you near the completion of your embroidery loop design with attached greenery picks, it’s time to add some final touches and make any necessary adjustments. Follow these steps for the final stage:
- Take a close look at your design and assess if there are any gaps or areas that need additional greenery. If you find any, simply add more picks and secure them using the same method as before.
- Step back and evaluate the overall arrangement of the greenery picks. Make any adjustments to ensure a balanced and visually pleasing design. You can gently bend the picks or reposition them as needed.
- Trim any excess wire or visible ends that may be sticking out from the backside of the embroidery loop. This will give your design a clean and polished look.
- If you plan to hang your embroidery loop design, attach a ribbon or twine to the top of the embroidery loop. You can either tie it in a knot or create a small loop and secure it with floral wire.
- Make any final adjustments or tweaks to your design until you are completely satisfied with the result. This is your opportunity to add any personal touches or embellishments.
Once you have completed the final touches and made any necessary adjustments, step back and admire your finished embroidery loop design with attached greenery picks. Your creation will add a delightful touch of nature and beauty to your space.
Remember, don’t be afraid to let your creativity shine and experiment with different types of greenery picks and arrangements. Each design is unique and reflects your personal style and taste. Enjoy the process and have fun creating stunning botanical masterpieces!
Conclusion
Congratulations on completing your journey through the process of attaching greenery picks to an embroidery loop design! By following the steps outlined in this comprehensive guide, you have learned how to incorporate beautiful faux greenery into your projects and create stunning botanical masterpieces.
Remember, when choosing the greenery picks, consider the style, color scheme, texture, and size of your design. Opt for high-quality faux greenery that looks realistic and durable. Take your time in positioning and securing the greenery picks to ensure a balanced and visually pleasing arrangement.
Throughout the process, make necessary adjustments and add final touches to achieve the desired look. Securing the greenery picks with hot glue and trimming any excess wire or visible ends will give your design a polished finish.
Now that you have mastered the art of attaching greenery picks to an embroidery loop, the possibilities for creating beautiful botanical designs are endless. Let your creativity flourish as you explore different combinations of greenery and experiment with various arrangements.
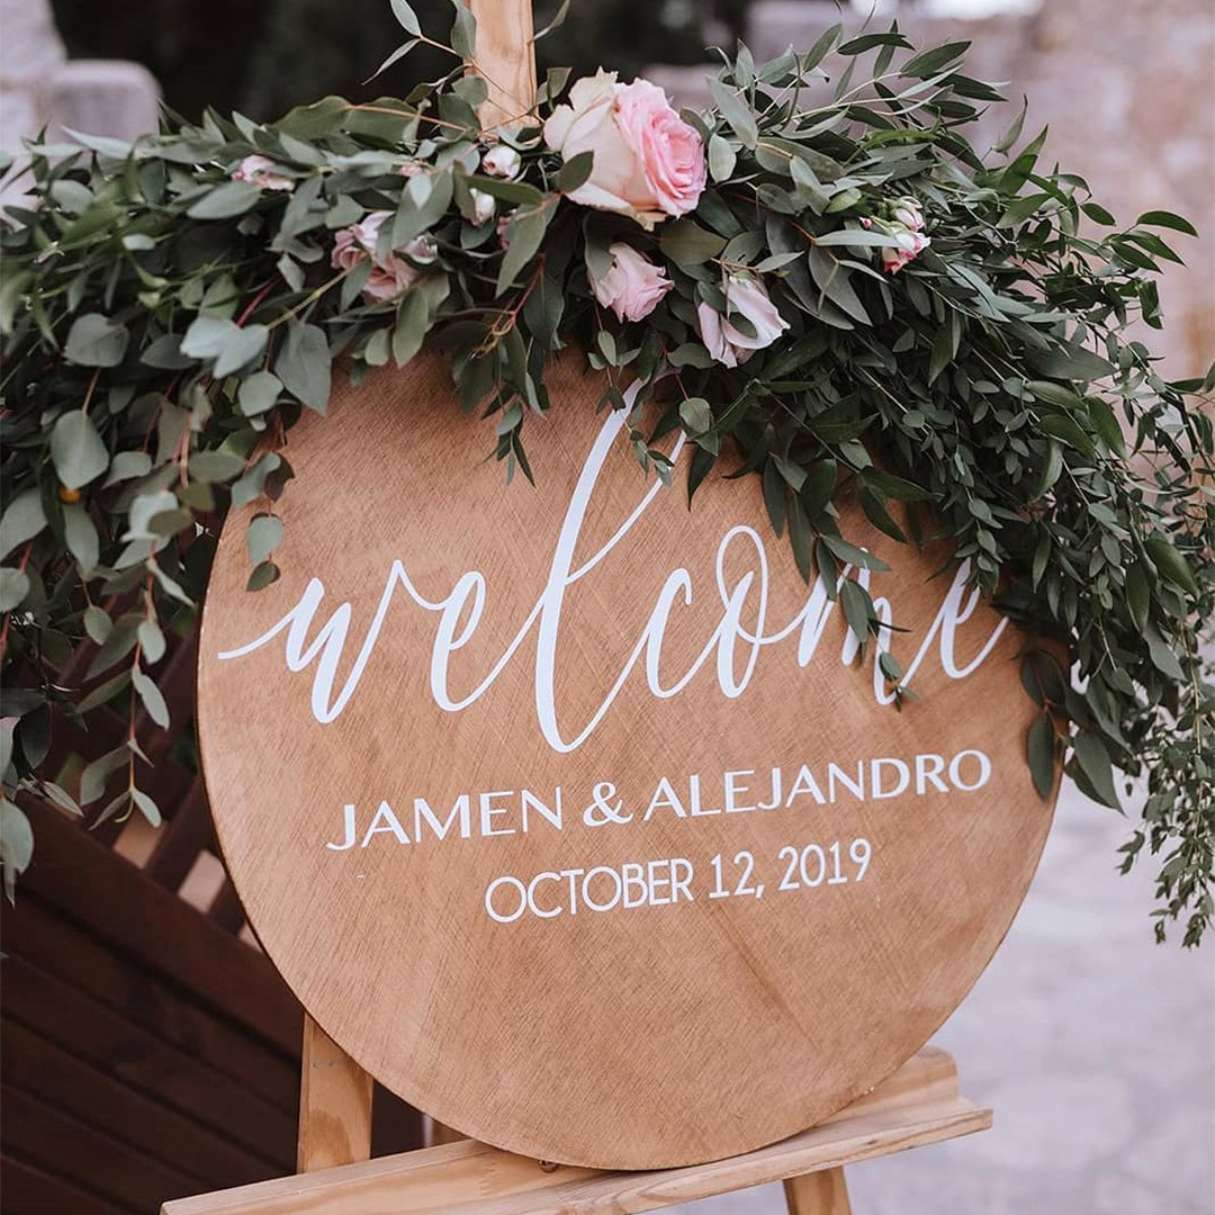
Whether you are making a wreath, a wall hanging, or a centerpiece, incorporating greenery picks will add a fresh and vibrant touch to your projects. These botanical accents will bring a sense of nature and beauty into your home or space.
So, gather your materials, let your imagination run wild, and embark on your next greenery-filled adventure. Enjoy the process, and most importantly, have fun creating unique and visually captivating embroidery loop designs with attached greenery picks!
Frequently Asked Questions about How To Attach Greenery Picks To An Embroidery Hoop Design
Was this page helpful?
At Storables.com, we guarantee accurate and reliable information. Our content, validated by Expert Board Contributors, is crafted following stringent Editorial Policies. We're committed to providing you with well-researched, expert-backed insights for all your informational needs.


0 thoughts on “How To Attach Greenery Picks To An Embroidery Hoop Design”