Home>Garden Essentials>How To Make A Garland With Greenery
Garden Essentials
How To Make A Garland With Greenery
Modified: March 7, 2024
Learn how to create a stunning garden garland using fresh greenery. Add a touch of natural elegance to your outdoor space with this easy DIY project.
(Many of the links in this article redirect to a specific reviewed product. Your purchase of these products through affiliate links helps to generate commission for Storables.com, at no extra cost. Learn more)
Introduction
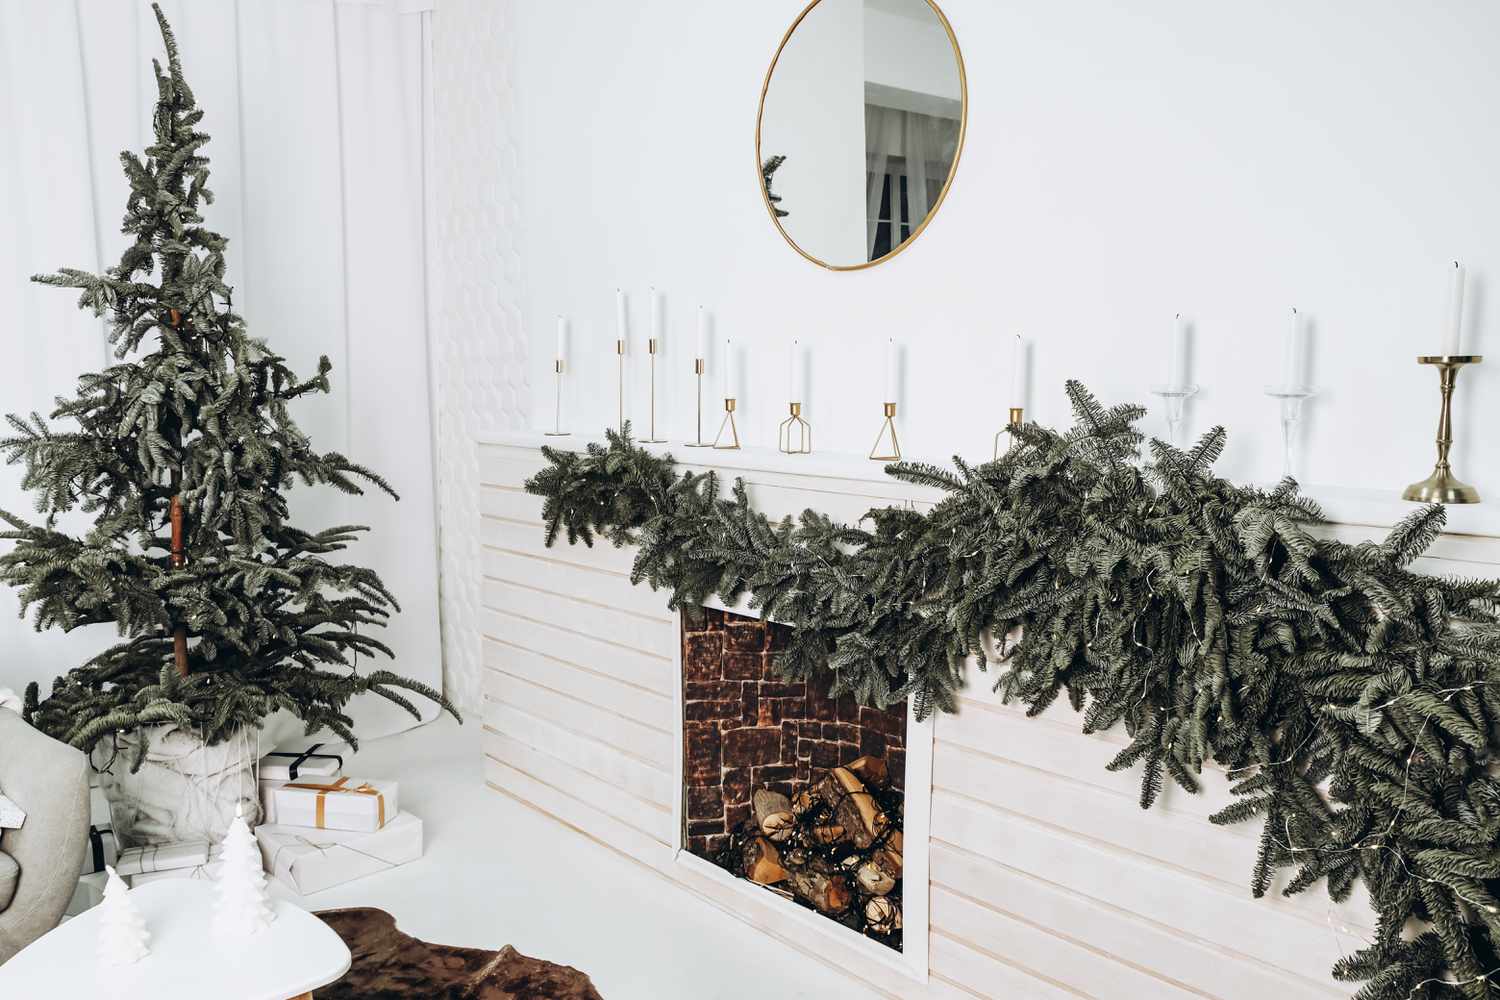
Adding a garland with greenery to your home can bring a touch of natural beauty and freshness to any space. Whether you want to enhance a mantle, adorn a staircase, or decorate for a special occasion, creating your own garland is a rewarding and creative endeavor.
Not only does making a garland with greenery allow you to customize it to suit your style and preferences, but it also allows you to connect with nature, bringing the outdoors inside. Plus, it’s a fun activity that you can enjoy with friends or family.
In this article, we’ll take you through the step-by-step process of how to make a garland with greenery. We’ll explore the materials you’ll need, explain each step in detail, and provide helpful tips and tricks along the way. Let’s get started on creating a stunning garland that will add a touch of natural beauty to your home.
Key Takeaways:
- Embrace nature by creating a personalized garland with greenery using a variety of textures and colors. Add decorative elements like pinecones and ribbon for a unique touch.
- Enjoy the process of making a garland with greenery, from gathering materials to hanging the finished product. Connect with nature and add natural beauty to your home.
Read more: How To Make Greenery Garlands For A Wedding
Materials Needed
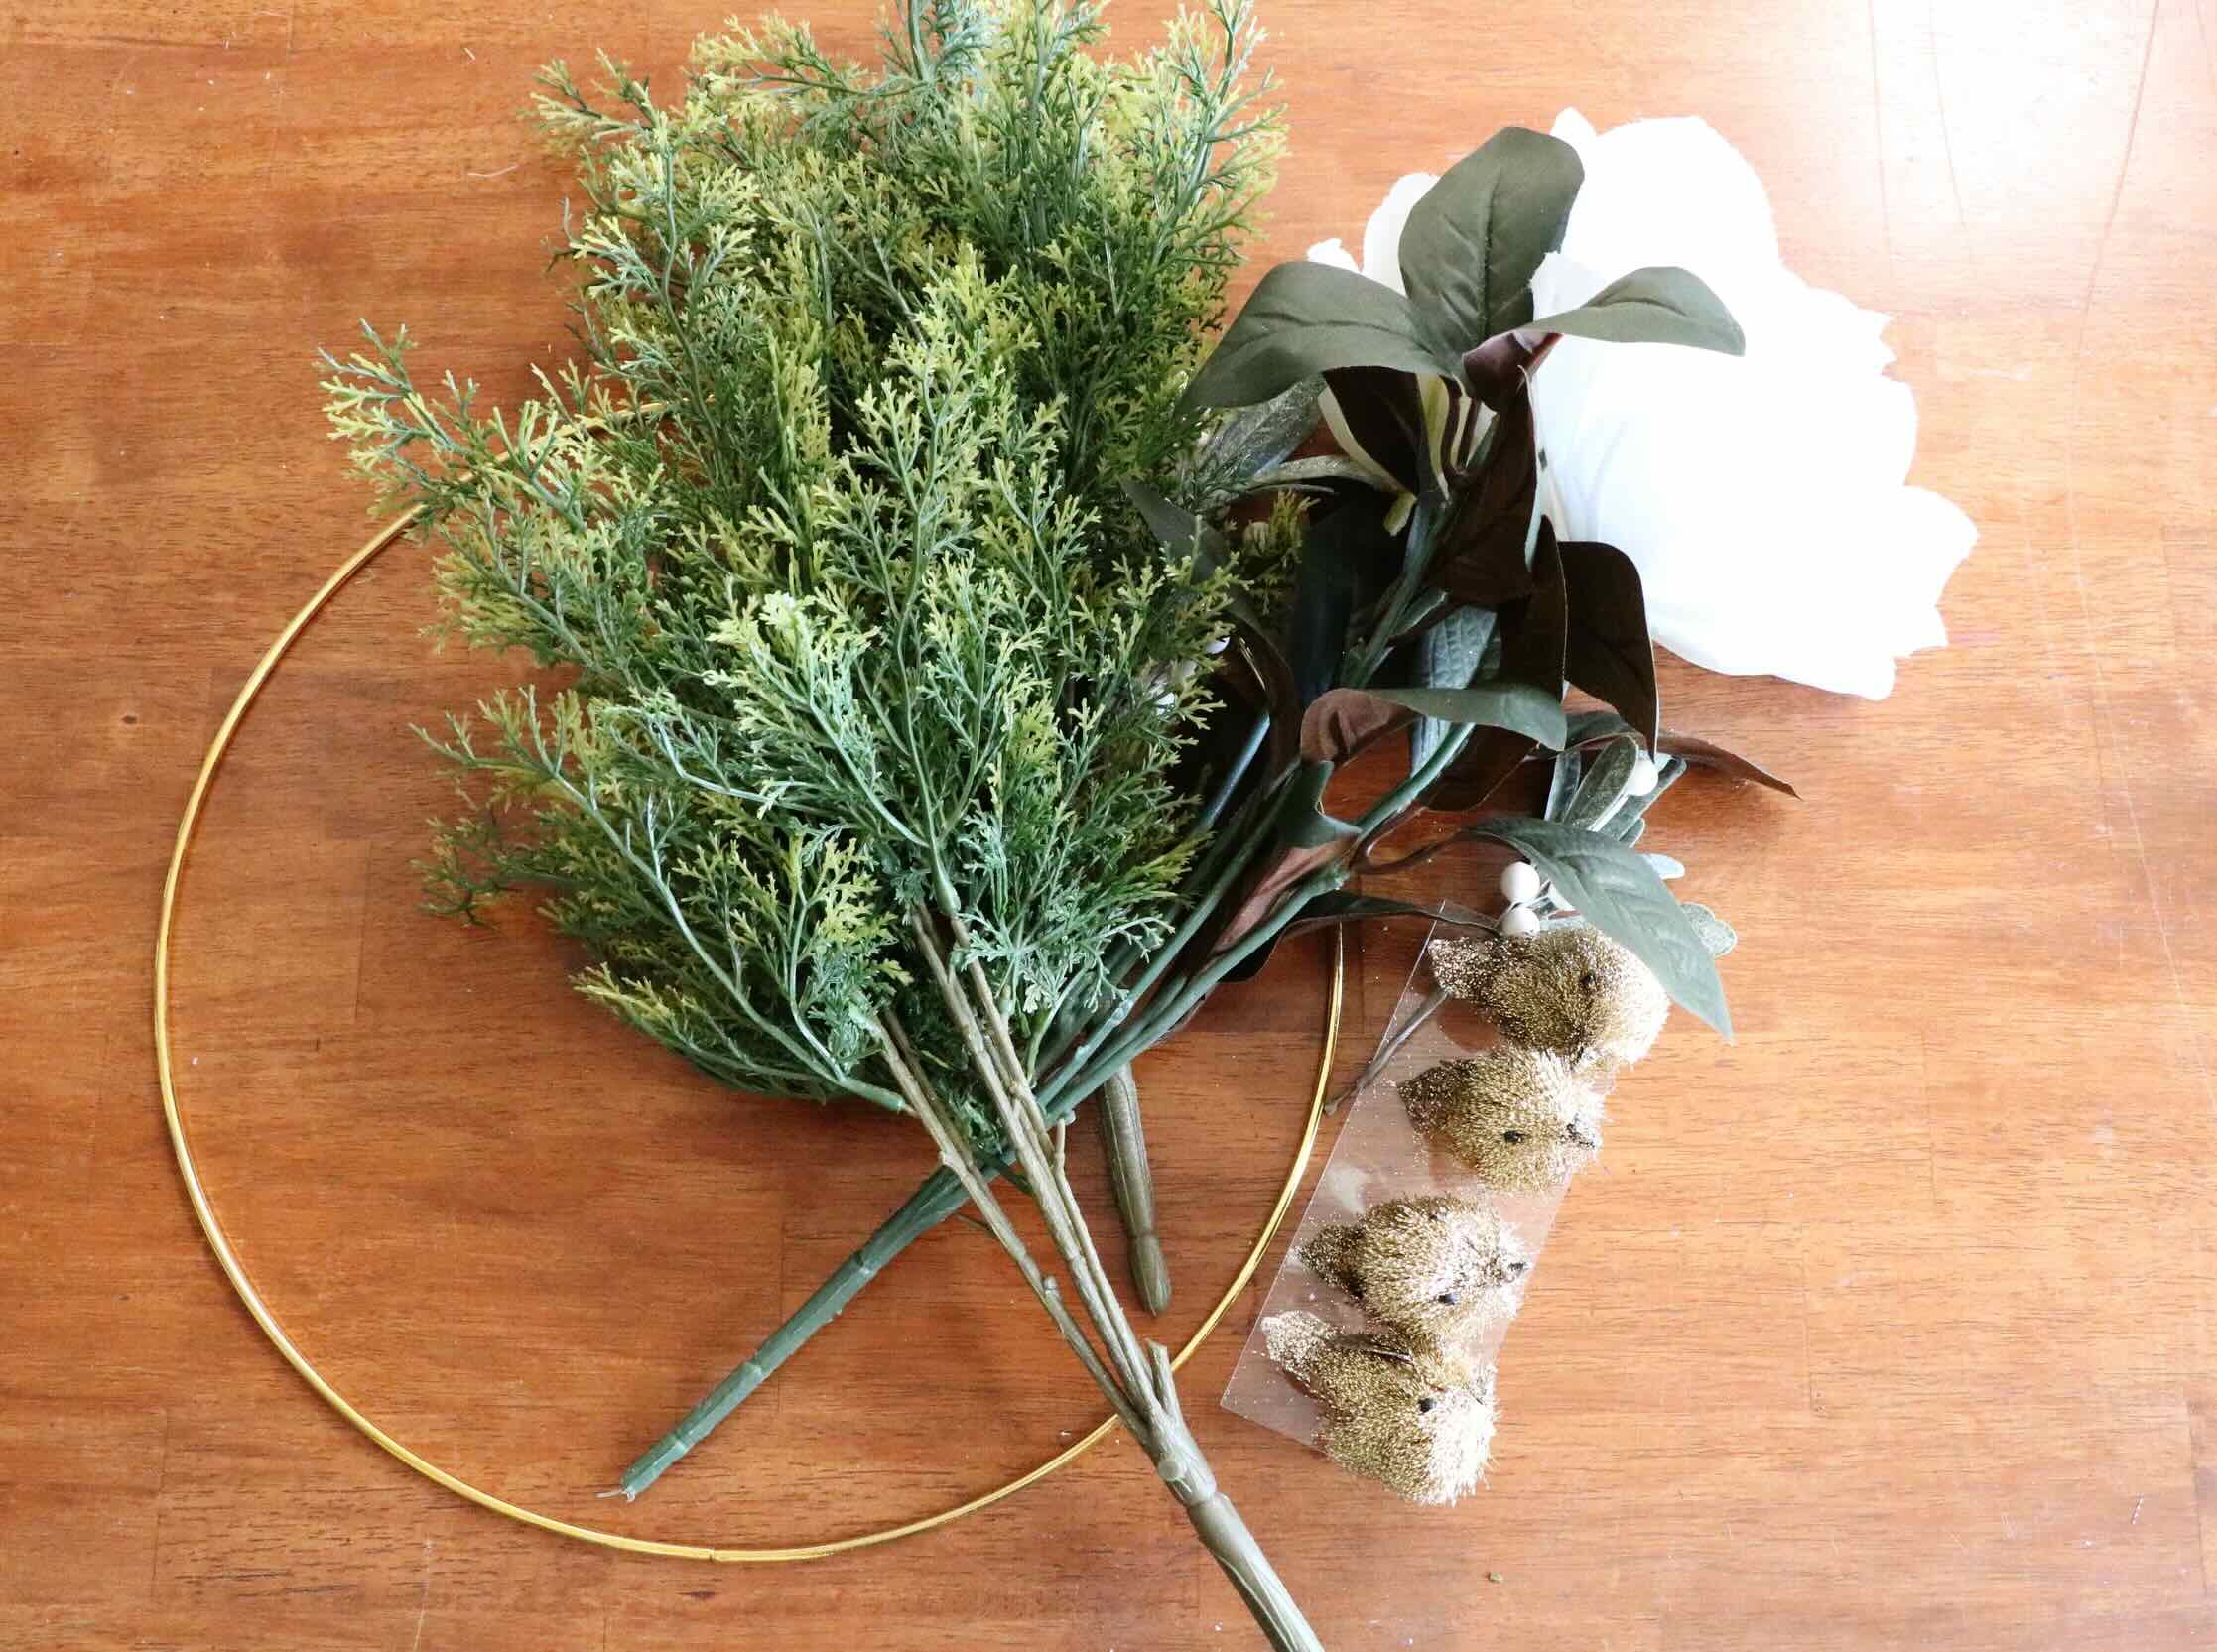
Before you embark on creating your garland with greenery, gather the following materials:
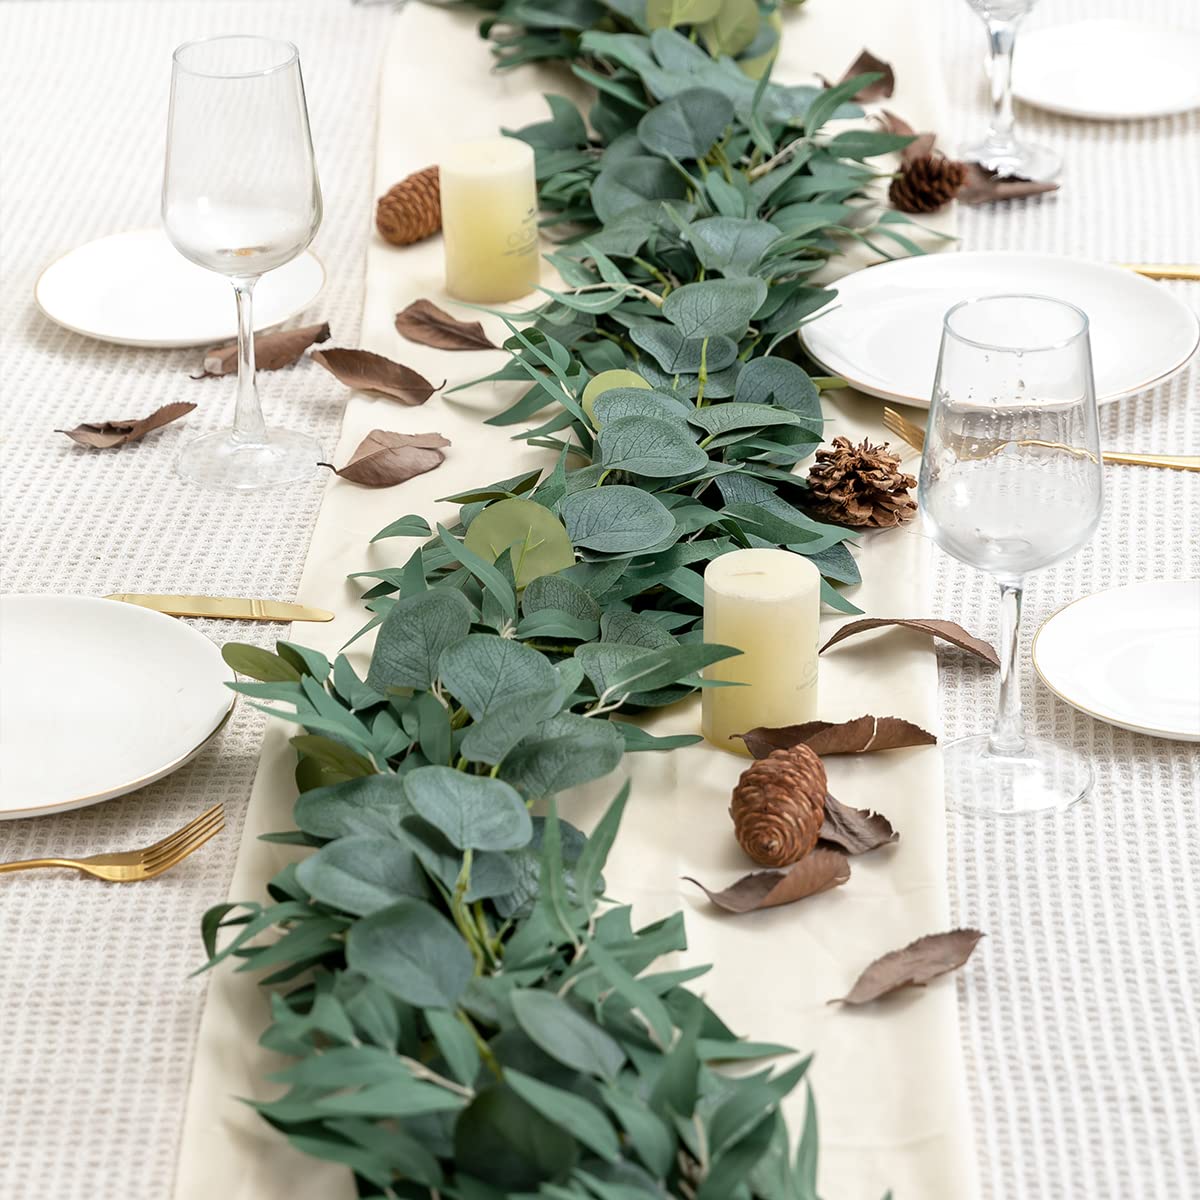
- Greenery: Choose a variety of fresh greenery, such as eucalyptus, pine branches, or ivy. Aim for a mix of textures and colors to create visual interest.
- Pruning shears: These will come in handy for trimming and shaping the greenery.
- Floral wire: Use a sturdy floral wire to secure the greenery together and attach any decorative elements.
- Wire cutters: You’ll need these to cut the floral wire to the desired lengths.
- Ribbon or twine: Choose a ribbon or twine that complements your greenery and adds a finishing touch to your garland.
- Decorative elements: Consider incorporating decorative elements such as pinecones, berries, or ornaments to add interest and personality to your garland.
- Optional: Greenery preservative: If you want your greenery to last longer, you can use a greenery preservative to keep it fresh.
Once you have gathered all the necessary materials, you’re ready to move on to the next step: gathering the greenery.
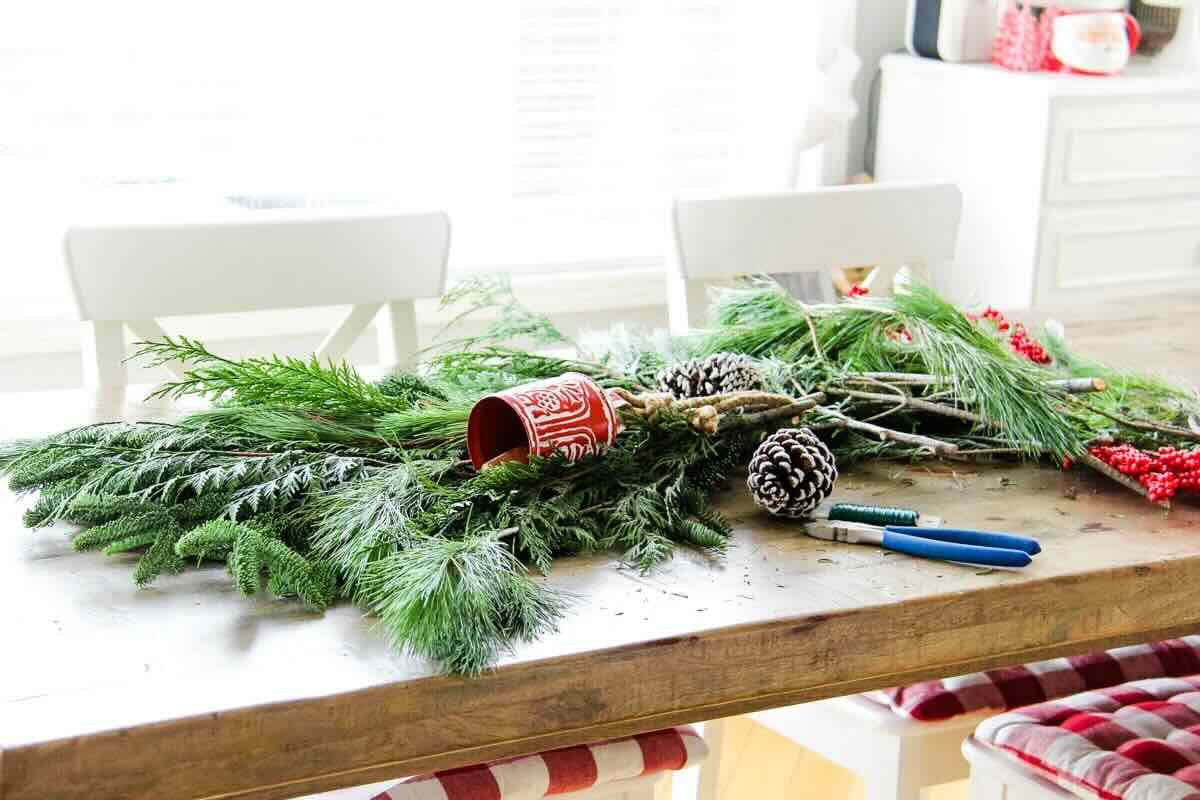
Step 1: Gather Greenery
The first step in creating your garland with greenery is to gather the fresh greenery you will be using. Look for a variety of greenery that appeals to you, such as eucalyptus, pine branches, or ivy. Consider the color, texture, and scent of the greenery to create a visually appealing and aromatic garland.
You can either purchase greenery from a local florist or garden center, or you can forage for it in nature. If you choose to forage, make sure you have permission to gather greenery and select it responsibly, taking care not to harm the environment.
When gathering the greenery, aim for a variety of lengths and sizes. This will help add dimension and visual interest to your garland. It’s recommended to gather more greenery than you think you’ll need, as it’s better to have too much than not enough.
Remember to inspect the greenery for any damaged or wilted leaves, and remove them before proceeding. This will ensure that your garland looks fresh and vibrant.
Once you have gathered your greenery, bring it indoors and get ready to start preparing the base for your garland.
Step 2: Prepare the Base
Now that you have gathered your greenery, it’s time to prepare the base for your garland. The base will provide structure and support for your greenery, ensuring that it hangs properly and looks elegant.
There are several options for the base of your garland:
- Wire: Using a long piece of floral wire, shape it into your desired length and form. This will serve as the foundation for your garland.
- Rope or twine: If you prefer a more rustic look, you can use a sturdy rope or twine as the base for your garland.
- Pre-made garland: If you prefer a shortcut, you can purchase a pre-made garland from a craft store or garden center. This will save you time and effort in creating the base.
Choose the option that best suits your style and resources. Once you have your base ready, it’s time to move on to arranging the greenery.
If you are using wire or rope as the base, lay it out flat on a table or work surface. Ensure that it is long enough to achieve your desired length for the garland.
If you are using a pre-made garland, you can skip this step and proceed directly to arranging the greenery.
With the base prepared, your garland is ready to come to life with the addition of fresh, vibrant greenery. Let’s move on to the next step: arranging the greenery for your garland.
Step 3: Arrange the Greenery
With the base of your garland ready, it’s time to start arranging the greenery. This step will allow you to showcase your creativity and personal style.
Begin by selecting a few pieces of greenery and placing them at one end of the base. Mix different textures, sizes, and shades of green to create a visually appealing arrangement.
As you progress along the base, add more greenery, overlapping the stems to create a seamless and full look. Play around with the placement of the greenery, bending the stems to fit the curve of the base if necessary.
Continue this process, gradually building up the greenery on the base. Step back occasionally to assess the overall appearance and make any necessary adjustments.
Remember to maintain a balanced distribution of greenery along the length of the garland. Avoid overcrowding one area while leaving other sections sparse.
Feel free to experiment with different patterns and configurations. You can create a symmetrical garland by mirroring the greenery arrangement on both sides of the base, or you can opt for a more organic and asymmetrical look.
Take your time with this step and enjoy the process of arranging the greenery. It’s all about creating a garland that reflects your unique style and brings beauty to your space.
Once you have arranged the greenery to your satisfaction, it’s time to move on to securing the greenery in place.
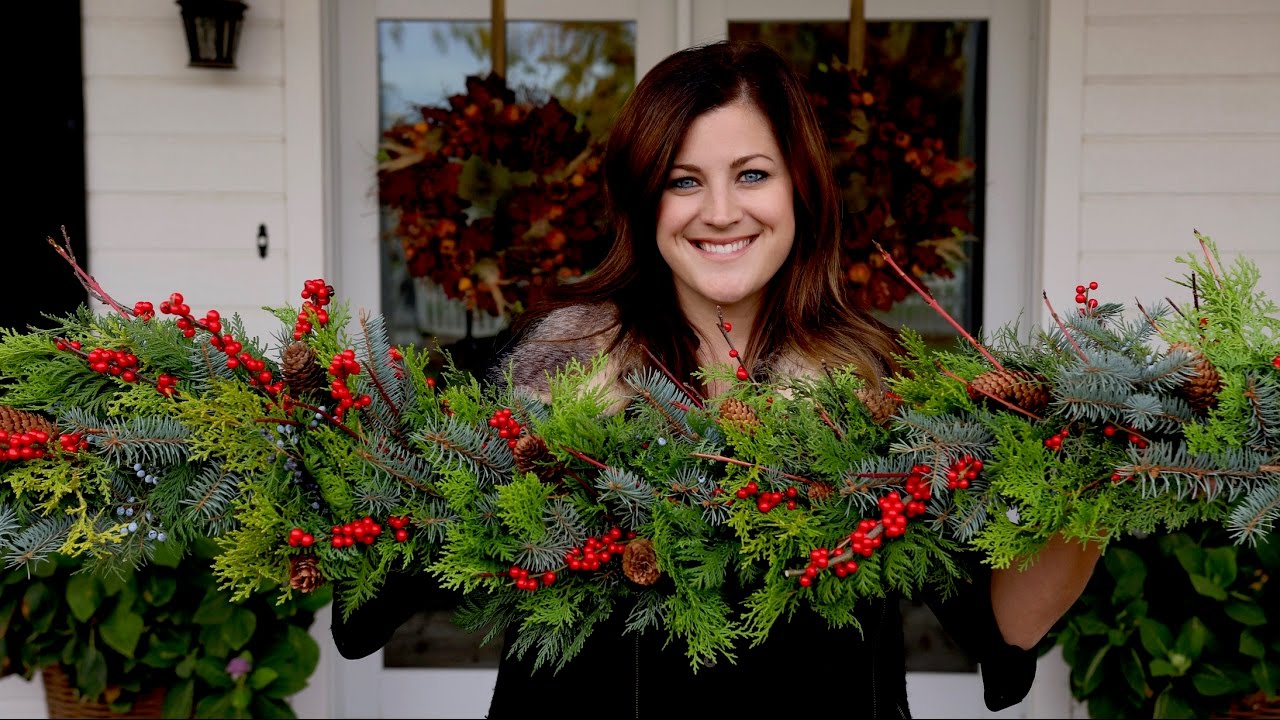
When making a garland with greenery, start by choosing a variety of fresh greenery to create texture and visual interest. Use floral wire to attach the greenery to a long piece of twine or rope, layering and overlapping the branches as you go. This will create a beautiful and natural-looking garland for any occasion.
Read more: How To Make Fresh Greenery Garlands
Step 4: Secure the Greenery
Securing the greenery in place is crucial to ensure that your garland remains intact and retains its shape. There are a few methods you can use to secure the greenery to the base of your garland:
- Floral wire: Cut small pieces of floral wire, approximately 4-6 inches long. Carefully wrap the wire around the base of the greenery, making sure to include the stem and the base wire. Twist the wire firmly to secure the greenery in place. Repeat this process at regular intervals along the length of the garland.
- Floral tape: Alternatively, you can use floral tape to secure the greenery. Cut small pieces of floral tape and wrap them around the base of the stems, pressing firmly to adhere the tape. Repeat this process as needed to secure the greenery along the garland.
- Hot glue (for non-permanent garlands): If you are creating a non-permanent garland, you can use hot glue to attach the greenery directly to the base. Apply a small amount of hot glue to the stem of the greenery and press it firmly onto the base. Be cautious while working with hot glue to avoid burns.
Choose the method that works best for you based on the type of greenery you are using and your personal preference.
As you secure the greenery, be mindful of maintaining the desired shape and thickness of your garland. Adjust the position of the greenery as needed to achieve an even and polished look.
Take this opportunity to inspect the garland and make any final adjustments to the arrangement of the greenery. Once you are satisfied with the placement, you can move on to adding decorative elements.
Step 5: Add Decorative Elements
Now that you have the greenery securely in place, it’s time to add some decorative elements to enhance the look of your garland. This step allows you to personalize your creation and make it truly unique.
Consider incorporating various decorative elements such as:
- Pinecones: Attach pinecones to the garland using floral wire or hot glue. You can leave them in their natural state or paint them in colors that complement your overall design.
- Berries and fruits: Adding berries or small fruits can bring a pop of color and an element of whimsy to your garland. Secure them using floral wire or hot glue.
- Ribbon or bows: Wrap a ribbon or tie bows along the length of the garland for an elegant and festive touch. Choose a ribbon that complements the colors and style of your greenery.
- Ornaments: Hang small ornaments from the garland to add a touch of sparkle and charm. Make sure the ornaments are lightweight and securely attached.
- Lights: For a magical glow, weave string lights into the garland. This creates a warm and inviting ambiance, especially during the holiday season or for special occasions.
As you add decorative elements, ensure that they are evenly distributed and spaced throughout the garland. Step back occasionally to assess the overall balance and make any necessary adjustments.
Remember, the goal is to enhance the beauty of your garland without overwhelming the natural beauty of the greenery. Less can sometimes be more when it comes to adding decorative elements.
Once you are satisfied with the placement of the decorative elements, you’re almost ready to showcase your beautifully adorned garland. The final step is hanging it in its designated spot.
Step 6: Hang the Garland
After all the hard work and creativity you’ve put into making your garland, it’s time to hang it and proudly display it in your desired location. Follow these steps to ensure a secure and visually pleasing installation:
- Choose a location: Decide where you want to hang your garland. It could be above a fireplace, along a staircase railing, or as a focal point on a wall. Make sure the surface is clean and free from dust or debris.
- Measure and cut: Measure the length of your garland to ensure it fits perfectly in the chosen location. Use wire cutters or scissors to trim any excess length if needed.
- Hanging hooks or nails: Install hanging hooks or nails in the desired location. Make sure they are strong enough to support the weight of the garland.
- Hang the garland: If you are using a wire or rope as the base, gently loop the ends around the hanging hooks or nails, ensuring that the garland is evenly balanced. If you are using a pre-made garland, it may already have built-in hooks or suspension points that you can use for hanging.
- Adjust and fluff: Once the garland is hung, step back and check for any adjustments that may be needed. Gently adjust the greenery and decorative elements to ensure an even and visually appealing arrangement.
- Optional: Add additional support: If your garland feels a bit heavy or you want added security, use clear fishing line or floral wire to anchor certain sections of the garland to surrounding objects, such as curtain rods or banisters.
By following these steps, you can ensure that your garland is securely hung and beautifully displayed for all to admire.
Now that you have completed all the steps, stand back and take pride in your handcrafted garland with greenery. It’s the perfect addition to any space, bringing a touch of nature and a hint of elegance.
Remember to periodically check and adjust the garland as needed to keep it looking fresh and vibrant throughout the season.
Enjoy the beauty and natural charm that your garland with greenery brings to your home!
Conclusion
Creating a garland with greenery is a wonderful way to bring the beauty of nature into your home. Whether you’re decorating for a special occasion or simply adding a touch of freshness to your space, making your own garland allows you to showcase your creativity and personalize your decor.
In this article, we’ve walked through the step-by-step process of creating a stunning garland with greenery. From gathering the greenery to securing it to the base, arranging the greenery, adding decorative elements, and finally hanging the garland, each step plays a vital role in achieving a visually appealing and cohesive result.
Remember to choose a variety of greenery that appeals to you, mix different textures and colors, and play around with the arrangement to reflect your unique style. Incorporate decorative elements like pinecones, berries, or ornaments to add visual interest and personality to your garland.
By following these steps and infusing your own creativity, you can create a garland that brings a touch of natural beauty and elegance to any space in your home.
So, gather your materials, unleash your imagination, and embark on the joyful journey of creating your own garland with greenery. It’s a rewarding and fulfilling activity that allows you to connect with nature and add a beautiful touch to your living environment. Enjoy the process and the final result as you showcase your DIY garland with pride!
Frequently Asked Questions about How To Make A Garland With Greenery
Was this page helpful?
At Storables.com, we guarantee accurate and reliable information. Our content, validated by Expert Board Contributors, is crafted following stringent Editorial Policies. We're committed to providing you with well-researched, expert-backed insights for all your informational needs.


0 thoughts on “How To Make A Garland With Greenery”