Articles
How To Make Porch Signs With Cricut
Modified: December 7, 2023
Learn how to create stunning porch signs using your Cricut machine with our expert articles. Get step-by-step instructions and design tips.
(Many of the links in this article redirect to a specific reviewed product. Your purchase of these products through affiliate links helps to generate commission for Storables.com, at no extra cost. Learn more)
Introduction
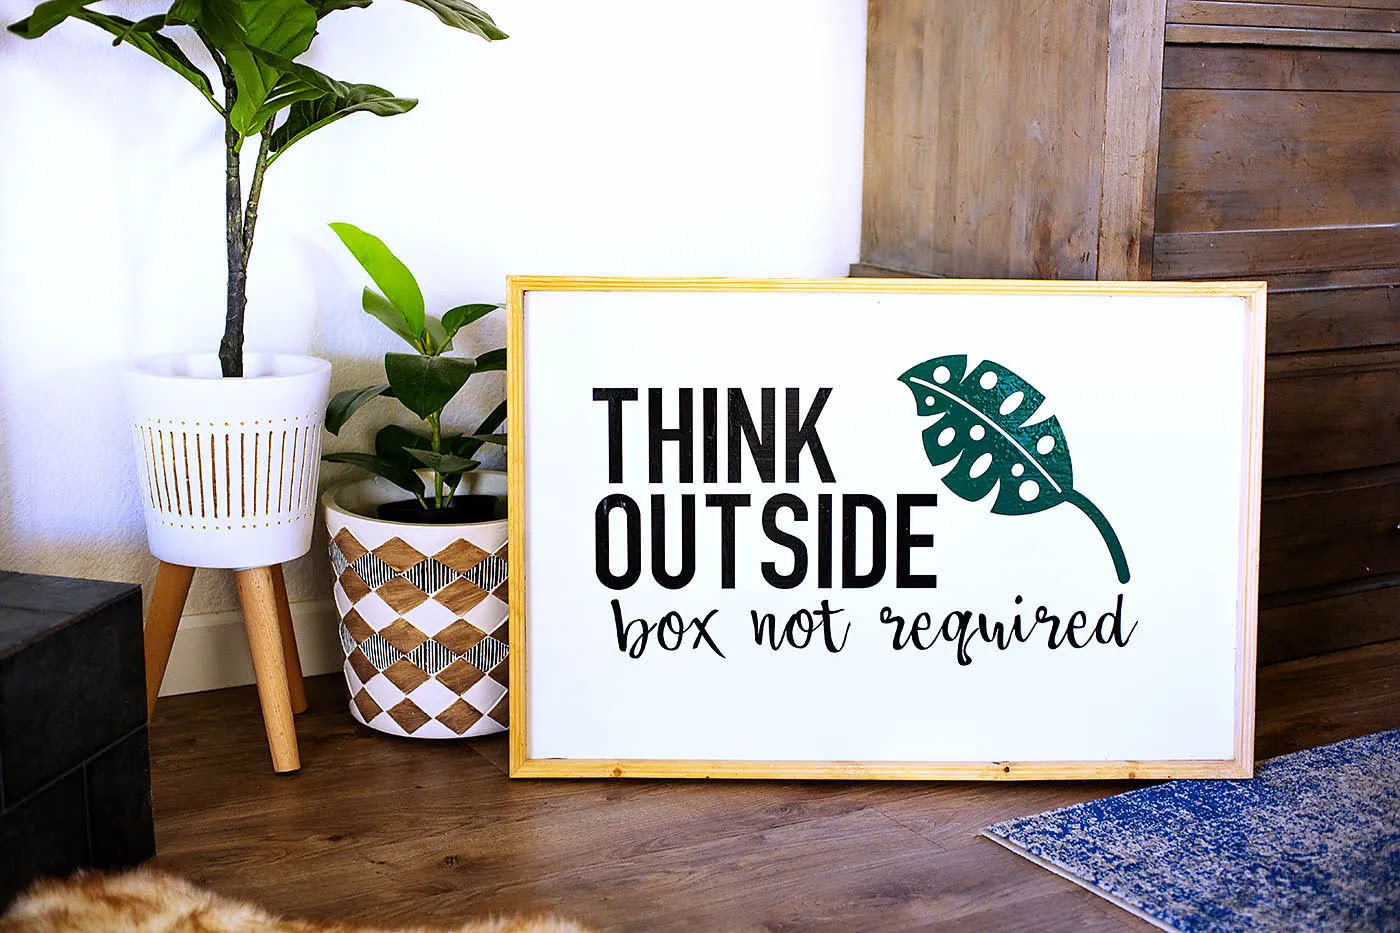
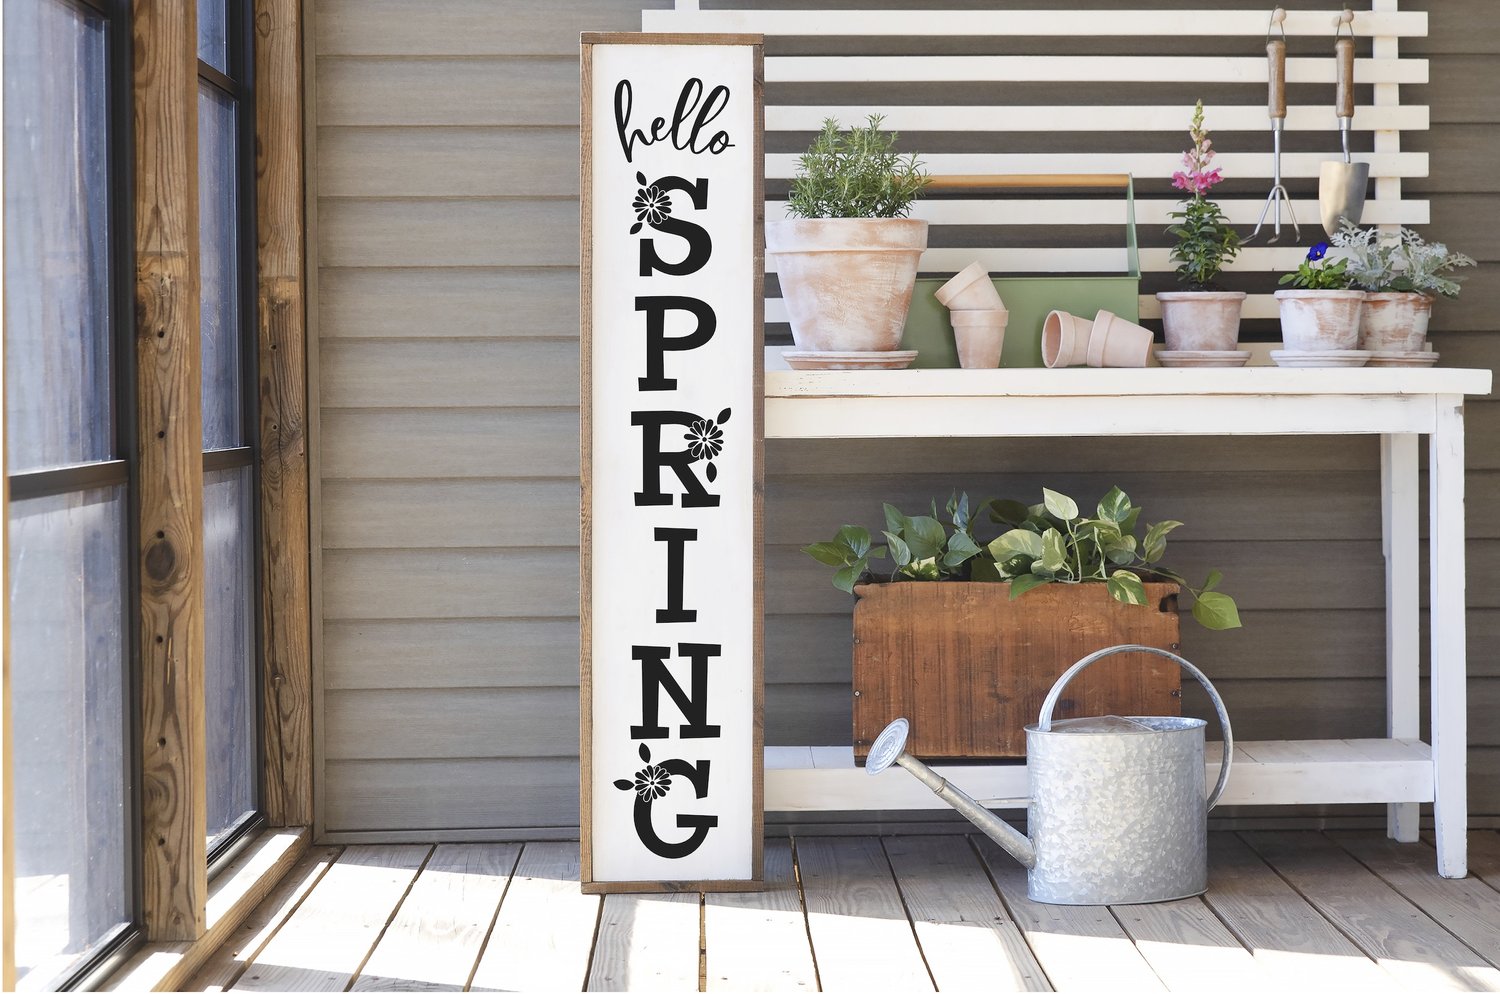
When it comes to adding a personalized touch to your home’s exterior, porch signs have become increasingly popular. These customizable signs not only make a statement but also serve as a welcoming feature for guests. Thanks to the Cricut machine, creating your own porch sign has never been easier or more enjoyable.
In this article, we will guide you through the step-by-step process of making porch signs with the Cricut machine. Whether you’re a beginner or experienced crafter, this DIY project is sure to bring out your creative side and leave you with a beautiful and unique porch sign to display.
Before we delve into the details, let’s make sure you have all the necessary materials at hand.
Key Takeaways:
- Personalize your home’s exterior with DIY porch signs using a Cricut machine. Gather materials, design, cut, apply, and add optional embellishments for a unique and welcoming touch.
- Express creativity and craft a stunning porch sign with Cricut. Design, cut, apply, and add optional embellishments to create a personalized and charming addition to your home’s exterior.
Read more: How To Make Porch Signs
Materials Needed
Before you get started on your porch sign project, gather the following materials:
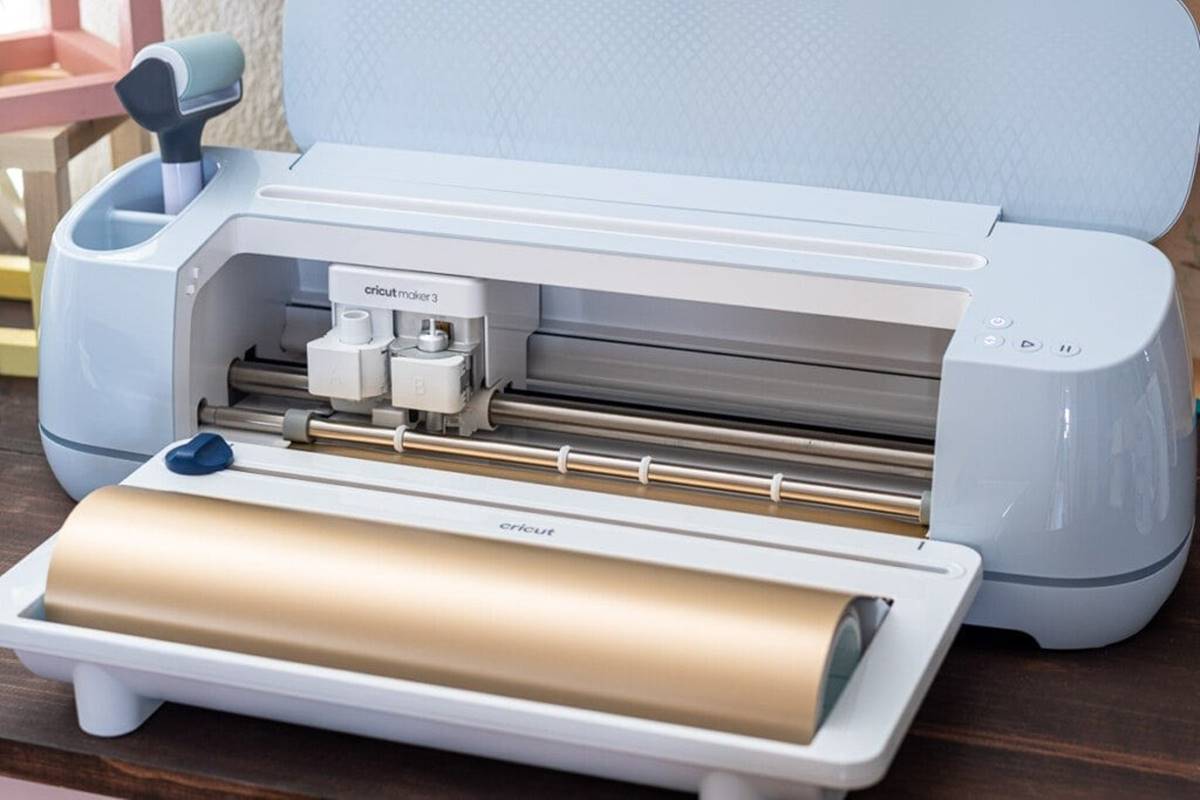
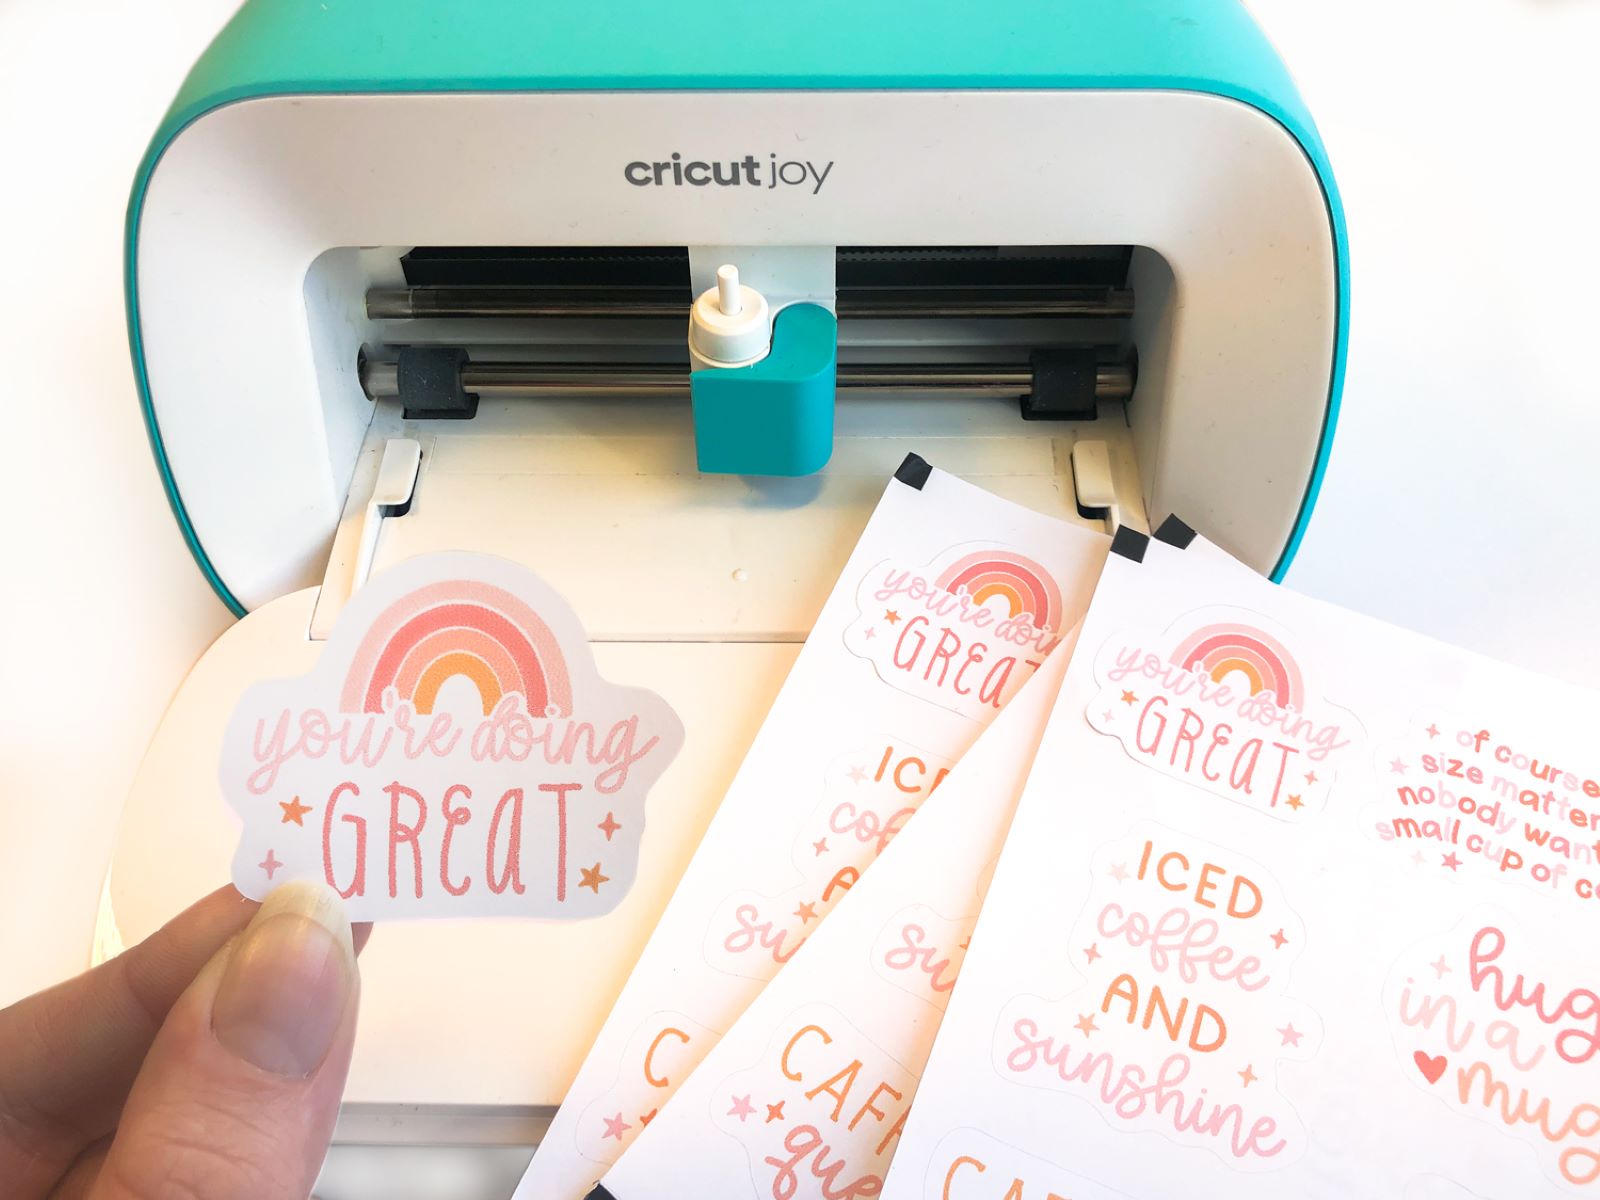
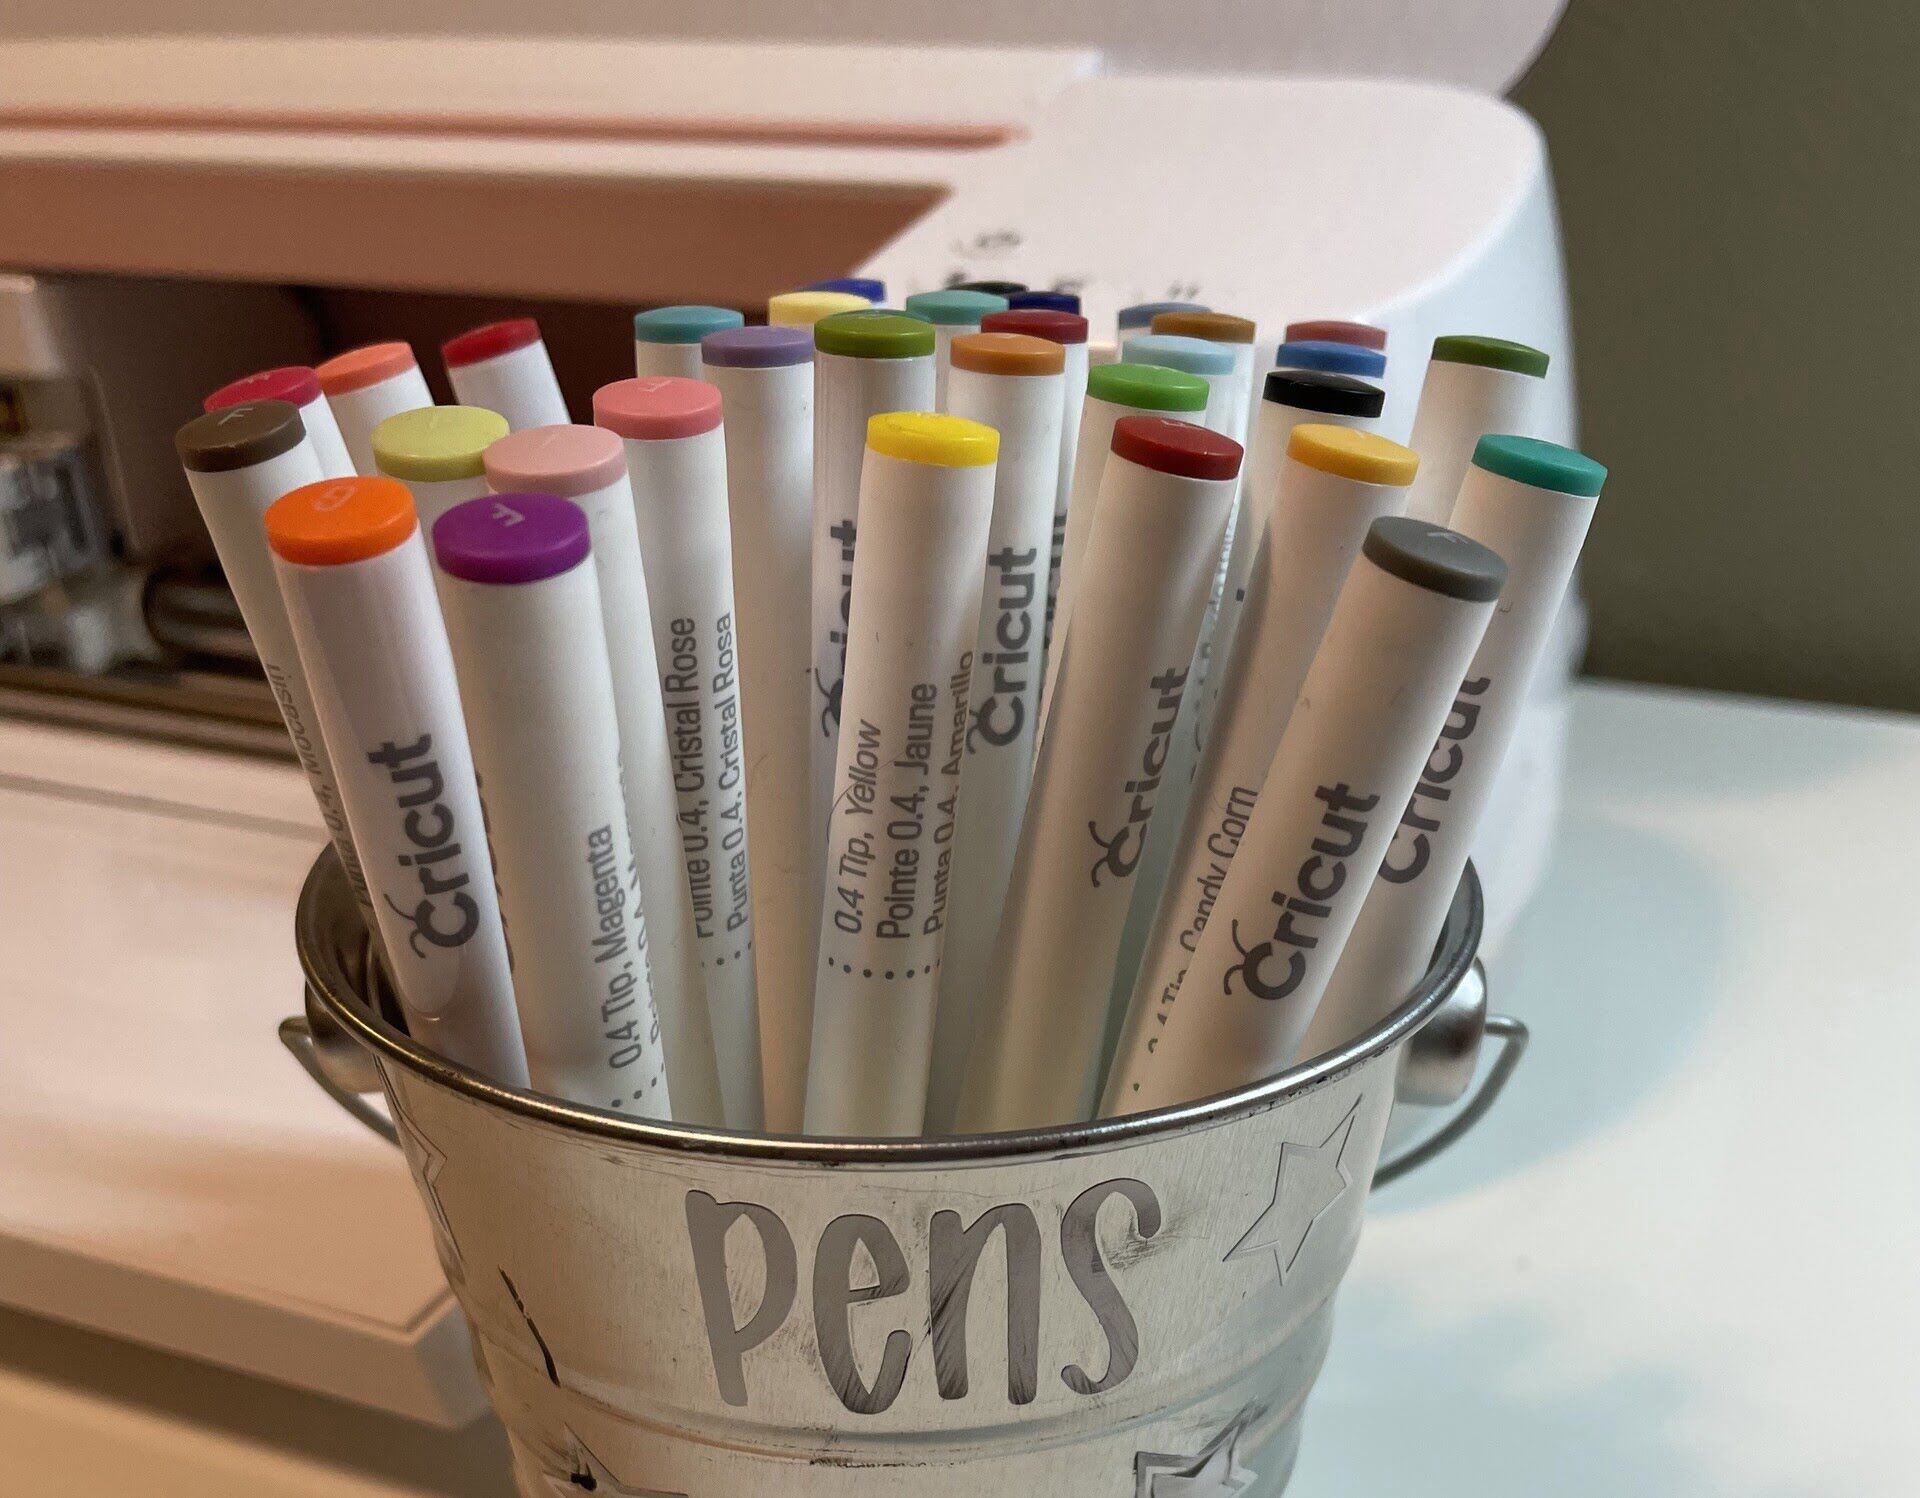
- A Cricut machine (such as the Cricut Explore Air 2 or Cricut Maker)
- Cricut cutting mats
- Vinyl or stencil material
- Weeding tools (hook and spatula)
- Transfer tape
- A wooden sign board (pre-made or DIY)
- Paint or stain for the sign board
- Paintbrushes or foam applicators
- Sandpaper (if needed)
- A scraper or credit card (for applying the vinyl)
- Optional: Additional embellishments (such as ribbon, bows, or decorative elements)
Having all these items ready will ensure a smooth and efficient process as you create your porch sign.
Step 1: Designing Your Porch Sign
The first step in creating your porch sign is designing the layout and text using the Cricut Design Space software. This is where your creativity can shine and customize your sign to reflect your personal style.
Start by opening the Cricut Design Space on your computer or smartphone. If you don’t have an account, you’ll need to create one.
Once you’re logged in, click on “New Project” to begin a new design. You’ll be prompted to choose the canvas size that matches your sign board dimensions.
Next, explore the various font options available in the Design Space. You can choose from a wide range of preloaded fonts or upload your own. Experiment with different fonts to find the one that best suits the aesthetic you want.
After selecting your font, it’s time to start designing your text or graphics. You can create a single line of text or multiple lines for a more elaborate design. Use the alignment tools to arrange the text and graphics precisely how you want them to appear on your sign. Play around with the sizing and spacing options to achieve the desired look.
If you want to add additional graphics or shapes, the Design Space offers an extensive collection of images and designs. You can search by keyword or browse through different categories to find the perfect elements to complement your porch sign.
Remember to save your design periodically as you work to avoid any potential loss of progress.
Once you are satisfied with your design, click on the “Make It” button in the upper right corner of the Design Space. This will take you to the cutting screen, where you’ll prep your design for the Cricut machine.
In the next step, we’ll guide you through the preparation and cutting process to bring your design to life on your porch sign.
Step 2: Preparation and Cutting
Now that you have your design finalized in the Cricut Design Space, it’s time to prepare the materials and set up the Cricut machine for cutting. Follow these steps to ensure a successful cutting process:
- Prepare your cutting mat: Depending on the size of your design, choose the appropriate size of Cricut cutting mat. Make sure the mat is clean and free of any debris or residue from previous projects.
- Load the mat into the machine: Open the clamp on the side of the Cricut machine and insert the cutting mat with your vinyl or stencil material. Align the mat with the guidelines on the machine and press the clamp to secure it in place.
- Connect your machine: Ensure that your Cricut machine is connected to your computer or smartphone using the appropriate USB cable or via Bluetooth.
- Set up the Design Space: Open the Cricut Design Space and select the specific Cricut machine you’re using from the list of available devices.
- Choose the appropriate material setting: The Design Space will prompt you to choose the material type for cutting. Select the vinyl or stencil material option that matches what you’re using for your porch sign.
- Load and unload the cutting tool: If you’re using a Cricut Explore Air 2, insert the fine-point blade into the machine’s accessory slot. If you’re using a Cricut Maker, select the appropriate cutting tool for your material.
- Start the cutting process: Follow the on-screen instructions in the Design Space to start the cutting process. The Cricut machine will begin cutting your design based on the settings you’ve chosen.
- Unload the mat and remove the cutouts: Once the cutting process is complete, press the unload button on the machine. Gently remove the cutting mat from the machine and carefully peel off the excess vinyl or stencil material, leaving only your desired design.
Take your time and be patient during the cutting process to ensure clean and precise cuts on your porch sign design. Once you’ve completed these steps, you’re ready to move on to the next stage: applying the design to your sign board.
When making porch signs with Cricut, be sure to use outdoor vinyl to ensure durability and weather resistance. This will help your signs withstand the elements and last longer.
Step 3: Application Process
Now that you have your design cut out, it’s time to apply it to your sign board. Follow these steps to ensure a smooth application:
- Prepare your sign board: If your sign board is pre-made, make sure it’s clean and free of dust or particles. If you’re using a DIY sign board, ensure it’s properly sanded and painted or stained according to your preference.
- Position the design: Carefully place your cut-out design on the sign board to determine the desired placement. Use a ruler or measuring tape to ensure the design is centered and aligned properly.
- Secure the transfer tape: Cut a piece of transfer tape slightly larger than your design. Remove the backing from the transfer tape and carefully place it onto your cut-out design, ensuring that the design adheres to the transfer tape.
- Transfer the design: Slowly peel off the backing of the vinyl or stencil material, making sure the design remains on the transfer tape. Align the design with your sign board and carefully press it onto the surface. Use a scraper or credit card to smooth out any air bubbles or wrinkles.
- Remove the transfer tape: Gently peel off the transfer tape, starting from one corner and slowly moving across the design. Be careful not to lift or tear any parts of the design as you remove the transfer tape.
- Finishing touches: Once the design is applied, inspect it carefully for any imperfections or air bubbles. Use a weeding tool or your fingertips to fix any small areas that need adjustment.
By following these steps, you’ll be able to successfully apply your cut-out design to your porch sign board. Now, let’s move on to optional add-ons to further personalize your sign.
Read more: How To Make A Welcome Sign For Porch
Step 4: Optional Add-Ons
While your porch sign may already look stunning with the applied design, you can further enhance its appeal by adding some optional add-ons. These extra touches will give your sign a unique and personalized touch. Here are a few ideas to consider:
- Ribbon or bows: Attach a decorative ribbon or bow to the top or bottom of your sign for an added touch of charm.
- Floral arrangements: Adorn your sign with faux flowers or greenery to create a beautiful and eye-catching display.
- Personalized name or date: Add a custom name, monogram, or special date to your sign using vinyl lettering or stencils.
- Additional embellishments: Get creative and add any other decorative elements that match your personal style. This could include buttons, beads, small ornaments, or even LED lights.
- Sealing the sign: To protect your porch sign from the elements, consider applying a clear sealant over the design and the entire sign board.
The choice of add-ons is entirely up to you and should reflect your personal style and preferences. These optional steps allow you to take your porch sign to the next level and make it truly one-of-a-kind.
Once you’ve added the optional add-ons, you’re almost done! Let’s move on to the final step: giving your porch sign those finishing touches.
Step 5: Finishing Touches
After completing the main steps of designing, cutting, applying, and adding optional add-ons to your porch sign, it’s time to add the finishing touches that will complete the overall look and make your sign stand out. Consider the following suggestions:
- Clean and touch up: Ensure that your sign board is clean and free from any smudges or marks. Use a damp cloth or gentle cleaner to wipe away any dust or dirt. If necessary, touch up the paint or stain on the sign board to maintain its vibrant appearance.
- Hanging hardware: If your porch sign is intended to be hung, attach the appropriate hardware to the back of the sign. This could be D-rings, sawtooth hangers, or picture wire, depending on the weight and size of your sign.
- Find the perfect spot: Consider the best location for your porch sign. Hang it on the front porch, near the entrance, or in any area that allows the sign to be prominently displayed and easily visible to visitors.
- Share and enjoy: Once your porch sign is in its designated spot, take a step back and admire your handiwork. Share your creation with friends and family, and enjoy the warm and welcoming atmosphere it brings to your home.
Remember that the finishing touches are what bring the entire project together and make your porch sign truly special. Spend some time perfecting these details and enjoy the final result.
With a little creativity and the help of your Cricut machine, you’ve successfully created a beautiful porch sign that adds a personalized touch to your home’s exterior. Don’t forget to share your creation with others and inspire them to embark on their own DIY projects.
Now, it’s time to sit back, relax, and bask in the satisfaction of a job well done!
This concludes our step-by-step guide on how to make porch signs with Cricut. We hope you enjoyed the process and are thrilled with the final outcome. Happy crafting!
Conclusion
Creating porch signs with the help of a Cricut machine is a fantastic way to express your creativity and add a personalized touch to your home’s exterior. By following the step-by-step guide provided in this article, you’re able to design, cut, apply, and add optional embellishments to your porch sign with ease.
Throughout this process, we’ve discussed the importance of gathering the necessary materials and designing your porch sign in the Cricut Design Space. We’ve also provided detailed instructions on preparing and cutting your design, as well as applying it to the sign board.
Additionally, we’ve explored optional add-ons that allow you to further personalize your porch sign, such as ribbons, floral arrangements, and custom lettering. These add-ons give your sign a unique touch and make it truly stand out.
Finally, we highlighted the significance of the finishing touches, such as cleaning and touch-ups, adding hanging hardware, and finding the perfect spot to display your sign.
Now, armed with the knowledge and skills gained from this guide, you’re ready to embark on your own porch sign project. Let your creativity shine, and enjoy the process of crafting a beautiful and welcoming sign for your home.
Remember to share your creations with others, as they will undoubtedly be impressed by your DIY skills and the personalized touch you’ve brought to your home’s exterior. Happy crafting!
Frequently Asked Questions about How To Make Porch Signs With Cricut
Was this page helpful?
At Storables.com, we guarantee accurate and reliable information. Our content, validated by Expert Board Contributors, is crafted following stringent Editorial Policies. We're committed to providing you with well-researched, expert-backed insights for all your informational needs.


0 thoughts on “How To Make Porch Signs With Cricut”