Home>Garden Essentials>How To Do Greenery Swags Over Windows

Garden Essentials
How To Do Greenery Swags Over Windows
Modified: March 7, 2024
Learn how to create beautiful greenery swags for your windows with our easy step-by-step guide. Enhance the garden vibes in your home with this DIY project!
(Many of the links in this article redirect to a specific reviewed product. Your purchase of these products through affiliate links helps to generate commission for Storables.com, at no extra cost. Learn more)
Introduction
Welcome to the world of greenery swags over windows! Adding a touch of nature to your windows not only enhances their aesthetic appeal but also brings a sense of freshness and tranquility to your space. Whether you want to create a rustic look for your farmhouse or add a touch of elegance to your urban apartment, greenery swags are the perfect way to achieve that desired ambiance.
In this article, we will guide you through the step-by-step process of creating impressive greenery swags over your windows. You don’t have to be a professional gardener or a DIY expert to accomplish this project. With just a few materials and some creativity, you can transform your windows into stunning focal points.
But before we get into the details, let’s talk about the materials you’ll need for this project. Gathering all the necessary supplies in advance will ensure a smooth and hassle-free experience.
Key Takeaways:
- Transform your windows with greenery swags by measuring, choosing, and preparing the greenery, then securely attaching and decorating the swags for a stunning, nature-inspired focal point.
- Maintain the beauty of your greenery swags by watering, inspecting, and adjusting them regularly, ensuring a fresh and vibrant display that enhances your living space.
Materials Needed
Before you start creating your greenery swags, gather the following materials:
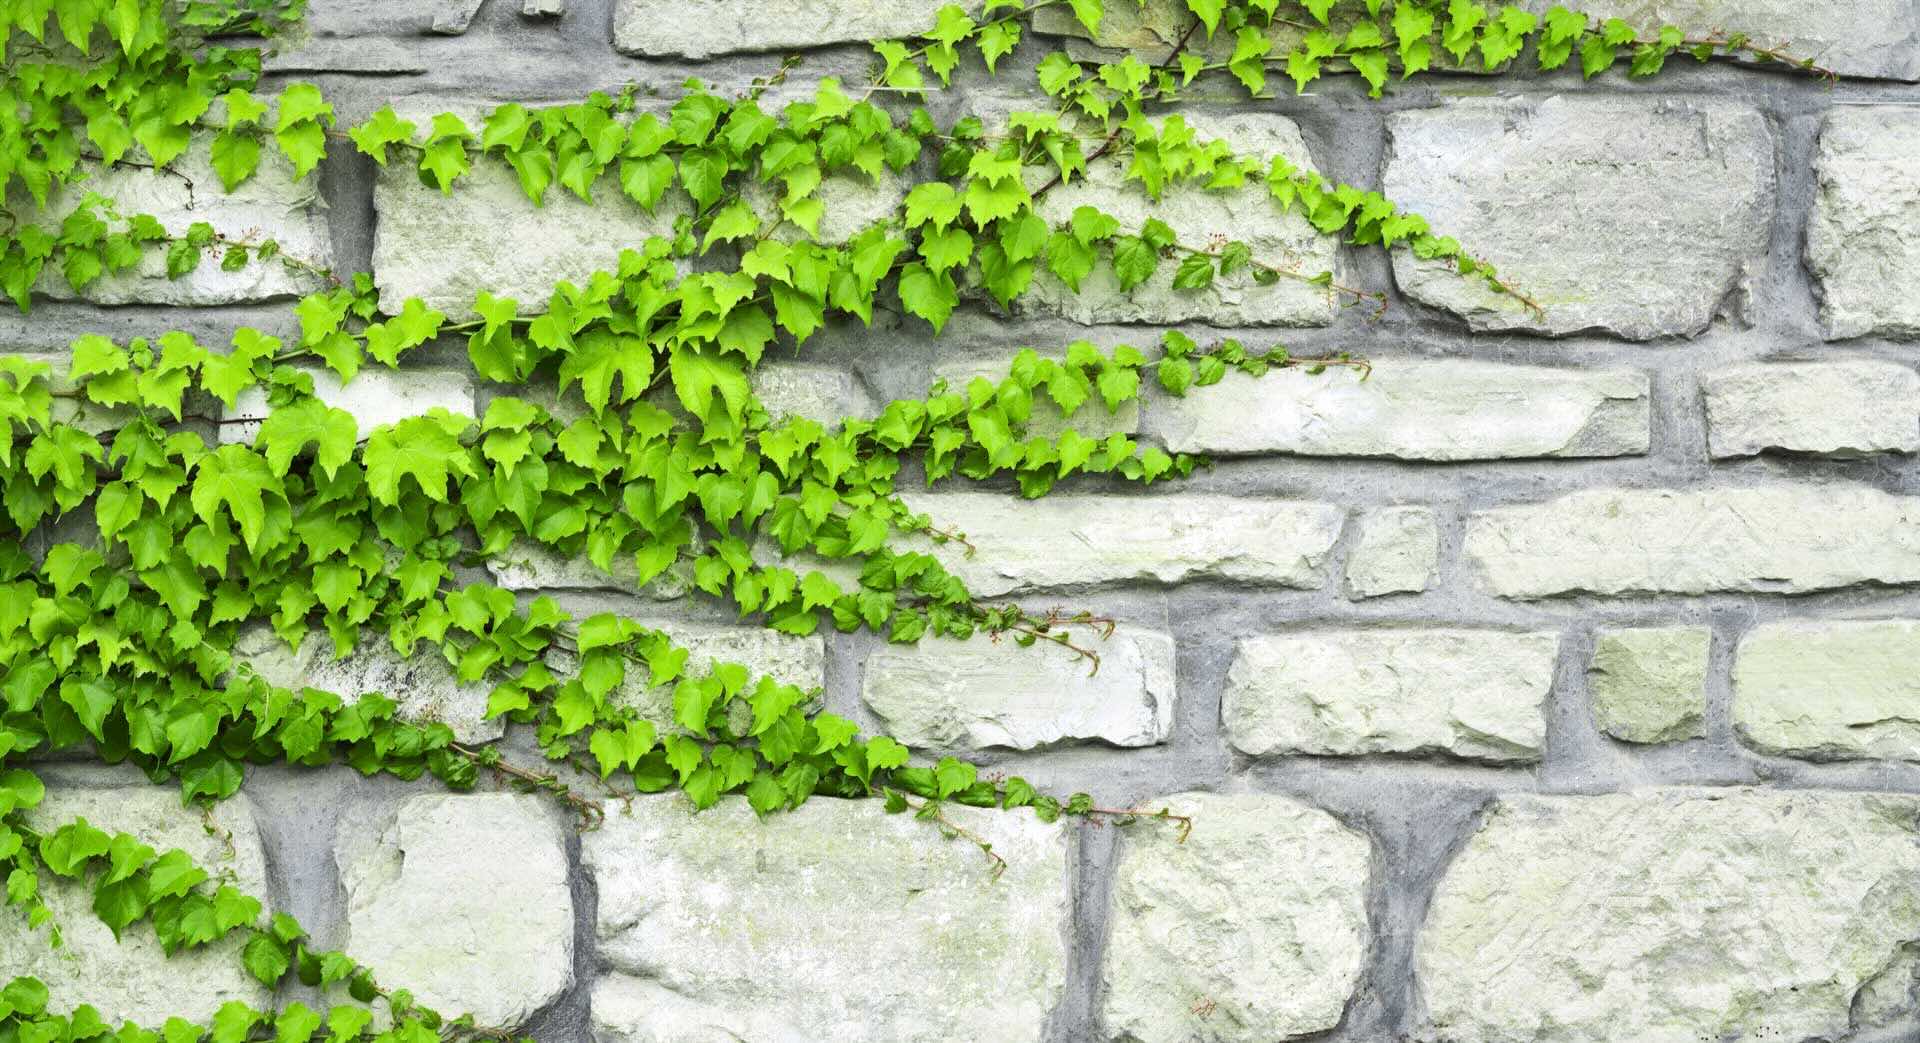
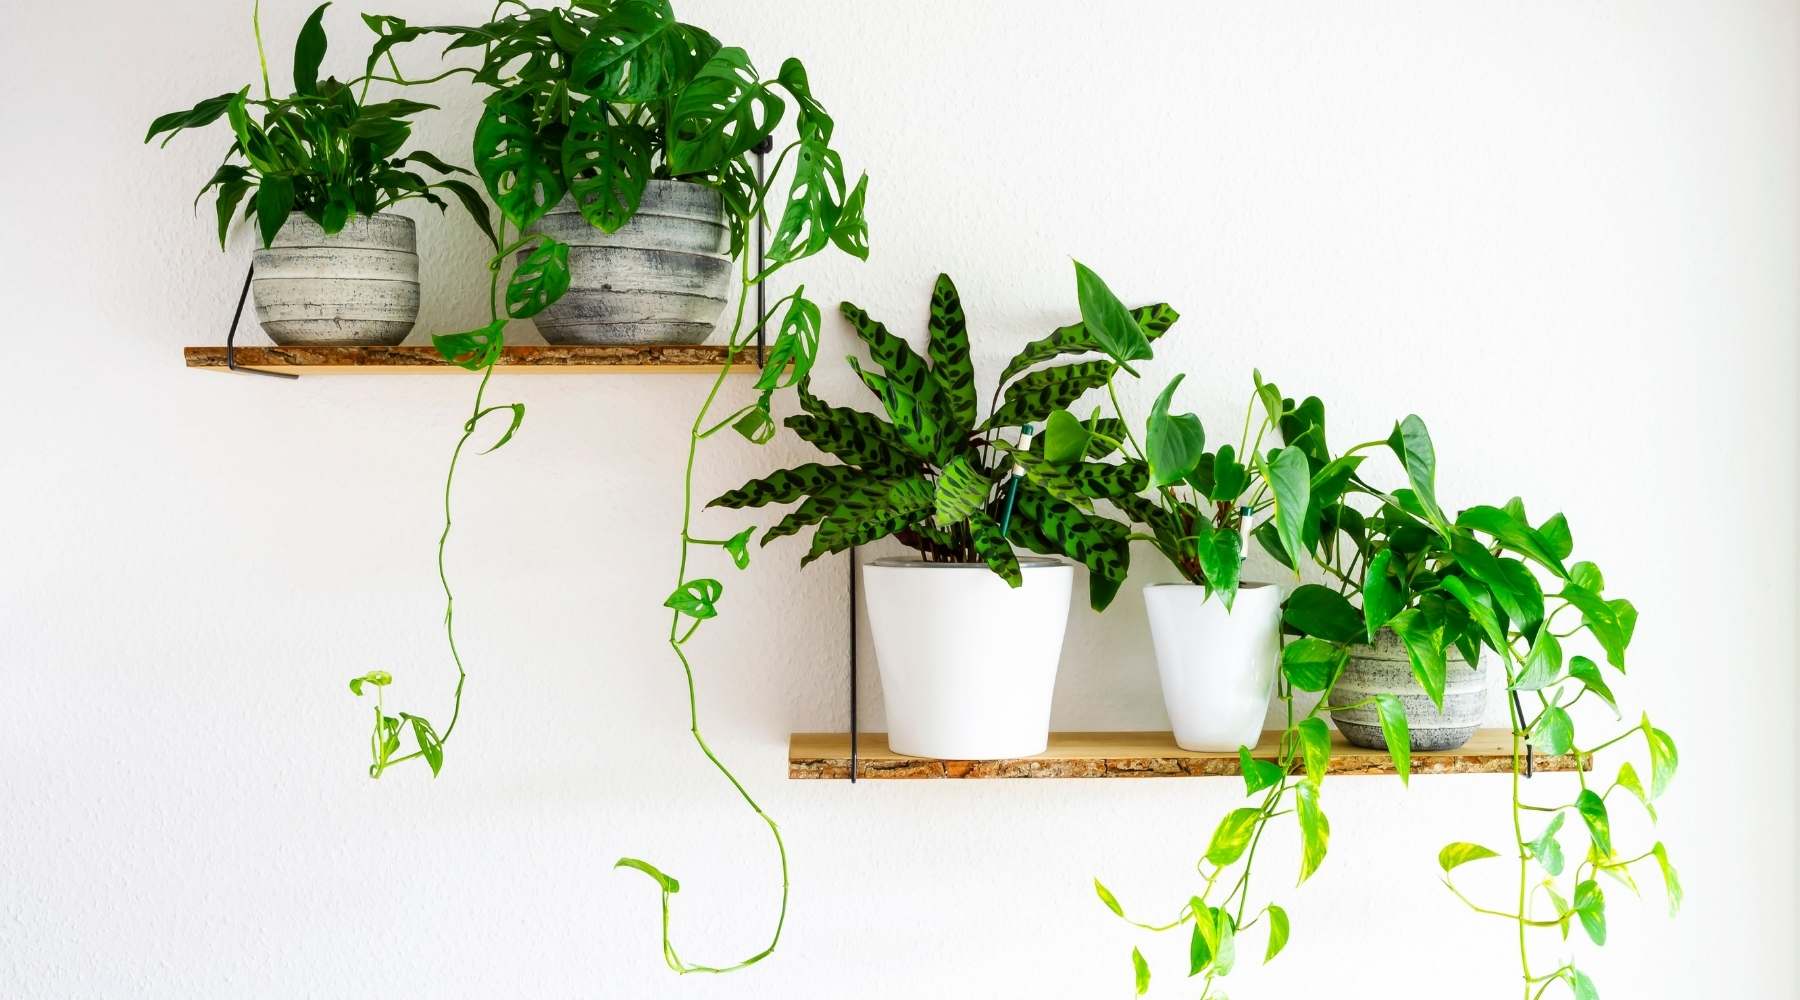
- Greenery: Choose your desired greenery for the swags. You can opt for fresh greenery such as ivy, eucalyptus, or ferns. Alternatively, you can use artificial greenery for a more long-lasting option.
- Floral Wire: This will be used to secure the greenery in place.
- Wire Cutters: These will come in handy for cutting the floral wire to the desired lengths.
- Ribbon or Twine: Select a ribbon or twine that complements your chosen greenery and aligns with your style preferences.
- Command Hooks or Adhesive Strips: These will be used to attach the swags to the window frames without causing damage.
- Optional Additions: If you want to add extra embellishments to your swags, consider items such as ornaments, pinecones, or fairy lights.
By gathering these materials beforehand, you’ll be fully prepared to embark on your greenery swag project without any interruptions. With everything in hand, let’s move on to the step-by-step process of creating your stunning window swags.
Step 1: Measure your Windows
Before you begin creating your greenery swags, it’s important to measure your windows properly. This step ensures that you choose the right length of greenery and create swags that fit perfectly on your windows.
Start by measuring the width of each window frame. Use a measuring tape or ruler to determine the exact width from one side to the other. Make a note of these measurements as they will be essential when cutting the greenery and determining the length of the swags.
Next, measure the height of each window. Measure from the top of the window frame to the desired length where you want the swags to hang. This will vary depending on your personal preference and the look you want to achieve.
Once you have measured the width and height of your windows, it’s time to move on to the next step and choose the greenery.
Tip: If you have multiple windows, it’s a good idea to measure each one individually, as measurements can vary slightly from window to window. This ensures that each swag fits perfectly on its corresponding window.
Step 2: Choose your Greenery
Now that you have measured your windows, it’s time to choose the greenery for your swags. The type of greenery you select will play a significant role in the overall look and feel of your window decorations. Consider the following factors when making your choice:
1. Aesthetic Appeal: Think about the style and vibe you want to create. If you’re going for a natural and earthy look, consider using ivy or eucalyptus. For a more delicate and whimsical feel, ferns can be a great option. Choose greenery that complements your existing décor and personal style.
2. Durability: Consider the lifespan of the greenery you select. Fresh greenery, while providing a natural and fragrant touch, will require regular maintenance and may not last as long as artificial greenery. Artificial greenery, on the other hand, offers longevity and requires minimal upkeep.
3. Seasonality: Depending on the time of year, some greenery may be more readily available and affordable. Consider using seasonal greenery like pine branches during the winter or blooming flowers during the spring.
4. Fullness: Evaluate the fullness and density of the greenery. Some varieties may appear more lush and voluminous, creating a more dramatic effect.
5. Compatibility: Ensure that the selected greenery is suitable for indoor use and does not shed excessively. You want to avoid any mess or damage to your furniture or floors.
Once you have considered all these factors, head to your local gardening store or search online to find the perfect greenery for your window swags. Don’t hesitate to mix and match different types of greenery to add texture and variety to your arrangement.
With your greenery in hand, let’s move on to the next step and prepare it for creating the swags.
Step 3: Prepare your Greenery
Now that you have chosen your greenery, it’s time to prepare it for crafting your window swags. Follow these steps to ensure your greenery is ready to be arranged:
1. Trim and Clean: Start by trimming any excess leaves or branches from your greenery. This will create a neater and more uniform appearance. Remove any damaged or discolored leaves to ensure your swags look fresh and vibrant. Additionally, give your greenery a gentle clean by wiping the leaves with a damp cloth to remove any dust or debris.
2. Cut into Desired Lengths: Use wire cutters or gardening shears to cut your greenery into lengths that match the measurements of your windows. Be sure to create enough pieces of greenery to cover the entire width of each window. Cutting the greenery into shorter, manageable pieces will make it easier to work with during the swag creation process.
3. Shape and Arrange: Once your greenery is cut, take a moment to shape it into the desired form. Manipulate the branches, leaves, and stems to achieve the desired appearance. Arrange them in a natural, cascading pattern so that they drape elegantly over the window frame.
4. Mist with Water: If you are using fresh greenery, it’s essential to keep it hydrated. Mist the greenery with water before beginning the swag creation process, and consider misting it occasionally while assembling the swags to prevent them from drying out too quickly.
5. Optional: Add Filler: If you desire a fuller and more textured look, consider adding filler materials such as baby’s breath, fern fronds, or small flowers to complement your greenery. These additions can add depth and visual interest to your swags.
Once your greenery is prepared, it’s time to move on to attaching it to the window frame and creating the swags. Let’s dive into the next step!
When creating greenery swags over windows, use a variety of foliage for texture and depth. Start with a base of sturdy branches and add softer, more delicate leaves for a balanced look.
Read more: How To Make A Greenery Swag
Step 4: Attach Greenery to the Window Frame
With your prepared greenery in hand, it’s time to start attaching it to the window frame and creating the swags. Follow these steps to ensure a secure and visually appealing installation:
1. Decide on the Attachment Method: There are a few options for attaching the greenery to the window frame. One common method is to use floral wire. Attach one end of the wire to the window frame and wrap it around the greenery bundle, securing it in place. Another option is to use small adhesive hooks designed for temporary mounting. These hooks allow you to attach the greenery without causing damage to your window frame.
2. Start from the Top: Begin by attaching the greenery to the top of the window frame. Use your chosen attachment method to secure the first piece of greenery in place. Ensure that it hangs down in a natural and cascading manner.
3. Attach Additional Pieces: Continue attaching the greenery to the window frame, moving along the width of the window. Layer the pieces of greenery, staggering them in length and position to create a full and lush appearance. Secure each piece firmly, making sure it is evenly distributed across the window frame.
4. Maintain Consistency: As you attach the greenery, maintain a consistent look by keeping the spacing and positioning uniform. This will create a balanced and visually pleasing result.
5. Step Back and Assess: Step back periodically to assess your progress and make any necessary adjustments. Ensure that the swags are evenly draped and that the greenery is securely attached. It can be helpful to view the window from different angles to ensure a cohesive and aesthetically pleasing look.
By following these steps, you’ll be able to attach the greenery to your window frame and create beautifully flowing swags. Now it’s time to move on to securing the swags in place.
Step 5: Secure the Swag
Once you have attached the greenery to the window frame and created the swags, it’s important to secure them in place to ensure they stay put and maintain their shape. Follow these steps to securely fasten your swags:
1. Evaluate Stability: Check that the greenery is stable and does not easily shift or sag. Adjust the positioning and attachment points as needed to ensure a secure foundation.
2. Use Floral Wire: Take smaller lengths of floral wire and gently wrap them around the swag at strategic points. This will provide additional support and help maintain the desired shape. Be careful not to wrap the wire too tightly, as it may damage the greenery.
3. Tie with Ribbon or Twine: Another option is to tie the swags with ribbon or twine. Select a ribbon that matches the style and color scheme of your greenery and window decor. Wrap the ribbon around the swag, securing it tightly with a knot or bow. This not only enhances the visual appeal but also ensures the swag stays in place.
4. Consider Reinforcements: If your windows are exposed to strong winds or if you want extra precaution, consider adding additional reinforcements. This can include using clear fishing line or small adhesive clips to secure the swags to the window frame.
5. Inspect and Adjust: Once you have secured the swags, step back and carefully inspect the overall appearance and stability. Make any necessary adjustments, ensuring that the swags hang evenly and securely.
By taking the time to properly secure your swags, you can enjoy a worry-free display that will stay in place throughout the season. Now that the swags are secured, let’s explore optional additions and decorations to further enhance their beauty.
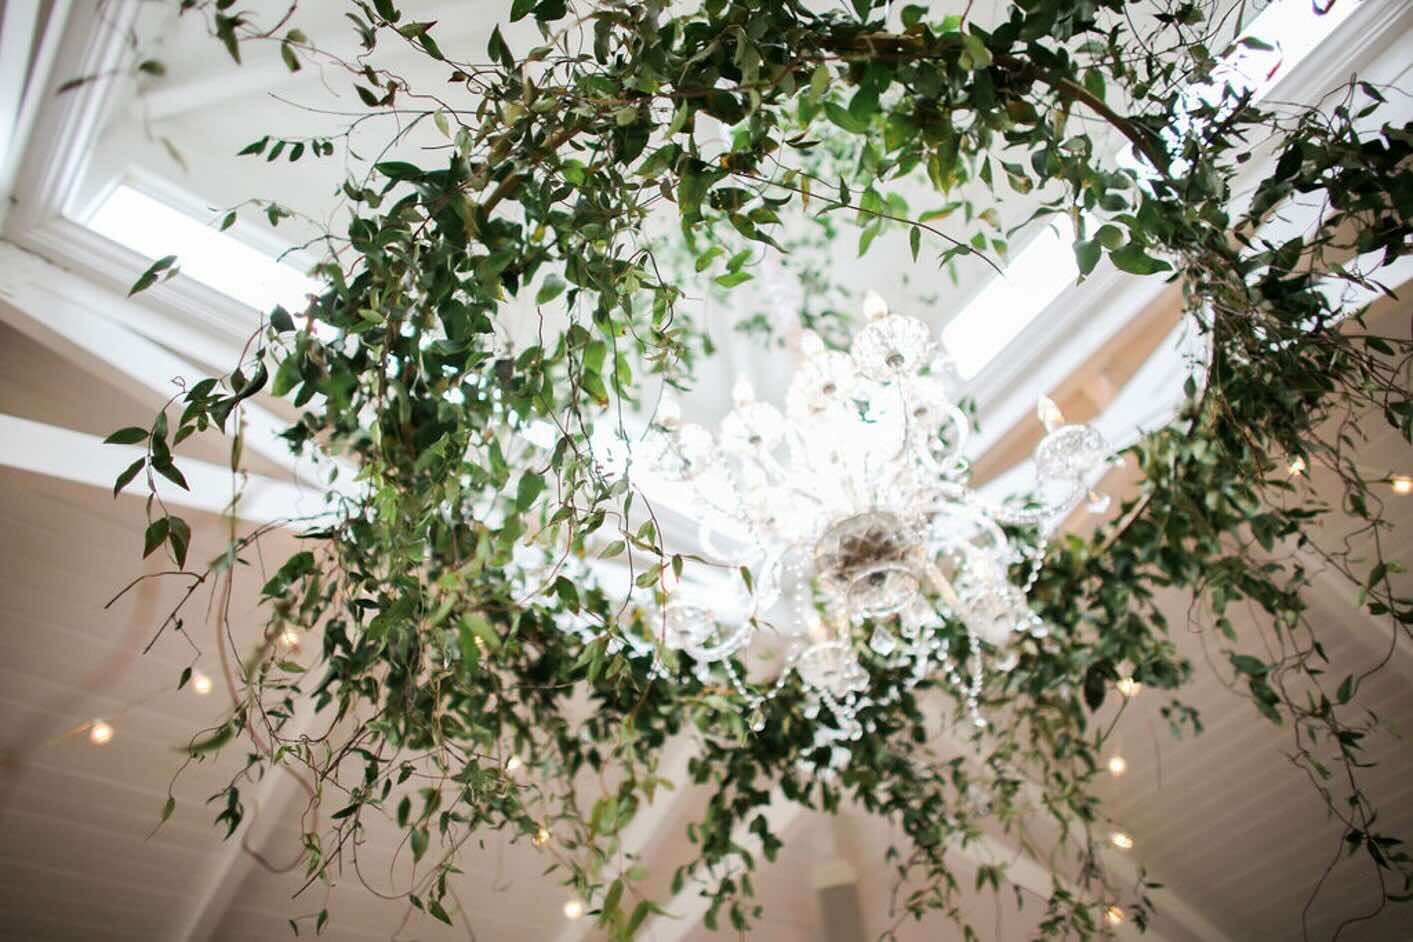
Step 6: Optional Additions and Decorations
While greenery swags create a beautiful and natural look on their own, you can add some optional decorations or embellishments to further elevate the visual appeal. Here are some ideas to consider:
1. Ornaments: Add a festive touch by incorporating small ornaments that match your overall decor. Choose ornaments in colors and styles that complement the greenery and window surroundings. Hang them sporadically throughout the swags for a touch of sparkle.
2. Pinecones: Pinecones are a classic addition that brings a rustic charm to your window swags. You can leave them in their natural state or spray-paint them in silver, gold, or other metallic colors for a more elegant look. Secure the pinecones to the swags with floral wire or hot glue.
3. Ribbon Bows: Enhance the visual appeal of your swags by tying bows using satin or velvet ribbon. Choose colors that coordinate with your greenery and overall theme. Attach the bows to key points along the swags, such as where the greenery is secured to the window frame or where different branches intersect.
4. Fairy Lights: Create a cozy and magical ambiance by adding fairy lights to your greenery swags. Choose battery-operated strings of lights with warm white or soft-colored bulbs. Gently weave the lights throughout the swags, being careful not to overwhelm the natural beauty of the greenery.
5. Seasonal Accents: Tailor your decorations to the current season or upcoming holidays. For example, during the winter holidays, you can incorporate small ornaments, red berries, or string lights. For the spring, consider adding faux flowers or colorful ribbons.
6. Personal Touches: Add a personal touch by incorporating small trinkets or mementos that hold special meaning to you and your family. These could be tiny picture frames, small keepsakes, or personalized ornaments that reflect your interests and memories.
Remember: When adding decorations, it’s important to strike a balance and ensure that the natural beauty and freshness of the greenery remain the focal point. Be mindful not to overcrowd the swags, allowing the greenery to shine while the decorations complement its beauty.
Now that you have explored optional additions and decorations, let’s move on to the final step: maintaining and caring for your greenery swags.
Step 7: Maintain and Care for your Greenery Swag
Once you’ve created your greenery swags and adorned them with optional decorations, it’s important to properly maintain and care for them to ensure they stay fresh and vibrant throughout the season. Follow these guidelines to keep your swags looking their best:
1. Watering: If you have used fresh greenery, mist the swags with water every few days to keep them hydrated and prevent wilting. Avoid overwatering, as this can lead to mold or the greenery becoming too heavy and sagging.
2. Avoid Direct Sunlight: Place your greenery swags in a location where they are not exposed to direct sunlight for prolonged periods. This can cause the greenery to dry out quickly and lose its color and freshness.
3. Regularly Inspect: Take a few minutes every week to inspect your swags. Look for any signs of wilting, discoloration, or damage. Remove any dead or wilted leaves or branches to maintain a neat and healthy appearance.
4. Clean as Needed: If you notice any dust or debris accumulating on the greenery, gently wipe the leaves with a soft cloth or use a hairdryer on a cool setting to blow away any dust particles. Keeping the greenery clean will help it look fresher for longer.
5. Adjust and Rearrange: Over time, the greenery may shift or lose its shape. Regularly adjust and rearrange the swags to ensure they maintain their desired form and appearance. This will also help prevent any areas from becoming overcrowded or uneven.
6. Remove Decorations: If you have added seasonal decorations or ornaments, make sure to remove them when the season is over. This will prevent any potential damage to the greenery and ensure it can continue to thrive.
7. Consider Replacement: If you’re using fresh greenery and notice that it’s starting to wilt or become discolored despite your best efforts, consider replacing it with fresh greenery or switching to artificial greenery for a longer-lasting option.
By taking the time to care for your greenery swags, you can enjoy their beauty and freshness for an extended period. Remember to adjust your care routine based on the type of greenery you used and the environmental conditions in your home.
With these care tips in mind, you can now enjoy the beauty of your greenery swags over your windows and create a stunning focal point within your living space.
Happy decorating!
Read more: What Do You Put Over A Kitchen Sink Window?
Conclusion
Congratulations on completing your journey of creating stunning greenery swags over your windows! By following the step-by-step process outlined in this article, you have gained the knowledge and skills to transform your windows into captivating focal points that bring a touch of nature and beauty to your space.
From measuring your windows and choosing the right greenery to attaching and securing the swags, you have learned the essential techniques to create visually appealing arrangements. Additionally, you explored optional additions and decorations, allowing you to personalize your swags and bring your own unique style to the project.
Remember to maintain and care for your greenery swags regularly, ensuring they stay fresh and vibrant throughout the season. By following the guidelines provided, you can extend the lifespan of your swags and continue to enjoy their beauty for an extended period.
With your newly created greenery swags, you have not only added a touch of natural elegance to your windows but also created a warm and inviting atmosphere within your home. The beauty and freshness of the greenery will captivate both your household and any guests who enter your space.
Now, it’s time to sit back, relax, and take in the beauty of your surroundings. Enjoy the tranquil ambiance and the connection to nature that your greenery swags provide. Whether it’s during the holiday season or any other time of the year, these swags will continue to enhance the aesthetics and create a welcoming atmosphere.
Thank you for joining us on this creative journey. We hope that you have found this article helpful and inspiring. With your newfound knowledge, you can continue to explore the world of gardening and bring the beauty of the outdoors into your living space in various creative ways.
Happy decorating and embrace the joy of your greenery swags!
Frequently Asked Questions about How To Do Greenery Swags Over Windows
Was this page helpful?
At Storables.com, we guarantee accurate and reliable information. Our content, validated by Expert Board Contributors, is crafted following stringent Editorial Policies. We're committed to providing you with well-researched, expert-backed insights for all your informational needs.


0 thoughts on “How To Do Greenery Swags Over Windows”