
Articles
How To Build Horizontal Fence
Modified: October 18, 2024
Learn how to build a horizontal fence with our informative articles. Discover tips, techniques, and step-by-step instructions for a sturdy and stylish fence.
(Many of the links in this article redirect to a specific reviewed product. Your purchase of these products through affiliate links helps to generate commission for Storables.com, at no extra cost. Learn more)
Introduction
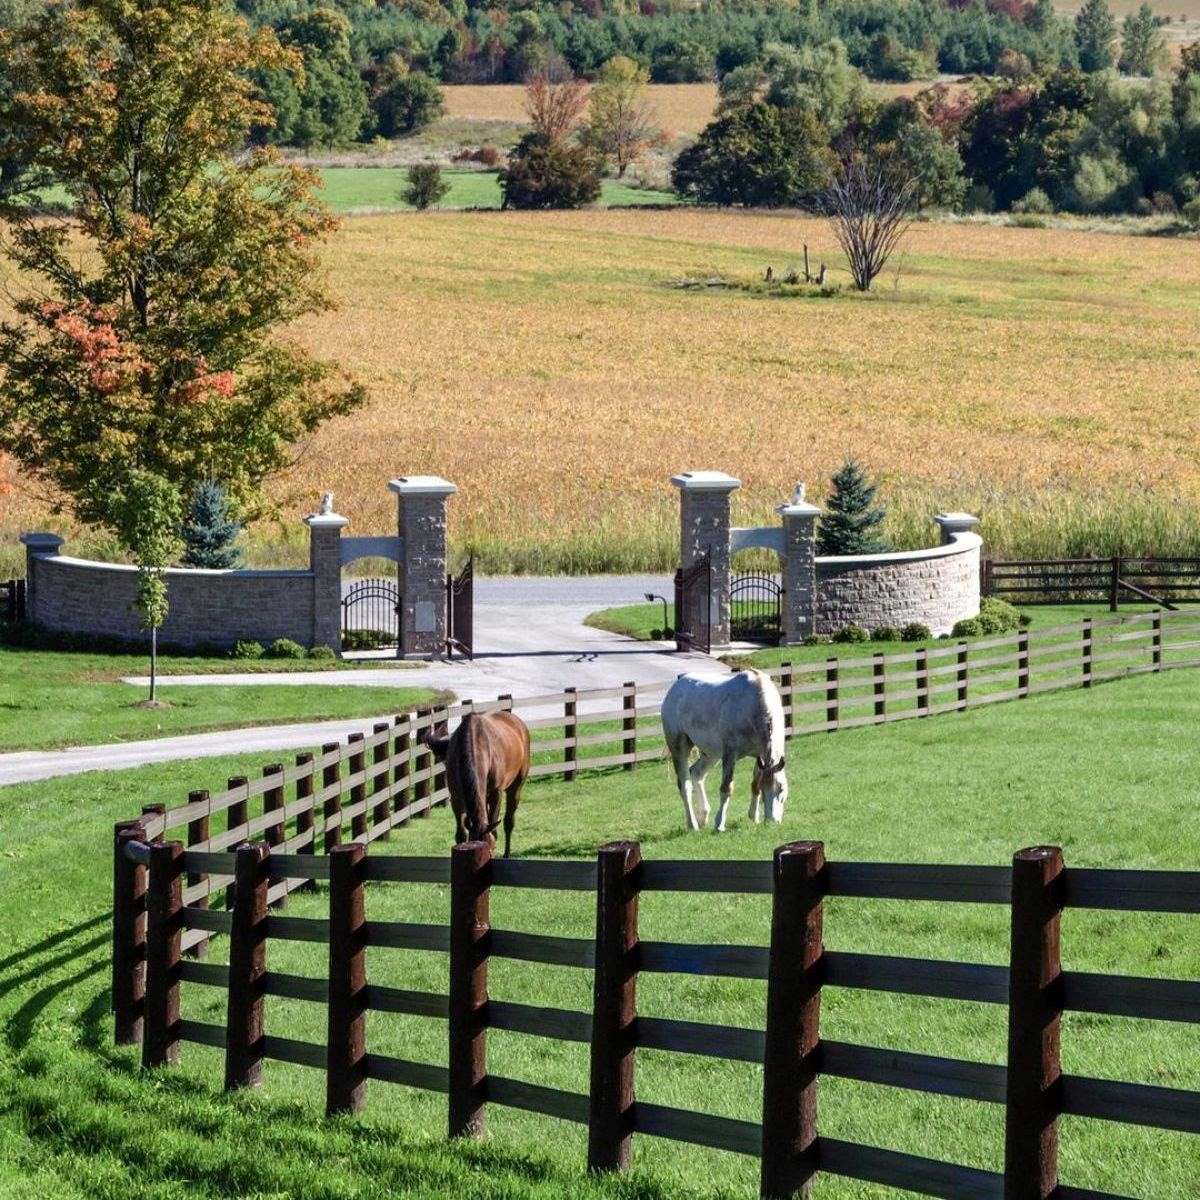
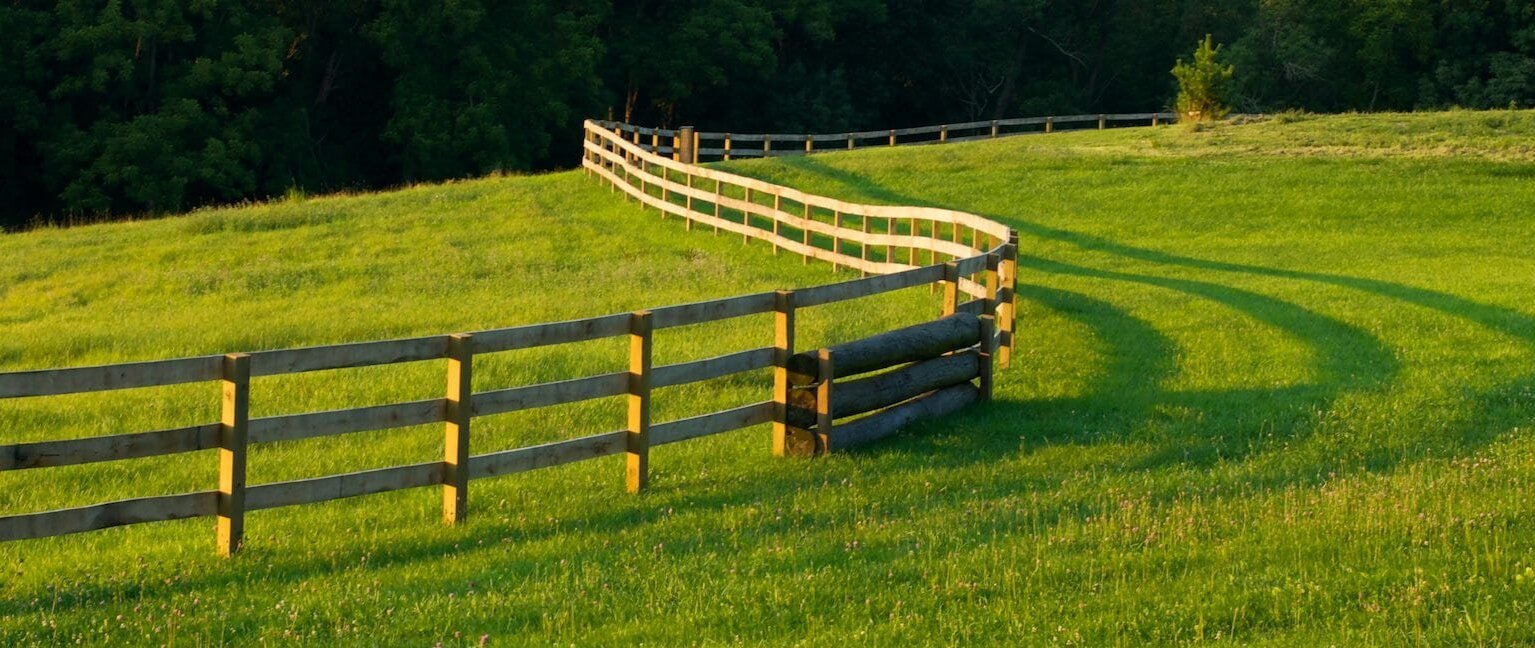
Building a horizontal fence is a fantastic way to add both functionality and aesthetic appeal to your outdoor space. Unlike traditional vertical fences, horizontal fences offer a modern and contemporary look that can completely transform the appearance of your property. Whether you want to create a private retreat, define boundaries, or simply enhance the overall appeal of your yard, a horizontal fence is the perfect choice.
In this comprehensive guide, we will walk you through the step-by-step process of building a horizontal fence. From planning and preparation to the finishing touches, we will provide you with all the information you need to successfully complete this project.
Before we get started, it’s important to note that building a fence requires careful planning and consideration of various factors, such as local building codes, property lines, and the specific needs of your yard. It is always a good idea to check with your local authorities and obtain any necessary permits before beginning any construction project.
Now, let’s dive into the exciting world of horizontal fence building!
Key Takeaways:
- Planning and preparation are crucial for building a horizontal fence. From determining the purpose to setting a budget, careful consideration at the beginning sets the stage for a successful construction project.
- Attaching the horizontal fence boards and adding finishing touches are the final steps to creating a stunning and functional horizontal fence. Attention to detail and maintenance ensure long-lasting beauty and privacy.
Read more: How To Build A Wattle Fence
Step 1: Planning and Preparation
Before starting any construction project, proper planning and preparation are essential for a successful outcome. Here are the key steps to consider during the planning stage of building your horizontal fence:
- Determine the Purpose: Begin by identifying the purpose of your fence. Are you looking to enhance privacy, add security, or simply create a boundary? Understanding your needs will help you make informed decisions throughout the construction process.
- Check Local Building Codes: Research and familiarize yourself with the local building codes and regulations regarding fence height, setback requirements, and any permits that may be required. Adhering to these regulations is crucial to avoid any legal issues.
- Choose the Right Materials: Selecting the appropriate materials for your fence is crucial for both durability and aesthetics. Horizontal fences can be constructed using a variety of materials, including wood, metal, composite, or a combination of them. Consider factors such as maintenance requirements, weather resistance, and overall cost.
- Measure and Draw a Sketch: Measure the area where your fence will be installed and create a detailed sketch or blueprint. This will help you determine the quantity of materials needed and provide a visual reference during the construction process.
- Establish Property Lines: It is essential to clearly define your property lines before constructing a fence. Consult your property survey or hire a professional to accurately mark the boundaries and ensure that your fence is built within the legal limits of your property.
- Consider Gate Placement: If you plan to include a gate in your horizontal fence, carefully consider its location for easy access and functionality. The gate should blend seamlessly with the overall design and provide a convenient entry point.
- Set a Budget: Determine your budget for the project, including the cost of materials, labor (if applicable), and any additional features or accessories you wish to include. This will help you make informed decisions while keeping your expenses under control.
By taking the time to carefully plan and prepare, you set the foundation for a successful horizontal fence construction project. Once you have completed these initial steps, you are ready to move on to the next phase: marking and measuring.
Step 2: Marking and Measuring
Accurate marking and measurement are crucial to ensure that your horizontal fence is installed in the right location and at the correct height. Follow these steps to properly mark and measure for your fence:
- Survey the Area: Begin by surveying your property and identifying any potential obstacles or uneven terrain that could impact the fence installation. Remove any debris, rocks, or plants that might interfere with the fence line.
- Mark the Starting Point: Determine the starting point of your fence and mark it using a stake or spray paint. This will serve as a reference for the rest of the fence installation.
- Measure the Fence Length: Use a measuring tape or a long tape measure to determine the total length of the fence. Measure along the ground, following the desired fence line. Take note of any angles or curves in the fence line that may require special attention during installation.
- Mark Post Hole Locations: Based on your fence layout and desired spacing between posts, mark the locations for the post holes along the fence line. Use a measuring tape to ensure consistent spacing.
- Check for Level and Straightness: Use a level and a string line to check that the marked fence line is level and straight. Adjust the markings as needed to ensure a clean and visually appealing fence installation.
- Double-Check Measurements: Before proceeding with digging the post holes, double-check your measurements to ensure accuracy. It’s better to catch any errors at this stage rather than during the installation process.
It’s important to note that different areas may have specific regulations regarding fence setback requirements or the depth of the post holes. Consult local building codes or seek guidance from professionals to ensure compliance.
Once you have completed the marking and measuring process, you are ready to move on to the next step: digging post holes. Properly positioned post holes are key to the stability and longevity of your horizontal fence.
Step 3: Digging Post Holes
Once you have marked and measured the fence line, the next step in building your horizontal fence is digging the post holes. Properly dug post holes provide a solid foundation for the fence and ensure its stability. Follow these steps to dig your post holes:
- Choose the Right Tools: Use a post hole digger or an auger to dig the post holes. Make sure the tool you choose is appropriate for the soil type and the size of the fence posts.
- Measure the Depth: Determine the desired depth for your post holes. It is generally recommended to dig holes that are one-third to one-half the height of the fence posts, depending on the soil condition and local building codes.
- Begin Digging: Start digging the first post hole using the chosen tool. Remove soil evenly and create a hole with a diameter slightly larger than the dimension of the fence post.
- Check for Level: As you dig, periodically check the level of the hole to ensure it is straight and perpendicular to the ground. Adjust the hole’s depth if necessary.
- Repeat the Process: Continue digging post holes along the fence line, maintaining a consistent distance between each hole. Use measurements from the previous step to ensure proper spacing.
- Remove Debris: Once all the post holes are dug, remove any excess dirt or debris from the holes. This will ensure a clean and stable base for the fence posts.
When digging the post holes, remember to consider any specific requirements specified by local building codes, such as the depth of the holes or the use of concrete footings. These regulations may vary depending on your location.
Now that the post holes are dug, you are ready to move on to the next step: installing the fence posts. This is a critical step in the construction process, as the posts provide the structural support for your horizontal fence.
When building a horizontal fence, make sure to use high-quality, durable materials such as cedar or redwood to ensure longevity and minimal maintenance.
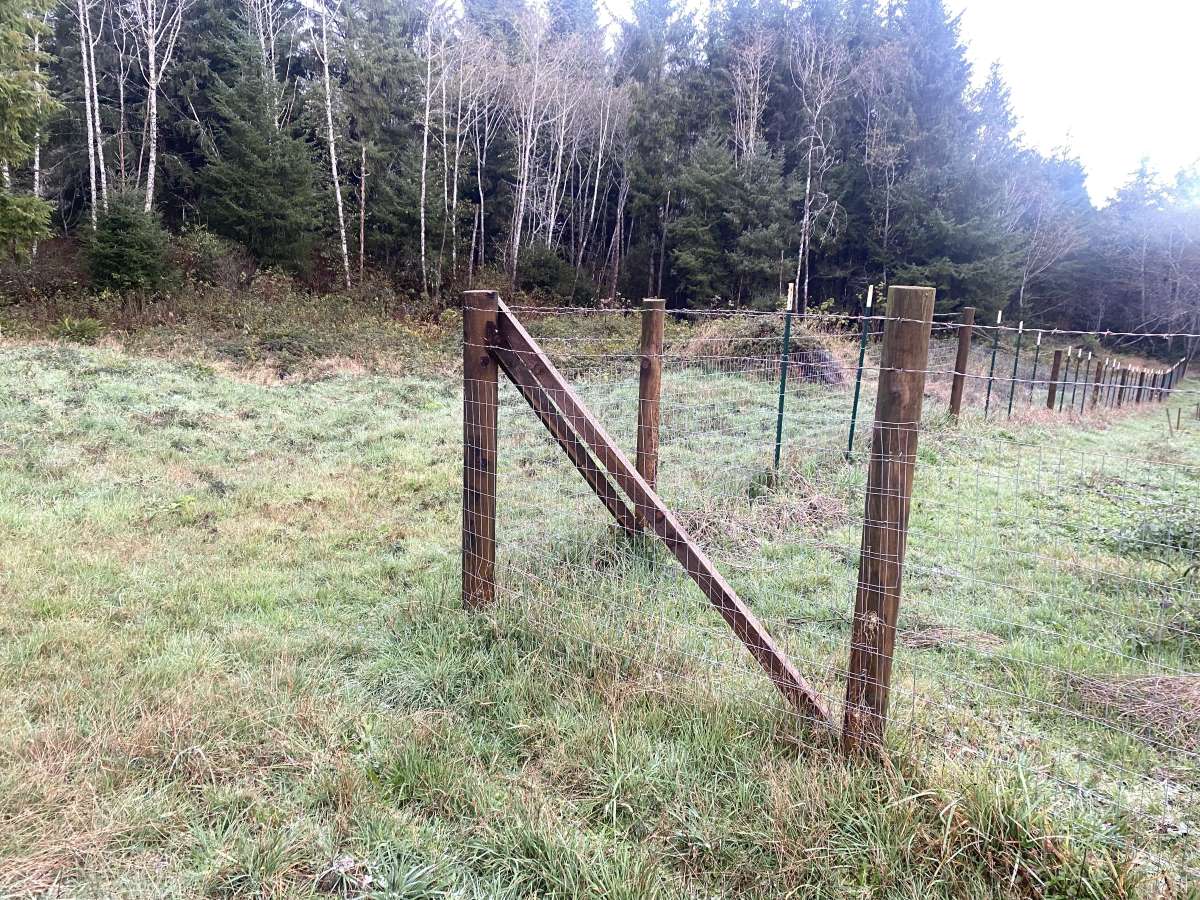
Step 4: Installing Fence Posts
Now that the post holes have been dug, it’s time to install the fence posts. Proper installation of the fence posts is essential for the stability and durability of your horizontal fence. Follow these steps to install your fence posts:
- Prepare the Posts: Check the bottom of each fence post for decay or damage. If necessary, trim any damaged sections or replace the posts altogether.
- Add Gravel: Place a few inches of gravel at the bottom of each post hole. This will help with drainage and prevent the posts from sitting in water, which can lead to rot.
- Insert the Posts: Carefully place the fence posts into the prepared holes, making sure they are level and straight. Have a helper assist you to ensure the posts are properly aligned.
- Secure the Posts: Use a post level and stakes to hold the posts in place while you backfill the holes with soil. Tamp the soil firmly around the posts to provide stability.
- Check for Level: Once the posts are secure, double-check that they are level and plumb. Make adjustments as necessary to ensure uniformity throughout the fence line.
- Allow for Setting Time: Depending on the type of post-setting material used, allow sufficient time for it to fully harden and set. Follow the manufacturer’s instructions for specific setting times.
It’s worth mentioning that some individuals may prefer to use concrete footings to secure the fence posts. This can provide extra stability, especially in areas with strong winds or unstable soil conditions. If you choose to use concrete footings, follow the appropriate steps and allow ample time for the concrete to cure before proceeding with the next steps.
With the fence posts installed, you have now laid the foundation for your horizontal fence. The next step is attaching the horizontal fence boards, where the true visual appeal will start to take shape.
Read more: How To Build A Brick Fence
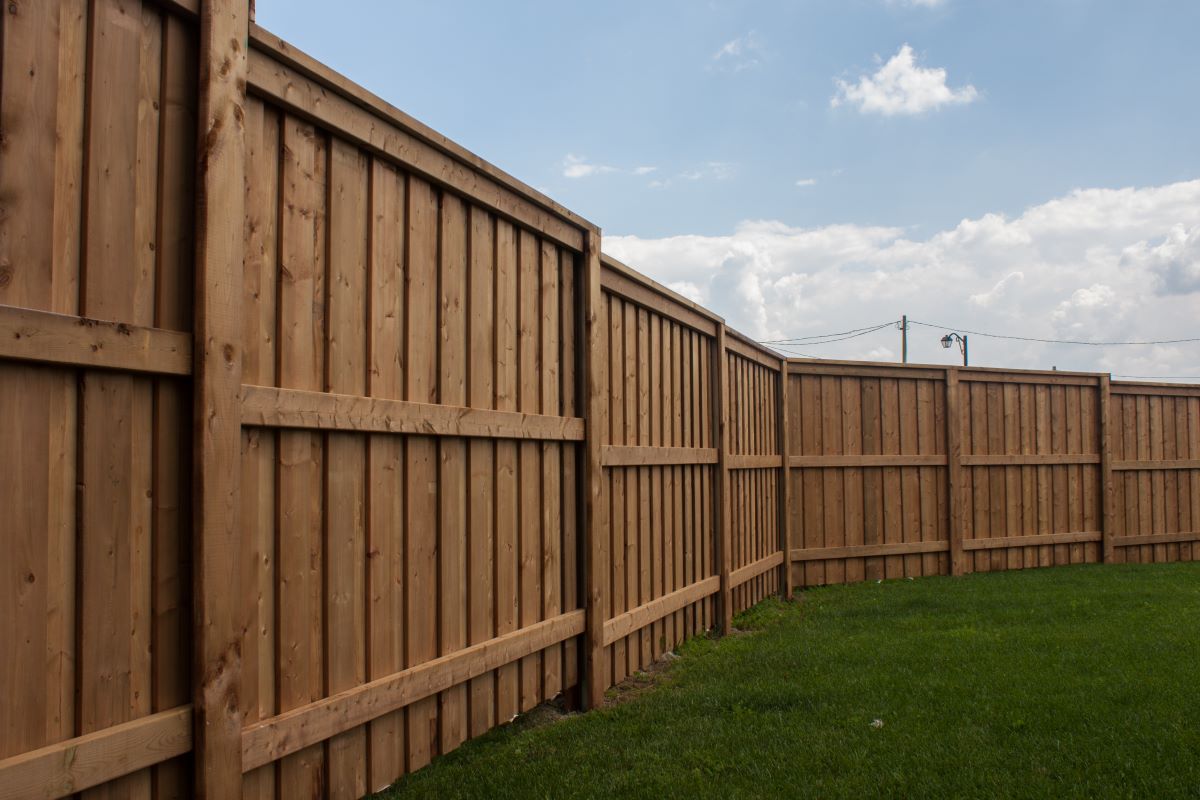
Step 5: Attaching Horizontal Fence Boards
Once the fence posts are securely installed, it’s time to attach the horizontal fence boards. This step will bring your fence to life and create the distinctive look of a horizontal fence. Follow these steps to properly attach the horizontal fence boards:
- Measure and Cut the Fence Boards: Measure the distance between two adjacent fence posts and cut the fence boards to the appropriate length. Ensure that the boards are uniform in size for a clean and professional appearance.
- Pre-drill Pilot Holes: Before attaching the fence boards, use a drill to pre-drill pilot holes into the posts. This will prevent splitting of the wood and make it easier to secure the boards.
- Align and Attach the Boards: Place the first fence board at the desired height and align it with the top and bottom of the fence posts. Use screws or nails to attach the board to the posts, ensuring a secure and flush connection.
- Continue with Additional Boards: Repeat the process for each horizontal fence board, maintaining a consistent spacing between them. Use spacers or blocks to ensure even spacing and a clean, symmetrical look.
- Check for Level and Plumb: Regularly check that the fence boards are level and plumb as you attach them. This will ensure a straight and visually pleasing fence line.
- Trim Excess Length: Once all the fence boards are attached, trim any excess length on the outermost boards for a neat and finished look. Use a saw to achieve clean cuts.
When selecting your fence boards, consider the type of wood or material that will best suit your needs. Common choices include cedar, redwood, or composite materials that offer durability and resistance to decay.
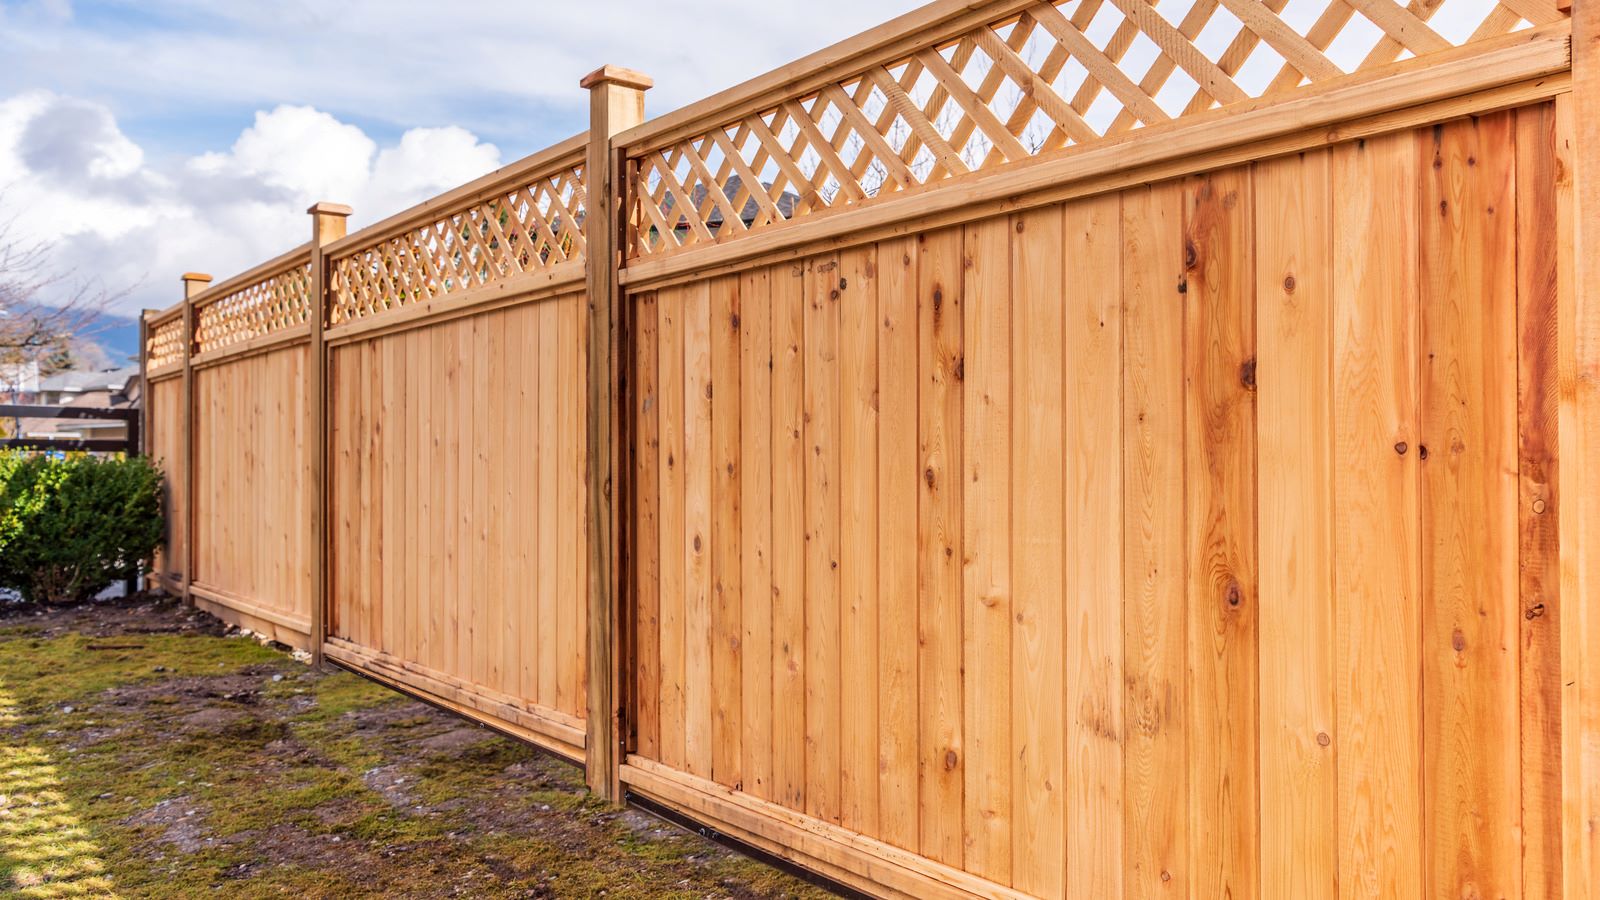
Additionally, you may wish to consider adding decorative elements or accents to your horizontal fence, such as lattice panels or metal inserts. These can add visual interest and further enhance the overall aesthetic appeal of your fence.
With the fence boards securely attached, you are almost finished with your horizontal fence construction. The final step is adding the finishing touches to complete the project.
Step 6: Adding Finishing Touches
With the horizontal fence boards successfully attached, it’s time to add the finishing touches to complete the construction of your fence. These final details will not only enhance the appearance of your fence but also provide added functionality and longevity. Here are the key steps to consider when adding finishing touches:
- Stain or Paint: Choose a stain or paint color that complements your outdoor space and apply it to the fence boards. This will not only add a beautiful finish but also provide protection against weathering and UV damage.
- Seal the Wood: Apply a protective sealant to the fence boards to further increase their durability and resistance to moisture. This will help prevent rot and extend the lifespan of your fence.
- Install Post Caps: Consider adding post caps to the top of each fence post. These decorative caps not only add a stylish element but also help protect the posts from moisture and prolong their lifespan.
- Add Decorative Accents: If desired, incorporate decorative accents such as arbors, trellises, or hanging planters along the fence line. These elements can enhance the visual appeal of your horizontal fence and create a personalized touch.
- Secure the Fence: Once all finishing touches are in place, double-check that the fence boards are securely attached and the posts are stable. Replace any loose screws or nails and make necessary adjustments for a solid and durable fence.
Remember to regularly inspect and maintain your horizontal fence to ensure its integrity and longevity. This may include periodic cleaning, reapplying finishes, and checking for any signs of damage or wear.
By following these steps and adding the finishing touches, you have successfully built a beautiful and functional horizontal fence. Not only will it enhance the privacy and security of your outdoor space, but it will also create a stunning focal point that complements your overall landscape design.
Congratulations on completing your horizontal fence construction project! Enjoy the beauty and privacy your new fence provides.
Conclusion
Building a horizontal fence can completely transform the look and feel of your outdoor space. With its modern and contemporary design, a horizontal fence offers both functionality and aesthetic appeal. By following the step-by-step guide outlined in this article, you can successfully construct your own horizontal fence and create a stunning addition to your property.
Starting with thorough planning and preparation, you laid the foundation for a smooth construction process. By measuring, marking, and digging post holes with precision, you ensured the stability and proper alignment of your fence. Installing the fence posts securely and attaching the horizontal fence boards with care brought your fence to life.
Adding the finishing touches, such as staining or painting the fence, sealing the wood, and incorporating decorative accents, elevated the overall appearance and durability of your horizontal fence. You can now enjoy the privacy, security, and visual appeal that this stylish fence offers.
Remember to regularly maintain and inspect your fence to preserve its beauty and structural integrity. With proper care, your horizontal fence will stand the test of time and continue to be a centerpiece of your outdoor space.
Whether you’re looking to enhance privacy, create a boundary, or simply elevate the aesthetics of your yard, a horizontal fence is a fantastic choice. By following the comprehensive steps provided in this article, you have the knowledge and tools to embark on your own horizontal fence construction project with confidence.
Embrace your creativity, personalize your design, and enjoy the satisfaction of creating a space that reflects your style and meets your needs. Happy fencing!
Ready to tackle more DIY projects after mastering that horizontal fence? Dive into our latest feature on Woodworking Projects for a fresh batch of creative ideas. Whether you're a seasoned woodworker or just starting out, these projects will surely keep your tools buzzing and your creativity flowing. From simple crafts to more intricate designs, find inspiration for your next masterpiece.
Frequently Asked Questions about How To Build Horizontal Fence
Was this page helpful?
At Storables.com, we guarantee accurate and reliable information. Our content, validated by Expert Board Contributors, is crafted following stringent Editorial Policies. We're committed to providing you with well-researched, expert-backed insights for all your informational needs.


0 thoughts on “How To Build Horizontal Fence”