Tableware
How To Swag A Tablecloth
Modified: February 24, 2024
Learn how to add a touch of elegance to your table setting with our step-by-step guide on how to swag a tablecloth. Enhance your tableware collection and impress your guests.
(Many of the links in this article redirect to a specific reviewed product. Your purchase of these products through affiliate links helps to generate commission for Storables.com, at no extra cost. Learn more)
Introduction
Welcome to the world of tableware! In this article, we will explore the art of swagging a tablecloth to add a touch of elegance to your dining experience. Swagging, also known as draping or pleating, is a technique used to create cascading folds on a tablecloth, giving it a luxurious and decorative look.
Whether you’re hosting a formal dinner party, setting up for a special occasion, or simply want to elevate your everyday dining, swagging a tablecloth can make a significant difference in the overall aesthetic. It adds depth, texture, and visual interest to your table setting, impressing your guests and creating a memorable atmosphere.
Before we get started on the swagging process, let’s gather the materials needed to achieve this stunning tablecloth transformation.
Key Takeaways:
- Elevate your dining experience by swagging a tablecloth with luxurious fabrics, precise measurements, and creative folding techniques. Impress your guests and create a memorable atmosphere with a visually captivating table setting.
- Master the art of tablecloth swagging by preparing your table, choosing the perfect fabric, and adding stunning swags. Achieve balance, symmetry, and attention to detail to create a visually engaging dining experience.
Read more: How To Make Swag Drapes
Materials Needed
To swag a tablecloth, you will need the following materials:
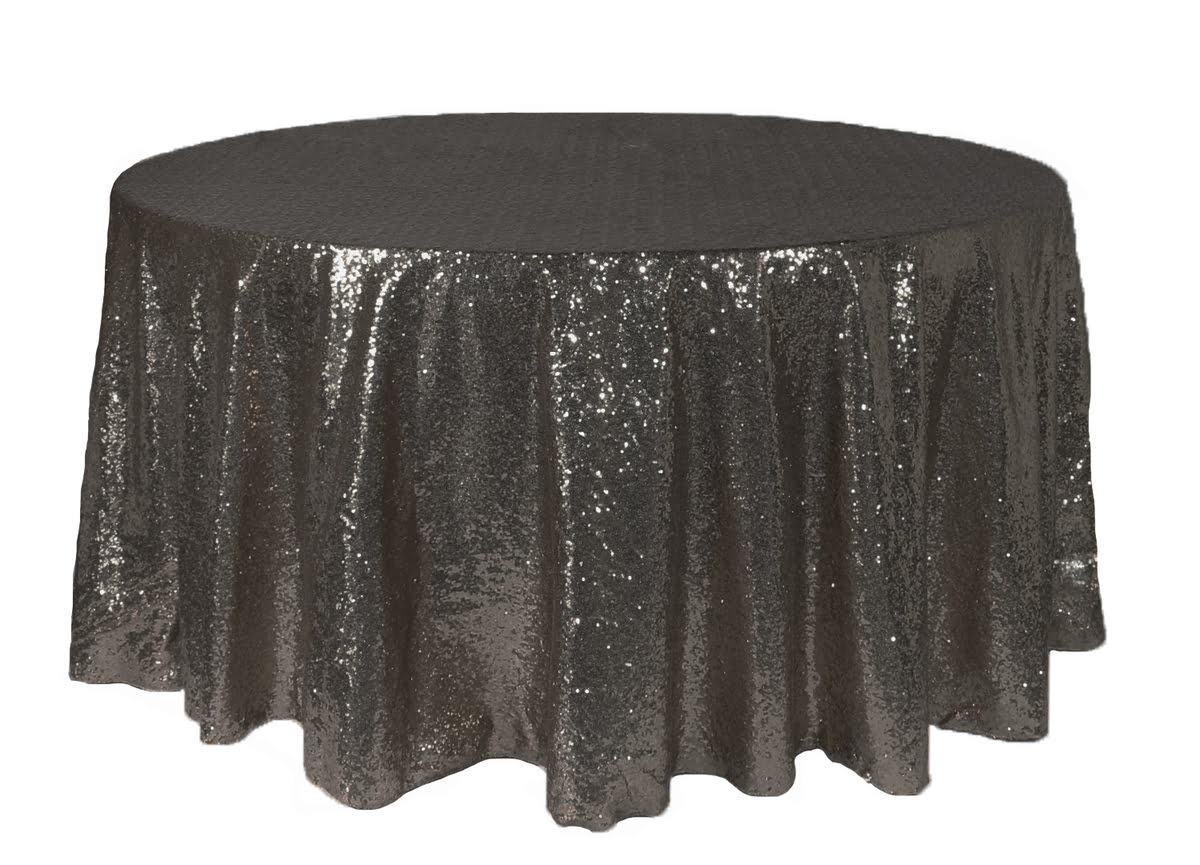
- A high-quality tablecloth: Choose a fabric that is suitable for draping, such as satin, silk, or polyester. It should have enough weight to hold the folds and add a touch of elegance to your table.
- A measuring tape: This will help you determine the correct dimensions for the tablecloth, ensuring a perfect fit on your table.
- A pair of sharp scissors: You will need these to cut the tablecloth to the desired length and dimensions.
- An iron and ironing board: It’s crucial to have a well-pressed tablecloth for a flawless swagging technique. Wrinkles can distract from the overall appearance, so take the time to iron your tablecloth before proceeding.
- Pins or tablecloth clips: These will be used to secure the swags in place. You can opt for decorative pins that add a touch of sophistication to your table setting.
- Optional: Tablecloth weights or double-sided tape: If you’re concerned about the swags shifting during the meal, you can use tablecloth weights or double-sided tape to keep everything in place.
Gather these materials before you begin, ensuring that you have everything you need for a successful tablecloth swagging session. Once you have them at hand, you can start transforming your table into a stunning visual masterpiece.
Step 1: Preparing the Table
Before you start swagging the tablecloth, it’s essential to prepare the table properly. Here’s what you need to do:
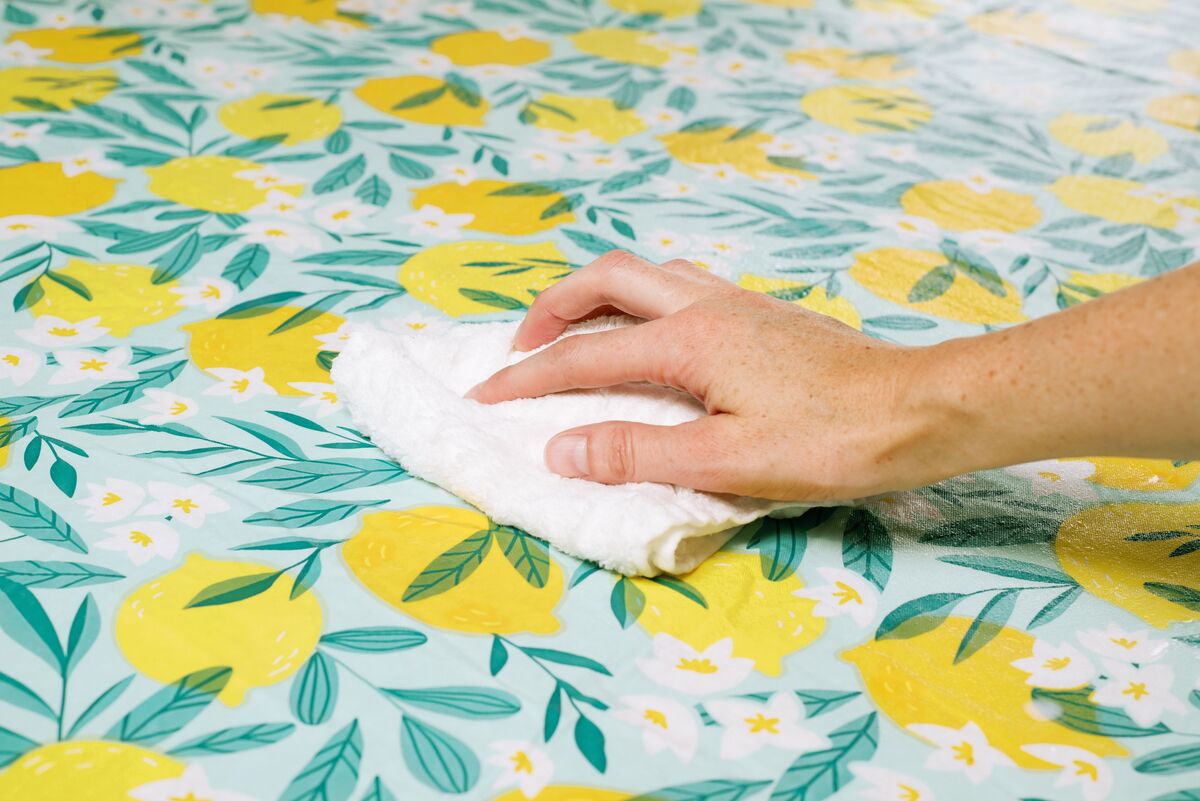
- Clean the table: Make sure your table is free from any dust, crumbs, or debris. Wipe it down with a clean cloth to create a clean and fresh surface.
- Remove unnecessary items: Clear the table of any unnecessary items such as centerpieces, candles, or other decorations. You want a clean and empty canvas to work with.
- Check for stability: Ensure that your table is stable and won’t wobble during the swagging process. If needed, adjust the table legs or place sturdy support under the table to keep it steady.
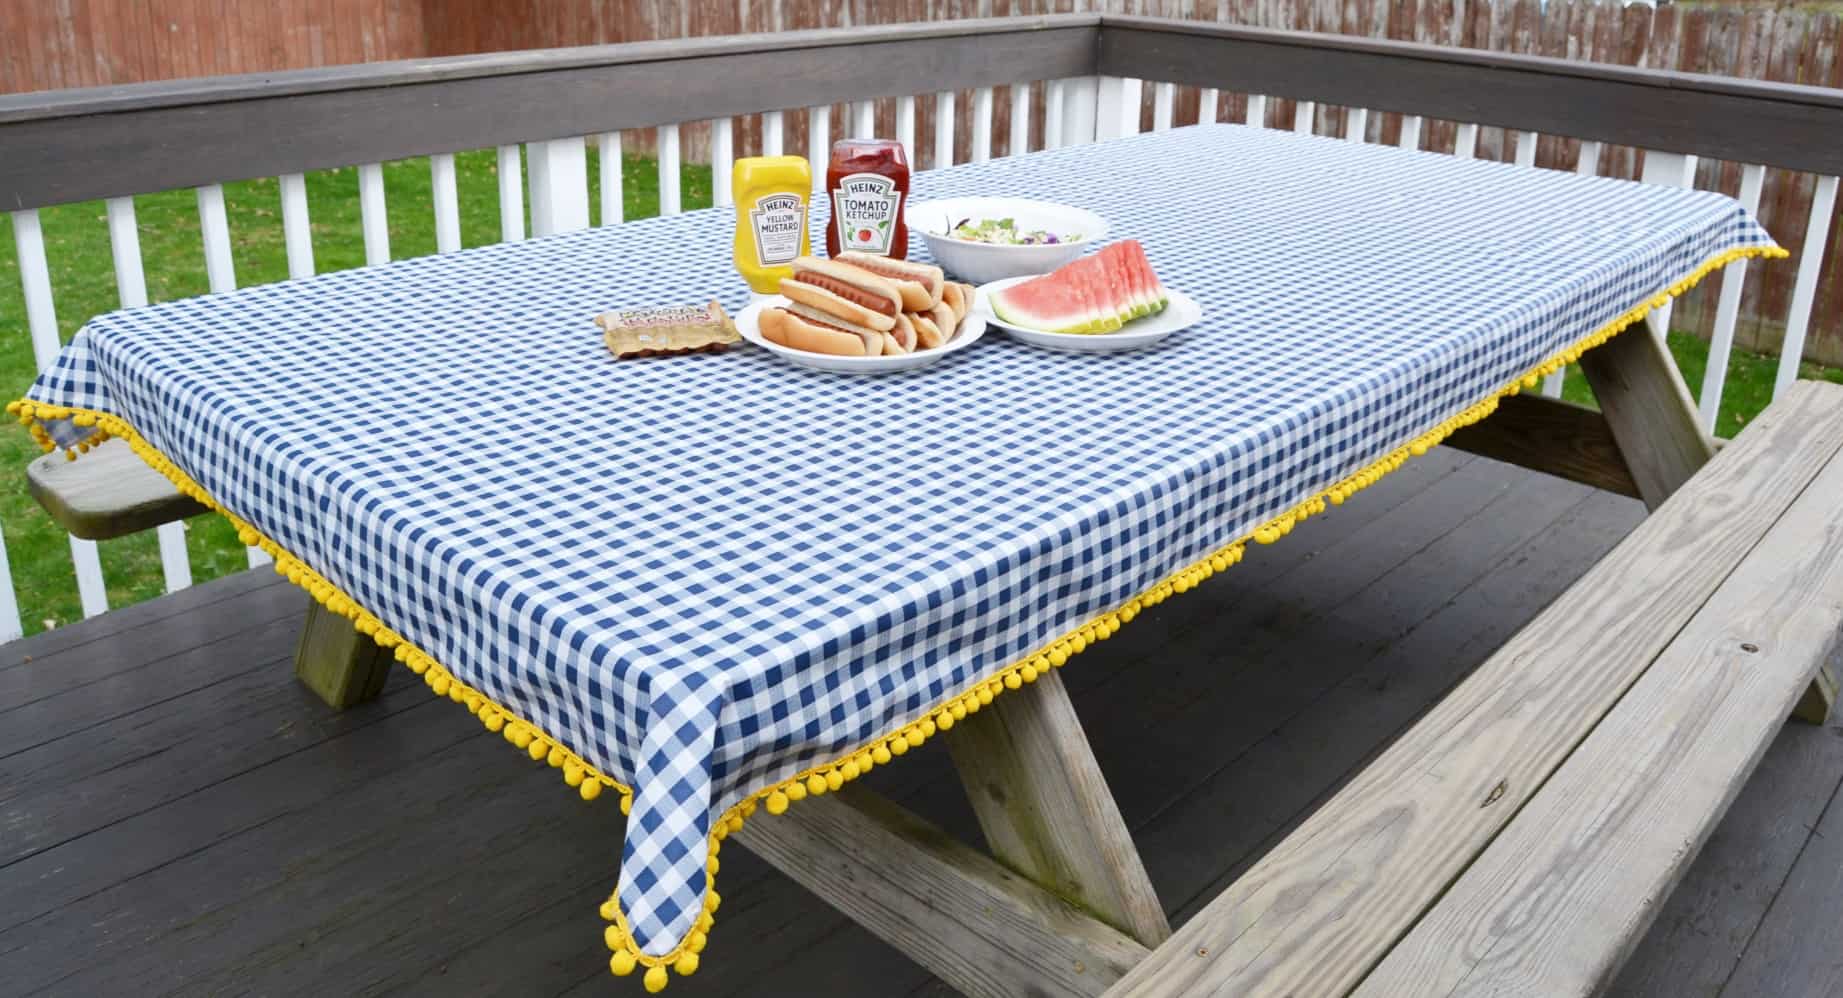
- Consider table shape: Take into account the shape of your table when swagging the tablecloth. Rectangular and oval tables may require different swagging techniques compared to round tables.
By preparing the table beforehand, you create a solid foundation for the swagging process. A clean and stable table ensures that your tablecloth swags will drape smoothly and stay in place throughout your meal. Once the table is prepared, it’s time to move on to the next step: choosing the perfect tablecloth.
Step 2: Choosing the Tablecloth
When it comes to swagging a tablecloth, selecting the right tablecloth is crucial. Here are some factors to consider when choosing the perfect tablecloth:
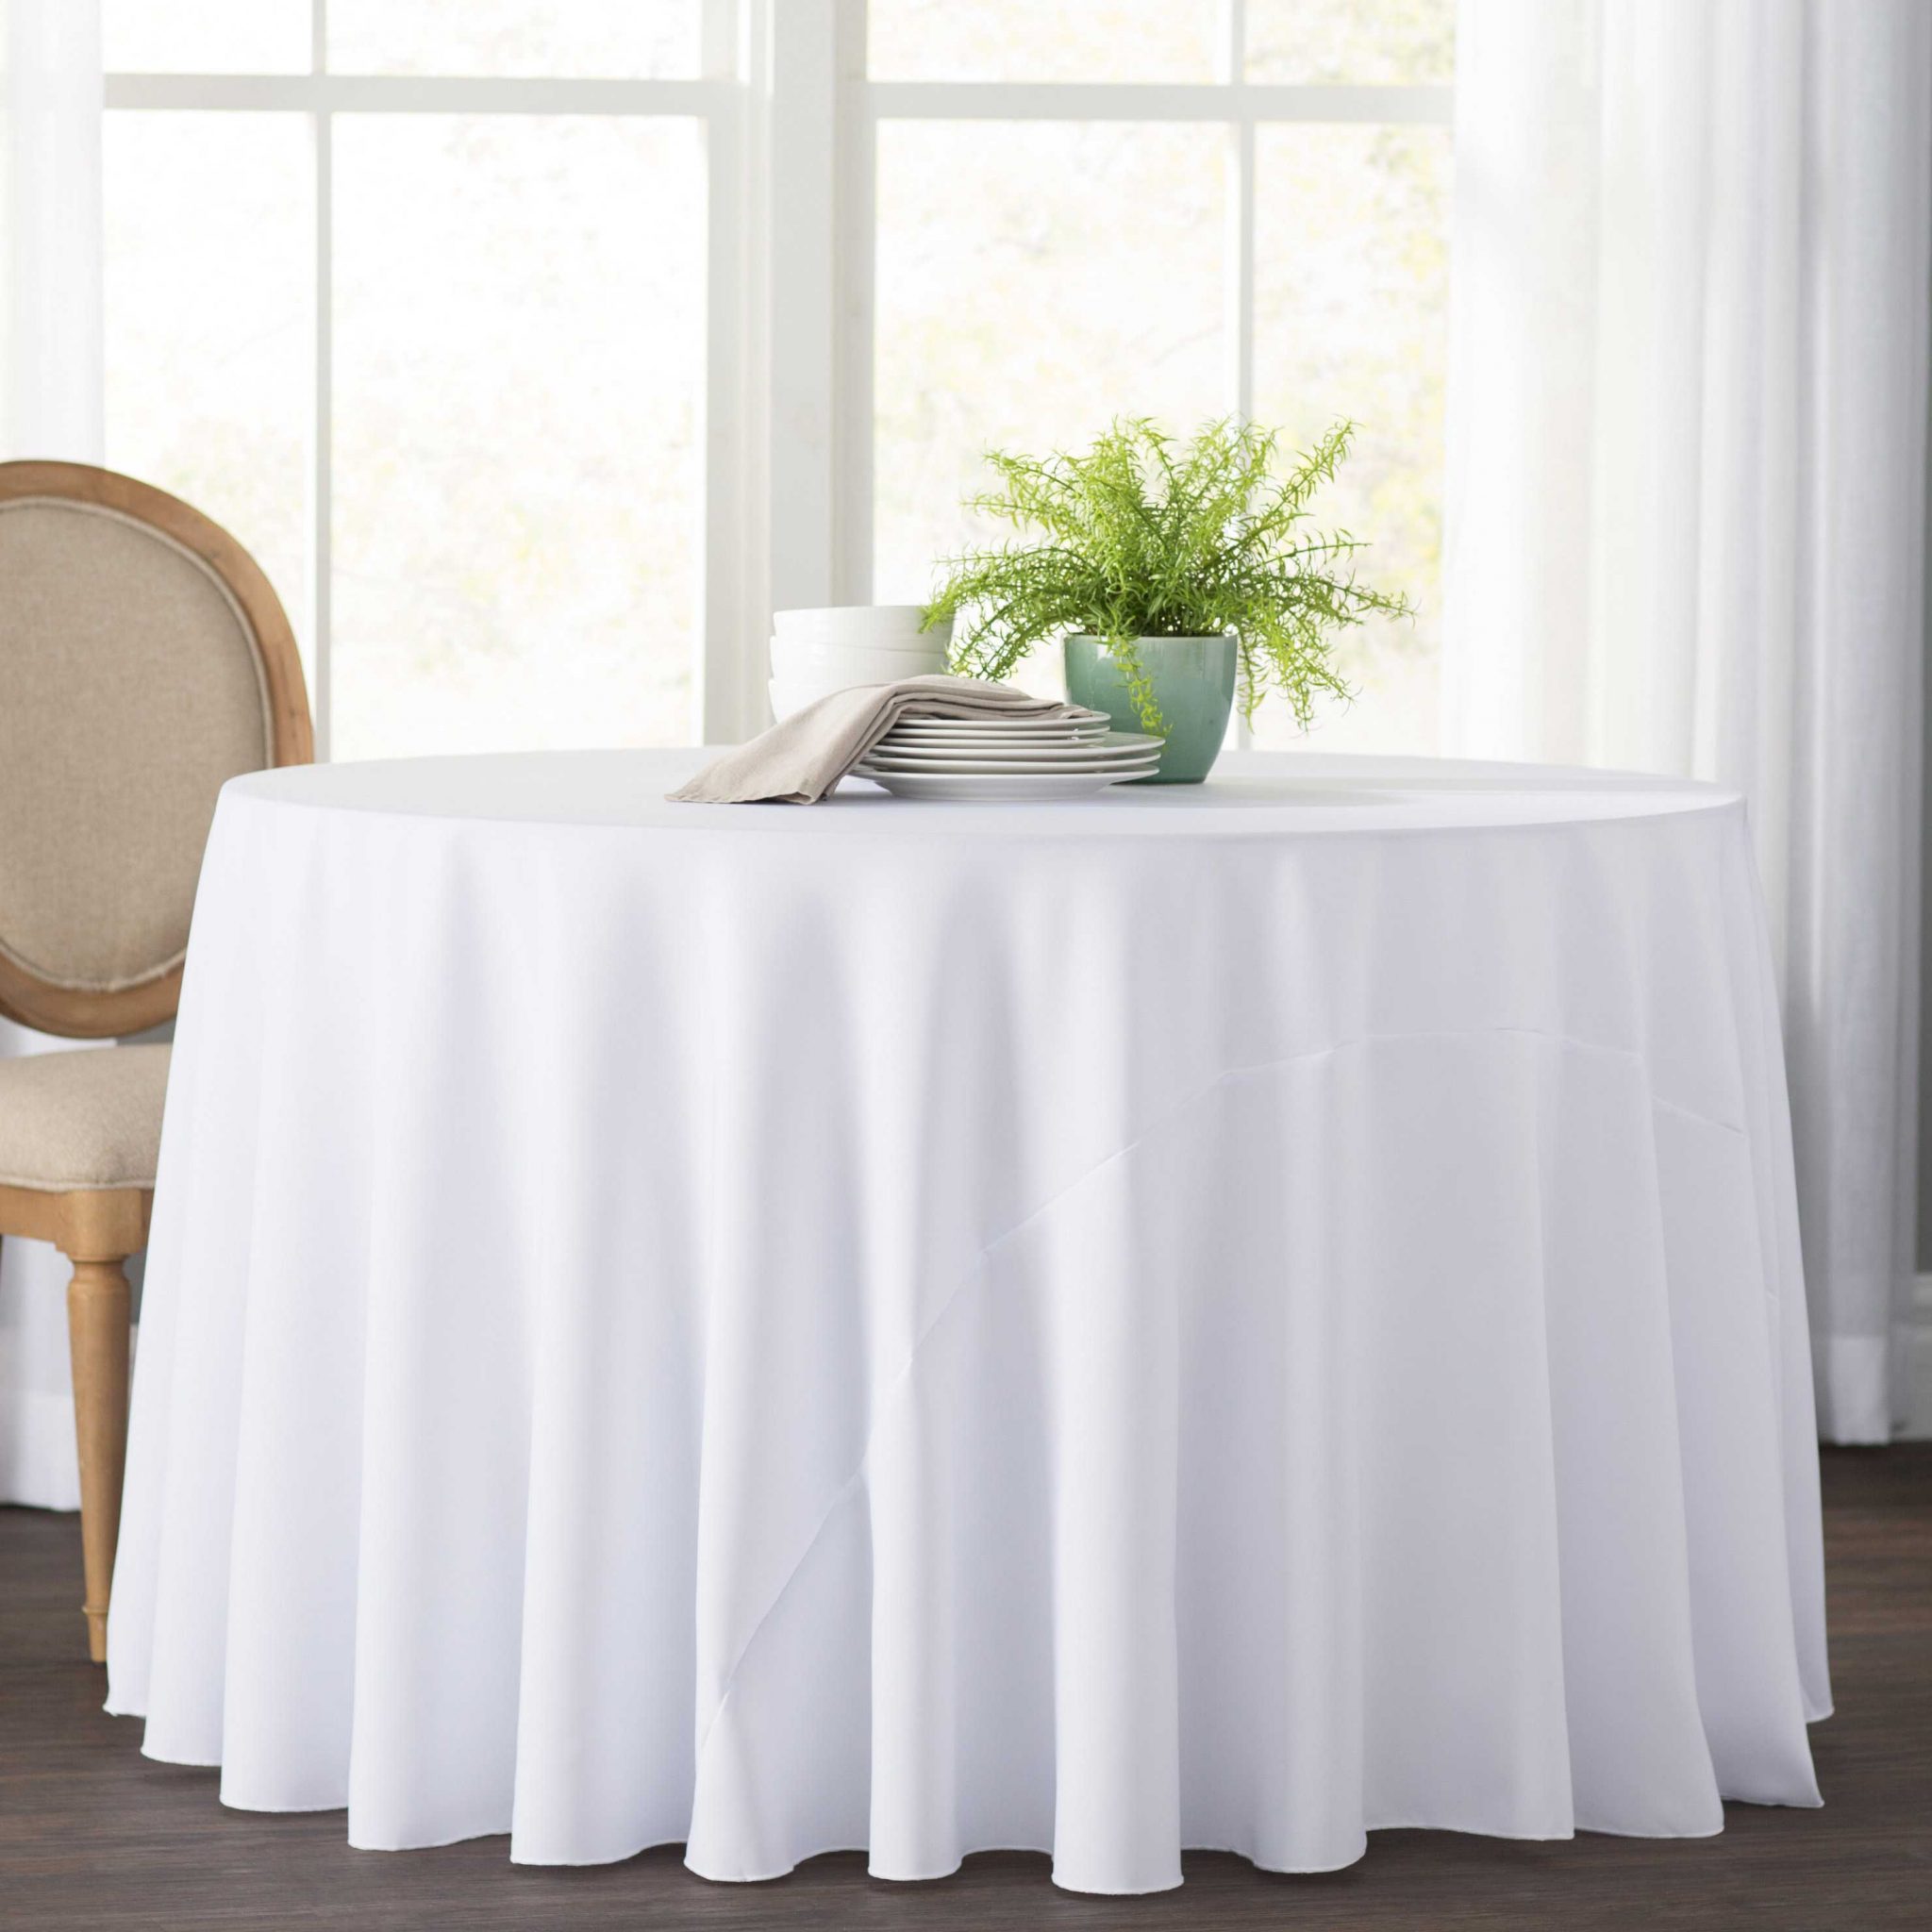
- Size: Measure your table to determine the dimensions of the tablecloth you need. Consider the overhang you desire – whether you want the tablecloth to skim the floor or have a more tailored look.
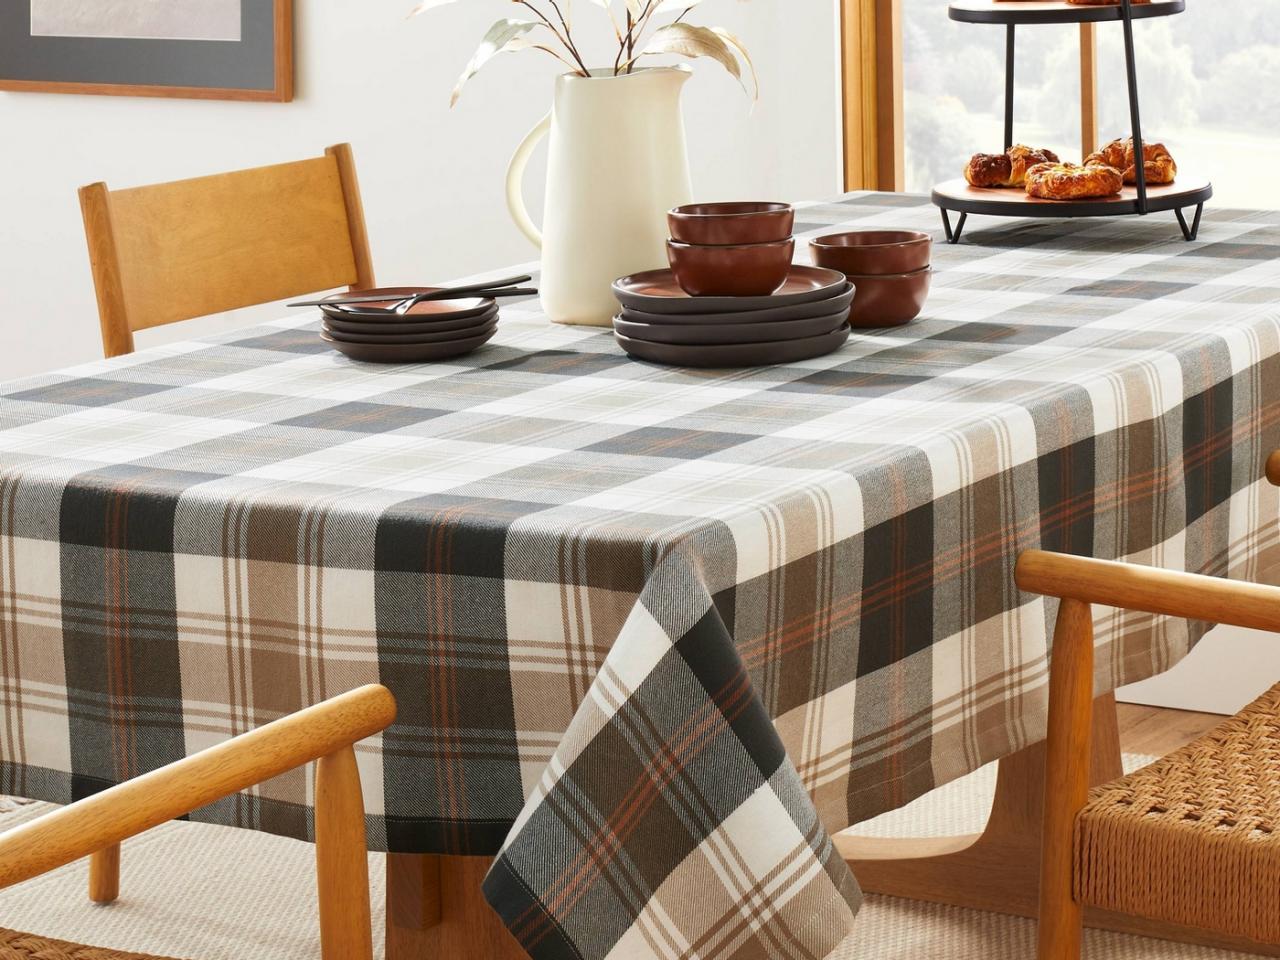
- Color and pattern: Choose a color and pattern that complements your overall table setting and event theme. Opt for solid colors for a classic and sophisticated look, or choose a pattern that matches your style and adds visual interest.
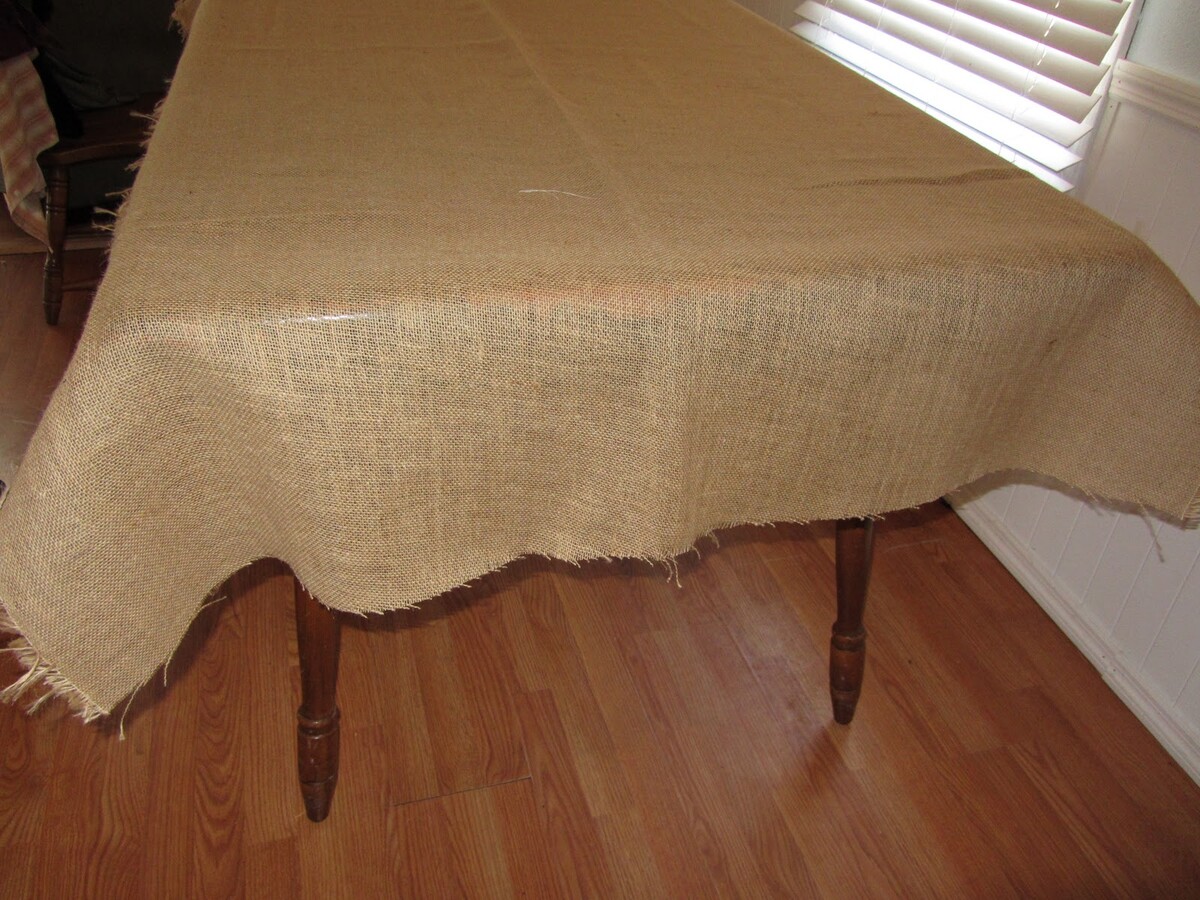
- Fabric: Consider the fabric that best suits your preferences and needs. Some fabrics, like satin or silk, drape beautifully and create elegant swags. Others, like polyester or cotton blends, offer more durability and easy maintenance.
- Texture: Decide on the texture of the tablecloth – whether you want it to be smooth and sleek or have a more textured appearance. The texture can add depth and dimension to your overall table setting.
- Functionality: Think about the functionality of the tablecloth. If you anticipate spills or stains, choose a fabric that is stain-resistant or easy to clean. Additionally, consider whether you want a wrinkle-free fabric or if you’re willing to iron it before each use.
Take the time to explore different options and envision how each tablecloth will enhance your table. Consider the occasion, the style you want to achieve, and the overall ambience you desire. Once you have chosen the perfect tablecloth, you’re ready to move on to the next step: measuring and cutting.
Step 3: Measuring and Cutting
Now that you have chosen the perfect tablecloth, it’s time to measure and cut it to the desired dimensions. Follow these steps to ensure a precise fit:
- Measure the table: Use a measuring tape to measure the length and width of your table. Take into account any leaves or extensions that may be added.
- Add overhang: Decide on the amount of overhang you want for your tablecloth. The standard recommendation is 8-12 inches of overhang on each side, but you can adjust it depending on your preference. Keep in mind that a larger overhang creates more room for swagging.
- Mark the measurements: Use fabric chalk or pins to mark the measurements on your tablecloth. Ensure that the lines are straight and parallel to achieve a clean and symmetrical cut.
- Cut the fabric: With a sharp pair of scissors, carefully cut along the marked lines. Take your time and make precise cuts to avoid any fraying or uneven edges.
Once you have cut the tablecloth to the desired dimensions, you can proceed to the next step: ironing the tablecloth for a polished and professional look.
Read more: How To Make A Greenery Swag
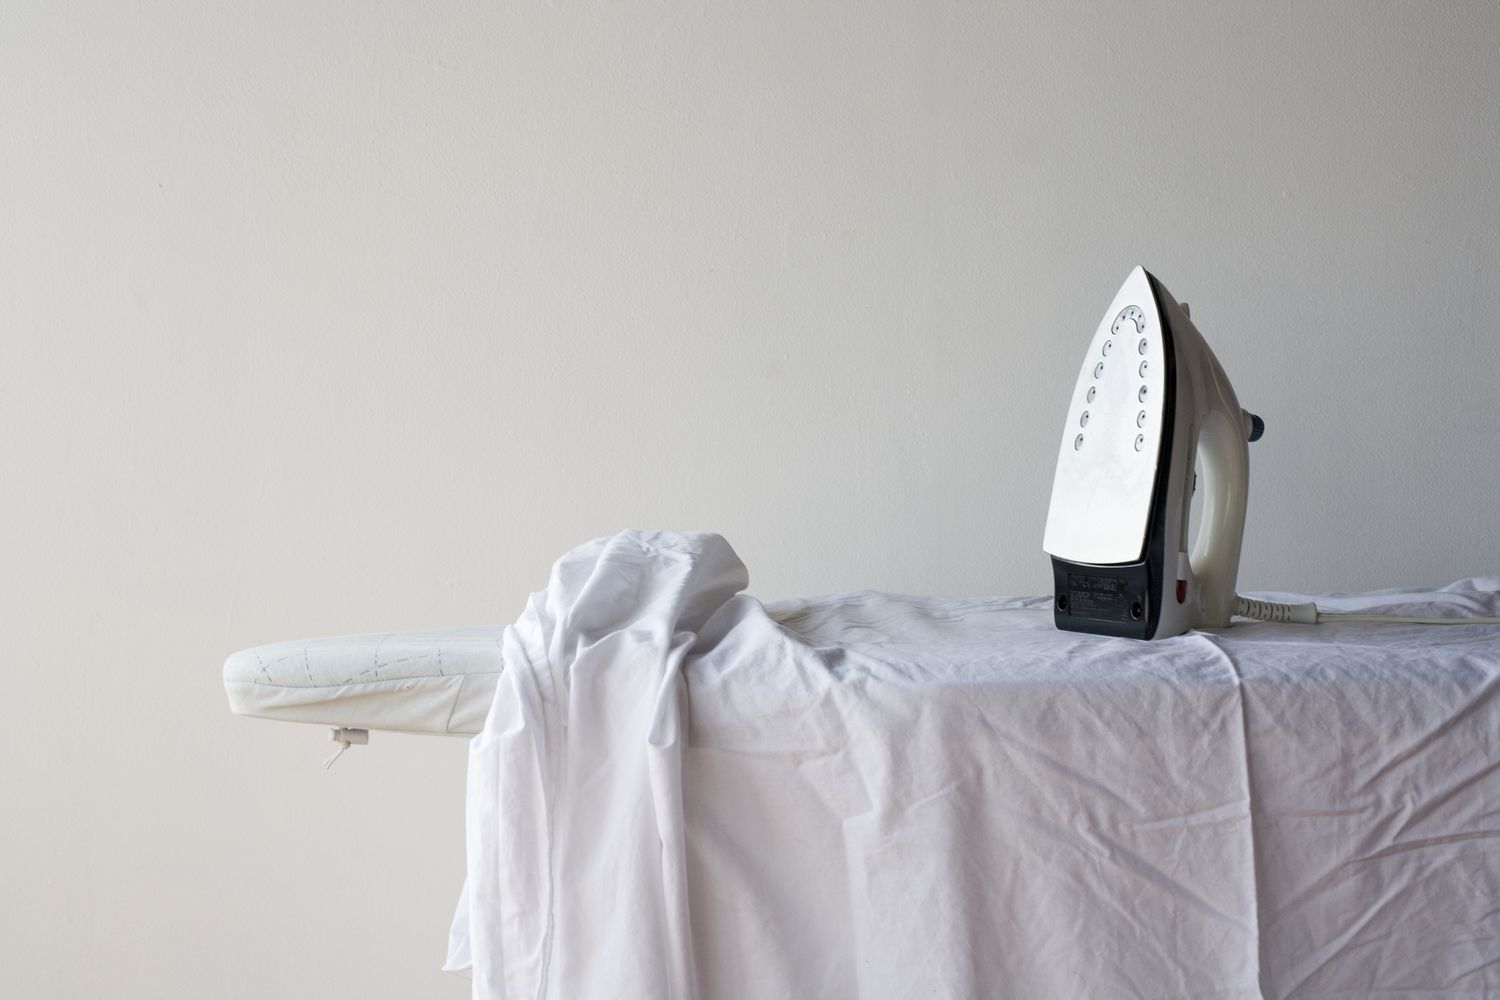
Step 4: Ironing the Tablecloth
Before you start swagging the tablecloth, it’s essential to ensure that it is wrinkle-free and properly pressed. Follow these steps to iron your tablecloth:
- Set up your ironing board: Place your ironing board in a well-ventilated area and adjust it to a comfortable height.
- Check the fabric care instructions: Before ironing, check the fabric care instructions on the tablecloth label. Different fabrics may require different heat settings.
- Preheat the iron: Turn on your iron and allow it to heat up to the appropriate temperature for the fabric.
- Start ironing: Lay the tablecloth flat on the ironing board, starting with one corner. Gradually move the iron across the surface, applying gentle pressure to remove any wrinkles.
- Pay attention to corners and edges: Pay special attention to the corners and edges of the tablecloth, as they are prone to wrinkles. Use the tip of the iron to smooth out any creases.
- Work in small sections: If your tablecloth is large, work in small sections to ensure that every part of the fabric is properly ironed.
- Hang or fold the tablecloth: Once the tablecloth is wrinkle-free, hang it or fold it neatly to prevent new wrinkles from forming.
Ironing your tablecloth not only ensures a neat and polished appearance but also makes it easier to create smooth and flawless swags. With a freshly pressed tablecloth, you are now ready to move on to the exciting part: swagging the tablecloth!
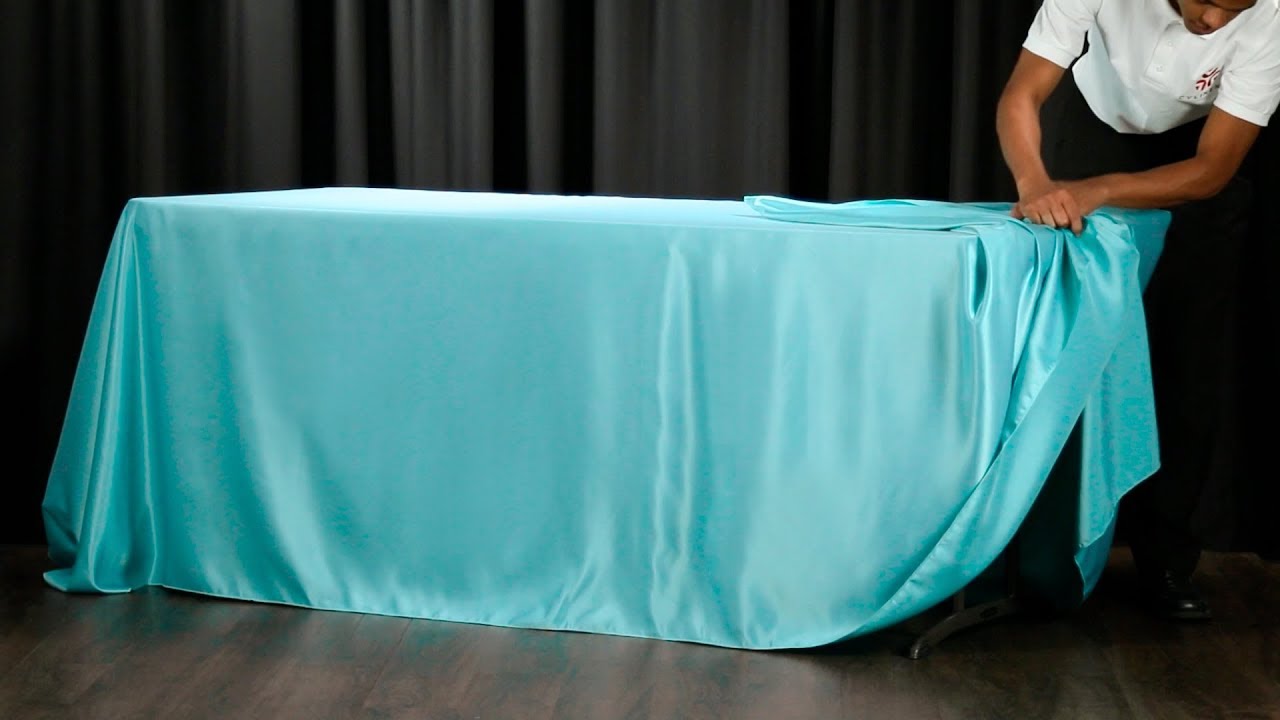
When swagging a tablecloth, use a lightweight fabric for easy draping. Start by placing the center of the cloth at the front of the table and gather the fabric to create swags, securing with clips or pins. Adjust the swags for a balanced and elegant look.
Step 5: Placing the Tablecloth
With your table properly prepared and your tablecloth wrinkle-free, it’s time to place the tablecloth on the table. Follow these steps for a seamless placement:
- Start with one end: Begin by positioning one end of the tablecloth at the edge of the table. Make sure it hangs evenly on all sides.
- Center the tablecloth: Adjust the tablecloth to ensure it is centered on the table. Use the overhang as a visual guide to achieve balance.
- Smooth it out: Smooth out any wrinkles or creases on the surface of the tablecloth. Use your hands or a clean cloth to gently pat and flatten the fabric.
- Secure the corners: Tuck the corners of the tablecloth underneath the table for a neat appearance. Ensure that all corners are tucked securely to prevent them from peeking out or getting caught on anything.
By placing the tablecloth carefully, you set the foundation for the swagging process. A properly positioned tablecloth creates a clean and elegant base for the swags to be added later. Once the tablecloth is in place, you can move on to the next step: adjusting the length and width as needed.
Step 6: Adjusting the Length and Width
After placing the tablecloth on the table, you may find that it needs some adjustments to achieve the desired length and width. Follow these steps to make the necessary adjustments:
- Check the overhang: Take a close look at the overhang of the tablecloth. If it is too long or too short, make adjustments accordingly.
- Shorten the overhang: If the overhang is too long, you can fold it under the edge of the table for a shorter appearance. Ensure that the fold is even and symmetrical on all sides.
- Lengthen the overhang: If the overhang is too short, unfold the folded edge or add a decorative trim to extend the length. This can be done with a contrasting fabric or a decorative ribbon.
- Check the width: Examine the width of the tablecloth. If it seems too wide or too narrow for your table, make adjustments as necessary.
- Adjust the width: If the tablecloth is too wide, you can gather the fabric in strategic places to create gentle folds. This will not only make it fit better but also add visual interest.
- Add width: If the tablecloth is too narrow, you can use fabric extensions or matching fabric panels on the sides to add width. Seamlessly integrate these extensions to create a cohesive look.
By adjusting the length and width of the tablecloth, you can ensure a perfect fit and create the desired aesthetic for your table. Once you are satisfied with these adjustments, it’s time to move on to the exciting part: adding the swags!
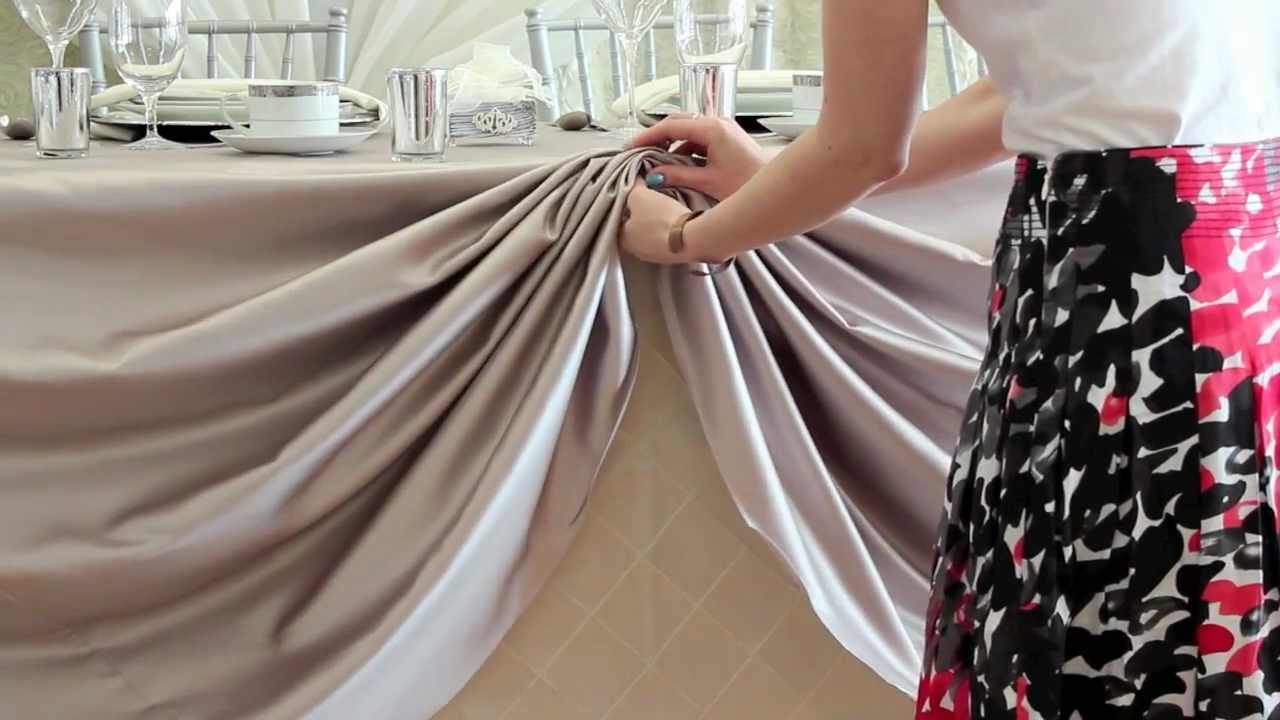
Step 7: Adding Swags
Now comes the fun part – adding the swags to your tablecloth! Swagging creates beautiful cascading folds that elevate the visual appeal of your table. Follow these steps to add stunning swags:
- Select the starting point: Choose a side of the tablecloth to start the swagging process. You can begin on either the long side or the short side, depending on your preference.
- Grab the fabric: Lift a section of the tablecloth from the starting point and hold it in your hand. Allow the rest of the fabric to drape naturally.
- Create a fold: Bring the lifted section of fabric towards the center of the tablecloth, creating a fold or pleat. The size of the fold will depend on the look you want to achieve.
- Hold the fold in place: Use your other hand or a decorative pin to secure the fold in place. The pin should be inserted discreetly and securely into the tablecloth to prevent it from coming loose.
- Repeat the process: Continue adding more folds or pleats, evenly spacing them along the side of the tablecloth and creating a cascading effect. Adjust the size and placement of the swags to create a balanced and visually appealing composition.
- Check the back: As you add swags, be mindful of how the back of the tablecloth looks as well. Ensure that any folds and pins are neatly hidden from view.
Swagging allows you to unleash your creativity and experiment with different folding techniques. You can create larger, dramatic swags or opt for more subtle and delicate folds. The key is to achieve a balanced and harmonious arrangement of swags that enhances the overall aesthetic of your table.
Now that you have added the swags, it’s time to move on to the next step: securing them in place to ensure they stay intact throughout your meal.
Read more: How To Hang A Swag Lamp
Step 8: Securing the Swags
After adding the beautiful swags to your tablecloth, it’s important to securely fasten them in place to ensure they stay intact during your meal. Follow these steps to secure the swags:
- Assess the stability: Take a moment to evaluate the stability of the swags. Gently tug on them to see if they hold their shape and position well.
- Use decorative pins: Insert decorative pins into the folds of the tablecloth to secure the swags. Make sure the pins are discreetly placed and do not disrupt the overall appearance of the swags.
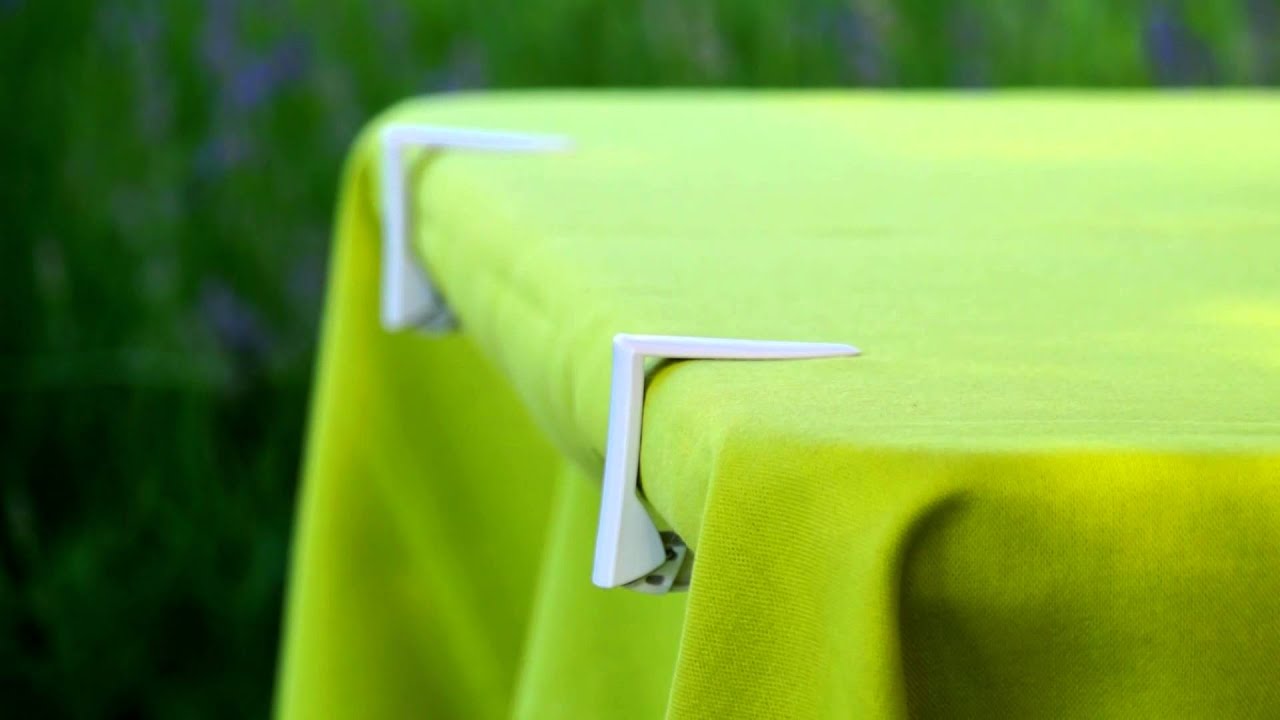
- Consider tablecloth clips: If you prefer a more secure hold, you can use tablecloth clips to fasten the swags. These clips attach to the tablecloth and prevent the swags from shifting or coming undone.
- Opt for tablecloth weights: Another option for added security is to use tablecloth weights. These small weights can be placed discreetly on the tablecloth to keep the swags in place.
- Ensure even tension: As you secure the swags, try to maintain even tension throughout the tablecloth. This will help create a cohesive and balanced look.
- Check for any loose swags: After securing the swags, check for any loose or sagging areas. Adjust and tighten them as needed to maintain a polished appearance.
By properly securing the swags, you can ensure that they stay in place and withstand any movements or disturbances during your meal. This will allow you and your guests to dine in style without worrying about the tablecloth coming undone.
Now that the swags are securely in place, it’s time for the final touches to complete the swagging process.
Step 9: Final Touches
With the swags secured, you’re almost done with the tablecloth swagging process. Now, it’s time to add some final touches to perfect the overall look. Follow these steps to complete the swagging process:
- Smooth out any wrinkles: Take a moment to carefully smooth out any wrinkles or creases that may have formed during the swagging process. Use your hands to gently press and flatten the fabric.
- Tidy up the tablecloth edges: Ensure that the edges of the tablecloth are neat and even. Trim any loose threads or uneven edges for a clean and polished appearance.
- Check the symmetry: Step back and examine the tablecloth from different angles to ensure that the swags are symmetrical and evenly distributed. Make any necessary adjustments to achieve a balanced look.
- Add additional embellishments (optional): If you want to elevate the visual impact even further, consider adding additional embellishments such as fresh flowers, decorative accents, or table runners. These elements can enhance the overall aesthetic and complement the swags.
- Step back and admire your work: Take a moment to step back and admire the stunning result of your tablecloth swagging. The cascading folds, secure swags, and final touches have transformed your table into a captivating centerpiece.
By paying attention to these final touches, you can truly complete the swagging process and achieve a refined and elegant table setting. Your guests will be impressed by the level of detail and the thought put into creating such a visually engaging dining experience.
Congratulations! You have successfully swagged your tablecloth, adding a touch of sophistication and charm to your table. Enjoy the beautiful setting you have created as you gather around for a memorable meal!
Note: Remember to remove any decorative pins, clips, or weights before laundering or storing the tablecloth.
Now that you know how to swag a tablecloth, why not experiment with different fabrics, colors, and swagging patterns to create unique and eye-catching table settings for your future gatherings?
Thank you for following this step-by-step guide. Happy swagging!
Conclusion
Congratulations, you have mastered the art of swagging a tablecloth! By following the steps outlined in this guide, you have learned how to transform a simple tablecloth into a stunning focal point for any dining occasion. Swagging a tablecloth not only adds elegance and sophistication to your table setting but also allows you to showcase your creativity and attention to detail.
Throughout this process, we explored the importance of preparing the table, choosing the perfect tablecloth, measuring and cutting it to the desired dimensions, and ironing it for a polished look. We also discussed the intricate steps involved in placing the tablecloth, adjusting the length and width, adding swags, securing them in place, and adding final touches.
Remember, the key to successful tablecloth swagging lies in balance, symmetry, and attention to detail. Take the time to experiment with different folding techniques, colors, and fabrics to create unique and personalized table settings that will leave a lasting impression on your guests.
Whether you are hosting a formal dinner party, celebrating a special occasion, or simply elevating your everyday dining experience, swagging a tablecloth allows you to set the stage for a memorable gathering. The beauty of tablecloth swagging is that it can be customized to match any style, theme, or event, adding a touch of sophistication and flair to your dining space.
So, gather your materials, prepare your table, choose a stunning tablecloth, and let your creativity flow as you swag away! Enjoy the process of transforming your table into a visual masterpiece that will captivate your guests and create a welcoming atmosphere.
Thank you for joining us on this journey to discover the art of swagging a tablecloth. Happy entertaining!
Frequently Asked Questions about How To Swag A Tablecloth
Was this page helpful?
At Storables.com, we guarantee accurate and reliable information. Our content, validated by Expert Board Contributors, is crafted following stringent Editorial Policies. We're committed to providing you with well-researched, expert-backed insights for all your informational needs.


0 thoughts on “How To Swag A Tablecloth”