Tableware
How To Make Burlap Tablecloths
Modified: October 20, 2024
Learn how to make beautiful burlap tablecloths for your next event with our easy-to-follow tutorial. Elevate your tableware game!
(Many of the links in this article redirect to a specific reviewed product. Your purchase of these products through affiliate links helps to generate commission for Storables.com, at no extra cost. Learn more)
Introduction
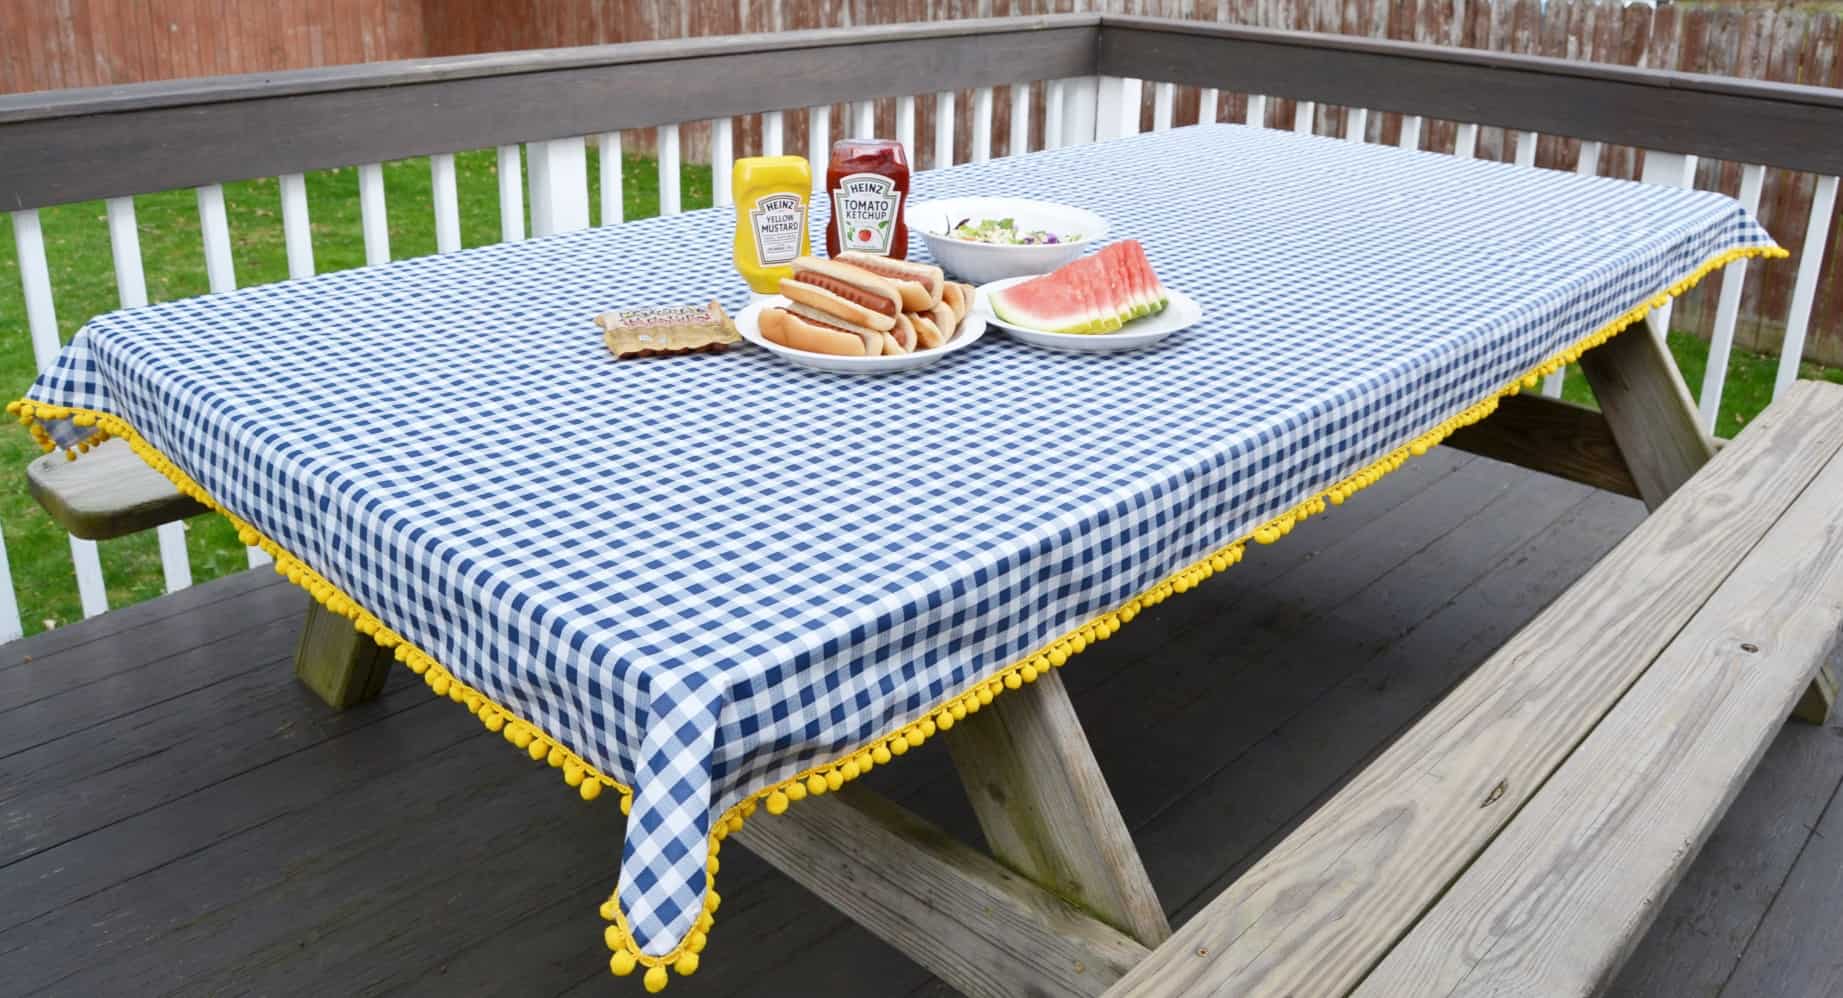
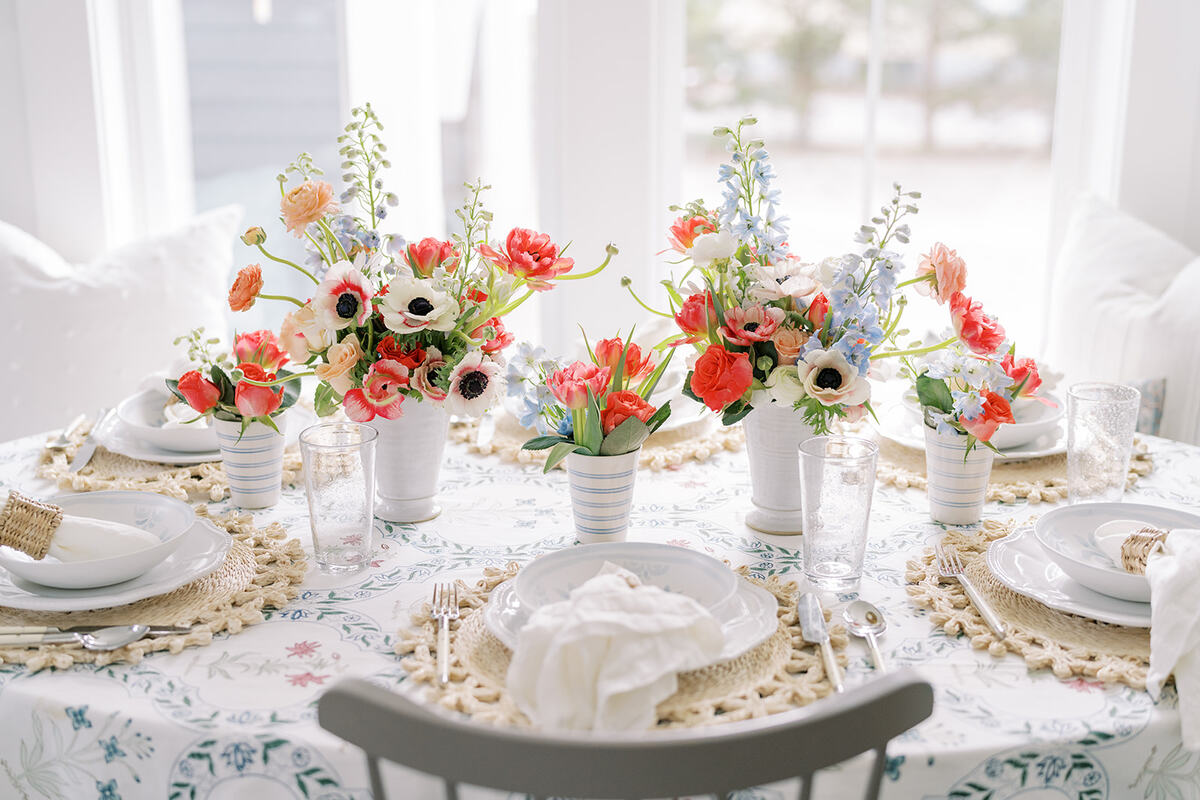
Tablecloths are an essential element of any dining setup. They not only protect your table from spills and stains but also add a touch of elegance and style to your dining experience. While there is a wide range of tablecloth options available in the market, sometimes it can be challenging to find the perfect tablecloth that matches your personal style or the theme of your event.
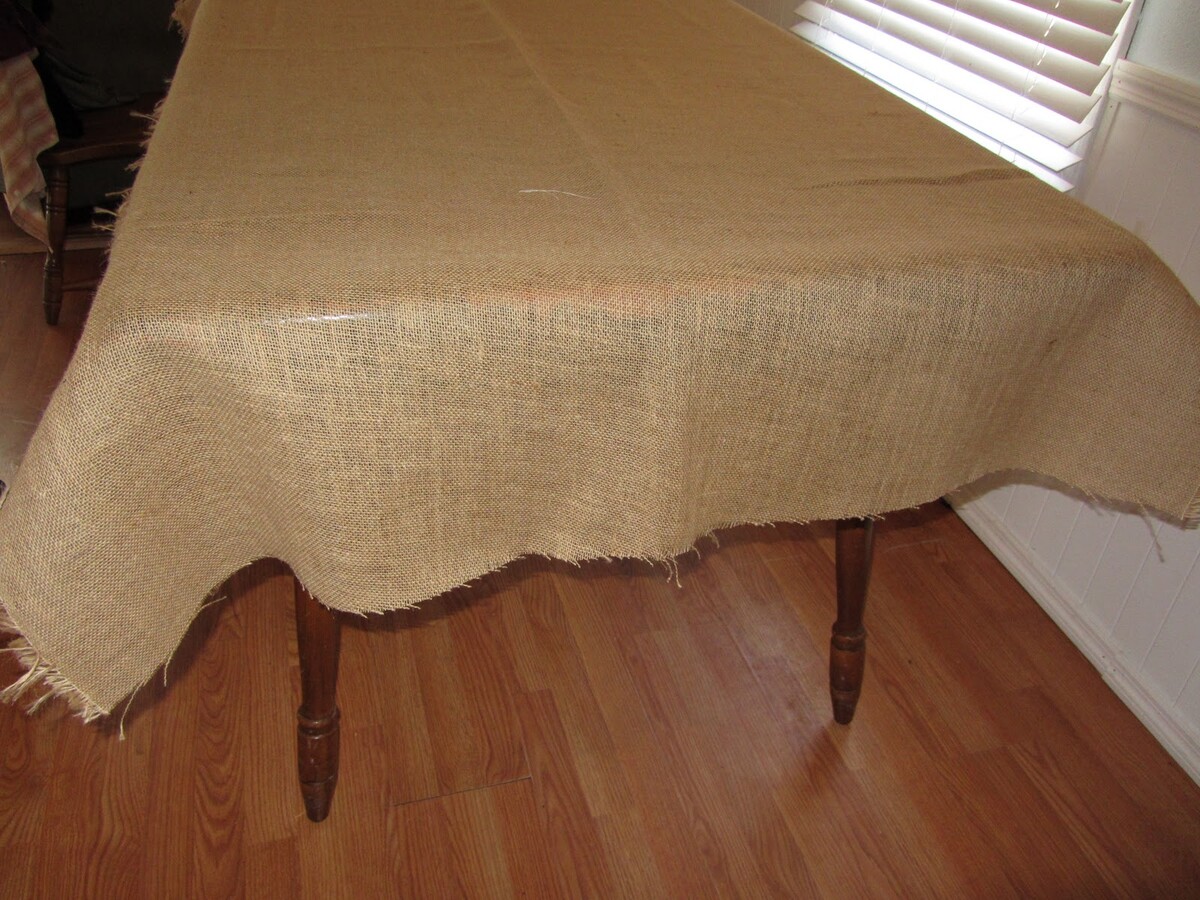
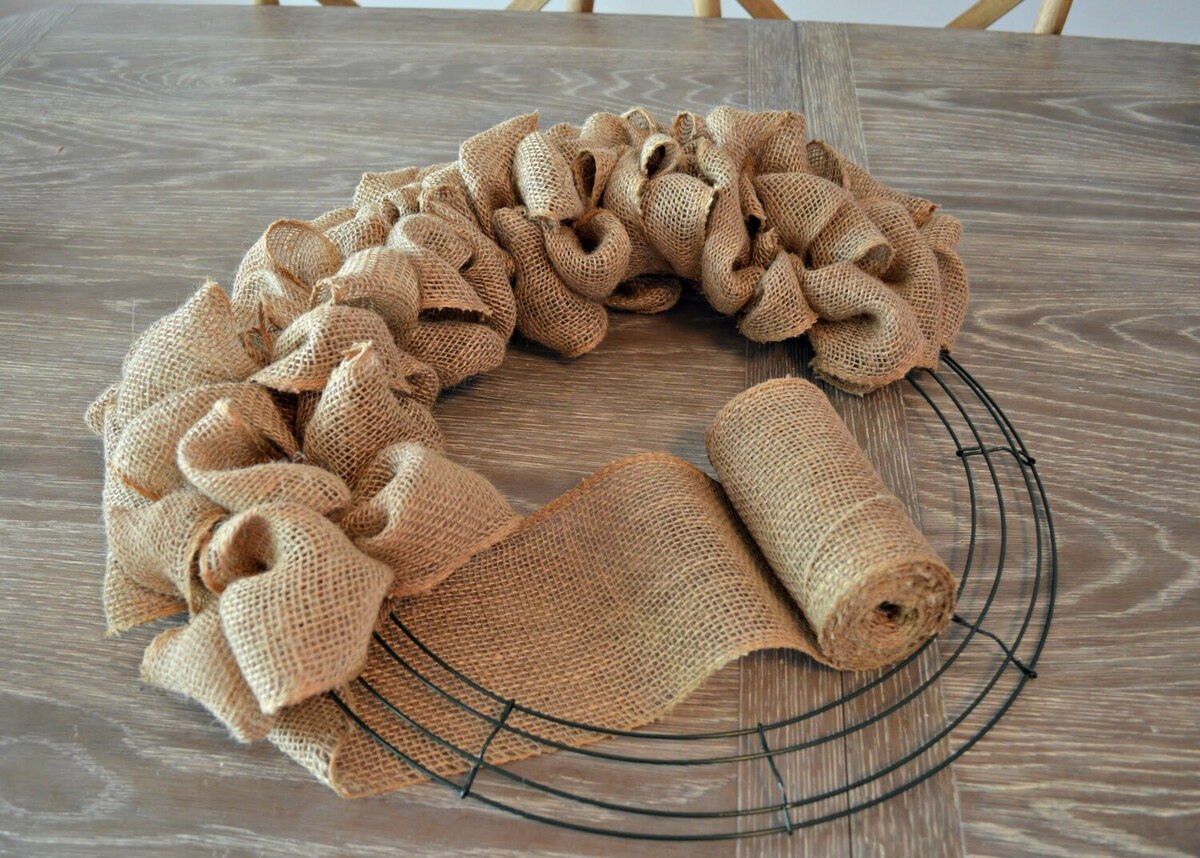
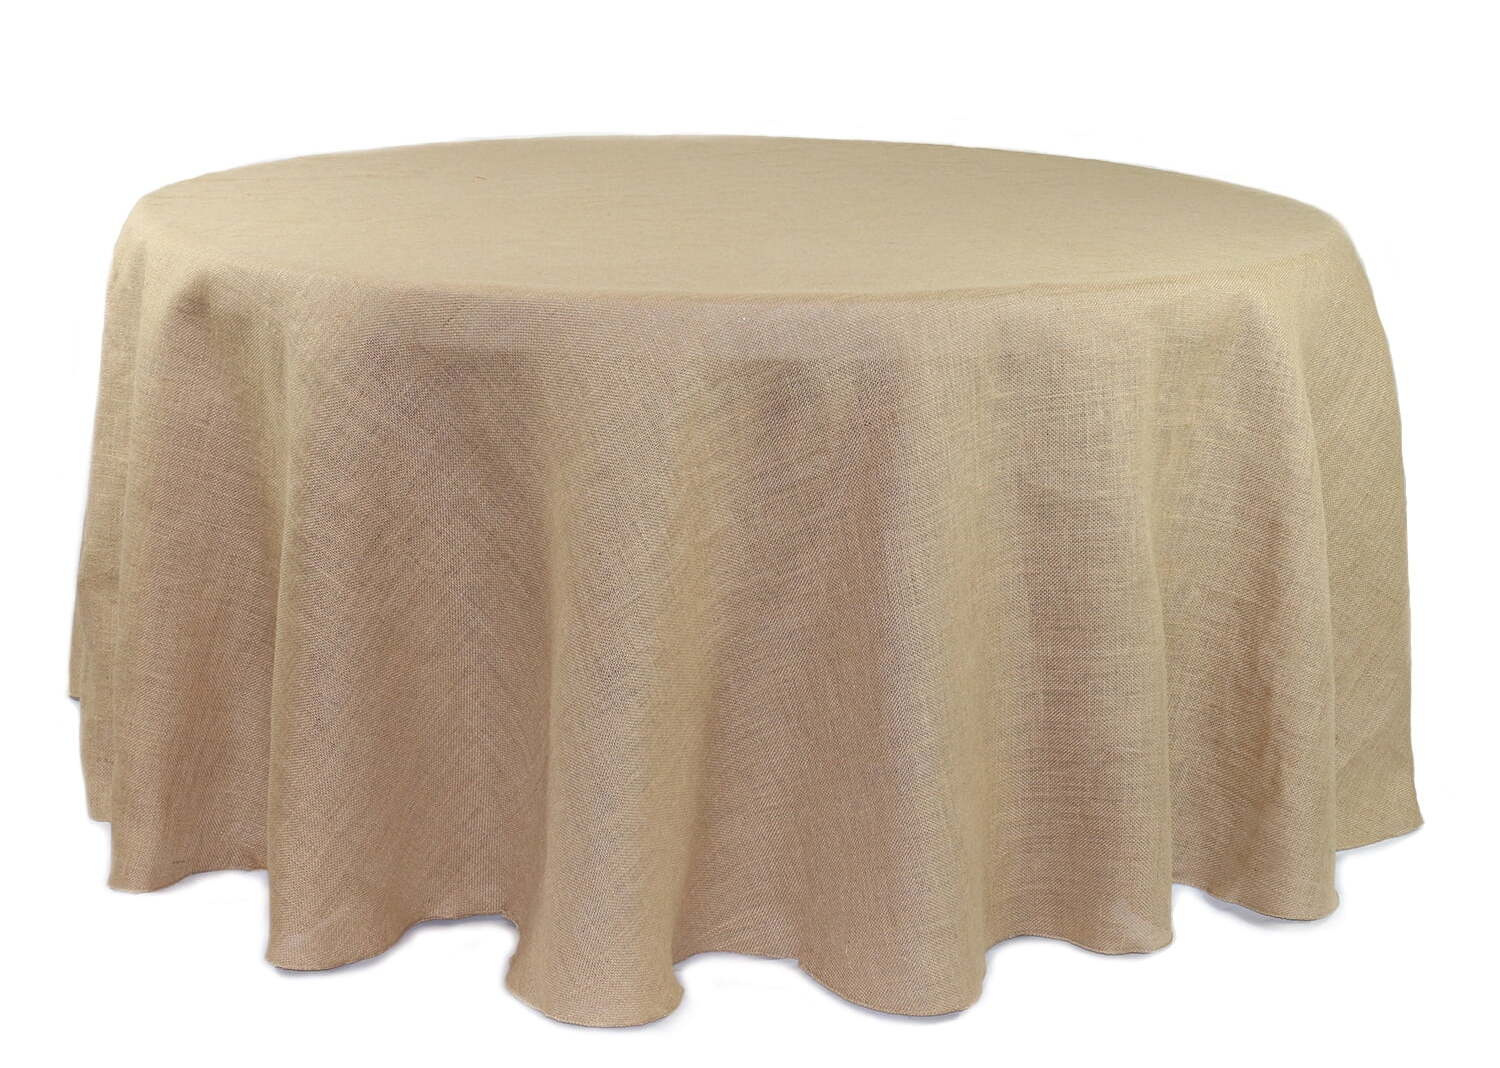
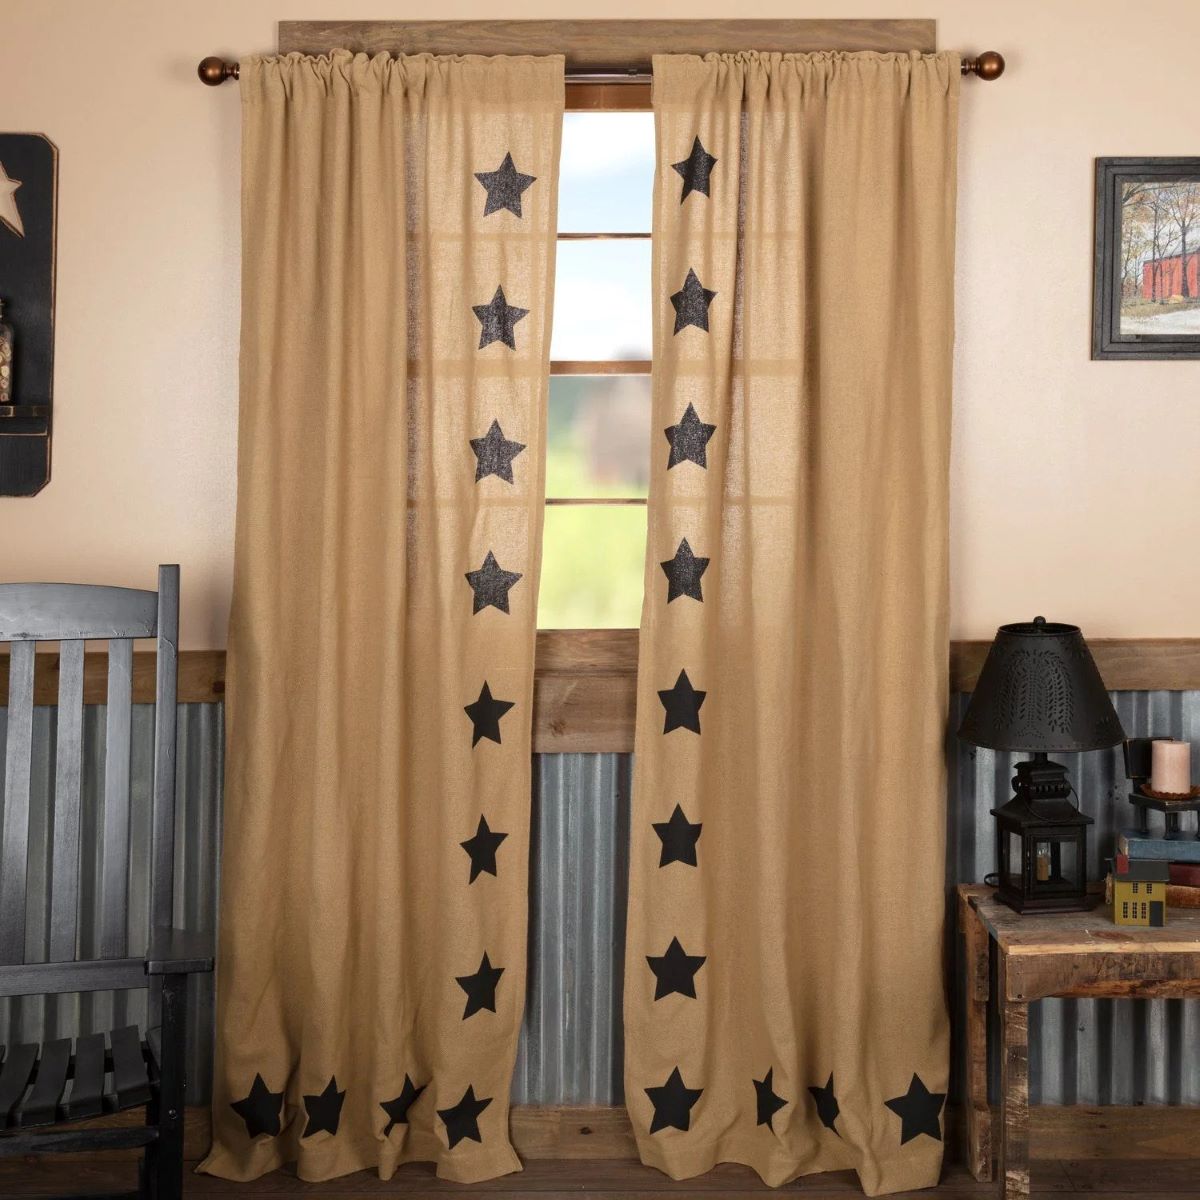
If you are looking for a rustic and charming tablecloth option, burlap tablecloths are the way to go. Burlap is a durable and versatile fabric that brings a natural and earthy vibe to any table setting. The coarse texture of burlap lends a unique and rustic charm, making it a popular choice for rustic-themed weddings, outdoor parties, or farmhouse-style home decor.
Creating your own burlap tablecloth allows you to customize the size, shape, and design according to your preference. In this article, we will guide you through the step-by-step process of making your own burlap tablecloth, so you can add a personal touch to your table settings and wow your guests with your creativity.
Key Takeaways:
- Embrace the Rustic Charm: Making your own burlap tablecloth allows you to infuse your dining experience with a natural and earthy vibe, perfect for rustic-themed events and personalized table settings.
- Personalized Elegance: Customizing your burlap tablecloth with embellishments like lace trim, ribbons, or fabric paint adds a unique and charming touch to your table decor, elevating any occasion with personalized elegance.
Read more: How To Make Burlap Table Runners With Lace
Supplies Needed
Before diving into the process of making your burlap tablecloth, let’s gather all the necessary supplies. Here is a list of items you will need:
- Burlap fabric: Make sure to choose a high-quality burlap fabric that suits your desired tablecloth size.
- Scissors: A sharp pair of scissors will be essential for cutting the burlap fabric.
- Measuring tape: You’ll need a measuring tape to accurately measure the dimensions of your table and determine the size of your tablecloth.
- Pins: Sewing pins will come in handy for holding the fabric in place during the cutting and sewing process.
- Thread: Choose a thread that matches the color of your burlap fabric or opt for a contrasting thread for a decorative touch.
- Sewing machine or needle: Depending on your sewing skills, you can use either a sewing machine or a needle to hem the edges of your tablecloth.
- Embellishments (optional): If you want to add some extra flair to your tablecloth, consider gathering some embellishments like lace trim, ribbons, or fabric paint.
Once you have gathered all these supplies, you are ready to start creating your burlap tablecloth. Make sure to designate a clean and spacious workspace where you can lay out the fabric and work comfortably without any obstructions.
Step 1: Measuring and Cutting the Burlap
The first step in making your burlap tablecloth is to measure and cut the burlap fabric to the desired size. Follow these steps to ensure accurate measurements:
- Measure the dimensions of your table: Use a measuring tape to measure the length and width of your table. Take into account any overhang you desire on each side.
- Add extra fabric for drop and hemming: To achieve a proper drop, add approximately 10-12 inches to each side of the table measurement. This will allow the tablecloth to drape nicely over the edges while leaving room for hemming the edges.
- Mark the measurements on the burlap fabric: Spread out the burlap fabric on your workspace. Using a fabric pencil or chalk, mark the measurements on the fabric, ensuring that the marks are accurate and easily visible.
- Cut the burlap fabric: Carefully cut along the marked lines using a sharp pair of scissors. Take your time to ensure clean and straight cuts.
Once you have cut the burlap fabric to the appropriate size, you are ready to move on to the next step of adding a hem to the edges.
Step 2: Adding Hem to the Edges
Now that you have the burlap fabric cut to the desired size, it’s time to add a hem to the edges. Hemming the edges will prevent fraying and give your tablecloth a clean and finished look. Follow these steps to add a hem:
- Prepare the edges: Before hemming, it is recommended to fold in the edges of the burlap fabric by approximately 1 inch. This will help create a neat and sturdy hem.
- Pin the folded edges: Use sewing pins to hold the folded edges securely in place. Place the pins at regular intervals to ensure the fabric stays in position while sewing.
- Sew the hem: Using a sewing machine or a needle and thread, carefully sew along the folded edge to secure the hem. You can use a straight or zigzag stitch depending on your preference and the look you want to achieve.
- Remove the pins: Once the hem is sewn, carefully remove the pins from the fabric. Take your time to ensure that all the pins are removed to avoid any mishaps.
Make sure to backstitch at the beginning and end of your stitches to secure them in place. This will prevent the thread from unraveling over time.
Once you have completed hemming all the edges of your burlap tablecloth, you are ready to move on to the next step of embellishing the tablecloth, if desired.
When cutting burlap for a tablecloth, use a rotary cutter and a straight edge to ensure clean, straight lines. This will give your tablecloth a professional and polished look.
Step 3: Embellishing the Tablecloth (optional)
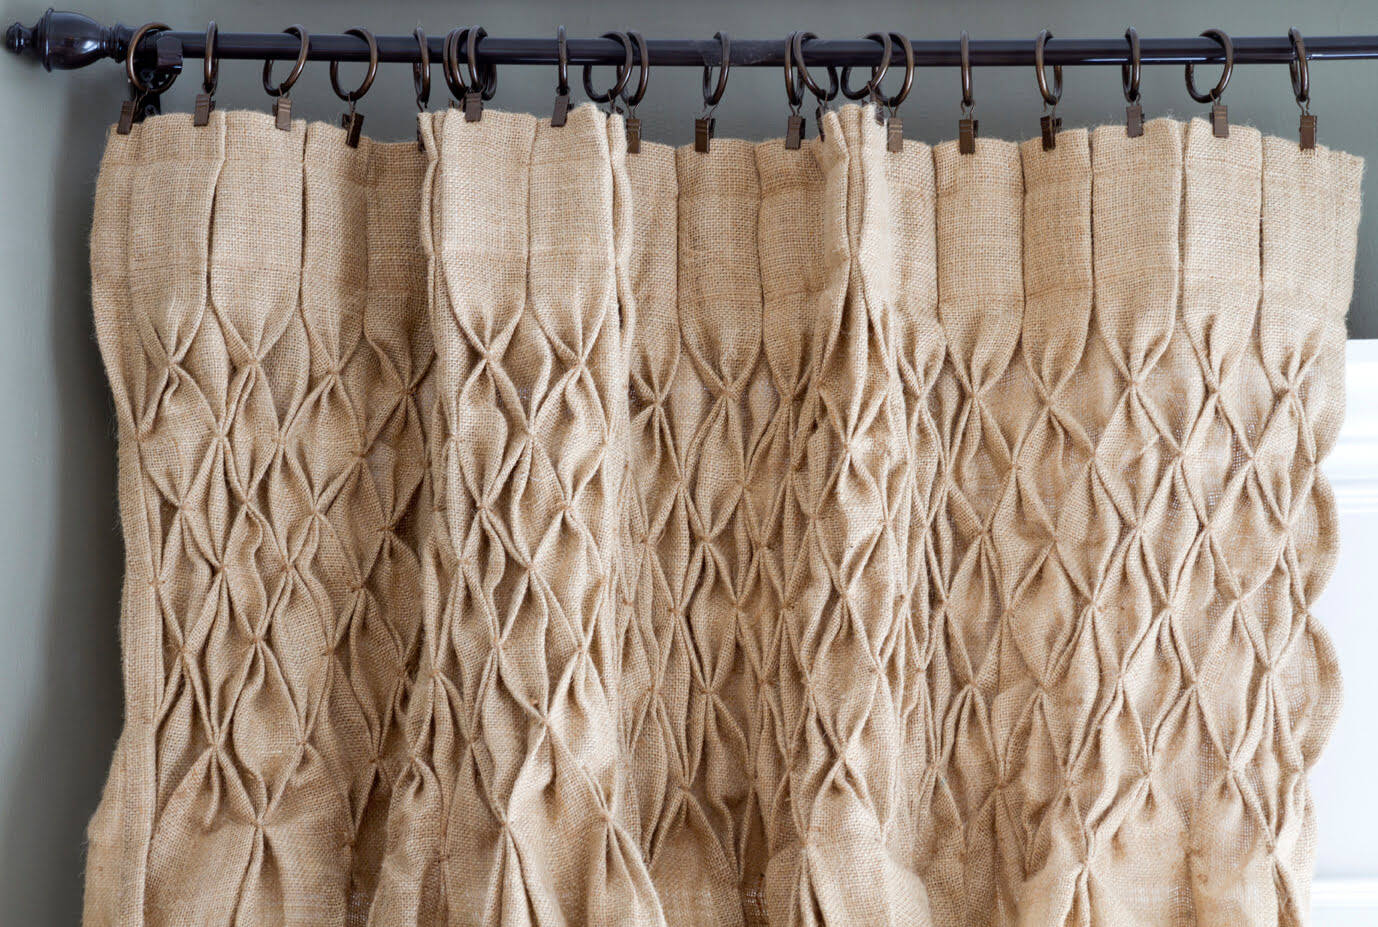
Adding embellishments to your burlap tablecloth can elevate its visual appeal and complement your overall table decor. While this step is optional, it allows you to personalize the tablecloth and make it uniquely yours. Here are some ideas for embellishing your tablecloth:
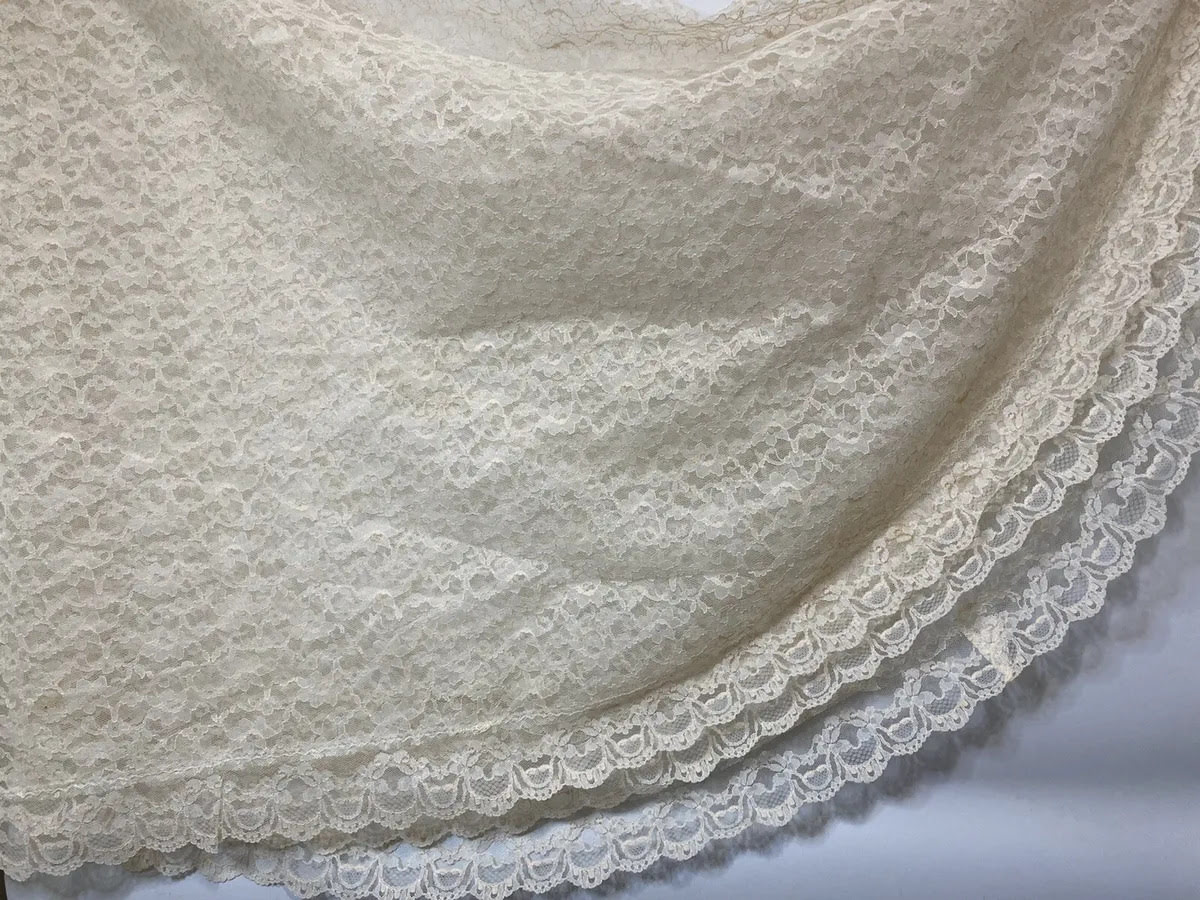
- Lace trim: If you want to incorporate a touch of elegance and delicacy, consider adding a lace trim to the edges of the tablecloth. Simply measure the length of each side and sew the lace trim along the edge of the burlap fabric using a needle and thread or a sewing machine.
- Ribbons: For a festive and colorful look, attach ribbons to the corners or edges of the tablecloth. You can tie them in bows or create decorative knots to add charm and visual interest.
- Fabric paint: If you have artistic flair, you can use fabric paint to create designs or patterns on the burlap fabric. Choose colors that complement your overall table setting and use brushes or stencils to apply the paint. Allow the paint to dry completely before using the tablecloth.
- Embroidery or appliques: For a more intricate and detailed embellishment, consider embroidering designs onto the burlap fabric or attaching fabric appliques. You can create floral patterns, monograms, or any other design that reflects your personal style.
When embellishing the tablecloth, keep in mind the theme or occasion for which it will be used. Ensure that the embellishments do not overwhelm the burlap fabric but rather enhance its rustic charm. Take your time and experiment with different ideas until you achieve the desired look.
Once you have added the desired embellishments, let them dry or secure them firmly onto the burlap fabric. Finally, move on to the last step of finishing touches before using your beautifully customized burlap tablecloth.
Read more: How To Make Fitted Tablecloths
Step 4: Finishing Touches
After completing the previous steps, you’re almost done with your burlap tablecloth. However, there are a few finishing touches you can add to ensure that it’s ready for use and looks its best. Follow these final steps:
- Inspect the tablecloth: Take a few moments to carefully inspect the entire tablecloth. Check for any loose threads, uneven hems, or areas that might need a touch-up. Trim any excess threads and make any necessary adjustments to ensure a clean and polished finish.
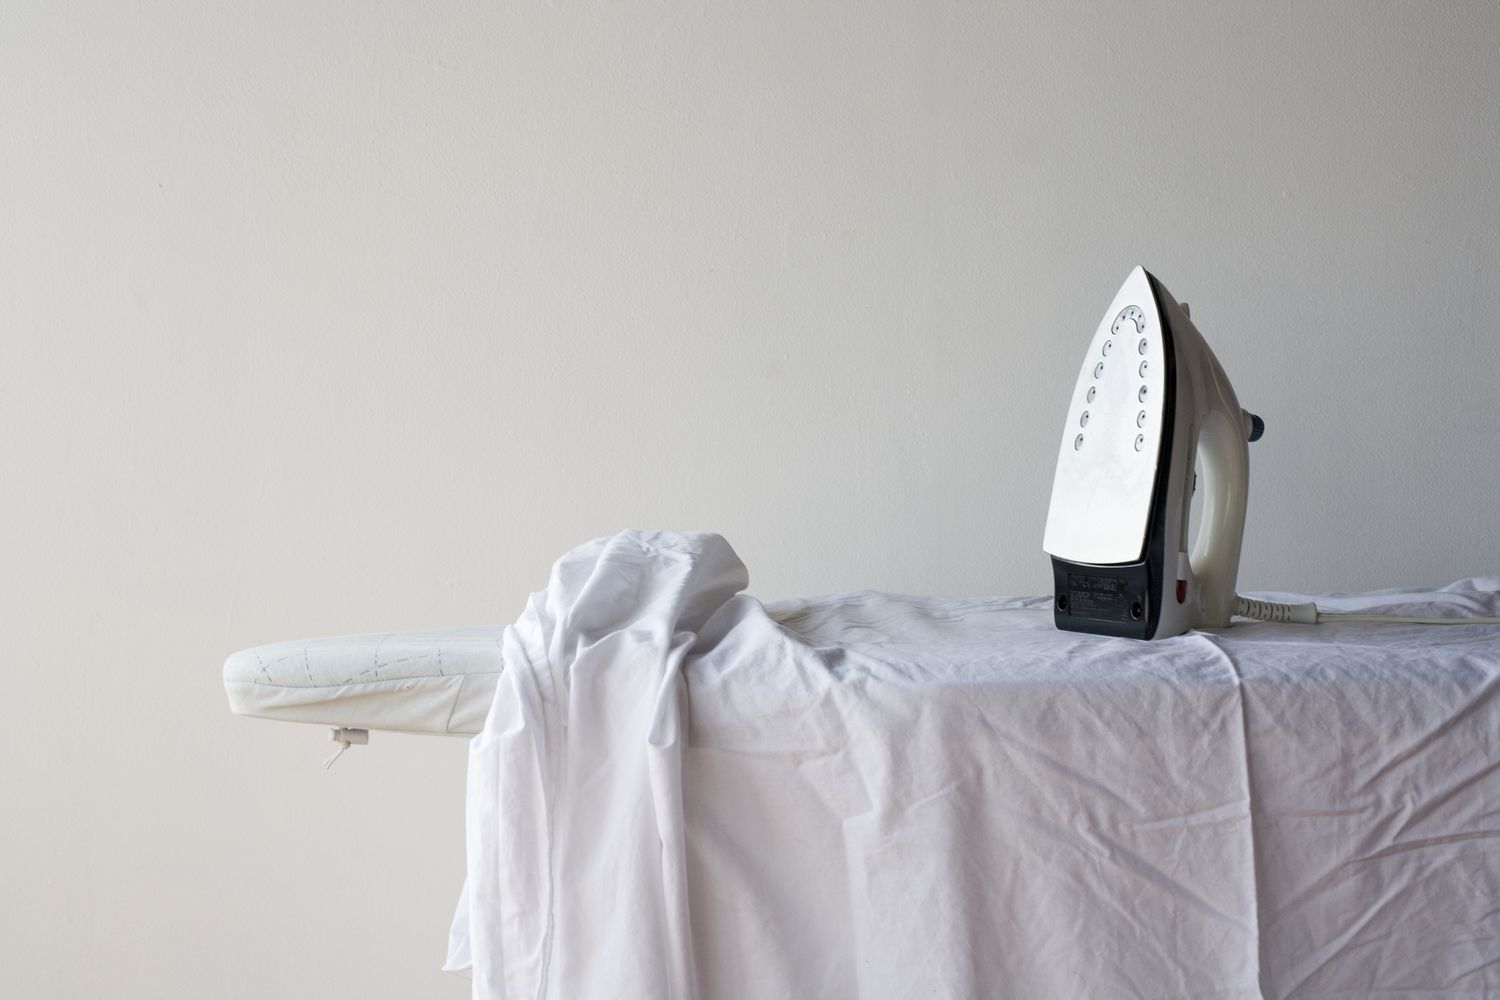
- Iron the tablecloth (optional): If you prefer a crisp and wrinkle-free look, you can lightly iron the burlap tablecloth. Set your iron to a low heat setting and iron the fabric gently. Make sure to avoid pressing too hard to prevent any heat damage.
- Store or use the tablecloth: Once you are satisfied with the final appearance of your burlap tablecloth, you can either store it for future use or place it on your table for a charming display. Fold the tablecloth neatly and store it in a cool, dry place to keep it in good condition when not in use.
Congratulations! You have successfully made your own burlap tablecloth. Now you can enjoy the rustic charm and personalized touch that it brings to your dining experiences or special events.
Remember, burlap is a natural material that may have a distinct smell when first used. You can air out the tablecloth by hanging it outdoors for a day or two or using a fabric freshener spray to remove any mild odors.
With proper care and maintenance, your burlap tablecloth can be a long-lasting and versatile addition to your table decor.
Now that you know how to make your own burlap tablecloth, get creative and have fun customizing it to suit your style and preferences. Whether you’re hosting a casual outdoor gathering or a formal dinner party, your burlap tablecloth will add a touch of rustic charm and make your table setting truly unique.
Enjoy the process of creating and using your handmade masterpiece, and let your burlap tablecloth become a conversation starter at your next gathering!
Conclusion
Making your own burlap tablecloth is a rewarding and creative process that allows you to add a personal touch to your table settings. With just a few supplies and some basic sewing skills, you can create a unique and rustic tablecloth that enhances your dining experience or special events.
Burlap is a durable and versatile fabric that brings a natural and earthy charm to any table setting. By following the step-by-step process outlined in this article, you can measure and cut the burlap fabric to the desired size, add a hem to prevent fraying, and even embellish the tablecloth with lace trim, ribbons, fabric paint, or embroidery to suit your personal style or event theme.
Remember to pay attention to the finishing touches, inspecting the tablecloth for any loose threads or uneven hems, and ironing it gently for a crisp finish if desired. Proper care and maintenance are essential to keep your burlap tablecloth in good condition, including storing it in a cool, dry place when not in use.
Whether you’re hosting a backyard BBQ, a rustic wedding, or a cozy family dinner, your homemade burlap tablecloth will add a touch of charm and uniqueness to your table decor. It will set the stage for memorable gatherings and create a warm and inviting atmosphere for your guests.
So, unleash your creativity, have fun experimenting with different designs and embellishments, and enjoy the process of making your own burlap tablecloth. Get ready to impress your guests and create lasting memories around a beautifully adorned table!
Frequently Asked Questions about How To Make Burlap Tablecloths
Was this page helpful?
At Storables.com, we guarantee accurate and reliable information. Our content, validated by Expert Board Contributors, is crafted following stringent Editorial Policies. We're committed to providing you with well-researched, expert-backed insights for all your informational needs.

0 thoughts on “How To Make Burlap Tablecloths”