Home>Garden Essentials>How To Germinate With Paper Towel
Garden Essentials
How To Germinate With Paper Towel
Modified: October 19, 2024
Learn how to successfully germinate seeds using a simple and effective paper towel method. Create a flourishing garden with these easy steps!
(Many of the links in this article redirect to a specific reviewed product. Your purchase of these products through affiliate links helps to generate commission for Storables.com, at no extra cost. Learn more)
Introduction
Welcome to the world of gardening, where the magic of plants comes alive! If you’re an avid gardener or simply have a green thumb, you likely know how exciting it is to watch seeds transform into thriving plants. Germination is the first step in this miraculous process, and one popular method is using a simple paper towel. In this article, we will guide you through the process of germinating seeds with a paper towel, ensuring a successful start to your gardening journey.
Germinating seeds can be a fascinating and rewarding experience. It allows you to take control of the plant propagation process and ensures the best possible start for your plants. Whether you’re germinating seeds for a vegetable garden, flower bed, or indoor plants, using a paper towel is a cost-effective and convenient way to get your seeds started.
So, why choose a paper towel? The most significant advantage of this method is that it provides a controlled and ideal environment for the seeds to germinate. Paper towels are porous and allow air and moisture to pass through, creating the perfect conditions for seed dormancy to break and roots to develop. Additionally, the transparency of the paper towel allows you to monitor the progress of the seeds without disturbing them.
In this guide, we will walk you through the step-by-step process of germinating seeds with a paper towel. From preparing the seeds to transplanting the germinated seedlings, we’ll cover everything you need to know. So let’s gather our materials and dive right in!
Key Takeaways:
- Germinating seeds with a paper towel is a simple and cost-effective way to start your gardening journey. It provides the perfect environment for seeds to sprout and grow into healthy plants.
- By carefully preparing, wetting, and monitoring the seeds, you can witness the magic of nature as seeds transform into vibrant seedlings. This method offers a front-row seat to the wonders of plant growth.
Materials Needed
Before we begin germinating seeds with a paper towel, it’s essential to gather the necessary materials. Luckily, you won’t require many items, as this method is both simple and cost-effective. Here’s a list of the materials you’ll need:
- Seeds: Choose high-quality seeds that are suitable for germination. Whether you’re starting with vegetable seeds, flower seeds, or herb seeds, ensure they are fresh and viable.
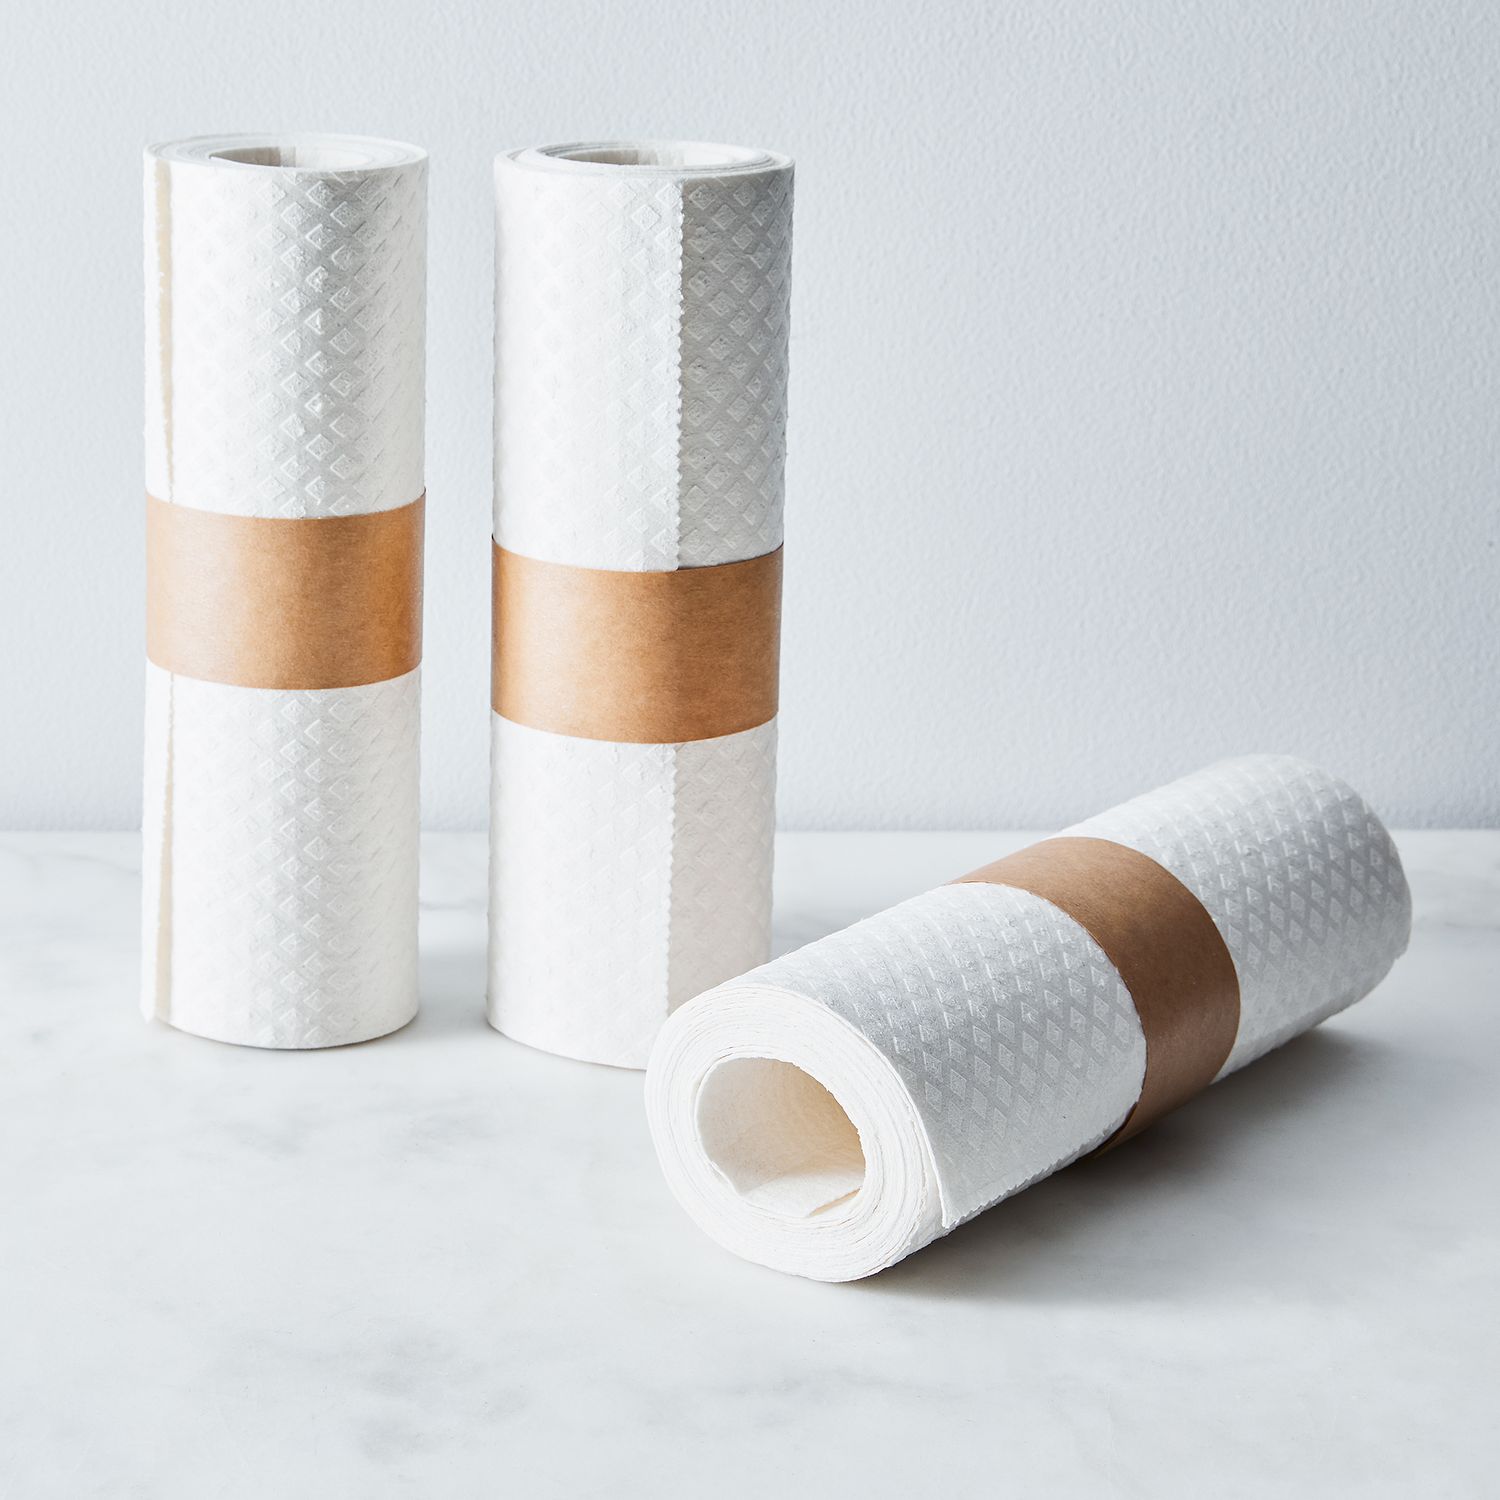
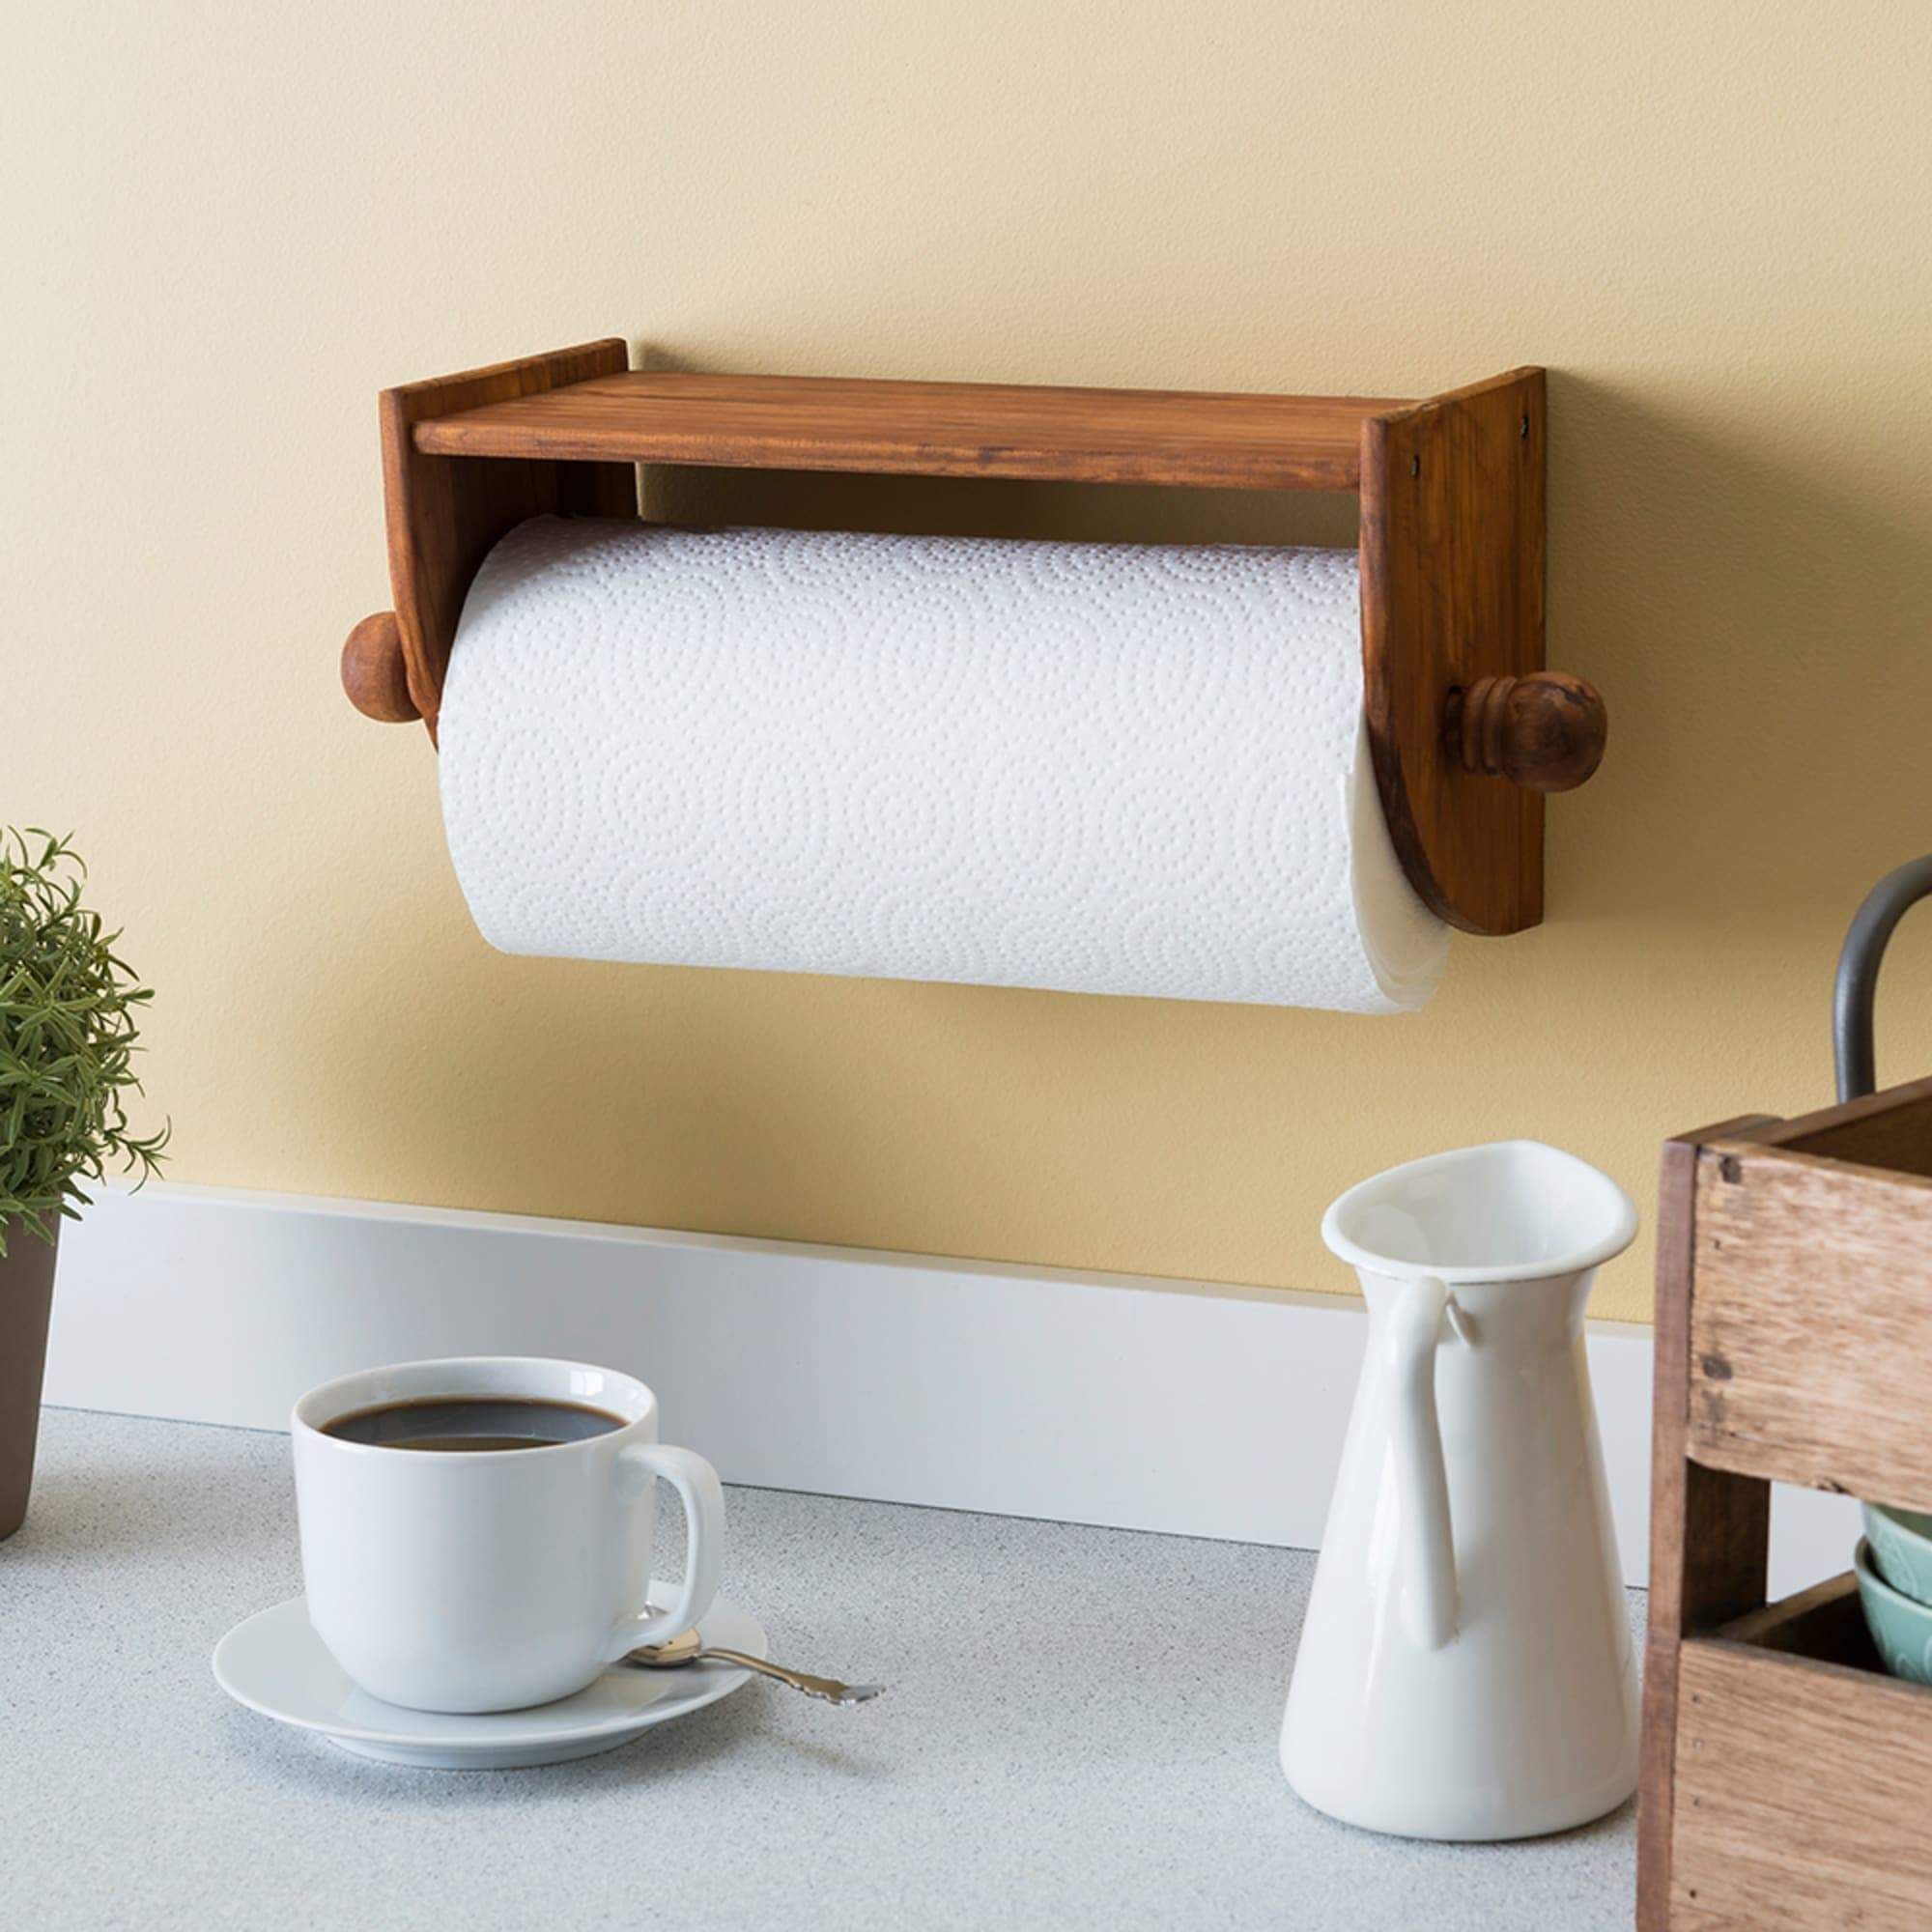
- Paper towel: Opt for plain white, unbleached paper towels. Avoid ones with embossed patterns or added fragrances, as they may interfere with the germination process.
- Plastic bag or container: Use a clear, sealable plastic bag or a container with a lid to create a mini greenhouse effect. This will help retain moisture and create a humid environment for the seeds.
- Water: Distilled or filtered water is ideal, as it lacks any potential contaminants that could harm the seeds.
- Marker or label: It’s crucial to label your seeds to avoid any confusion later on. Use a marker or label to indicate the type of seed and the date of germination.
Once you have gathered these materials, you’re ready to move on to the next step of the process. Having everything prepared and within reach will ensure a smooth and efficient germination process.
Step 1: Prepare the Seeds
Before germinating the seeds with a paper towel, it’s essential to properly prepare them. This step ensures that you’re starting with healthy and viable seeds, increasing the chances of successful germination.
To prepare the seeds, follow these simple steps:
- Inspect the seeds: Carefully examine the seeds for any signs of damage, discoloration, or mold. Remove any seeds that appear unhealthy or compromised.
- Clean the seeds (optional): Some seeds, like fruits or vegetables, may have a sticky residue or pulp on their surface. If this is the case, gently wash the seeds in clean water and pat them dry with a paper towel. This step is optional, but it can improve the chances of successful germination.
- Scarify the seeds (if needed): Some seeds have hard shells that need to be scarified to improve germination. This can be done by lightly scratching the seed coat with sandpaper or rubbing the seeds between two sheets of coarse sandpaper. Be careful not to damage the seed embryo while doing this step.
- Soak the seeds (optional): Some seeds benefit from presoaking to speed up the germination process. Seeds like beans or peas can be soaked in water for 24 hours before proceeding with the germination process. However, not all seeds require soaking, so refer to seed-specific instructions if available.
By properly preparing the seeds, you are setting them up for success. Removing damaged seeds, cleaning if necessary, scarifying when needed, and soaking if beneficial will help ensure a higher germination rate. Once your seeds are prepared, it’s time to move on to the next step: wetting the paper towel.
Step 2: Wet the Paper Towel
Now that you have prepared your seeds, it’s time to wet the paper towel. This step is crucial as it provides the moisture necessary for seed germination. Here’s how you can wet the paper towel:
- Take a single sheet of plain white, unbleached paper towel and fold it in half. This will provide a double layer for added moisture retention.
- Place the folded paper towel under a gently running tap or immerse it in a tray of water. The goal is to dampen the paper towel, not soak it entirely. Ensure the paper towel is uniformly moist but not dripping with water.
- If there is excess water, gently squeeze out the excess moisture. The paper towel should be damp but not saturated.
Wetting the paper towel creates a moist environment that mimics the conditions necessary for seed germination. The moisture allows the seed coat to soften, triggering the awakening of the dormant embryo within the seed. This step is crucial for the successful germination of your seeds.
Once the paper towel is properly wetted, it’s time to move on to the next step: placing the seeds on the paper towel.
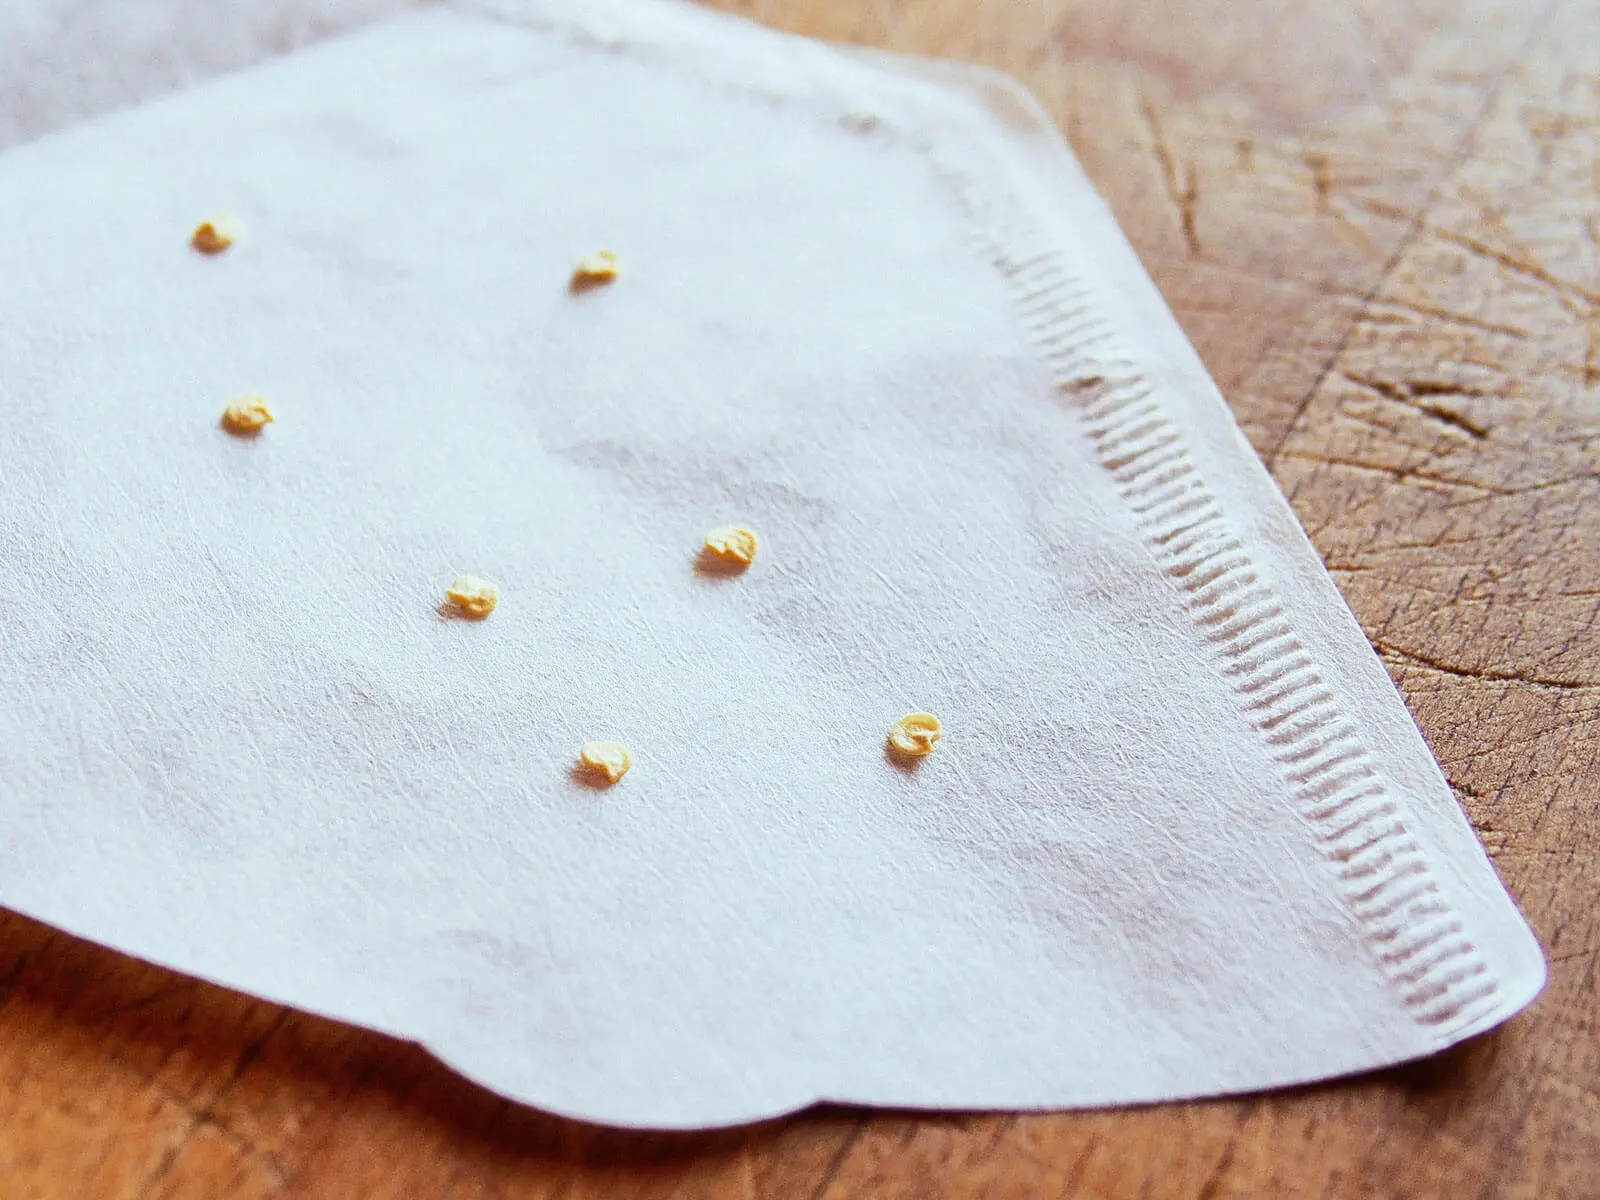
Step 3: Place the Seeds on the Paper Towel
With the paper towel properly dampened, it’s time to carefully place the prepared seeds onto the surface. Here’s how you can do it:
- Take the damp paper towel and unfold it gently.
- Place the seeds on one half of the paper towel, making sure to space them out adequately. Be careful not to overcrowd the seeds, as they need room to grow and sprout.
- If you’re germinating different types of seeds, ensure you label them or keep them separate to avoid confusion later on.
- Once the seeds are placed, fold the other half of the paper towel over the top to create a seed-filled sandwich.
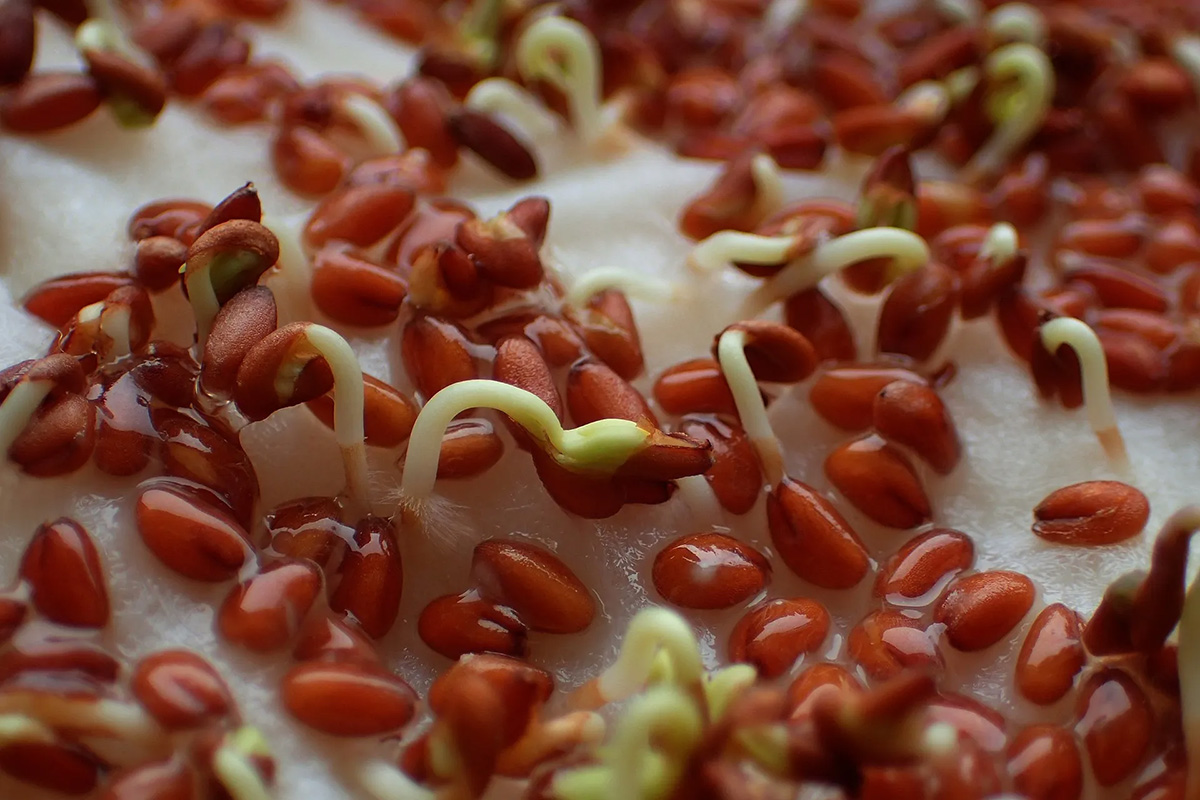
Placing the seeds on the paper towel creates a controlled and isolated environment for germination. The moisture provided by the damp paper towel will penetrate the seed coat, initiating the awakening of the embryo, and encouraging root growth.
Remember to handle the seeds delicately to prevent damage, and be mindful of their orientation. Some seeds have a specific orientation, such as pointed ends or notches, which should be facing up or down as specified in the seed-specific instructions.
With the seeds carefully placed on the paper towel, it’s time to move on to the next step: folding and storing the paper towel.
Keep the paper towel moist but not soaking wet, and place it in a warm, dark place. Check daily for signs of germination and transfer the sprouted seeds to soil once the roots appear.
Step 4: Fold and Store the Paper Towel
Now that you have the seeds placed on the damp paper towel, it’s time to fold and store it properly. This step ensures that the seeds remain in a moist environment for successful germination. Here’s what you need to do:
- Fold the paper towel: Gently fold the paper towel containing the seeds in half, ensuring that the seeds stay inside the folded portion. This creates a protective envelope around the seeds.
- Store the folded paper towel: Place the folded paper towel with the seeds inside a clear, sealable plastic bag or a container with a lid. This creates a mini greenhouse effect, trapping in moisture and creating a humid environment for the seeds.
- Seal the bag or container: If using a plastic bag, seal it tightly. If using a container, make sure the lid is securely closed. This will help maintain the humidity level and prevent moisture loss.
- Optional: Place the bag or container in a warm location, such as on top of a refrigerator or near a heat source. This gentle warmth can aid in the germination process for some seeds.
By folding the paper towel and storing it in a sealed bag or container, you create a microclimate that provides the ideal conditions for seed germination. The moisture retained by the paper towel, along with the enclosed environment, promotes the development of roots and sprouts.
Remember to label the bag or container with the type of seeds and the date of germination. This will help you keep track of different varieties and ensure you know when to expect germination.
With the folded paper towel stored properly, it’s time to move on to the next step: monitoring and caring for the germinating seeds.
Step 5: Monitor and Care for the Germinating Seeds
After folding and storing the paper towel with the seeds, it’s time to monitor and provide proper care for the germinating seeds. This step ensures that the seeds have the necessary conditions to sprout and grow into healthy seedlings. Follow these guidelines to monitor and care for the germinating seeds:
- Check for moisture: Regularly check the paper towel to ensure it remains damp. If the towel starts to dry out, gently moisten it with a spray bottle or by adding a few drops of water, carefully avoiding oversaturation.
- Avoid direct sunlight: Place the bag or container in a location that receives indirect light. Avoid exposing the germinating seeds to direct sunlight, as excessive heat and light can hinder growth.
- Maintain optimal temperature: Optimal germination temperatures vary depending on the type of seeds. Generally, a temperature range of 65-75°F (18-24°C) provides ideal conditions for most common seeds. Refer to specific seed instructions if available.
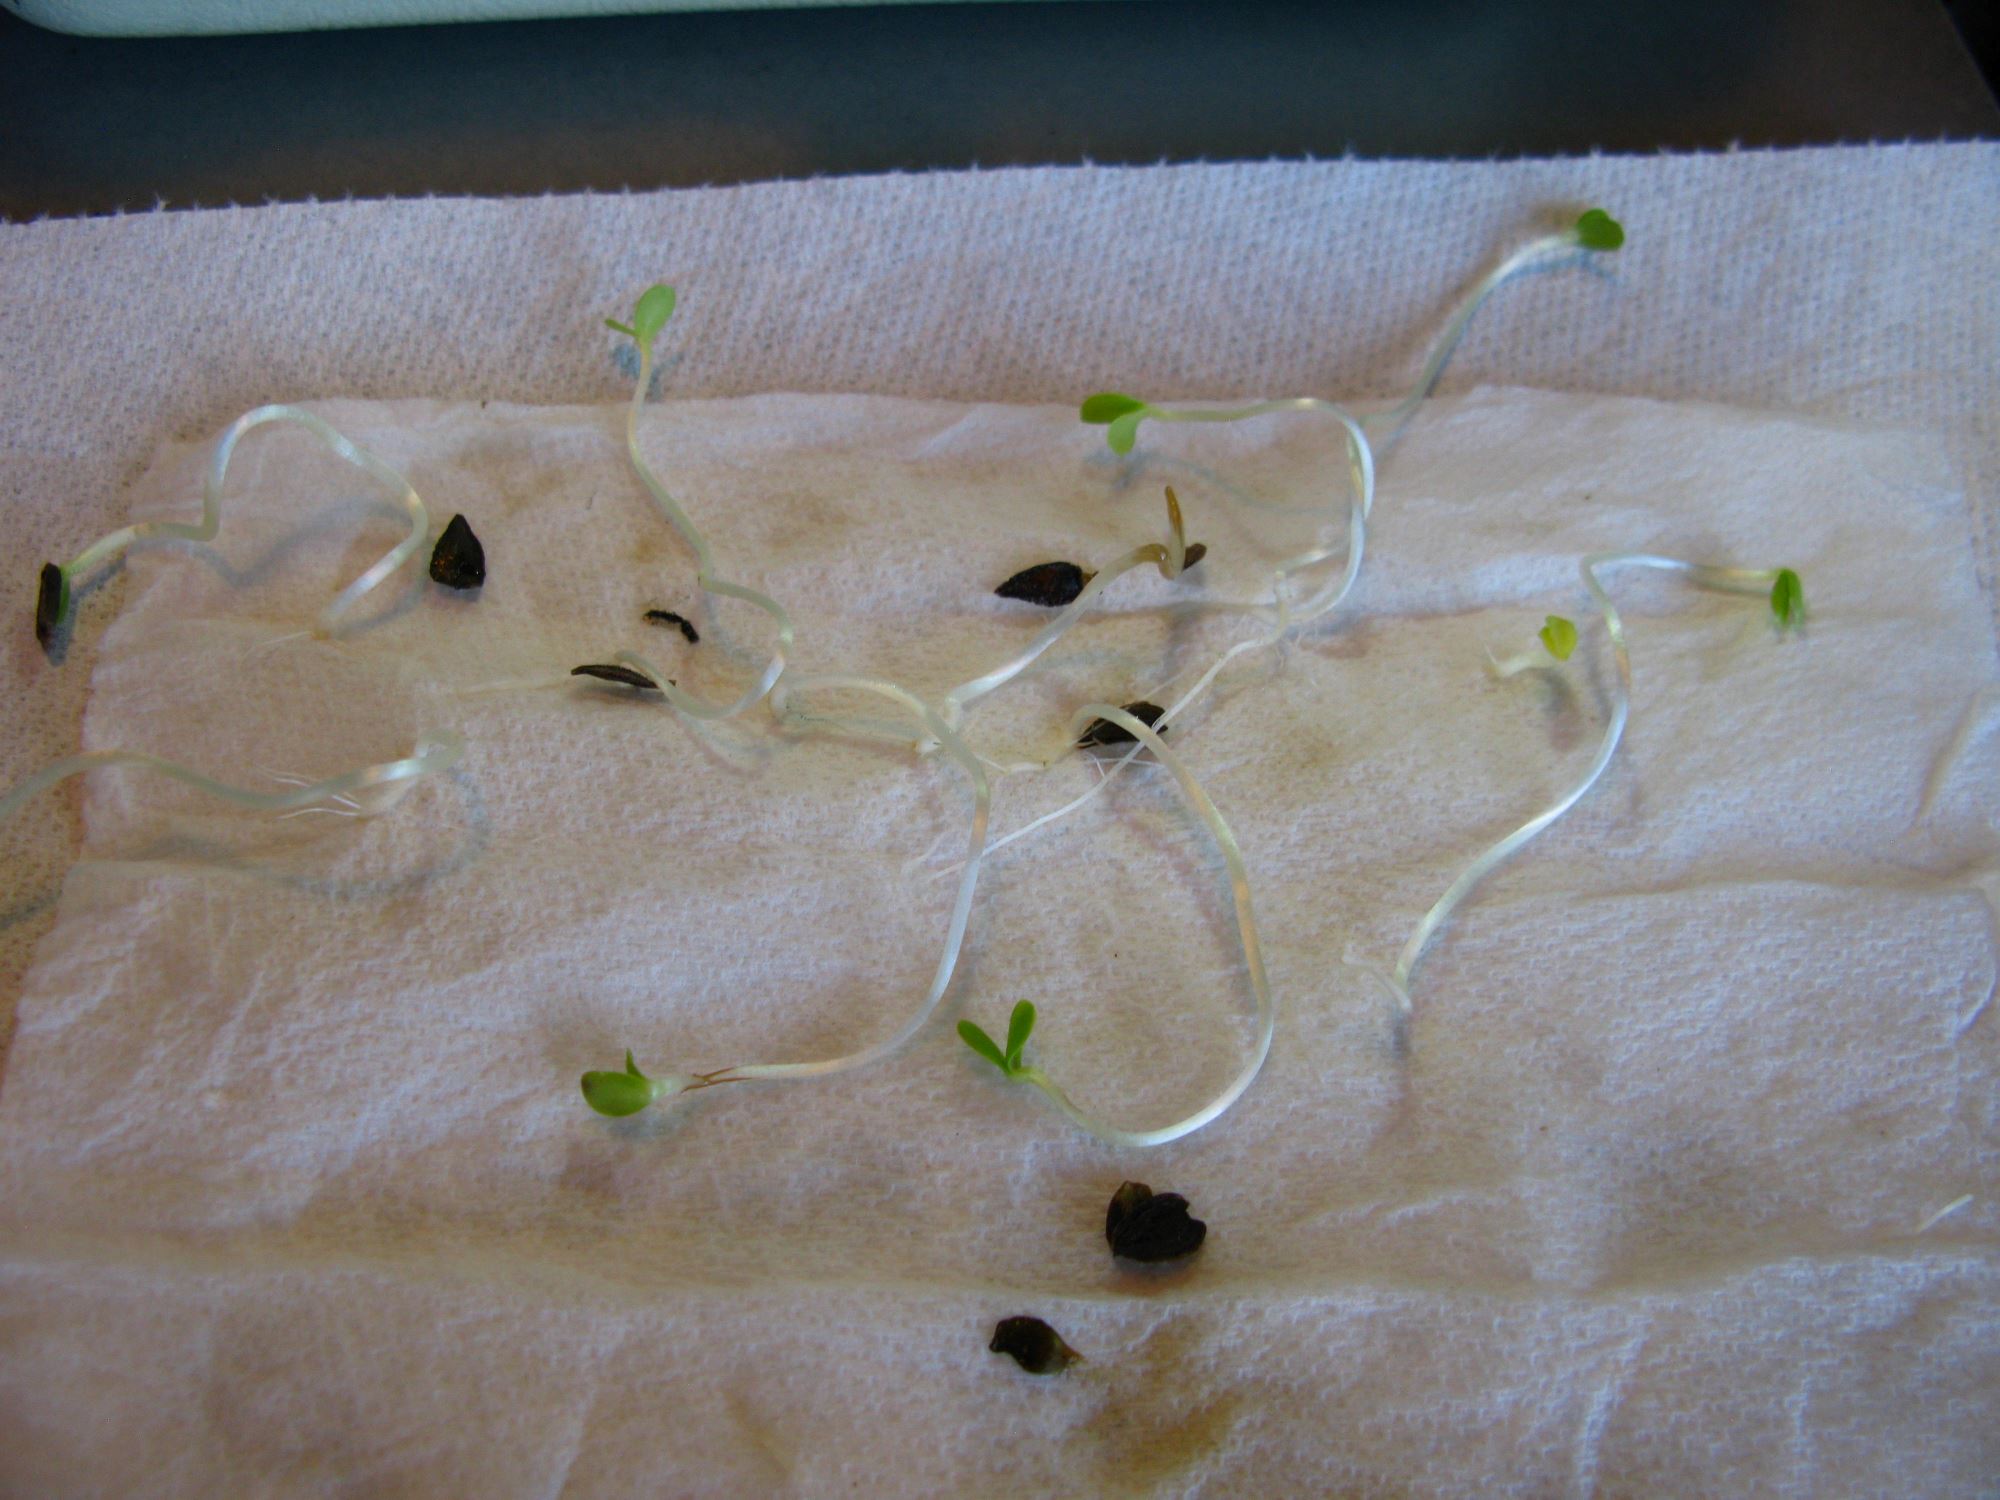
- Watch for germination: Depending on the type of seeds, germination can take anywhere from a few days to a few weeks. Regularly check for signs of seed sprouting, such as tiny roots or shoots. Be patient and allow sufficient time for germination to occur.
- Avoid overwatering: While it’s important to keep the paper towel damp, avoid overwatering. Excess moisture can lead to mold or rot. Make sure to maintain a moist but not soggy environment.
Monitoring and providing care during the germination process is vital to ensure the seeds have the best conditions for successful growth. Regularly checking for moisture, maintaining the optimal temperature, and observing the progress of germination will help you identify and address any issues that may arise.
Once the seeds have germinated and you see roots or shoots emerging, it’s time to proceed to the final step: transplanting the germinated seeds.
Step 6: Transplant the Germinated Seeds
After patiently waiting and caring for the germinating seeds, it’s finally time to transplant them into their permanent growing location. Transplanting allows the seedlings to continue growing and thriving in a suitable environment. Follow these steps to successfully transplant the germinated seeds:
- Prepare the growing containers: Select the appropriate containers for transplanting, such as seedling trays, pots, or garden beds. Make sure the containers have proper drainage holes.
- Prepare the planting medium: Choose a well-draining planting medium, such as a seed-starting mix or a combination of compost and potting soil. Fill the containers with the planting medium, leaving enough space for the seedlings to grow.
- Handle the seedlings with care: Gently remove the germinated seeds from the paper towel, being careful not to damage the delicate roots or sprouts. Use a pair of tweezers or a spoon to handle the seedlings if needed.
- Plant the seedlings: Create holes in the planting medium, deep enough to accommodate the roots of the seedlings. Place the seedlings in the holes and cover the roots with the planting medium. Gently firm the soil around the seedlings to ensure they are secure.
- Water the transplanted seedlings: After planting, water the seedlings gently to settle the soil around the roots. Avoid overwatering, but ensure the soil is adequately moist.
- Provide proper care: Place the transplanted seedlings in a location that receives the appropriate amount of light for their specific requirements. Continue to monitor their moisture levels, provide proper watering, and protect them from harsh conditions like extreme temperatures or strong winds.
Transplanting the germinated seeds allows them to establish stronger roots and continue their growth journey. By providing them with the right planting medium, proper handling, and adequate care, you give them the best chance to thrive.
Remember to gradually acclimate the transplanted seedlings to outdoor conditions if you’re moving them from an indoor setup. This process, known as hardening off, involves gradually exposing the seedlings to outdoor conditions over a period of time to prevent shock.
Congratulations! You have successfully germinated and transplanted your seeds. Now you can watch them grow into vibrant and healthy plants, bringing joy and beauty to your garden!
Conclusion
Germinating seeds with a paper towel is a simple and effective method that allows you to kickstart your gardening journey. By following the steps outlined in this guide, you can provide the optimal conditions for seed germination and ensure the success of your plants.
We began by gathering the necessary materials, including high-quality seeds, plain white paper towels, a plastic bag or container, water, and a marker or label. With these supplies in hand, we moved on to the step-by-step process.
We started by preparing the seeds, inspecting them for viability, cleaning if needed, scarifying if necessary, and optionally presoaking some seeds. Next, we wetted the paper towel, ensuring it was damp but not overly saturated, to create the perfect environment for germination.
Placing the prepared seeds carefully on the damp paper towel was the next step, ensuring proper spacing and orientation. Folding and storing the paper towel within a sealed bag or container created an ideal microclimate for germination, mimicking a mini greenhouse effect.
During the germination process, it is important to monitor and provide proper care for the seeds. Regularly checking moisture levels, avoiding direct sunlight, and maintaining optimal temperatures contribute to the successful germination of the seeds.
After patiently waiting for the seeds to sprout and grow, we learned how to transplant the germinated seedlings. By handling them delicately, selecting appropriate containers and planting mediums, and providing proper care, we set the stage for continued growth and development.
In conclusion, germinating seeds with a paper towel is a rewarding and accessible technique that any gardener can utilize. It offers a cost-effective way to start your plants and provides a front-row seat to witness the wonders of nature as seeds transform into thriving seedlings.
So, grab your seeds, paper towels, and enthusiasm, and embark on your gardening adventure. With the knowledge and guidance provided in this article, you are well-equipped to nurture and grow an array of beautiful plants. Happy gardening!
Frequently Asked Questions about How To Germinate With Paper Towel
Was this page helpful?
At Storables.com, we guarantee accurate and reliable information. Our content, validated by Expert Board Contributors, is crafted following stringent Editorial Policies. We're committed to providing you with well-researched, expert-backed insights for all your informational needs.


0 thoughts on “How To Germinate With Paper Towel”