Home>Garden Essentials>How To Germinate Ivy From Cutting

Garden Essentials
How To Germinate Ivy From Cutting
Modified: March 16, 2024
Learn how to germinate ivy from cuttings and create a beautiful garden. Find step-by-step instructions and expert tips to grow your own ivy plants.
(Many of the links in this article redirect to a specific reviewed product. Your purchase of these products through affiliate links helps to generate commission for Storables.com, at no extra cost. Learn more)
Introduction
Growing ivy from cuttings is a popular and rewarding way to propagate this versatile and vibrant plant. With its lush foliage and graceful vines, ivy adds a touch of elegance to any garden or indoor space. Whether you’re looking to expand your ivy collection or simply want to propagate a favorite variety, germinating ivy from cuttings is a simple yet effective method.
In this article, we will guide you through the step-by-step process of germinating ivy from cuttings. From selecting the right cutting to caring for the newly germinated plants, we will cover all the essential aspects to ensure successful propagation. So, roll up your sleeves, grab your gardening tools, and let’s get started on this exciting journey!
Before we dive into the germination process, it’s important to understand the benefits of growing ivy from cuttings. First and foremost, cuttings offer a cost-effective way to expand your ivy collection compared to purchasing new plants. Additionally, propagating ivy from cuttings allows you to ensure the genetic traits of the parent plant, guaranteeing that you’ll have the same lovely features in the newly grown plants.
Ivy is a resilient plant that can grow in various conditions, making it suitable for both indoor and outdoor settings. By germinating ivy from cuttings, you have the freedom to propagate new plants and incorporate them into different areas of your garden or fill those empty spaces on your windowsills. Plus, by growing ivy from cuttings, you can share the beauty of this plant with your friends and family by giving them as thoughtful and personalized gifts.
To begin the germination process, you’ll need some essential supplies, which we will cover in the next section. Once you have everything ready, we can move on to selecting the perfect cutting to ensure the best chances of successful propagation. So, let’s gather our tools and materials, and embark on this exciting journey of germinating ivy from cuttings!
Key Takeaways:
- Propagating ivy from cuttings is a cost-effective way to expand your collection and share the beauty of this versatile plant with friends and family. Enjoy the journey of watching your cuttings grow into thriving plants!
- By selecting the right cutting, providing the ideal environment, and caring for the newly germinated plants, you can successfully propagate ivy from cuttings. Enjoy the process and let your green thumb shine!
Supplies Needed
Before you get started with germinating ivy from cuttings, it’s important to ensure you have the necessary supplies ready. Here’s a list of the items you’ll need:
- Pruning Shears or Scissors: These will be used to take cuttings from the existing ivy plant.
- Pot or Container: You’ll need a small pot or container to plant the ivy cutting in.
- Potting Soil: Choose a well-draining potting soil mixture that is suitable for houseplants.
- Rooting Hormone: It’s recommended to use a rooting hormone powder or gel to improve the chances of successful root development.
- Planting Tray or Plastic Bag: This will be used to create a humid environment for the cutting to encourage root growth.
- Misting Bottle: A misting bottle filled with water will help keep the cutting hydrated during the germination process.
Having these supplies ready beforehand will make the germination process smoother and more efficient.
In addition to the supplies, it’s also crucial to have a healthy and mature ivy plant from which you can take the cuttings. Look for a well-established plant with strong vines and vibrant leaves. This will ensure that the cuttings have the best chance of successfully rooting and growing into new plants.
Now that you have gathered all the necessary supplies, it’s time to move on to the first step of the germination process: selecting the right cutting. Let’s dive in!
Step 1: Selecting the Cutting
Selecting the right cutting is crucial for a successful germination process. When choosing a cutting from the parent ivy plant, there are a few key factors to consider:
- Maturity: Look for a mature stem or vine that is not too young or too old. A stem that is neither too tender nor too woody is ideal for taking cuttings. The cutting should have a few sets of leaves and be approximately 4-6 inches in length.
- Healthy Leaves: Ensure that the cutting you select has healthy leaves. Avoid cuttings with yellow or damaged leaves as these may not root successfully.
- No Flowers: It’s best to choose a cutting that does not have any flowers or flower buds. The energy of the plant should be focused on root development rather than flowering.
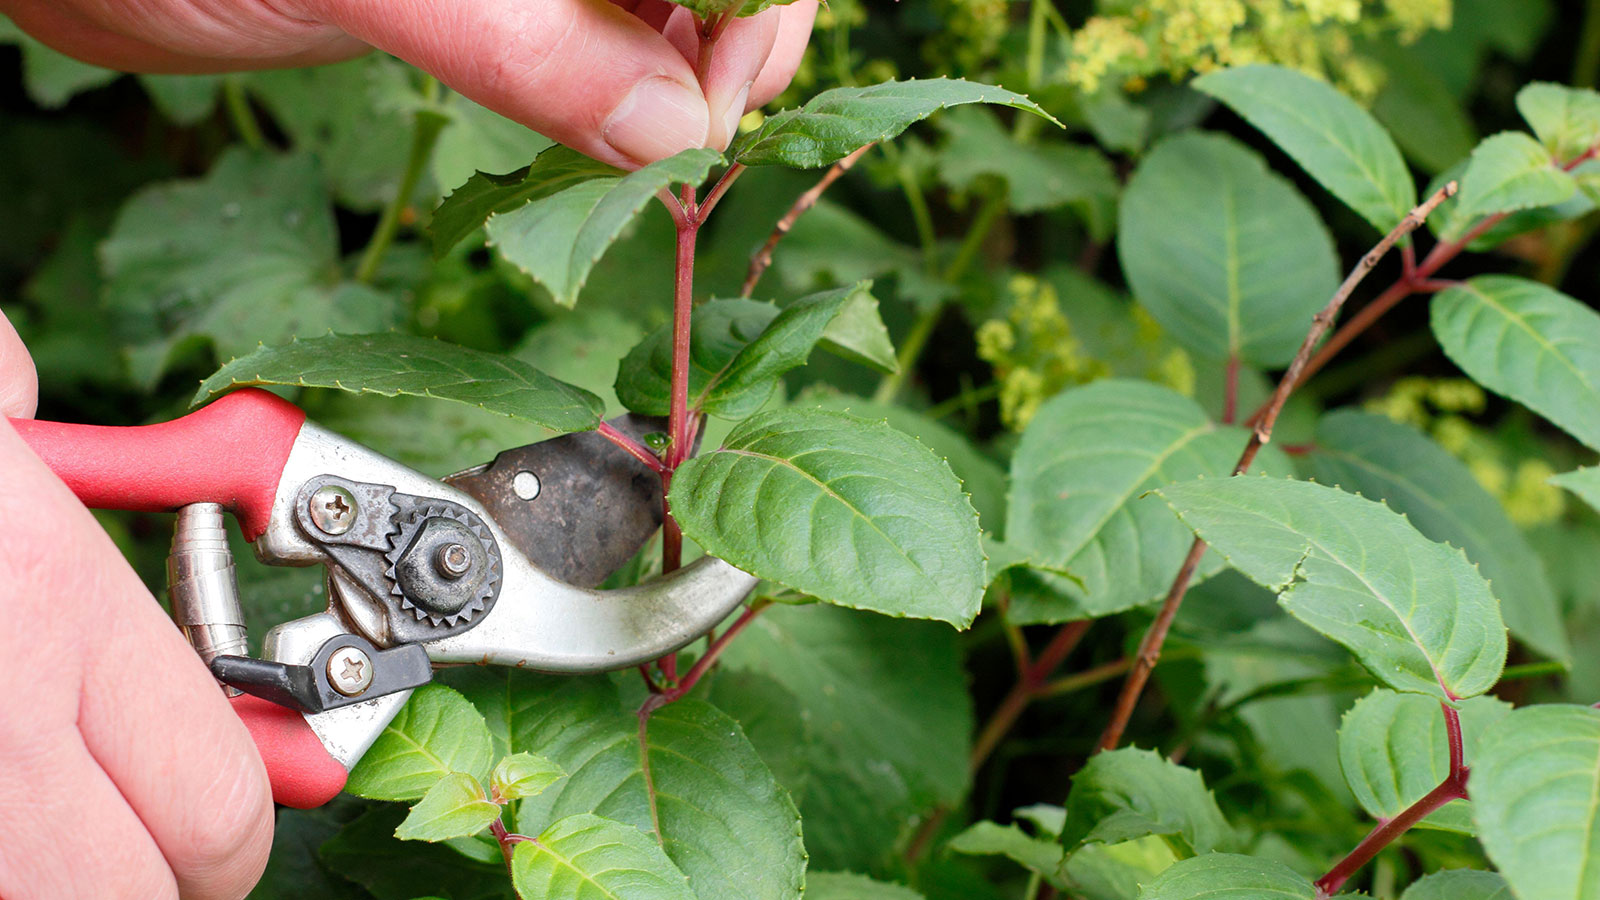
When taking the cutting, use clean and sharp pruning shears or scissors to make a clean cut just above a leaf node. A leaf node is where the leaf connects to the stem, and this is where new roots will form.
After taking the cutting, remove the lower leaves, leaving only a few sets of leaves at the top. This will help reduce moisture loss and encourage the cutting to focus on root development.
Once you have selected and prepared the cutting, it’s time to move on to the next step: preparing the cutting for germination. Let’s proceed!
Step 2: Preparing the Cutting
Preparing the cutting is an essential step in ensuring its successful germination. This step involves creating the right conditions for root development and encouraging the cutting to establish itself. Here’s how to prepare the cutting:
- Applying Rooting Hormone: Dip the cut end of the ivy cutting into a rooting hormone powder or gel. This will help stimulate root growth and improve the chances of successful propagation.
- Planting Medium: Fill a small pot or container with a well-draining potting soil mixture. Create a small hole in the soil using your finger or a pencil to accommodate the cutting.
- Planting the Cutting: Gently place the prepared cutting into the hole you created in the potting soil. Ensure that at least one or two leaf nodes are buried in the soil. Lightly press the soil around the cutting to provide stability.
After planting the cutting, give it a gentle water to settle the soil and provide initial hydration. Avoid overwatering, as excessive moisture can lead to rotting of the cutting.
Now that the cutting is planted, it’s time to move on to the next step of the germination process: providing the right environment for the cutting to thrive. Let’s continue!
Step 3: Planting the Cutting
After preparing the cutting, the next step is to properly plant it in a suitable growing medium. This step is crucial for providing the ideal conditions for the cutting to develop roots and establish itself as a new plant. Here’s how to plant the cutting:
- Choose a Suitable Container: Select a small pot or container with drainage holes to ensure proper water drainage. This will help prevent waterlogged soil, which can lead to root rot.
- Fill the Container: Fill the container with a well-draining potting mix. Use a mix specifically formulated for indoor plants or a blend of peat moss, perlite, and compost. This will provide the right balance of moisture retention and aeration for the cutting.
- Create a Hole: With your finger or a pencil, create a small hole in the center of the potting mix. Make the hole deep enough to accommodate the length of the cutting, leaving a few sets of leaves above the soil line.
- Place the Cutting: Gently insert the prepared cutting into the hole, ensuring that the leaf nodes are buried in the soil. Press the soil around the base of the cutting to secure it in place.
It’s important to note that you can plant multiple cuttings in the same container, as long as they are not overcrowded. This will save space and allow for easier care and maintenance. However, ensure that there is enough space between the cuttings to promote air circulation and prevent the spread of diseases.
Once the cutting is planted, give it a gentle watering to settle the soil and provide initial moisture. Aim for even moisture throughout the soil but avoid overwatering, as this can lead to root rot. Place the container in a location that receives bright, indirect sunlight.
Now that the cutting is planted, it’s time to move on to step 4: providing the right environment for successful germination. Let’s continue!
To germinate ivy from a cutting, choose a healthy stem with at least 3-4 leaves. Remove the bottom leaves and place the cutting in water or soil. Keep it in a warm, bright location and mist it regularly to keep the humidity high. Roots should start to form in a few weeks.
Read more: How To Remove English Ivy From A Brick Wall
Step 4: Providing the Right Environment
Creating the right environment is crucial for the successful germination and growth of your ivy cutting. By providing the ideal conditions, you can enhance root development and ensure the cutting thrives. Here’s how to create the right environment for your cutting:
- Temperature: Ivy cuttings prefer a warm and consistent temperature for optimum growth. Aim to keep the temperature between 65-75°F (18-24°C). Avoid exposing the cutting to extreme temperature fluctuations, as this can stress the plant.
- Humidity: Ivy cuttings thrive in a humid environment. To increase humidity around the cutting, you can place the pot inside a plastic bag or use a clear plastic dome to trap moisture. The added humidity encourages root development. However, ensure there is some ventilation to prevent the growth of mold or fungal diseases.
- Light: While ivy prefers bright, indirect light, direct sunlight can scorch the delicate leaves of the cuttings. Place the container in a location with bright, filtered light, such as near a north-facing window. If you notice the leaves becoming pale or burned, adjust the position to provide the right amount of light.
- Air Circulation: Good air circulation helps prevent the development of pests and diseases. Avoid placing the cutting in a stagnant or excessively humid environment. Provide some air movement by opening a nearby window or using a small fan on low speed.
It’s important to monitor the environment regularly to ensure the conditions remain suitable for the cutting’s growth. Check the moisture level of the soil by sticking your finger about an inch into the soil. If it feels dry, water the cutting gently to maintain even moisture without overwatering.
Now that you have created the right environment, it’s time to move on to step 5: caring for the cutting during the germination process. Let’s proceed!
Step 5: Caring for the Cutting
Providing proper care for your ivy cutting is essential for its successful germination and growth. By following these guidelines, you can ensure that the cutting receives the necessary nutrients and conditions to develop strong roots and establish itself as a new plant:
- Watering: Keep the soil consistently moist, but not overly saturated. Aim to water the cutting when the top inch of soil feels slightly dry. Use room temperature water and water gently, avoiding excessive runoff. Overwatering can lead to root rot, while underwatering can cause the cutting to dry out and fail to root.
- Fertilizing: After the cutting has rooted and started to grow new leaves, you can begin fertilizing with a balanced liquid houseplant fertilizer. Follow the package instructions for dilution and frequency. Be careful not to overfertilize, as this can cause leaf burn or stunted growth.
- Pruning: To encourage bushier growth, you can pinch off the tips of the ivy cutting once it has developed a few sets of leaves. This will redirect the plant’s energy to lateral branches, resulting in a fuller and more compact plant.
- Monitoring: Regularly inspect the cutting for any signs of pests or diseases. Common pests that may affect ivy include aphids, spider mites, and mealybugs. If you notice any pests or signs of disease, take appropriate measures to control and treat the issue.
- Support: As the cutting grows, it may require support to guide its vines. You can provide a small moss pole or trellis for the young plant to climb on. This will help promote vertical growth and maintain an attractive shape.
Remember to continue providing the right environment, including maintaining proper temperature, humidity, and light levels. Regularly check the plastic bag or dome for condensation and ventilation. Adjust as needed to maintain adequate humidity without excessive moisture buildup.
With proper care and attention, your ivy cutting should start to establish roots and show signs of growth within a few weeks. Once the cutting has developed a strong root system and is growing well, it’s time to consider transplanting it into a larger container or your desired garden spot. This leads us to step 6: transplanting the germinated ivy. Let’s move forward!
Step 6: Transplanting the Germinated Ivy
After your ivy cutting has successfully germinated and developed a healthy root system, it’s time to transplant it into a larger container or your desired garden location. Transplanting allows the newly grown ivy plant to have more space for growth and provides an opportunity to enhance its overall appearance. Here’s how to transplant your germinated ivy:
- Choose a Suitable Location: Select a spot that receives the right amount of sunlight for your specific ivy variety. Most ivy plants thrive in partial shade to full shade, making them a perfect choice for shaded areas or under trees.
- Prepare the Planting Hole: Dig a hole in the soil that is slightly larger and wider than the root ball of your ivy plant. Ensure the hole is deep enough so that the top of the root ball is level with the surrounding soil surface.
- Remove the Ivy from the Container: Gently tap the sides and bottom of the container to loosen the root ball of the ivy plant. Carefully lift the plant from the container, being mindful of the roots.
- Plant the Ivy: Place the ivy plant into the planting hole, ensuring that it is upright and centered. Backfill the hole with soil, gently firming it around the roots. Avoid packing the soil too tightly, as it can hinder root growth and drainage.
- Water Thoroughly: After planting, thoroughly water the newly transplanted ivy to settle the soil and provide moisture to the roots. Ensure the soil is evenly moist, but not overly saturated.
- Mulch and Support: Apply a layer of organic mulch around the base of the ivy plant to help conserve moisture and suppress weed growth. If needed, provide a trellis or support structure for the ivy to climb and establish itself.
After transplanting, continue to provide ongoing care for your ivy plant by watering it regularly, monitoring for pests and diseases, and providing it with the appropriate amount of light. As the ivy grows, trim and shape it as desired to maintain its appearance and encourage further growth and lush foliage. With proper care, your transplanted ivy will thrive and bring beauty to your garden or indoor space.
Now that you have successfully transplanted your germinated ivy, take a moment to appreciate the progress you’ve made in propagating this versatile plant. With time and care, your ivy will continue to flourish and add a touch of green and elegance to your surroundings.
Congratulations on successfully germinating and transplanting your ivy! Enjoy the beauty and benefits of your newly grown plant, and don’t forget to share your gardening success with others. Happy gardening!
Conclusion
Growing ivy from cuttings is a rewarding and economical way to expand your ivy collection and enhance the beauty of your garden or indoor space. By following the step-by-step process outlined in this article, you can successfully germinate and propagate new ivy plants that will bring lush greenery and a touch of elegance to your surroundings.
From selecting the right cutting to providing the ideal environment and caring for the newly germinated plants, each step is crucial in ensuring successful propagation. Remember to choose a mature cutting, prepare it properly, and plant it in a suitable container with good drainage. Create the right environment by maintaining the appropriate temperature, humidity, and light levels. Care for the cutting by watering it properly, fertilizing when necessary, and monitoring for pests and diseases.
After the cutting has rooted and demonstrated healthy growth, transplant it into a larger container or your desired garden location. This will allow the ivy to continue flourishing, climbing, and adding beauty to its surroundings.
Throughout the process, be patient and observant. Gardening is a journey that requires time, care, and attention. Enjoy the process, watch your ivy grow, and take pride in your successful propagation efforts.
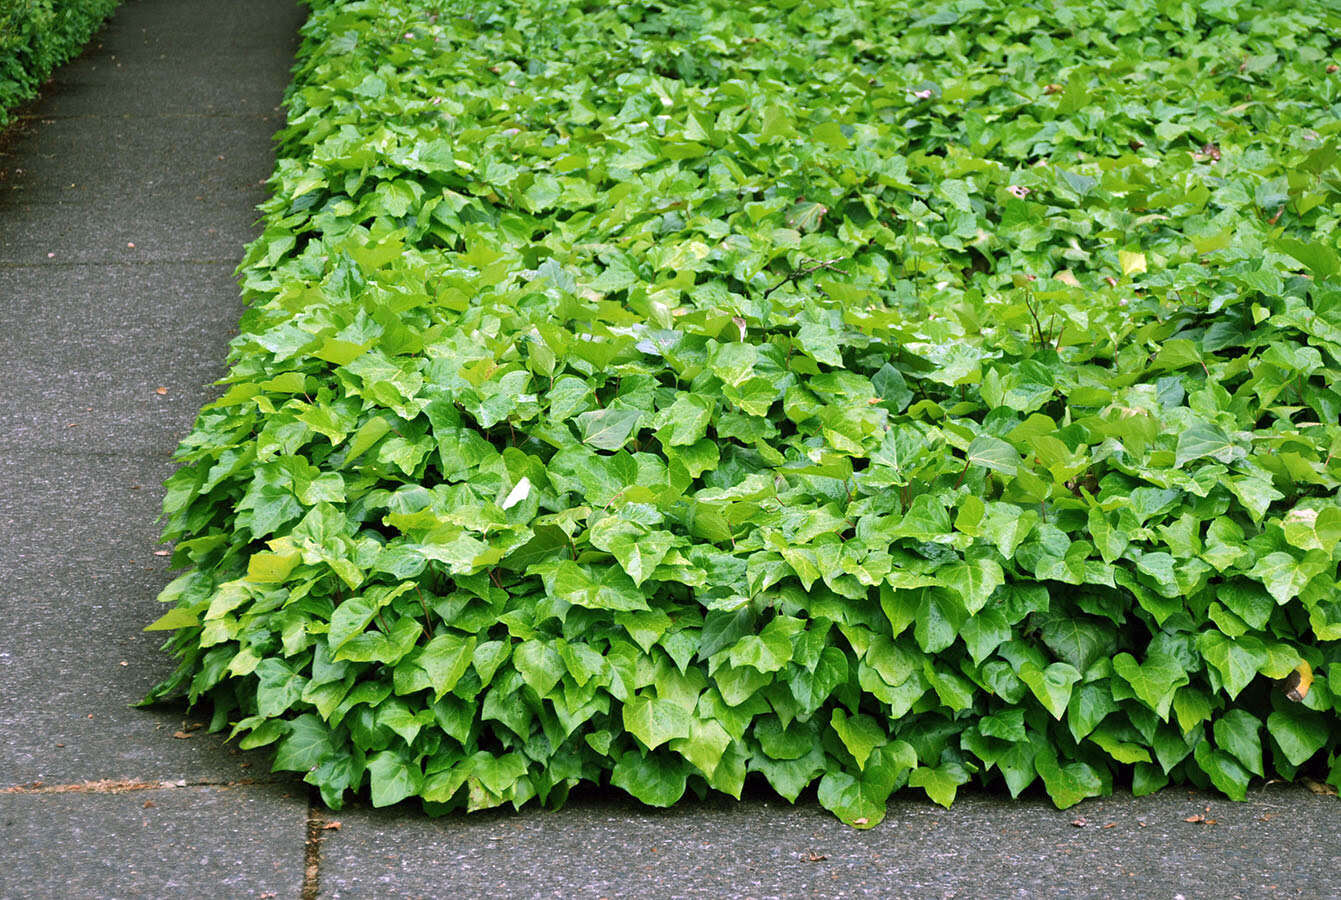
Remember, ivy is a versatile plant that can thrive both indoors and outdoors, making it an excellent choice for various settings. Whether it’s cascading from hanging baskets, climbing up a trellis, or providing ground cover in shaded areas, ivy brings an element of charm to any space it inhabits.
So, dive into the world of ivy propagation, and let your green thumb shine. Discover the joy of watching your cuttings transform into beautiful, thriving plants. Share the beauty of ivy with others by gifting them with your propagated plants. Together, we can create greener, more vibrant spaces with the magic of ivy.
Happy propagating and gardening!
Frequently Asked Questions about How To Germinate Ivy From Cutting
Was this page helpful?
At Storables.com, we guarantee accurate and reliable information. Our content, validated by Expert Board Contributors, is crafted following stringent Editorial Policies. We're committed to providing you with well-researched, expert-backed insights for all your informational needs.



0 thoughts on “How To Germinate Ivy From Cutting”