Home>Garden Essentials>Garden Plants>How To Plant Thyme From Cuttings
Garden Plants
How To Plant Thyme From Cuttings
Modified: October 20, 2024
Learn how to easily propagate thyme plants by planting cuttings. Discover step-by-step instructions and expert tips for successful plant propagation.
(Many of the links in this article redirect to a specific reviewed product. Your purchase of these products through affiliate links helps to generate commission for Storables.com, at no extra cost. Learn more)
Introduction
Welcome to the world of gardening! If you have a passion for plants and a desire to expand your green thumb, then learning how to propagate thyme from cuttings is a great place to start. Thyme is a versatile herb that not only adds flavor to your culinary creations but also offers medicinal benefits and has aesthetic appeal. By following a few simple steps, you can easily plant thyme from cuttings and enjoy the satisfaction of growing your own herbs.
Why choose cuttings instead of seeds? Well, while growing thyme from seeds is possible, it can be a longer and more unpredictable process. By opting for cuttings, you have a higher chance of success and will see results more quickly. Plus, it’s a wonderful opportunity to learn about plant propagation and discover the joy of nurturing new life.
In this guide, we will walk you through each step of the process, from gathering materials to transplanting your thyme cuttings. So, grab your gardening gloves and let’s get started!
Key Takeaways:
- Propagating thyme from cuttings offers a quicker and more reliable way to grow this versatile herb, providing culinary flavor, medicinal benefits, and aesthetic appeal. By following the steps outlined, you can enjoy the satisfaction of nurturing your own thyme plants.
- Successfully planting thyme from cuttings requires careful preparation, timing, and ongoing care. By providing optimal growing conditions and monitoring the progress of your cuttings, you can look forward to a bountiful harvest and the delightful aroma of homegrown thyme.
Read more: How To Cut Back Thyme
Step 1: Gather Materials
Before you begin propagating thyme from cuttings, it’s essential to gather all the necessary materials. By having everything at hand, you will save time and ensure a smooth planting process. Here’s a list of items you will need:
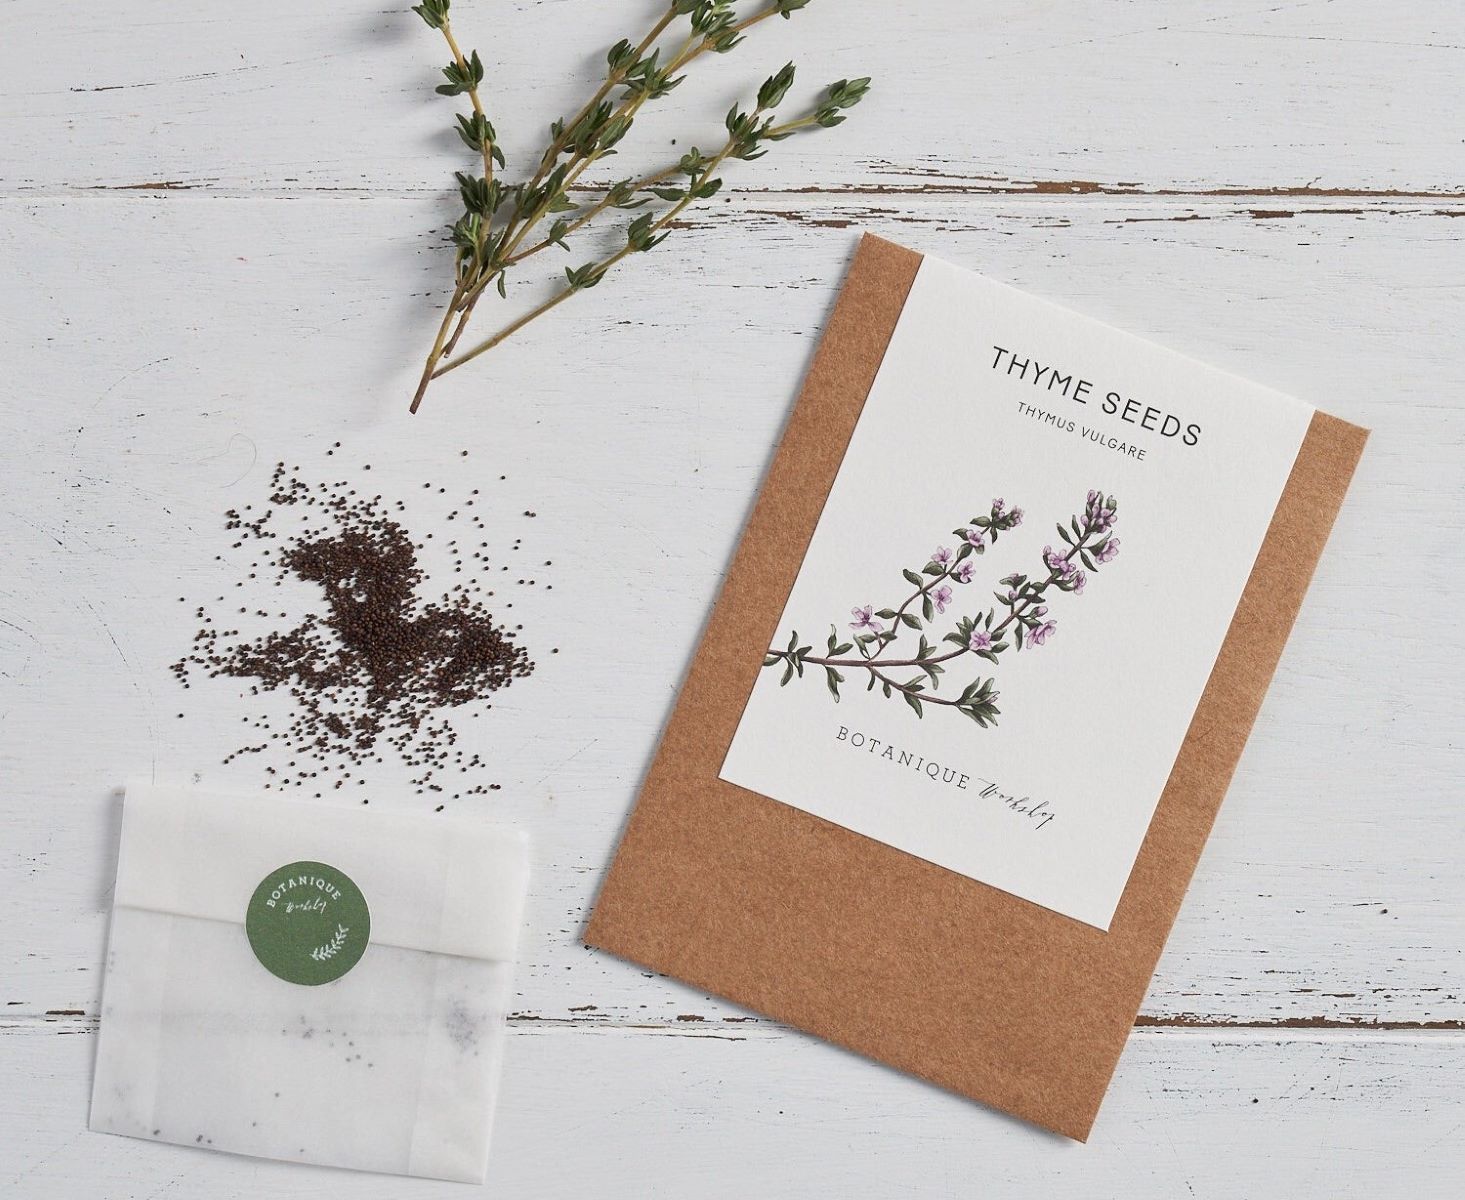
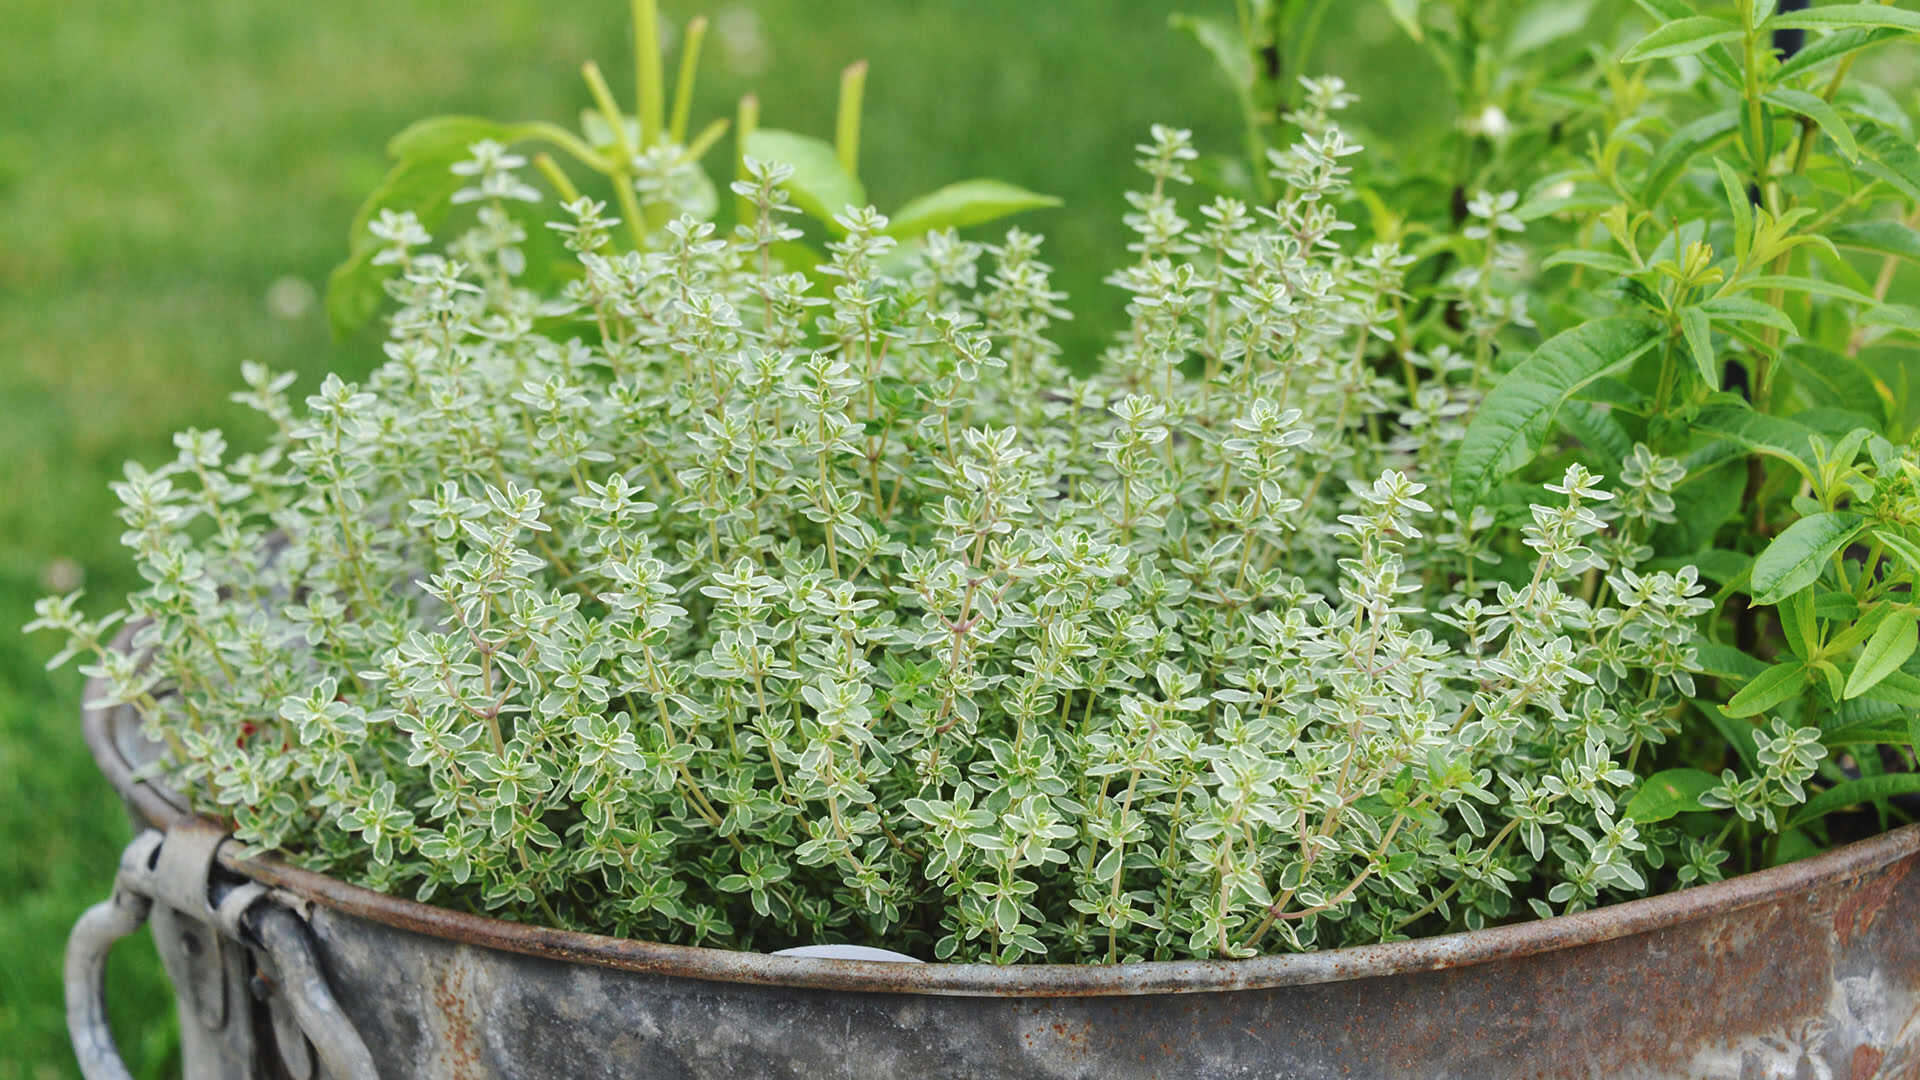
- Thyme plant: Select a healthy and well-established thyme plant from which you will take the cuttings. Choose a variety that suits your needs, such as common thyme (Thymus vulgaris) or lemon thyme (Thymus citriodorus).
- Pruning shears: Used for taking the cuttings, it’s important to have clean and sharp pruning shears to minimize damage to the mother plant.
- Rooting hormone: While not necessary, using a rooting hormone can increase the chances of successful rooting. You can find rooting hormone powder or gel at your local garden center.
- Potting mix: Prepare a well-draining potting mix suitable for herbs. You can create your own mix by combining equal parts of compost, perlite, and peat moss.
- Pots or containers: Use small pots or containers with drainage holes to plant the thyme cuttings. Ensure they are clean and have been washed with a mild detergent to prevent the spread of diseases.
- Misting bottle: A misting bottle filled with clean water will be helpful to maintain humidity around the cuttings during the rooting process.
- Plastic bags or a mini greenhouse: These will create a mini greenhouse environment to retain moisture and encourage root development. If using plastic bags, make sure they are clear and have some support to prevent them from touching the leaves.
- Labels: Don’t forget to label your pots or containers with the name and date of the thyme variety. This will help you keep track of your plants as they grow.
Once you have collected all the necessary materials, you’re ready to move on to the next step: selecting the right time to take the thyme cuttings.
Step 2: Select the Right Time
Timing is crucial when it comes to taking thyme cuttings. Choosing the right time ensures that the cuttings have the best chance of successfully rooting and establishing themselves. Here are a few factors to consider:
- Season: The ideal time to take thyme cuttings is during the spring or early summer when the plant is actively growing and producing new stems. At this time, the thyme plant is in its prime and more likely to root successfully.
- Maturity of the plant: Select a thyme plant that is mature, well-established, and healthy. Avoid taking cuttings from young or weak plants as they may not have enough energy reserves to support new growth.
- Weather conditions: Choose a day when the weather is mild and not excessively hot or cold. Extreme temperatures can stress the plant and make it harder for the cuttings to survive.
Once you have identified the right time to take the cuttings, it’s time to move on to the next step: preparing the cuttings for planting.
Step 3: Prepare the Cuttings
Preparing the cuttings correctly is crucial for their success in establishing roots and growing into healthy plants. Follow these steps to ensure you’re properly preparing the thyme cuttings:
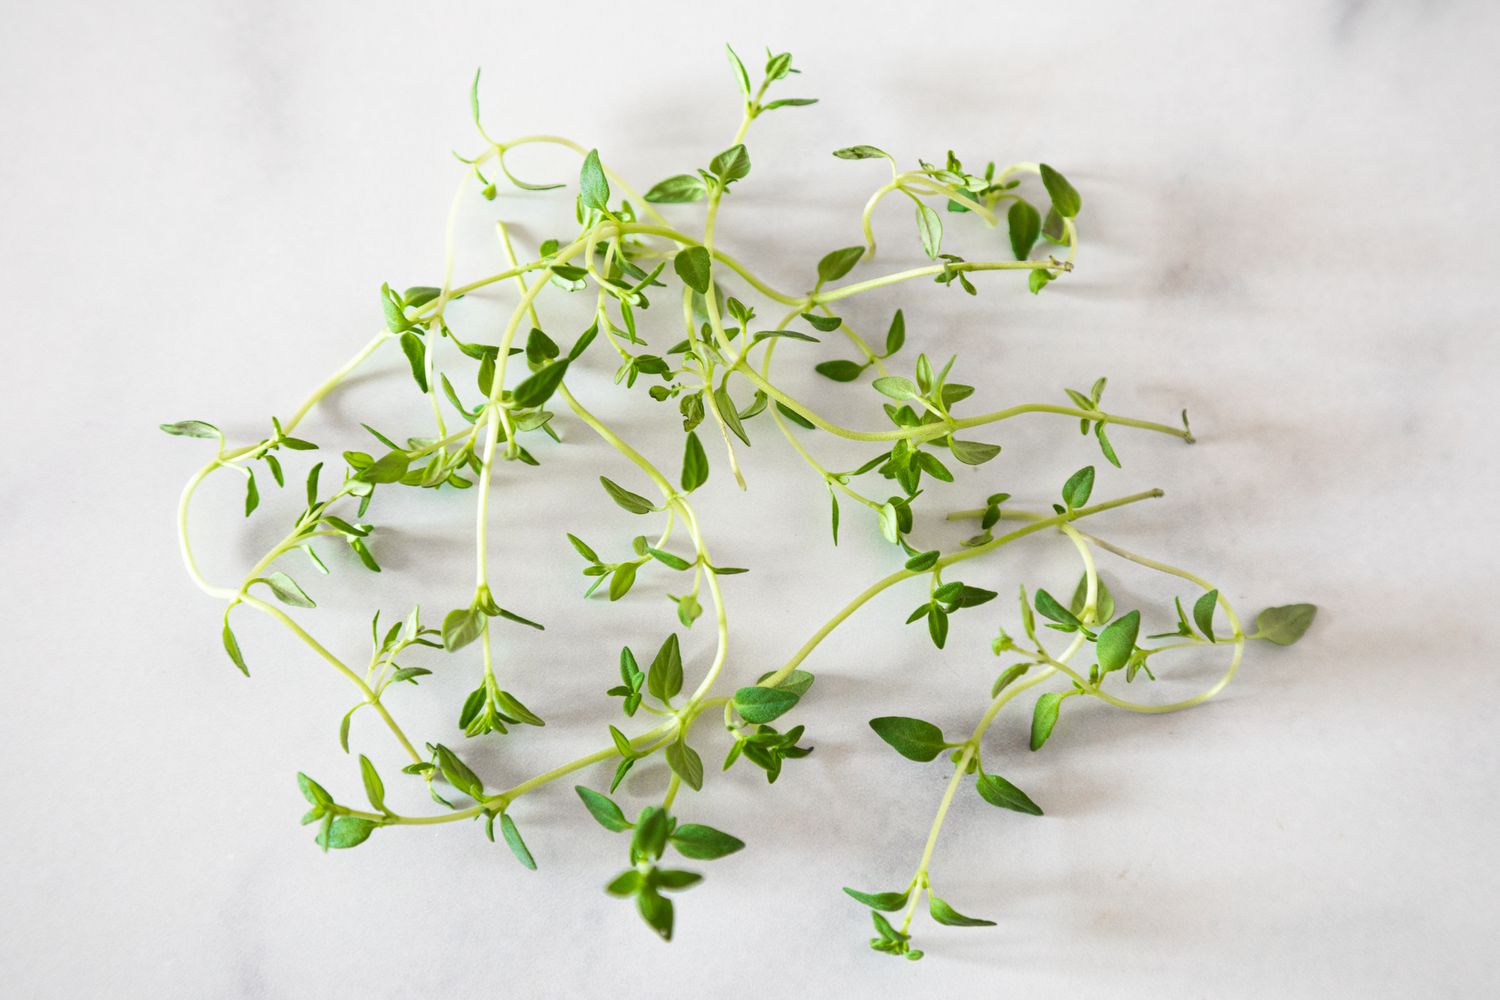
- Use clean and sharp pruning shears to take 4 to 6 inches (10 to 15 cm) cuttings from the mother thyme plant. Make sure the cuttings are taken from non-flowering stems for better success.
- Remove the lower leaves from the bottom 2 inches (5 cm) of the stem. This will create a clean, leafless section that will be buried in the potting mix for optimum rooting.
- If desired, dip the cut end of the thyme cutting into a rooting hormone powder or gel. This will help stimulate root development and increase the chances of successful rooting. Follow the instructions on the rooting hormone product for best results.
- Fill the pots or containers with the prepared potting mix, leaving some space at the top for watering.
- Insert the thyme cuttings into the potting mix, burying the leafless section from step 2 about 1 to 2 inches (2.5 to 5 cm) deep. Gently firm the soil around the cutting to ensure it stands upright.
Once you have prepared the thyme cuttings, it’s time to move on to the next step: planting the cuttings.
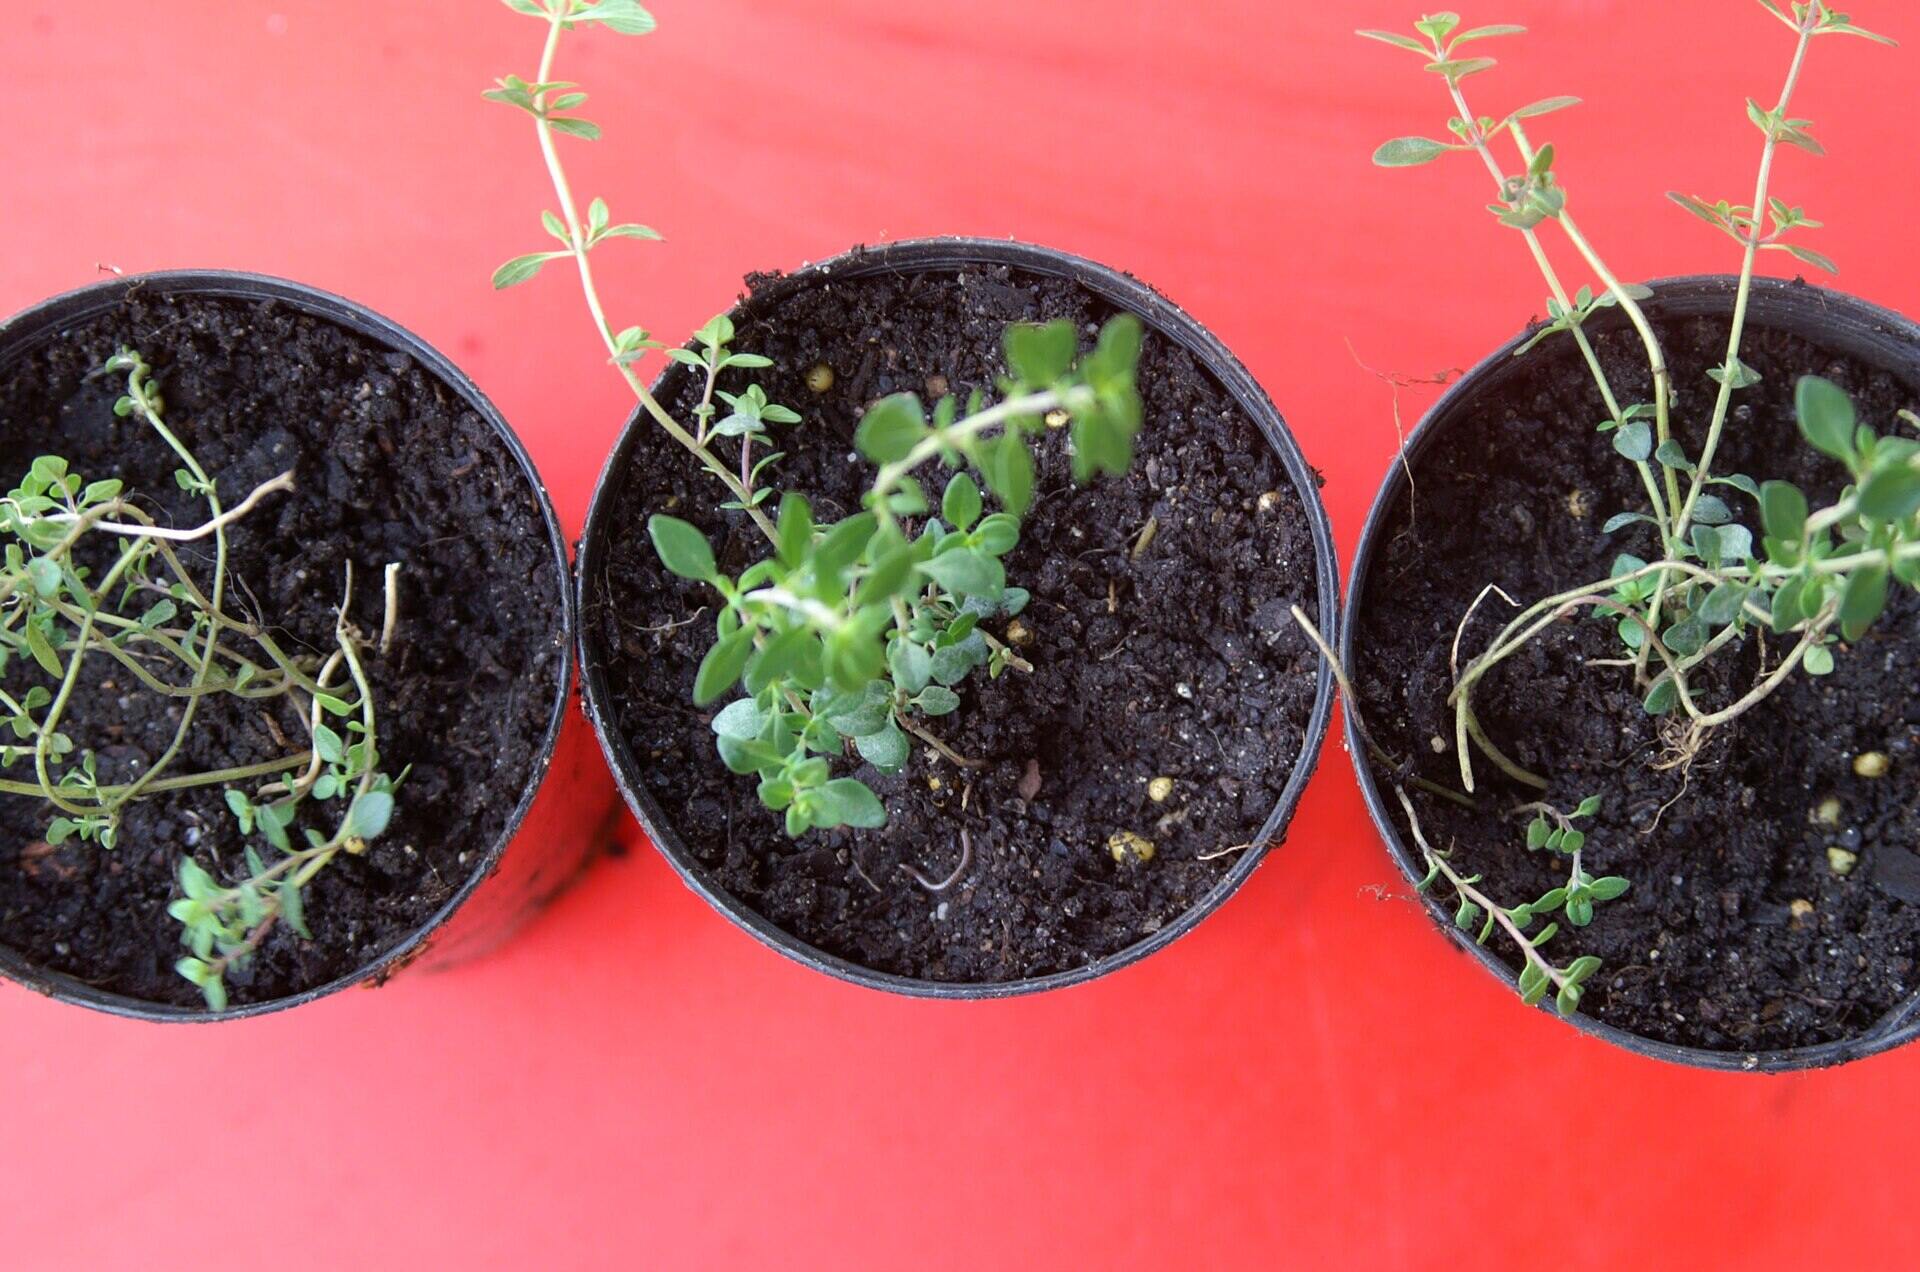
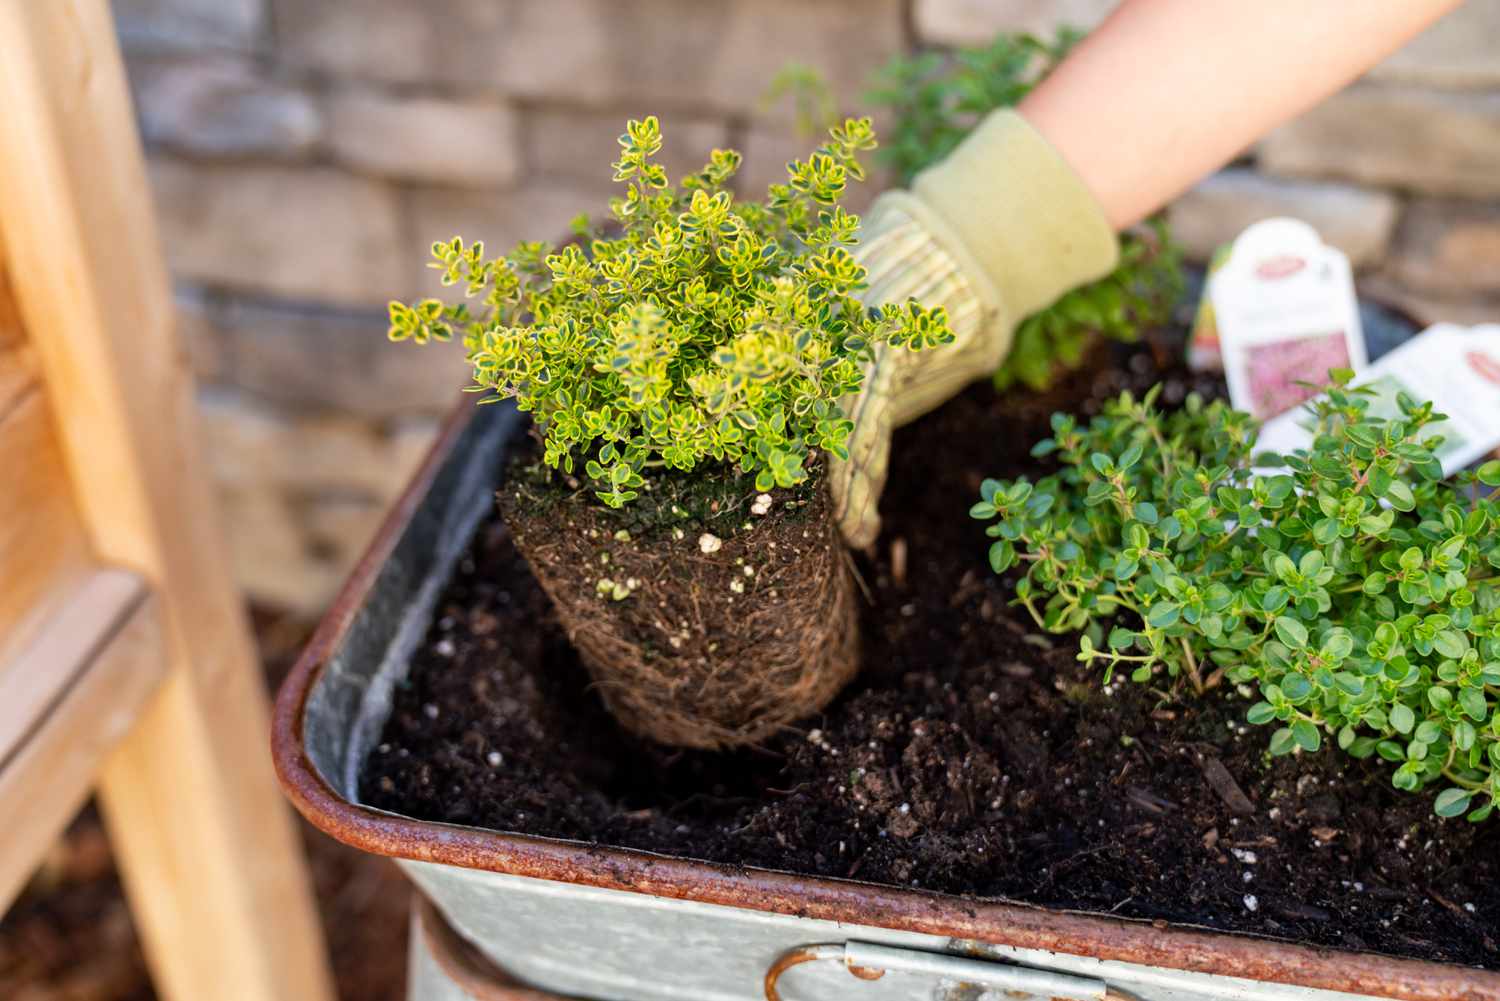
Step 4: Plant the Cuttings
Now that you have prepared the thyme cuttings, it’s time to plant them in their designated pots or containers. Follow these steps to ensure proper planting:
- Make a small hole in the prepared potting mix using your finger or a pencil. The hole should be deep enough to accommodate the lower portion of the thyme cutting.
- Place the thyme cutting into the hole and gently press the soil around it to secure it in place. Ensure that the cut end of the cutting is well-covered with soil, leaving only the upper leaves exposed.
- Repeat the process for each thyme cutting, spacing them about 2 to 3 inches (5 to 7.5 cm) apart to allow room for growth.
- Give the newly planted cuttings a gentle watering, ensuring that the soil is evenly moist. Avoid overwatering, as excessive moisture can lead to rotting.
After planting the thyme cuttings, it’s crucial to provide them with the optimal growing conditions for successful rooting and establishment. Move on to the next step: providing optimal growing conditions.
When taking cuttings from a thyme plant, make sure to choose healthy, non-flowering stems. Remove the lower leaves and place the cuttings in a well-draining soil mix. Keep the soil consistently moist and provide indirect sunlight for successful root development.
Read more: How To Plant Thyme In A Pot
Step 5: Provide Optimal Growing Conditions
Establishing the right growing conditions for your thyme cuttings is essential to ensure their healthy growth and development. Here are a few key factors to consider:
- Light: Place the pots or containers in a location that receives bright, indirect sunlight for at least 6 to 8 hours a day. Thyme prefers full sun but can tolerate partial shade.
- Temperature: Maintain a moderate temperature range of 60°F to 75°F (15°C to 24°C) for optimal growth. Avoid exposing the cuttings to extreme temperatures or drafts.
- Humidity: Thyme cuttings benefit from high humidity levels to prevent them from drying out. You can maintain humidity by covering the pots with clear plastic bags or using a mini greenhouse.
- Watering: Keep the potting mix evenly moist, but not overly saturated. Water the cuttings whenever the top inch (2.5 cm) of the soil feels dry to the touch. Avoid allowing the soil to dry out completely or becoming waterlogged.
- Air Circulation: Good air circulation is important to prevent the development of fungal diseases. Avoid overcrowding the cuttings and ensure there is space between them.
By providing the optimal growing conditions, your thyme cuttings will have the best chance of rooting successfully and thriving. Now, let’s move on to the next step: monitoring and caring for the thyme cuttings.
Step 6: Monitor and Care for the Thyme Cuttings
Once you have planted the thyme cuttings and provided them with optimal growing conditions, it’s important to monitor and care for them diligently. Here are some key tasks to ensure their healthy development:
- Watering: Regularly check the moisture level of the potting mix. Water the cuttings whenever the top inch (2.5 cm) of the soil feels dry. Be careful not to overwater, as this can lead to root rot. Adjust the watering frequency as needed based on the environmental conditions.
- Fertilizing: Thyme is a relatively low-maintenance herb and does not require heavy fertilization. However, you can lightly feed the cuttings with a diluted, balanced liquid fertilizer once every 2-3 weeks during the growing season. Avoid over-fertilizing, as this can result in weak growth.
- Pruning: As the thyme cuttings grow, regularly pinch off the tips to encourage bushier growth. This will help create a denser and more robust plant. Avoid pruning too severely, especially during the first few months of growth.
- Pest and Disease Control: Keep an eye out for common pests such as aphids, spider mites, or fungal diseases. If any issues arise, promptly address them with organic pest control methods or appropriate treatments to prevent further damage.
- Support: As the thyme cuttings grow, they may require some support to prevent the stems from bending or breaking. You can use small stakes or bamboo skewers to gently guide and support the plants.
By regularly monitoring and providing proper care, your thyme cuttings will thrive and develop into healthy, robust plants. Now, let’s move on to the next step: transplanting the thyme cuttings.
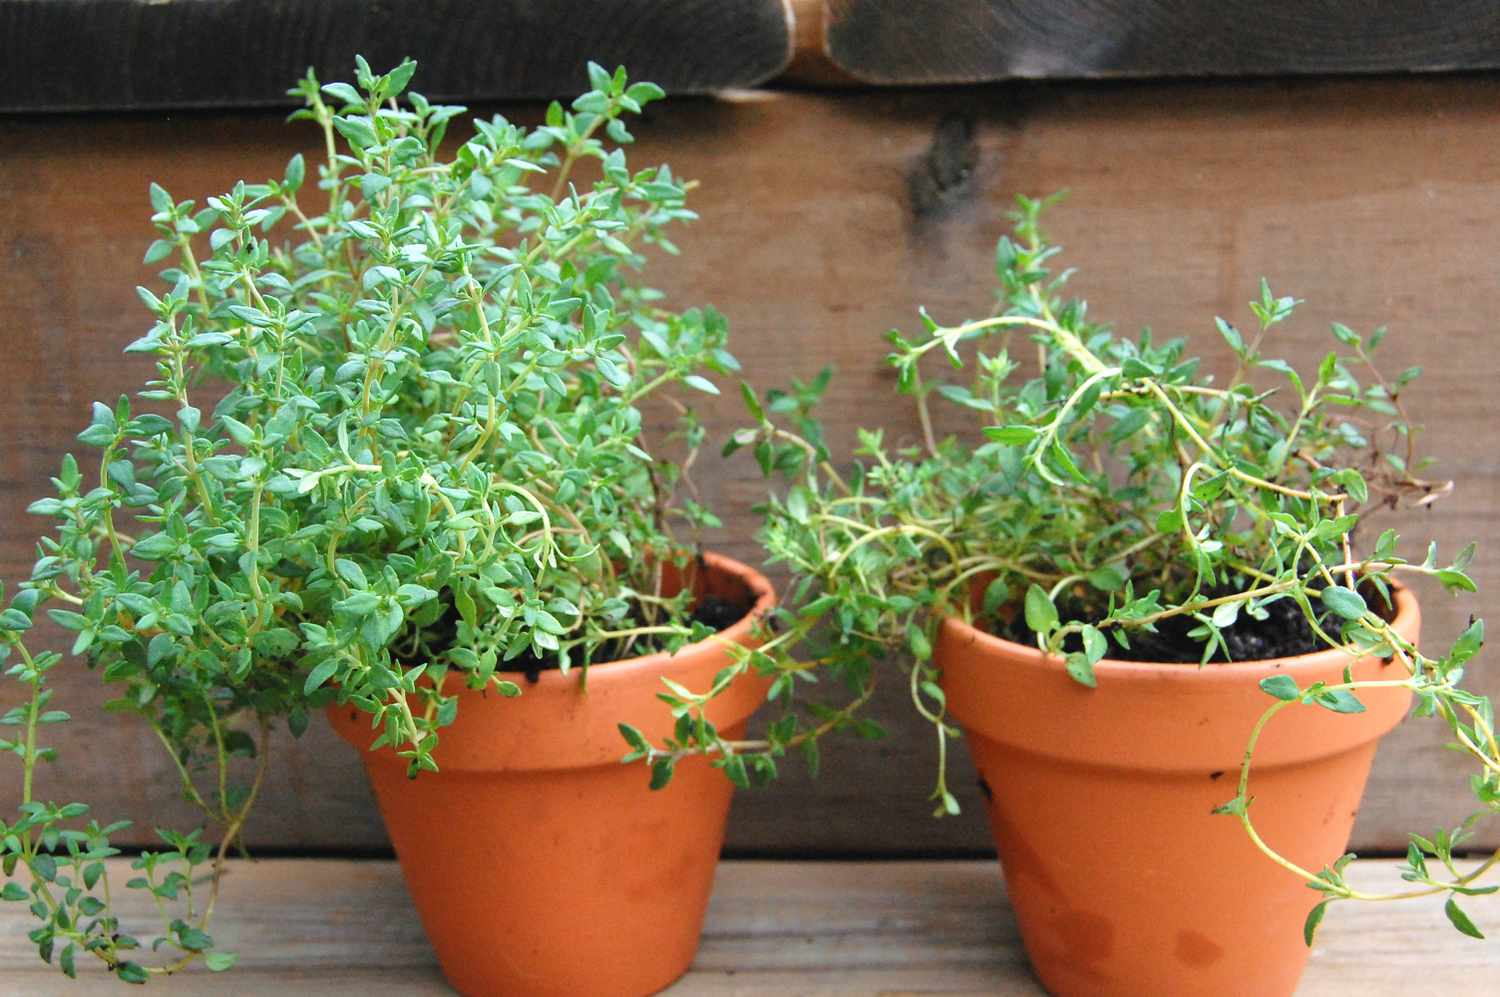
Step 7: Transplanting the Thyme
Once your thyme cuttings have established strong roots and have grown into healthy plants, it’s time to transplant them into their permanent growing location. Follow these steps to ensure a successful transplant:
- Choose a suitable location: Select a spot in your garden or a larger container that receives full sun and has well-draining soil. Thyme thrives in sandy or loamy soil with a pH level of 6.0 to 8.0.
- Prepare the planting area: Clear any weeds or debris from the area and loosen the soil using a garden fork or spade. Mix in some compost or organic matter to improve soil fertility and drainage.
- Dig the planting holes: Space the transplants about 12 to 18 inches (30 to 45 cm) apart, as thyme tends to spread and fill in gaps over time. Dig holes that are slightly wider and deeper than the root balls of the thyme plants.
- Remove the plants from their containers: Carefully remove the thyme plants from their pots, gently loosening the root balls if they are root-bound. Be cautious not to damage the roots during this process.
- Place the plants in the holes: Set each plant into its respective hole, ensuring that it sits at the same level it was previously planted. Backfill the holes with soil, gently firming it around the roots.
- Water the transplanted thyme: Give the newly transplanted thyme plants a thorough watering to settle the soil and help the roots establish. Apply a layer of mulch around the plants to conserve moisture and suppress weed growth.
- Maintain regular care: Continue to monitor and care for the transplanted thyme as you did with the cuttings. Water the plants as needed, provide occasional feeding with balanced fertilizer, and keep an eye out for any pests or diseases.
With proper transplanting and ongoing care, your thyme plants will continue to thrive in their new location. Now, it’s time to step back and enjoy the bountiful harvest and aromatic beauty that your thyme plants will provide.
Congratulations! You have successfully learned how to plant thyme from cuttings. Embrace the joys of gardening and let the enchanting aroma of fresh thyme fill your garden and kitchen.
Remember, each step of this process requires patience and care, but the rewards are well worth it. Enjoy the journey of nurturing and watching your thyme plants grow, and may you have many flavorful meals enhanced by the essence of homegrown thyme.
Conclusion
Congratulations on acquiring the knowledge and skills to plant thyme from cuttings! By following the steps outlined in this guide, you have embarked on a rewarding journey of propagating thyme and expanding your gardening expertise. Not only does thyme offer a multitude of culinary uses, but it also adds beauty and fragrance to your garden.
Through careful gathering of materials, selecting the right time, preparing the cuttings, planting them, and providing optimal growing conditions, you have given your thyme cuttings the best chance to thrive. Monitoring and caring for them, and ultimately transplanting them into their permanent location, will further ensure their successful development.
Remember to continue caring for your transplanted thyme plants by providing them with regular water, occasional fertilization, and vigilance against pests and diseases. With time and attention, you will be rewarded with a bountiful harvest and the pleasure of cooking with homegrown thyme that you nurtured from start to finish.
As you hone your gardening skills and explore other plant propagation techniques, don’t forget the lessons you learned from planting thyme from cuttings. The principles of patience, attention to detail, and providing the right conditions apply to many other plant species as well.
So, whether you’re expanding your herb garden, starting a nursery, or simply enjoying the satisfaction of growing your own plants, remember that gardening is a journey filled with beauty, learning, and a deep connection to nature. Happy planting!
Frequently Asked Questions about How To Plant Thyme From Cuttings
Was this page helpful?
At Storables.com, we guarantee accurate and reliable information. Our content, validated by Expert Board Contributors, is crafted following stringent Editorial Policies. We're committed to providing you with well-researched, expert-backed insights for all your informational needs.


0 thoughts on “How To Plant Thyme From Cuttings”