Home>Garden Essentials>How Long Does It Take For Avocado Seed To Sprout
Garden Essentials
How Long Does It Take For Avocado Seed To Sprout
Modified: August 20, 2024
Discover how long it takes for an avocado seed to sprout in your garden. Get expert tips and tricks for successfully growing avocados from seed.
(Many of the links in this article redirect to a specific reviewed product. Your purchase of these products through affiliate links helps to generate commission for Storables.com, at no extra cost. Learn more)
Introduction
Welcome to the world of gardening enthusiasts! Growing your own plants from seeds can be an incredibly rewarding experience. If you’ve ever wondered about avocado seeds and how long it takes for them to sprout, you’ve come to the right place. In this article, we’ll explore the fascinating process of avocado seed germination and provide you with valuable insights on the factors that affect its sprouting time.
Avocados are not only a delicious fruit, but their seeds are also capable of sprouting into beautiful avocado trees. Watching the transformation from a simple seed to a thriving plant can evoke a sense of awe and wonder. However, it’s important to note that avocado seeds require specific conditions and a little bit of patience to sprout successfully.
In the following sections, we’ll delve into the factors that influence the sprouting time of avocado seeds, the ideal conditions for germination, and the overall process of how these seeds sprout into trees. So, let’s dive in and unravel the mysteries of avocado seed germination!
Key Takeaways:
- Avocado seeds can take several weeks or even months to sprout, so patience is key when growing your own avocado tree from seed. Providing warmth, moisture, and proper care can improve the chances of successful germination.
- Factors like seed variety, quality, and growing conditions influence avocado seed sprouting time. Creating the ideal environment with warmth, moisture, and proper planting depth can enhance the chances of successful germination.
Read more: How Long Do Avocado Seeds Take To Sprout
Factors Affecting Avocado Seed Sprouting Time
The time it takes for an avocado seed to sprout can vary depending on several factors. Understanding these factors can help you create the optimal conditions for germination and improve the chances of success. Let’s explore the key factors that influence avocado seed sprouting time:
- Variety of Avocado: Different avocado varieties may have varying seed germination characteristics. Some varieties may sprout more quickly while others may take longer.
- Seed Quality: The quality of the avocado seed can affect its viability and sprouting time. Fresh, undamaged seeds have a higher chance of sprouting compared to older or damaged seeds.
- Seed Preparation: Preparing the avocado seed properly before planting can improve germination. This includes removing any remaining fruit flesh and drying the seed thoroughly.
- Temperature: Avocado seeds prefer warm temperatures for germination. Warmer environments of around 70-85°F (21-29°C) can promote faster sprouting, while colder temperatures may slow down the process.
- Moisture: Avocado seeds need sufficient moisture to sprout. Keeping the seed moist but not overly wet is crucial for successful germination.
- Light: Unlike some other seeds, avocado seeds do not require light to germinate. In fact, planting an avocado seed in complete darkness can actually improve sprouting.
It’s important to note that while these factors can influence the sprouting time of avocado seeds, they are not absolute determinants. Each seed is unique, and external factors such as the growing environment and individual seed characteristics can also play a role in sprouting time.
Now that we’ve explored the factors that affect avocado seed sprouting time, let’s move on to discover the ideal conditions for germination in the next section.
Ideal Conditions for Avocado Seed Germination
Creating the perfect conditions for avocado seed germination is crucial to ensure successful sprouting. Here are the key factors to consider when providing the ideal environment for your avocado seeds:
- Temperature: Avocado seeds thrive in warm temperatures. Aim for a consistently warm environment of around 70-85°F (21-29°C) for optimal germination. You can use a heat mat or place the seed in a warm spot in your home.
- Moisture: Adequate moisture is essential for avocado seed germination. However, be careful not to overwater the seed, as excessive moisture can lead to rot. Keep the seed moist by misting it with water or using a damp paper towel.
- Planting Depth: When planting the avocado seed, make sure to leave the top portion (the pointed end) exposed above the soil or water. This will prevent the seed from becoming waterlogged and increase the chances of successful sprouting.
- Growing Medium: Avocado seeds can be planted in soil or water, depending on your preference. If planting in soil, use a well-draining potting mix that retains some moisture. If you choose to grow the seed in water, use a glass or jar filled with water, ensuring that the base of the seed remains submerged.
- Location: Find a warm and bright spot for your avocado seed to grow. Avoid placing it in direct sunlight, as this can cause the seed to dry out. A bright location with indirect sunlight is ideal.
By providing these ideal conditions, you are setting the stage for your avocado seed to germinate successfully and begin its journey to becoming a beautiful avocado tree. Now that we have covered the ideal conditions for germination, let’s explore the fascinating process of avocado seed sprouting in the next section.
Germination Process of Avocado Seeds
The germination process of avocado seeds is an incredible transformation from a dormant seed to a sprouting plant. Let’s take a closer look at the stages involved in the germination process:
- Seed Preparation: Before planting, it’s important to prepare the avocado seed. Start by carefully removing any remaining fruit flesh, being cautious not to damage the seed. Once clean, allow the seed to dry thoroughly.
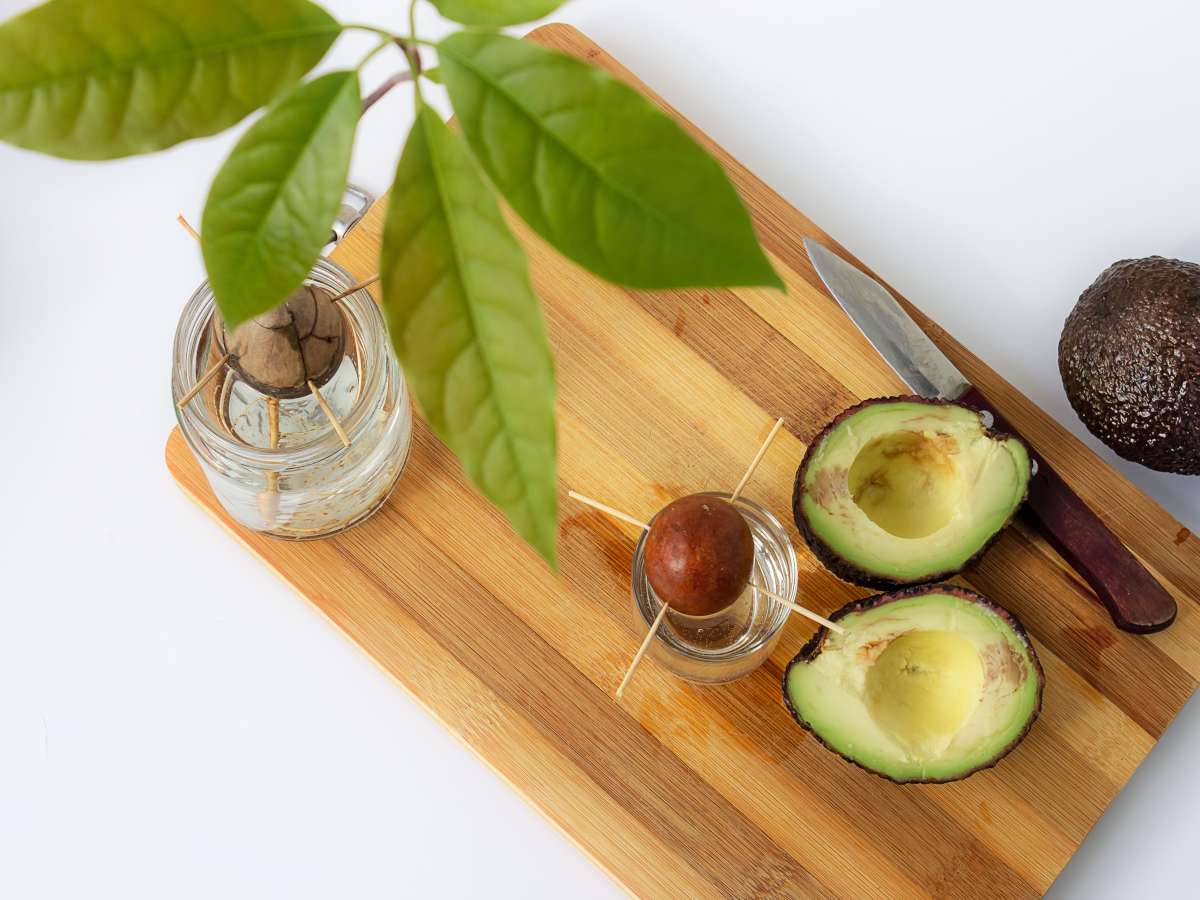
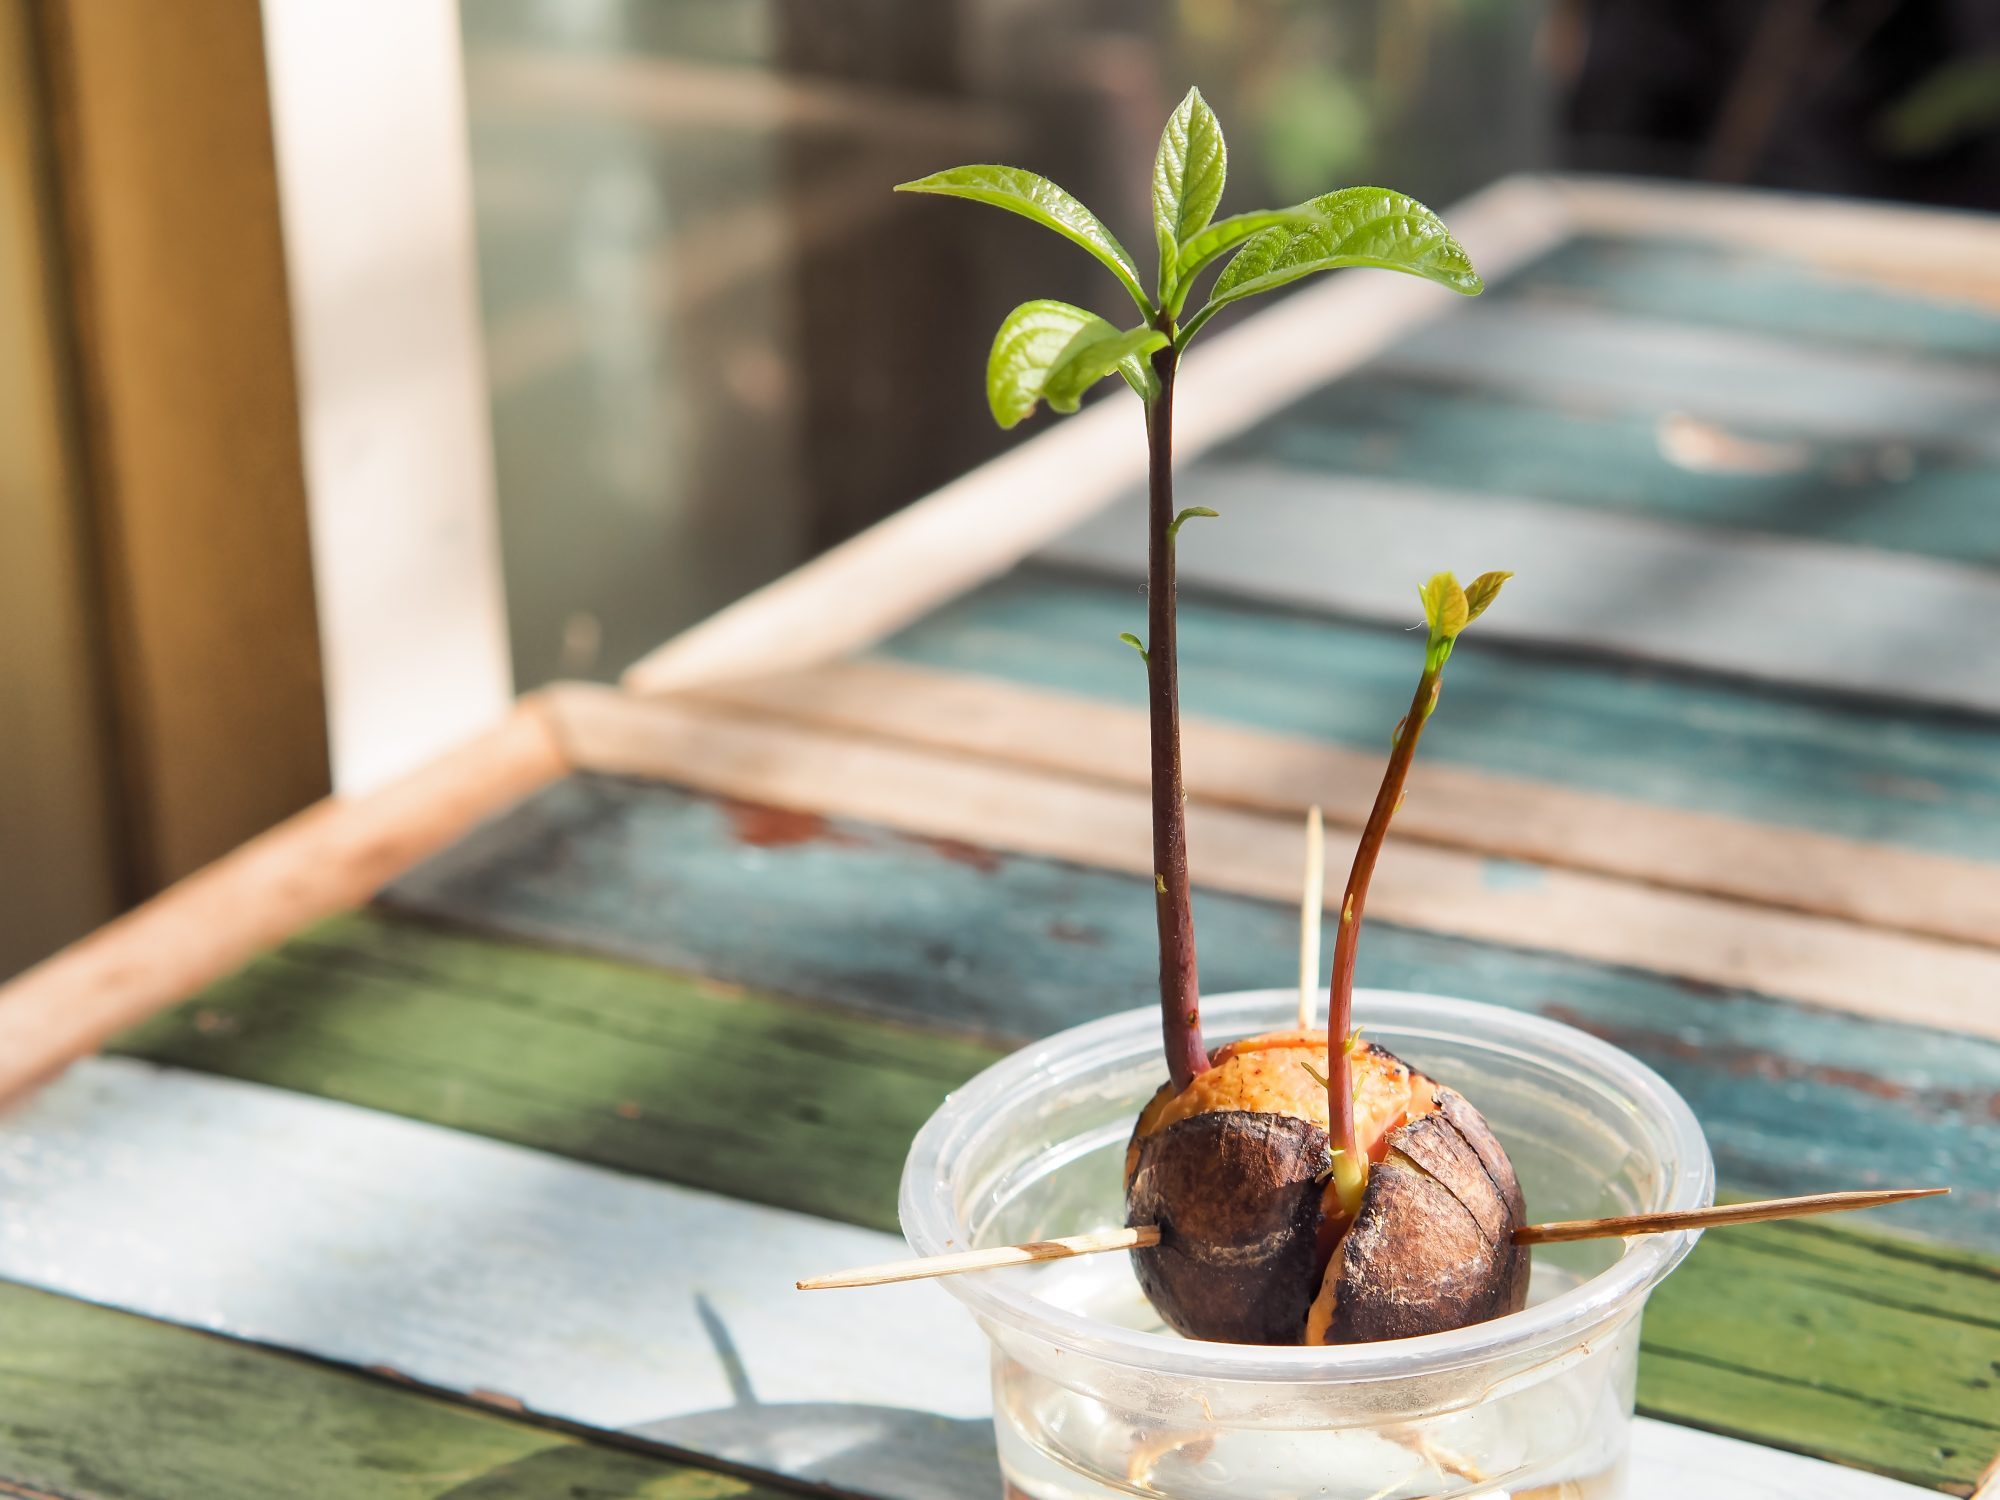
- Planting: After drying, you can either plant the avocado seed in soil or suspend it in water. If planting in soil, create a small hole, place the seed with the flat end down, and cover it lightly with soil. If using water, insert toothpicks into the sides of the seed and suspend it in a glass or jar filled with water, ensuring the bottom of the seed is submerged.
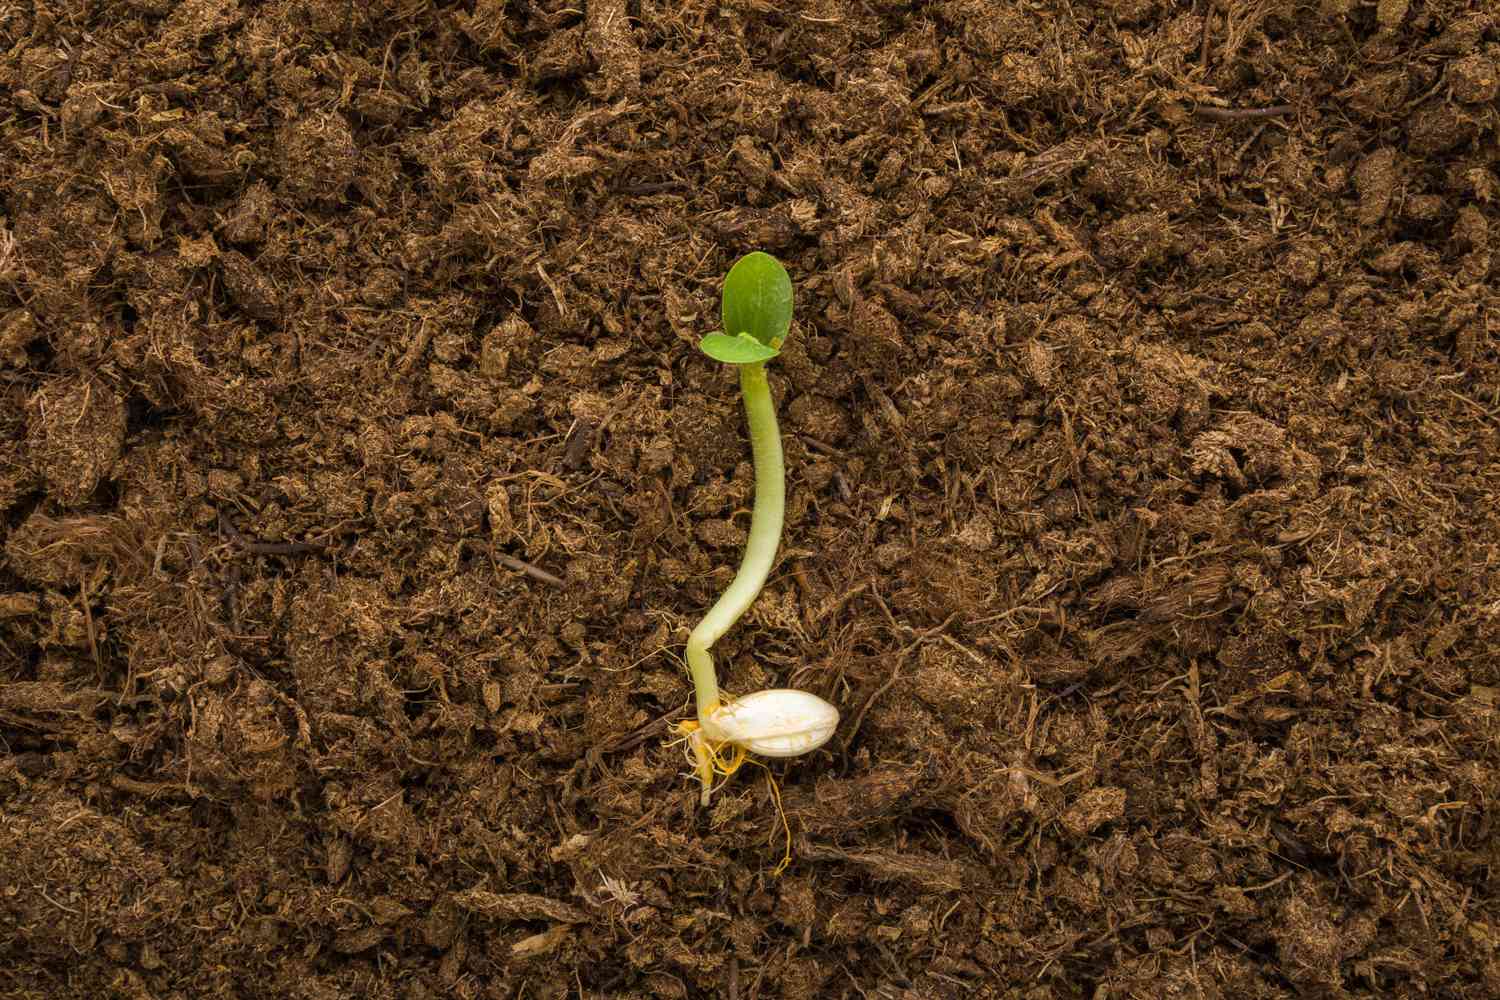
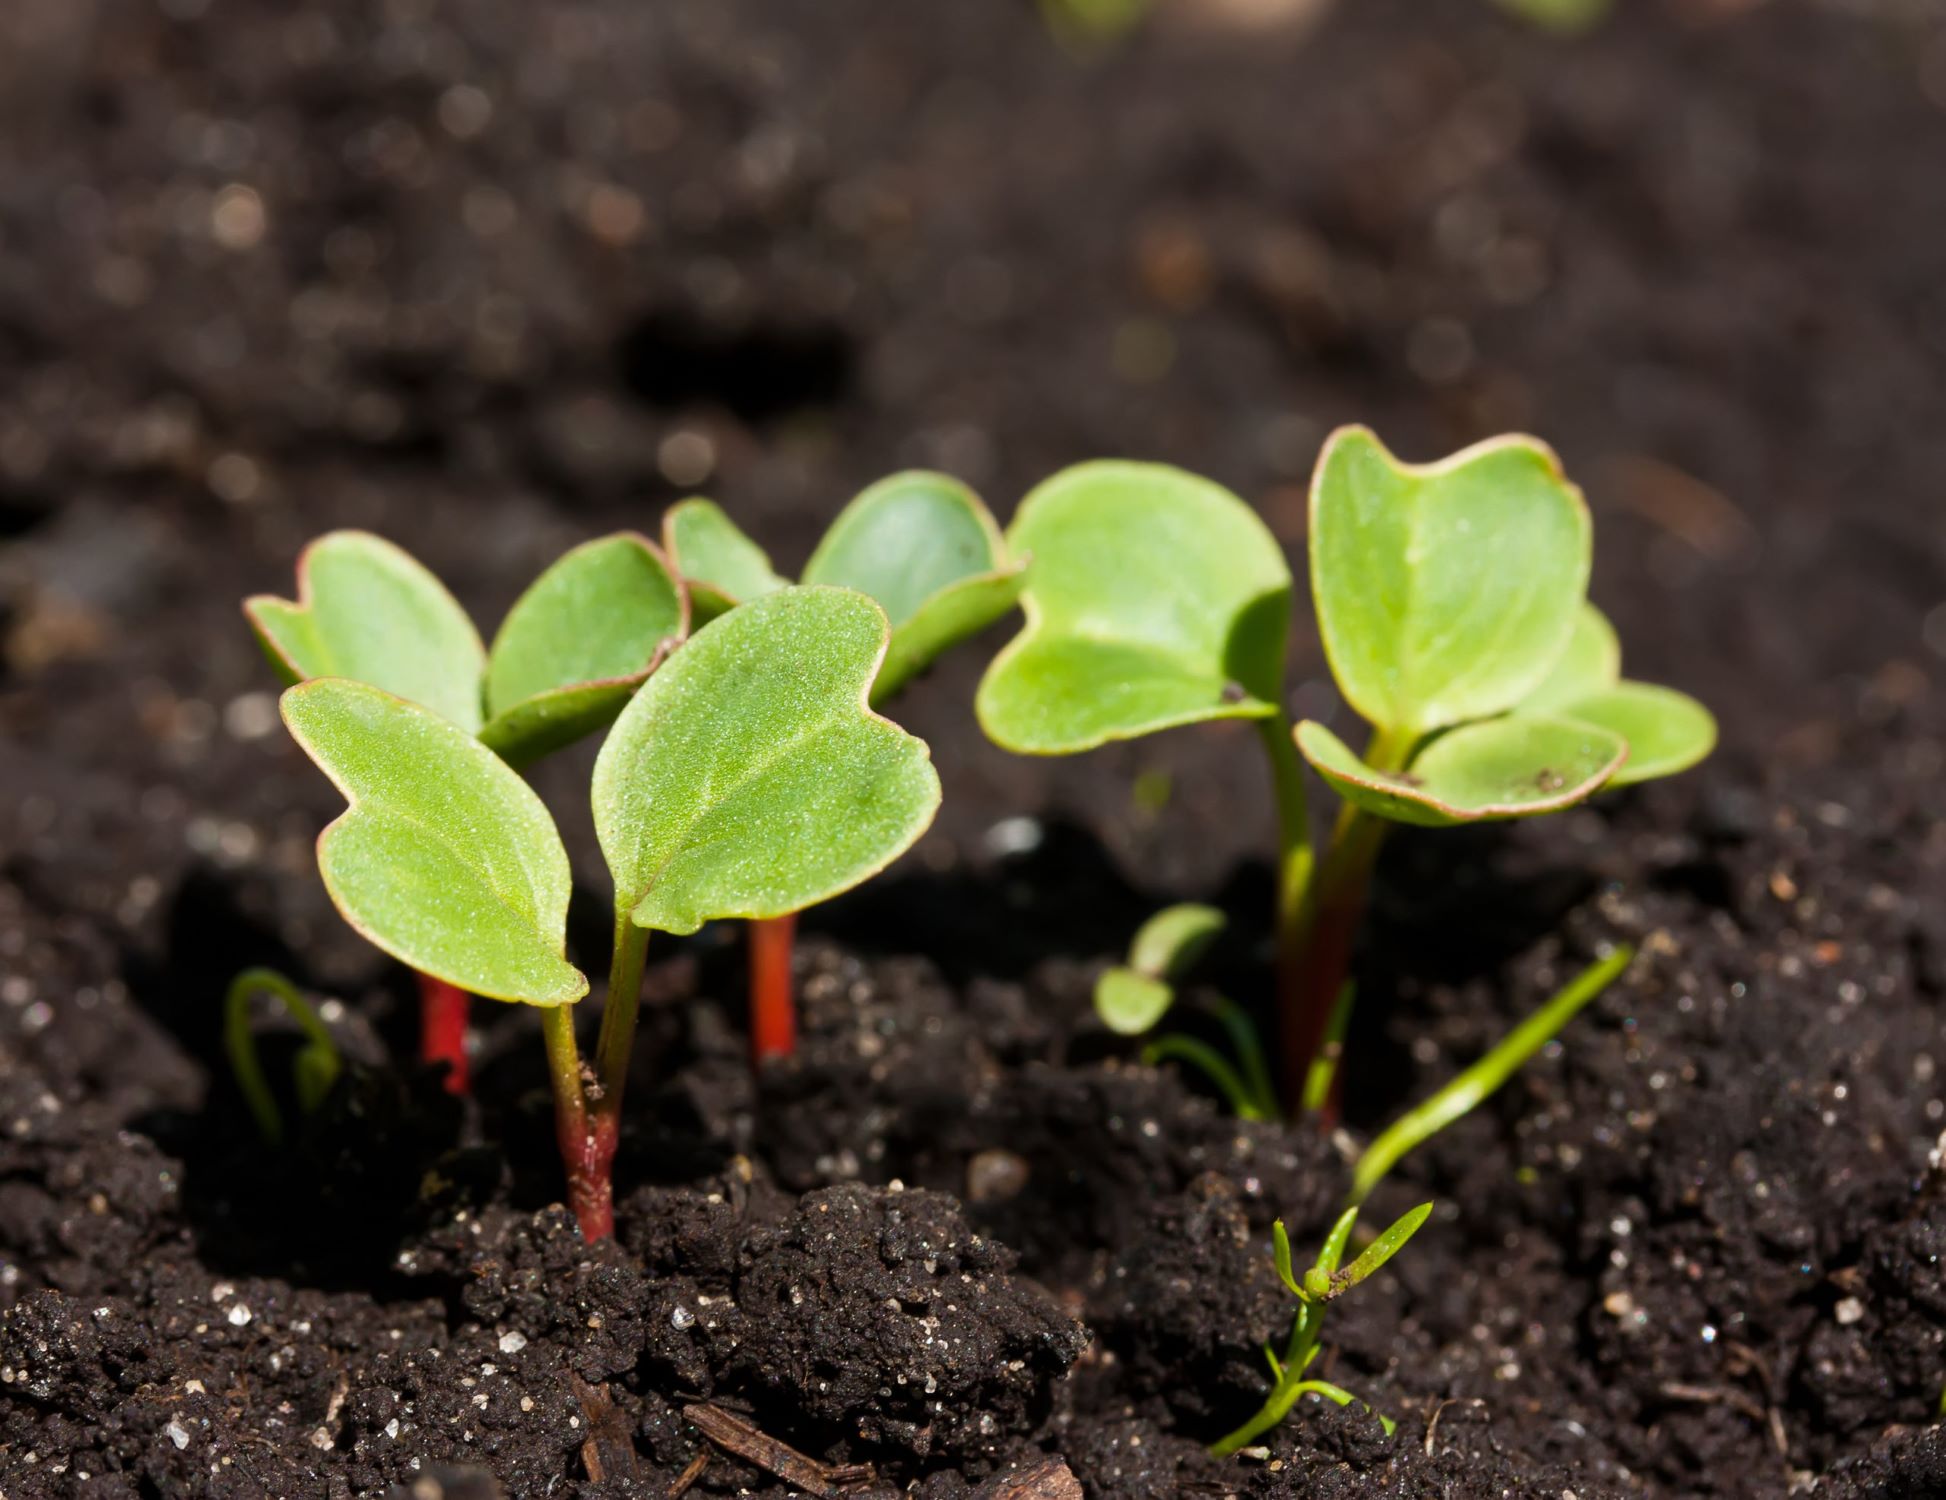
- Germination: During germination, the avocado seed will absorb water and swell. The root, known as the radicle, will begin to emerge from the bottom of the seed. This is followed by the emergence of the shoot, also known as the hypocotyl, from the top of the seed.
- Leaf Development: As the shoot continues to grow, it will produce two rounded leaves, called cotyledons, that serve as temporary nutrient reservoirs for the young plant. These leaves will eventually fall off as the true leaves develop.
- Root Development: Simultaneously, the root system will continue to grow and branch out, anchoring the plant and absorbing water and nutrients from the soil or water medium.
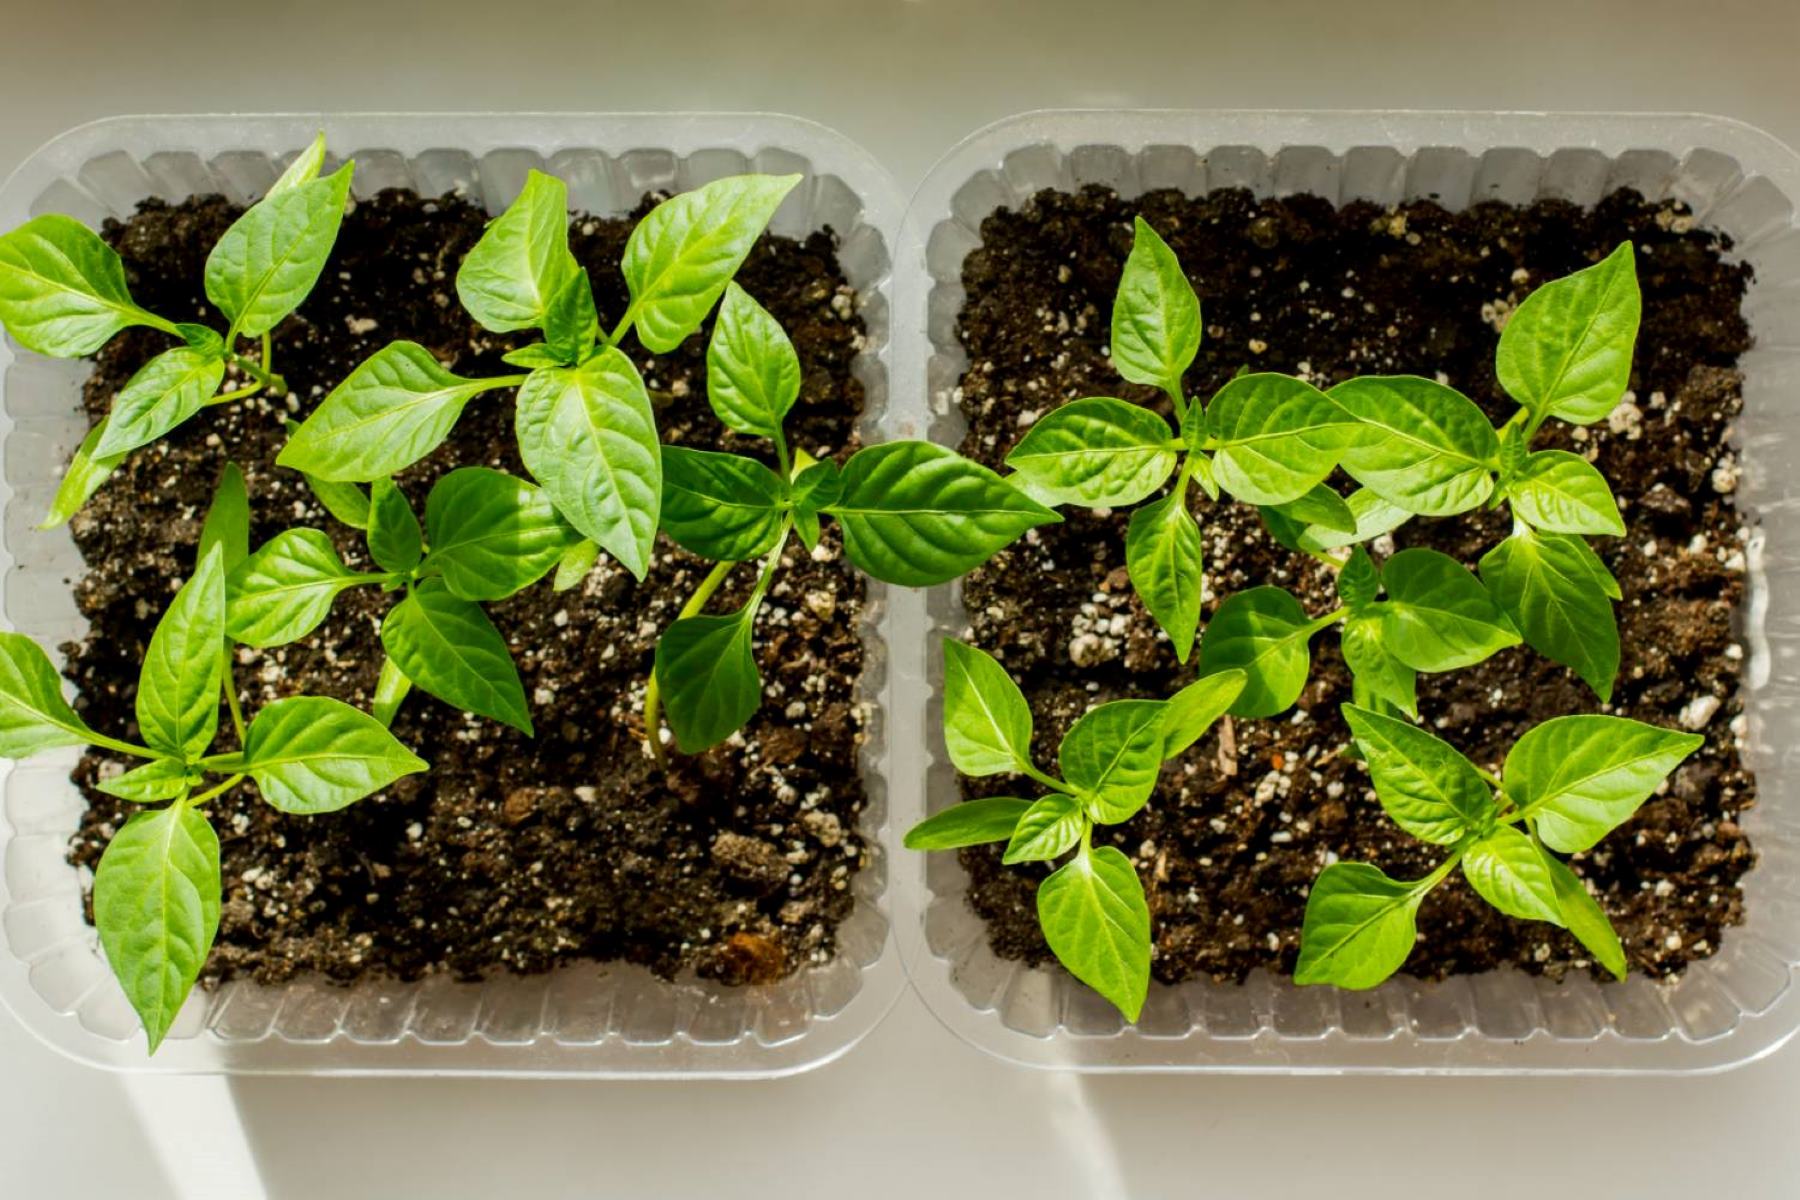
- True Leaf Growth: Following the development of the cotyledons, the avocado plant will begin producing its true leaves. These are the characteristic leaves of the avocado tree, with a smooth, glossy texture. As the seedling grows, more leaves will appear, signaling the early stages of a new avocado tree.
Each stage of the germination process is a testament to the resilience and beauty of nature. Now that we have explored the process of avocado seed germination, let’s continue our journey by discovering how long it takes for an avocado seed to sprout.
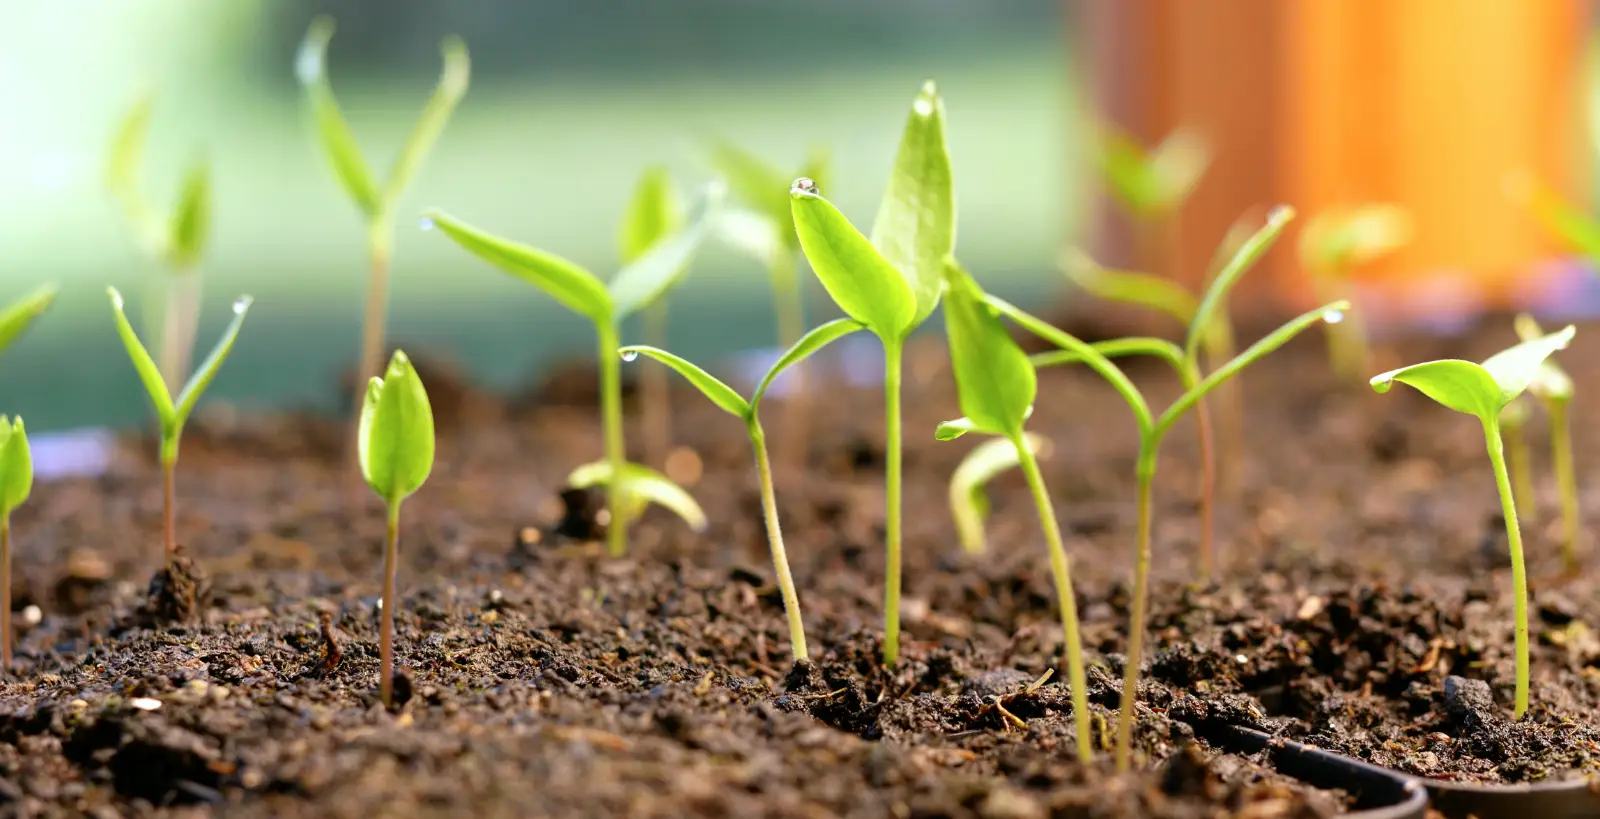
It can take anywhere from 2-6 weeks for an avocado seed to sprout. To increase the chances of sprouting, place the seed in a glass of water with the bottom half submerged and change the water every few days. Keep the seed in a warm, sunny spot.
Time Required for Avocado Seed to Sprout
Patience is key when it comes to avocado seed sprouting. Unlike some seeds that sprout within a few days, avocado seeds can take several weeks or even months to begin sprouting. The actual sprouting time can vary depending on various factors, such as seed variety, quality, and growing conditions. Let’s explore a general timeline of avocado seed sprouting:
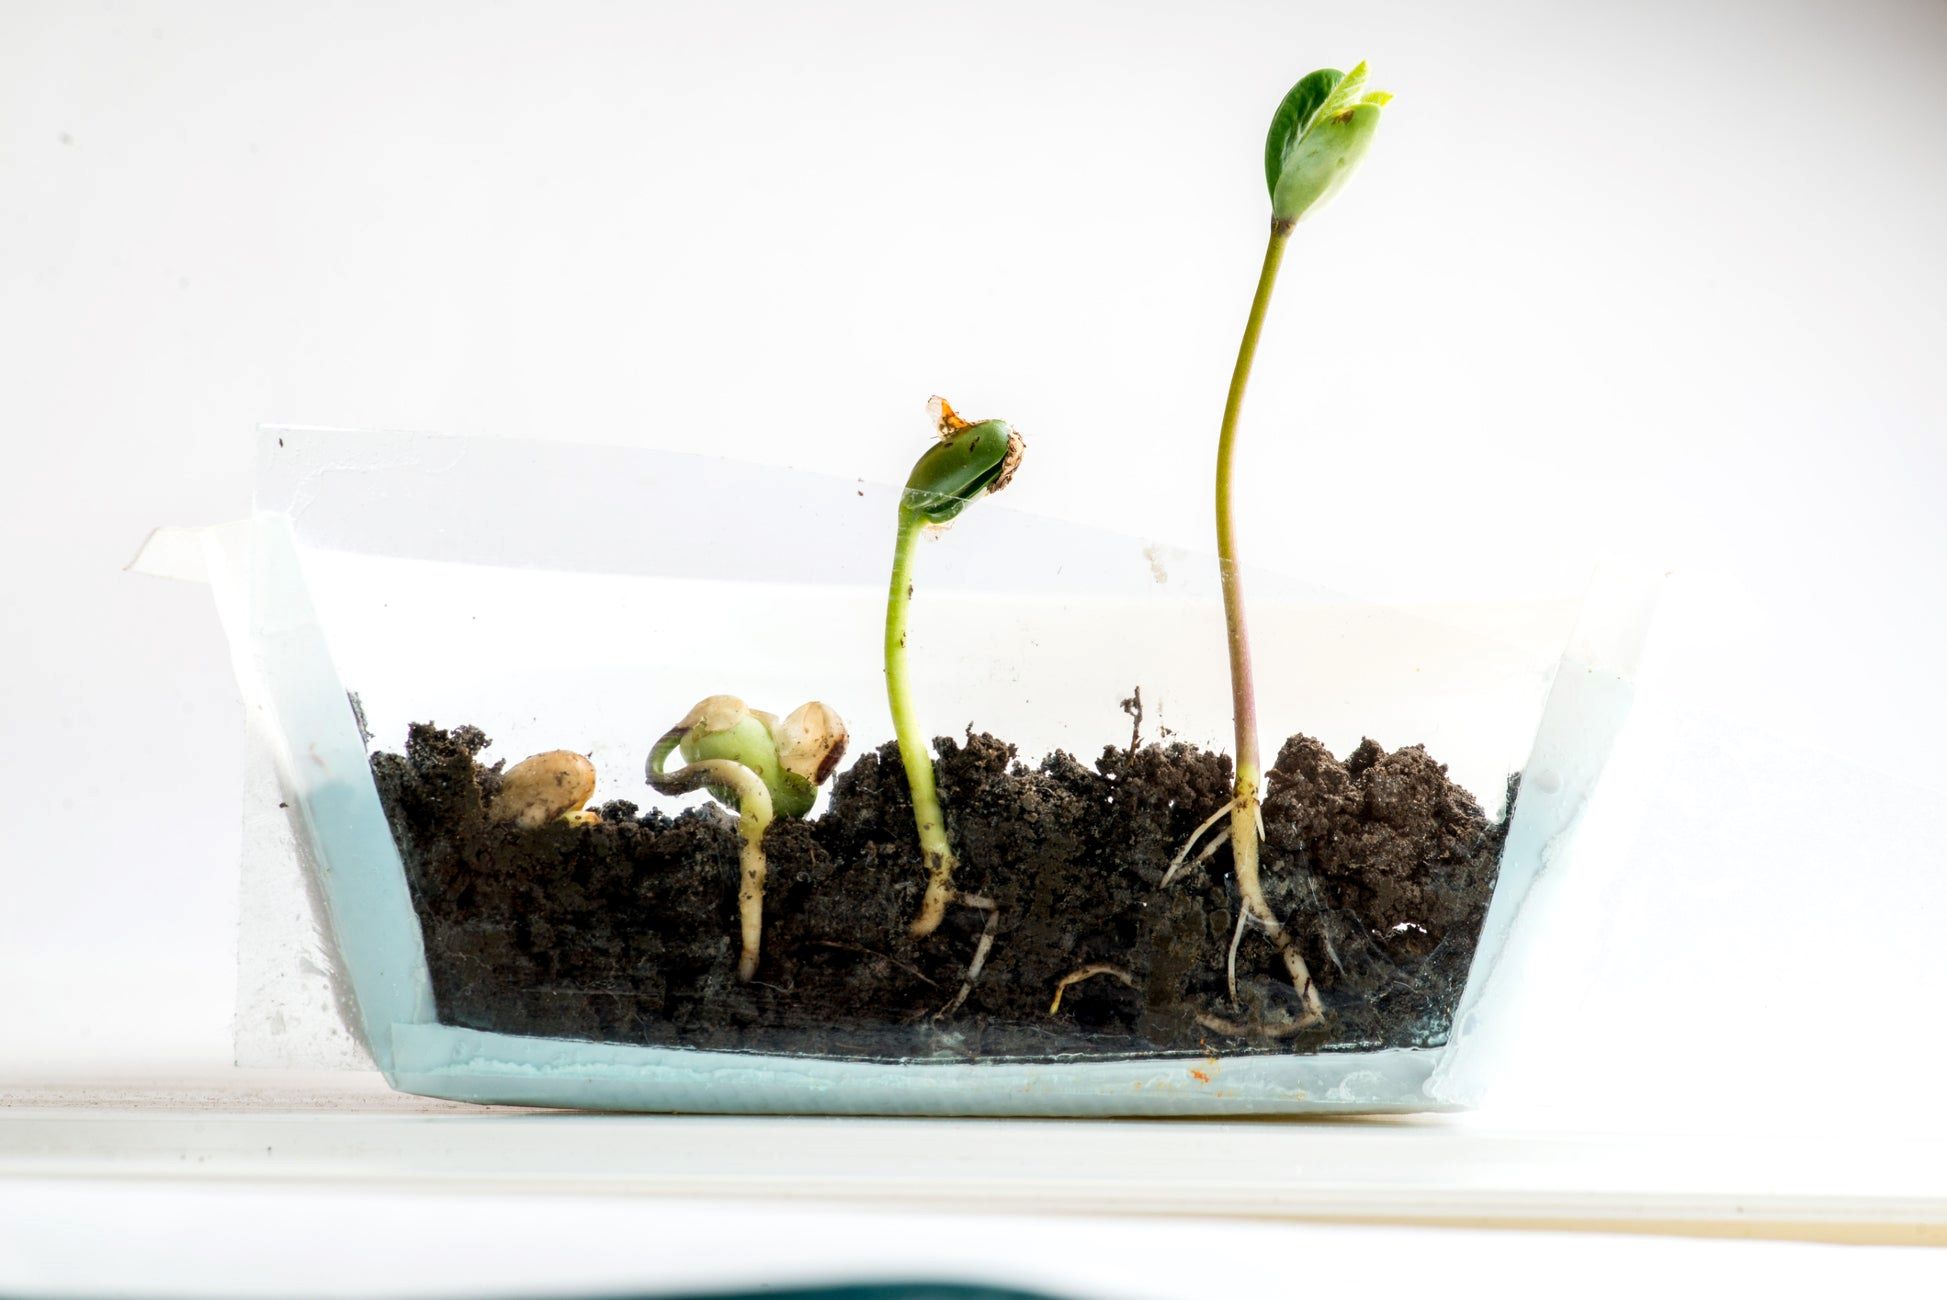
- Week 1: During the first week, the avocado seed will typically absorb water and begin the process of germination. You may notice the seed swelling and small cracks appearing on the surface.
- Weeks 2-4: Within two to four weeks, the root, or radicle, should start emerging from the bottom of the seed. This is an exciting milestone as it indicates that the seed is successfully sprouting.
- Weeks 4-8: As the root continues to grow, the shoot, or hypocotyl, will start pushing through the top of the seed. This marks the beginning of leaf development.
- Weeks 8-12: By weeks 8 to 12, the avocado seedling should have developed its cotyledons, which are the temporary nutrient-storing leaves. These cotyledons will eventually fall off as the true leaves emerge.
- Months 3 and onward: From the third month onwards, the true leaves will continue to grow, and the root system will develop further. At this stage, you can transplant the seedling into a larger pot or, if growing in water, transfer it to a container with soil.
It’s worth noting that the timeline provided is a general guideline, and actual sprouting times can vary. Some avocado seeds may sprout earlier or later depending on the specific conditions and individual seed characteristics.
Now that you have an idea of the time it takes for avocado seeds to sprout, let’s explore some tips to promote sprouting success in the next section.
Read more: How Long Does A Seed Take To Sprout
Tips for Promoting Avocado Seed Sprouting
While avocado seeds naturally germinate on their own, there are several tips and tricks you can use to enhance the chances of successful sprouting. Follow these tips to promote avocado seed sprouting:
- Choose a Fresh Seed: Select an avocado seed that is fresh and undamaged. Seeds that are too old or have visible cracks may have a lower chance of sprouting.
- Prevent Rot: To avoid rotting, make sure the seed is completely dry before planting. Damp conditions can promote fungal growth and hinder germination.
- Warm Environment: Avocado seeds prefer warm temperatures for germination. Keep the seed in an environment with a consistent temperature between 70-85°F (21-29°C).
- Proper Moisture: Maintain adequate moisture levels for the seed without overwatering. Mist the seed or use a damp paper towel to keep it moist, but avoid excessive saturation.
- Use Bottom Heat: Providing bottom heat through a heat mat or placing the seed on a warm surface can accelerate sprouting by creating an ideal temperature for germination.
- Be Patient: Remember that avocado seeds take time to sprout. Be patient and avoid disturbing the seed during the germination process.
- Monitor Light Exposure: While avocado seeds do not require light to sprout, excessive light exposure can dry out the seed. Keep it in a bright location with indirect sunlight.
- Transplant with Care: Once the seed has sprouted and developed roots, handle it gently when transplanting to avoid damaging the delicate roots. Use a well-draining potting mix or transfer it to a larger container with soil.
By following these tips, you can create optimal conditions that foster avocado seed sprouting. Remember that each seed is unique, and results may vary. With a little patience and care, you’ll increase the likelihood of successful germination and watch your avocado seed grow into a thriving plant.
Now that you are equipped with knowledge about promoting avocado seed sprouting, it’s time to put it into practice and enjoy the journey of growing your very own avocado tree!
Conclusion
Growing an avocado tree from seed can be a fascinating and rewarding experience. While avocado seed sprouting may require time and patience, the end result is a beautiful plant that can provide you with delicious fruits for years to come. In this article, we explored the factors that affect avocado seed sprouting time, the ideal conditions for germination, the process of avocado seed germination, how long it takes for avocado seeds to sprout, and the tips for promoting successful sprouting.
Understanding the factors that influence sprouting time, such as variety, seed quality, and growing conditions, can help you create an optimal environment for germination. Providing the ideal conditions, including proper temperature, moisture, and planting depth, can significantly improve the chances of successful sprouting.
The germination process of avocado seeds is a remarkable journey from seed preparation to root and shoot emergence, leaf development, and eventually the growth of true leaves. Throughout this process, it’s important to be patient and provide the necessary care to ensure the seedling’s health and vigor.
Remember that avocado seeds can take several weeks or even months to sprout, so it’s crucial to be patient and avoid disturbing the seed during this time. Providing consistent care, proper moisture levels, and a warm environment will give your avocado seed the best chance of successful germination.
By following the tips outlined in this article, you can increase the likelihood of avocado seed sprouting and embark on an exciting journey of nurturing your very own avocado tree. Whether you choose to plant the seed in soil or grow it in water, the process of watching it transform into a thriving plant is truly rewarding.
So, go ahead and give it a try! Plant that avocado seed, provide the ideal conditions, and watch as it gradually sprouts and grows into a magnificent avocado tree. Happy gardening!
Excited about sprouting that avocado seed? Don't stop there! Learn more about avocado germination with our dedicated article that helps maximize success in growing your avocado plants. Ready for more gardening adventures? Explore our list of the best garden fence ideas, perfect for enhancing your outdoor space in 2022. These insightful reads are just a click away, packed with tips and inspiration to fuel your green thumb journey.
Frequently Asked Questions about How Long Does It Take For Avocado Seed To Sprout
Was this page helpful?
At Storables.com, we guarantee accurate and reliable information. Our content, validated by Expert Board Contributors, is crafted following stringent Editorial Policies. We're committed to providing you with well-researched, expert-backed insights for all your informational needs.
0 thoughts on “How Long Does It Take For Avocado Seed To Sprout”