Home>Garden Essentials>How To Get Rid Of Juniper Ground Cover
Garden Essentials
How To Get Rid Of Juniper Ground Cover
Modified: October 28, 2024
Looking to remove juniper ground cover from your garden? Learn effective methods and tips on how to get rid of juniper and reclaim your outdoor space.
(Many of the links in this article redirect to a specific reviewed product. Your purchase of these products through affiliate links helps to generate commission for Storables.com, at no extra cost. Learn more)
Introduction
Welcome to your comprehensive guide on how to get rid of juniper ground cover. Whether you’re looking to reclaim your garden space or simply want to replace the juniper with a different plant, removing juniper ground cover can be a challenging but rewarding task. Juniper is a popular choice for ground cover due to its hardiness and low maintenance requirements, but there are times when it needs to be removed. In this article, we will delve into the various methods and techniques for removing juniper ground cover, including both chemical and natural approaches. By the end, you’ll have the knowledge and confidence to tackle this task and transform your garden.
Key Takeaways:
- Say goodbye to juniper ground cover by assessing the need for removal and preparing adequately. Choose from chemical, mechanical, or natural removal techniques, and prioritize aftercare and maintenance for a healthy garden transformation.
- Whether using herbicides, hand tools, or natural smothering, removing juniper ground cover requires patience and persistence. After removal, focus on soil conditioning, weed prevention, and ongoing maintenance to ensure a thriving garden.
Read more: How To Plant Juniper Ground Cover
Understanding Juniper Ground Cover
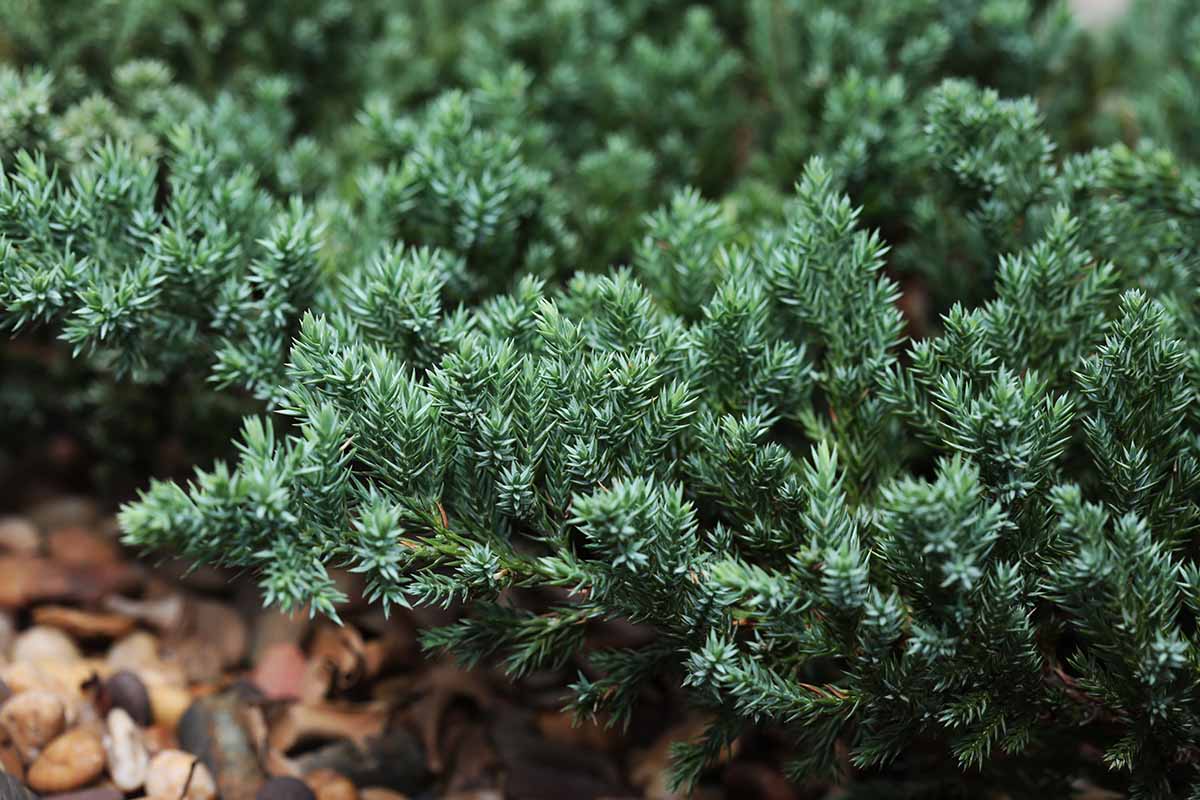
Before diving into the process of removing juniper ground cover, it’s important to have a clear understanding of what exactly it is. Juniper ground cover refers to the use of low-growing juniper shrubs to provide a dense carpet-like coverage on the ground. This type of ground cover is often used to control soil erosion, suppress weeds, and add an attractive evergreen element to the landscape.
Juniper is a woody evergreen shrub that belongs to the Cypress family. It is known for its needle-like foliage and small berry-like cones, which can vary in color depending on the specific variety. Juniper ground cover can vary in height and spread, with some varieties staying relatively low to the ground while others can grow more upright.
While juniper ground cover can be visually appealing and provide some benefits to the garden, there are instances when it may no longer serve its purpose. It can become invasive, outcompeting other plants and taking over garden beds. Additionally, juniper ground cover can develop dead or diseased areas, detracting from the overall aesthetic of the garden. In these cases, removing the juniper is necessary to restore the health and balance of the landscape.
It’s important to note that juniper ground cover removal is a task that requires careful planning and execution. Depending on the size and extent of the juniper coverage, the removal process can be labor-intensive, time-consuming, and potentially disruptive to the surrounding plants and soils. Therefore, it’s essential to assess the need for removal and adequately prepare before embarking on the journey of eliminating juniper ground cover.
Assessing the Need for Removal
Before jumping into the process of removing juniper ground cover, it’s crucial to assess whether removal is necessary in the first place. This step will help you determine if the juniper has outgrown its purpose or is causing any negative impacts on your garden. Consider the following factors when assessing the need for removal:
1. Overgrowth: Evaluate whether the juniper ground cover has become overgrown and is encroaching on other plants or areas of your garden. If the juniper is dominating the space and hindering the growth of other desired plants, it may be time to remove it.
2. Diseased or Dying: Inspect the juniper ground cover for any signs of disease or decline. If there are extensive areas of dead or dying foliage, this can be an indication that the plant is unhealthy and should be removed to prevent the spread of disease to other plants.
3. Aesthetics: Consider the overall appearance of the juniper ground cover. If it has become unruly, unkempt, or no longer fits the desired aesthetic of your garden, you may choose to remove it and replace it with a different type of ground cover that better suits your vision.
4. Maintenance and Care: Evaluate the level of maintenance and care required for the juniper ground cover. If it is becoming too time-consuming or demanding to maintain, removal might be a more manageable option. Alternatively, if you are planning a garden renovation or redesign, removing the juniper can provide a clean slate for your new project.
Remember, removing juniper ground cover is a significant decision that will impact the overall look and functionality of your garden. Take the time to carefully consider these factors and weigh the pros and cons before proceeding with the removal process.
Preparing for Juniper Ground Cover Removal
Preparing for juniper ground cover removal is an essential step to ensure a smooth and successful process. Taking the time to prepare beforehand will help minimize potential damage to surrounding plants, protect the soil, and make the removal process more efficient. Consider the following steps when preparing for juniper ground cover removal:
1. Assess the Area: Begin by assessing the extent of the juniper ground cover. Determine the size of the area to be cleared and make note of any obstacles or delicate plants that need special attention during the removal process.
2. Gather Tools and Equipment: Equip yourself with the necessary tools and equipment for the removal process. This may include items such as gardening gloves, pruning shears, a hand trowel, a shovel, a rake, and a wheelbarrow. Having the right tools on hand will make the removal process much easier and more efficient.
3. Clear the Area: Remove any loose debris, such as fallen leaves or branches, from the area before starting the removal process. This will provide a cleaner workspace and make it easier to navigate through the juniper ground cover.
4. Protect Surrounding Plants: If there are other plants nearby that you want to preserve, take measures to protect them during the removal process. Use stakes or temporary fencing to create a barrier around delicate plants and prevent accidental damage.
5. Prepare Disposal Method: Decide on the appropriate disposal method for the removed juniper. This can include composting the plant material, arranging for green waste pickup, or using a rented chipper to turn the plant material into mulch.
6. Wear Protective Gear: Juniper plants can have sharp needles, so it’s essential to wear protective gear, such as gloves and long sleeves, to avoid injury during the removal process. Safety goggles or glasses can also protect your eyes from any flying debris.
7. Plan the Timeline: Consider the time and energy required for the removal process. Depending on the size of the area, it may take several days or even weeks to complete. Plan your schedule accordingly to avoid rushing or feeling overwhelmed.
By taking the time to prepare adequately, you can ensure that the juniper ground cover removal process goes smoothly and efficiently. Preparation will not only protect surrounding plants and soil but also make the job more manageable and less stressful.
Methods for Removing Juniper Ground Cover
When it comes to removing juniper ground cover, there are several methods you can employ depending on your preferences, the size of the area, and the resources available to you. Here are three common methods for removing juniper ground cover:
Read more: How To Trim Juniper Ground Cover
1. Chemical Removal Techniques:
Chemical removal involves using herbicides to kill and eventually remove the juniper ground cover. This method is most effective for larger areas or when the juniper is deeply rooted. Before using any herbicide, carefully read and follow the instructions provided by the manufacturer. It is also important to consider the impact of chemicals on other plants and the environment. Common chemical herbicides used for juniper removal include glyphosate-based products. Apply herbicides during appropriate weather conditions to maximize effectiveness.
2. Mechanical Removal Techniques:
Mechanical removal involves physically pulling out or digging up the juniper ground cover. This method can be labor-intensive but is often the preferred option for smaller areas or when you want to preserve the surrounding plants and soil. To manually remove juniper, use a pair of gardening gloves and begin pulling from the base of the plant, ensuring you remove as much of the root system as possible. For larger juniper plants, you may need to use a shovel or handheld tools to loosen the roots before pulling them out.
3. Natural Removal Techniques:
Natural removal techniques involve methods that do not rely on chemicals or heavy machinery. One popular natural approach is smothering the juniper ground cover. This can be done by covering the area with a thick layer of mulch, such as cardboard or newspaper, and then adding a layer of organic mulch on top. This process starves the juniper of sunlight and eventually kills it. Another natural method is utilizing solarization, where you cover the area with clear plastic, allowing the sun’s heat to kill the juniper over time. Natural removal techniques are slower compared to chemical or mechanical methods but can be a more environmentally-friendly option.
It’s important to note that the effectiveness of these methods may vary depending on the health, age, and size of the juniper ground cover. Additionally, please follow safety guidelines and local regulations when using herbicides or chemicals for juniper removal.
Choose the method that best suits your needs and resources, and be prepared to invest time and effort into the removal process. Remember, patience and consistency are key to successfully removing juniper ground cover.
Chemical Removal Techniques
Chemical removal techniques can be an effective method for removing juniper ground cover, especially when dealing with larger areas or deeply rooted plants. However, it’s important to approach chemical removal with caution and follow safety guidelines to minimize environmental impact and ensure the health of other plants. Here are some steps to consider when using chemical removal techniques:
Read more: How To Get Rid Of Ground Cover Vines
1. Choose the Right Herbicide:
Select a herbicide specifically designed for woody plants, such as glyphosate-based products. Read and follow the instructions provided by the manufacturer to ensure proper application and safety precautions.
2. Timing and Weather Conditions:
Apply the herbicide during the appropriate time of year when the juniper is actively growing. This is typically in spring or early summer. Avoid treating during periods of heavy rain or windy conditions, as it may lead to the herbicide spreading to unintended areas, potentially harming desirable plants.
3. Prepare the Area:
Clear the area of any debris or vegetation that may interfere with the application of the herbicide. Protect nearby desirable plants by covering them with plastic or using a shield to prevent any accidental spray drift.
4. Application Technique:
Follow the directions on the herbicide label for the appropriate dilution ratio and application method. Depending on the product, you may need to spray the herbicide directly onto the foliage or apply it to freshly cut stems using a brush or sponge. Ensure thorough coverage of the juniper ground cover, focusing on the leaves and stems.
Read more: How To Get Rid Of Jasmine Ground Cover
5. Patience and Follow-Up:
Allow time for the herbicide to work. It may take several weeks for the juniper ground cover to show signs of decline. During this period, it’s important to monitor the area and prevent any regrowth. Follow up with additional applications if necessary.
6. Disposal:
Safely dispose of any juniper foliage that has been treated with the herbicide. Do not use it in compost or dispose of it in areas where it may contaminate water sources.
Remember to always read and follow the instructions and safety precautions provided by the herbicide manufacturer. It’s recommended to wear protective gloves, clothing, and eyewear when handling and applying any chemicals.
Chemical removal techniques can be an effective way to remove juniper ground cover, but it’s important to be mindful of the potential impact on the environment and other plants. Consider alternative methods if you are concerned about the use of chemicals or if the juniper ground cover is located near sensitive areas, such as water sources or edible gardens.
Mechanical Removal Techniques
Mechanical removal techniques involve physically pulling out or digging up the juniper ground cover. This method is often preferred for smaller areas or when you want to preserve the surrounding plants and soil. Here are some steps to effectively carry out mechanical removal of juniper ground cover:
1. Gather the Right Tools:
Before beginning the removal process, gather the necessary tools, such as gardening gloves, pruning shears, a hand trowel, a shovel, and a rake. These tools will help with cutting through the foliage, loosening the roots, and removing the juniper plants.
Read more: How To Get Rid Of Grass In Ground Cover
2. Prepare the Area:
Clear the area of any loose debris, such as fallen leaves or branches, to provide a clean workspace. This will make it easier to navigate through the juniper ground cover and ensure a more efficient removal process.
3. Start with Pruning:
Trim back any overgrown branches or dense foliage on the juniper plants using pruning shears. This will make it easier to access the base of the plant and prevent the juniper from becoming tangled during removal.
4. Loosen the Roots:
Use a hand trowel or a small shovel to loosen the soil around the base of the juniper plant. Gently dig around the root system to detach it from the soil, making it easier to pull out the plant later. Be careful not to damage any nearby plants or the root systems of desirable vegetation.
5. Pulling out the Plants:
Wearing gardening gloves, firmly grasp the base of the juniper plant and gently pull it out of the ground. Try to remove as much of the root system as possible to prevent regrowth. For larger or more established juniper plants, you may need to use a shovel to dig deeper and loosen the roots for easier removal.
Read more: How To Get Rid Of Baby Tears Ground Cover
6. Repeat the Process:
Continue the above steps, working your way through the juniper ground cover area. Take breaks when needed to rest and assess your progress. Be patient and thorough in removing each plant, ensuring you remove all visible roots.
7. Dispose of the Removed Plants:
Collect the removed juniper plants and dispose of them properly. This can be done by composting the plant material, arranging for green waste pickup, or using a rented chipper to turn the plant material into mulch.
Mechanical removal techniques require physical effort and can be time-consuming, especially if dealing with a large area of juniper ground cover. However, this method allows for more precision and control, minimizing potential damage to surrounding plants and soil.
Remember to wear protective gardening gloves to avoid any prickles or thorns while handling the juniper plants. Take breaks as needed and hydrate yourself during the removal process. With patience and perseverance, you can successfully remove the juniper ground cover and restore the desired aesthetic and functionality of your garden.
Natural Removal Techniques
Natural removal techniques offer an eco-friendly approach to removing juniper ground cover without relying on chemicals or heavy machinery. These methods may take longer to achieve desired results, but they can be effective and environmentally conscious. Here are some natural removal techniques to consider:
1. Smothering:
Smothering is a natural technique that deprives the juniper ground cover of sunlight, eventually killing it. Begin by clearing away any debris from the area and cutting back the juniper foliage as much as possible. Then, cover the ground cover with a thick layer of organic mulch, such as cardboard or newspaper. This creates a barrier that restricts light from reaching the juniper, causing it to weaken and die over time. Add a layer of organic mulch, like wood chips or straw, on top to further aid in smothering the juniper and improve the appearance of your garden.
2. Solarization:
Solarization involves using the sun’s heat to kill the juniper ground cover. Start by trimming back the juniper foliage and clearing the area of any debris. Next, wet the soil to provide moisture. Then, cover the area with clear plastic, ensuring it is tightly secured around the edges to trap the heat. The sun’s rays will create a greenhouse effect, raising the temperature under the plastic and effectively killing the juniper and any weed seeds present in the soil. Keep the plastic in place for several weeks to allow the heat to penetrate and eliminate the juniper. Afterward, remove the plastic and clear away any dead plant material.
3. Hand Digging:
If you have the time and energy, manually digging out the juniper ground cover is another natural removal technique. Start by cutting back the foliage as much as possible. Then, use a shovel or handheld tools to dig around the base of each juniper plant, loosening the soil and exposing the roots. Gradually work your way around the plant, gently lifting and removing it while minimizing damage to surrounding plants or vegetation. Ensure that you remove as much of the root system as possible to prevent regrowth. This method is ideal for smaller areas or when you want to preserve the existing soil structure.
4. Persistence and Maintenance:
Regardless of the natural removal technique you choose, it’s important to be patient and persistent. Natural removal methods often take longer to eradicate the juniper ground cover compared to chemical or mechanical removal. Monitor the area regularly, removing any new shoots or regrowth promptly. Maintain the area by controlling weeds and providing appropriate care for desired plants, ensuring they have the best opportunity to thrive and outcompete any remaining juniper growth.
These natural removal techniques require commitment, as they can take time and ongoing maintenance to achieve desired results. However, they are environmentally friendly and can help restore your garden without the use of chemicals or heavy machinery.
Choose the natural removal technique that aligns with your preferences and the size of the juniper ground cover area. Patience and persistence will lead to a successful natural removal process, allowing you to enjoy a healthy and vibrant garden environment.
Aftercare and Maintenance
After successfully removing juniper ground cover from your garden, it’s important to focus on aftercare and maintenance to ensure the long-term health and appearance of your landscape. Here are some key steps to consider:
Read more: How To Get Leaves Out Of Ground Cover
1. Clearing and Cleaning:
Once the juniper has been removed, clear away any remaining debris, dead plant material, or roots from the area. This will create a clean slate for your garden and prevent any potential regrowth or cluttered appearance.
2. Soil Conditioning:
Assess the condition of the soil after juniper removal. Juniper ground cover can sometimes alter soil pH levels, so it’s essential to test the soil and adjust it if necessary. Incorporate organic matter, such as compost or well-rotted manure, to improve soil structure and add valuable nutrients.
3. Weed Prevention and Control:
After removing the juniper, monitor the area regularly for any weed growth. Establish a weed control routine by pulling out any emerging weeds and applying a layer of organic mulch to smother any new weed seeds. Regularly inspect the area and address weeds promptly to prevent them from establishing and competing with desired plants.
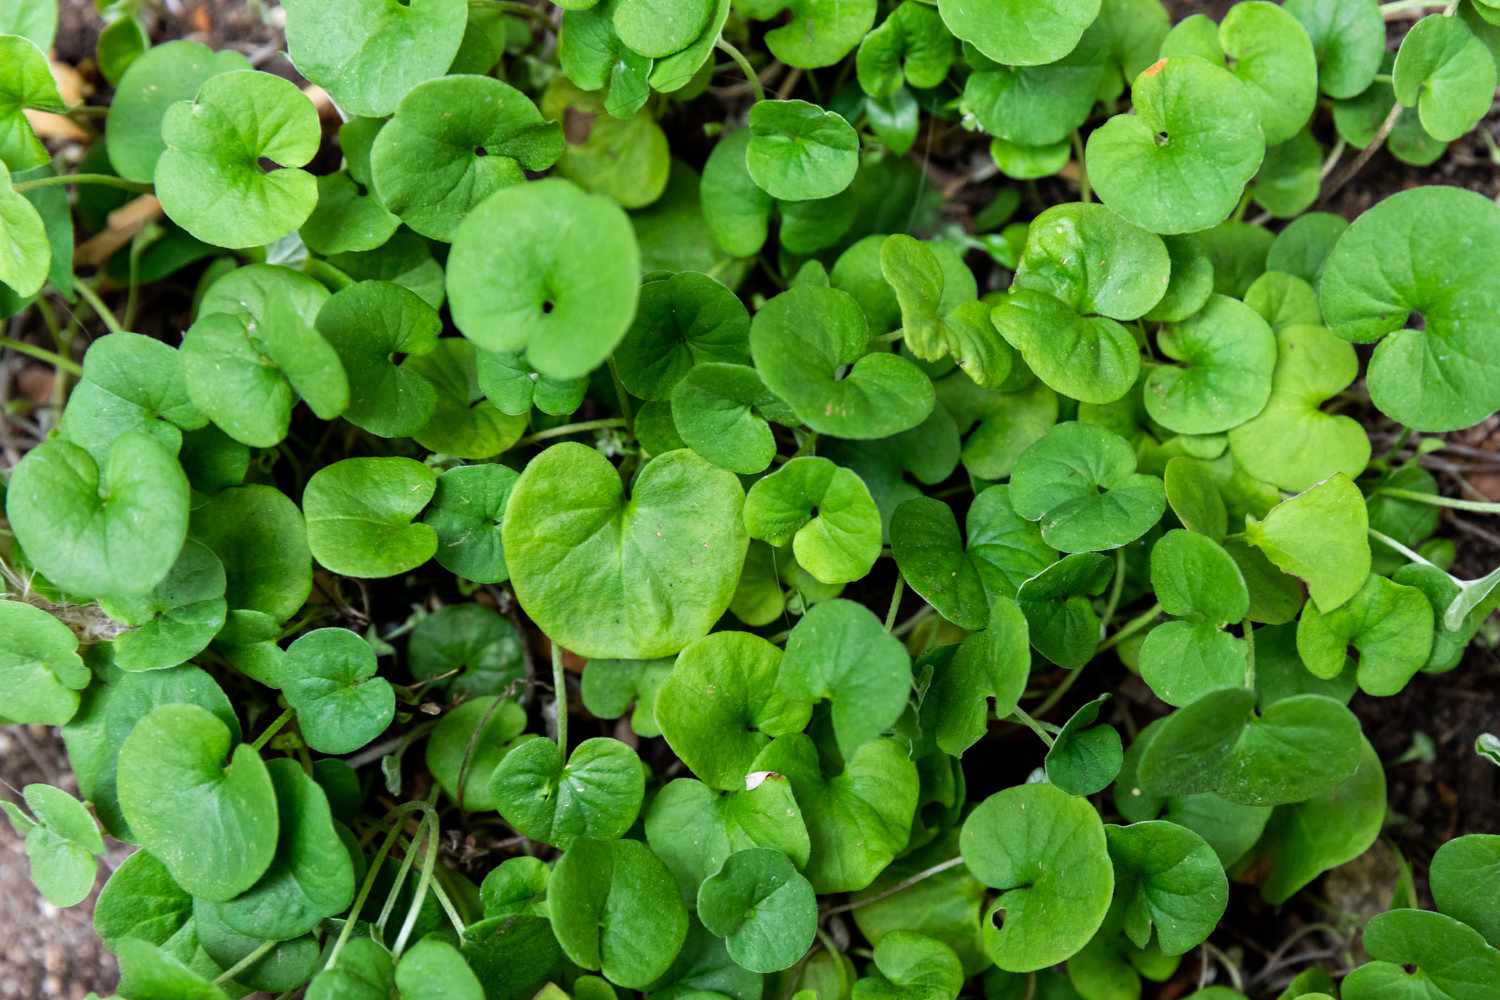
4. Planting New Ground Cover:
If you intend to replace the juniper ground cover with a new plant, carefully plan and select a suitable ground cover option that aligns with your garden vision and site conditions. Consider factors such as sun exposure, soil moisture, and growth habit. Properly prepare the soil and follow the recommended planting guidelines to ensure the success of your chosen ground cover.
5. Regular Watering and Fertilization:
Establish a watering and fertilization routine based on the needs of your new ground cover plants. Regularly monitor soil moisture levels, especially during the establishment phase, and provide supplemental watering as needed. Apply a balanced organic fertilizer according to the recommended application rates to promote healthy growth and ensure optimal plant health.
6. Pruning and Trimming:
Maintain your new ground cover by regularly pruning and trimming as needed. This will help control the growth, shape, and overall appearance of the plants while preventing them from becoming overgrown or invasive. Prune away any dead or diseased foliage to maintain plant health and aesthetics.
7. Ongoing Maintenance:
Continue to monitor the area for potential regrowth of any remaining juniper roots or seeds. Address any new juniper growth promptly to prevent re-establishment. Stay vigilant in managing weeds, pests, and diseases to maintain a healthy and thriving garden. Regularly assess the condition of the ground cover and make any necessary adjustments or improvements to ensure the long-term success of your garden.
By implementing these aftercare and maintenance practices, you can ensure the successful transition from juniper ground cover to a healthy and visually appealing garden. Regular monitoring, proper soil conditioning, and ongoing care will contribute to the long-term sustainability and enjoyment of your revamped landscape.
Conclusion
Congratulations on completing this comprehensive guide on how to get rid of juniper ground cover. By understanding the nature of juniper ground cover, assessing the need for removal, and preparing adequately, you are now equipped with the knowledge and tools to begin the removal process.
We explored various techniques for removing juniper ground cover, including chemical, mechanical, and natural methods. Chemical removal techniques may be suitable for larger areas or deeply rooted juniper, but it’s important to handle herbicides with care and follow safety guidelines. Mechanical removal techniques offer a more hands-on approach, ideal for smaller areas and when you want to preserve the surrounding plants and soil. Lastly, natural removal techniques, such as smothering or solarization, provide an eco-friendly option, albeit with a longer timeframe for results.
Remember to prioritize aftercare and maintenance once the juniper ground cover has been removed. Clear the area, condition the soil, prevent weed growth, and establish a regular maintenance routine. If you choose to replace the juniper with a new ground cover plant, carefully select an appropriate option and provide it with the necessary care and maintenance for healthy growth.
As you embark on your juniper ground cover removal journey, be patient, persistent, and remain conscious of the environment. Gardening is a constant learning process, and each garden is unique. Adapt your approach as needed, and don’t hesitate to seek advice from local garden centers or horticultural experts.
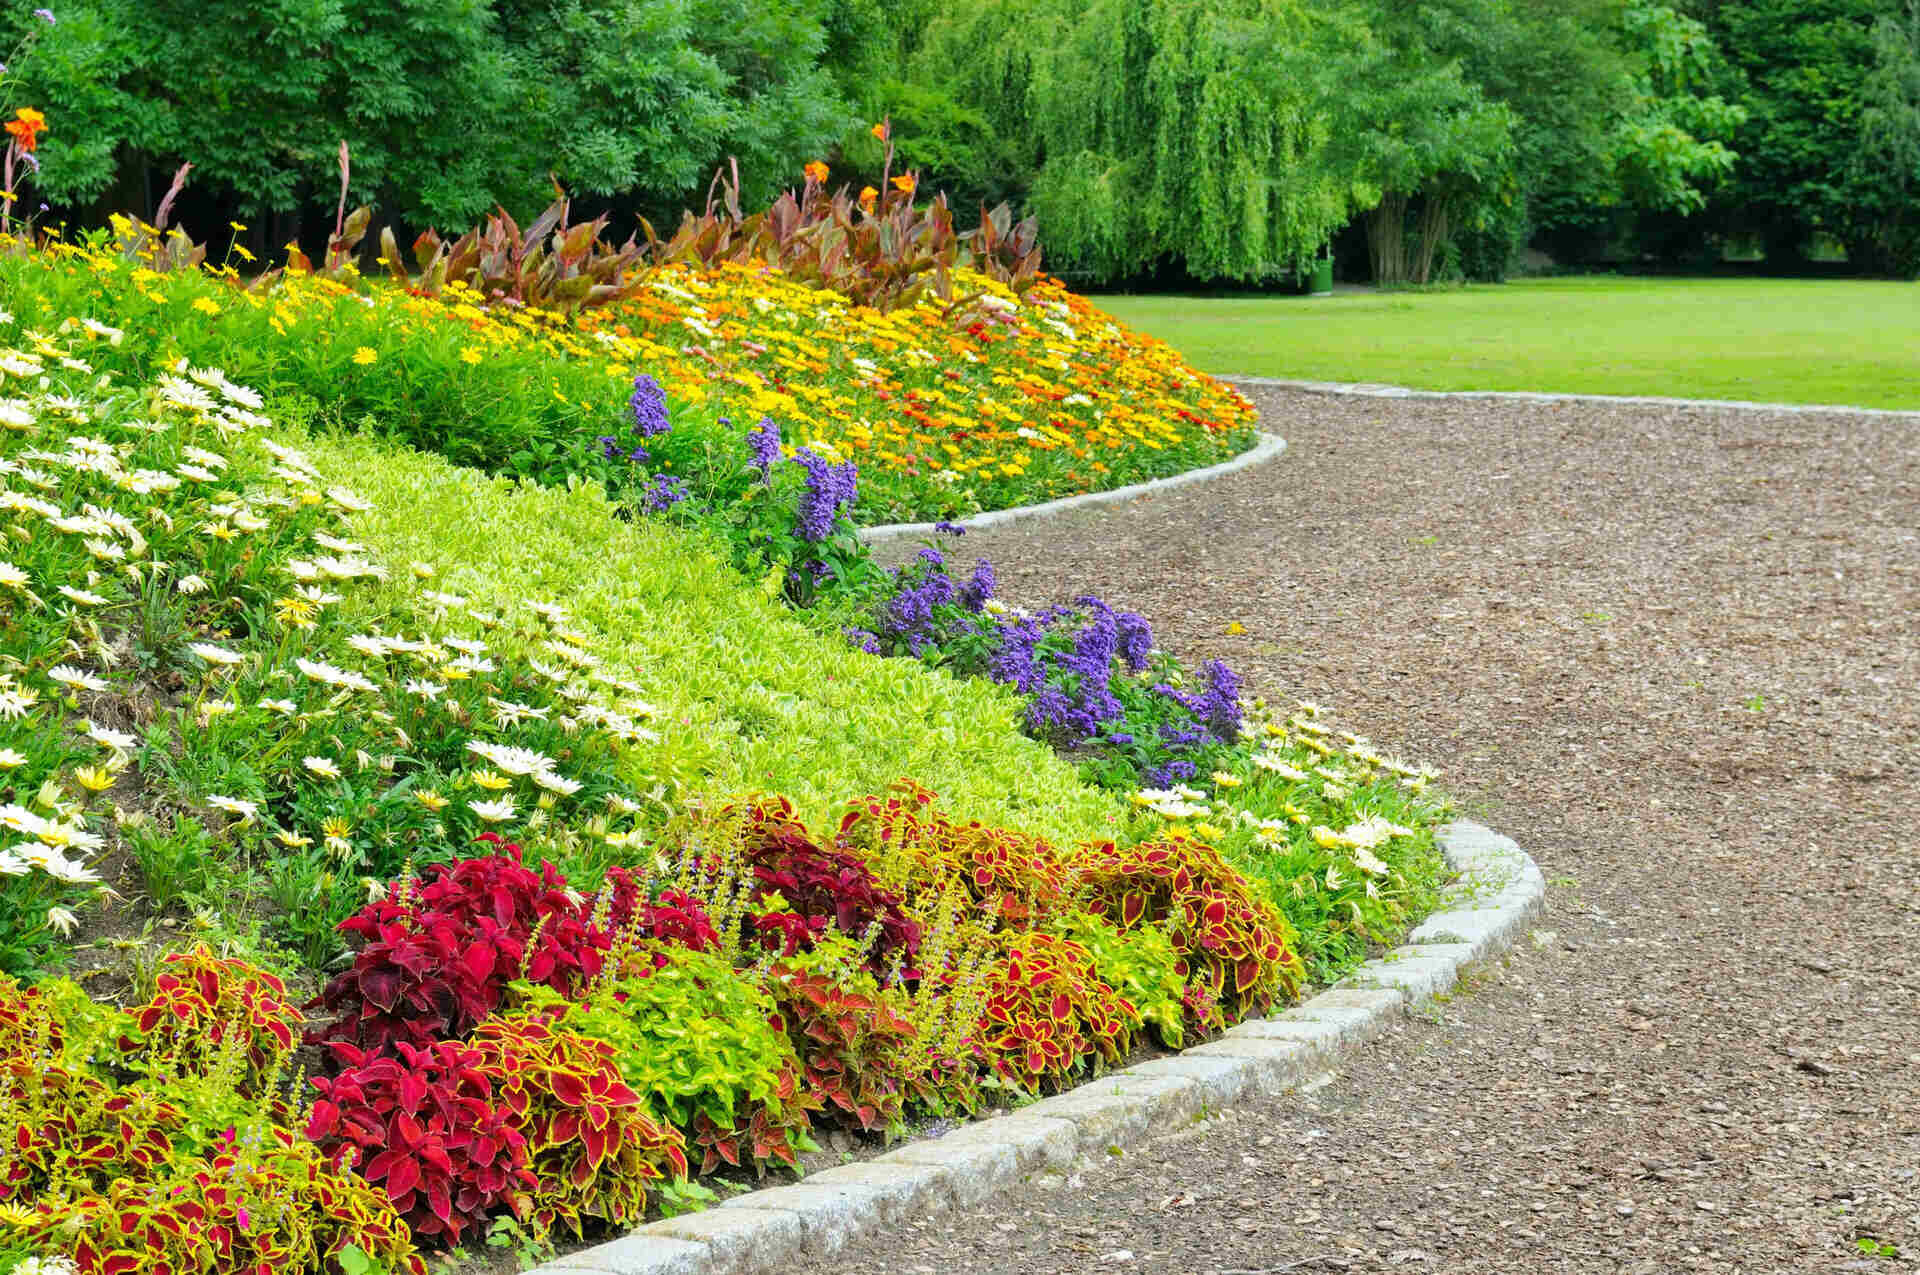
By removing juniper ground cover, you have the opportunity to transform your garden space, restore its health and balance, and create a visually appealing landscape that suits your preferences. Enjoy the process, embrace the creativity of gardening, and relish the satisfaction of seeing your garden thrive.
Remember, with determination, knowledge, and a little bit of elbow grease, you can successfully bid farewell to juniper ground cover and welcome a new chapter in your garden’s story. Happy gardening!
Now that you've tackled removing juniper ground cover, why not reshape your garden's boundaries with stylish barriers? Our next feature offers creative and practical solutions for any outdoor area. From simple picket fences to elaborate designs, you'll find plenty of inspiration to redefine your garden space effectively. Dive into our collection of garden fence ideas that blend aesthetics with functionality, perfect for any landscaping enthusiast looking to enhance their outdoor retreat.
Frequently Asked Questions about How To Get Rid Of Juniper Ground Cover
Was this page helpful?
At Storables.com, we guarantee accurate and reliable information. Our content, validated by Expert Board Contributors, is crafted following stringent Editorial Policies. We're committed to providing you with well-researched, expert-backed insights for all your informational needs.


0 thoughts on “How To Get Rid Of Juniper Ground Cover”