Home>Garden Essentials>How To Grow Herbs From Seeds In Pots
Garden Essentials
How To Grow Herbs From Seeds In Pots
Modified: March 16, 2024
Learn how to grow a beautiful herb garden in pots from seeds. Discover essential tips and techniques for successful gardening.
(Many of the links in this article redirect to a specific reviewed product. Your purchase of these products through affiliate links helps to generate commission for Storables.com, at no extra cost. Learn more)
Introduction
Welcome to the world of gardening! Growing herbs from seeds in pots is a rewarding and satisfying experience for any garden enthusiast. Whether you have a spacious backyard or a tiny balcony, cultivating herbs in pots allows you to bring the beauty and flavor of fresh herbs right to your doorstep.
Not only are homegrown herbs a delight for the senses, but they also offer a plethora of health benefits. From enhancing the flavors of your culinary creations to providing natural remedies for various ailments, having a thriving herb garden can truly enhance your lifestyle.
Before diving into the process of growing herbs from seeds in pots, it’s essential to understand a few key factors. The choice of seeds, pots, soil preparation, watering, sunlight requirements, and taking care of the seedlings all contribute to the success of your herb garden. By paying attention to these crucial aspects, you can set yourself up for a thriving garden filled with aromatic and flavorful herbs.
Key Takeaways:
- Growing herbs from seeds in pots is a fun and rewarding way to bring fresh flavors and aromas to your home. With the right seeds, pots, and care, you can enjoy a bountiful herb garden right at your doorstep.
- By choosing the perfect seeds, pots, and providing proper care, you can grow your own herbs for cooking and natural remedies. Enjoy the satisfaction of nurturing and harvesting your very own homegrown herbs!
Read more: How Long To Grow Herbs From Seed
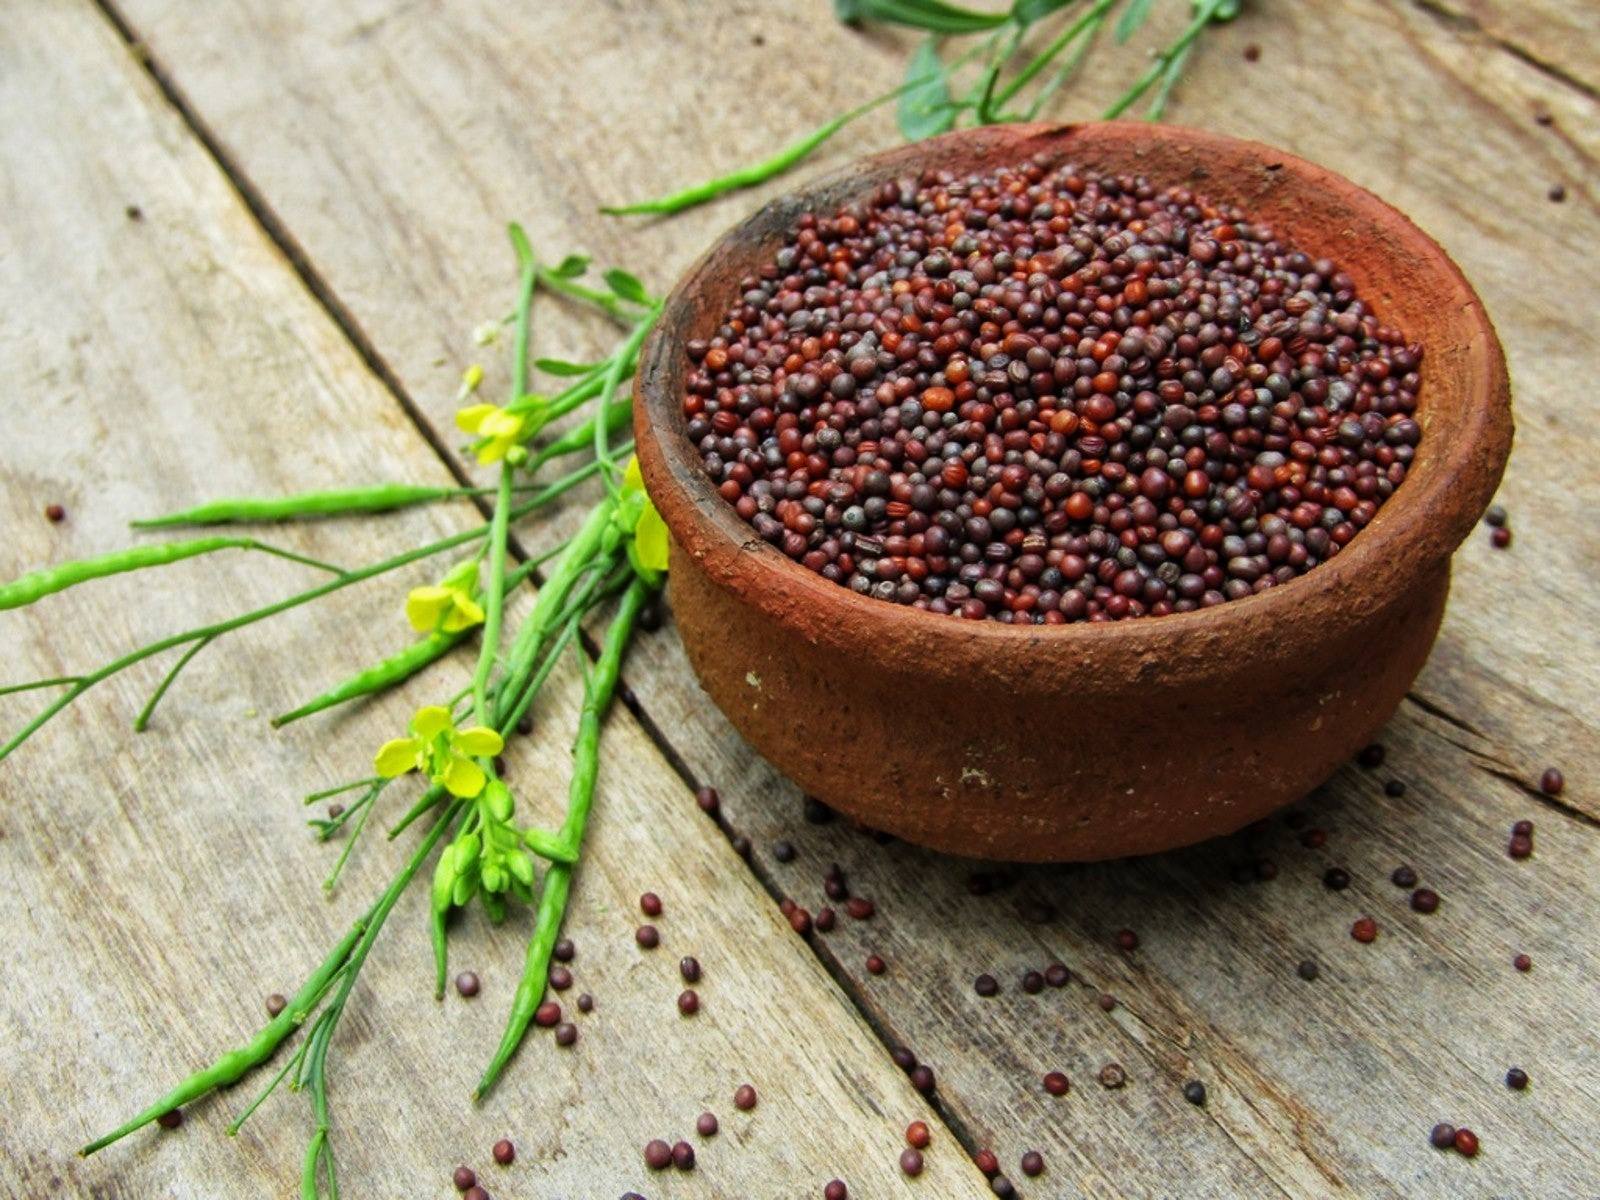
Choosing the Right Seeds
When it comes to growing herbs from seeds, selecting the right seeds is the first step towards a successful herb garden. The vast variety of herbs available can be overwhelming, but by considering a few key factors, you can narrow down your options and choose the perfect seeds for your desired herbs.
Firstly, consider the climate in which you live. Some herbs thrive in warm climates, while others prefer cooler temperatures. Take into account the average temperature and the amount of sunlight your growing space receives throughout the day. This will help you choose herbs that are well-suited to your specific climate conditions.
Next, think about the purpose of your herb garden. Are you looking to grow culinary herbs for enhancing your dishes, or do you prefer medicinal herbs with therapeutic properties? Different herbs have varying levels of flavor and medicinal qualities, so it’s vital to choose seeds that align with your preferences and intentions.
Consider the space you have available for your herb garden. If you have limited space, opt for compact herbs or herbs that can be grown vertically. This ensures that you make the most of your available space and maximize your herb production.
Additionally, pay attention to the growth habits of different herbs. Some herbs, like mint and lemon balm, are known for their spreading nature and can take over a garden if not properly contained. If you prefer a more controlled and manageable garden, choose herbs that have a clumping growth habit.
Lastly, don’t forget about personal taste preferences. Think about the flavors and aromas that you enjoy the most. Whether it’s the earthy notes of basil or the citrusy scent of lemongrass, selecting herbs that align with your taste preferences will make your gardening experience all the more enjoyable.
Once you’ve considered these factors, you can start exploring catalogs or visiting local nurseries to find the perfect seeds for your herb garden. Remember to choose quality seeds from reputable sources to ensure reliable germination and healthy plant growth.
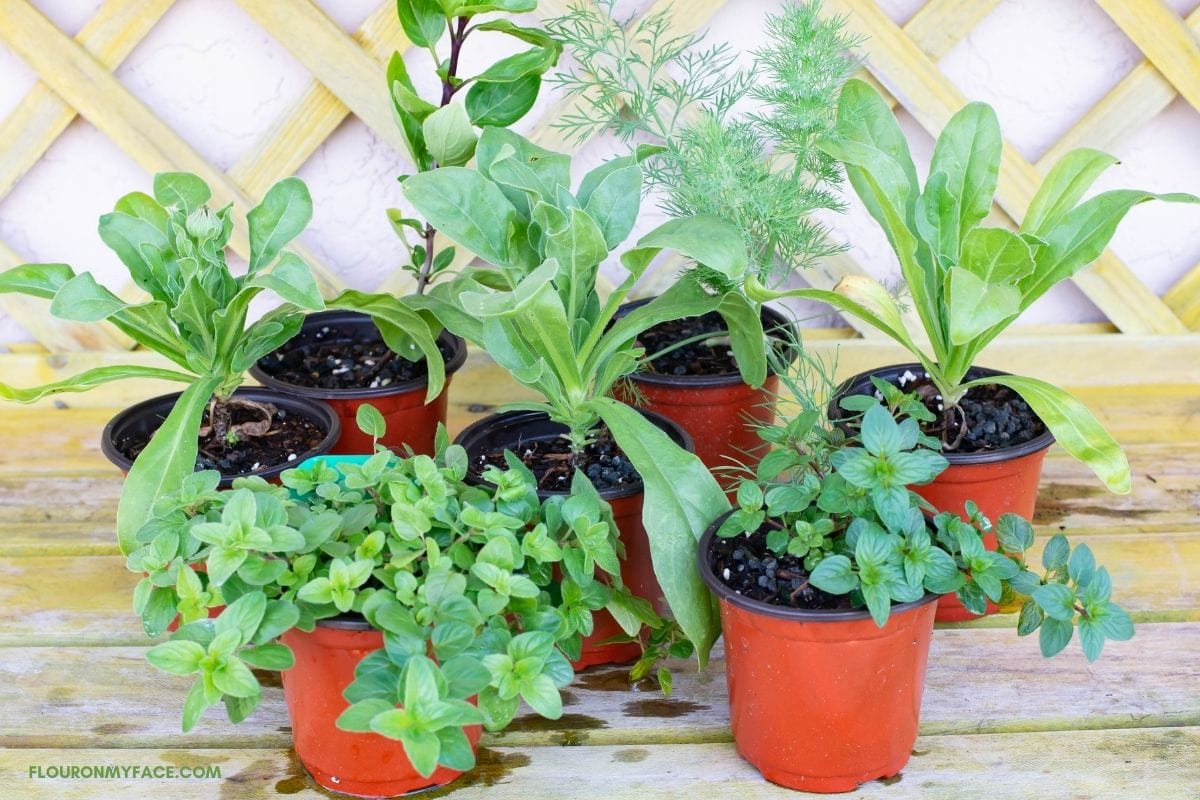
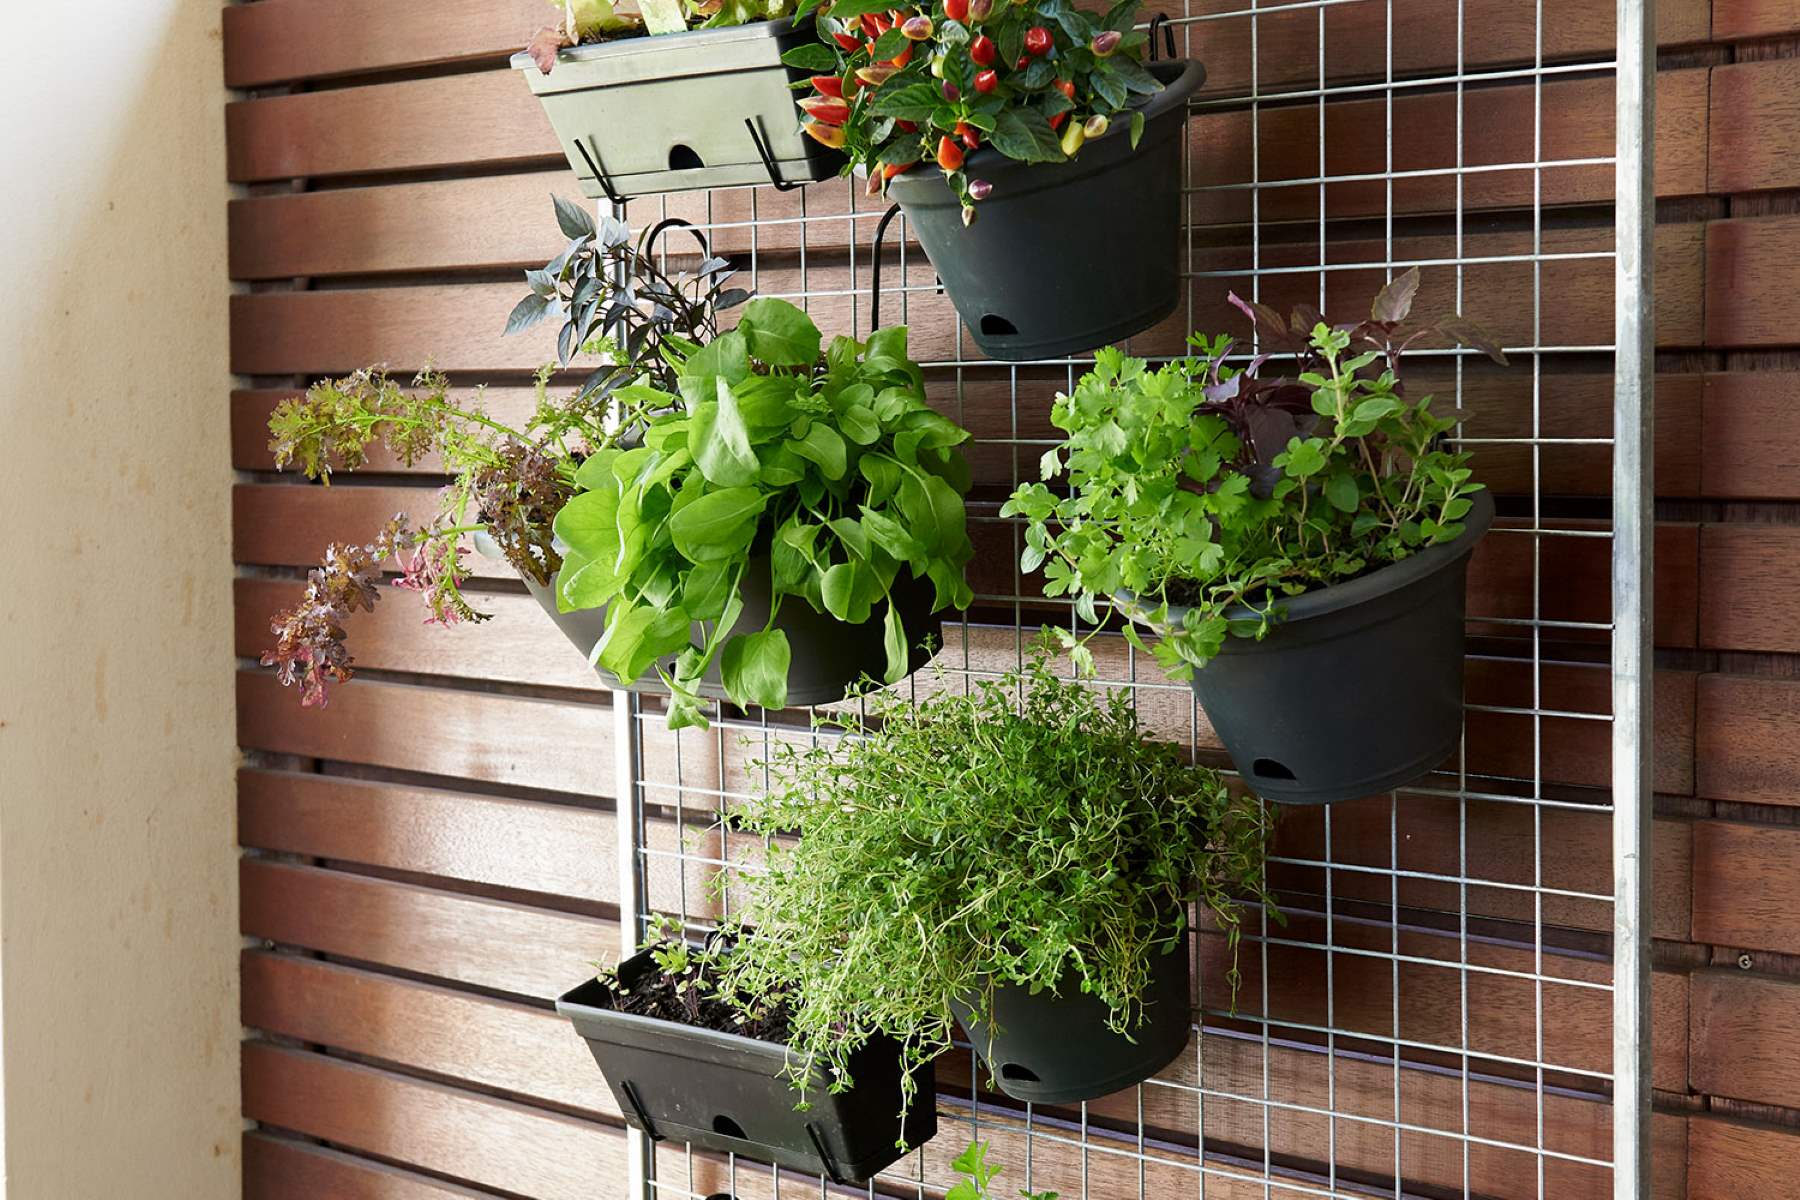
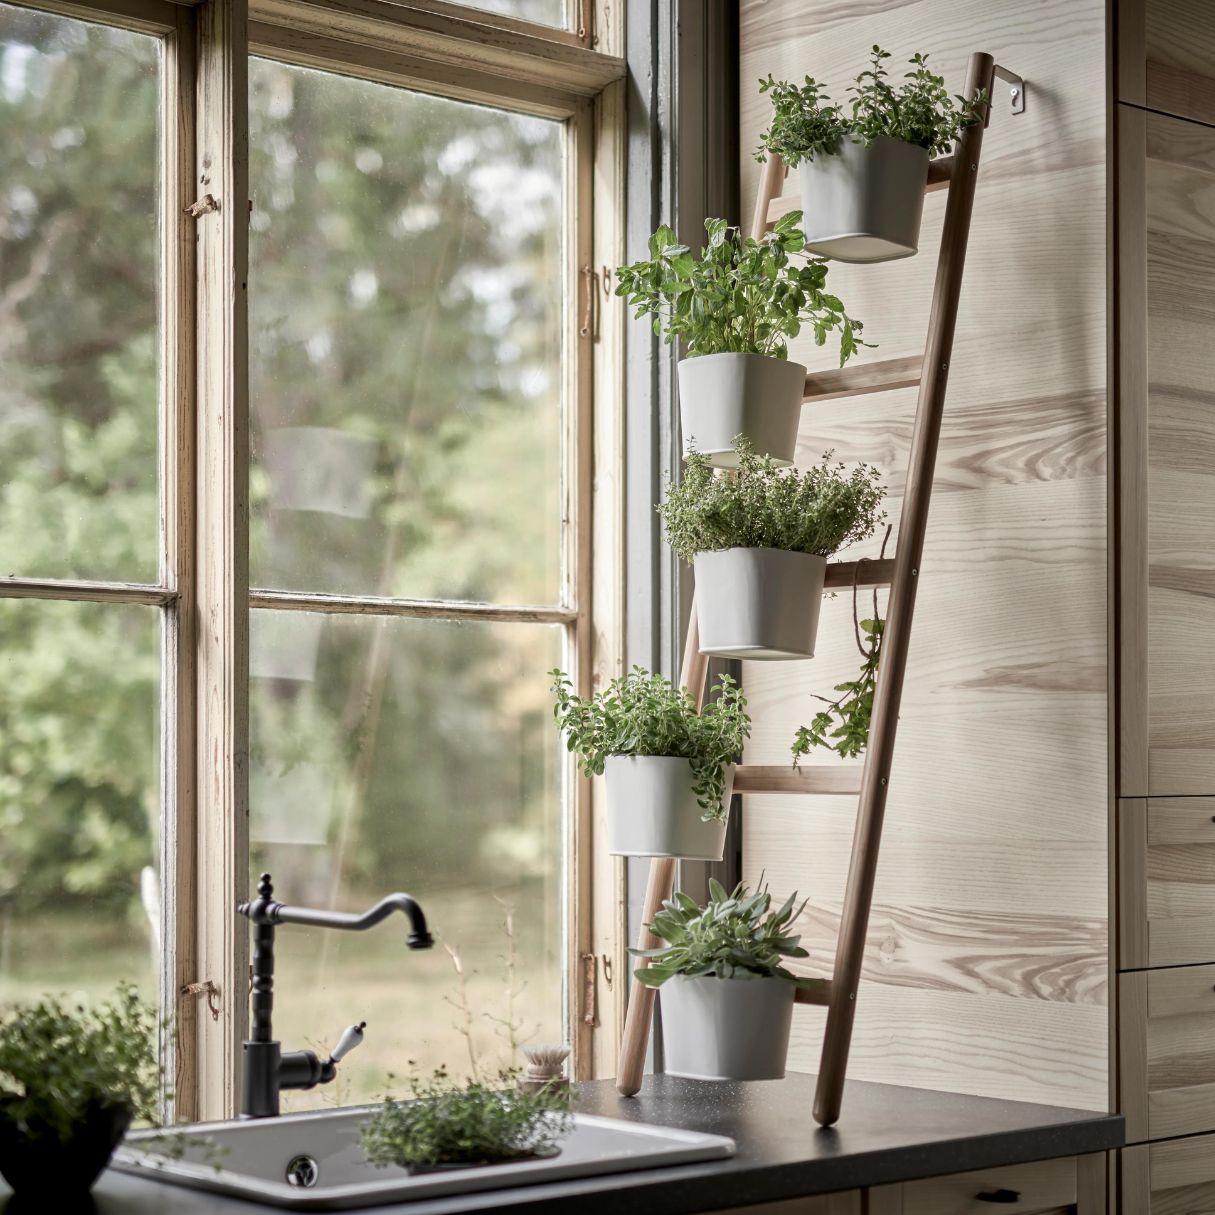
Selecting the Right Pots
In order to grow herbs successfully from seeds, choosing the right pots is crucial. The pots you select should provide the ideal growing environment for your herbs, allowing for proper drainage, airflow, and ample space for root development.
First and foremost, consider the material of the pot. There are various options available, including clay, plastic, and terracotta. Each material has its own advantages and considerations. Clay pots are porous, allowing for better airflow and drainage but can dry out quickly. Plastic pots, on the other hand, retain moisture for longer periods but can restrict airflow. Terracotta pots strike a balance between the two, providing adequate drainage while retaining some moisture.
When it comes to size, ensure that the pots are spacious enough to accommodate the root system of the herbs. Most herbs require a depth of at least 6-8 inches for healthy growth, so choose pots that provide ample room for root development. Additionally, consider the width of the pots to allow the herbs to spread and grow freely.
Another important factor to consider is drainage. The pots should have drainage holes at the bottom to prevent waterlogging and allow excess water to escape. This ensures that the herbs’ roots do not sit in stagnant water, which can lead to root rot and other issues. If using pots without drainage holes, consider adding a layer of gravel or clay pebbles at the bottom to improve drainage.
Consider the aesthetics of the pots as well. Herb gardens can be both functional and visually appealing, so choose pots that complement your personal taste and the overall style of your garden. You can opt for colorful pots, decorative containers, or even repurpose old containers for a unique touch.
Lastly, consider the portability of the pots. If you plan to move your herbs indoors during colder months or need the flexibility to rearrange your garden, lightweight pots or pots with built-in casters can make the task much easier.
Once you have chosen the right pots, ensure that you clean them thoroughly before planting the seeds. Rinse the pots with a mild soap solution, scrub off any debris, and rinse again with clean water to remove any residue. This will help prevent the growth of harmful bacteria or fungi that can affect your herbs’ health.
By selecting the right pots for your herb garden, you provide a stable and nurturing environment for your plants’ growth. With proper care and maintenance, your herbs will thrive and provide you with an abundant harvest of fresh flavors and aromas.
Preparing the Soil
Preparing the soil is a crucial step in growing herbs from seeds in pots. The quality of the soil directly impacts the growth, health, and productivity of your herbs. Here are some essential tips to ensure you have the perfect soil for your herb garden:
Start by choosing the right potting mix or soil. Avoid using garden soil directly in pots, as it can be too dense and lack proper drainage. Look for a high-quality potting mix that is specifically formulated for container gardening. These mixes are well-draining and provide the necessary nutrients for healthy herb growth.
Alternatively, you can create your own potting mix by combining equal parts of peat moss, perlite, and compost. This mixture provides excellent drainage while retaining enough moisture for your herbs’ roots.
Before filling your pots with soil, it’s a good idea to place a layer of small stones or broken pottery at the bottom. This acts as a drainage layer, preventing the soil from becoming waterlogged and promoting healthy root growth.
Fill the pot with the potting mix, leaving a 1-2 inch gap from the rim of the pot to allow space for watering without overflowing. Gently tamp down the soil to remove any air pockets and ensure even distribution.
If you’re using a large pot, consider adding slow-release organic fertilizer to the soil during planting. This will provide a steady supply of nutrients to your herbs throughout their growing cycle.
Before planting the herb seeds, it’s a good idea to moisten the soil with water. This ensures that the seeds will have sufficient moisture to germinate properly. However, be careful not to overwater, as overly damp soil can lead to fungal diseases.
Once the soil is prepared, you’re ready to move on to planting the herb seeds. Remember to check the specific planting instructions for each herb variety you’re growing, as different herbs have different seed depth and spacing requirements.
By taking the time to prepare the soil properly, you provide your herbs with a nutrient-rich, well-draining environment that will support their growth and development. Healthy soil sets the foundation for a thriving herb garden, ensuring abundant harvests of flavorful and aromatic herbs.
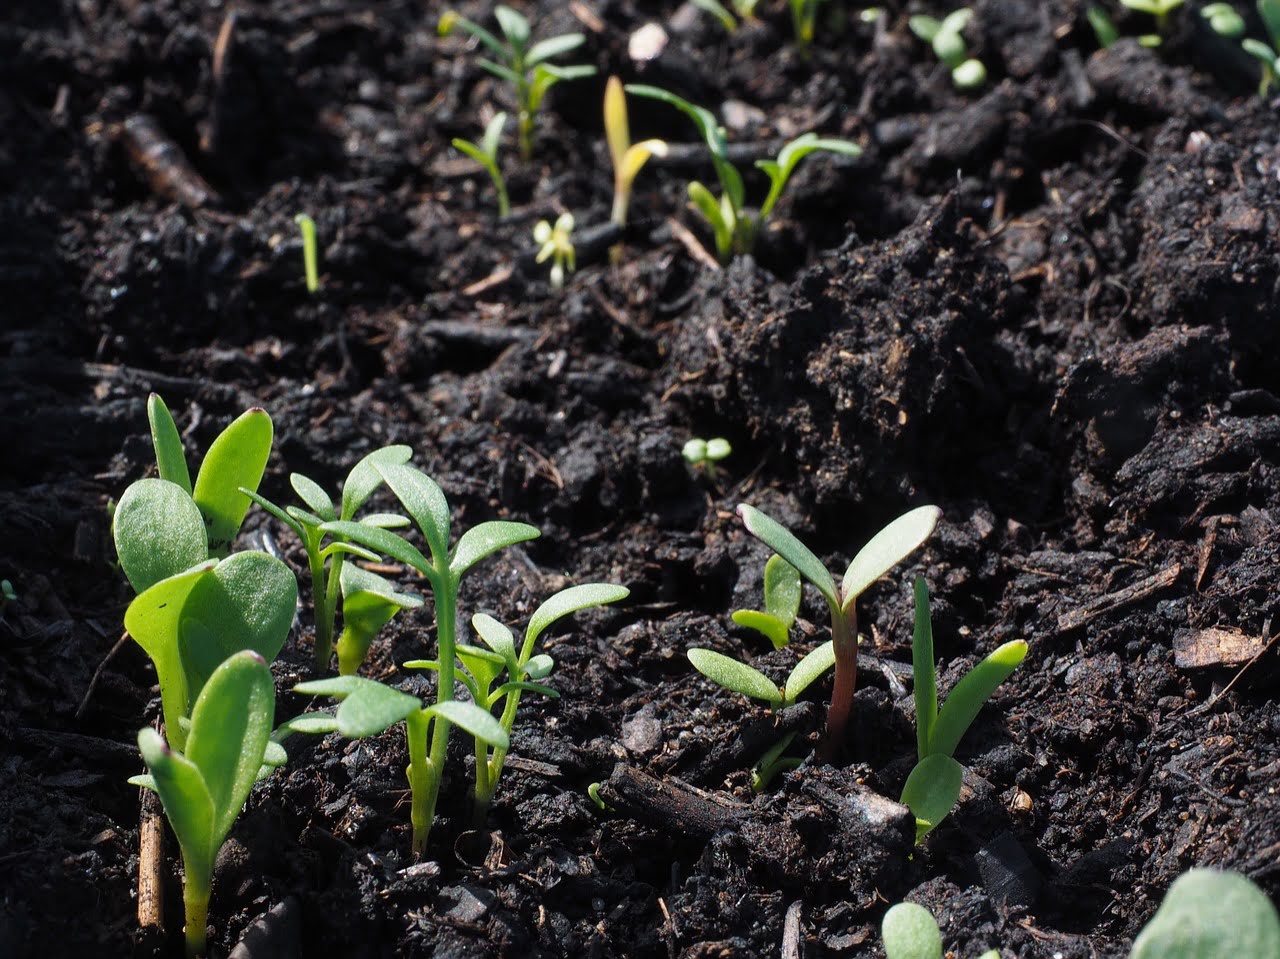
Planting the Seeds
Now that you have prepared the soil, it’s time to plant your herb seeds! Properly planting the seeds is essential for ensuring successful germination and healthy growth. Here are some steps to follow when planting your herb seeds:
First, refer to the seed packet or the instructions provided by the seed supplier for specific planting details. Different herbs may have different requirements in terms of seed depth and spacing.
Start by creating furrows or small indentations in the soil with your finger or a small gardening tool. The depth of the furrows should be equal to or slightly deeper than the recommended seed depth.
Gently place the herb seeds into the furrows, spacing them according to the guidelines provided. Aim to place the seeds evenly and avoid overcrowding, as this can hinder proper growth and lead to competition for resources.
Cover the seeds with a thin layer of soil, ensuring they are adequately covered but not buried too deeply. Lightly press down on the soil to ensure good seed-to-soil contact.
Water the newly planted seeds gently, using a watering can or a fine mist setting on a hose nozzle. Be careful not to wash away the seeds or create puddles of water on the soil surface. The goal is to provide sufficient moisture to kickstart the germination process.
Place the pots in a warm and well-lit area. Most herbs require temperatures around 60-70°F (15-21°C) for optimal germination. Ensure they receive at least 6-8 hours of sunlight per day or use a grow light if natural light is limited.
Keep the soil consistently moist, but avoid overwatering as it can lead to damping-off disease. Check the moisture levels regularly and water as needed, ensuring the soil never becomes too dry or too wet.
Be patient and allow time for the seeds to germinate. Depending on the herb variety, germination can take anywhere from a few days to a couple of weeks.
As the seedlings emerge, provide adequate ventilation to prevent issues such as damping-off or fungal diseases. You can gently remove any covering or plastic wrap used to maintain humidity during germination.
Once the seedlings have developed a few sets of true leaves, you can begin thinning them if they are too crowded. Remove the weaker seedlings, leaving only the healthiest and strongest ones to grow.
With proper planting techniques and careful attention to their needs, you will soon see your herb garden come to life with vibrant seedlings ready to grow into mature, flavorful plants.
When growing herbs from seeds in pots, make sure to use well-draining soil and keep the pots in a sunny location. Water the seeds regularly, but be careful not to overwater as this can cause the seeds to rot.
Read more: How To Grow Herbs From Seeds Indoors
Watering and Sunlight Requirements
Proper watering and sunlight are vital factors in the growth and overall health of your herb garden. By understanding the watering and sunlight requirements of your herbs, you can ensure they receive the optimal conditions for thriving. Here’s what you need to know:
Watering:
Herbs generally prefer soil that is consistently moist but not waterlogged. Overwatering can lead to root rot and other issues, while underwatering can cause the plants to become stressed and wilted. Here are some guidelines to keep in mind:
- Check the moisture level of the soil regularly by inserting your finger into the soil up to your first knuckle. If it feels dry at that depth, it’s time to water.
- Water the plants at the base, aiming for the soil rather than the leaves. This helps prevent fungal diseases and allows the roots to absorb water efficiently.
- Avoid overhead watering, as it can lead to moisture-related issues and increase the risk of diseases.
- Ensure that the water penetrates the soil deeply, encouraging the herbs’ roots to grow deeper.
- Use a watering can or a gentle spray nozzle to control the water flow and avoid disturbing the soil or the delicate seedlings.
Remember, different herbs have varying water requirements, so it’s important to research the specific needs of each herb you are growing.
Sunlight:
Most herbs thrive in sunny conditions and require at least 6-8 hours of direct sunlight per day. Here’s how to ensure your herbs receive the right amount of sunlight:
- Place your pots in an area that receives ample sunlight. A south-facing location is generally ideal for maximum sun exposure.
- If you have limited access to natural sunlight, consider using a grow light to supplement the light requirements of your herbs. Position the light at an appropriate distance from the plants to mimic natural sunlight.
- Observe your herbs daily and look for signs of inadequate sunlight. Leggy, elongated stems or pale, yellowish leaves could indicate that the plants are not receiving enough light.
- Rotate your pots occasionally to ensure that all sides of the plants receive equal sunlight and prevent lopsided growth.
It’s important to strike a balance between providing enough water and sunlight to your herbs. By closely monitoring their needs and adjusting your watering and sunlight practices accordingly, you can create the ideal environment for your herbs to flourish.
Taking Care of the Seedlings
Once your herb seeds have germinated and sprouted into seedlings, they require proper care to ensure they grow healthy and strong. Here are some essential tips for nurturing and taking care of your herb seedlings:
Provide Adequate Air Circulation:
Good air circulation is crucial for preventing issues like damping-off disease and promoting sturdy growth. Avoid overcrowding the pots and ensure there is enough space between seedlings for air to circulate freely. If you notice any signs of excessive humidity or mold growth, increase ventilation by placing a small fan nearby or gently stirring the air around the seedlings using a handheld fan.
Thin the Seedlings:
As the seedlings grow, they may become overcrowded in the pots. If this happens, it is important to thin them out to give the remaining seedlings enough space to grow. Carefully remove the weaker, smaller seedlings, leaving only the strongest and healthiest ones in each pot.
Fertilize Regularly:
Young seedlings have limited nutrient reserves in the soil, so it’s important to provide them with regular fertilization. Start feeding your herb seedlings with a diluted liquid fertilizer or a slow-release organic fertilizer about two weeks after they have sprouted. Follow the package instructions for the appropriate dosage and frequency of fertilization, as over-fertilization can harm the plants.
Monitor Moisture Levels:
Seedlings have delicate roots and can drown or suffer from root rot if the soil becomes overly saturated. On the other hand, underwatering can cause the seedlings to become stressed and wilted. Regularly check the moisture level of the soil by inserting your finger into the soil up to your first knuckle. If it feels dry, it’s time to water, but if it feels moist, hold off on watering until the top inch of the soil dries out.
Protect from Pests:
Keep a close eye on your herb seedlings for any signs of pests like aphids, caterpillars, or spider mites. If you notice any pests, take immediate action to mitigate the issue. Use organic pest control methods such as neem oil, insecticidal soap, or introducing beneficial insects like ladybugs to keep the pests at bay.
Harden Off Before Transplanting:
If you plan to transplant your herb seedlings from pots to an outdoor garden or a larger container, it’s important to harden off the seedlings first. Hardenening off is the process of gradually acclimating the seedlings to outdoor conditions by exposing them to increasing amounts of sunlight, wind, and temperature fluctuations over a one to two-week period. This prepares them for the harsher conditions they will face when permanently placed outside.
By taking proper care of your herb seedlings, you give them the best chance to flourish and grow into robust, productive plants. With attention to detail and consistent care, you’ll soon be able to enjoy a bountiful harvest of flavorful homegrown herbs.
Transplanting the Seedlings
As your herb seedlings continue to grow and mature, there will come a time when they outgrow their pots and need to be transplanted into larger containers or the garden. Transplanting is a critical process that requires proper care to ensure the health and successful establishment of the seedlings. Here are the steps to follow when transplanting your herb seedlings:
Choose the Right Time:
Aim to transplant your herb seedlings when they have developed a robust root system and have at least 3-4 sets of true leaves. This typically occurs 4-6 weeks from planting the seeds, but it can vary depending on the herb variety and growing conditions.
Prepare the New Containers or Garden Bed:
If you are transplanting into larger containers, choose pots that are at least 10-12 inches in diameter to provide ample space for root growth. Ensure that the pots have proper drainage holes and are clean and sanitized before use. If you plan to transplant into a garden bed, prepare the soil by loosening it and removing any weeds or debris.
Water the Seedlings:
Water the seedlings thoroughly a day or two before transplanting. Moist soil helps the roots stay intact during the transplant process and reduces the stress on the plants.
Gently Remove the Seedlings:
To remove the seedlings from their current pots, hold the seedling by its leaves, not the stems. Gently loosen the soil around the plant’s root zone and carefully lift it out, taking care not to damage the delicate roots.
Plant at the Proper Depth:
When transplanting, dig a hole in the new container or garden bed that is slightly larger than the root ball of the seedling. Place the seedling into the hole, ensuring that the top of the root ball is level with the soil surface. Lightly firm the soil around the seedling to secure it in place.
Water Thoroughly:
After transplanting, water the seedlings deeply to help settle the soil and eliminate air pockets around the roots. This will promote good root-to-soil contact and encourage the seedlings to establish themselves in their new environment.
Provide Care and Protection:
Place the transplanted seedlings in a location that receives the appropriate amount of sunlight and provides protection from strong winds or extreme weather conditions. Monitor the moisture levels regularly and water as needed to keep the soil consistently moist, but not waterlogged.
Monitor and Mulch:
Keep a close eye on the transplanted seedlings in the following weeks and provide ongoing care as needed. Consider applying a layer of organic mulch around the seedlings to help retain moisture, regulate soil temperature, and suppress weed growth.
By following these guidelines, you can ensure a successful transplanting process for your herb seedlings. With proper care and attention, they will continue to thrive and provide you with a bountiful supply of fresh and flavorful herbs.
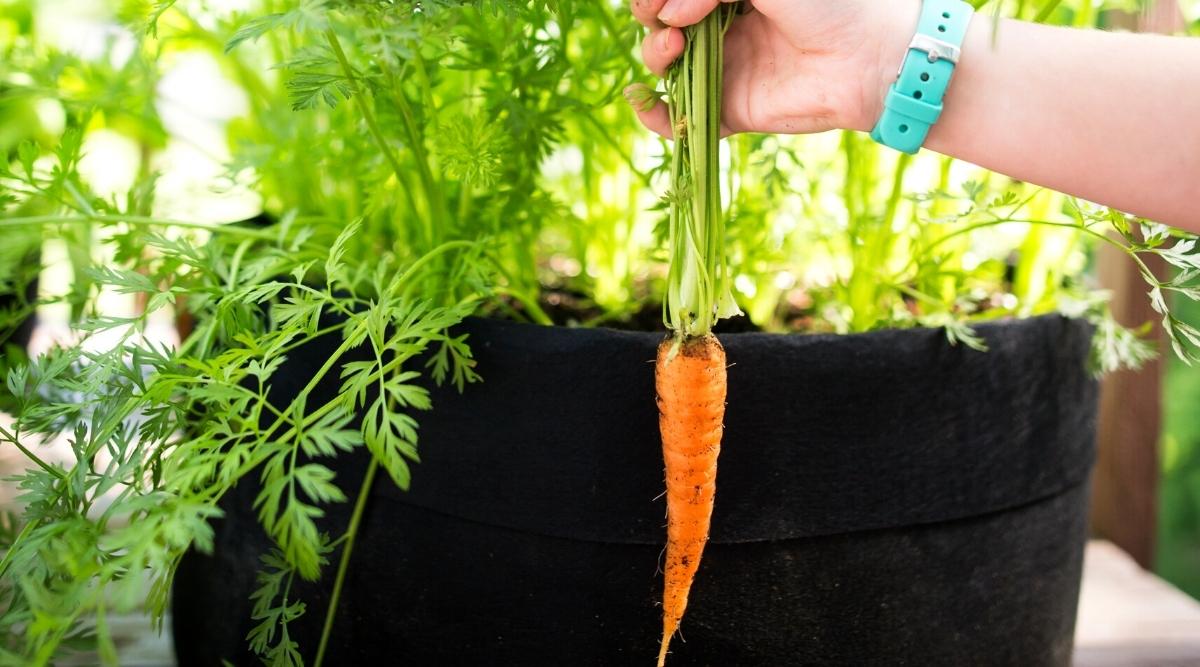
Harvesting and Using Your Homegrown Herbs
One of the most rewarding aspects of growing herbs from seeds in pots is being able to harvest and use your homegrown herbs in your culinary creations, teas, and natural remedies. Here’s how to harvest and make the most of your bountiful herb garden:
Harvest at the Right Time:
Herbs are at their peak flavor and aroma when harvested just before they flower. The essential oils responsible for their distinct tastes and scents are most concentrated during this stage. Regularly inspect your herbs for signs of maturity, such as strong fragrance, healthy leaf growth, and vibrant colors.
Harvesting Methods:
When harvesting your herbs, there are a few different methods you can use:
- Pinch and Trim: For herbs like basil, mint, and cilantro, simply pinch or trim off the leaves as needed, starting from the top. This encourages the plants to bush out and continue producing fresh leaves.
- Cut and Bundle: For herbs with woody stems such as rosemary, thyme, and sage, use sharp garden shears or scissors to cut the stems just above a leaf node or joint. Bundle the stems together with twine or a rubber band and hang them upside down in a cool, dry place to dry for later use.
- Selective Harvesting: For herbs with delicate or delicate growth patterns, like chives or parsley, individually select the leaves or stems you want to harvest, ensuring you don’t damage the rest of the plant.
Preserve and Store:
To prolong the shelf life and preserve the flavors of your harvested herbs, there are several methods you can employ:
- Drying: Dry herbs by hanging them upside down in a well-ventilated area or using a food dehydrator. Once fully dried, store them in airtight containers away from sunlight and heat.
- Freezing: Freeze herbs by chopping them finely or leaving them as whole leaves and placing them in ice cube trays filled with water or olive oil. Once frozen, transfer the herb cubes to a freezer-safe bag or container.
- Infusions and Oils: Create herb-infused oils by steeping your herbs in olive or vegetable oil. Similarly, make herbal infusions by pouring boiling water over fresh or dried herbs and allowing them to steep for several minutes.
Utilize in Culinary and Herbal Remedies:
Your homegrown herbs can be used in a wide range of dishes, beverages, and natural remedies. Add fresh or dried herbs to salads, soups, marinades, sauces, and stews for a burst of flavor. Brew teas with aromatic herbs like chamomile, mint, or lemon balm for a soothing and refreshing drink. Explore herbal remedies by creating poultices, salves, or tinctures using herbs like lavender, comfrey, or calendula.
Continued Care and Harvesting:
Remember to continue caring for and harvesting your herbs throughout the growing season. Regular harvests promote bushier growth and healthier plants. Additionally, be sure to read up on specific harvesting guidelines for each herb to ensure you get the best flavors and benefits from your homegrown bounty.
With each harvest, you’ll be delighted by the fresh, vibrant flavors and aromas that only come from herbs grown with your own care and attention. Enjoy the fruits of your labor and savor the satisfaction of using your very own homegrown herbs in your favorite culinary creations!
Read more: How Many Herb Seeds To Plant In A Pot
Conclusion
Growing herbs from seeds in pots is a wonderful way to bring the beauty and flavor of nature right to your doorstep. With a little patience, knowledge, and care, you can create a thriving herb garden that provides you with a bountiful supply of aromatic and flavorful herbs.
From choosing the right seeds and pots to preparing the soil, planting the seeds, and providing adequate water and sunlight, every step in the process contributes to the success of your herb garden. Taking care of the seedlings, transplanting them into larger containers or the garden, and ultimately harvesting and using your homegrown herbs adds to the joy and satisfaction of the gardening experience.
Homegrown herbs not only enhance the flavors of your culinary creations but also offer numerous health benefits. They provide an opportunity to connect with nature, reduce reliance on store-bought herbs, and add a touch of freshness to your daily life.
Remember, gardening is a continuous learning process. Each season brings new challenges and opportunities for growth. Stay curious, experiment with different herb varieties, and adapt your gardening techniques as you expand your knowledge and skills.
So, start your herb-growing journey today and experience the joy of nurturing and harvesting your very own homegrown herbs. With a little time and effort, you’ll be rewarded with a thriving garden full of fresh flavors, delightful aromas, and a deep sense of satisfaction.
Frequently Asked Questions about How To Grow Herbs From Seeds In Pots
Was this page helpful?
At Storables.com, we guarantee accurate and reliable information. Our content, validated by Expert Board Contributors, is crafted following stringent Editorial Policies. We're committed to providing you with well-researched, expert-backed insights for all your informational needs.


0 thoughts on “How To Grow Herbs From Seeds In Pots”