Articles
How To Grow Carrots In Containers
Modified: September 1, 2024
Learn how to grow carrots in containers and create a beautiful garden with our expert gardening tips and tricks.
(Many of the links in this article redirect to a specific reviewed product. Your purchase of these products through affiliate links helps to generate commission for Storables.com, at no extra cost. Learn more)
Introduction
Welcome to the wonderful world of container gardening! If you have limited space or simply want more control over the growing conditions, growing carrots in containers is a fantastic option. Carrots are versatile root vegetables that can thrive in containers with the right care and preparation. Whether you have a small balcony, a sunny patio, or even a windowsill, you can enjoy the satisfaction of growing your own delicious and nutritious carrots.
Container gardening offers several advantages, such as easy mobility, protection from pests and diseases, and the ability to provide optimal growing conditions for specific plants. With the right container choice, soil preparation, and care, you can grow healthy and flavorful carrots regardless of your gardening experience.
In this article, we will guide you through the process of growing carrots in containers, from choosing the right container and carrot varieties to harvesting your bountiful crop. So, let’s get started!
Key Takeaways:
- Grow delicious and nutritious carrots in limited spaces with container gardening. Choose the right container, soil, and varieties for a bountiful harvest of vibrant and flavorful carrots.
- Enjoy the rewarding journey of growing carrots in containers. From planting to harvesting, nurture your plants with proper care, watering, and pest management for a satisfying and delicious homegrown experience.
Read more: How To Grow Carrots In Pots Without Seeds
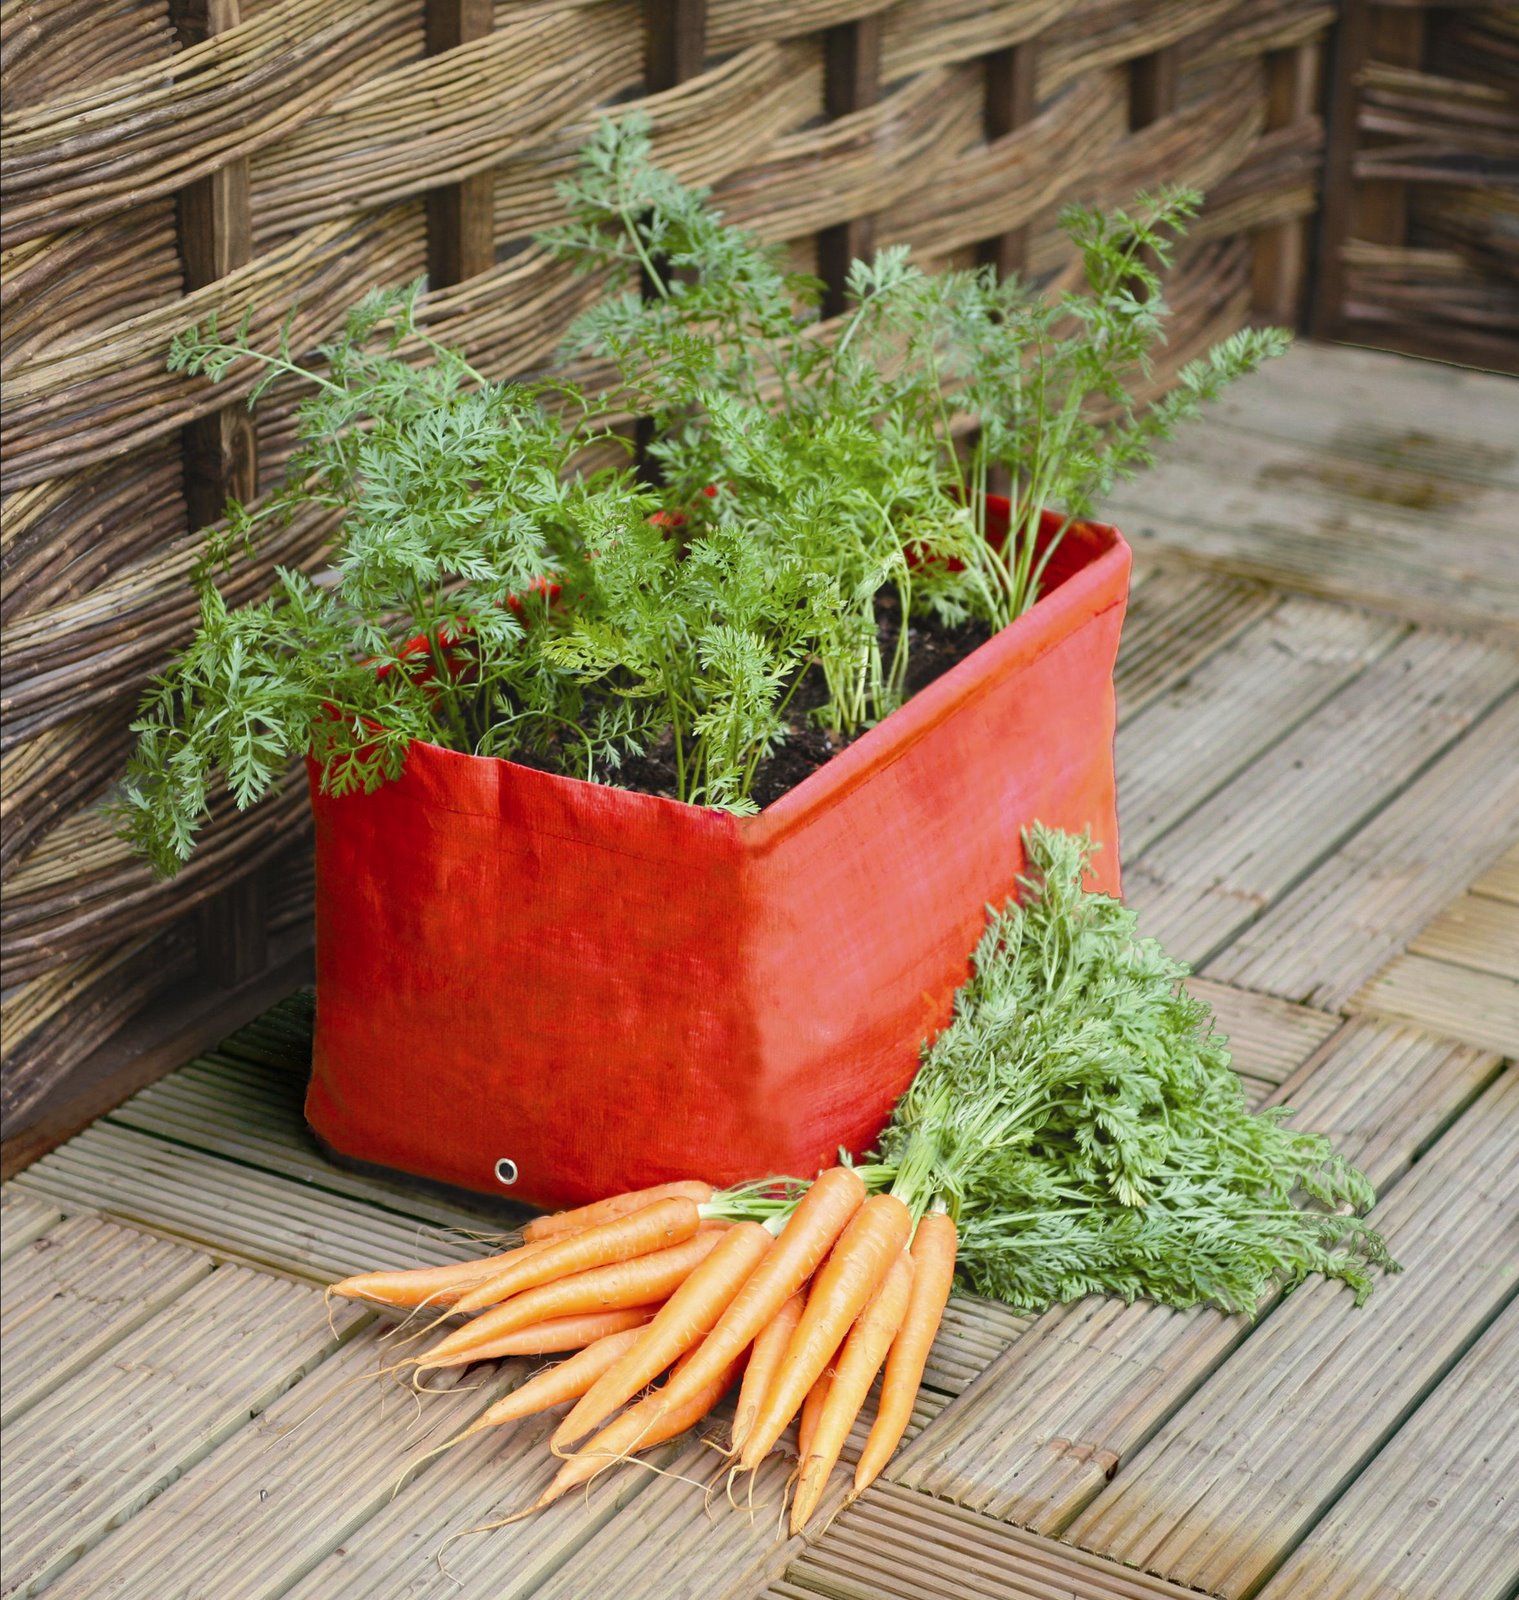
Choosing the Right Container for Carrots
When it comes to growing carrots in containers, choosing the right container is essential for their success. Carrots have long taproots that require enough depth to grow straight and develop properly. Here are some factors to consider when selecting a container for your carrots:
- Size: Carrots need at least 12 inches of soil depth to accommodate their roots. Ideally, choose a container that is 12-18 inches deep to allow for optimal growth. Additionally, consider the width of the container, as wider containers will provide more room for multiple carrot plants.
- Material: The material of the container is also important. Look for containers made of durable materials such as plastic, ceramic, or wood. Avoid containers made of metal, as they can heat up quickly in the sun and potentially harm the carrots’ roots.
- Drainage: Good drainage is crucial for healthy carrot growth. Ensure that your chosen container has drainage holes at the bottom to prevent waterlogging. If the container does not have drainage holes, you can drill some yourself.
- Insulation: Carrots prefer cool soil temperatures, so selecting a container with insulation properties can help maintain the optimal temperature range. Opt for containers with thick walls or consider using a double-layered container.
- Number of Carrot Plants: Consider how many carrot plants you want to grow in a single container. Follow the spacing guidelines for your chosen carrot variety to ensure each plant has enough room to grow without overcrowding.
Keep in mind that you can be creative when choosing containers for your carrots. From traditional plant pots to repurposed buckets or even fabric grow bags, there are various options available. Just make sure the container meets the size, material, drainage, and insulation requirements for successful carrot cultivation.
Now that you understand what to look for in a container, let’s move on to the next step: selecting the right carrot varieties for container gardening.
Selecting the Right Carrot Varieties for Container Gardening
When it comes to selecting carrot varieties for container gardening, there are a few important factors to consider. Not all carrot varieties are suitable for growing in containers, so be sure to choose ones that are specifically bred for compact spaces. Here are some key considerations:
- Growth Habit: Look for carrot varieties that have a shorter, compact growth habit. These types of carrots are more likely to perform well in containers since they won’t require as much depth for their roots to grow.
- Carrot Size: Consider the mature size of the carrots you prefer. While some carrot varieties produce larger roots, those with smaller or baby-sized carrots are better suited for container gardening. These smaller carrots can be harvested earlier, which is ideal for limited space gardens.
- Days to Maturity: Pay attention to the “days to maturity” information provided for each carrot variety. If you have a shorter growing season, choose varieties with a shorter maturity period. This will ensure that your carrots have enough time to develop before the weather turns unfavorable.
- Container Depth: Take into account the depth of your chosen container when selecting carrot varieties. If you have a shallower container, choose varieties that have shorter root lengths to avoid stunted or deformed growth.
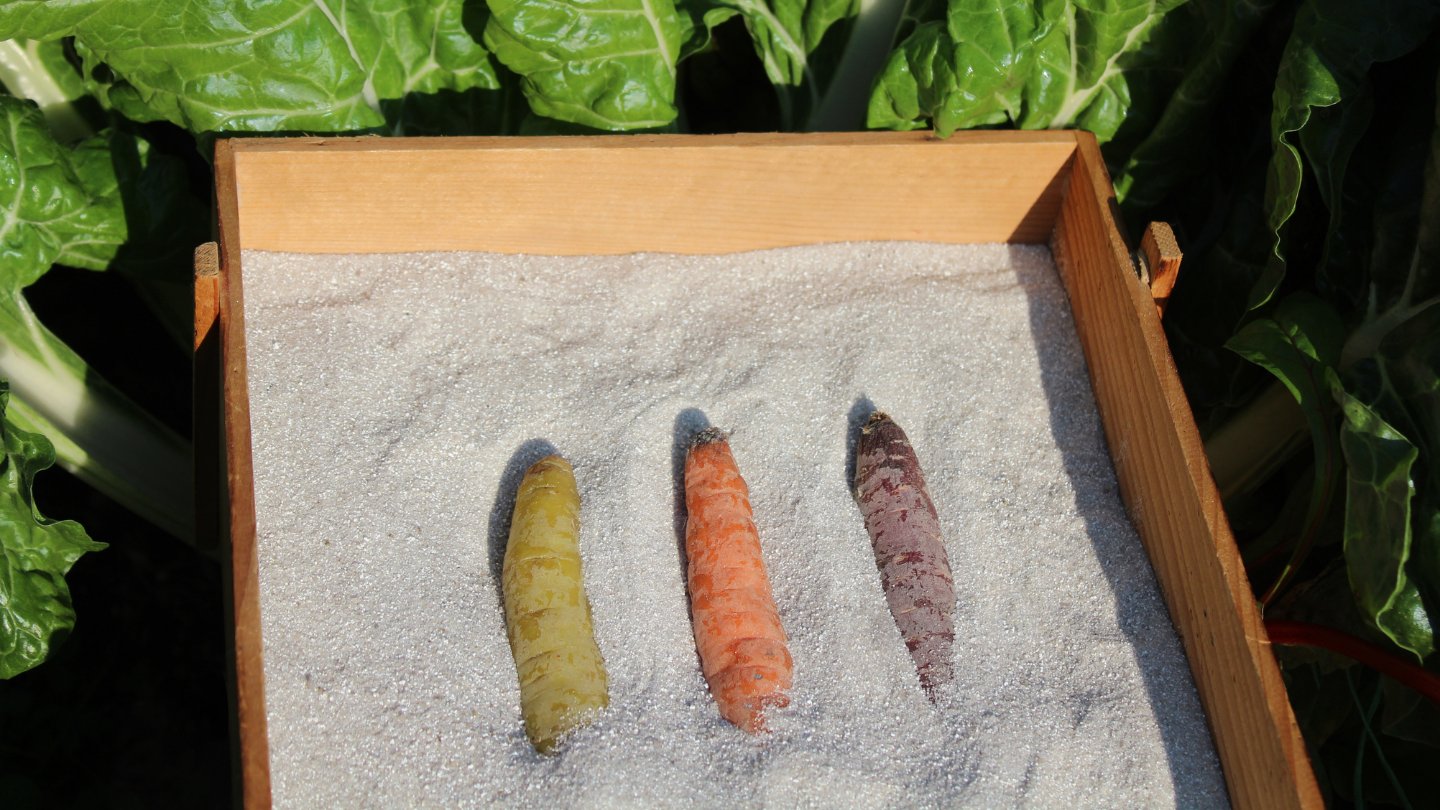
- Taste and Flavor: Lastly, consider your personal taste preferences when choosing carrot varieties. Carrots come in various colors and flavors, ranging from the traditional orange to purple, yellow, or white. Experiment with different varieties to discover your favorites!
Some popular carrot varieties that perform well in containers include ‘Little Finger’, ‘Thumbelina’, ‘Paris Market’, and ‘Babette’. These varieties are known for their compact size, quick maturity, and delicious flavors.
Remember, it’s essential to read the seed packet or plant description for each carrot variety to understand its specific requirements and suitability for container gardening. This will help you make informed decisions and maximize your chances of success.
Now that you’ve chosen the right container and carrot varieties, it’s time to prepare the soil for your carrots in containers.
Preparing the Soil for Carrots in Containers
Creating a favorable growing environment is crucial for the success of your carrots in containers. Preparing the soil properly will provide the necessary nutrients and ensure proper drainage for healthy root development. Here’s how you can prepare the soil for growing carrots in containers:
- Loosen the Soil: Start by loosening the soil in your container to ensure good drainage and root penetration. Use a small garden fork or hand trowel to break up any compacted soil.
- Soil Composition: Carrots thrive in loose, well-draining soil with a fine texture. Mix in compost or well-rotted organic matter to improve soil fertility and structure. Aim for a soil pH of around 6.0-6.8, which is slightly acidic to neutral.
- Avoid Heavy Soil: Carrots prefer light, sandy or loamy soil that allows their roots to penetrate easily. Avoid using heavy clay-based soil, as it can cause misshapen and stunted carrots. If your soil is heavy, you can amend it with sand or perlite to improve its texture.
- Moisture Retention: While proper drainage is crucial, it’s also important to ensure that the soil can retain moisture. Incorporate organic matter or coconut coir into the soil to enhance moisture retention without becoming waterlogged.
- Remove Stones and Debris: Before planting, remove any stones, twigs, or other debris from the soil to provide a clear path for carrot root growth. Carrots can become misshapen if they encounter obstacles in their growth journey.
- Fertilization: Carrots don’t require excessive amounts of fertilizer, but they do benefit from a balanced organic fertilizer rich in nitrogen, phosphorus, and potassium. Apply the fertilizer according to the package instructions before planting or mix it into the soil during preparation.
By preparing the soil adequately, you will create a nutrient-rich and well-drained environment that sets the stage for healthy carrot growth. Once you’ve prepared the soil, it’s time to move on to the exciting part: planting carrots in containers!
Planting Carrots in Containers
Now that you have chosen the right container, selected the suitable carrot varieties, and prepared the soil, it’s time to plant your carrots in containers. Follow these steps for successful carrot planting:
- Sowing Depth: Carrot seeds are small and should be sown shallowly. Create shallow furrows in the soil, around ¼ to ½ inch deep, using your finger or a small garden tool.
- Spacing: Space out the carrot seeds according to the recommended spacing for your chosen variety. Typically, carrots need to be sown around 1-2 inches apart to allow enough room for root development. If sowing multiple rows, space the rows 6-8 inches apart.
- Seed Placement: Place the carrot seeds in the furrows, spacing them out evenly. Avoid overcrowding to prevent competition for nutrients and moisture.
- Cover the Seeds: Gently cover the carrot seeds with a thin layer of loose soil or vermiculite. Ensure that the seeds are lightly covered, as they need exposure to sunlight for germination.
- Moisten the Soil: After planting, water the container thoroughly to ensure that the soil is evenly moist. Use a gentle spray or mist to avoid displacing the seeds or creating waterlogged conditions.
- Provide Adequate Light: Place the container in a location that receives full sun or at least 6-8 hours of direct sunlight each day. Carrots need ample light for healthy growth and root development.
- Thin Out Seedlings: Once the carrot seedlings have emerged and are a few inches tall, thin them out to provide sufficient space for each plant. Carefully remove or clip off the smaller or overcrowded seedlings, leaving the strongest ones with the recommended spacing.
- Regular Watering: Maintain consistent moisture levels in the soil by watering the container regularly. Carrots prefer evenly moist soil but can be sensitive to overwatering, which can lead to rot or split roots. Avoid allowing the soil to dry out completely between watering sessions.
Be patient, as carrot germination can take anywhere from 10 to 14 days, depending on the variety and growing conditions. Once the seedlings have emerged and are growing well, they will require care and attention throughout the growing season.
Now that your carrot seeds are planted and on their way to becoming mature plants, let’s explore essential tips for watering and fertilizing carrots in containers.
Choose a deep container with good drainage, fill it with loose, well-draining soil, and sow carrot seeds 1/4 inch deep. Keep the soil consistently moist and thin out seedlings as they grow to ensure proper spacing.
Read more: How Long For Carrots To Grow From Seed
Watering and Fertilizing Carrots in Containers
Proper watering and fertilization are essential for the healthy growth and development of carrots in containers. Here are some guidelines to help you water and fertilize your carrots effectively:
- Watering: Carrots need consistent moisture to thrive, but it’s crucial to strike a balance. Overwatering can lead to rot, while underwatering can result in stunted growth or dry, woody carrots. Keep the soil evenly moist, but not waterlogged. Regularly check the moisture level by inserting your finger a few inches into the soil. If it feels dry, it’s time to water. Water deeply, allowing the water to reach the bottom of the container, and ensure proper drainage.
- Watering Frequency: The frequency of watering depends on various factors, including weather conditions, container size, and soil composition. Generally, aim to water every 2-3 days or whenever the top inch of soil feels dry. Adjust the frequency as needed, and be sure to water more during hot, dry spells or when the plants are actively growing.
- Fertilizing: Carrots are not heavy feeders, but they can benefit from a balanced fertilizer to promote healthy growth. Apply a slow-release organic fertilizer when preparing the soil or top-dress with a granular fertilizer once the seedlings have established. Follow the package instructions for the appropriate amount and frequency of fertilization.
- Fertilizer Ratio: Carrots prefer a balanced fertilizer with equal amounts of nitrogen (N), phosphorus (P), and potassium (K). Look for a fertilizer with an NPK ratio of 10-10-10 or 14-14-14. This will provide the necessary nutrients for foliage growth, root development, and overall plant health.
- Avoid Excessive Fertilization: Over-fertilizing can lead to lush foliage at the expense of root growth. Avoid using excessive amounts of fertilizer, as this can result in misshapen or forked carrots. Always follow the recommended dosage and avoid applying fertilizer directly onto the carrot foliage.
- Organic Alternatives: If you prefer organic options, consider using compost, well-rotted manure, or fish emulsion as natural fertilizers. These organic amendments provide slow-release nutrients that promote healthy carrot growth without the risk of chemical buildup.
Additionally, it’s important to monitor your container’s drainage to prevent waterlogged conditions. If excessive moisture is an issue, consider using a well-draining potting mix or adding perlite to improve soil aeration.
By providing consistent moisture and supplying the necessary nutrients, your carrot plants will thrive and produce healthy, flavorful roots. However, it’s important to stay vigilant against potential pests and diseases that can affect carrot plants in containers.
Let’s delve into common pests and diseases that you should watch out for when growing carrots in containers.
Pests and Diseases that Affect Carrots in Containers
While container gardening offers some protection against pests and diseases, carrot plants are still susceptible to certain issues. Being aware of common pests and diseases that can affect carrots in containers will help you take early preventive measures. Here are a few to watch out for:
- Carrot Fly: Carrot flies are small, black insects that lay eggs near the base of carrot plants. The larvae then burrow into the roots, causing damage and making the carrots inedible. To prevent carrot fly infestations, consider using physical barriers such as fine mesh netting or grow your carrots under row covers.
- Aphids: Aphids are tiny, soft-bodied insects that can cluster on the undersides of leaves and suck the sap from carrot plants. They can weaken the plants and transmit viral diseases. Regularly inspect the foliage and use a strong stream of water or insecticidal soap to control aphid populations.
- Wireworms: Wireworms are the larvae of click beetles and can be a major pest for carrots. They burrow into the roots, causing damage and making the carrots unappealing. Practice crop rotation, as wireworm populations tend to decrease over time. Additionally, you can use beneficial nematodes as a natural control method.
- Fungal Diseases: Carrots are susceptible to fungal diseases such as Alternaria leaf blight and powdery mildew. Provide proper spacing between plants for airflow, avoid overwatering, and apply fungicides as necessary to prevent or treat these diseases.
- Rodents: Rodents like mice and voles may be attracted to the sweet taste of carrot roots. Place barriers or traps around your containers to deter these pests from damaging your plants.
Regular monitoring of your carrot plants is key to early detection and effective pest and disease management. Remove any affected leaves or plants promptly to prevent the spread of diseases. If necessary, consult with your local gardening center or extension service for more specific pest and disease control recommendations.
With proper care and attention, you can minimize the risks of pests and diseases and maintain healthy carrot plants in your containers. Soon, it will be time to reap the rewards of your efforts by harvesting your homegrown carrots.
Let’s move on to the next and final step: harvesting carrots from containers!
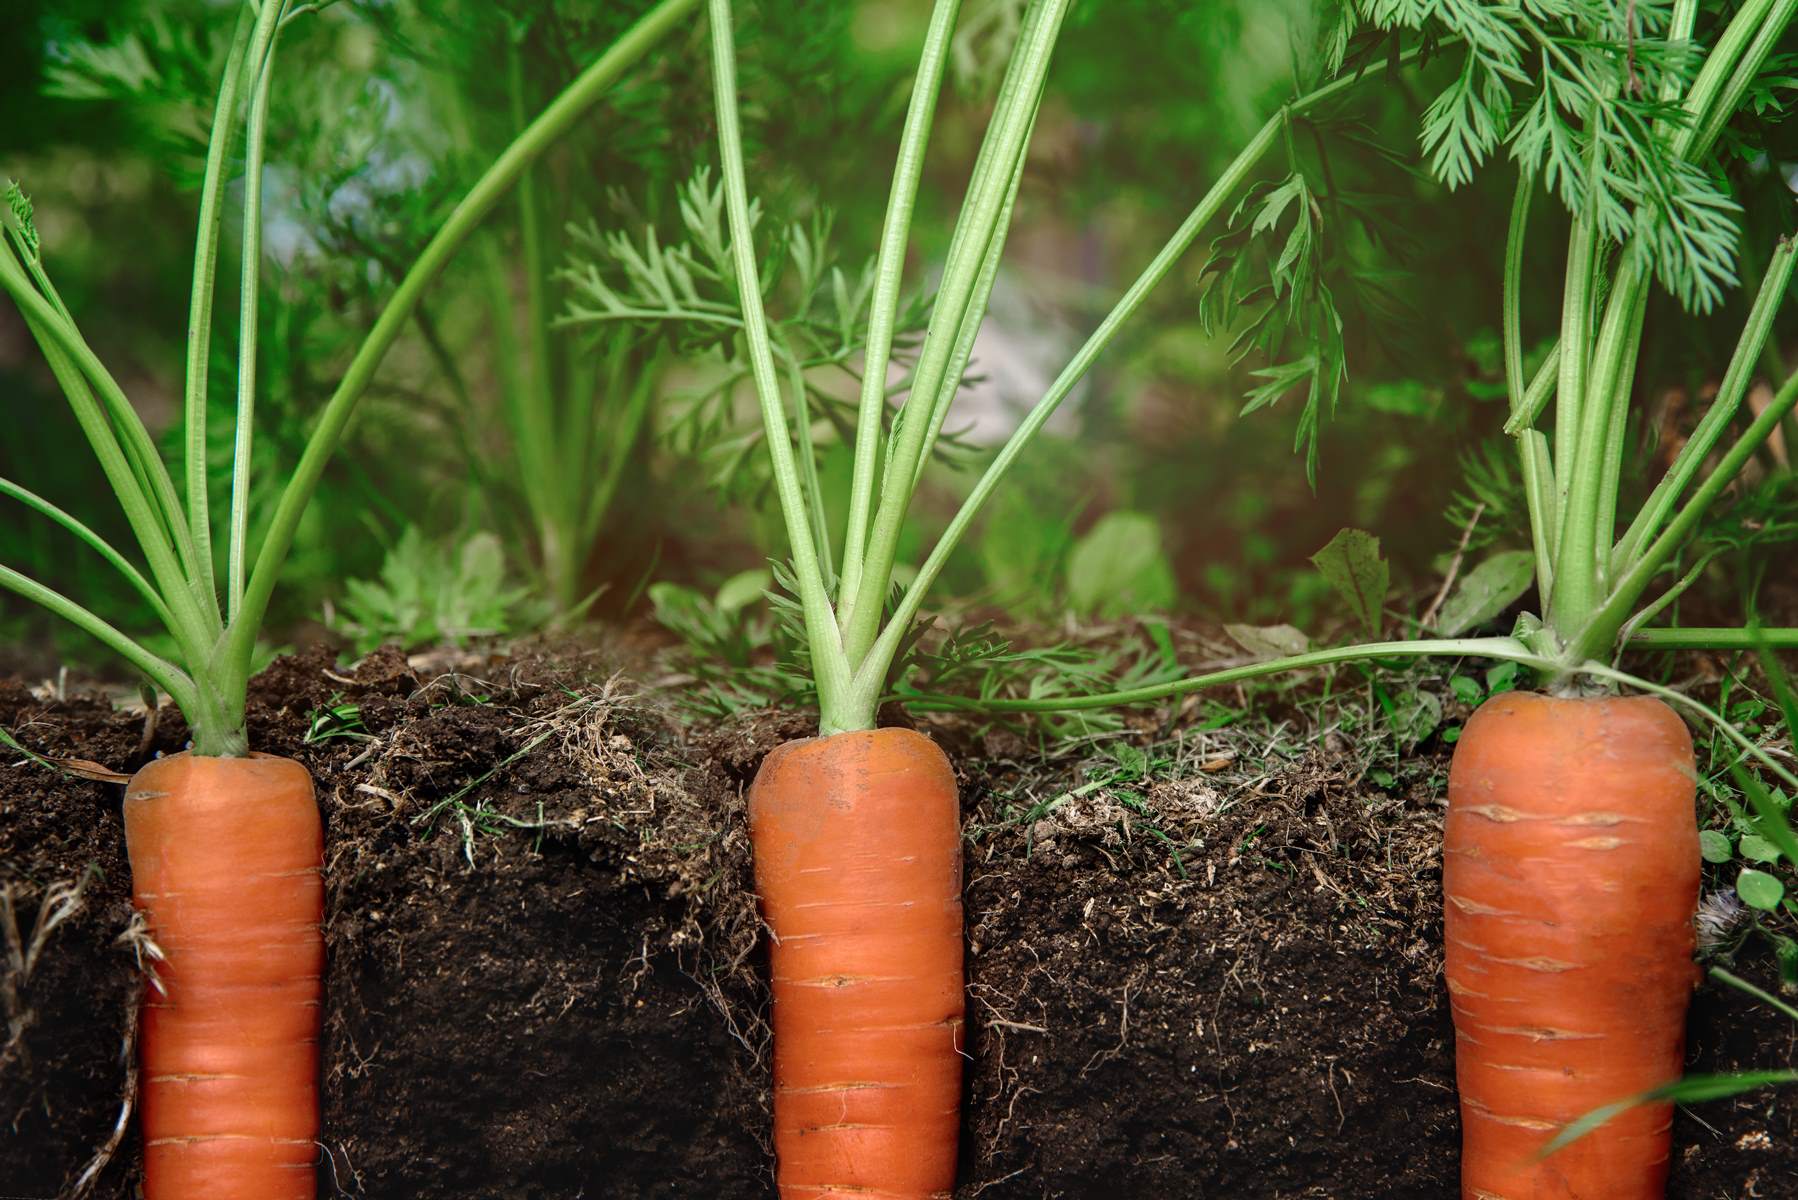
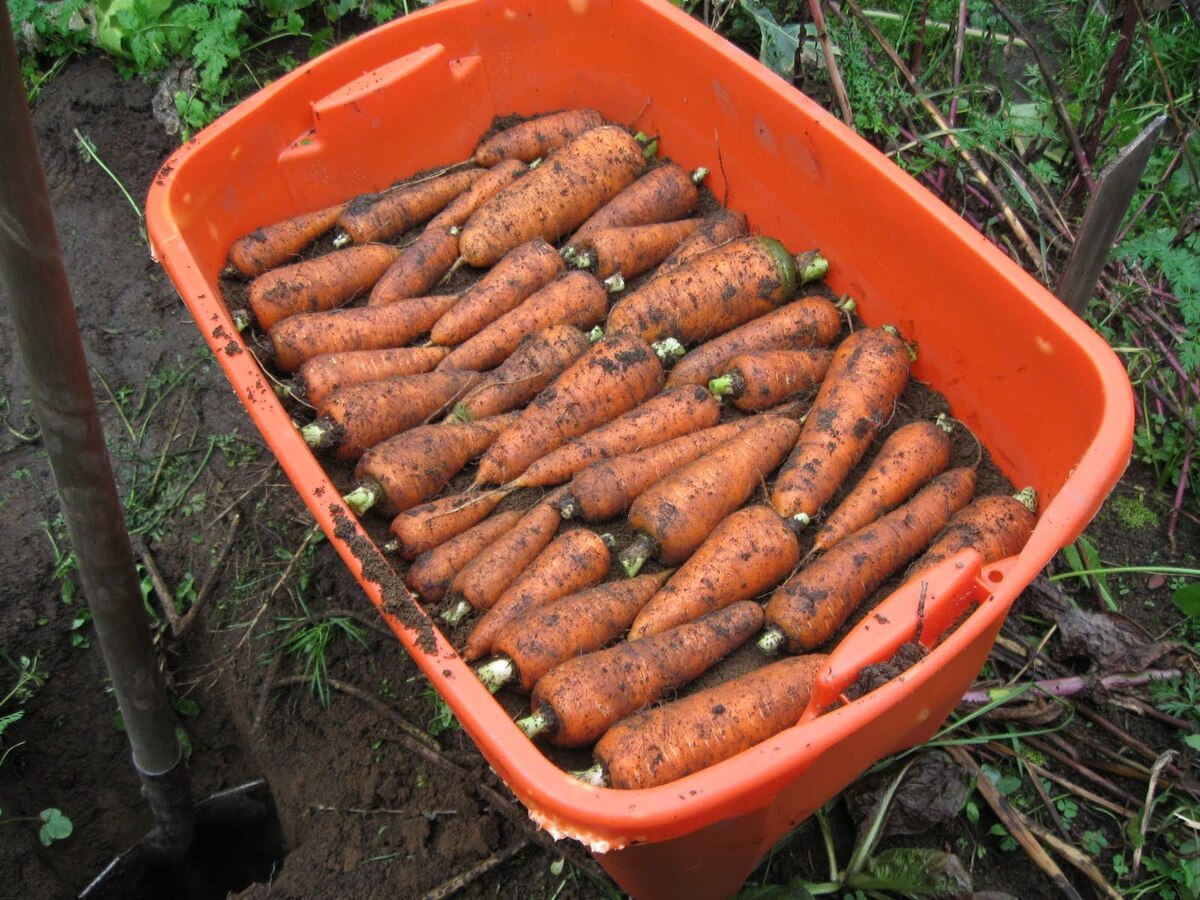
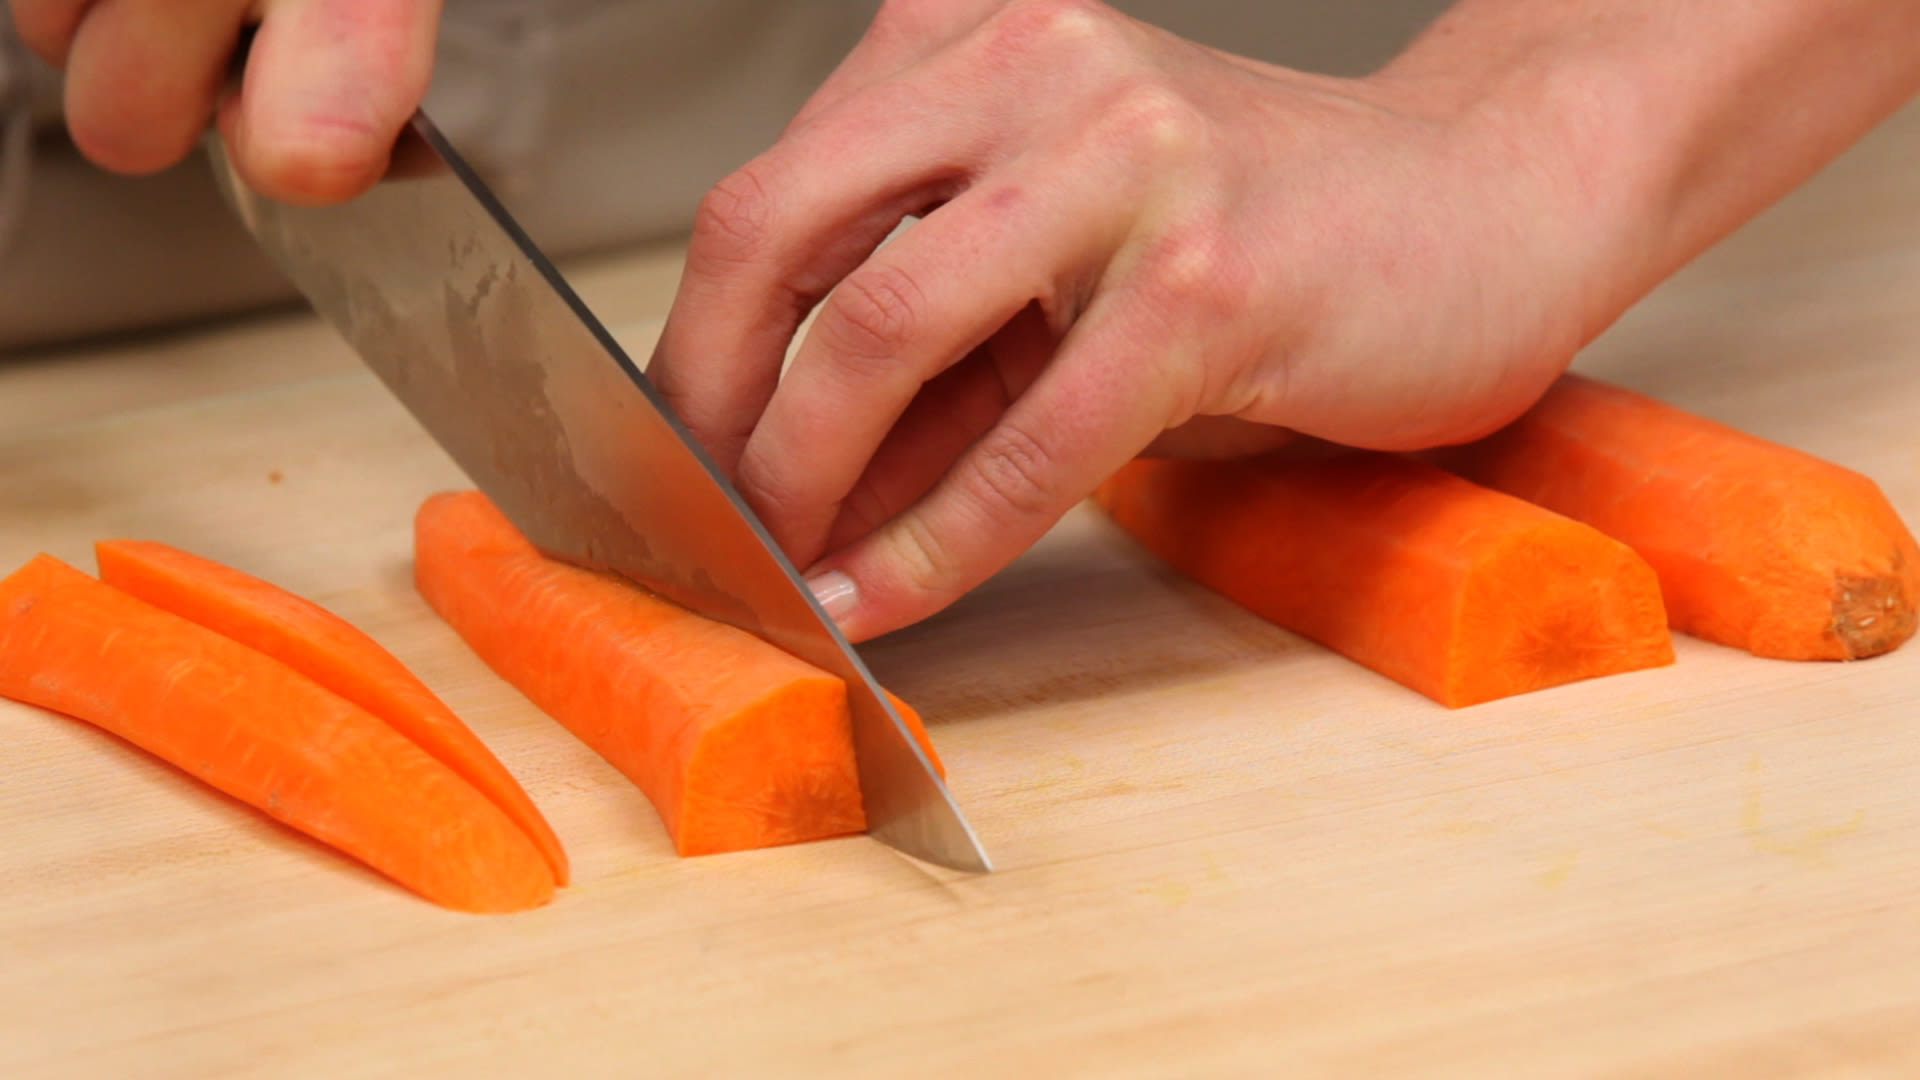
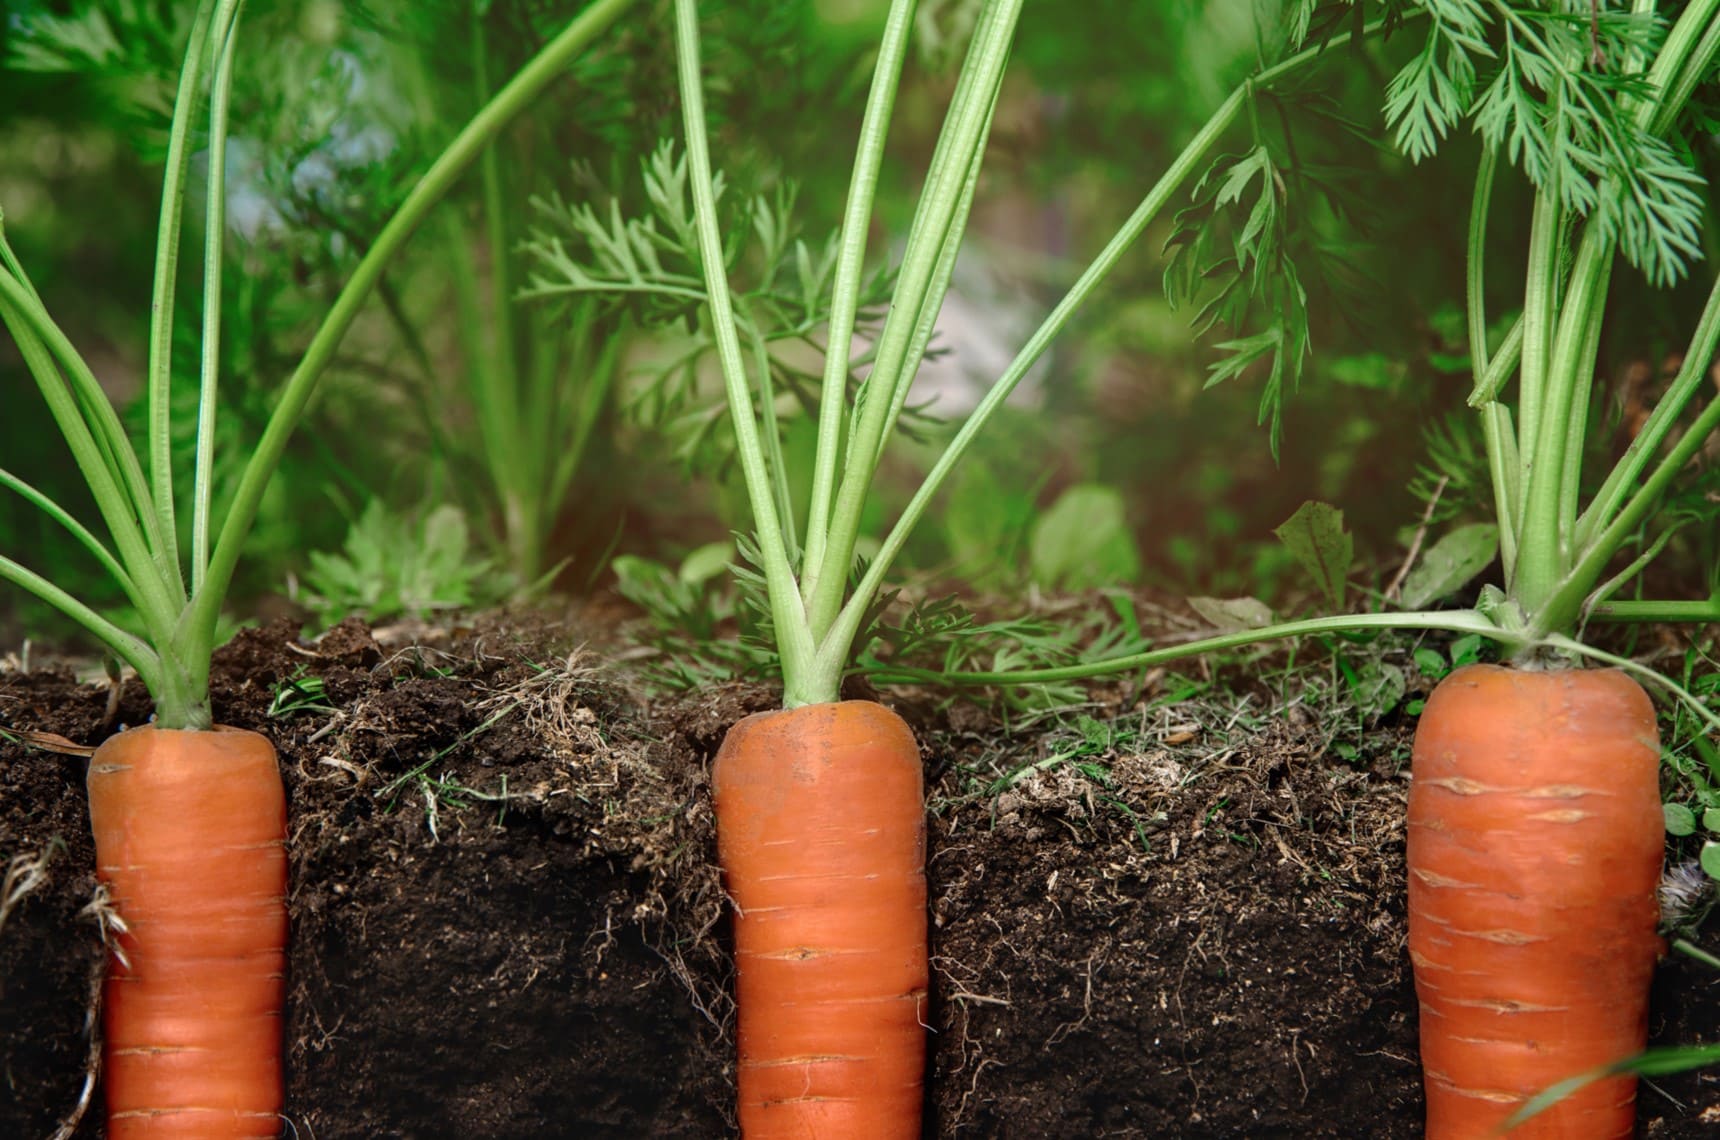
Harvesting Carrots from Containers
Harvesting carrots from containers is an exciting and rewarding moment in your gardening journey. The time to harvest will depend on the specific variety you planted, but typically, carrots are ready to be harvested around 60-80 days after sowing. Here’s how to know when and how to harvest your carrots:
- Check for Size: Carrots are typically ready to be harvested when they have reached their mature size. Gently brush away some soil from the top of the carrot to assess its size. Depending on the variety, mature carrots can range from 4 to 8 inches in length.
- Observe Color and Texture: Mature carrots will have vibrant color, whether it’s the traditional orange or the hues of purple, yellow, or white, depending on the variety. The carrots should also have a smooth texture, indicating that they have developed well.
- Loosen the Soil: Before harvesting, gently loosen the soil around the base of the carrot to facilitate easier pulling. Be careful not to damage the carrot while doing this.
- Grasp and Pull: To harvest the carrots, firmly grasp the green foliage near the top of the carrot and gently pull it straight up. If the soil is damp and the carrots are well-established, they should come out easily. If not, gently use a garden fork or trowel to loosen the soil around the carrot before pulling.
- Trim the Foliage: After harvesting, it’s important to trim the foliage from the carrot roots. Leave about an inch of the foliage attached to the carrot. This will help the carrots stay fresh longer during storage.
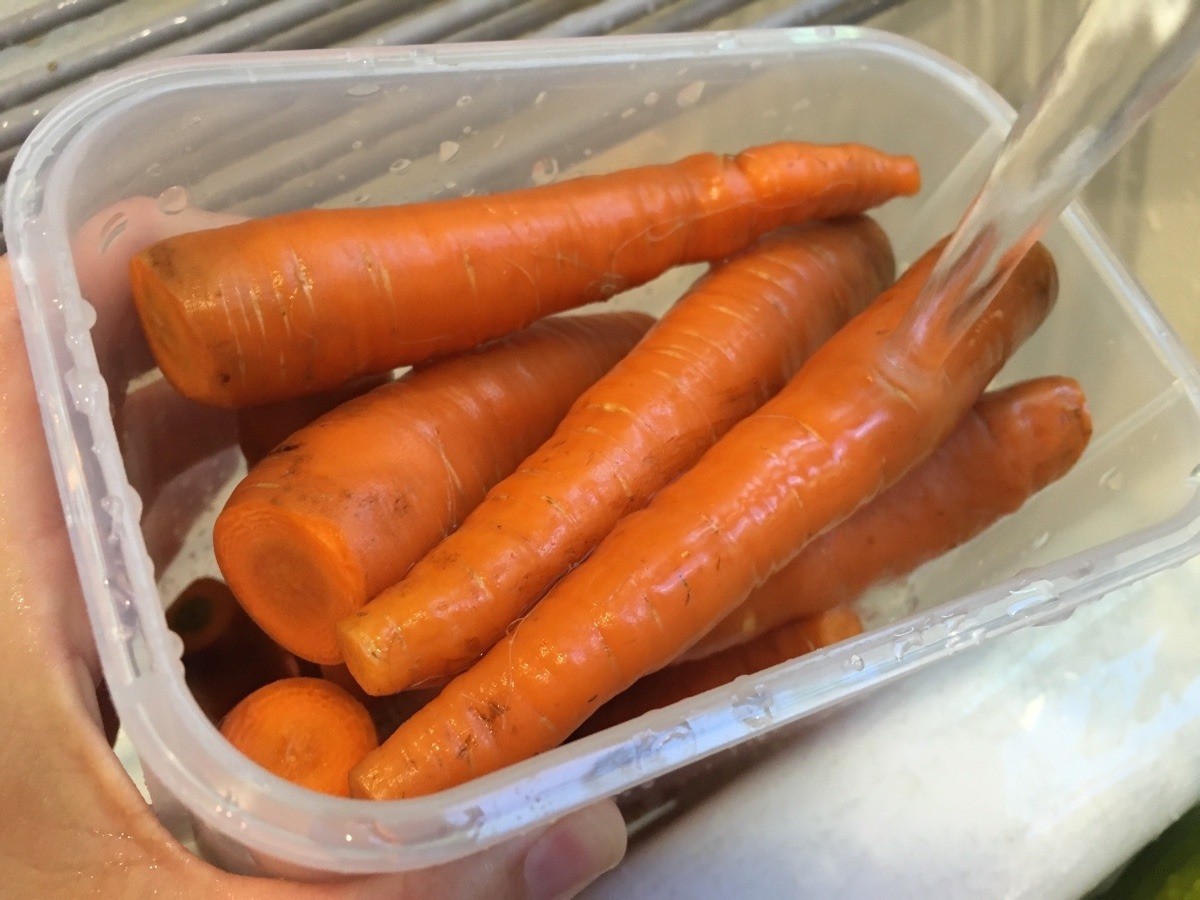
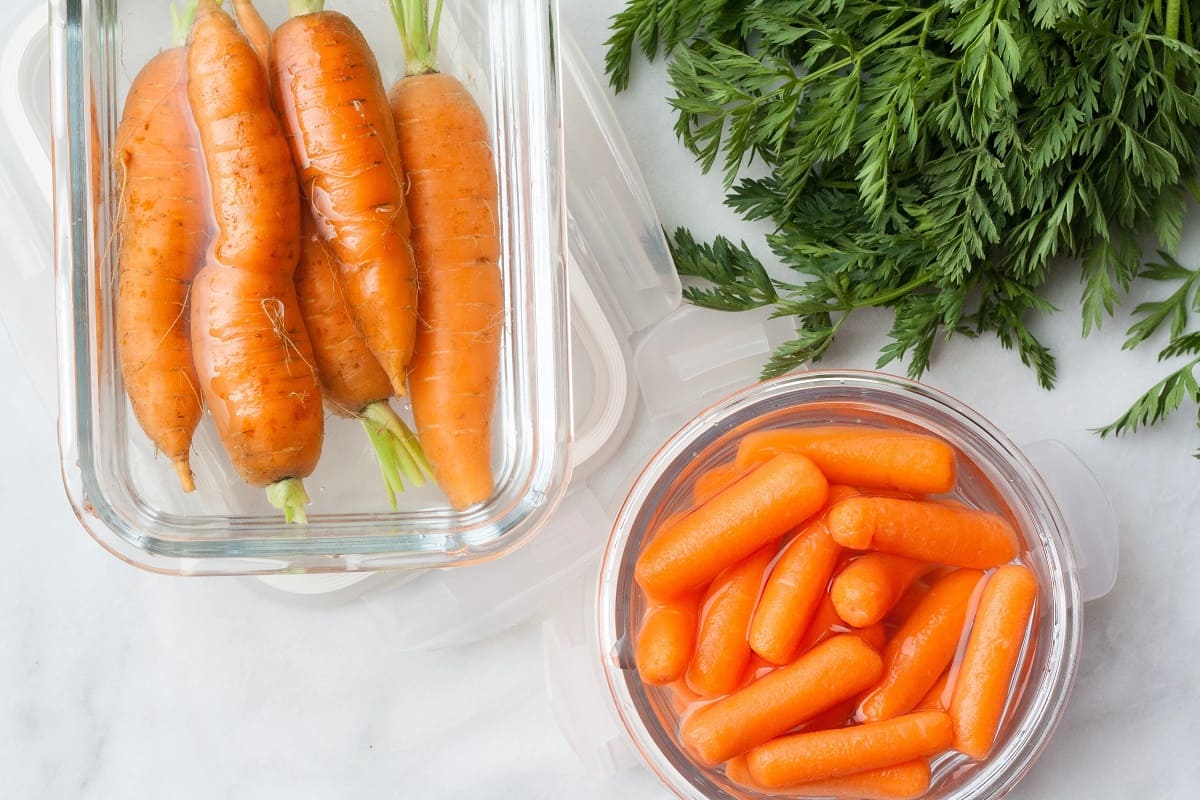
- Storage: If you plan to store your harvested carrots, remove any excess soil and gently wash the carrots to remove dirt. Allow them to dry completely before storing in a cool and dark place. Carrots can be stored in the refrigerator for several weeks or in a root cellar for even longer.
Remember to enjoy the fruits of your labor by incorporating freshly harvested carrots into your favorite recipes. From roasted carrots to carrot cake, soups, and salads, there are countless ways to savor the flavor and incredible freshness of homegrown carrots.
With each successful harvest, take note of your growing experiences and make adjustments as needed for future containers or planting seasons. Gardening is a continuous learning process, and with time, you’ll become even more skilled at growing carrots in containers.
Congratulations on your journey through growing carrots in containers! We hope this guide has equipped you with the knowledge and confidence to cultivate a bountiful harvest of delicious carrots. Happy gardening!
Remember that gardening is not only about the end result, but also about the joy and satisfaction that comes from nurturing plants and witnessing their growth. So have fun, stay patient, and enjoy the process of growing your own carrots in containers!
Conclusion
Growing carrots in containers is a wonderful way to enjoy the rewards of homegrown produce, even in small or limited spaces. By following the steps outlined in this guide, you can successfully cultivate healthy and flavorful carrots right on your balcony, patio, or windowsill.
From choosing the right container and carrot varieties to preparing the soil, planting, and caring for your carrots, each step plays a crucial role in the growth and development of these root vegetables. With proper watering, fertilization, and pest management, you can ensure optimal conditions for your carrot plants to thrive.
Patience is key as you wait for your carrots to reach maturity. Regular monitoring, timely harvesting, and proper storage will allow you to savor the fruits of your labor for weeks to come. There’s nothing quite like the satisfaction of digging up fresh, vibrant carrots and transforming them into delicious meals.
Throughout your gardening journey, remember to enjoy the process and learn from each experience. Gardening is a continuous learning experience, and as you gain more knowledge and confidence, you can experiment with different carrot varieties, growing techniques, and container options.
So, whether you’re a seasoned gardener looking to diversify your container garden or a beginner with a green thumb, growing carrots in containers offers a rewarding and fulfilling experience. The joy of watching your seeds sprout into thriving plants and the satisfaction of harvesting your homegrown carrots will make all the effort worthwhile.
So go ahead, start planning your container garden, gather your supplies, and get your hands dirty. Soon, you’ll be on your way to enjoying the sweet and delicious taste of freshly harvested carrots right from your very own container garden.
Happy gardening!
Frequently Asked Questions about How To Grow Carrots In Containers
Was this page helpful?
At Storables.com, we guarantee accurate and reliable information. Our content, validated by Expert Board Contributors, is crafted following stringent Editorial Policies. We're committed to providing you with well-researched, expert-backed insights for all your informational needs.

0 thoughts on “How To Grow Carrots In Containers”