Home>Garden Essentials>How To Grow Curry Leaves At Home Without Seeds
Garden Essentials
How To Grow Curry Leaves At Home Without Seeds
Modified: March 15, 2024
Learn how to grow curry leaves in your own garden without using seeds. Discover the secrets to successful cultivation and enjoy fresh homegrown curry leaves!
(Many of the links in this article redirect to a specific reviewed product. Your purchase of these products through affiliate links helps to generate commission for Storables.com, at no extra cost. Learn more)
Introduction
Welcome to the world of gardening, where you can exercise your green thumb and grow your own herbs and plants right at home. If you’re a fan of adding unique flavors to your dishes, then you’ll be delighted to learn how to grow curry leaves at home without seeds.
Curry leaves, also known as “sweet neem leaves,” are a staple ingredient in many Indian and Southeast Asian cuisines. Not only do they add a distinct aroma and flavor to curries, soups, and chutneys, but they also offer numerous health benefits. By growing your own curry leaf plant, you can ensure a constant supply of fresh and flavorful leaves at your fingertips.
In this article, we will guide you through the process of growing curry leaves at home without seeds. We will explore the benefits of having your curry leaf plant, discuss the ideal growing conditions, provide step-by-step instructions for propagation and planting, and offer tips for caring and harvesting your curry leaves. Let’s get started!
Key Takeaways:
- Grow curry leaves at home for fresh, flavorful leaves that enhance dishes and offer health benefits. Choose a sunny spot, propagate cuttings, and provide care for a thriving plant.
- Enjoy the convenience and cost savings of growing curry leaves at home. With proper care, you’ll have a continuous supply of aromatic leaves for culinary and medicinal use.
Read more: How To Store Curry Leaves For Long Time
Benefits of Growing Curry Leaves at Home
Growing curry leaves at home has a multitude of benefits, both culinary and medicinal. Here are some of the key advantages:
- Access to Fresh and Flavorful Leaves: By having your own curry leaf plant, you can enjoy the unbeatable taste of freshly-picked leaves in your dishes. The aroma and flavor of homegrown curry leaves are far superior to store-bought leaves, which often lose their potency over time.
- Convenience and Cost Savings: Purchasing curry leaves from the grocery store can be expensive. Growing them at home allows you to have a constant supply of fresh leaves without having to spend extra money. Plus, you don’t have to worry about running out of curry leaves when cooking your favorite dishes.
- Health Benefits: Curry leaves are not only delicious but also packed with essential nutrients, antioxidants, and medicinal properties. They are rich in vitamins A, B, C, and E, as well as minerals like calcium, iron, and phosphorus. Consuming curry leaves regularly can help boost digestion, promote hair and skin health, improve heart health, and even aid in weight loss.
- Home Remedies: Curry leaves have been used in traditional medicine for centuries due to their various healing properties. They are known for their anti-inflammatory, anti-bacterial, and anti-fungal effects. You can use curry leaves in home remedies for treating digestive disorders, reducing hair fall, promoting hair growth, and soothing skin conditions like acne and eczema.
- Aesthetic Appeal: The curry leaf plant, with its shiny green leaves, can also add beauty to your home garden or balcony. Its delicate foliage and compact growth make it a visually appealing addition to any space.
With these benefits in mind, it’s clear why growing curry leaves at home is a fantastic idea. Let’s move on to the next section to learn about choosing the right location for your curry leaf plant.
Choosing the Right Location for Growing Curry Leaves
When it comes to growing curry leaves, choosing the right location is crucial for their healthy growth and development. Here are some factors to consider:
- Sunlight: Curry leaf plants thrive in full sunlight, so it’s important to choose a location that receives at least 6-8 hours of direct sunlight every day. Inadequate sunlight can result in leggy growth and reduced leaf production.
- Temperature: Curry leaf plants prefer warm tropical or subtropical climates. They can tolerate some cold, but prolonged exposure to freezing temperatures can damage or kill the plant. It’s best to avoid extremely cold or frost-prone areas.
- Protection from Winds: Strong winds can damage the delicate foliage of curry leaf plants. Consider placing your plant in a sheltered spot or use protective barriers like fences or walls to shield it from strong winds.
- Well-Drained Soil: Curry leaf plants prefer well-draining soil to prevent waterlogging. Ensure that the chosen location has soil that allows excess water to drain freely. If your soil is heavy or clayey, you can improve drainage by adding organic matter like compost or perlite.
- Proximity to the Kitchen: To make harvesting and using the fresh leaves more convenient, consider locating your curry leaf plant near your kitchen or outdoor cooking area. This way, you can easily pluck leaves as needed and incorporate them directly into your dishes.
By selecting an appropriate location that meets these criteria, you are setting the foundation for healthy and thriving curry leaf plants. In the next section, we will discuss how to propagate curry leaves using cuttings.
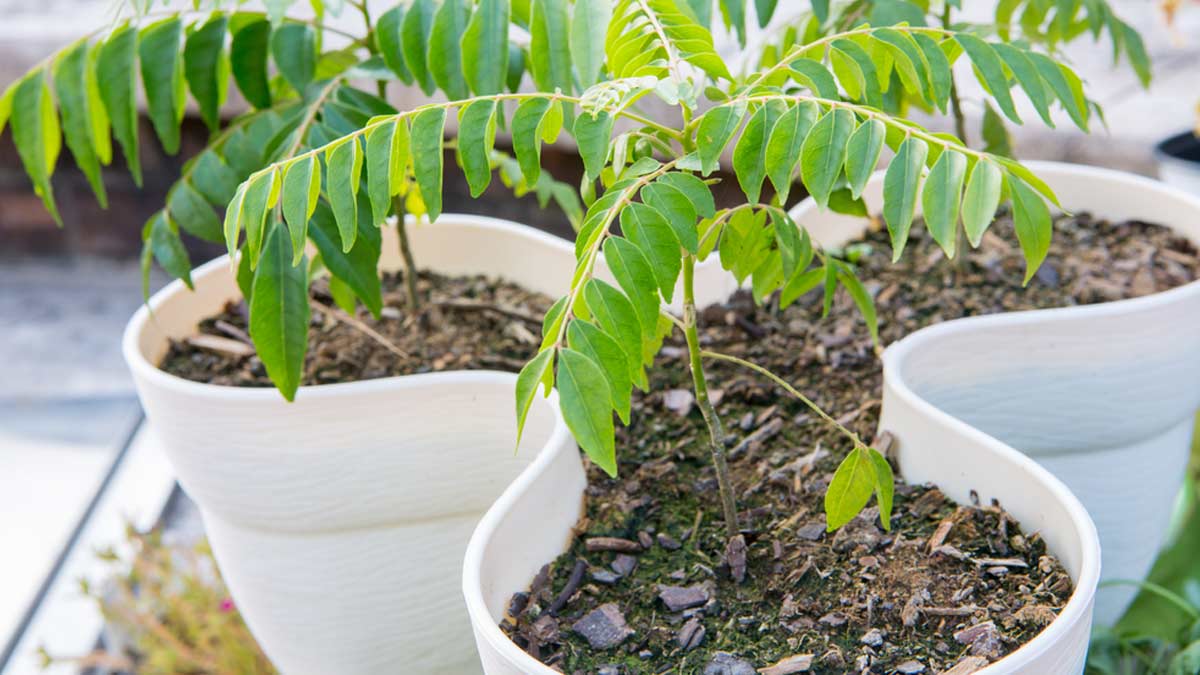
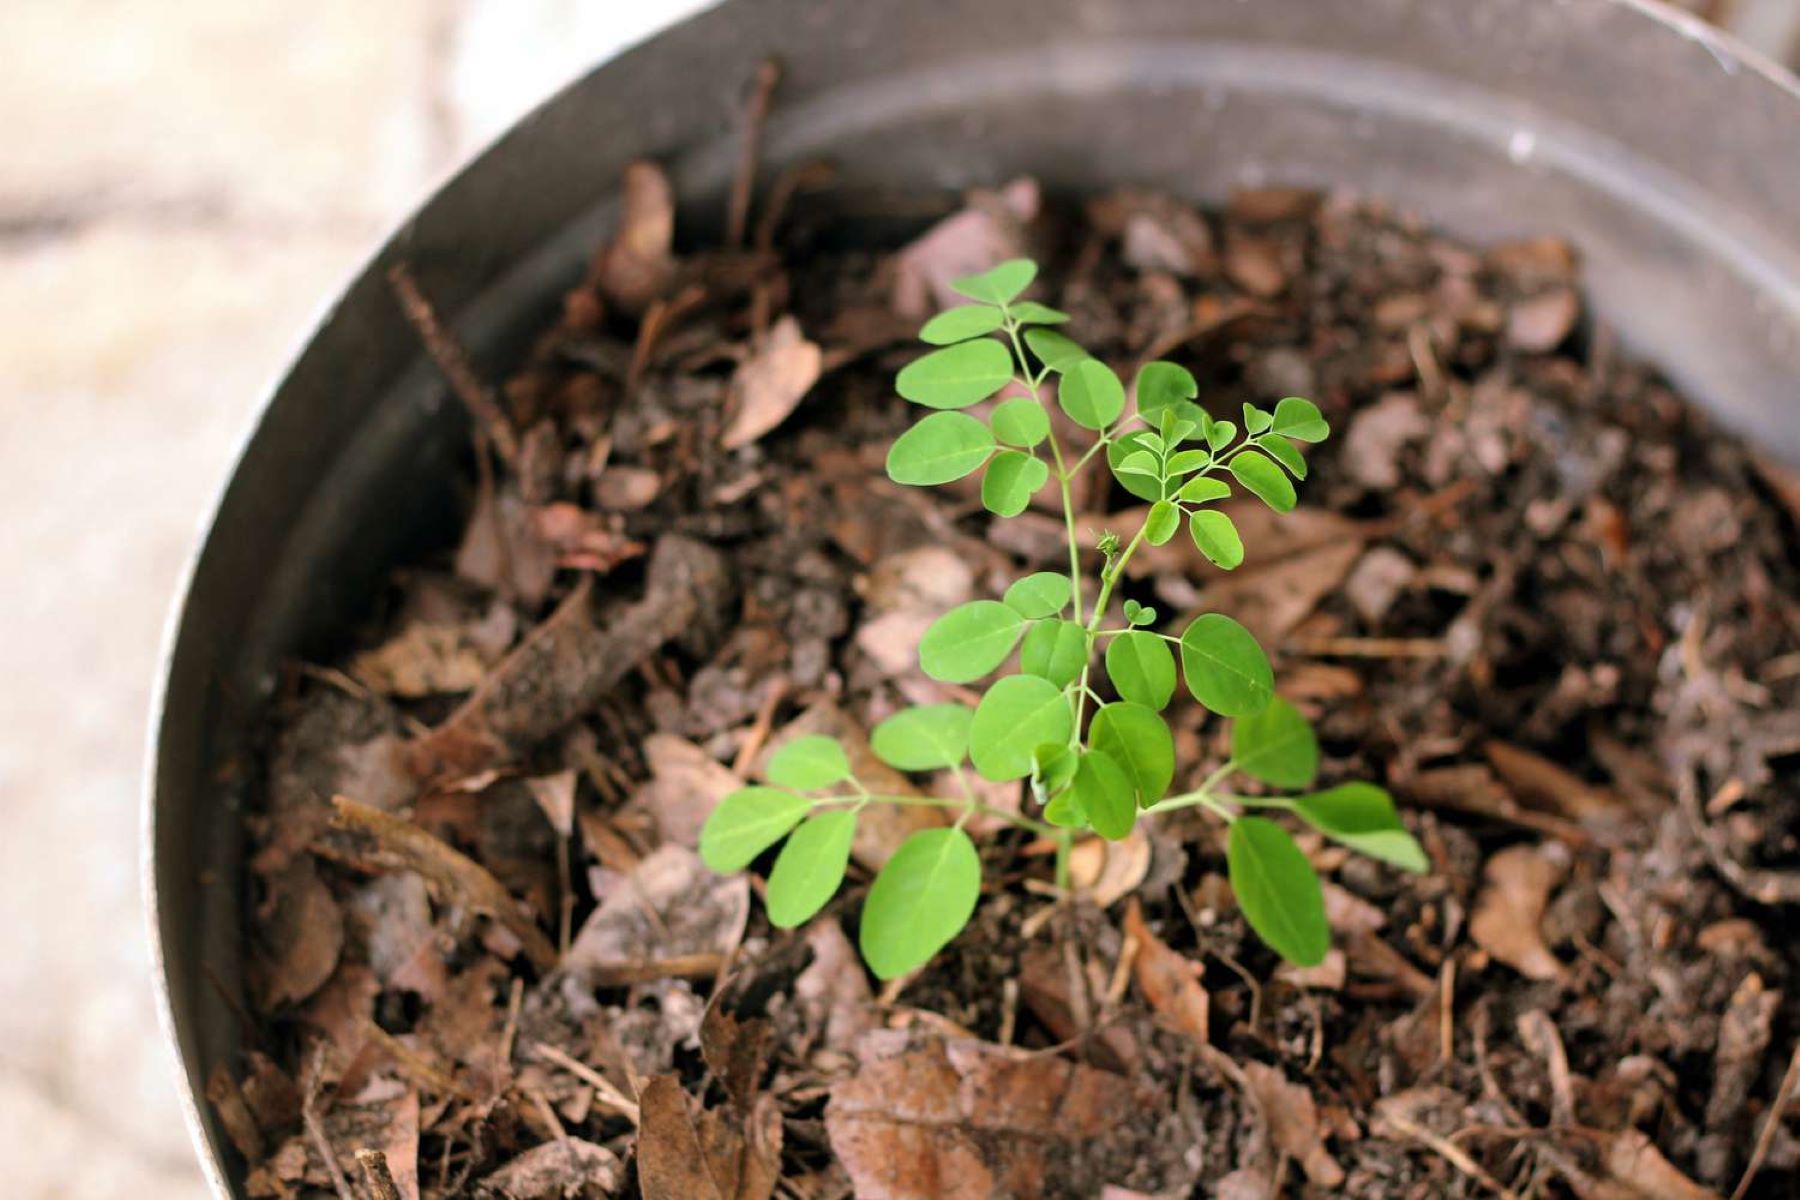
Propagating Curry Leaves using Cuttings
Propagating curry leaves using cuttings is a simple and effective method to grow new plants. Here’s a step-by-step guide:
- Select Healthy Branch Cuttings: Look for a healthy curry leaf plant and identify suitable branches for taking cuttings. Choose branches that are mature, about 4-6 inches long, and have a few sets of leaves.
- Prepare the Cuttings: Using sharp, sterile pruning shears, make a clean cut just below a node (the point where leaves emerge from the stem). Remove any leaves from the lower portion of the cutting, leaving a few sets of leaves at the top for photosynthesis.
- Rooting Hormone (Optional): Dip the cut end of the curry leaf cutting into a rooting hormone powder (available at garden centers) to stimulate root growth. This step can increase the success rate of rooting, but it’s not necessary.
- Potting Mix: Prepare a well-draining potting mix by combining equal parts of garden soil, compost, and sand or perlite. Fill a small pot or container with the potting mix, leaving about an inch of space from the rim.
- Plant the Cuttings: Make a small hole in the center of the potting mix using a pencil or your finger. Insert the lower end of the curry leaf cutting into the hole, ensuring it is firmly in place. Gently press down the soil around the cutting to provide stability.
- Mist and Cover: Mist the cuttings with water to maintain moisture and cover the pot with a clear plastic bag or a plastic dome to create a mini greenhouse effect. This helps to retain humidity and create a favorable environment for root development.
- Provide Indirect Light: Place the pot in a location that receives indirect light, such as a bright windowsill or a shaded area of your garden. Avoid placing it in direct sunlight as it can scorch the delicate young leaves.
- Watering: Keep the potting mix consistently moist but not waterlogged. Water the cuttings gently, ensuring that the water reaches the roots without making the soil excessively wet. Check the moisture level regularly and adjust watering as needed.
- Root Growth: After a few weeks, check for root growth by gently tugging the cuttings. If you feel resistance, it indicates that roots are forming. At this stage, you can remove the plastic cover and gradually expose the plants to normal ambient conditions.
By following these steps, you can successfully propagate curry leaves using cuttings and establish new plants. In the next section, we will discuss how to prepare the soil for curry leaf plants.
Preparing the Soil for Curry Leaf Plants
Creating the right soil environment is essential for the healthy growth and development of curry leaf plants. Here are the steps to prepare the soil:
- Choose the Right Soil: Curry leaf plants prefer well-draining soil that is rich in organic matter. A mixture of garden soil and compost or potting mix works well. Avoid heavy clay soils that retain water and can lead to root rot.
- Loosen the Soil: If your soil is compacted or heavy, loosen it up by gently tilling or digging. This will improve aeration and drainage, allowing the roots to access oxygen and nutrients more easily.
- Amend with Organic Matter: Mix in compost or well-aged manure to enrich the soil with nutrients. Organic matter improves the soil structure, enhances water retention, and promotes beneficial microbial activity.
- Adjust pH Levels: Curry leaf plants prefer slightly acidic to neutral soil with a pH range of 5.8 to 7.0. Test the soil pH using a home testing kit, and if necessary, adjust it by adding lime for more alkaline soil or sulfur for more acidic soil.
- Incorporate Perlite or Sand: To further improve drainage, you can add perlite or coarse sand to the soil mix. These materials help prevent waterlogging and create a lighter texture.
- Remove Weeds and Debris: Before planting your curry leaf plants, remove any weeds, rocks, or debris from the soil. This will prevent competition for nutrients and provide a clean environment for the plants to grow.
By following these steps, you will create a well-prepared soil environment that provides the necessary nutrients and drainage for your curry leaf plants. In the next section, we will explore the process of planting curry leaf cuttings.
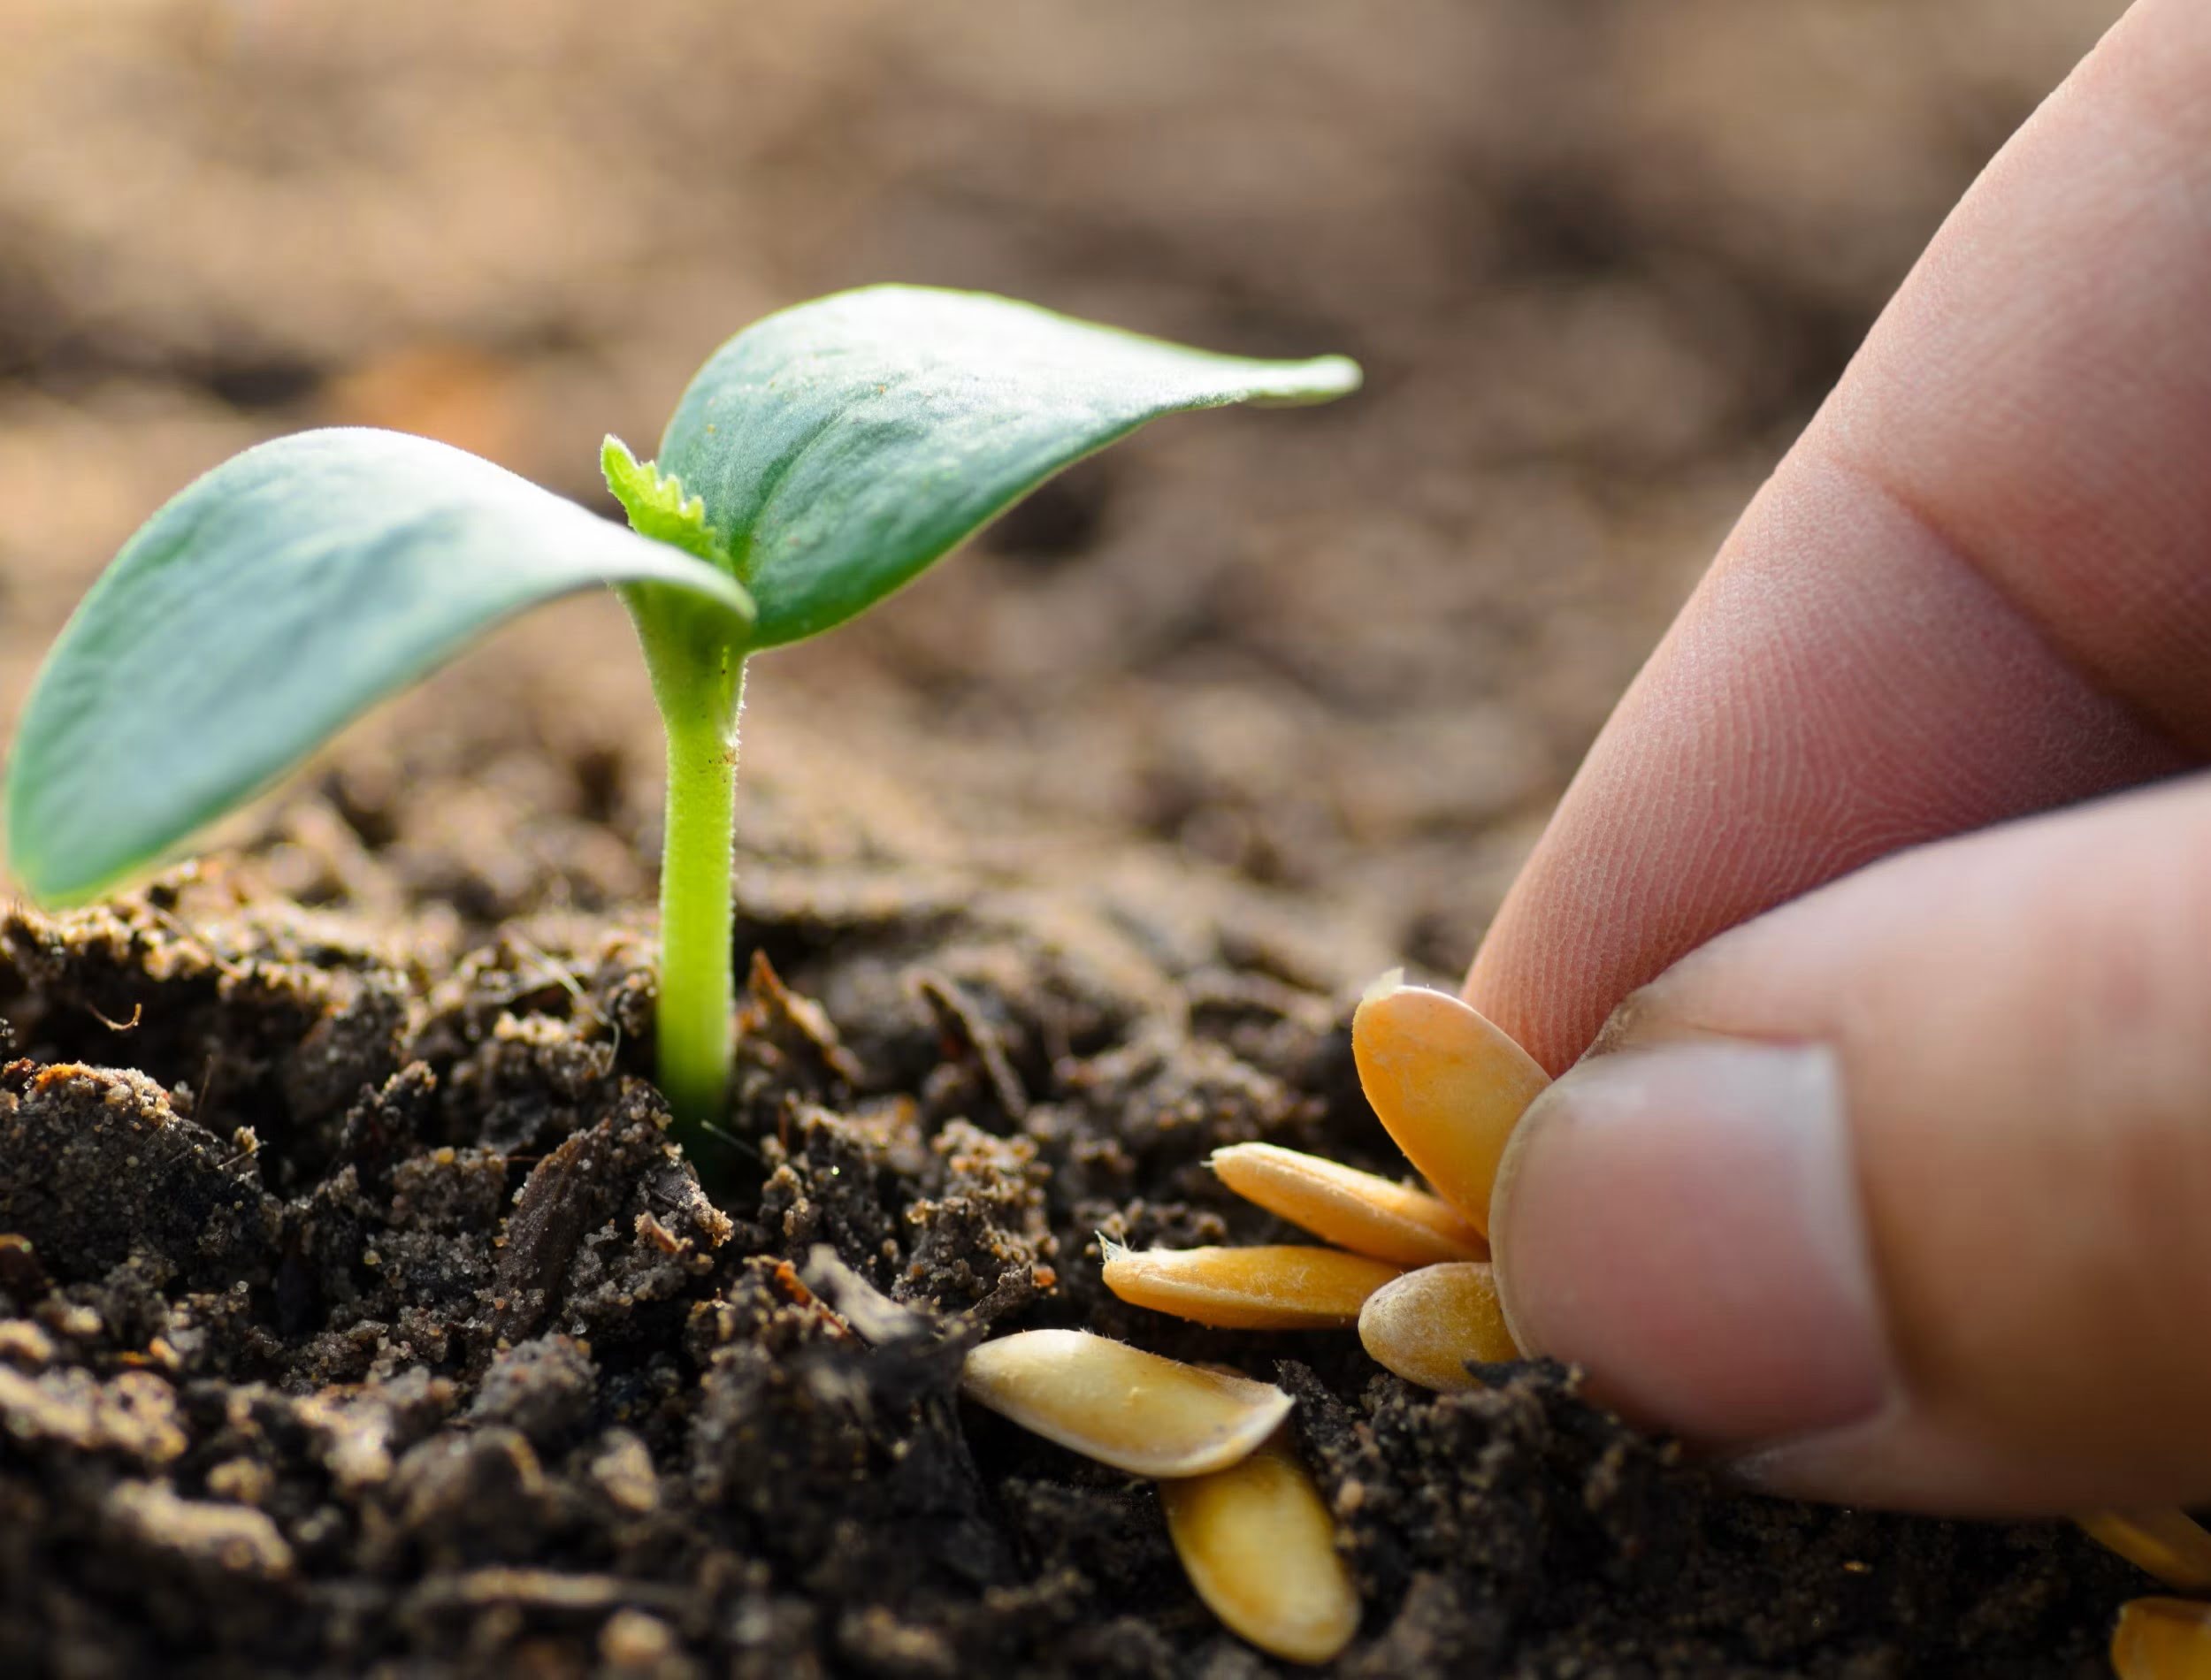
You can grow curry leaves at home without seeds by taking a cutting from an existing plant. Place the cutting in a pot with well-draining soil, keep it in a warm and sunny spot, and water it regularly. After a few weeks, roots should start to grow, and you’ll have a new curry leaf plant!
Read more: How To Grow Clementines Without Seeds
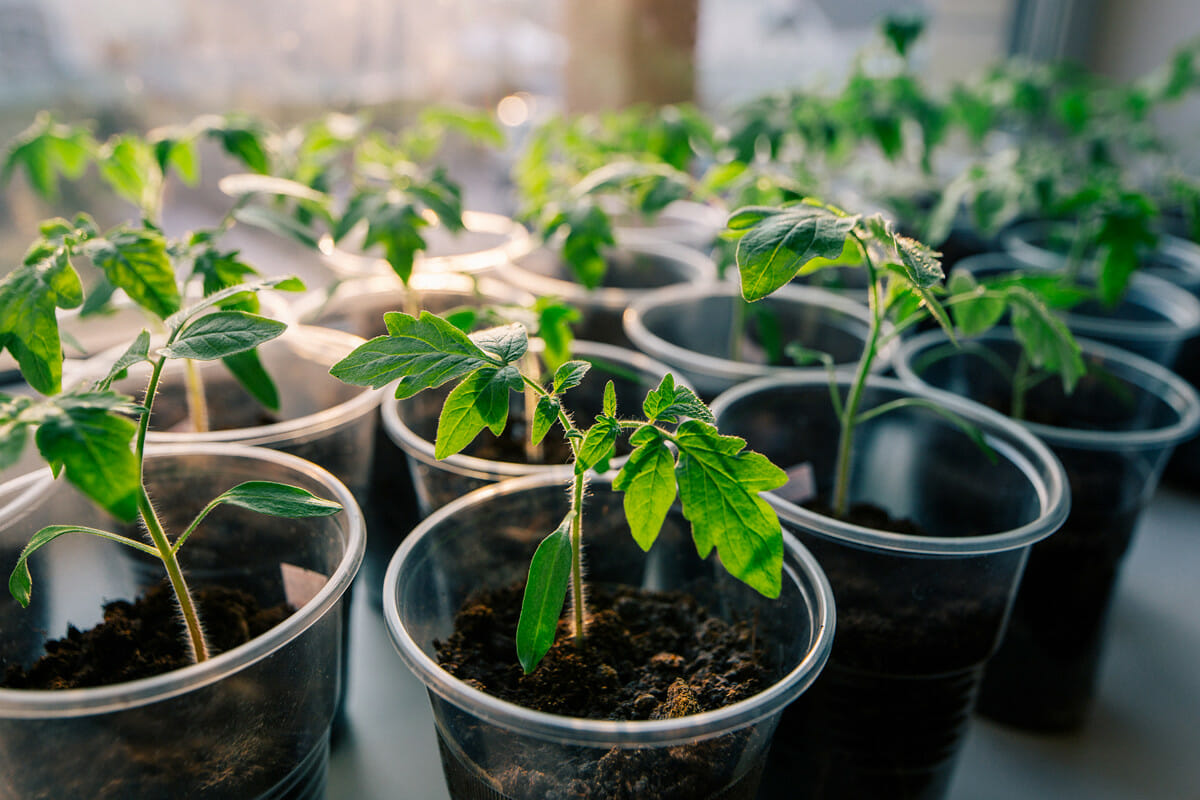
Planting Curry Leaf Cuttings
Now that you have prepared the soil, it’s time to plant your curry leaf cuttings. Follow these steps for successful planting:
- Select a Suitable Container: Choose a pot or container that has drainage holes at the bottom to allow excess water to escape. Make sure the container is large enough to accommodate the root system of the curry leaf cutting.
- Add the Potting Mix: Fill the container with the prepared potting mix, leaving about an inch of space from the rim. Gently press the soil to firm it up, but avoid compacting it excessively.
- Create a Planting Hole: Using your finger or a small tool, create a planting hole in the center of the container. The hole should be deep enough to accommodate the roots of the curry leaf cutting without bending or crowding them.
- Place the Cutting in the Hole: Carefully place the curry leaf cutting into the planting hole, ensuring that the bottom of the stem where the roots will develop is buried in the soil. Hold the cutting upright and fill in the hole with more soil, gently pressing it to secure the cutting in place.
- Water Thoroughly: After planting, give the cutting a thorough watering to settle the soil and eliminate any air pockets around the roots. Water until you see the excess water draining out from the bottom of the container.
- Provide Adequate Light: Place the potted curry leaf cutting in a location that receives bright, indirect sunlight. Avoid direct sunlight, especially during the hottest parts of the day, as it can scorch the tender leaves.
- Monitor Watering: Keep the soil consistently moist, but not soggy. Curry leaf plants prefer slightly moist soil, so water whenever the top inch of the soil feels dry. Avoid overwatering, as it can lead to root rot.
- Protect from Extreme Conditions: Protect the newly planted curry leaf cutting from extreme weather conditions, such as heavy rain, strong winds, or frost. Consider providing temporary shelter or moving the plant indoors if needed.
- Be Patient: It may take several weeks for the curry leaf cutting to establish roots and start growing new leaves. During this time, be patient and provide consistent care and attention to promote healthy growth.
By following these steps, you will successfully plant your curry leaf cuttings and set them on the path to becoming thriving plants. In the next section, we will discuss how to care for your curry leaf plants as they grow.
Caring for Curry Leaf Plants
Once your curry leaf plants are established, it’s important to provide them with proper care to ensure their health and vitality. Here are some essential tips for caring for curry leaf plants:
- Watering: Curry leaf plants require regular watering to keep the soil consistently moist. Water them when the top inch of the soil feels dry, but avoid overwatering, as it can lead to root rot. Adjust the frequency of watering based on the climate and the moisture retention capabilities of the soil.
- Fertilization: To promote healthy growth, fertilize your curry leaf plants every 4-6 weeks during the growing season (spring and summer). Use a balanced, water-soluble fertilizer specifically formulated for edible plants. Follow the package instructions for application rates and frequency.
- Pruning: Regular pruning helps maintain the shape and compactness of the curry leaf plant. Prune off any dead or yellowing leaves, as well as any branches that are crossing or overcrowding the plant. Pruning also stimulates new growth and can promote a bushier plant.
- Protection from Pests: Curry leaf plants can be susceptible to pests like aphids, mites, and whiteflies. Monitor your plants regularly and take steps to control any pest infestations. You can use organic pest control methods like neem oil sprays or insecticidal soaps. Keep an eye out for any signs of pests, such as distorted leaves or sticky residue on the foliage.
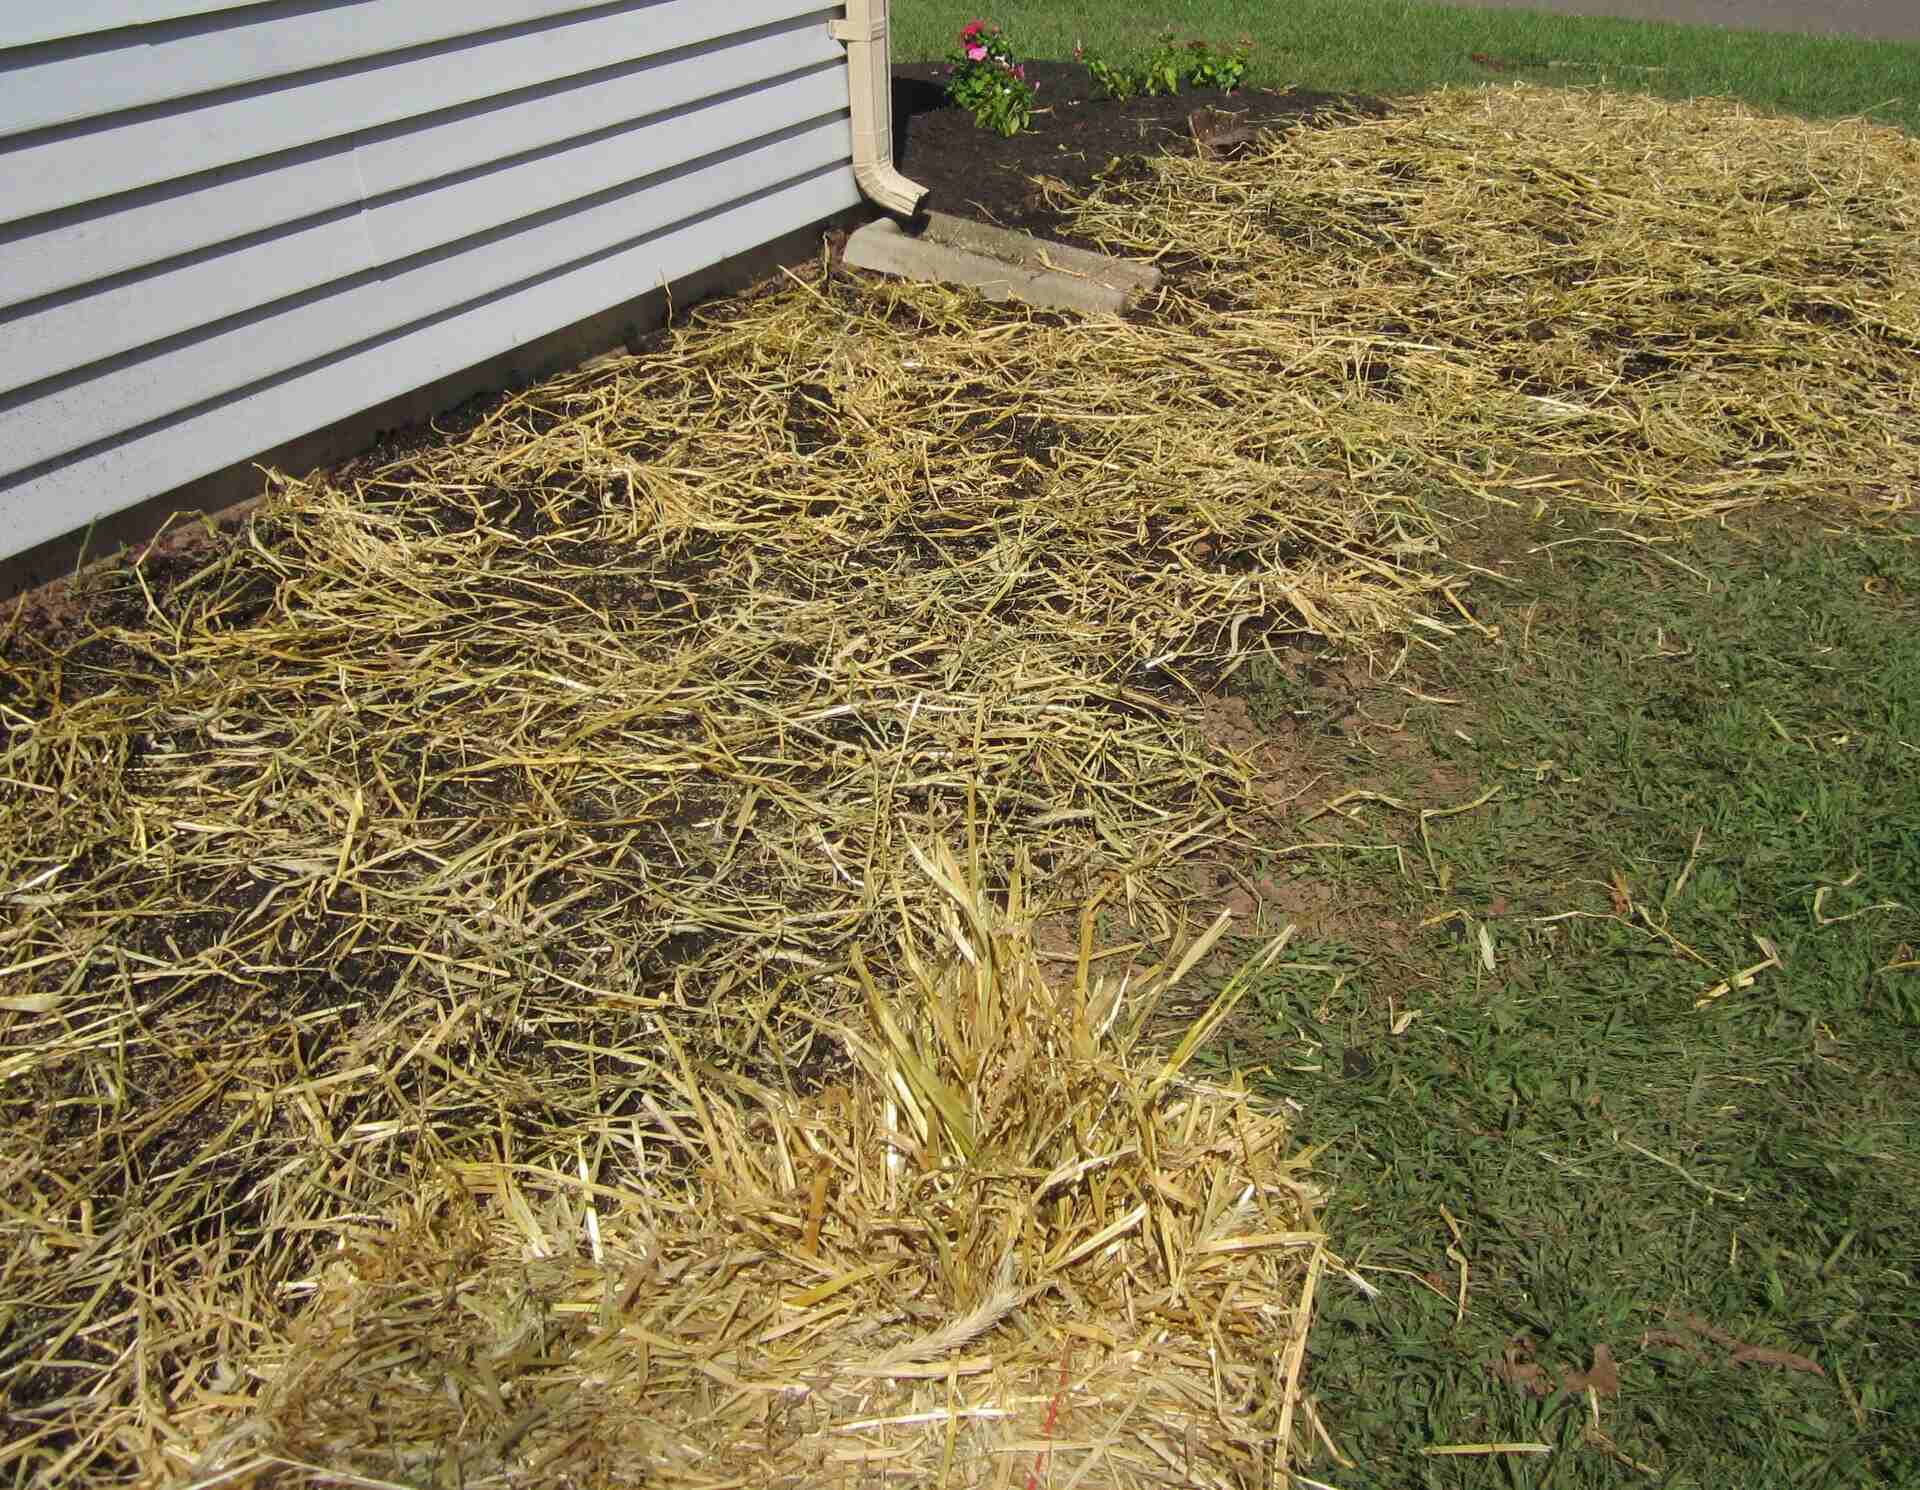
- Mulching: Apply a layer of organic mulch around the base of the curry leaf plant to help retain moisture, regulate soil temperature, and suppress weed growth. Avoid placing mulch directly against the stem to prevent rotting.
- Support and Training: As your curry leaf plant grows, it may need support to prevent it from bending or sprawling. Use stakes or trellises to provide support and gently tie the branches to them with soft plant ties. This will help maintain an upright and tidy growth habit.
- Monitor for Diseases: Keep an eye out for any signs of diseases, such as leaf spots or fungal infections. If you notice any issues, promptly remove and dispose of affected leaves or branches. Ensure good air circulation around the plant to prevent the development and spread of diseases.
- Harvesting: When your curry leaf plant has grown enough, you can start harvesting the leaves. Pick the fresh green leaves by gently pinching them off from the stem. Harvesting encourages new leaf growth, so remember to leave enough leaves on the plant to sustain its health and growth.
By providing proper care and attention, you can enjoy a thriving curry leaf plant that provides you with a continuous supply of fresh and flavorful leaves. In the next section, we will discuss the process of harvesting curry leaves.
Harvesting Curry Leaves
Harvesting curry leaves from your plant is an exciting part of growing them at home. Here’s how to properly harvest curry leaves:
- Wait for Sufficient Growth: Allow your curry leaf plant to grow to a reasonable size before starting to harvest the leaves. This ensures that the plant has enough foliage to continue thriving.
- Choose Mature Leaves: Select mature leaves that are dark green and fully developed for harvesting. These leaves have the best flavor and aroma.
- Pinch or Cut the Leaves: To harvest, simply pinch or cut off the desired leaves from the stem. Pinch off individual leaves or trim entire branches, depending on your needs. Be sure to use clean, sharp scissors or garden shears to avoid damaging the plant.
- Harvest from Multiple Branches: To promote healthy growth and prevent the plant from becoming lopsided, harvest from different branches instead of solely focusing on one area.
- Leave a Portion of Leaves: When harvesting, always leave some leaves on the plant. This ensures that it can continue photosynthesis and grow new foliage.
- Store the Harvested Leaves: Immediately after harvesting, gently rinse the leaves under cold water to remove any debris. Pat them dry with a clean towel and store them in an airtight container or plastic bag in the refrigerator. Freshly harvested curry leaves can last up to two weeks when stored properly.
- Using Harvested Leaves: Incorporate freshly picked curry leaves into your dishes to enhance their flavor. You can add them to curries, stews, soups, rice dishes, and chutneys. Curry leaves can also be used in marinades, sauces, and infused oils.
Remember, the more you harvest, the more the curry leaf plant will grow. Regular harvesting stimulates new leaf growth, ensuring a continuous supply of fresh leaves for your culinary adventures. In the next section, we will address some common problems that may arise while growing curry leaf plants and provide solutions to overcome them.
Common Problems and Solutions
While growing curry leaf plants, you may encounter a few common problems. Here are some issues you might face and the best solutions to overcome them:
- Pest Infestations: Curry leaf plants can be susceptible to pests such as aphids, mites, and whiteflies. To control these pests, use organic insecticidal soaps or neem oil sprays. Regularly inspect the plants for any signs of infestation and take prompt action.
- Yellowing Leaves: Yellowing leaves can indicate overwatering, nutrient deficiencies, or root problems. Ensure that you are watering the plant appropriately and provide adequate drainage. Check the soil pH and nutrient levels and make necessary adjustments. If the roots are damaged, consider repotting the plant in fresh soil.
- Leaf Spot Diseases: Leaf spot diseases, characterized by discolored spots on the leaves, can occur due to fungal infections or bacterial pathogens. To prevent leaf spot, ensure proper air circulation, avoid overwatering, and remove affected leaves promptly. You can also use organic fungicides as a preventive measure.
- Wilting or Drooping: Wilting or drooping leaves are often a sign of underwatering or root problems. Check the moisture level of the soil and adjust your watering routine accordingly. If the roots are damaged, consider repotting the plant and providing fresh soil and proper drainage.
- Leggy Growth: Leggy growth occurs when the curry leaf plant does not receive enough sunlight. Make sure to place your plant in a location that receives at least 6-8 hours of direct sunlight. If necessary, consider providing supplemental grow lights to enhance the light exposure.
- Stunted Growth: Stunted growth can be a result of nutrient deficiencies, inadequate sunlight, or compacted soil. Ensure proper fertilization, adequate light exposure, and well-draining soil to promote healthy growth. Consider regular pruning to maintain a compact and bushy shape.
By being attentive to these common problems and taking appropriate measures, you can keep your curry leaf plants healthy and thriving. Now that you’re equipped with solutions to potential issues, let’s wrap up this article.
Read more: How To Grow Carrots In Pots Without Seeds
Conclusion
Congratulations! You’ve now learned how to grow curry leaves at home without seeds. By following the steps outlined in this article, you can enjoy the benefits of having fresh and flavorful curry leaves right at your fingertips.
Growing curry leaves at home not only provides you with a continuous supply of this aromatic herb but also offers various health benefits and culinary delights. From enhancing the flavor of your curries and soups to providing potential medicinal properties, curry leaves are a valuable addition to any home garden.
Remember to choose the right location with ample sunlight, prepare the soil properly, and propagate the curry leaves using cuttings. Provide proper care by watering consistently, fertilizing regularly, and protecting the plant from pests and diseases. Harvest the leaves when they are mature and store them properly for future use.
As with any gardening endeavor, there may be challenges along the way, but armed with the knowledge and solutions provided in this article, you can overcome these obstacles and enjoy a thriving curry leaf plant.
So why wait? Start your curry leaf garden today and elevate your culinary creations with the delicious and fragrant addition of homegrown curry leaves!
Frequently Asked Questions about How To Grow Curry Leaves At Home Without Seeds
Was this page helpful?
At Storables.com, we guarantee accurate and reliable information. Our content, validated by Expert Board Contributors, is crafted following stringent Editorial Policies. We're committed to providing you with well-researched, expert-backed insights for all your informational needs.

0 thoughts on “How To Grow Curry Leaves At Home Without Seeds”