Home>Garden Essentials>How To Grow Chia Seeds In The Garden
Garden Essentials
How To Grow Chia Seeds In The Garden
Modified: August 17, 2024
Learn how to grow chia seeds in your own garden and enjoy the benefits of this nutritious superfood. Discover simple techniques and tips for successful cultivation.
(Many of the links in this article redirect to a specific reviewed product. Your purchase of these products through affiliate links helps to generate commission for Storables.com, at no extra cost. Learn more)
Introduction
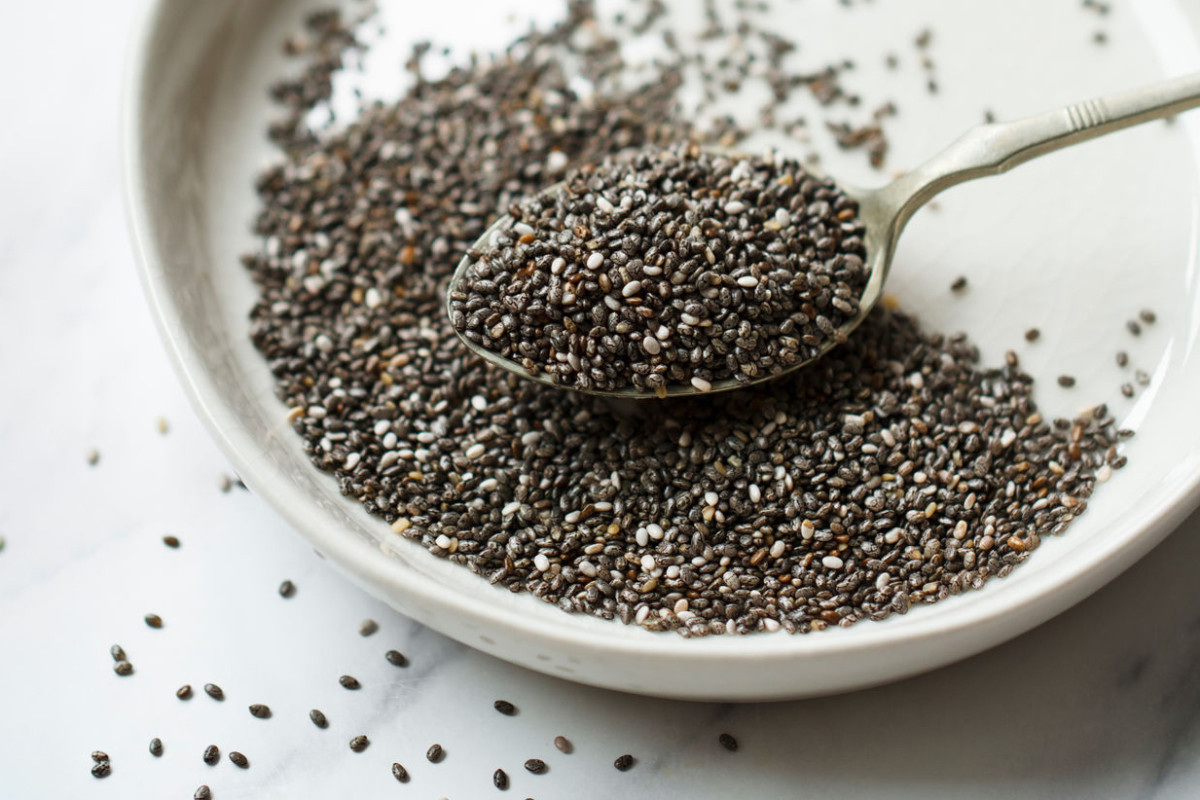
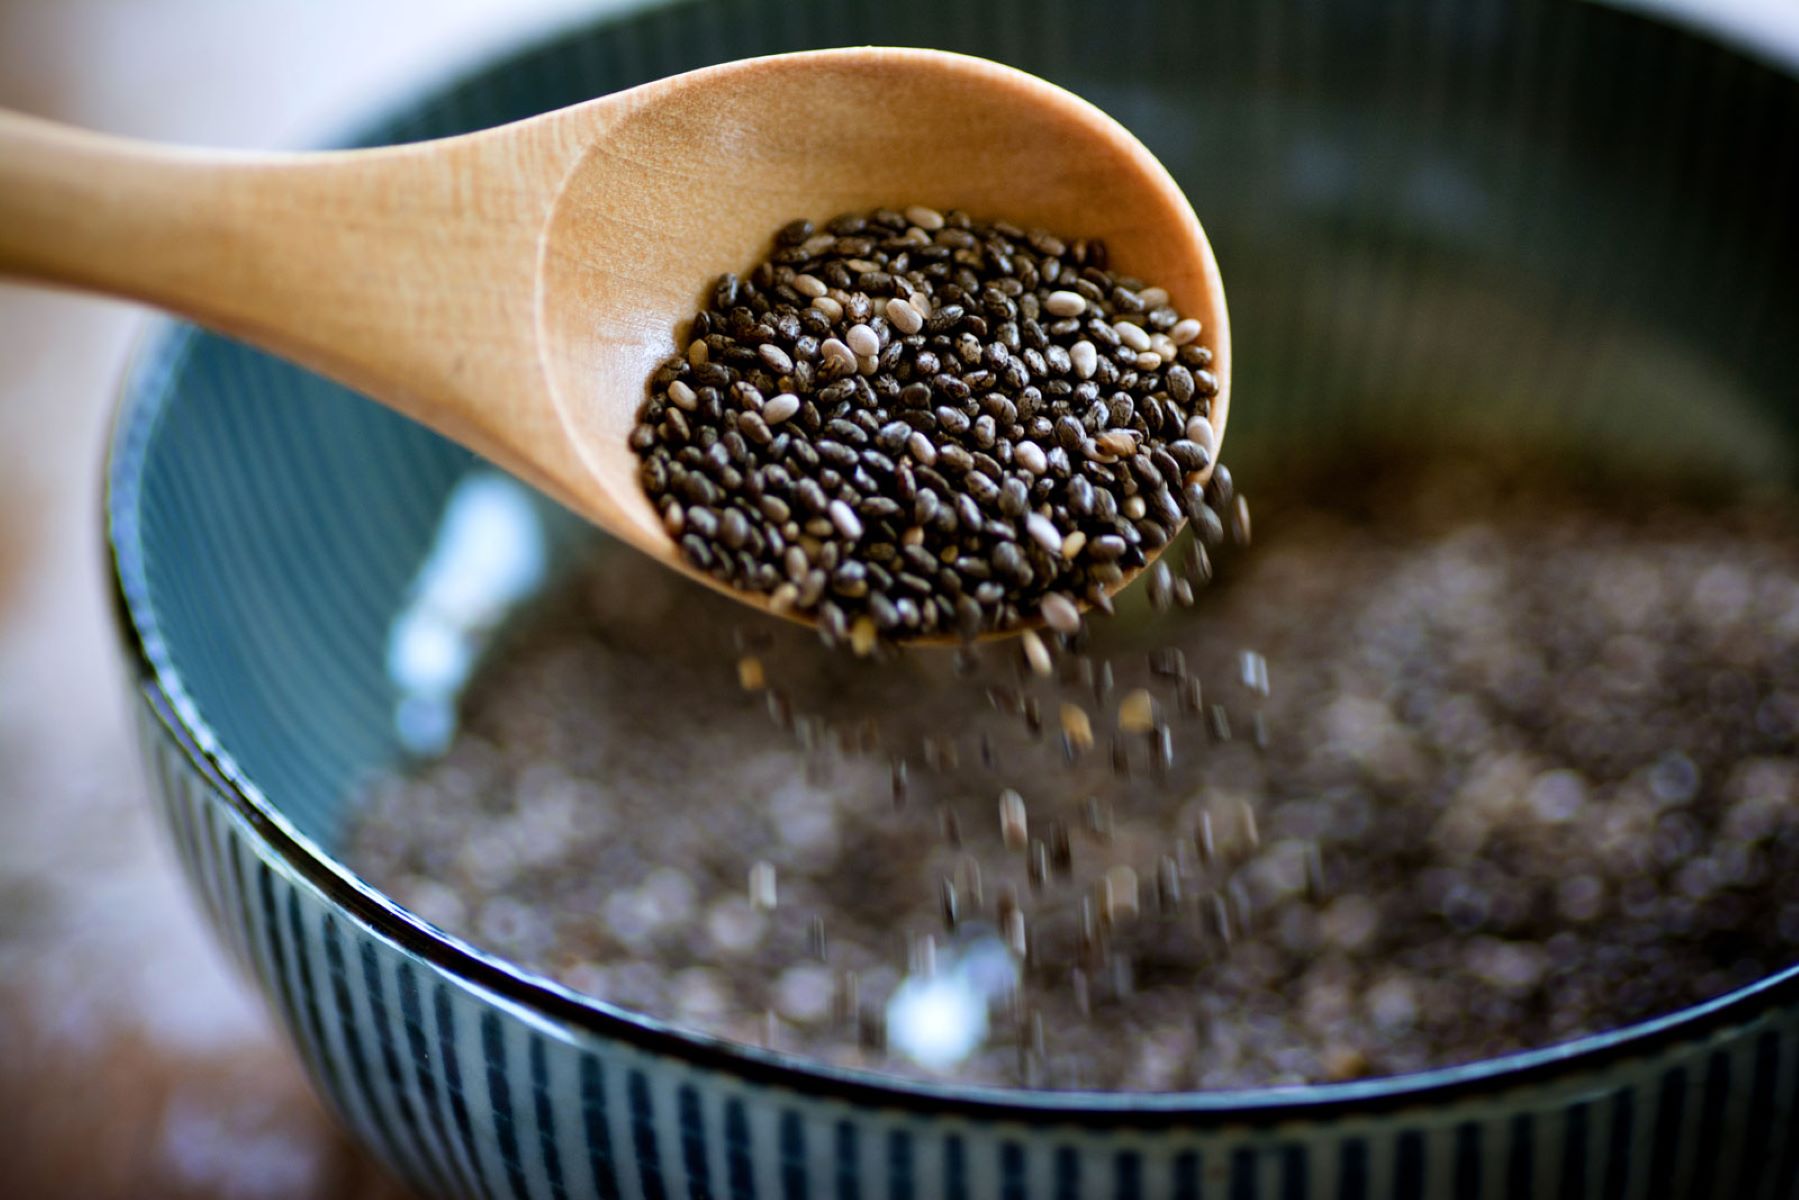
Welcome to the world of gardening, where you can transform your backyard into a vibrant and fruitful oasis. One plant that is gaining popularity among gardeners and health-conscious individuals is chia seeds. These tiny powerhouses are packed with nutrients and can be easily grown in your own garden.
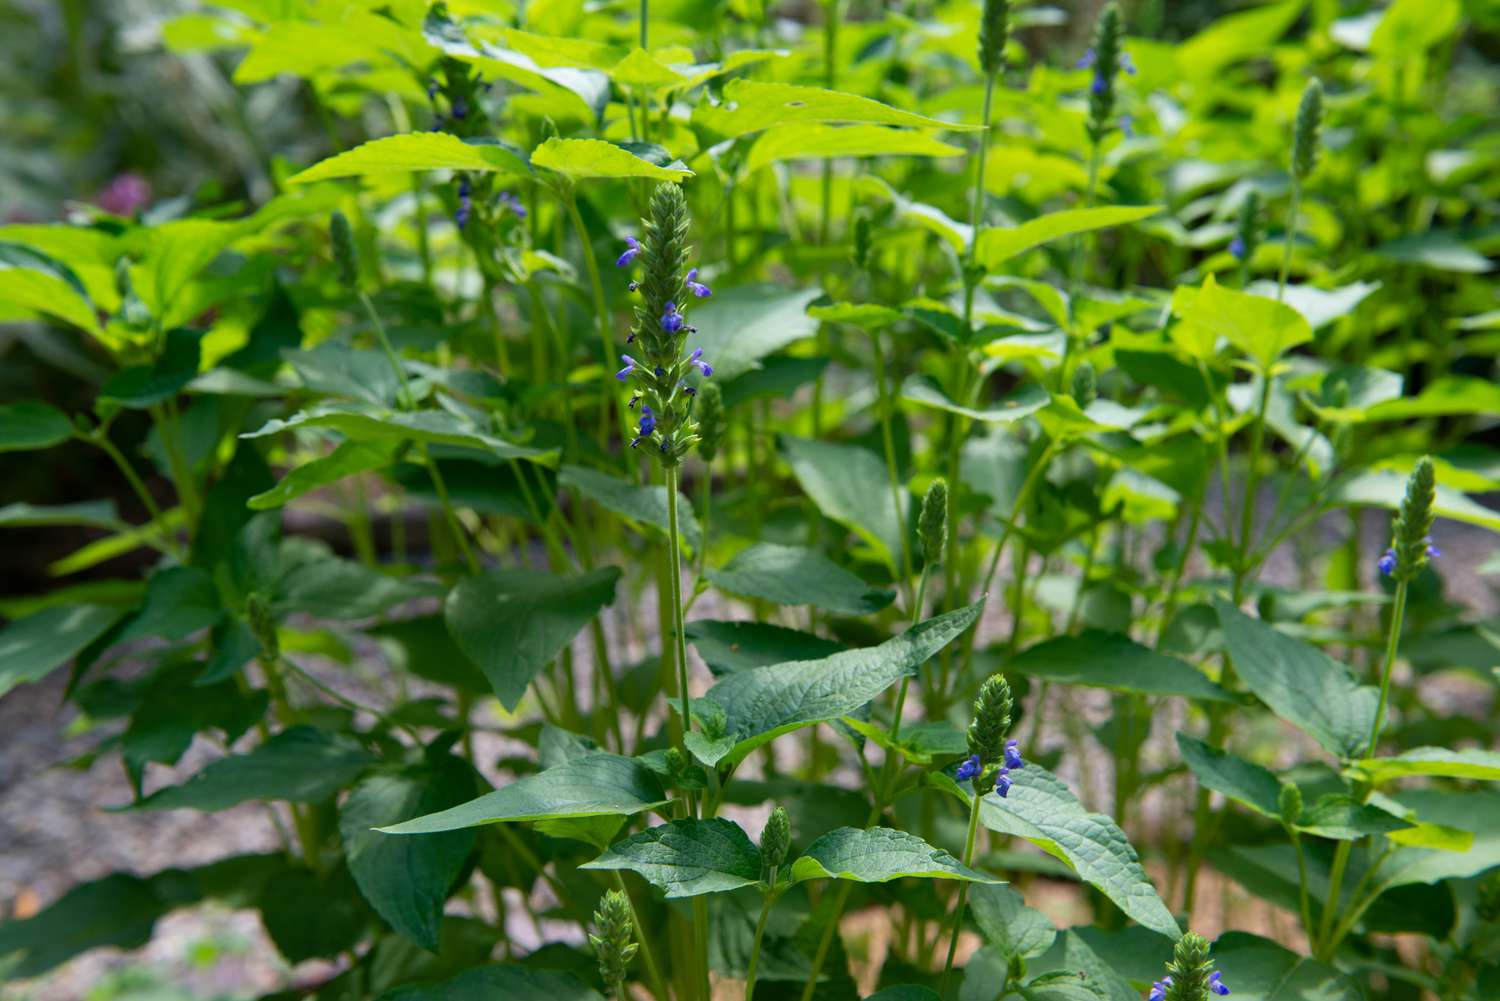
Chia seeds, originating from the desert plant known as Salvia hispanica, have been used for centuries by ancient civilizations for their nutritional and medicinal properties. Nowadays, they are prized for their high omega-3 fatty acid content, dietary fiber, and antioxidants.
By growing your own chia seeds in the garden, you can have a fresh supply of nutritious and versatile seeds for use in a variety of recipes. Plus, cultivating chia seeds can be an enjoyable and rewarding experience, allowing you to connect with nature and witness the remarkable transformation from seed to plant.
In this article, we will guide you through the process of growing chia seeds in your garden. From choosing the right seeds to harvesting and storing, we will cover all the essential steps to ensure your chia plants thrive and provide you with an abundant harvest.
So, let’s dig in and discover how to grow chia seeds in the garden!
Key Takeaways:
- Grow chia seeds in your garden for a fun and rewarding experience. Choose the right seeds, prepare the soil, and care for your plants to enjoy a bountiful harvest of nutrient-packed chia seeds.
- Harvest and store your chia seeds for long-lasting freshness. Use them in smoothies, puddings, baking, and more to add nutrition and flavor to your meals and snacks.
Read more: How Chia Seeds Grow
Choosing the Right Chia Seeds
When it comes to growing chia seeds in your garden, selecting the right variety is crucial. There are several different types of chia seeds available, each with its own unique characteristics and growth requirements.
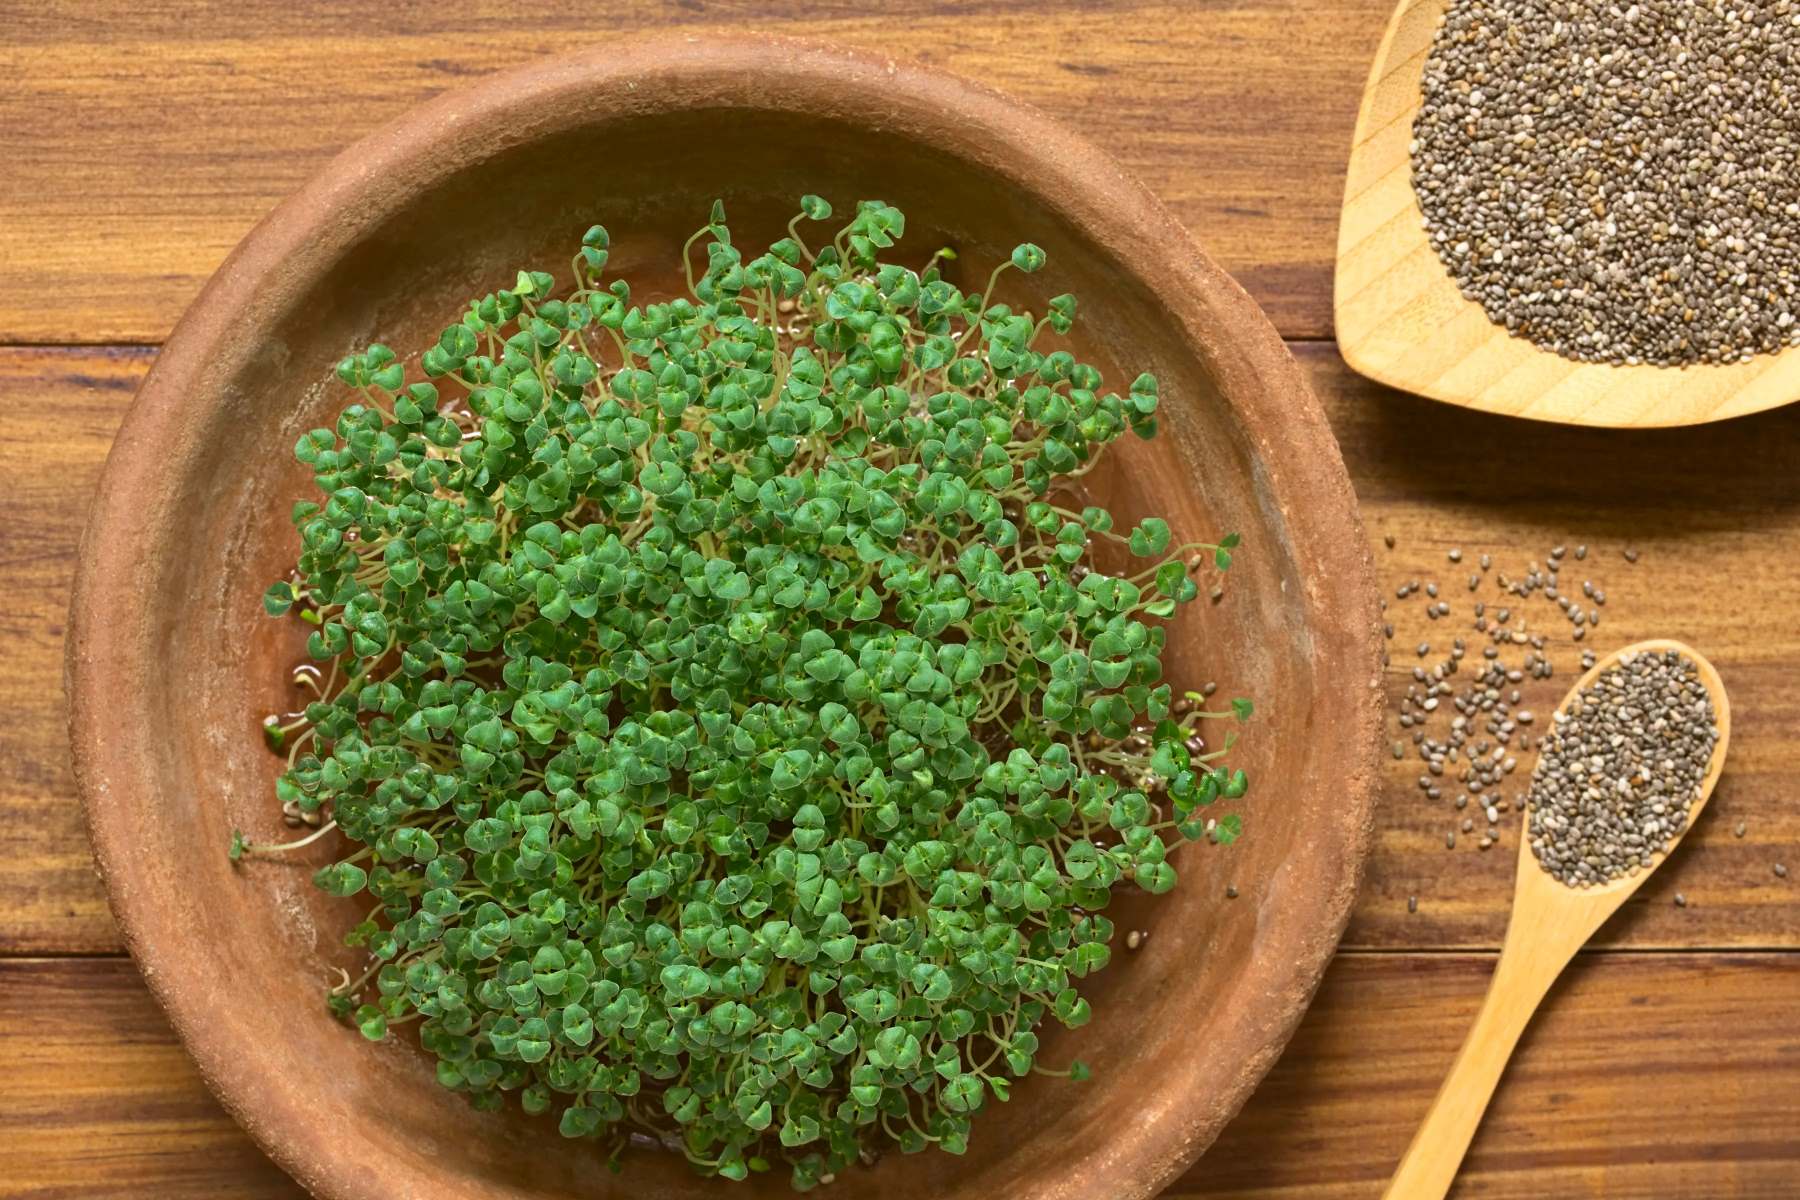
One of the first factors to consider is whether you want to grow white or black chia seeds. While both varieties offer similar nutritional benefits, they may have slight differences in taste and appearance. White chia seeds are milder in flavor and have a more subtle appearance, while black chia seeds have a slightly stronger taste and a darker color.
In addition to color, it’s important to choose chia seeds that are organic and non-GMO. This ensures that you are growing seeds that are free from harmful chemicals and have not been genetically modified.
Before purchasing your chia seeds, do some research and read reviews to find reputable suppliers. Look for companies that specialize in organic seeds and have positive feedback from customers.
Furthermore, consider the growing conditions in your area when selecting chia seed varieties. Some chia seeds are better suited for specific climates or soil types. For example, if you live in a hot and arid region, you may want to choose a variety that is more drought-tolerant.
A key aspect to keep in mind when choosing chia seeds is the maturity time of the plants. Some varieties may take longer to reach maturity and produce seeds compared to others. If you have a shorter growing season, opt for varieties that have a shorter maturity period to ensure a successful harvest.
Lastly, consider the yield potential of different chia seed varieties. Some types may produce a higher quantity of seeds per plant, which can be advantageous if you plan to use chia seeds extensively in your cooking or for other purposes.
By taking the time to research and select the right chia seed variety, you are setting yourself up for success in growing healthy and productive chia plants in your garden.
Preparing the Soil
Creating the ideal growing environment for chia seeds starts with preparing the soil. Chia plants thrive in well-draining soil with a neutral to slightly alkaline pH level. Here are the steps to prepare the soil for planting chia seeds:
- Clear the area: Start by clearing the planting area of any debris, weeds, or rocks. This will provide a clean space for the chia seeds to grow.
- Loosen the soil: Use a garden fork or a tiller to loosen the soil to a depth of about 6 to 8 inches. This will improve soil aeration and drainage.
- Amend the soil: Depending on the composition of your soil, you may need to add amendments to improve its fertility and texture. Organic matter such as compost or well-rotted manure can be added to enrich the soil with essential nutrients.
- Test the soil pH: Chia plants prefer a slightly alkaline soil pH of around 6.5 to 7.5. You can test the soil pH using a soil testing kit available at garden centers or through a local agricultural extension service. If the soil pH is too low or acidic, you can adjust it by adding lime or wood ash. Follow the recommended application rates for the specific amendments you are using.
- Mix in the amendments: Once you have determined the necessary amendments for your soil, mix them thoroughly into the loosened soil. This will ensure the amendments are evenly distributed and readily available to the chia plants.
- Ensure proper drainage: Adequate drainage is essential for chia plants. If your soil tends to retain excess moisture, consider incorporating some coarse sand or gravel to improve drainage.
By taking the time to properly prepare the soil, you are creating an optimal growing environment for your chia seeds. The rich and well-drained soil will provide the nutrients and support necessary for the chia plants to flourish.
Planting the Chia Seeds
Now that you have prepared the soil, it’s time to plant your chia seeds. Follow these steps to ensure successful planting:
- Timing: Chia seeds thrive in warm weather, so it’s essential to wait until all risk of frost has passed before planting. The optimal time for planting varies depending on your location, but generally, chia seeds are sown in late spring or early summer.
- Spacing: Chia plants tend to spread out, so ensure you provide enough space between each seed. Ideally, aim for about 12 to 18 inches of space between each chia plant to allow proper growth and airflow.
- Sowing: Make small furrows in the prepared soil, approximately ¼ inch deep. Space the furrows about 6 to 12 inches apart. Carefully sprinkle the chia seeds along the furrows, keeping them evenly spaced. It’s recommended to plant the chia seeds about ½ inch apart.
- Cover and press: After sowing the chia seeds, gently cover them with a thin layer of soil. Lightly press down on the soil to ensure good contact with the seeds, promoting germination.
- Watering: Give the newly planted chia seeds a thorough watering, ensuring the soil is evenly moist. Be careful not to overwater, as excessive moisture can lead to rot or fungal diseases.
Chia seeds typically germinate within 7 to 14 days under optimal conditions. As the seedlings emerge, provide them with regular watering to keep the soil evenly moist. However, be cautious not to water excessively, as this can cause root rot.
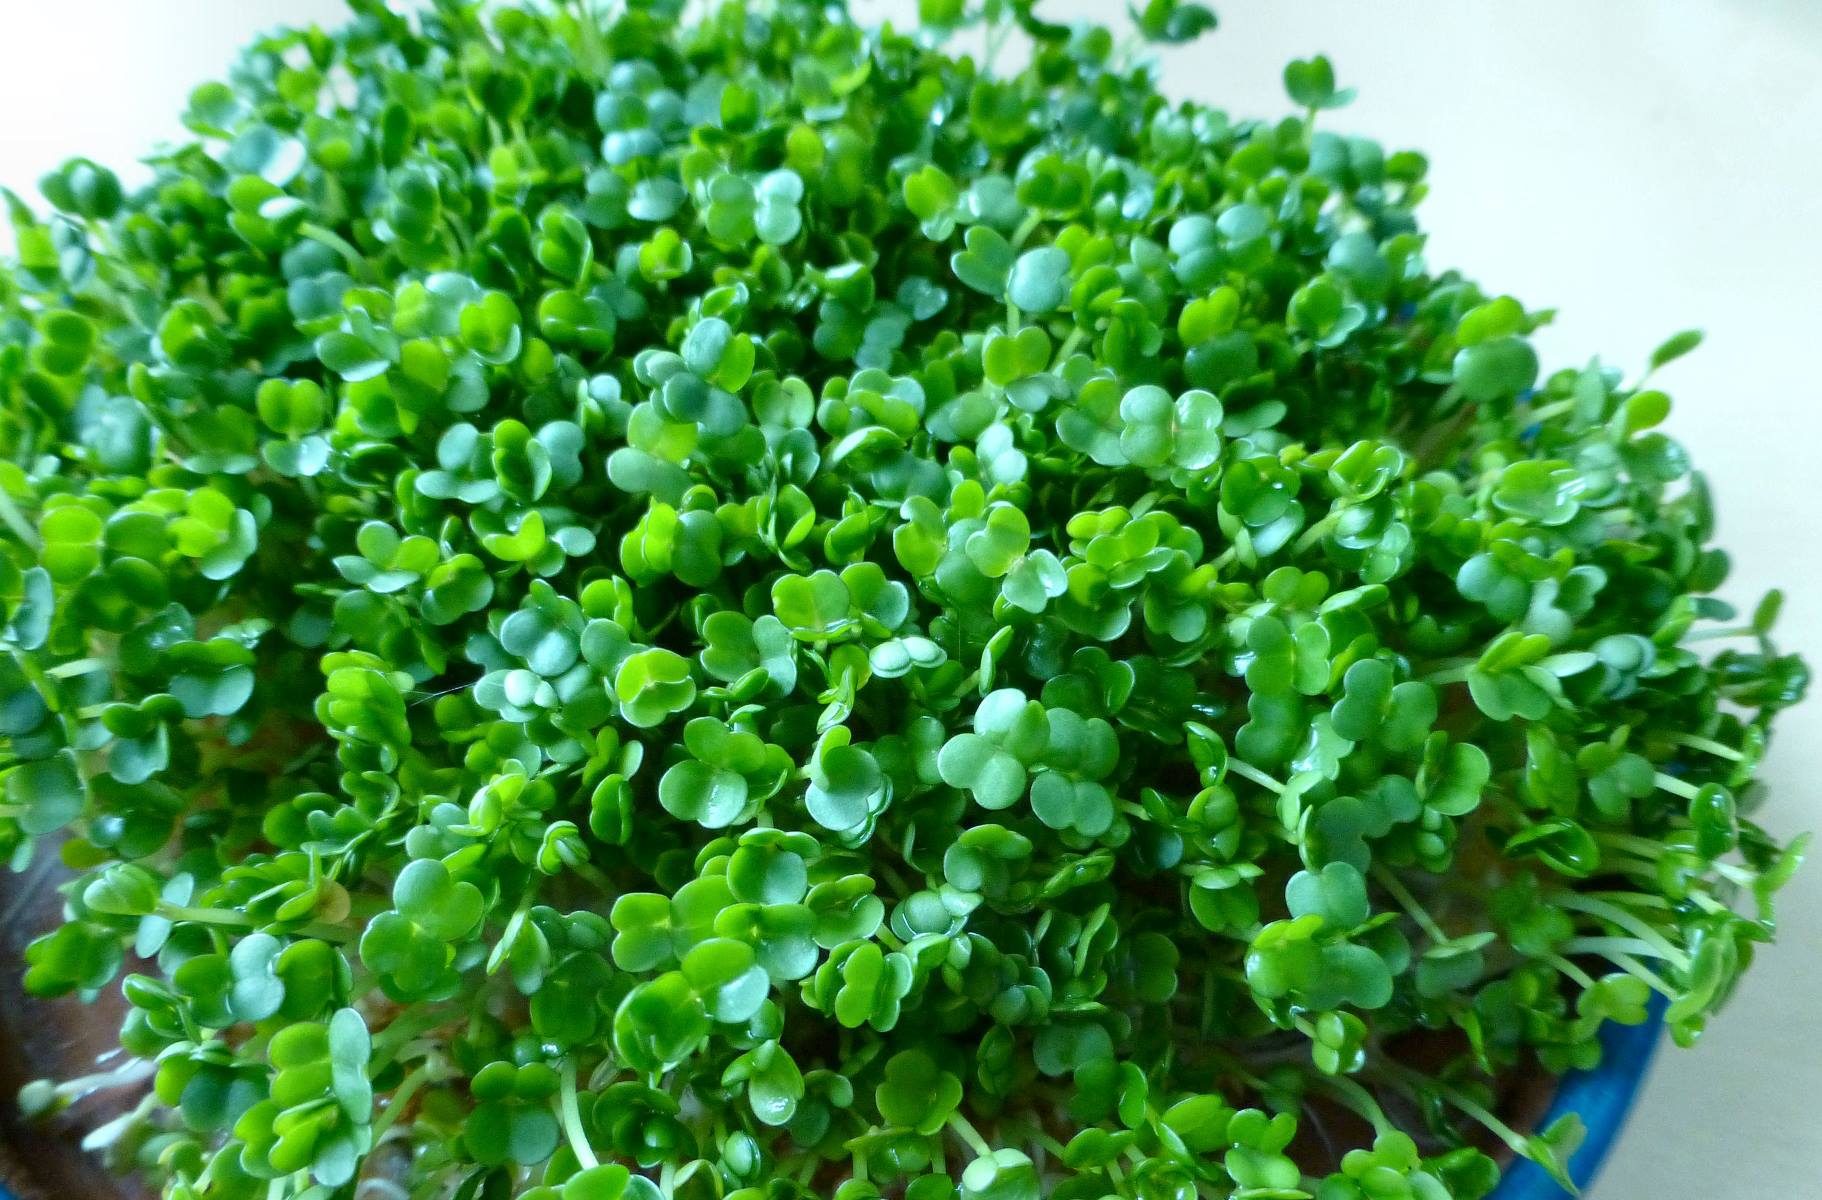
In a few weeks, you will start to see healthy chia plants growing from the seeds you planted. With proper care and maintenance, they will develop into robust plants ready for harvest.
Plant chia seeds in well-draining soil and keep them consistently moist. They prefer full sun but can tolerate some shade. Harvest the seeds when they are fully mature for the best flavor and nutrition.
Watering and Caring for Chia Plants
Proper watering and care are essential for the healthy growth and development of chia plants. Here are some tips to ensure your chia plants thrive:
- Watering: Chia plants prefer consistent moisture but can tolerate some drought. The key is to avoid overwatering, as it can lead to root rot and fungal diseases. Water the plants deeply but infrequently, allowing the top inch of soil to dry out before the next watering. Aim to provide about 1 inch of water per week, either through rainfall or supplemental irrigation.
- Mulching: Applying a layer of organic mulch around the chia plants can help conserve moisture in the soil, suppress weed growth, and regulate soil temperature. Use materials such as straw, wood chips, or compost to create a mulch layer about 2 to 3 inches thick. Be sure to keep the mulch a few inches away from the stems of the chia plants to prevent moisture-related diseases.
- Fertilizing: Chia plants are relatively low-maintenance and don’t require heavy fertilization. However, a balanced organic fertilizer can be applied once or twice during the growing season to provide additional nutrients. Follow the manufacturer’s instructions for application rates and timing.
- Weeding: Regularly removing weeds around the chia plants is important to prevent competition for nutrients and water. Be careful when weeding not to disturb the shallow roots of the chia plants.
- Supporting: As the chia plants grow, they may become top-heavy and require support. Consider using stakes or cages to prop up the plants and prevent them from falling or bending under their own weight.
- Pest and disease control: Chia plants are generally disease and pest-resistant, but occasionally, they may be susceptible to issues like aphids or powdery mildew. Monitor your plants regularly and take appropriate measures if you spot any signs of pests or diseases. Organic insecticidal soaps or neem oil can be used to control pests, and proper spacing and good airflow can help prevent fungal diseases.
By following these watering and care guidelines, you can ensure that your chia plants remain healthy and productive throughout the growing season. Remember to tailor your care routine based on environmental conditions and the specific needs of your chia plants.
Read more: How To Grow Chia Seeds In Terracotta
Harvesting Chia Seeds
Harvesting chia seeds is an exciting and rewarding part of growing chia plants. Timing is crucial to ensure the seeds are at their peak ripeness. Here’s how to determine when and how to harvest your chia seeds:
- Observing the plant: Chia plants typically take about 90 to 120 days to reach maturity and produce seeds. As the plants near maturity, the flowers will dry out, and the seed heads will begin to turn brown. Monitor the plants closely and wait until the majority of the seed heads have turned brown before harvesting.
- Checking seed readiness: To determine if the chia seeds are ready for harvest, gently rub some seeds between your fingers. If the seeds come off easily and feel slightly crunchy, they are likely mature and ready for harvesting.
- Harvesting the seed heads: Cut the seed heads from the plant using pruning shears or sharp scissors. Place them gently into a clean container or a paper bag to collect the seeds.
- Drying the seeds: Once you have collected the seed heads, it’s important to dry the seeds to prevent mold or spoilage. Spread the seed heads in a single layer in a well-ventilated and dry area, away from direct sunlight. Allow the seed heads to dry completely for about one to two weeks.
- Threshing the seeds: After the seed heads have dried, gently rub or shake them to release the seeds. You can also use your fingers to rub the seed heads to separate the seeds. Be careful not to be too rough, as you want to preserve the integrity of the seeds.
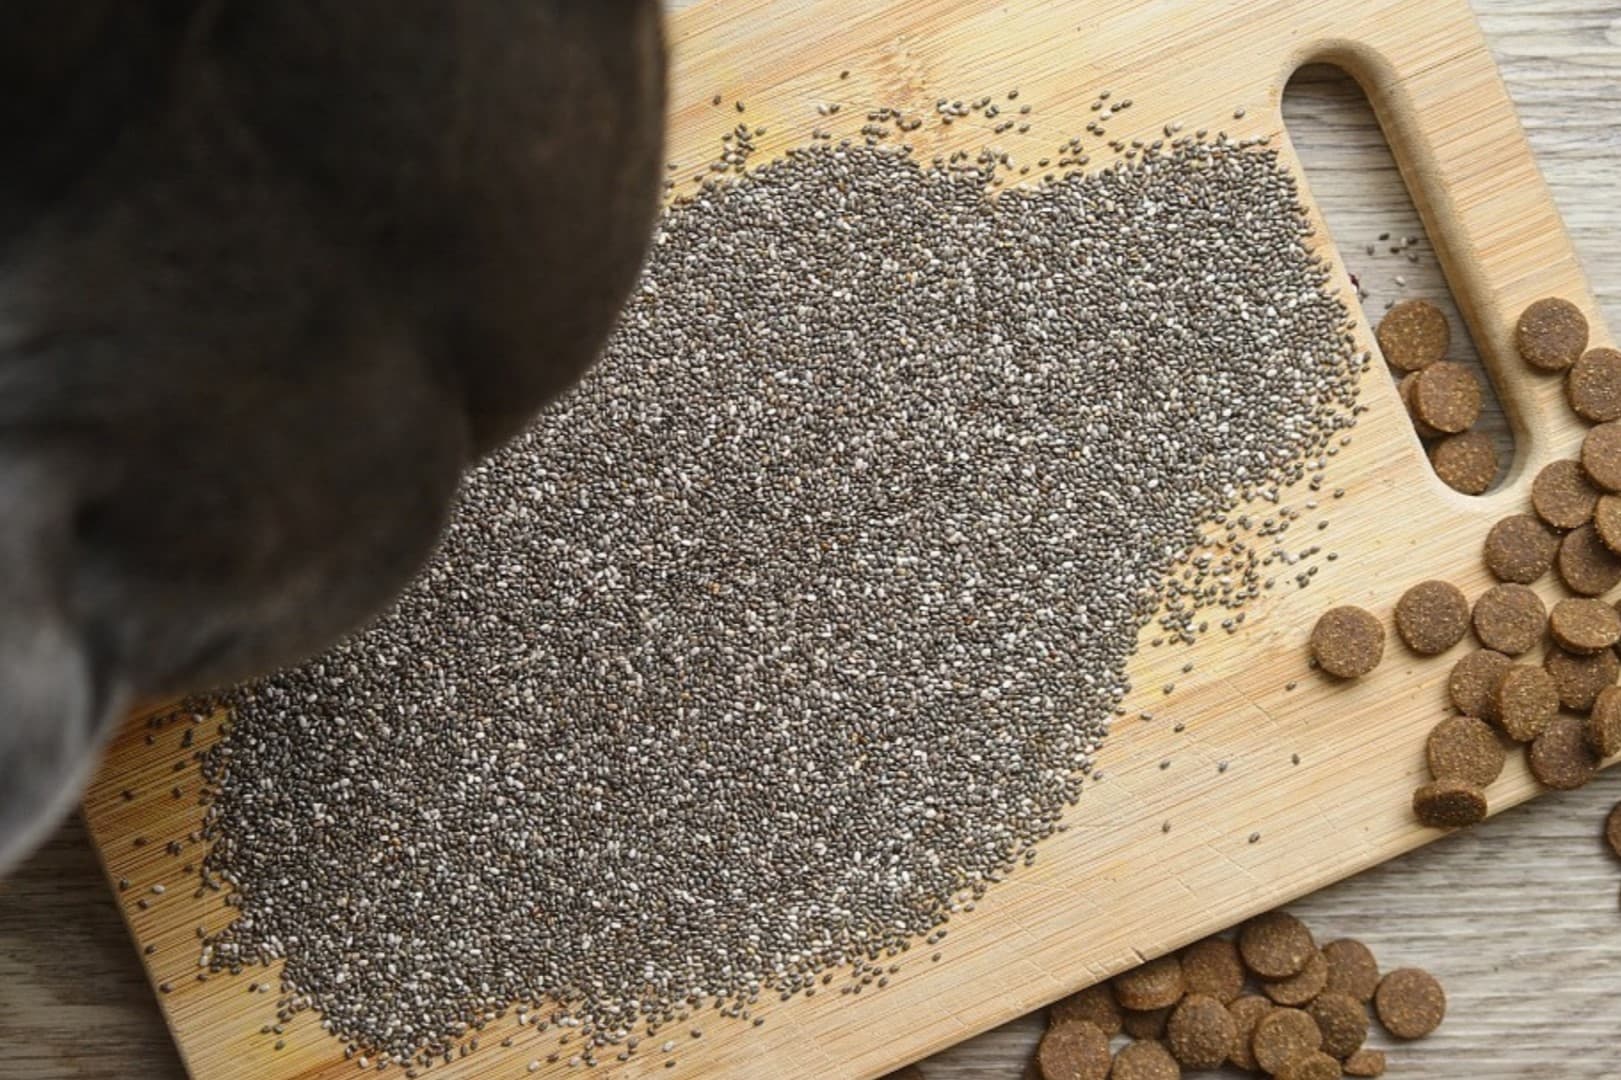
- Cleaning the seeds: To remove any remaining debris or plant material, gently blow or fan the seeds. You can also use a fine mesh sieve to sift through the seeds.
Once you have harvested and cleaned the chia seeds, store them in airtight containers in a cool, dry place. Properly stored chia seeds can retain their quality for up to several years.
Now that you have successfully harvested your chia seeds, you can enjoy the fruits of your labor. Use them in a variety of recipes, such as smoothies, salads, baked goods, or as a nutritious topping for yogurt or oatmeal.
Congratulations on your bountiful chia seed harvest!
Storing and Using Chia Seeds
After harvesting and cleaning your chia seeds, proper storage is essential to maintain their freshness and nutritional value. Here are some tips on storing and using your chia seeds:
- Storage containers: Transfer the cleaned chia seeds to airtight containers, such as glass jars or food-grade plastic containers. Make sure the containers are clean and dry before adding the seeds.
- Storage conditions: Store the containers in a cool, dark, and dry place, away from direct sunlight and moisture. Excess heat, light, and moisture can degrade the quality of the chia seeds.
- Shelf life: When stored in optimal conditions, chia seeds can maintain their quality for up to several years. However, for the best taste and quality, it’s advisable to use them within one to two years.
- Using chia seeds: Chia seeds are incredibly versatile and can be used in a variety of ways in your culinary adventures. Here are some ideas:
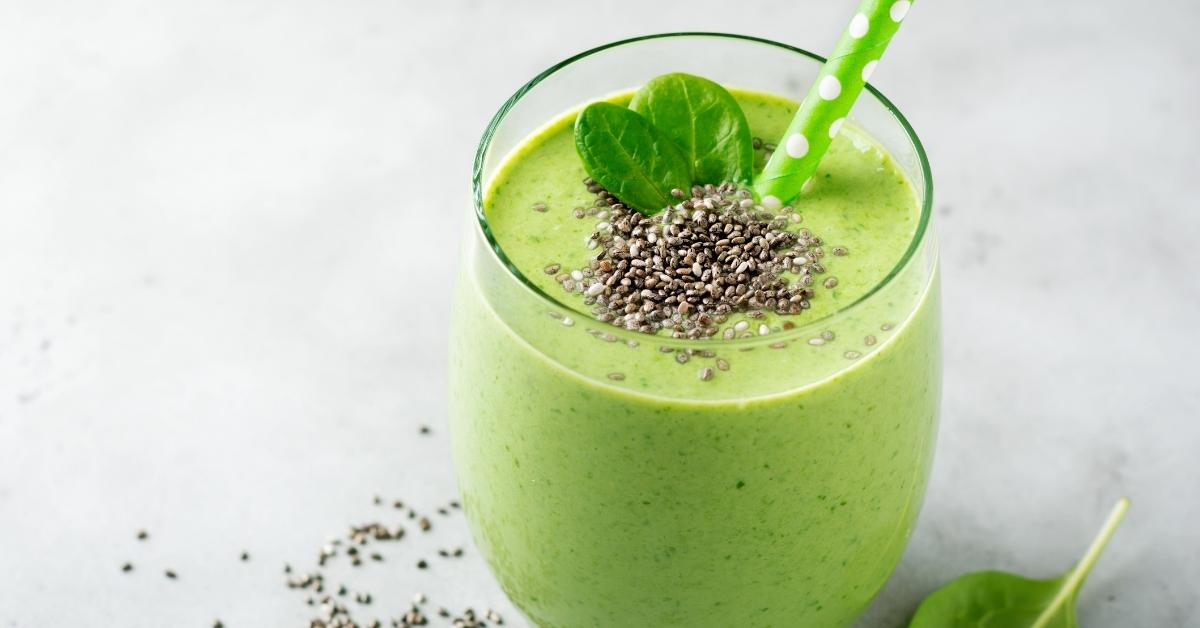
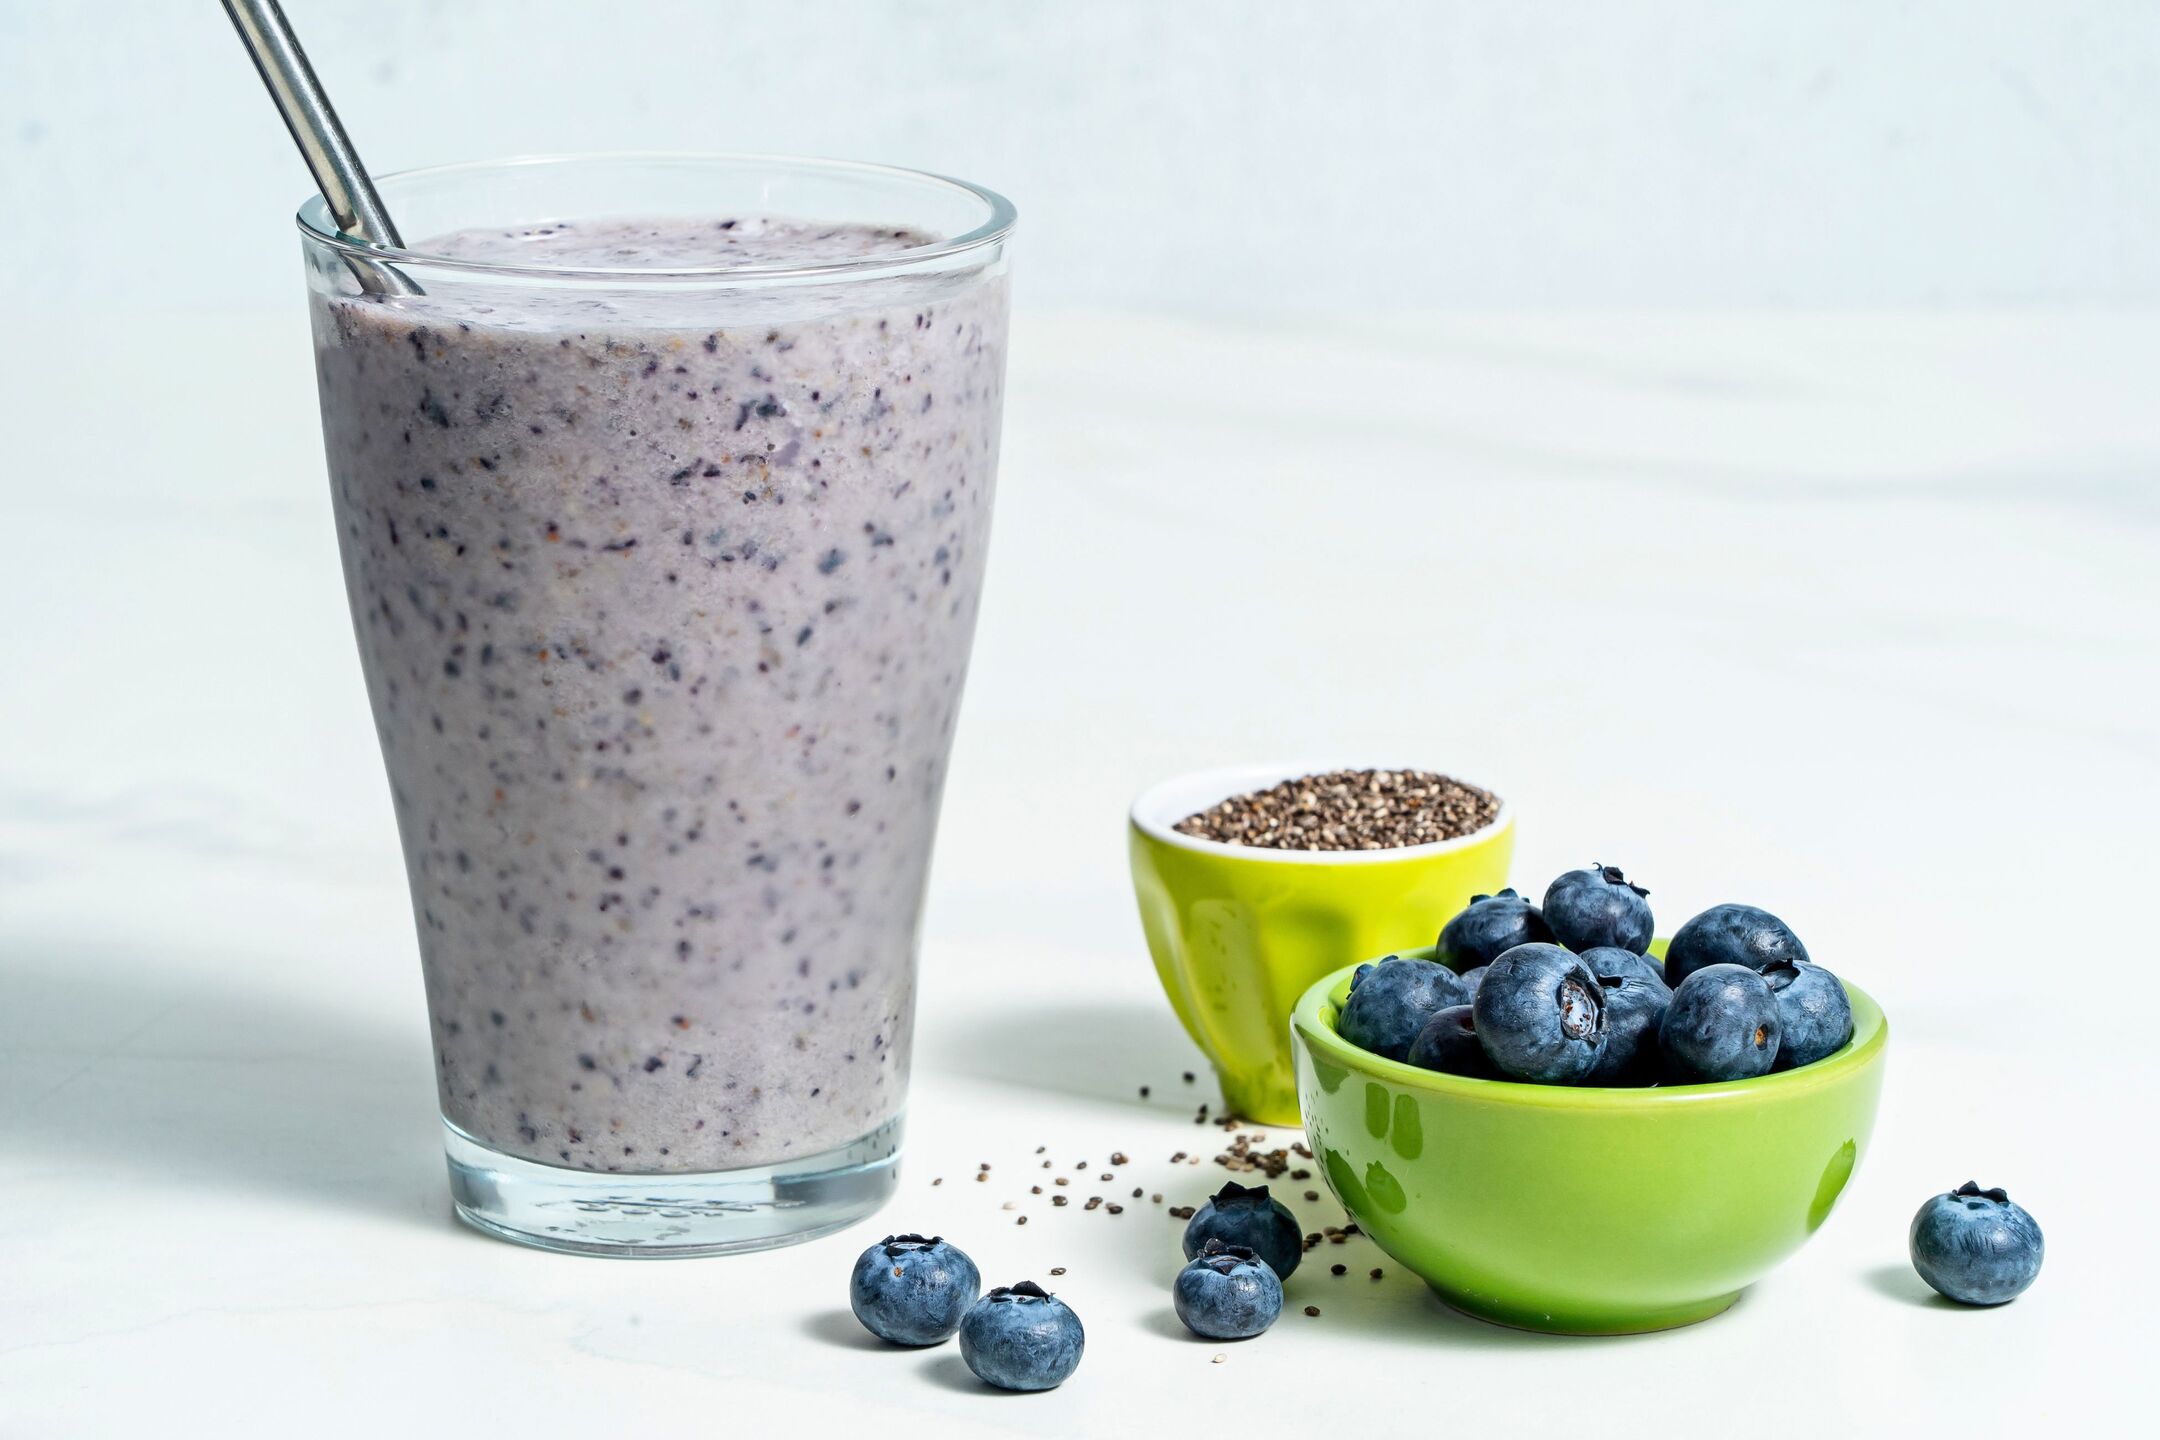
- Add them to smoothies: Sprinkle a tablespoon of chia seeds into your favorite smoothie recipes to boost the nutritional content and add a subtle crunch.
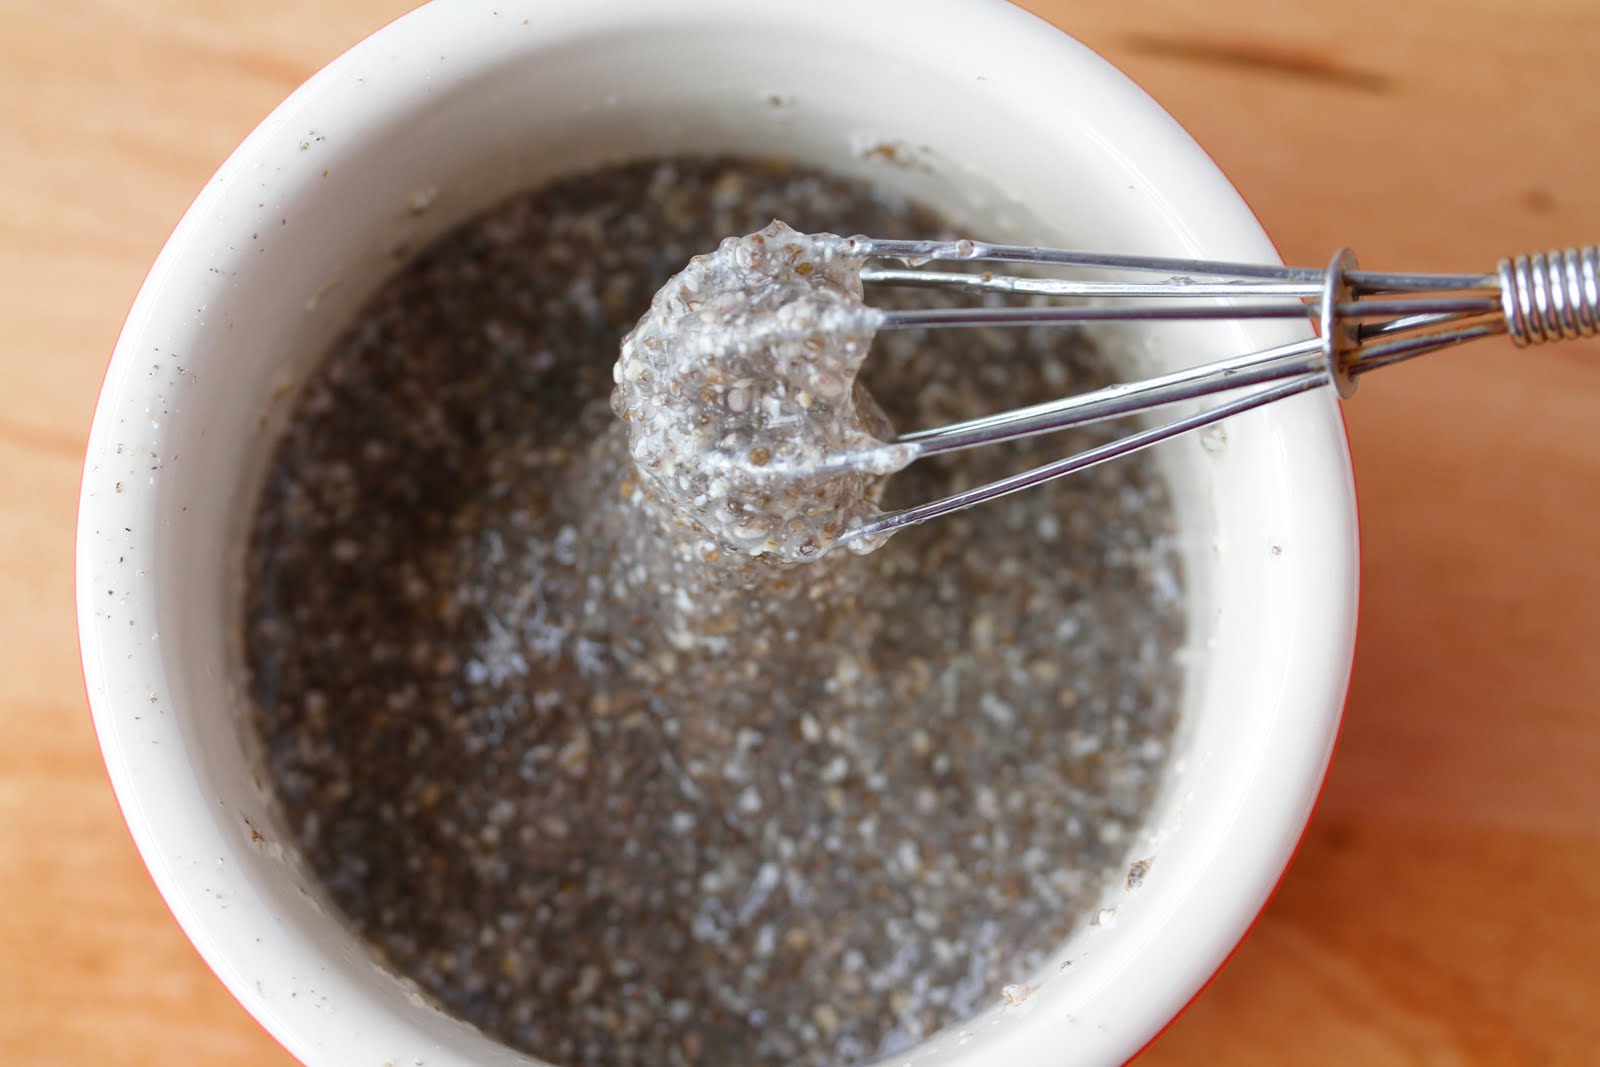
- Make chia pudding: Combine chia seeds with your choice of milk, sweetener, and flavorings to create a delicious and nutritious chia pudding. Let it sit in the refrigerator for a few hours or overnight until it thickens and has a pudding-like consistency.
- Bake with chia seeds: Incorporate chia seeds into your baked goods, such as muffins, bread, or granola bars. They can add texture, fiber, and nutrients to your recipes.
- Sprinkle on salads or cereals: Sprinkle a spoonful of chia seeds on top of salads, yogurt, oatmeal, or breakfast cereals to add a nutritious crunch.
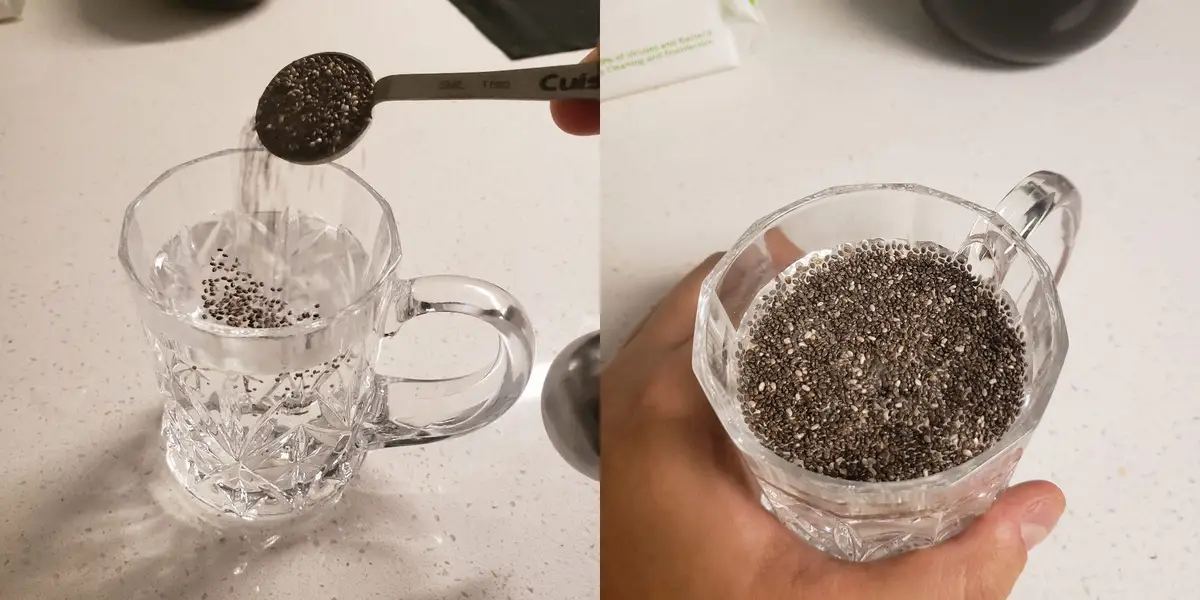
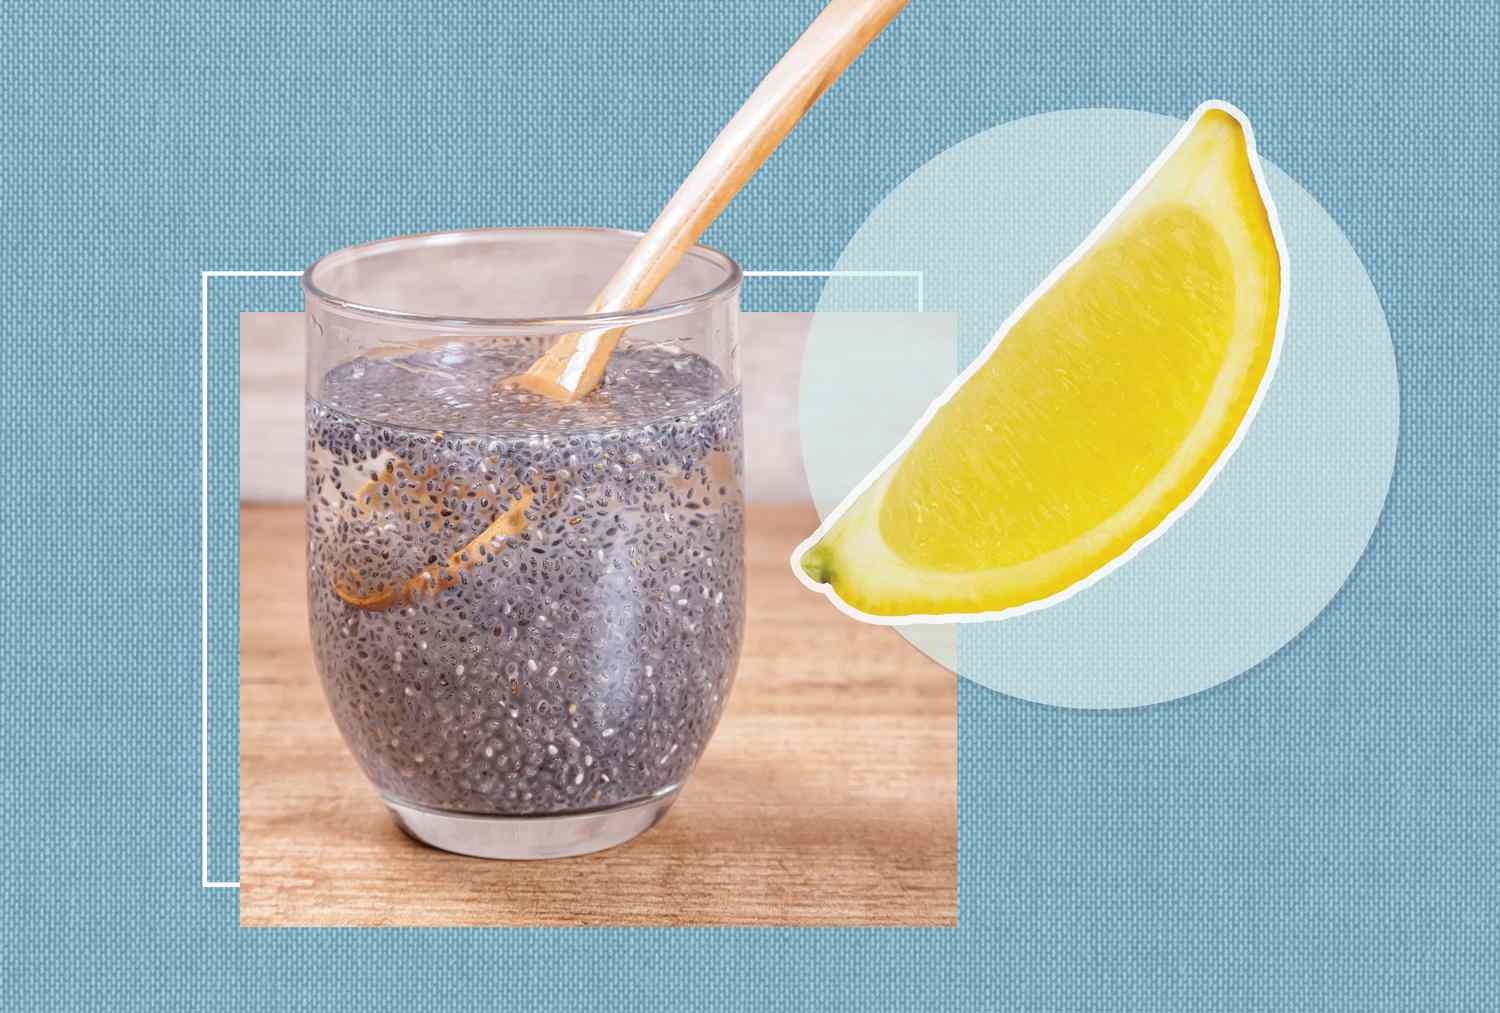
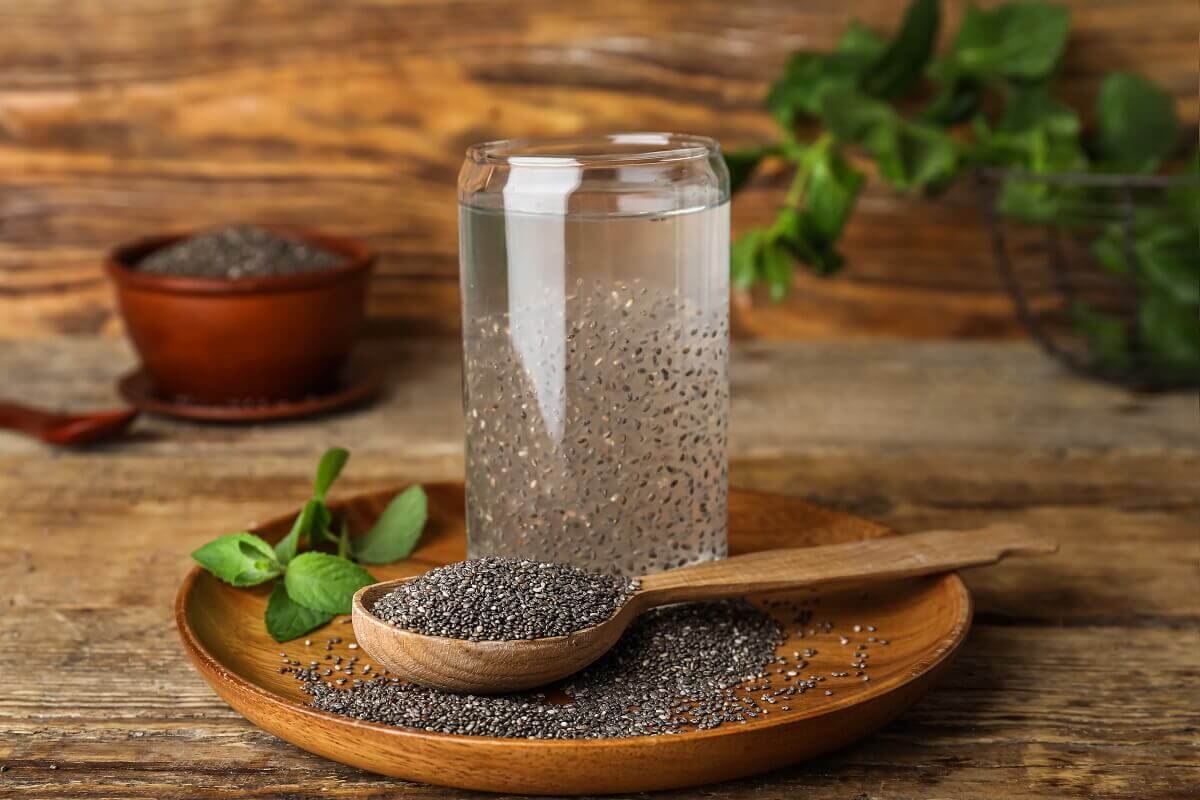
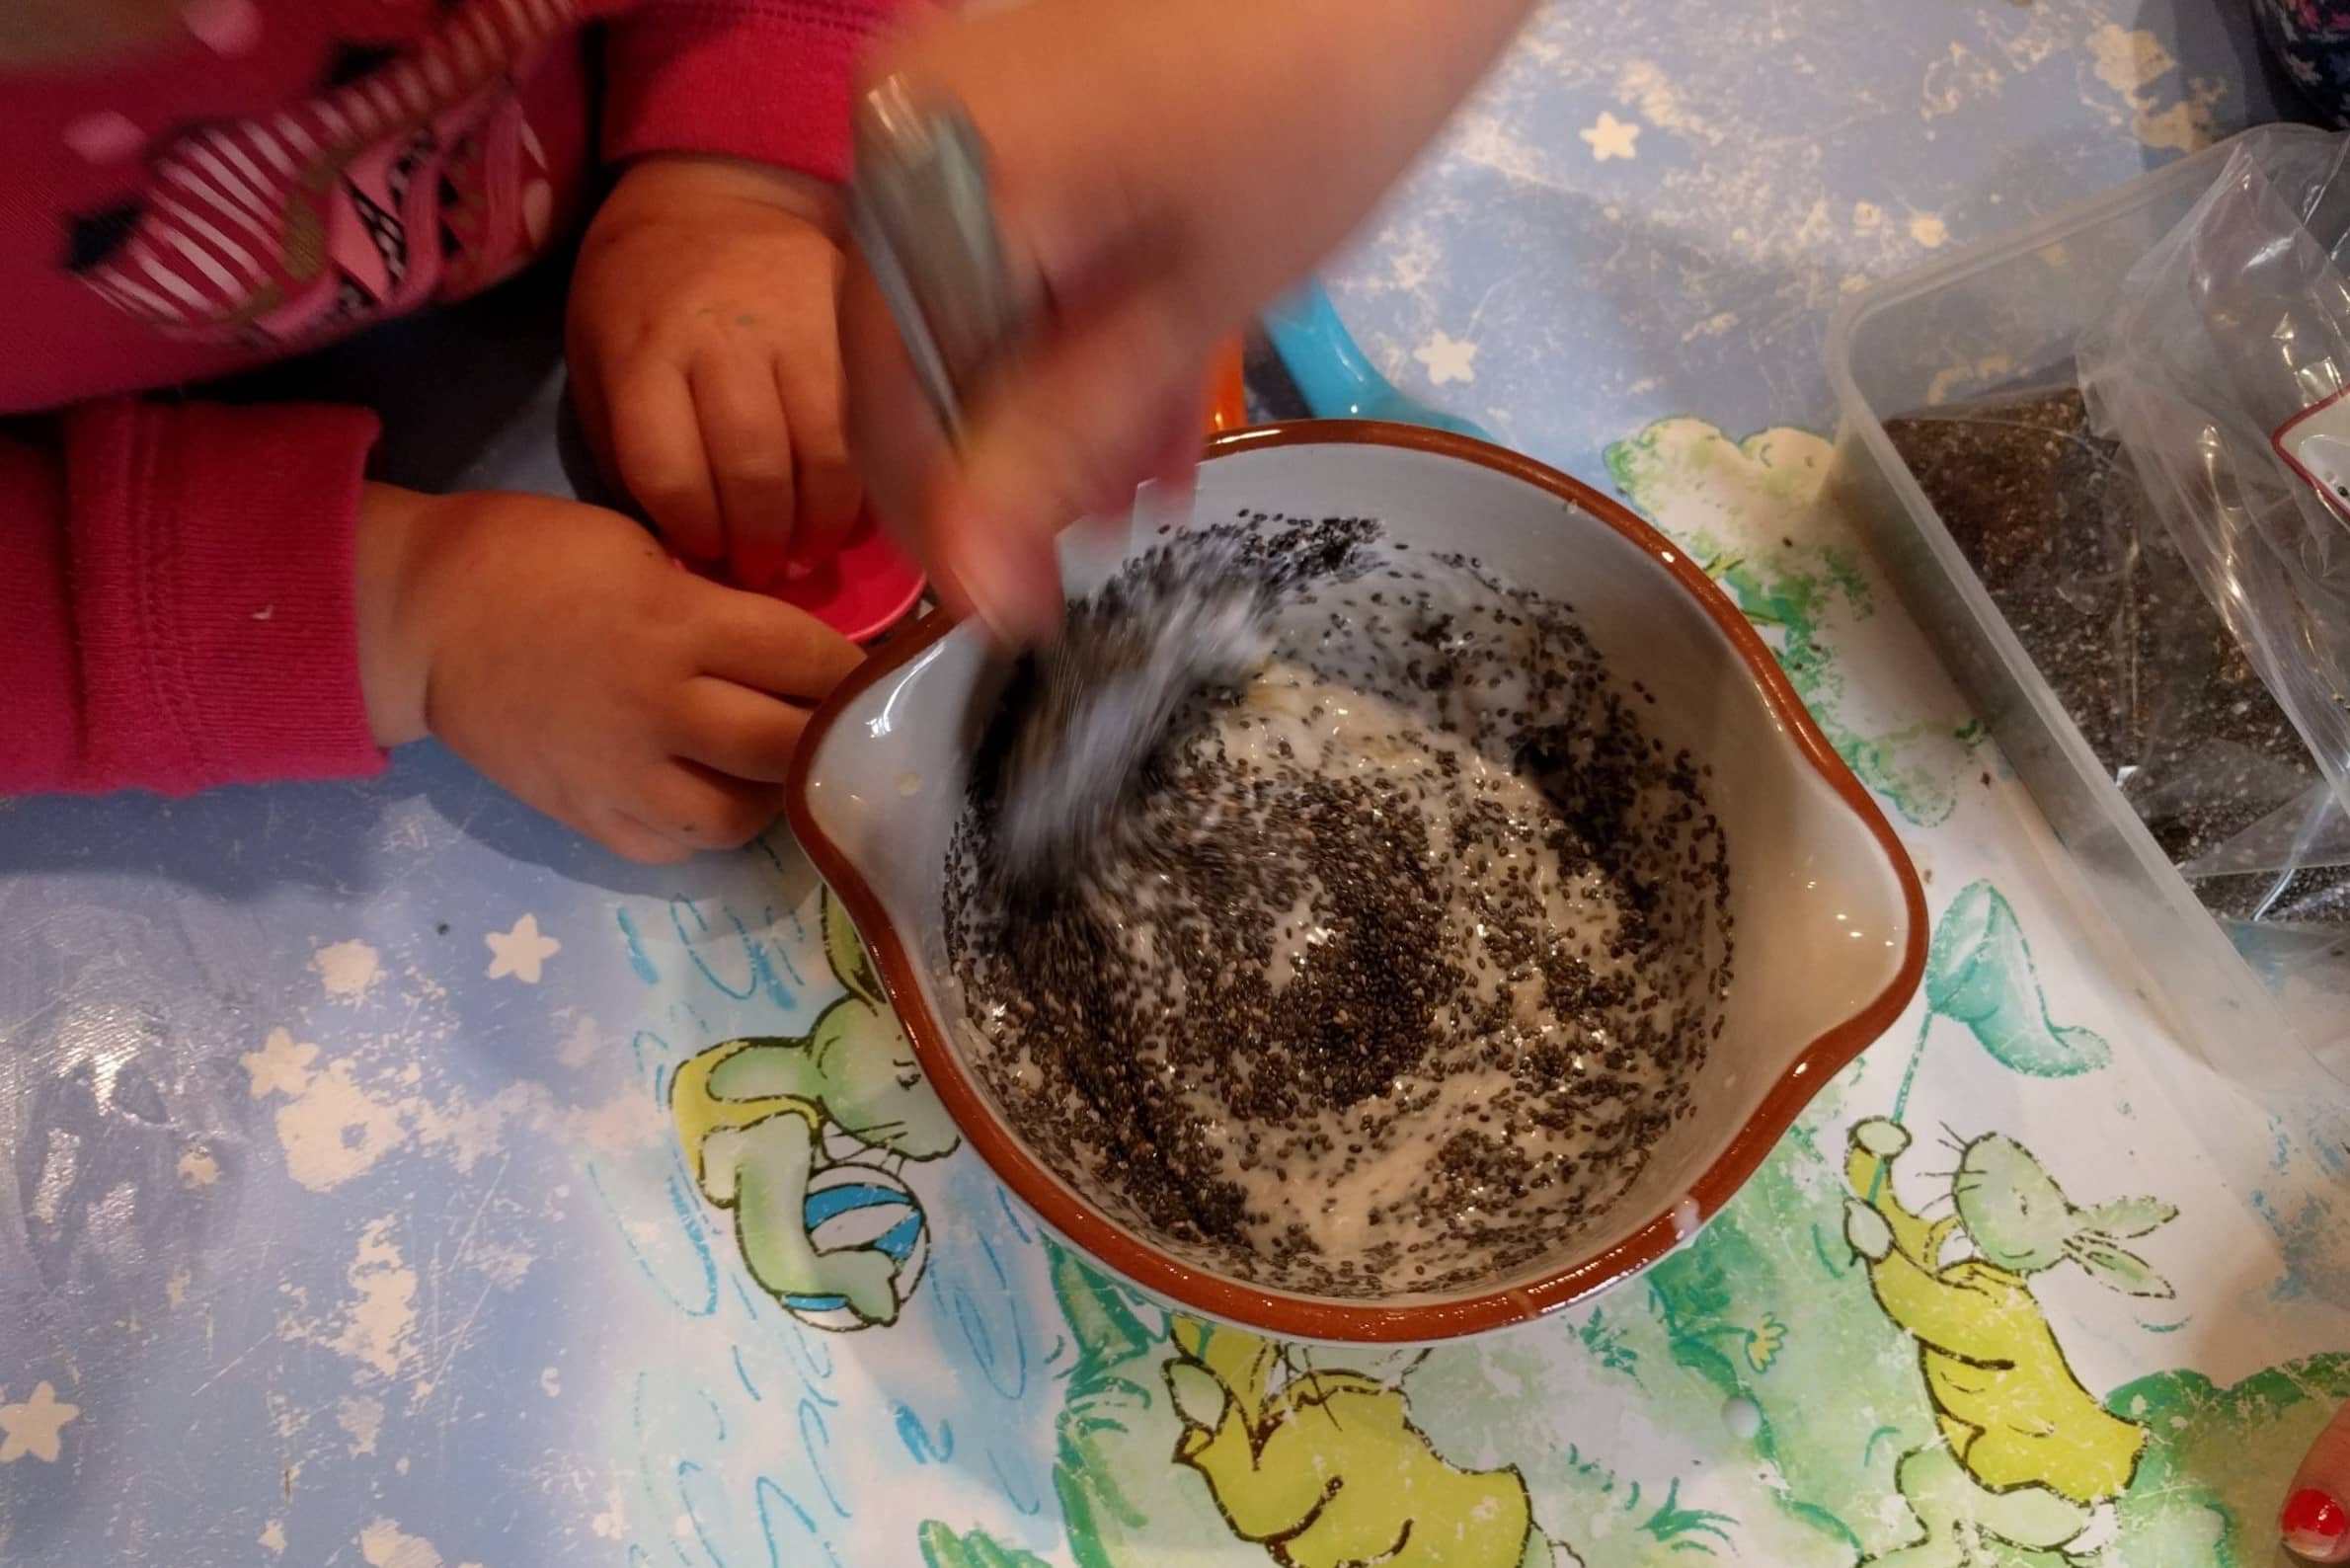
- Create chia gel: Mix chia seeds with water or any liquid of your choice to create a gel-like consistency. This gel can be used as an egg substitute in vegan baking or as a thickening agent in sauces and dressings.
Remember to experiment with different recipes and find creative ways to incorporate chia seeds into your meals and snacks. Not only do chia seeds add nutritional value, but they also provide a pleasing texture and subtle flavor.
By storing your chia seeds properly and using them in various culinary creations, you can enjoy the numerous health benefits and culinary versatility that chia seeds have to offer.
Conclusion
Congratulations! You have learned how to successfully grow and harvest chia seeds in your garden. By following the steps outlined in this article, you can enjoy the satisfaction of cultivating these nutrient-packed powerhouses right at home.
From choosing the right chia seeds and preparing the soil to planting, watering, and caring for the chia plants, you have gained valuable insights into the process. You have discovered the importance of selecting organic, non-GMO seeds and creating the ideal soil conditions for optimal growth.
As you watched your chia plants flourish, you learned about proper watering techniques, the benefits of mulching, and the importance of controlling weeds and pests. Your patience paid off as you patiently waited for the plants to mature and harvest time arrived.
Harvesting chia seeds was a gratifying experience as you observed the brown seed heads and gently collected the mature seeds. Properly drying, threshing, and cleaning the seeds ensured their long-term storage and usability in a variety of recipes.
Now, with jars filled with nutrient-rich chia seeds in your pantry, you have endless possibilities for incorporating them into your meals and snacks. Whether you add them to smoothies, make chia pudding, bake with them, or sprinkle them over salads and cereals, chia seeds provide a nutritious and flavorful boost.
Remember, gardening is a continuous learning process. Experiment with different techniques, varieties, and recipes to further enhance your gardening skills and culinary creativity. Connect with fellow gardeners or join online gardening communities to exchange insights and tips.
So, go ahead and embark on your chia seed gardening journey. Enjoy the satisfaction of growing your own nutritious superfood and reap the benefits of a bountiful harvest. Happy gardening and happy chia seed adventures!
Frequently Asked Questions about How To Grow Chia Seeds In The Garden
Was this page helpful?
At Storables.com, we guarantee accurate and reliable information. Our content, validated by Expert Board Contributors, is crafted following stringent Editorial Policies. We're committed to providing you with well-researched, expert-backed insights for all your informational needs.

0 thoughts on “How To Grow Chia Seeds In The Garden”