Home>Garden Essentials>How To Grow Tomatoes Seeds
Garden Essentials
How To Grow Tomatoes Seeds
Modified: October 20, 2024
Learn how to grow tomatoes from seeds in your garden and enjoy fresh, homegrown produce. Discover the best techniques and tips for successful tomato cultivation.
(Many of the links in this article redirect to a specific reviewed product. Your purchase of these products through affiliate links helps to generate commission for Storables.com, at no extra cost. Learn more)
Introduction
Welcome to the wonderful world of growing tomatoes from seeds! Whether you’re a seasoned gardener looking to try your hand at starting your own tomato plants or a beginner eager to embark on a new gardening adventure, this comprehensive guide will walk you through the steps of growing tomatoes from seeds. With a little patience, care, and nurturing, you’ll be rewarded with delicious, homegrown tomatoes that are bursting with flavor.
There is something truly rewarding about growing your own tomatoes from seeds. Not only does it provide a sense of satisfaction and accomplishment, but it also allows you to have control over the entire growing process, from selecting the varieties you want to nurturing the plants until they bear ripe, juicy fruits. Starting tomatoes from seeds gives you a wider range of options compared to buying transplants from a garden center, as you can choose from a vast array of cultivars and experiment with unique and heirloom varieties that may not be readily available as transplants.
Before you begin, it’s important to note that growing tomatoes from seeds requires a bit of planning and time, as they have a longer growing season compared to many other garden vegetables. However, the rewards are well worth the effort.
In this article, we will take you through each step of the process, from selecting the right tomato seeds to harvesting your own bountiful crop. So, roll up your sleeves, put on your gardening gloves, and let’s get started on this exciting journey to grow tomatoes from seeds!
Key Takeaways:
- Growing tomatoes from seeds involves selecting the right variety, preparing planting containers, and providing proper care. It’s a rewarding journey that requires patience and attention to detail.
- Harvesting ripe tomatoes and enjoying the fruits of your labor is the ultimate reward. With proper care and techniques, you can savor the delicious flavors of homegrown tomatoes.
Read more: How To Grow Tomato From Seed
Step 1: Selecting Tomato Seeds
Choosing the right tomato seeds is the crucial first step in successfully growing tomatoes. With numerous varieties available, it’s important to consider factors such as growing conditions, flavor preferences, and the intended use of the tomatoes.
When selecting tomato seeds, consider the following:
- Climate: Different tomato varieties thrive in different climate conditions. Determine whether you live in a warm or cool climate and choose varieties accordingly. Additionally, some tomato varieties are more resistant to heat or cold, making them better suited for specific climates.
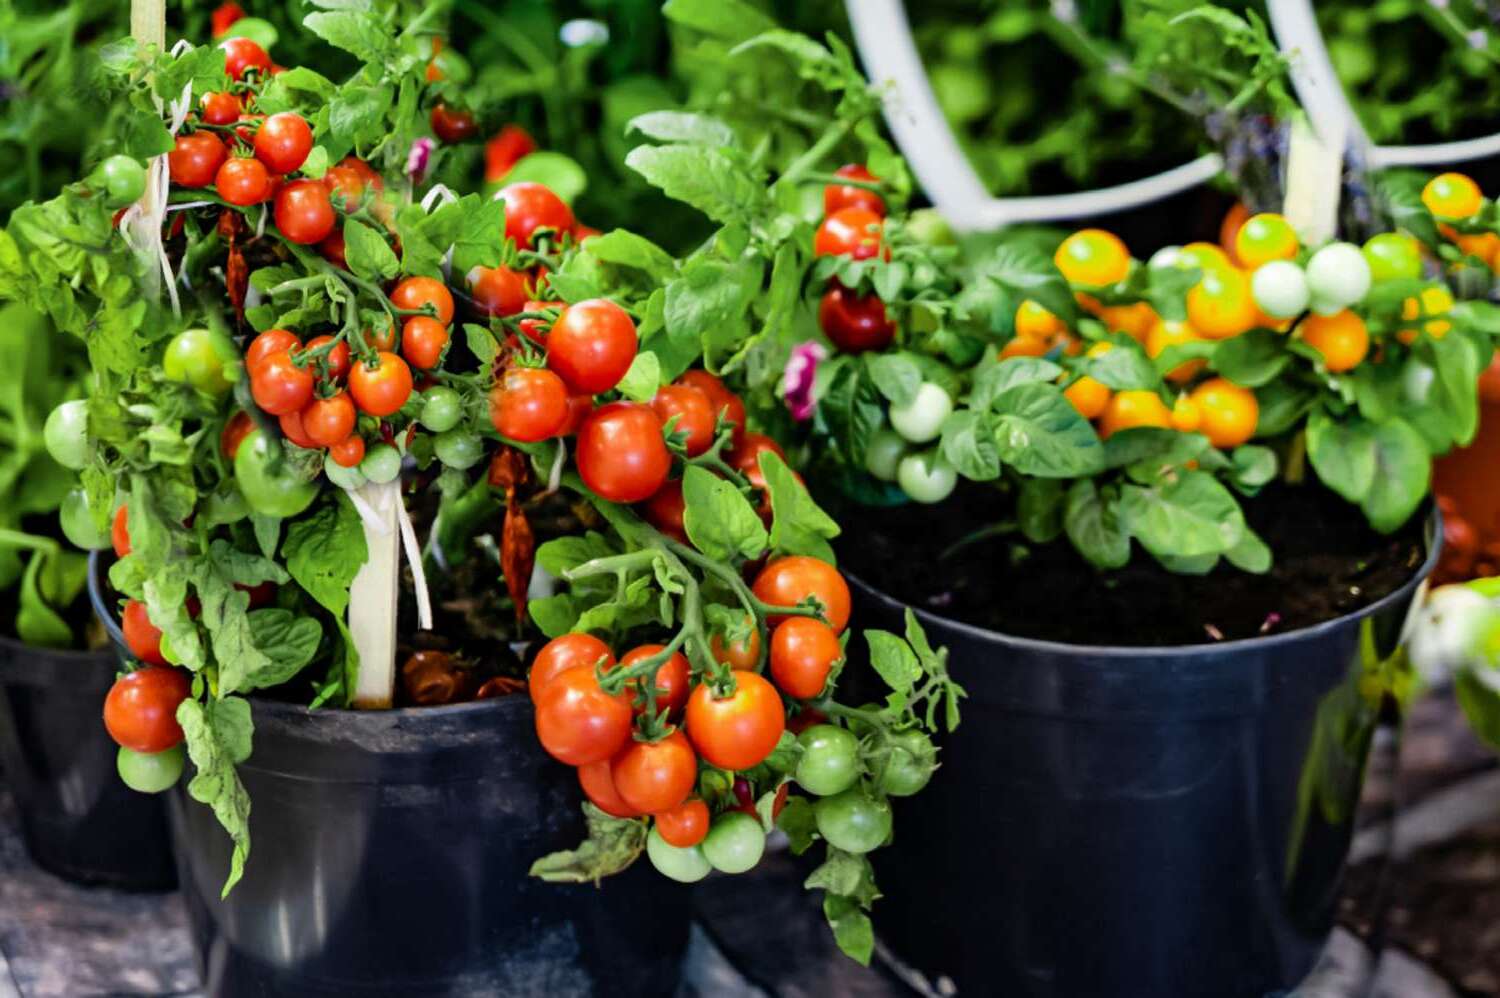
- Growing Space: Assess the available growing space in your garden or the type of containers you plan to use if you have limited space. Consider whether you need determinate or indeterminate (vining) varieties, determinate varieties tend to be more compact and suitable for container gardening.
- Flavor and Use: Think about the flavor profile you prefer and how you plan to use the tomatoes. Some varieties are best for fresh eating, while others are ideal for canning, sauces, or slicing. Look for descriptions that match your desired flavor and purpose.
- Resistance to Pests and Diseases: If you live in an area prone to specific tomato pests or diseases, look for varieties that are resistant to those common issues. This can greatly reduce the need for chemical interventions and increase the chances of a successful harvest.
- Heirloom vs. Hybrid: Decide whether you want to grow heirloom or hybrid tomato varieties. Heirlooms are open-pollinated and have been passed down through generations, often prized for their unique flavor and characteristics. Hybrids, on the other hand, are crossbreeds that have specific traits like disease resistance or increased yield.
Once you’ve considered these factors, it’s time to source your tomato seeds. You can find them in local garden centers, nurseries, or through online seed suppliers. Look for reputable sellers with a track record of quality seeds.
Remember, it’s always a good idea to start with a few different varieties to gain experience and find out what works best in your specific growing conditions and personal preferences.
Now that you have your selected tomato seeds in hand, it’s time to move on to the next step – preparing the planting containers!
Step 2: Preparing the Planting Containers
Once you have your tomato seeds, it’s time to prepare the planting containers. Proper preparation ensures that your seeds have the best start possible for germination and healthy growth.
Here are the key steps to prepare your planting containers:
- Selecting Containers: Choose containers that are at least 2-3 inches deep and have drainage holes at the bottom. These can include plastic pots, seed trays, or biodegradable peat pots. Ensure the containers are clean and sterilized to prevent the spread of diseases.
- Seed Starting Mix: Use a high-quality seed starting mix or create your own by combining equal parts of peat moss, vermiculite, and perlite. Avoid using regular garden soil as it can be too heavy and may contain pathogens.
- Filling the Containers: Fill the containers with the seed starting mix, leaving a small gap at the top. Lightly tamp down the mix to eliminate air pockets but avoid compacting it too much. The mix should be moist but not waterlogged.
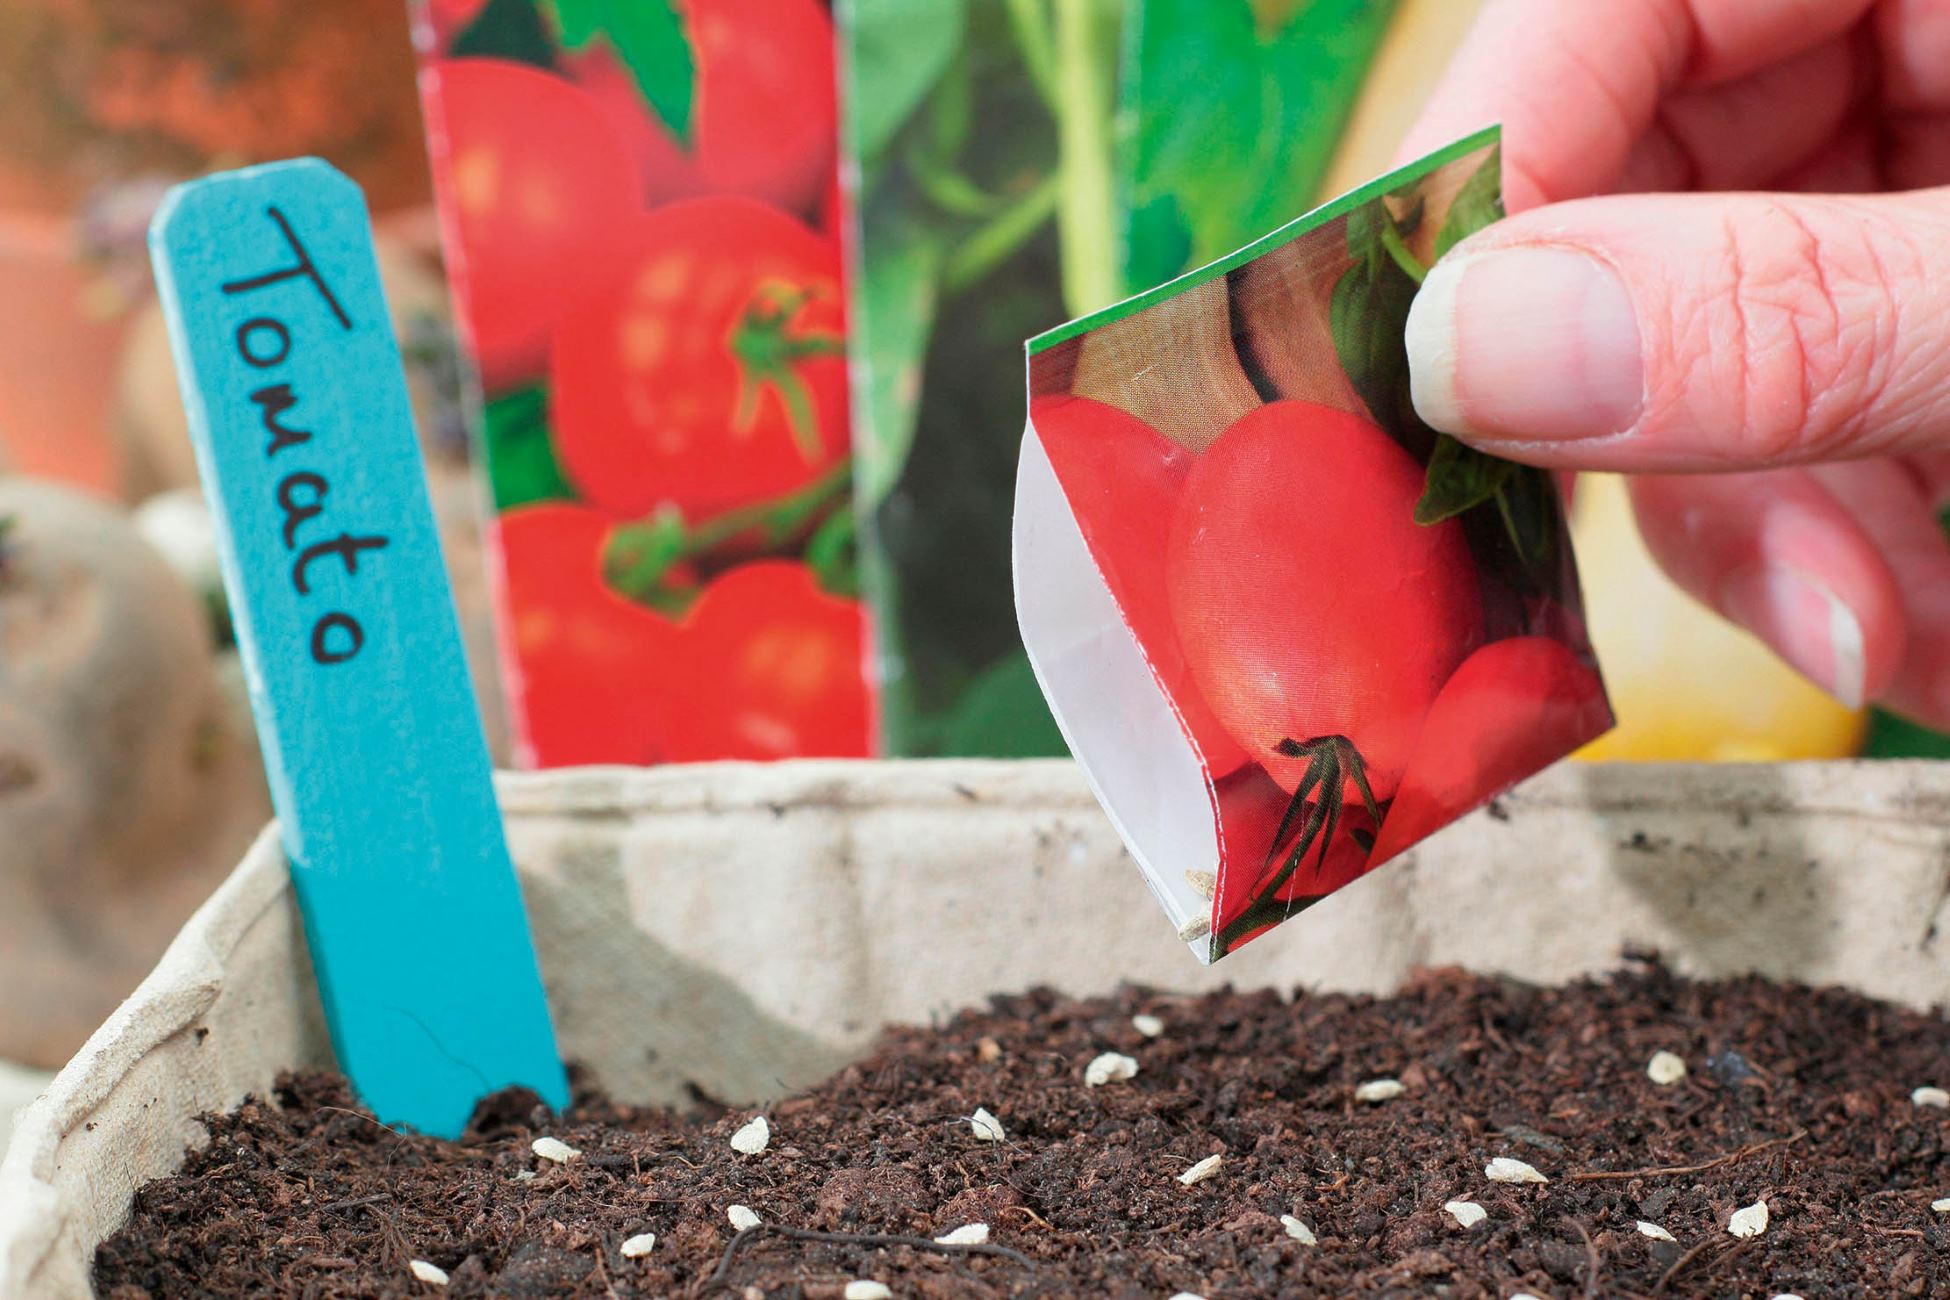
- Sowing the seeds: Follow the packet instructions for the specific tomato seeds you have selected. Typically, you will need to make small holes or furrows in the seed starting mix using your finger or a pencil. Space the holes according to the recommended spacing for the variety. Drop one or two seeds in each hole and cover them with a thin layer of the seed starting mix.
- Labeling: To keep track of the different tomato varieties you are growing, label each container with the variety name and the date of planting. This will prevent confusion when it’s time for transplanting and harvesting.
- Moisture and Warmth: After sowing the seeds, gently water the containers using a spray bottle or a watering can with a fine nozzle. Place a clear plastic dome or a plastic wrap loosely over the containers to create a mini greenhouse effect and retain moisture. This helps to maintain a consistently warm and humid environment for germination.
- Location: Place the containers in a warm location with indirect sunlight or under grow lights. Ideal temperatures for germination range between 70-85°F (21-29°C). Avoid placing the containers in direct sunlight, as it can lead to overheating and drying out of the soil.
Now that you have prepared your planting containers, it’s time to sow the tomato seeds and begin the exciting germination process. In the next step, we will guide you through the process of sowing the seeds.
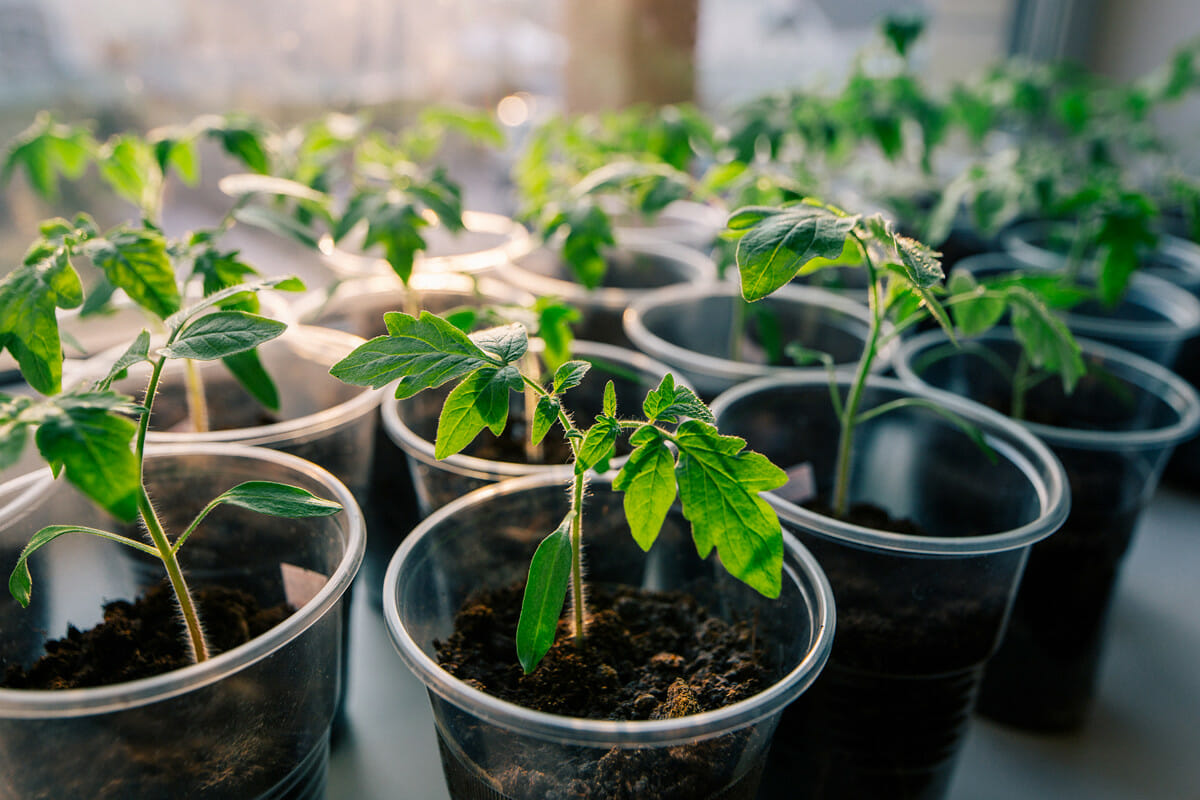
Step 3: Sowing the Tomato Seeds
Now that you have your planting containers ready, it’s time to sow the tomato seeds. This step is crucial as it determines the foundation for healthy seedlings and ultimately a bountiful tomato harvest.
Follow these steps to sow your tomato seeds:
- Remove the plastic dome or wrap: After a few days of sowing the seeds, once the germination process begins and the seedlings start to emerge, remove the plastic dome or wrap. This allows for proper airflow and prevents the seedlings from becoming too moist and susceptible to fungal diseases.
- Provide adequate light: Tomato seedlings require sufficient light to grow strong and healthy. Place the containers in a bright, sunny spot or under grow lights for 14-16 hours a day. Keep the lights approximately 2-4 inches above the seedlings to ensure they receive the optimal amount of light.
- Thin out the seedlings (optional): If you sowed multiple seeds in each hole, once the seedlings have developed their first true leaves, you can thin them out. Choose the strongest and healthiest seedling in each hole and gently remove the others, making sure not to disturb the roots of the remaining seedling.
- Water the seedlings: Keep the soil evenly moist but not waterlogged. Water the seedlings from the base, using a watering can or by placing the containers in a tray of water and allowing the soil to absorb the moisture. Avoid overwatering, as it can lead to fungal diseases or root rot.
- Provide good air circulation: Good air circulation is essential for the health of your tomato seedlings. This helps prevent diseases and strengthens the seedlings. A small fan placed on low speed nearby can help to improve air circulation.
- Monitor temperature: Tomato seedlings thrive in temperatures between 65-75°F (18-24°C). Avoid exposing seedlings to extreme temperature fluctuations, as it can stress the plants.
- Continue care and maintenance: As the seedlings continue to grow, they will require regular monitoring and care. Maintain a consistent watering schedule, providing enough moisture without drowning the seedlings. Ensure they receive sufficient light and adjust the height of grow lights accordingly. Avoid over-fertilizing at this stage, as it can lead to leggy growth.
As your tomato seedlings grow and develop their second set of leaves, they will be ready for the next step – transplanting. In the following step, we will guide you through the process of transplanting your tomato seedlings into larger containers or the garden bed.
Step 4: Providing Proper Sunlight and Temperature
Proper sunlight and temperature are essential for the healthy growth and development of tomato plants. As your seedlings continue to grow, it becomes crucial to provide them with the right amount of sunlight and maintain optimal temperature conditions.
Follow these guidelines to ensure your tomato plants receive the necessary sunlight and temperature:
- Sunlight: Tomato plants thrive in full sun, which means they need at least 6-8 hours of direct sunlight each day. Choose a well-drained and sunny location in your garden to plant the tomatoes. If you’re growing them in containers, place them in a spot where they will receive maximum sunlight. If you’re dealing with limited sunlight, consider using reflective materials or mirrors to redirect sunlight onto the plants.
- Temperature: Tomato plants prefer warm temperatures to grow and produce bountiful fruits. The optimal temperature range for tomatoes is between 70-85°F (21-29°C). Keep in mind that temperature fluctuations can stress the plants, so try to maintain a consistent temperature. If you’re growing tomatoes in cooler climates, you can consider using protective covers or row covers to provide additional warmth.
- Avoid extreme heat: While tomatoes need warmth, extreme heat can harm the plants. If you experience exceptionally high temperatures, provide shade or use shade cloth to protect the plants from excessive heat. Ensuring proper airflow in the garden or utilizing fans can also help to cool down the plants.
- Monitor soil moisture: In hot weather, pay close attention to the moisture levels of the soil. Tomatoes require consistent watering to prevent the soil from drying out. Mulching around the plants can help retain moisture and regulate soil temperature.
- Protect from strong winds: Strong winds can cause damage to the tomato plants, especially when they are young and vulnerable. Consider using stakes or tomato cages to support the plants and provide protection from wind gusts.
- Monitor for signs of stress: Regularly inspect your tomato plants for any signs of stress due to sunlight or temperature extremes. Look out for wilting leaves, sunburned spots, or curled leaves. Take immediate action by adjusting shading, watering, or providing additional protection if you notice any signs of stress.
By providing your tomato plants with the right amount of sunlight and maintaining optimal temperature conditions, you will encourage healthy growth, robust foliage, and a higher chance of a bountiful tomato harvest. In the next step, we will cover watering and fertilizing your tomato plants, which are vital for their overall health and productivity.
Read more: How Long Do Tomato Seeds Take To Grow
Step 5: Watering and Fertilizing the Tomato Plants
Proper watering and fertilizing are essential for the healthy growth and productivity of tomato plants. These practices provide the necessary nutrients and moisture to support their development, ensuring a bountiful harvest of delicious tomatoes.
Follow these guidelines to effectively water and fertilize your tomato plants:
- Watering:
- Water consistently: Tomatoes require regular and consistent moisture to thrive. Water deeply, ensuring the water reaches the root zone, rather than just wetting the surface. Moisture fluctuations can lead to blossom end rot and other issues.
- Avoid overwatering: While tomatoes love moisture, overwatering can cause problems such as root rot and fungal diseases. Water when the top inch of soil feels dry, but avoid waterlogging the soil.
- Water at the base: Avoid overhead watering that wets the leaves, as this can increase the risk of diseases. Instead, direct the water at the base of the plants, preferably using a soaker hose or drip irrigation system.
- Mulch the soil: Apply a layer of organic mulch around the base of the plants to retain moisture, regulate soil temperature, and suppress weed growth. Mulching helps conserve water and reduces the need for frequent watering.
- Fertilizing:
- Use balanced fertilizer: Tomatoes require a balance of essential nutrients for healthy growth. Choose a balanced fertilizer with equal proportions of nitrogen (N), phosphorus (P), and potassium (K). Look for fertilizers specifically formulated for tomatoes or vegetable plants.
- Follow the package instructions: Read the label on your fertilizer package and follow the recommended guidelines for application rates and frequency. Apply the fertilizer evenly around the base of the plants and gently work it into the soil. Avoid over-fertilizing, as this can lead to excessive foliage growth at the expense of fruit production.
- Supplement with organic matter: Incorporating organic matter, such as compost or well-rotted manure, into the soil before planting provides additional nutrients and improves soil fertility. This ensures a steady supply of organic matter to support tomato growth.
- Foliar feeding (optional): As the tomato plants grow, you can supplement their nutrient intake by applying diluted liquid fertilizer directly to the foliage. This is known as foliar feeding and can provide a quick boost of nutrients. Use a foliar spray bottle to mist the leaves with the diluted fertilizer solution, ideally in the early morning or late evening.
Remember to observe your tomato plants closely for any signs of nutrient deficiency or excess. Adjust your watering and fertilizing practices accordingly to meet the specific needs of your plants. Healthy, well-nourished tomatoes are more resistant to diseases and pests, ensuring a successful growing season.
In the next step, we will guide you through the process of transplanting your tomato seedlings into their final growing locations, be it the garden bed or larger containers.
Plant tomato seeds in a warm, sunny spot with well-draining soil. Keep the soil consistently moist but not waterlogged. Once the seedlings have grown a few inches tall, transplant them into larger pots or into the garden.
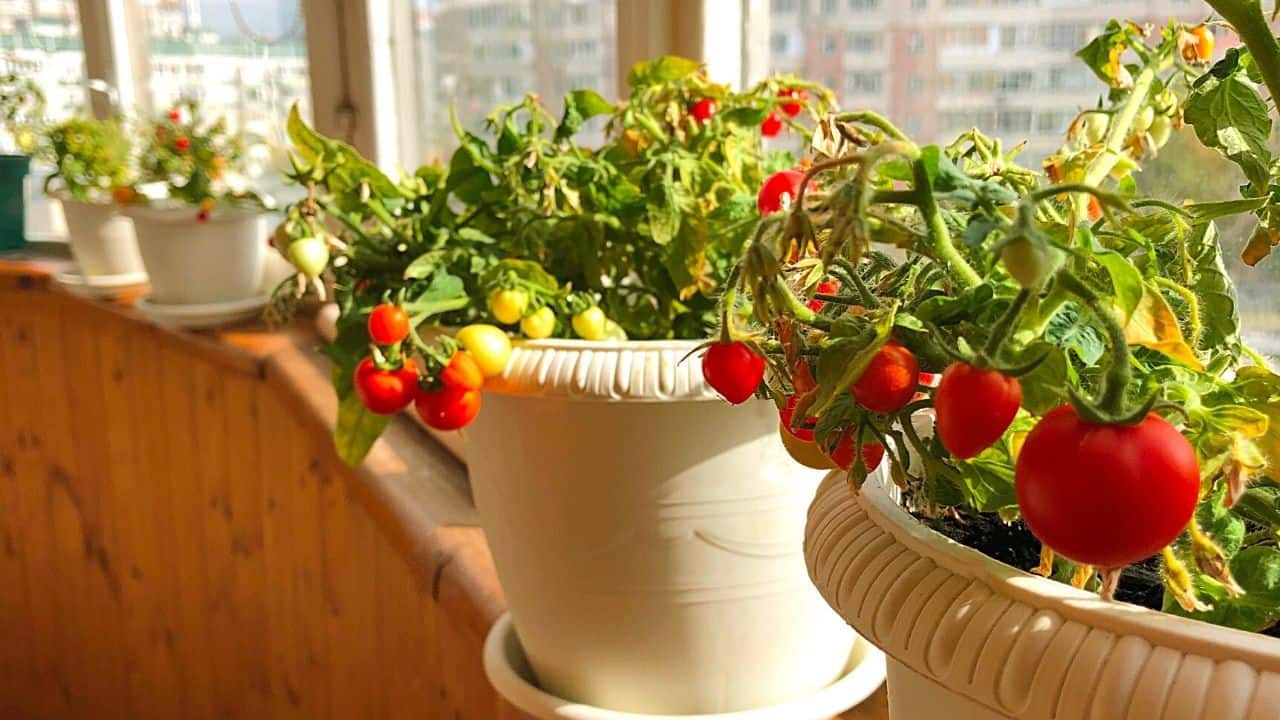
Step 6: Transplanting the Seedlings
Once your tomato seedlings have grown strong and developed their second set of leaves, it’s time to transplant them into their final growing locations. Transplanting is a critical step that ensures the seedlings have enough space to thrive and provides them with the optimal growing conditions. Follow these steps for successful transplantation:
- Choose the right time: Transplant your seedlings when the threat of frost has passed and the soil has warmed up. This is typically after the last frost date in your area. Tomatoes are sensitive to cold temperatures, so waiting for favorable conditions is essential for their survival.
- Prepare the planting holes: Dig holes in your garden bed or containers that are large enough to accommodate the root ball of each seedling. Space the holes according to the recommended spacing for the specific tomato variety you’re growing. If transplanting in a garden bed, ensure the holes are spaced at least 24-36 inches apart to allow ample room for the mature plants to grow.
- Water the seedlings: Before transplanting, thoroughly water the seedlings to ensure the soil is moist. This helps ease the removal from the containers and minimizes transplant shock.
- Remove seedlings gently: Carefully remove the seedlings from the containers, being mindful not to damage the delicate roots. You can use a small trowel or your hands to gently loosen the soil around the seedlings and carefully lift them out.
- Plant at the right depth: Place each seedling into the prepared hole, ensuring that it is planted at the same depth as it was in the container. The top set of leaves should be just above the soil surface. If necessary, add a layer of compost or aged manure to the bottom of the hole to provide additional nutrition.
- Backfill and firm the soil: Fill the hole with soil, gently pressing it around the roots to ensure good soil-to-root contact. Avoid compacting the soil too much, as it may hinder water and nutrient absorption.
- Water after transplanting: After transplanting, water the seedlings thoroughly to settle the soil around the roots. This helps eliminate air pockets and ensures good hydration for the newly transplanted plants.
- Provide support (if needed): If you are growing indeterminate (vining) tomato varieties, it’s best to provide support for the plants. This can be in the form of stakes, cages, or trellises. Install the support system at the time of transplanting to avoid disturbing the roots later on.
- Protect from extreme weather: If there is a possibility of cold or inclement weather after transplanting, provide protection to the seedlings. Use row covers or cloches to shield them from cold temperatures or cover them with inverted buckets or plastic bags if frost is expected.
After transplanting, continue to provide proper care and maintenance, including regular watering, monitoring for pests and diseases, and applying fertilizer as needed. Your tomato plants will adjust to their new environment and begin to grow and flourish. In the next step, we will guide you through the process of pruning and supporting your tomato plants.
Step 7: Pruning and Supporting the Tomato Plants
Pruning and supporting tomato plants are crucial steps in maintaining their health, encouraging proper airflow, and maximizing fruit production. By pruning and providing support, you can help your tomato plants grow upright, minimize the risk of diseases, and ensure easy access to sunlight for all parts of the plant.
Follow these steps to effectively prune and support your tomato plants:
- Timing: Begin pruning and supporting your tomato plants once they have grown a few sets of true leaves and are well-established. This is usually around 6-8 weeks after transplanting.
- Remove suckers: Tomato plants produce secondary leafy shoots called “suckers” that emerge from the leaf axils, where the leaves meet the main stem. These suckers can divert energy from the main plant and reduce air circulation. Use clean pruning shears or your fingers to pinch off the suckers when they are small, typically around 1-2 inches long.
- Determine the support method: Choose the appropriate support method based on the type of tomato plants you are growing. Indeterminate (vining) tomato varieties require taller supports, such as stakes or trellises, to help them grow vertically. Determinate varieties are more compact and may benefit from a cage or short stakes for support.
- Stake or tie up the plants: For indeterminate tomato plants, drive stakes into the ground near the base of each plant, ensuring they are firmly anchored. Gently tie the main stem to the stake using soft twine or plant ties at regular intervals, allowing for some flexibility as the plant grows. Secure the tie loosely to avoid constricting the stem.
- Use cages for support: If using cages, place them around each plant at the time of transplanting or shortly after. As the plants grow, guide the branches through the cage openings and loosely tie them to the cage if necessary. Cages provide support and help keep the plants upright, preventing them from bending or sprawling.
- Prune for airflow and light penetration: Regularly monitor your tomato plants and remove any yellowing or diseased leaves. As the plants grow, consider pruning some of the lower leaves that come into contact with the soil to reduce the risk of soil-borne diseases. Also, remove any excessive foliage that may obstruct airflow and prevent sunlight from reaching the lower parts of the plant.
- Continue monitoring and adjusting: As the tomato plants grow, keep an eye on their development and adjust the supports if needed. Check for any signs of stress or overcrowding, and make necessary adjustments to ensure optimal growth.
Pruning and supporting your tomato plants not only promote better plant health but also make it easier to harvest ripe tomatoes. By providing proper support and allowing for good airflow, you can reduce the risk of diseases and ensure the plants receive adequate sunlight, resulting in a higher yield of flavorful tomatoes. In the next step, we will discuss pest and disease management for your tomato plants.
Step 8: Managing Pests and Diseases
While growing tomatoes can be a rewarding experience, it’s important to be prepared for potential pests and diseases that can impact your plants. Proactive management and early detection are key to prevent and control common tomato pests and diseases. Here are some steps to effectively manage pests and diseases:
- Monitor your plants: Regularly inspect your tomato plants for signs of pests or diseases. Look for chewed leaves, discolored foliage, spots, lesions, wilting, or any unusual growth. Early detection allows for swift action and better control.
- Practice proper sanitation: Maintaining clean and tidy growing areas can help prevent infestations and diseases. Remove fallen leaves, debris, and diseased plant material from the garden bed. This reduces the hiding places for pests and the potential for diseases to spread.
- Encourage beneficial insects: Beneficial insects, such as ladybugs, lacewings, and parasitic wasps, play a vital role in controlling pests naturally. Plant flowers and herbs that attract these beneficial insects, such as marigolds, dill, or yarrow, near your tomato plants to encourage their presence.
- Use organic pest control methods: Employ organic methods to control common tomato pests. This includes handpicking larger pests like caterpillars or using insecticidal soap or neem oil sprays on affected plants. Avoid using broad-spectrum insecticides that can harm beneficial insects.
- Rotate crops: Practice crop rotation by avoiding planting tomatoes or other related plants in the same spot each year. This helps reduce the build-up of pests and diseases in the soil and minimizes their impact on your plants.
- Choose disease-resistant varieties: When selecting tomato seeds, opt for varieties that have disease resistance traits. Look for labels indicating resistance to common tomato diseases, such as Fusarium wilt, Verticillium wilt, or Tomato mosaic virus.
- Proper watering: Avoid overwatering your tomato plants, as excessive moisture can create a favorable environment for diseases. Water from the base and allow the foliage to remain dry, as wet leaves can lead to fungal infections.
- Practice crop spacing: Providing adequate spacing between plants allows for better airflow and reduces the risk of diseases that thrive in crowded, humid conditions. Follow the recommended spacing guidelines for your specific tomato variety.
- Apply organic fungicides: If fungal diseases, such as early blight or powdery mildew, are persistent, apply organic fungicides according to the product instructions. These can help manage the diseases and prevent their spread.
By implementing these pest and disease management practices, you can minimize the impact on your tomato plants and ensure a healthier harvest. Regular monitoring, timely action, and a proactive approach will help you maintain thriving and disease-free tomato plants. In the next step, we will discuss the exciting process of harvesting your homegrown tomatoes.
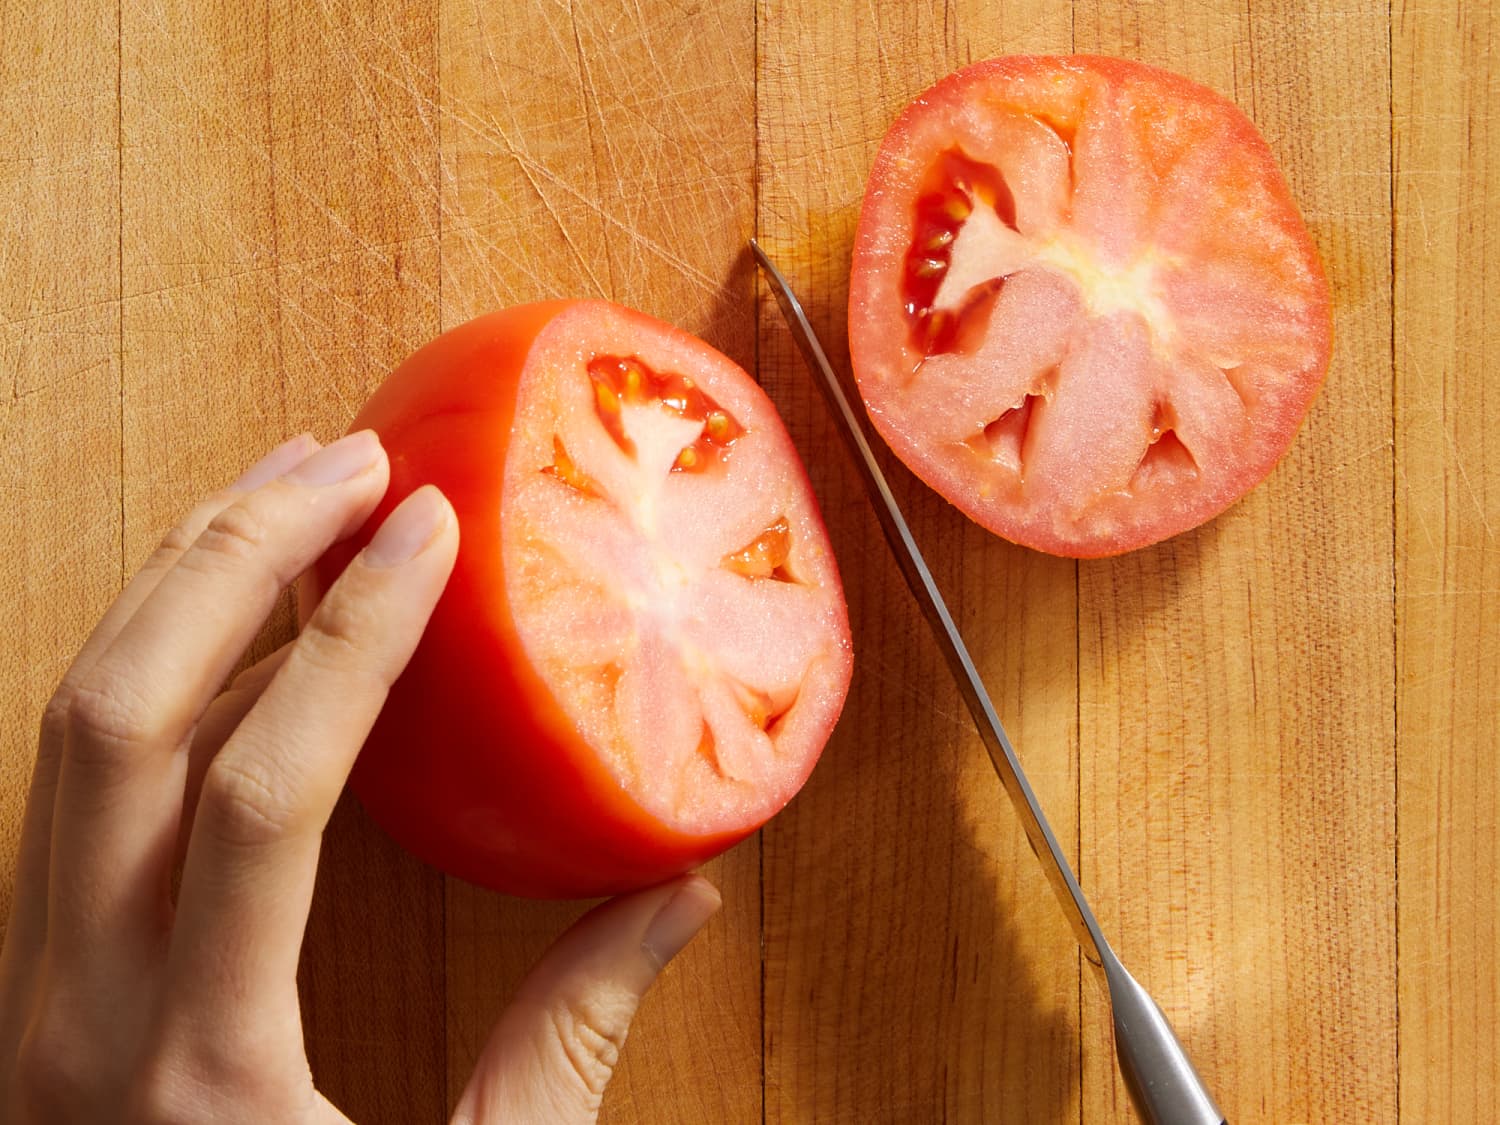
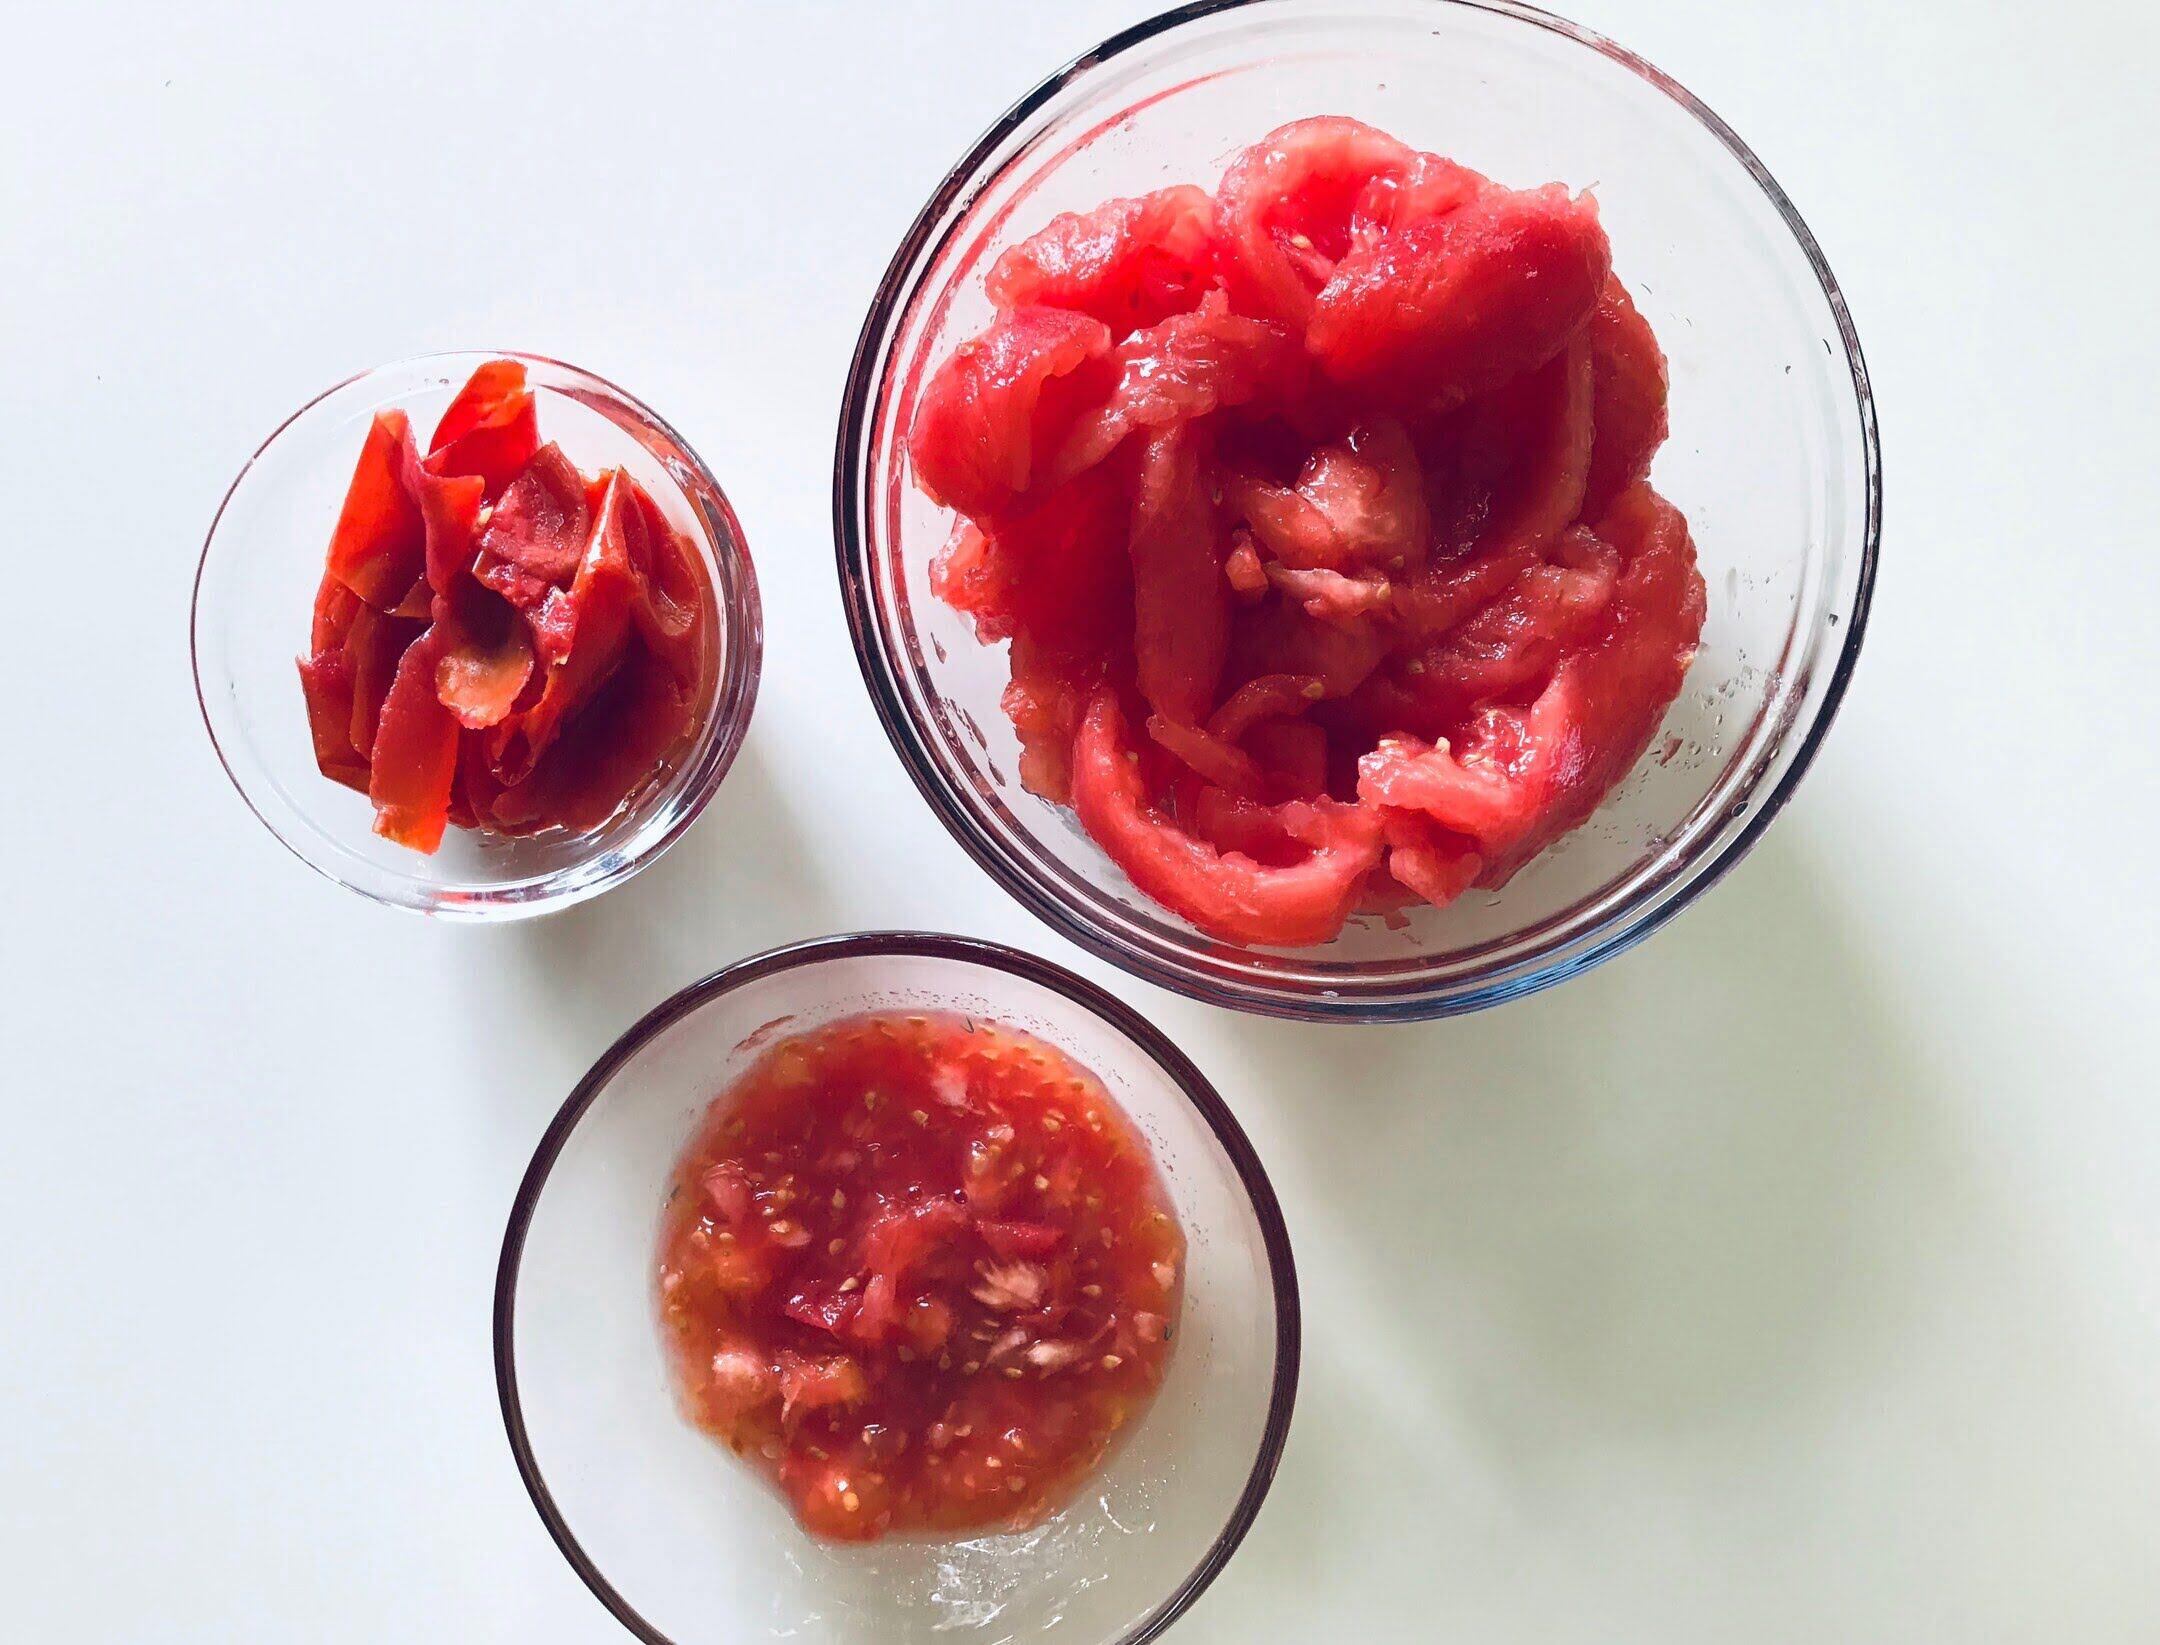
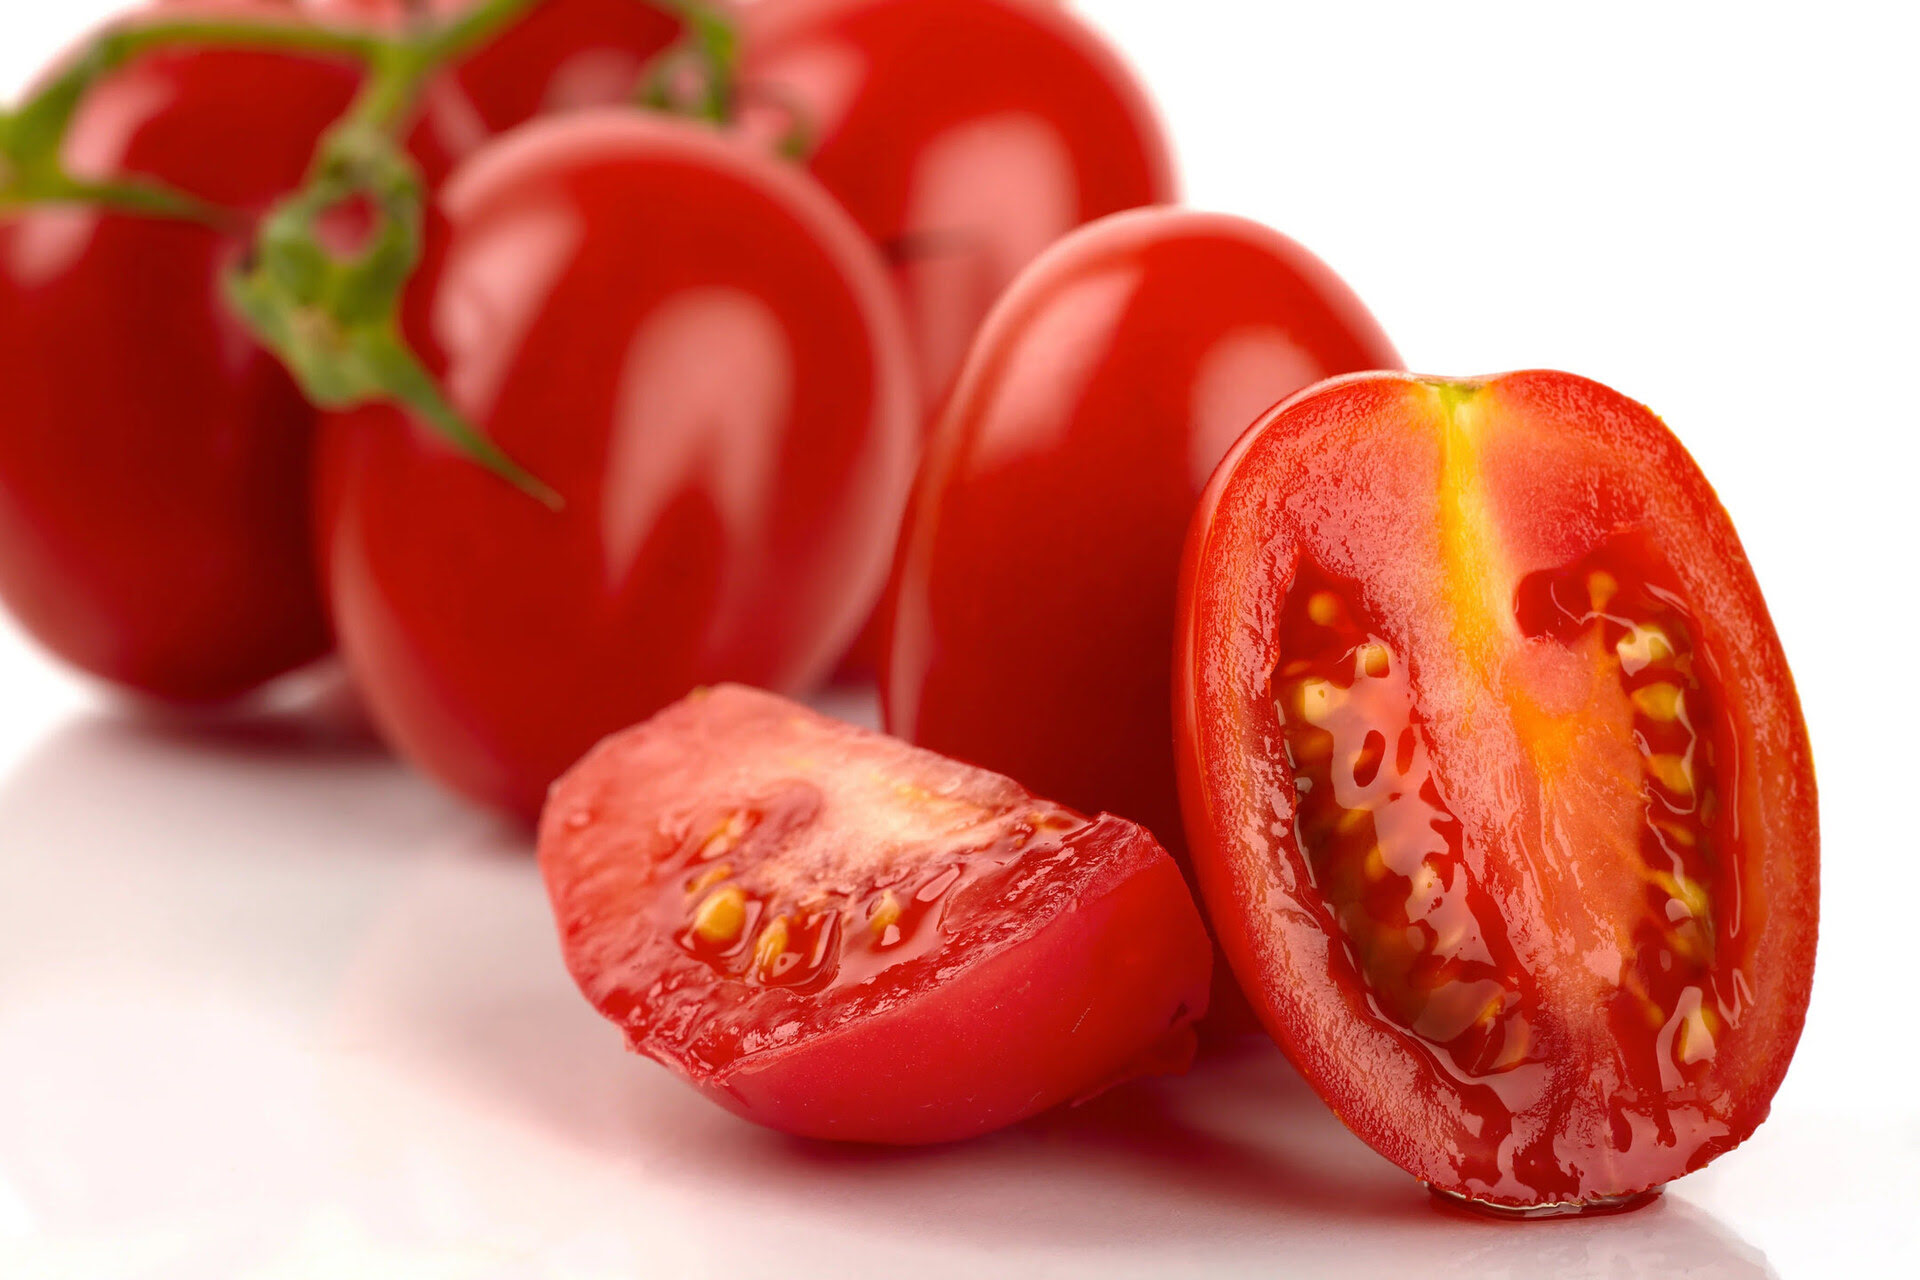
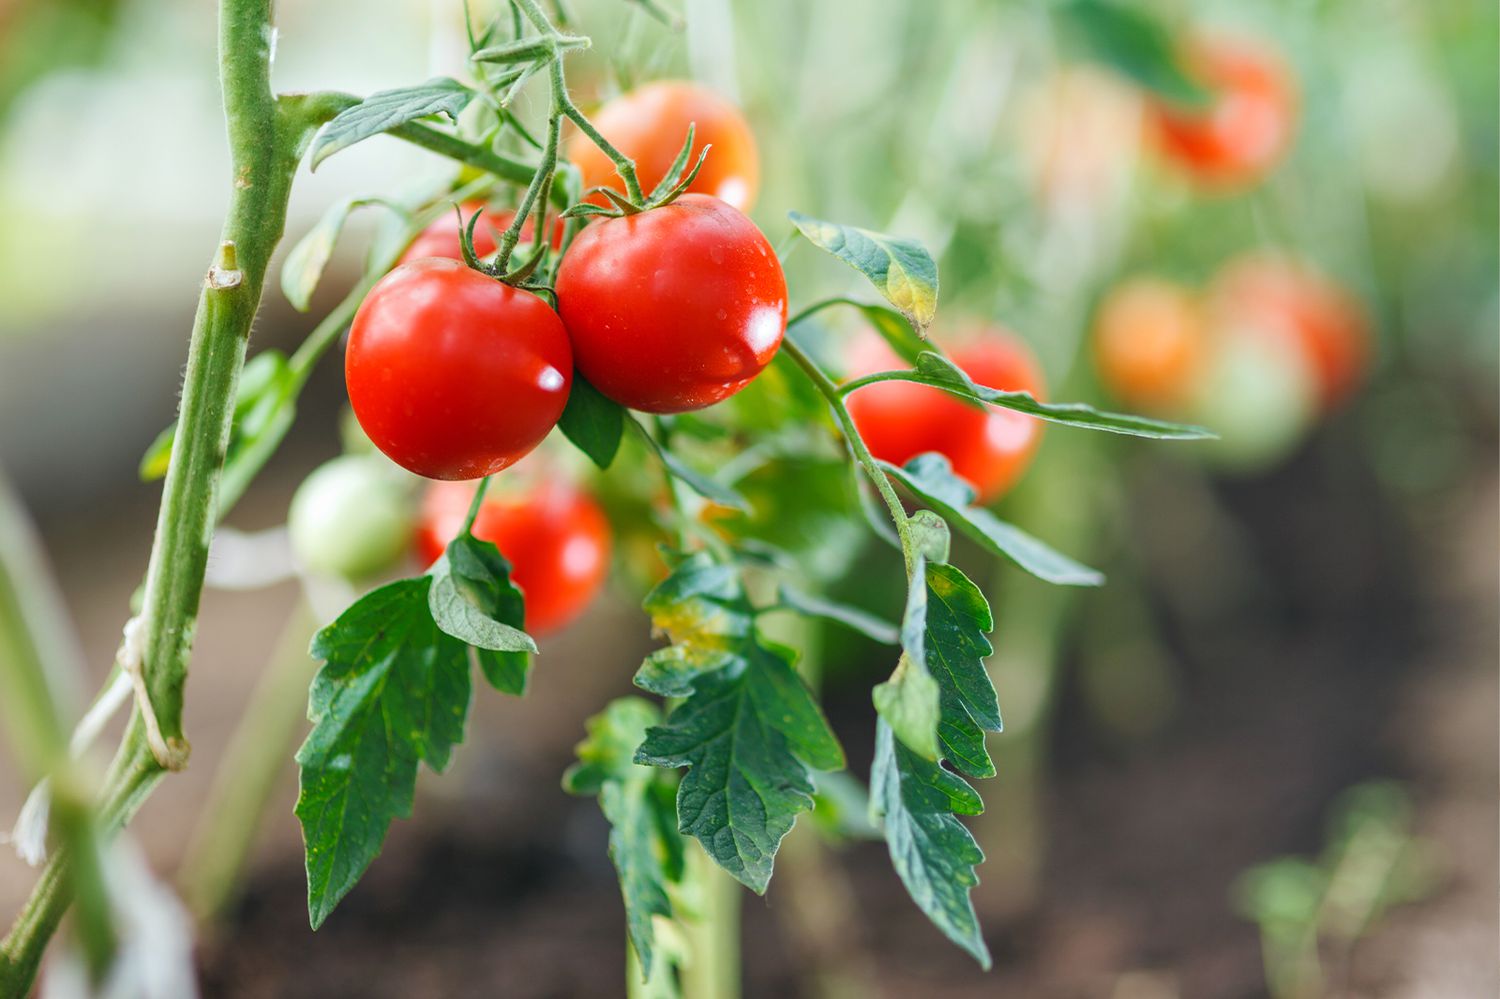
Step 9: Harvesting Your Tomatoes
After all the hard work and anticipation, the time has finally arrived to harvest your homegrown tomatoes! Harvesting at the right stage of ripeness ensures the best flavor and quality. Follow these steps to harvest your tomatoes at their peak:
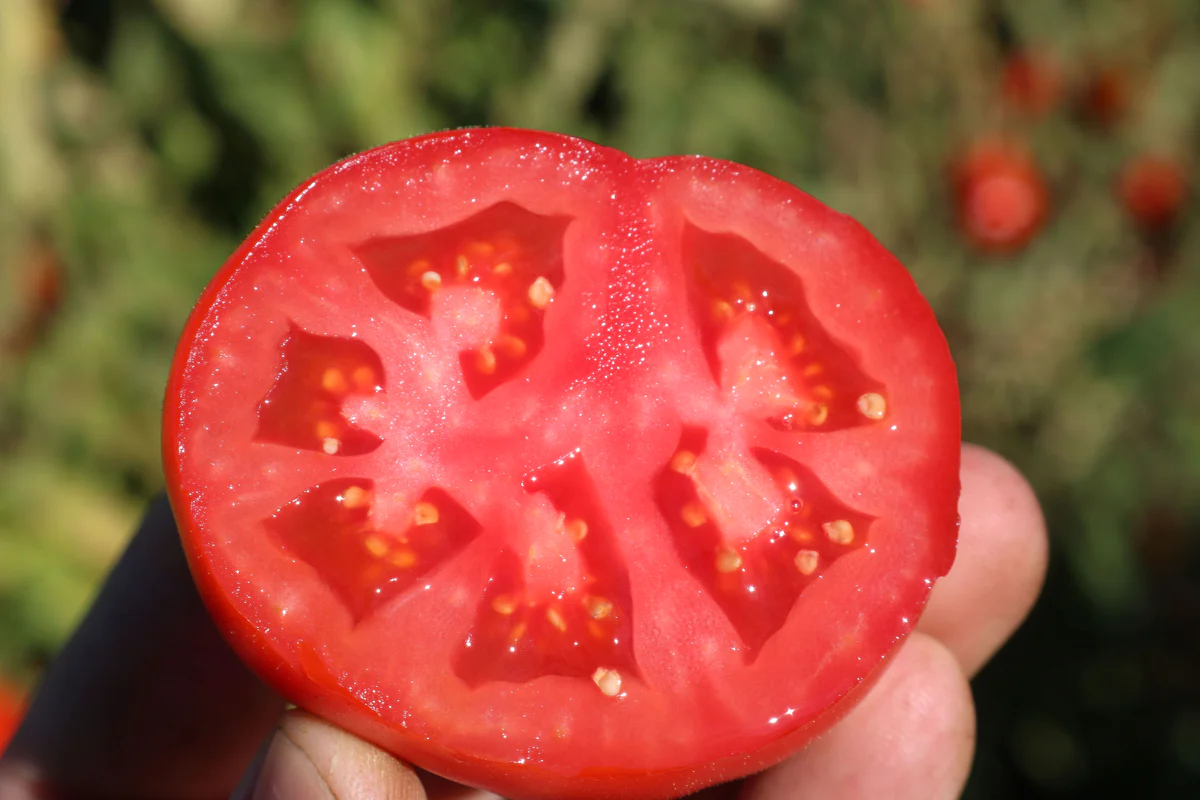
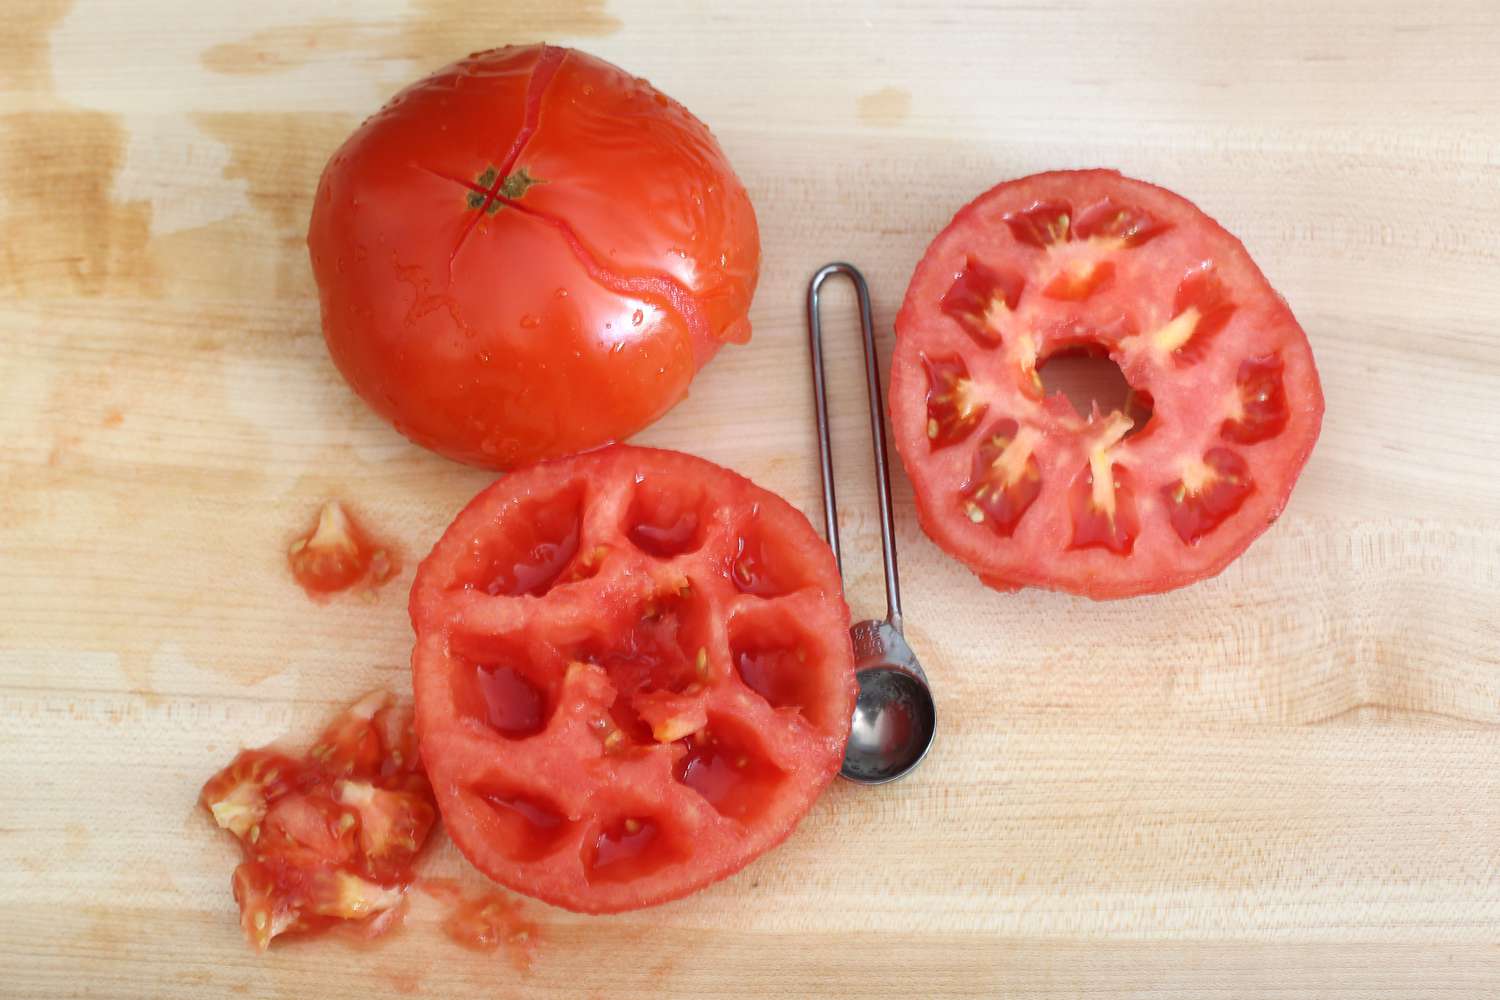
- Observe the color: Tomatoes should have reached their mature color and firmness. The color will vary depending on the variety, which can range from green to red, yellow, orange, or even purple. Refer to the specific variety information for guidance on ripeness indicators.
- Feel the texture: Gently squeeze the tomato to check for a slight give without being too soft or mushy. Firm but not overly hard tomatoes are a good indication that they are ready to be harvested.
- Examine the fruit: Look for signs of maturity, such as a glossy skin or a smooth surface. Avoid harvesting tomatoes that have cracks, blemishes, or signs of rotting.
- Use a harvest tool: For tomatoes that are difficult to reach or delicate, use pruning shears or a sharp knife to cut the stem just above the calyx (the green, leafy part) of the fruit. Carefully handle the tomatoes to prevent bruising or damage.
- Harvest regularly: Tomatoes tend to ripen at different rates, so check your plants regularly and harvest ripe tomatoes as soon as they are ready. This encourages the plant to continue producing more fruits throughout the season.
- Give them a final ripening: If you have green tomatoes that haven’t fully ripened before the end of the growing season, you can pick them and allow them to ripen indoors. Place them in a single layer in a warm, well-ventilated area away from direct sunlight. Monitor them closely and use the ripe ones as needed.
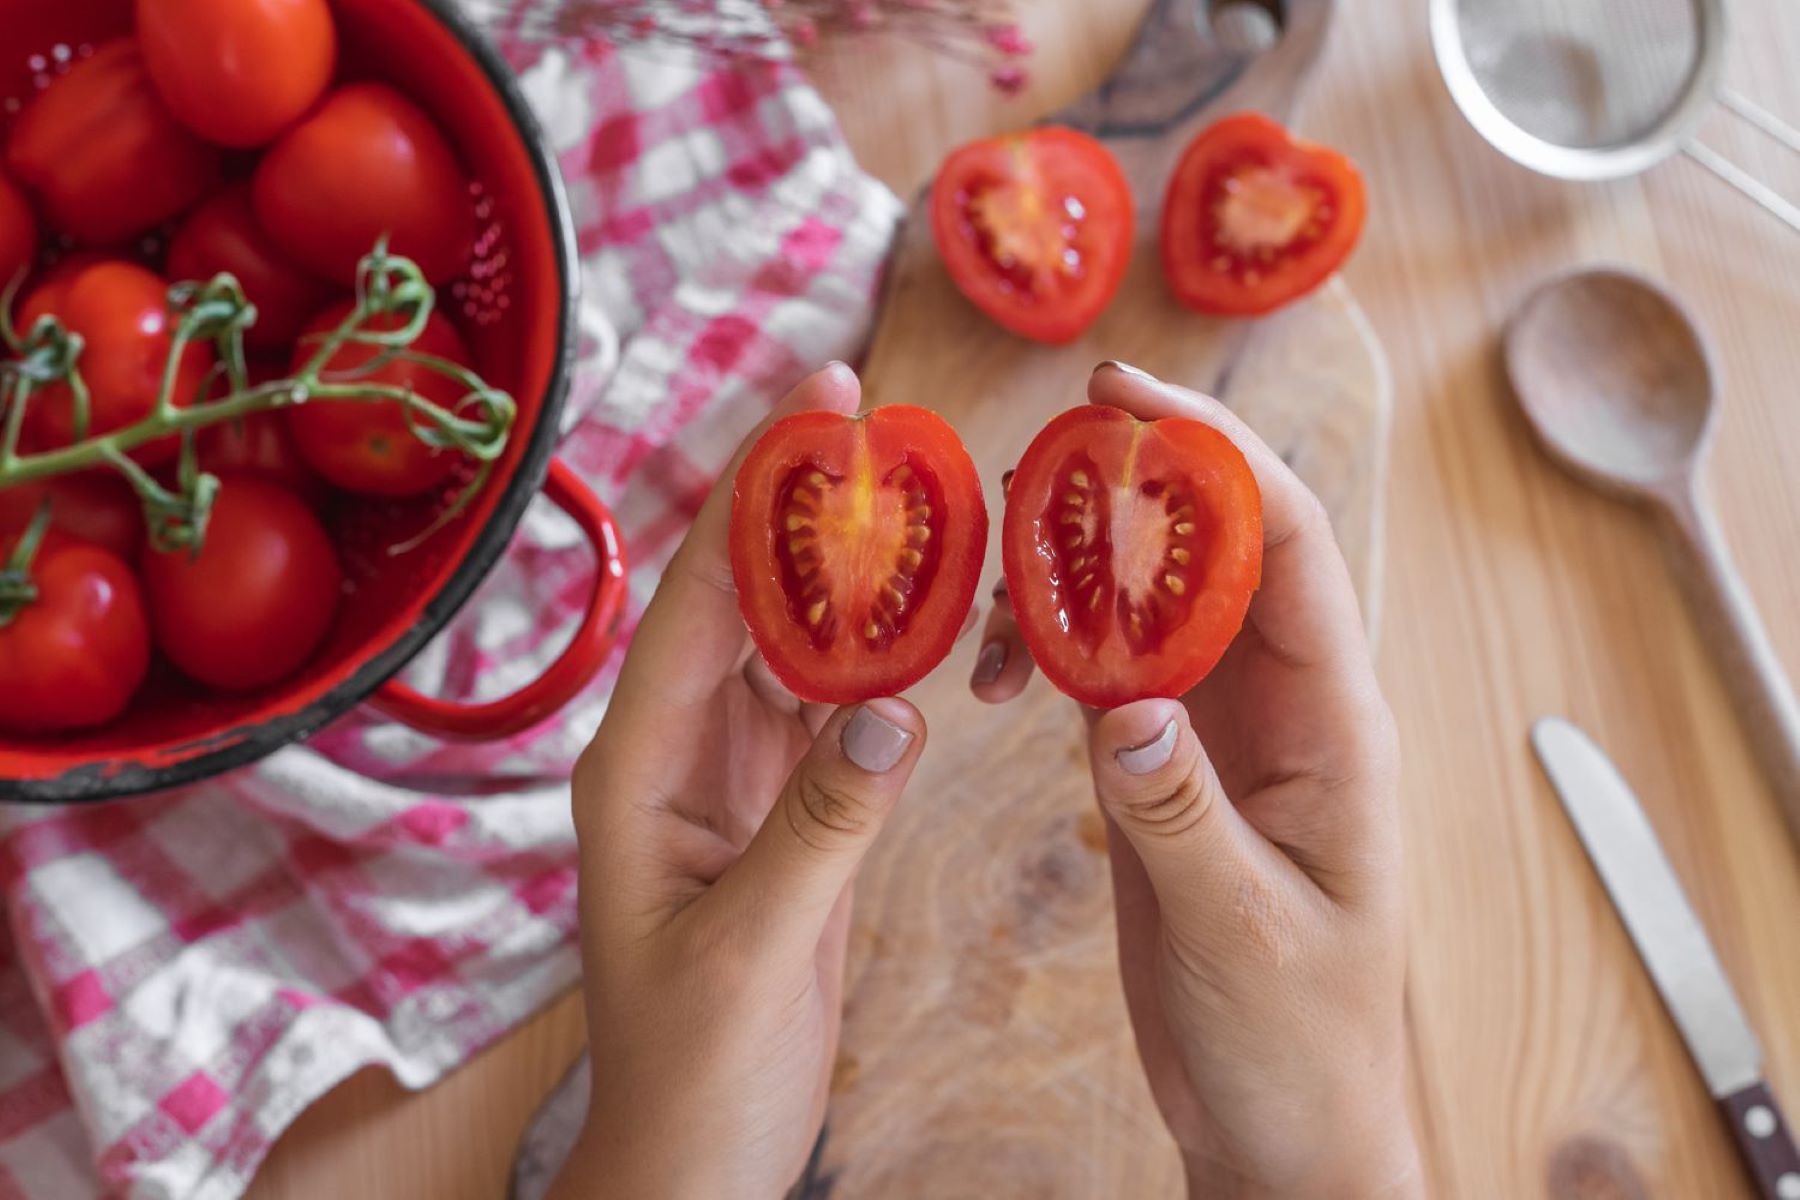
- Enjoy the fruits of your labor: Once you’ve harvested your ripe tomatoes, it’s time to savor the flavors of your homegrown bounty! Freshly picked tomatoes are perfect for salads, sandwiches, sauces, salsas, or simply enjoyed on their own.
- Store tomatoes properly: If you have an abundance of tomatoes, store them at room temperature away from direct sunlight until they reach optimal ripeness. Once fully ripe, you can transfer them to the refrigerator, but keep in mind that refrigeration may slightly impact the texture and flavor.
Remember, there’s nothing quite like the taste of a perfectly ripe tomato that you’ve grown with care. Enjoy the fruits of your labor and share your homegrown tomatoes with family, friends, and fellow garden enthusiasts. With each harvest, you’ll gain more experience and appreciation for the art of growing delicious tomatoes. Congratulations on a successful tomato-growing journey!
If you’re ready for a new adventure, why not start planning for the next growing season or explore other varieties and gardening techniques? There’s always more to discover in the world of gardening.
Conclusion
Congratulations on completing the journey of growing tomatoes from seeds! Throughout this comprehensive guide, we have covered each step, from selecting the right tomato seeds to harvesting the ripe, juicy fruits. By following these steps and implementing proper care and techniques, you have set yourself up for a successful tomato-growing experience.
Starting with the selection of tomato seeds, you learned to consider factors such as climate, growing space, flavor preferences, and disease resistance. Preparing the planting containers, sowing the seeds, and providing them with proper sunlight and temperature created the ideal conditions for germination and healthy seedling growth. Watering and fertilizing strategies ensured the plants received the right nutrients and moisture, and proper pruning and support methods promoted optimal airflow and fruit production.
Managing pests and diseases was another essential aspect of your tomato-growing journey. By practicing regular monitoring, implementing organic pest control methods, and providing a healthy environment for beneficial insects, you minimized the impact of pests and diseases on your plants. Additionally, harvesting your tomatoes at the right stage of ripeness and storing them properly allowed you to enjoy the delicious flavors of your homegrown produce.
Throughout this process, you honed your gardening skills and experienced the joy and satisfaction of growing your own tomatoes from seeds. Cultivating your garden not only provides a source of fresh, flavorful tomatoes but also offers a connection to nature and a sense of accomplishment.
As you continue your gardening journey, remember to explore new tomato varieties, experiment with different techniques, and learn from each growing season. Gardening is a continuous learning process, and with each harvest, you’ll gain valuable insights and wisdom that will enhance your future growing endeavors.
So, grab your gardening gloves, prepare your tools, and embark on your next gardening adventure. Whether it’s tomatoes or other garden delights, the joy of growing your own food and being in touch with nature is a truly rewarding experience.
Happy gardening and may your future tomato harvests be plentiful and delicious!
Frequently Asked Questions about How To Grow Tomatoes Seeds
Was this page helpful?
At Storables.com, we guarantee accurate and reliable information. Our content, validated by Expert Board Contributors, is crafted following stringent Editorial Policies. We're committed to providing you with well-researched, expert-backed insights for all your informational needs.


0 thoughts on “How To Grow Tomatoes Seeds”