
Articles
How To Grow Sweet Potatoes In Containers
Modified: September 2, 2024
Learn how to grow sweet potatoes in containers with our expert gardening tips. Start your own garden and enjoy the delicious taste of homegrown sweet potatoes.
(Many of the links in this article redirect to a specific reviewed product. Your purchase of these products through affiliate links helps to generate commission for Storables.com, at no extra cost. Learn more)
Introduction
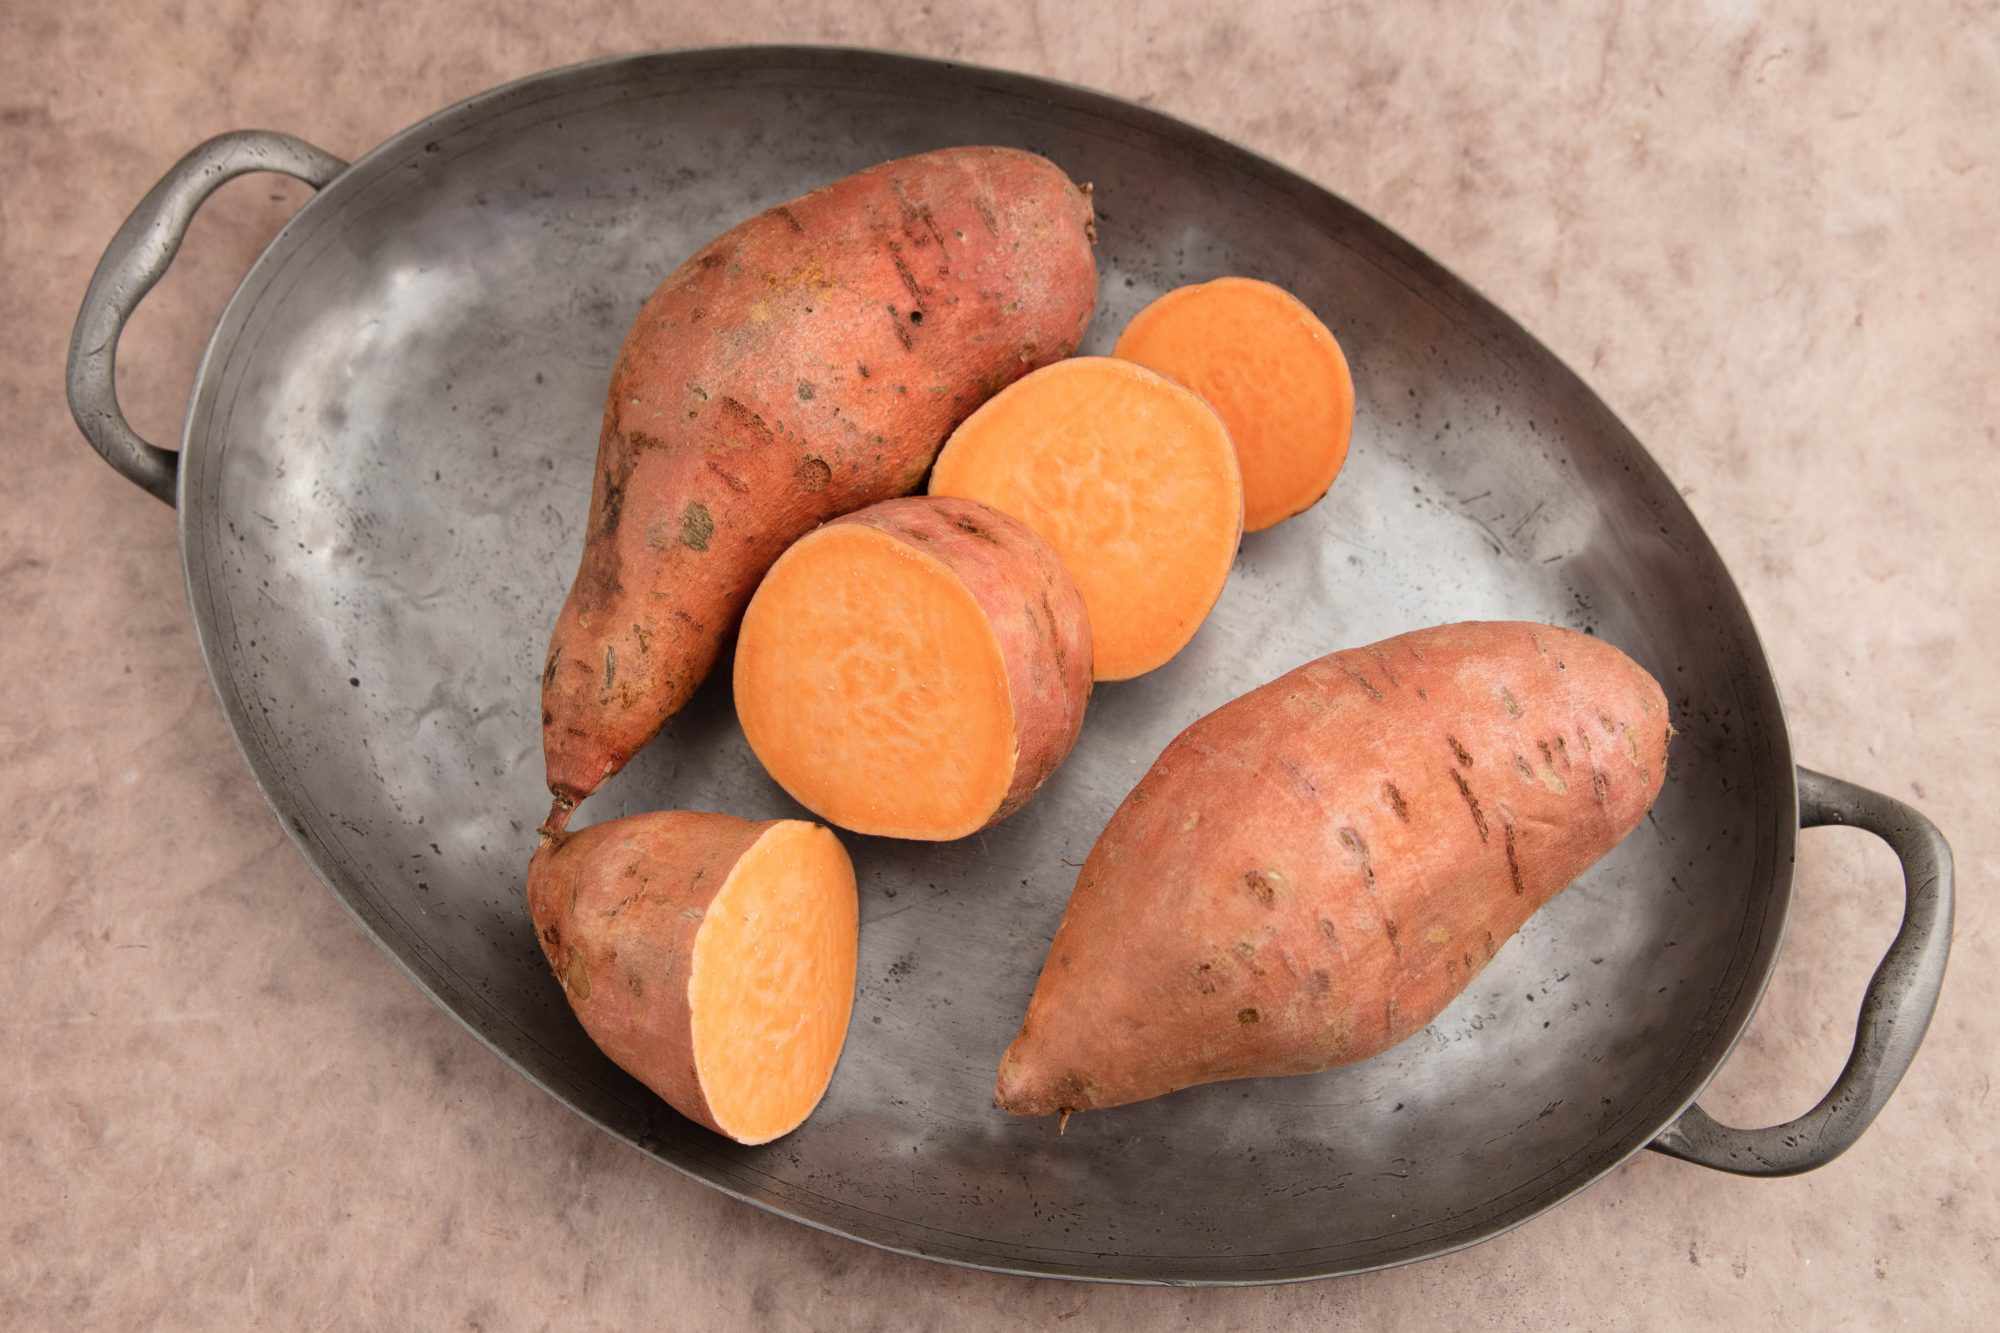
Growing sweet potatoes in containers is a great way to enjoy this delicious root vegetable even if you don’t have a large garden or yard. Whether you live in an apartment with a small balcony or have limited space in your backyard, container gardening allows you to cultivate your very own sweet potatoes with ease. Not only do they provide a bountiful harvest, but they also add beauty to your indoor or outdoor living space.
In this article, we will guide you through the process of growing sweet potatoes in containers, from selecting the right variety to harvesting and storing the tubers. By following these steps, you can have a successful and rewarding sweet potato harvest right at your fingertips.
So, let’s dive in and discover the joy of container gardening with sweet potatoes!
Key Takeaways:
- Grow sweet potatoes in containers for a bountiful harvest, even in limited spaces. Choose the right variety, container, and care techniques for a successful and rewarding homegrown crop.
- Enjoy the joy of container gardening with sweet potatoes. From planting to harvesting, follow the steps for a lush, space-saving, and delicious sweet potato harvest.
Read more: How Many Potatoes Grow From One Seed Potato
Choosing the Right Variety
When it comes to growing sweet potatoes in containers, it’s essential to choose the right variety that is suitable for container gardening. Not all sweet potato varieties thrive in a confined space, so it’s important to select a compact or bush-type variety that will adapt well to container life.
One popular choice for container gardening is the “Beauregard” variety. It is known for its compact growth habit and excellent flavor. Other suitable container varieties include “O’Henry,” “Centennial,” and “Porto Rico.”
Consider the available space in your container when selecting a variety. Larger containers can accommodate more sprawling varieties, while smaller containers are better suited for compact varieties.
You can find these varieties at your local nursery, gardening center, or online seed suppliers. Make sure to read the seed packets or plant labels for specific information about their suitability for container gardening.
By choosing the right variety, you’ll set yourself up for success and ensure that your sweet potatoes thrive in the limited space of a container.
Selecting the Container
Choosing the right container is crucial for the successful growth of sweet potatoes. You’ll want a container that provides enough space for the roots to grow and allows for proper drainage. Here are a few considerations when selecting a container:
Size: Sweet potatoes require a deep container to accommodate their long tubers. Aim for a container that is at least 12 inches deep. A wider container will allow the vines to spread, but keep in mind that a larger container may be more challenging to move around if needed.
Material: Select a container made of a durable material such as plastic, fiberglass, or glazed ceramic. These materials are lightweight, retain moisture well, and provide adequate insulation for the roots. Avoid containers made of metal or porous materials like terracotta, as they can become too hot or dry out too quickly.
Drainage: Good drainage is essential to prevent waterlogged soil, which can lead to root rot. Look for containers with drainage holes in the bottom to allow excess water to escape. If your desired container doesn’t have drainage holes, you can carefully drill some yourself.
Capacity: Consider the number of sweet potato plants you plan to grow and choose a container that can accommodate them comfortably. Allow at least 2 gallons of soil per plant.
Ultimately, the container you choose should provide enough room for the sweet potatoes to grow and thrive while allowing for proper drainage and easy maintenance.
Once you’ve selected the perfect container, you’re ready to move on to the next step: preparing it for planting sweet potatoes.
Preparing the Container
Before planting sweet potatoes in your container, it’s important to properly prepare it to create an optimal growing environment for the plants. Follow these steps to prepare your container:
1. Clean the Container: If you are reusing a container, make sure to clean it thoroughly before planting. Scrub the container with mild soap and water to remove any dirt, debris, or potential pathogens that could harm the sweet potato plants.
2. Add Drainage Material: To ensure proper drainage, place a layer of small rocks or broken pottery shards at the bottom of the container. This layer will prevent the drainage holes from getting clogged and allow excess water to escape.
3. Fill with Potting Mix: Fill the container with a well-draining potting mix. Avoid dense garden soil as it can become compacted and hinder root growth. Choose a mix specifically formulated for containers or make your own by combining equal parts garden soil, compost, and perlite or vermiculite for improved drainage.
4. Add Organic Matter: Mix in a generous amount of organic matter such as compost or aged manure. This will enrich the soil with essential nutrients and improve its moisture-holding capacity.
5. Level the Soil: Use your hands or a gardening tool to level the soil surface, ensuring it is evenly distributed throughout the container. Avoid leaving any large air pockets or uneven spots.
By following these steps, you’ll create a well-prepared container that provides optimal growing conditions for your sweet potatoes. Now that your container is ready, it’s time to move on to preparing the soil.
Preparing the Soil
To ensure healthy growth and abundant yield, preparing the soil in your sweet potato container is essential. Follow these steps to prepare the soil:
1. Loosen the Soil: Use a garden fork or a small hand shovel to loosen the soil in the container. Break up any clumps and remove any weeds or debris that may be present. This will create a loose and aerated soil structure that allows the sweet potato roots to penetrate easily.
2. Test the pH: Sweet potatoes prefer slightly acidic soil with a pH range of 5.8 to 6.2. Use a soil testing kit or take a soil sample to your local agricultural extension office for testing. If the pH is too high, you can lower it by adding elemental sulfur or acidic organic matter like pine needles or composted coffee grounds.
3. Amend with Organic Matter: Incorporate organic matter into the soil to improve its fertility and moisture retention. Mix in well-rotted compost, aged manure, or other organic materials into the soil. This will provide essential nutrients and enhance the soil structure.
4. Add Nutrients: Sweet potatoes are heavy feeders and require a well-balanced nutrient supply. Before planting, add a slow-release fertilizer or organic granular fertilizer according to the package instructions. This will provide a steady supply of nutrients throughout the growing season.
5. Mix Well: Thoroughly mix the amendments and fertilizers into the soil, ensuring they are evenly distributed. This will ensure that the sweet potato plants receive a consistent nutrient supply as they grow.
After preparing the soil, water it lightly to encourage the amendments and fertilizers to settle into the soil. Allow the soil to settle for a day or two before proceeding with the planting process.
With the soil properly prepared, you’re now ready to move on to the exciting part – planting the sweet potatoes!
Read more: How To Grow Potatoes From Seeds
Planting the Sweet Potatoes
Now that you have prepared the container and soil, it’s time to plant your sweet potatoes. Follow these steps to ensure successful planting:
1. Preparing the Slips:
- Obtain sweet potato slips, which are young shoots that develop from a mature sweet potato. You can either purchase slips from a nursery or produce your own by placing a sweet potato partially submerged in water until roots and new shoots emerge.
- Gently remove the slips from the sweet potato, ensuring that each slip has at least a couple of leaves and root growth.
2. Planting the Slips:
- Make small holes in the soil, deep enough to accommodate the roots and lower portion of each slip.
- Place each slip into a hole, positioning it upright and burying the roots and part of the stem in the soil.
- Space the slips around 12 to 18 inches apart to allow sufficient room for growth.
- Lightly tamp the soil around each slip to secure it in place.
3. Provide Support (Optional):
- Depending on the variety and growth habit, you may need to provide support for the sweet potato vines as they grow. This can be done by adding small trellises or stakes near each plant to help the vines climb and prevent sprawling.
- Alternatively, you can allow the vines to trail over the edges of the container if space permits.
4. Watering:
- After planting, give the sweet potato slips a thorough watering to settle the soil around the roots.
- Water consistently throughout the growing season, keeping the soil evenly moist but not waterlogged.
5. Placement:
- Choose a sunny location for your sweet potato container where the plants can receive at least 6-8 hours of direct sunlight each day.
- You may need to move the container to follow the sun as the seasons change.
By following these steps, you’ll have your sweet potato slips planted and ready to grow. Now you can move on to the important tasks of watering, fertilizing, and maintaining your sweet potato plants.
Choose a container at least 18 inches deep with good drainage. Fill with loose, well-draining soil and plant sweet potato slips 12 inches apart. Keep the soil consistently moist and provide full sun. Harvest when the leaves start to yellow.
Watering
Proper watering is essential for the healthy growth and development of sweet potatoes in containers. Follow these guidelines to ensure that your plants receive adequate moisture:
1. Monitor Soil Moisture: Check the moisture level of the soil regularly. Stick your finger about an inch deep into the soil to feel if it is dry or moist. If it feels dry, it’s time to water.
2. Watering Frequency: Sweet potatoes require consistent moisture, so aim to water them when the top inch of soil feels dry. The frequency will depend on various factors such as temperature, humidity, and the size of the container. As a general guideline, water the plants every 2-3 days during hot and dry weather, and reduce the frequency during cooler periods.
3. Watering Method: When watering, it’s best to use a gentle stream of water at the base of the plants. Avoid wetting the leaves excessively, as this can encourage diseases. Slowly pour water onto the soil until it begins to flow out of the drainage holes at the bottom of the container. This ensures that the water reaches the roots effectively.
4. Deep Watering: To encourage deeper root growth, water deeply each time, allowing the water to penetrate the soil deeply. This helps the sweet potato plants establish a strong root system and access moisture during drier periods.
5. Mulching: Applying a layer of organic mulch around the base of the plants can help to retain soil moisture and reduce water evaporation. Consider using straw, shredded leaves, or wood chips as mulch. Just be sure to keep it a few inches away from the stems to prevent rotting.
6. Avoid Overwatering: While it’s important to keep the soil moist, be cautious not to overwater. Overwatering can lead to root rot and other moisture-related issues. Ensure that the container has proper drainage to prevent water from pooling.
By following these watering guidelines, you’ll provide your sweet potatoes with the right amount of moisture they need for healthy growth. Remember to adjust the watering frequency based on environmental conditions and the specific needs of your plants.
Fertilizing
Fertilizing your sweet potato plants in containers is crucial to ensure they receive the necessary nutrients for robust growth and a bountiful harvest. Follow these guidelines to effectively fertilize your sweet potato plants:
1. Pre-Planting Fertilizer: Prior to planting the sweet potato slips, incorporate a slow-release fertilizer or organic granular fertilizer into the soil. This provides a baseline of nutrients to support early growth and development.
2. Balanced Fertilizer: Once your sweet potato plants have been established, it’s important to provide them with regular feedings throughout the growing season. Use a balanced fertilizer, such as a 10-10-10 or 14-14-14 NPK (nitrogen, phosphorus, and potassium) fertilizer. These ratios provide a mix of essential nutrients for overall plant health.
3. Follow Package Instructions: Always follow the instructions provided on the fertilizer package for specific application rates and frequency. Over-fertilizing can harm the plants and may lead to excessive foliage growth at the expense of tuber development.
4. Application Method: Apply the fertilizer evenly around the base of the plants, keeping it a few inches away from the stems. Avoid placing the fertilizer directly on the foliage, as this can cause burning. Gently work the fertilizer into the top inch of soil and water thoroughly after application to help distribute the nutrients.
5. Time of Application: Start fertilizing your sweet potato plants approximately one month after planting, once they have established a strong root system. Continue to fertilize every 4-6 weeks throughout the growing season. Avoid fertilizing within a month of harvest, as this encourages foliage growth rather than tuber development.
6. Organic Alternatives: If you prefer to go the organic route, consider using compost, well-rotted manure, or organic fertilizers specifically formulated for vegetable plants. These can provide a steady supply of nutrients to your sweet potatoes while promoting soil health.
Remember to closely monitor your plants for any signs of nutrient deficiencies or excesses. Adjust your fertilization regimen accordingly to ensure optimal plant health and a successful sweet potato harvest.
Pest and Disease Control
While sweet potatoes are generally resilient, they can occasionally fall prey to pests and diseases. Taking proactive measures to control and prevent these issues is essential for a successful container-grown sweet potato crop. Here are some tips for managing common pests and diseases:
1. Pest Prevention:
- Inspect your sweet potato plants regularly for signs of pests, such as aphids, flea beetles, or spider mites. Early detection is key to preventing infestations.
- Consider companion planting with pest-repellent herbs like basil, marigold, or garlic, which can help deter pests naturally.
- Use floating row covers or netting to physically block pests from reaching your plants.
2. Organic Pest Control:
- Introduce beneficial insects, like ladybugs or lacewings, which feed on pests that attack sweet potatoes.
- Make a natural insecticidal soap by mixing a few drops of mild liquid soap with water, and spray it on the affected plants to control soft-bodied pests.
3. Common Diseases:
- Prevent disease issues by providing adequate plant spacing to ensure good air circulation between the plants.
- Avoid overhead watering, as wet foliage can promote the development of fungal diseases.
- If you notice signs of disease, such as leaf spots or blights, promptly remove and destroy the affected plant material to prevent further spread.
4. Crop Rotation:
- Practice crop rotation in successive growing seasons to minimize the risk of soil-borne diseases. Avoid planting sweet potatoes in the same container or area for at least three years.
5. Disease-Resistant Varieties:
- Consider choosing disease-resistant sweet potato varieties whenever possible. These varieties have been bred to withstand common diseases and can help reduce the risk of infection.
Remember to observe your sweet potato plants regularly for any signs of pests or diseases. Taking swift action and implementing appropriate control measures will help keep your plants healthy and ensure a successful harvest of sweet, delicious tubers.
Read more: How To Store Sweet Potato Pie
Harvesting the Sweet Potatoes
One of the most rewarding moments of growing sweet potatoes in containers is the time to harvest your homegrown tubers. Follow these steps to ensure a successful and enjoyable harvest:
1. Timing:
- Sweet potatoes are typically harvested when they have reached full maturity, which is usually around 100-120 days after planting, depending on the variety.
- Monitor the foliage of the plants for signs of senescence, such as yellowing or wilting leaves. This indicates that the sweet potatoes are ready for harvest.
2. Preparation:
- Before harvesting, water the plants thoroughly to soften the soil, making it easier to dig up the sweet potatoes.
- Select a day when the soil is dry to prevent excessive sticking to the tubers.
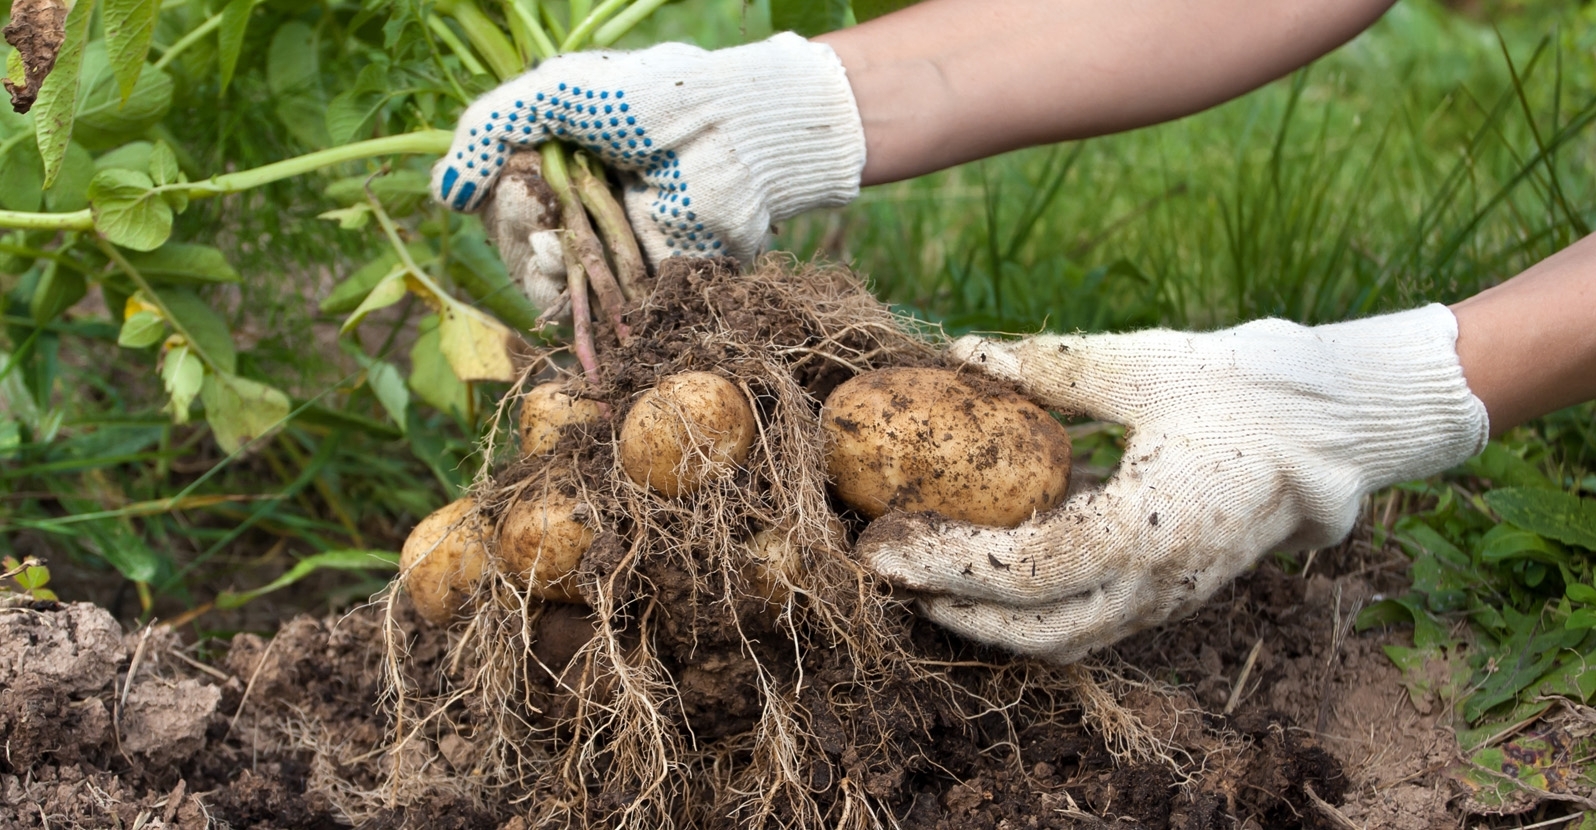
3. Harvesting:
- Carefully dig around the base of the plants using a garden fork or shovel to loosen the soil.
- Gently lift the plants out of the container, taking care not to damage the tubers.
- Brush off excess soil from the sweet potatoes, but avoid washing them as moisture can lead to rot during storage.
4. Cure and Storage:
- Curing the sweet potatoes helps to improve their flavor and texture, as well as extend their shelf life.
- Place harvested sweet potatoes in a warm, well-ventilated area with temperatures around 85-90°F (29-32°C) and humidity levels of 80-90%.
- Allow the sweet potatoes to cure for around 7-10 days to allow the skins to toughen and heal any minor wounds.
- After curing, store the sweet potatoes in a cool and dark location with temperatures around 55-60°F (13-16°C) and low humidity.
- Avoid storing sweet potatoes in the refrigerator, as the cold temperatures can negatively impact their flavor and texture.
By following these harvesting guidelines, you’ll be rewarded with a bountiful crop of delicious sweet potatoes that can be enjoyed in a variety of culinary dishes.
Storing Sweet Potatoes
Proper storage is crucial to keep your harvested sweet potatoes fresh and delicious for an extended period. Follow these guidelines to ensure optimal storage conditions:
1. Curing:
- After harvesting, allow the sweet potatoes to cure for about 7-10 days in a warm, well-ventilated area with temperatures around 85-90°F (29-32°C) and humidity levels of 80-90%.
- Curing helps the sweet potatoes develop a tougher skin and improves their flavor and sweetness.
- Avoid exposing the curing sweet potatoes to direct sunlight as it can cause them to sprout prematurely.
2. Cleaning:
- Gently brush off any excess dirt or loose soil from the sweet potatoes using a soft brush or cloth. Do not wash them with water as moisture can lead to rot during storage.
- Inspect the sweet potatoes and separate any damaged or diseased tubers to prevent them from affecting the others.
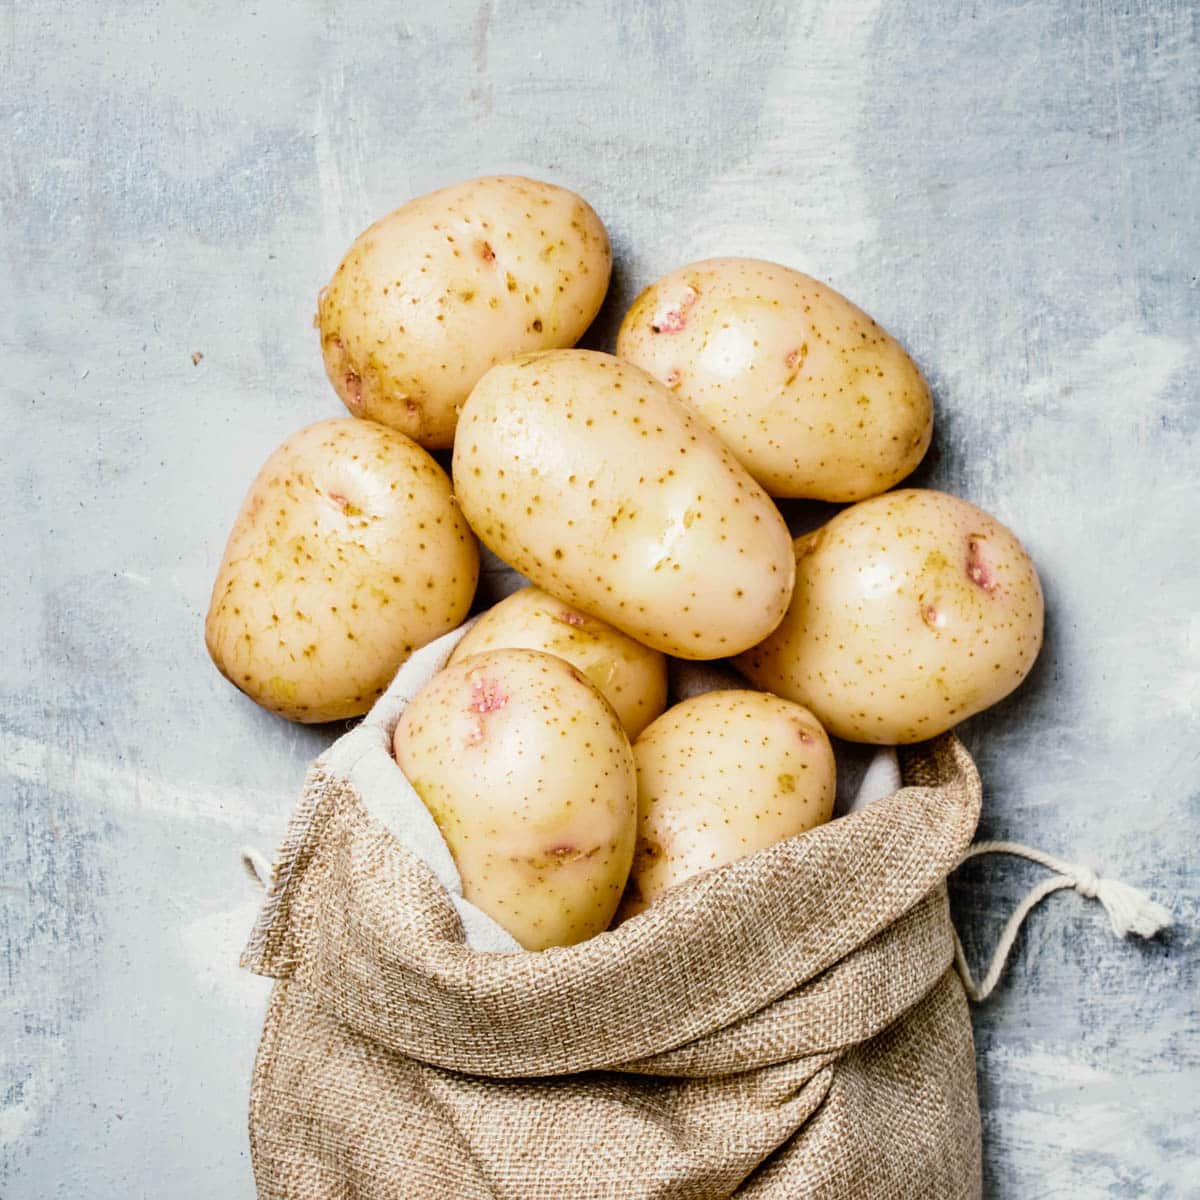
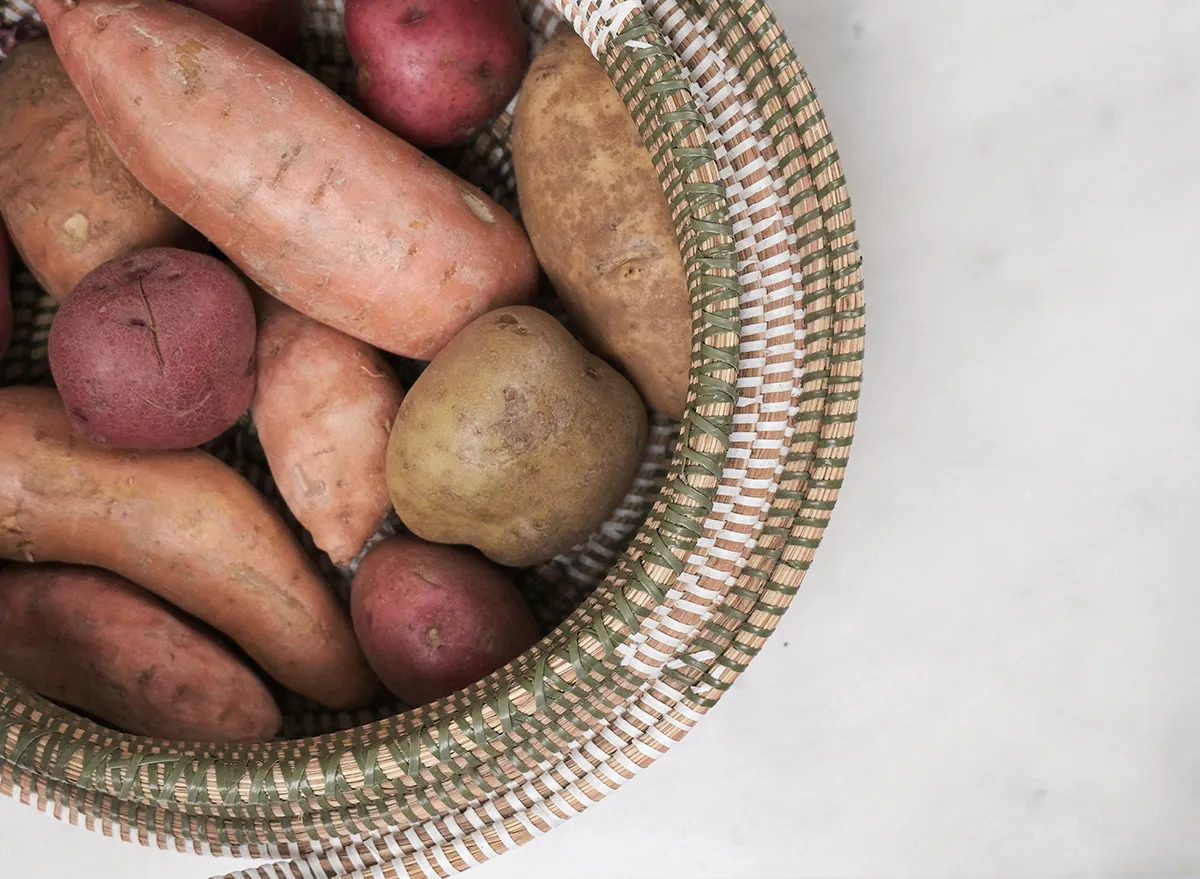
3. Storage Containers:
- Choose a storage container that provides good airflow, such as a mesh or woven basket, a wooden crate, or a cardboard box with holes.
- Avoid using plastic bags or sealed containers, as they can trap moisture and promote spoilage.
4. Storage Location:
- Store the sweet potatoes in a cool, dark, and well-ventilated area with temperatures around 55-60°F (13-16°C).
- Avoid storing them near heat sources, such as radiators or stoves, as high temperatures can cause them to spoil quickly.
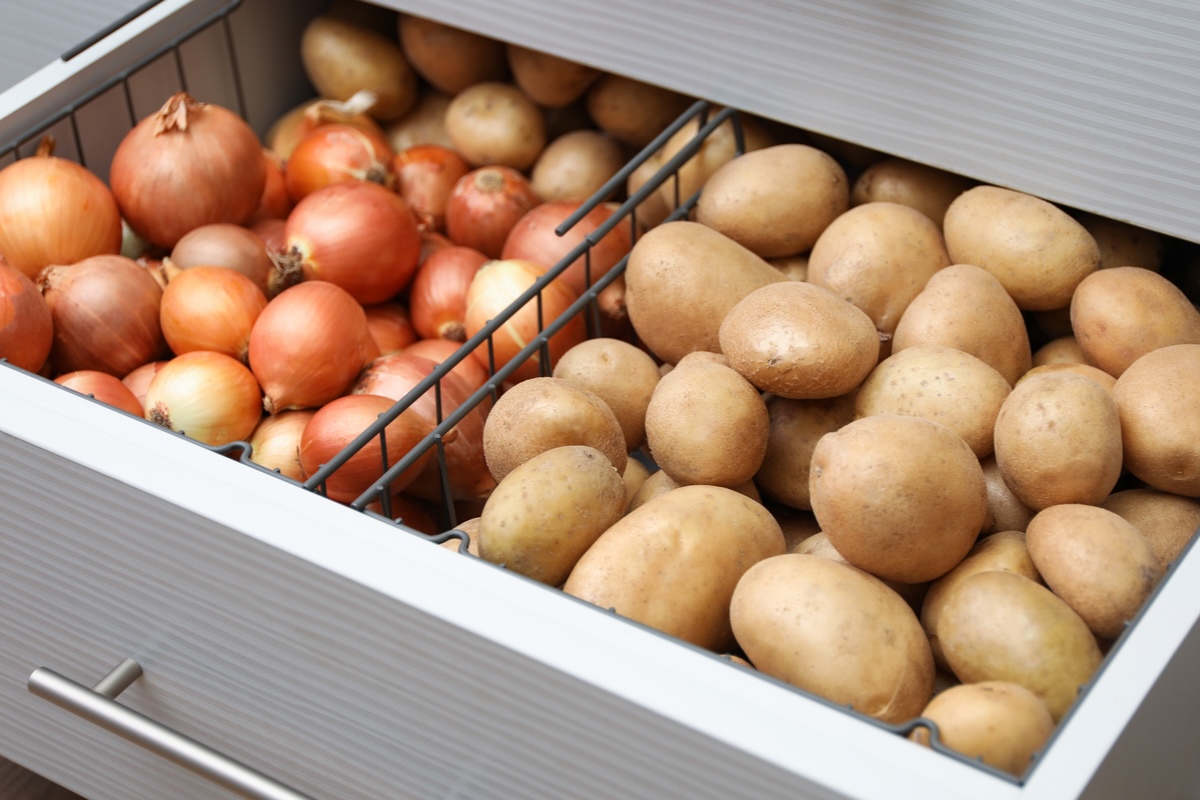
- Keep the sweet potatoes away from onions, garlic, and other ethylene-producing fruits and vegetables, as these can speed up the spoilage process.
5. Regular Inspection:
- Periodically check on your stored sweet potatoes and remove any that are showing signs of rot or decay to prevent the spread of damage.
- Use the harvested sweet potatoes with visible damage or signs of decay first to minimize spoilage.
By providing the right storage conditions and regularly inspecting your sweet potatoes, you can enjoy their fresh flavor and nutritional benefits for several months after harvest.
Conclusion
Growing sweet potatoes in containers is a rewarding and accessible way to enjoy these nutritious and delicious root vegetables, even with limited space. With the right variety selection, container choice, and proper care, you can successfully cultivate sweet potatoes right at your doorstep.
In this article, we covered the essential steps for growing sweet potatoes in containers. We discussed the importance of choosing the right variety, selecting suitable containers, preparing the container and soil, planting the sweet potatoes, and providing them with adequate water and nutrients.
We also provided tips for managing pests and diseases to ensure the health and vitality of your sweet potato plants. Additionally, we discussed the proper techniques for harvesting and storing your sweet potatoes, allowing you to enjoy the fruits of your labor for an extended period.
Remember, container gardening with sweet potatoes offers a versatile and rewarding experience. Not only do you get to enjoy the satisfaction of watching your plants grow and harvest a plentiful crop, but you also add beauty to your living space by incorporating lush foliage and vibrant colors.
So, whether you have a small balcony, patio, or garden, don’t hesitate to give container-grown sweet potatoes a try. Follow the steps outlined in this article, adapt them to your specific circumstances, and enjoy the bountiful harvest of sweet, homegrown tubers.
Happy container gardening and may your sweet potato harvest be plentiful and delicious!
Frequently Asked Questions about How To Grow Sweet Potatoes In Containers
Was this page helpful?
At Storables.com, we guarantee accurate and reliable information. Our content, validated by Expert Board Contributors, is crafted following stringent Editorial Policies. We're committed to providing you with well-researched, expert-backed insights for all your informational needs.


0 thoughts on “How To Grow Sweet Potatoes In Containers”