Home>Garden Essentials>How Long To Grow Potatoes From Seed
Garden Essentials
How Long To Grow Potatoes From Seed
Modified: March 21, 2024
Looking to grow potatoes from seed in your garden? Discover how long it takes to nurture these versatile vegetables and enjoy a bountiful harvest.
(Many of the links in this article redirect to a specific reviewed product. Your purchase of these products through affiliate links helps to generate commission for Storables.com, at no extra cost. Learn more)
Introduction
Growing potatoes from seed can be a rewarding and satisfying experience for gardeners. Not only do you get to enjoy the delicious taste of homegrown potatoes, but you also have the satisfaction of growing your food from scratch.
When it comes to growing potatoes, it’s essential to have a good understanding of the process. From selecting the right seeds to caring for the plants, each step plays a vital role in ensuring a successful harvest.
In this article, we will discuss the various aspects of growing potatoes from seed. From selecting the seeds to harvesting the potatoes, we’ll cover everything you need to know to grow these versatile and delicious tubers in your garden.
So, whether you’re a beginner or an experienced gardener, let’s dive in and discover how long it takes to grow potatoes from seed.
Key Takeaways:
- Growing potatoes from seed is a fun and rewarding experience, but it takes patience. From selecting the right seeds to caring for the plants, each step is crucial for a successful harvest.
- Proper watering, fertilizing, and care are essential for healthy potato plants. Harvesting at the right time and storing the potatoes correctly ensures you can enjoy your homegrown harvest for months.
Read more: How To Grow Potatoes From Seeds
Selecting the Potato Seeds
Choosing the right potato seeds is crucial for a successful potato harvest. When selecting your seeds, there are a few factors to consider.
Firstly, decide whether you want to grow potatoes from true potato seeds (TPS) or seed potatoes. True potato seeds are the result of cross-pollination and are smaller and less chunky than seed potatoes. They offer a wider variety of potato types and are a good option if you’re looking for something unique.
Seed potatoes, on the other hand, are small tubers that have been grown for the purpose of planting. They are readily available, and by planting them, you can ensure that you’re growing the same variety as the parent plant.
When selecting your potato seeds, look for healthy, firm tubers without any signs of disease or damage. Opt for certified disease-free seed potatoes to minimize the risk of infection in your garden.
Consider the variety of potato you want to grow. There are countless varieties available, each with its own flavor, texture, and cooking characteristics. Research the different varieties and choose one that suits your taste preferences and growing conditions.
Additionally, consider whether you want to grow early, mid-season, or late-season potatoes. Early varieties mature faster and are best for planting in cooler climates. Mid and late-season varieties take longer to mature and are suitable for areas with longer growing seasons.
Lastly, think about the desired yield and storage requirements. Some potato varieties are more productive than others, while some store well for extended periods. Consider these factors and choose a variety that aligns with your needs.
By carefully selecting the potato seeds, you can ensure a successful and flavorful potato harvest.
Preparing the Soil
Preparing the soil is an essential step in growing potatoes successfully. Potatoes thrive in loose, well-drained soil that is rich in organic matter. Follow these steps to prepare your soil:
- Clear the area: Start by clearing the area of any weeds, rocks, or other debris. This will ensure that the potatoes have ample space to grow and develop.
- Loosen the soil: Use a garden fork or a tiller to loosen the soil to a depth of about 8-10 inches. This will help improve drainage and allow the potato tubers to expand easily.
- Amend the soil: To enrich the soil, incorporate organic matter such as compost or well-rotted manure. This will improve the soil’s fertility, moisture retention, and overall structure.
- Test the soil: It’s a good idea to test your soil’s pH level to ensure it is in the optimal range for potatoes, which is between 5.0 and 6.5. You can purchase a soil testing kit from a local garden center or send a sample to a soil testing laboratory.
- Adjust soil pH: If the soil pH is too high or too low, you can adjust it by adding either lime or sulfur. Follow the instructions on the product packaging and retest the soil after a few weeks to ensure the pH has reached the desired level.
By properly preparing the soil, you create a favorable environment for your potato plants to grow and thrive. The added organic matter improves nutrient availability and moisture retention, while the loose soil allows the tubers to develop without restrictions.
Planting the Potato Seeds
Once you have selected your potato seeds and prepared the soil, it’s time to plant them. Here is a step-by-step guide to planting potato seeds:
- Choose the planting method: There are a few different methods you can choose from when planting potatoes. The most common methods are trench planting, hilling, and container planting. Select the method that suits your garden space and preferences.
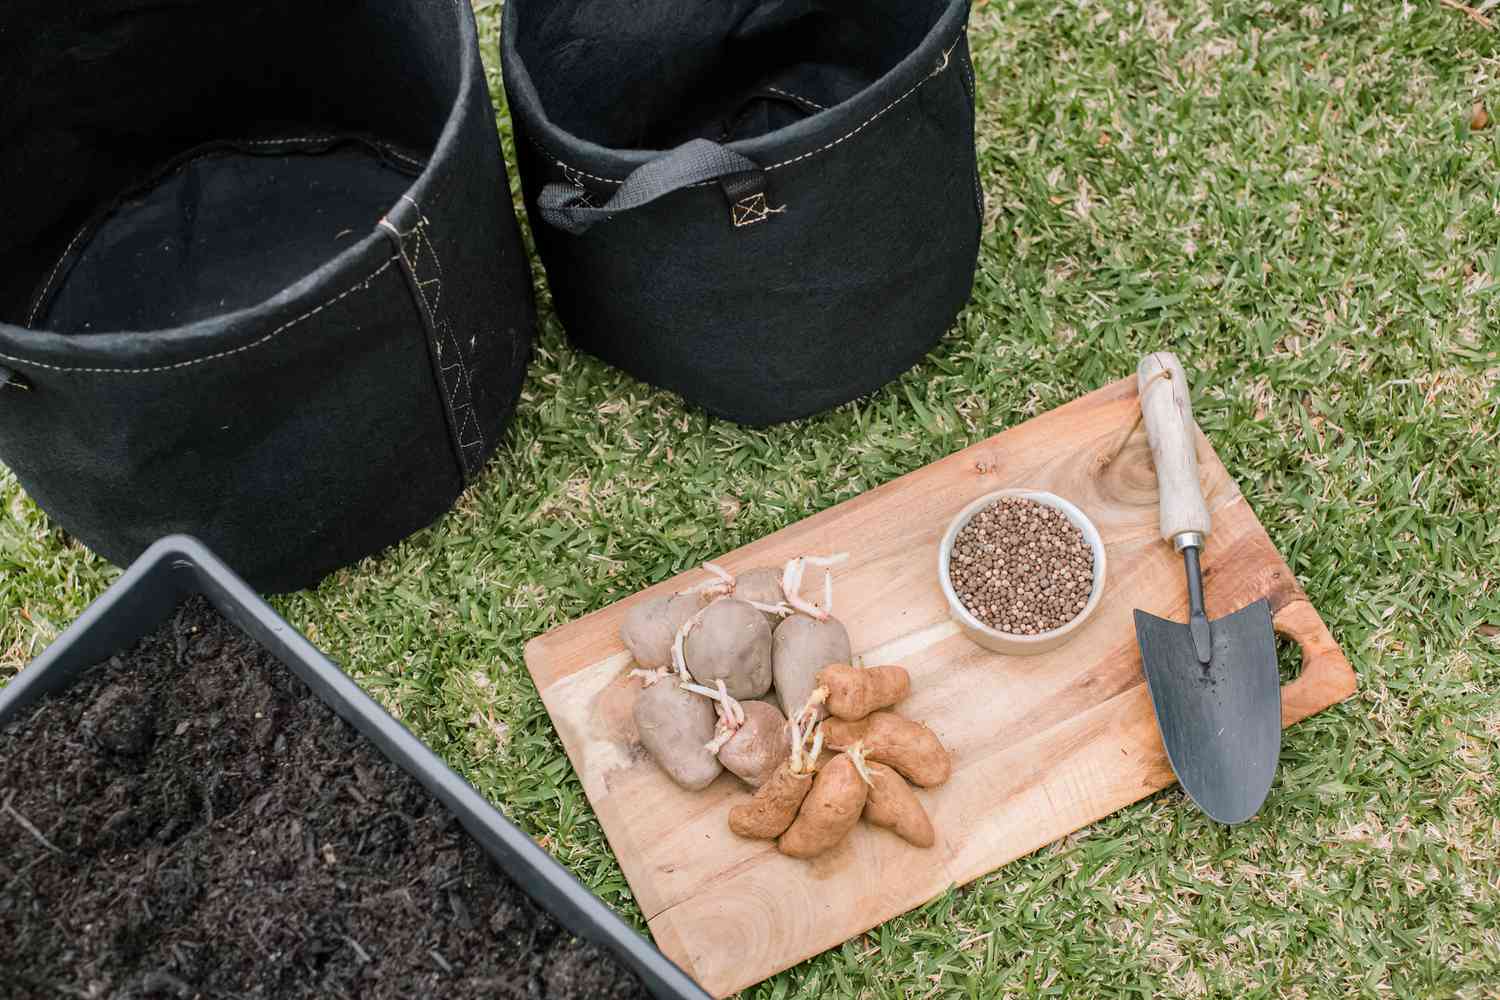
- Prepare the seed potatoes: If you are using seed potatoes, cut them into pieces, ensuring that each piece has at least one “eye” or sprout. Allow the cut surfaces to dry and callus for a day or two before planting.
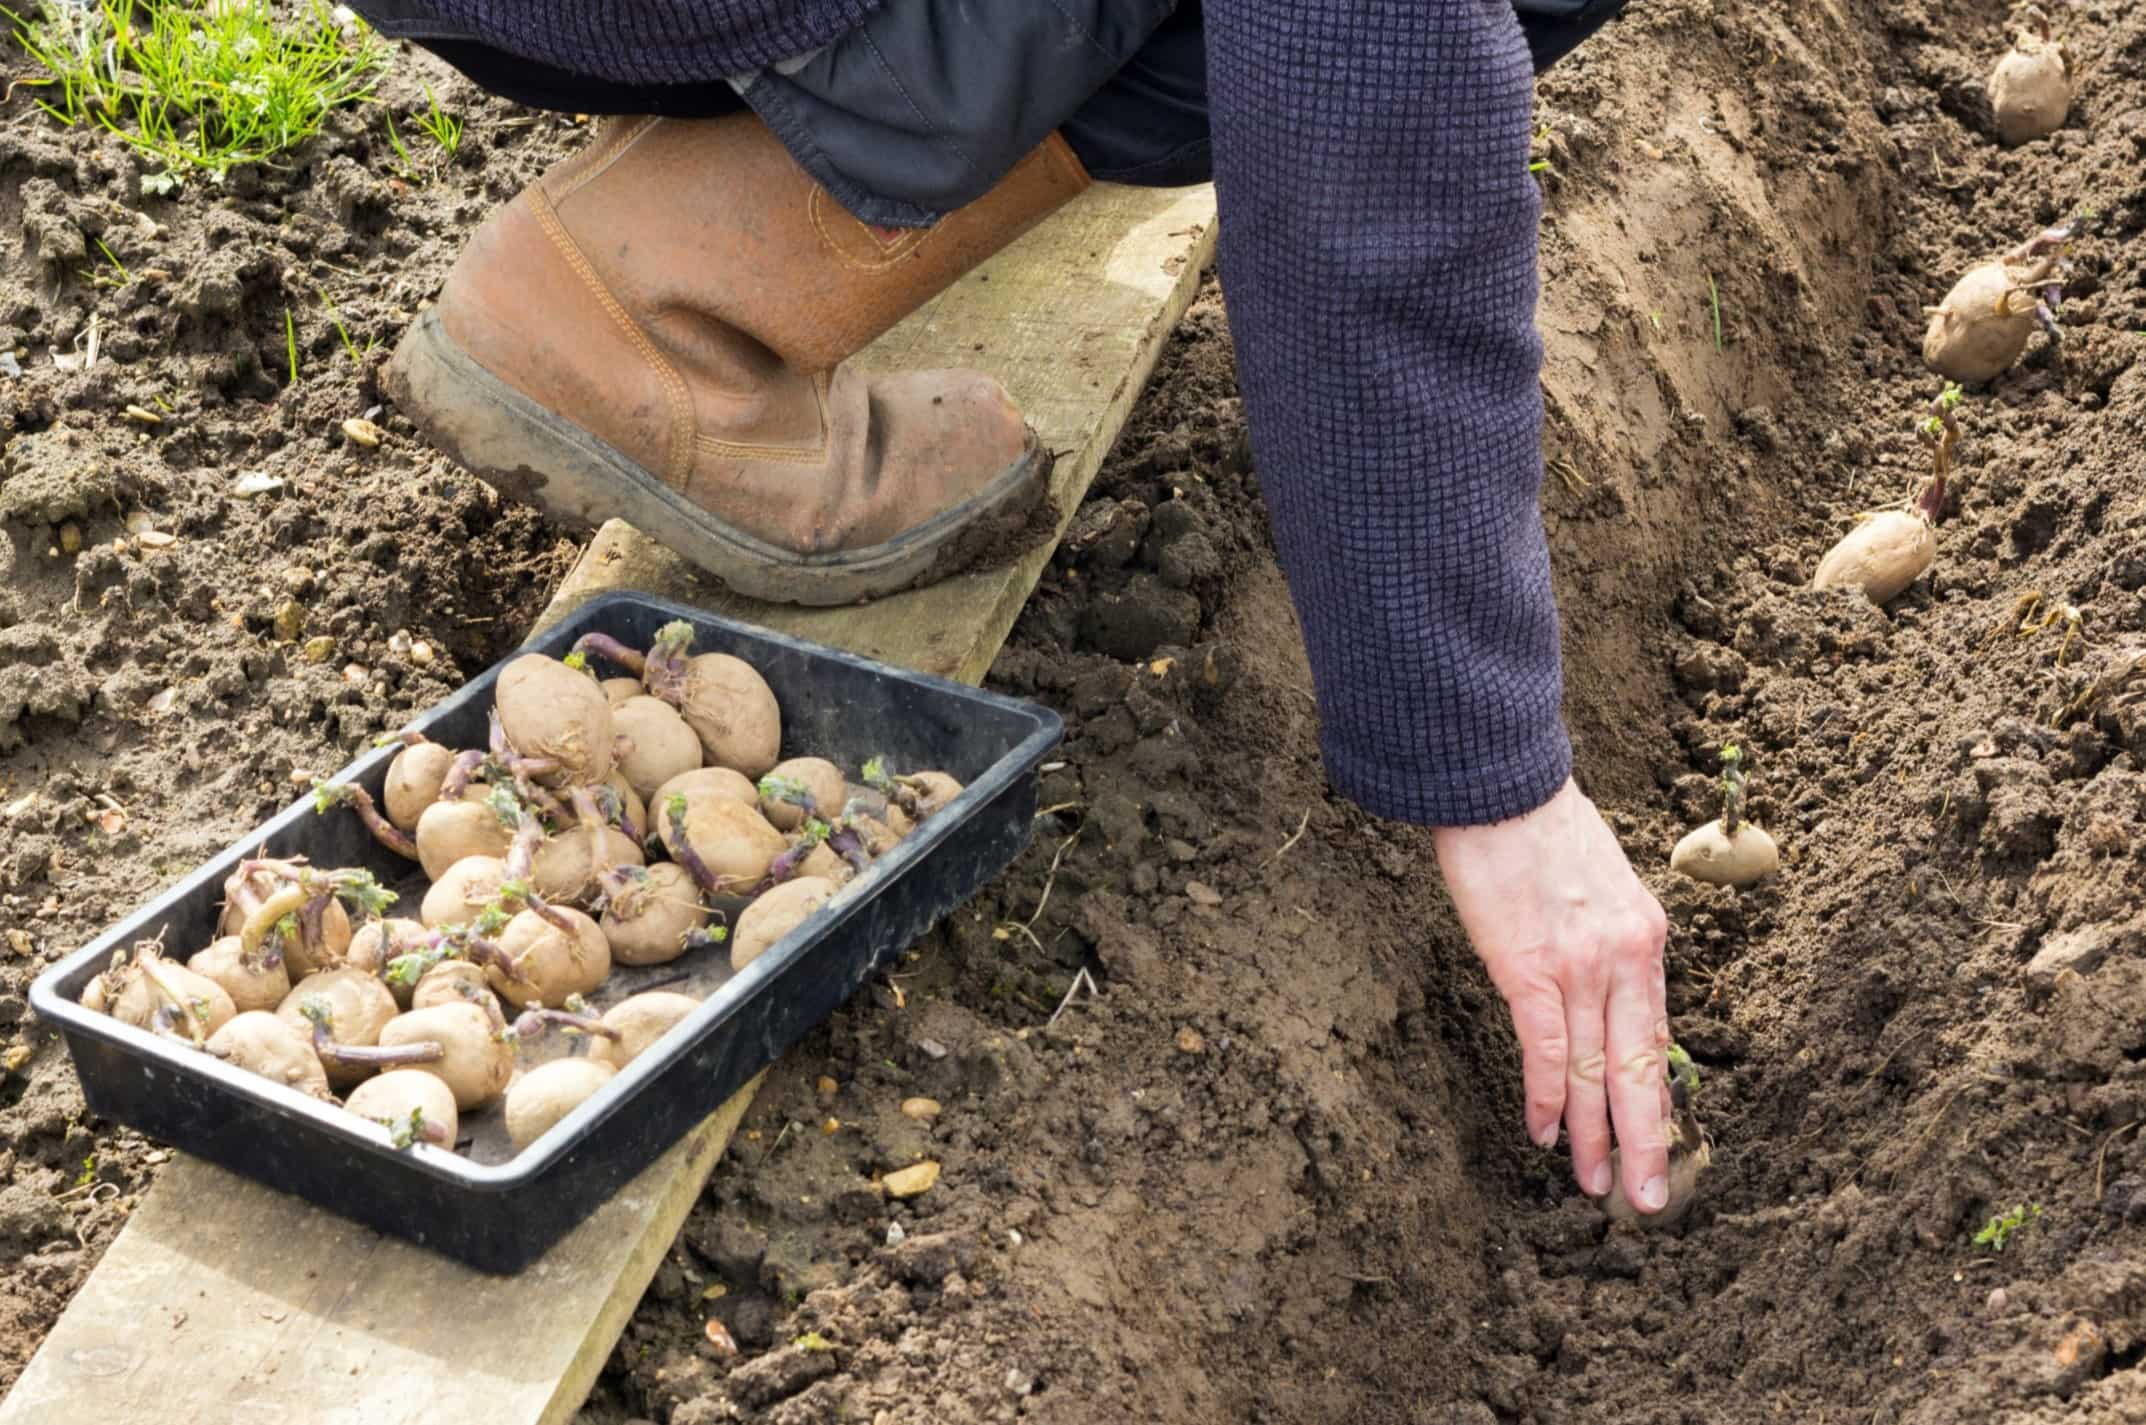
- Plant the potatoes: Dig a trench or holes in the prepared soil, spacing them about 12-15 inches apart. Place the seed potatoes or potato pieces in the trench or holes, with the sprouted side facing up. Cover them with soil, leaving a slight mound on top.
- Spacing and depth: The spacing and depth of the potato seeds will depend on the variety and planting method. In general, plant the seed potatoes about 4-6 inches deep and space them 2-3 feet apart if using the hilling method. If trench planting, space them about 12-15 inches apart.
- Water thoroughly: After planting, water the soil thoroughly to ensure good soil-to-seed contact and to initiate the growth process. Keep the soil consistently moist throughout the growing season, but avoid overwatering, as it can lead to rotting.
It’s important to note that potatoes prefer cooler soil temperatures for optimal growth. Aim to plant them when the soil temperature reaches around 45-55 degrees Fahrenheit (7-13 degrees Celsius), usually in early spring.
By following these steps, you can plant your potato seeds correctly and provide them with the best conditions to grow into healthy and productive plants.
Potatoes are not typically grown from seeds, but from seed potatoes or potato tubers. It takes about 70-120 days for potatoes to grow from planting to harvest, depending on the variety and growing conditions.
Watering and Fertilizing
Proper watering and fertilizing are essential for the healthy growth of potato plants and the development of robust tubers. Follow these guidelines to ensure your potatoes receive the necessary nutrients and hydration:
Watering:
- Water the potato plants consistently throughout the growing season. Keep the soil moist, but not waterlogged.
- Check the moisture level of the soil regularly by inserting your finger into the soil to a depth of about an inch. If it feels dry, it’s time to water.
- Deep watering is preferable to shallow watering. Aim to provide around 1-2 inches of water per week, either through rainfall or irrigation.
- Avoid overhead watering, as this can increase the risk of fungal diseases. Instead, use a drip irrigation system or water the soil at the base of the plants.
Fertilizing:
- Before planting your potatoes, incorporate organic matter into the soil to provide a nutrient-rich environment.
- Once the plants emerge, you can apply a balanced fertilizer with a ratio of 10-10-10 or 14-14-14 to provide essential nutrients.
- Apply the fertilizer according to the instructions on the packaging, ensuring you distribute it evenly around the plants.
- During the growing season, you can also side-dress the plants with compost or well-rotted manure to provide additional nutrients.
- Be cautious not to over-fertilize, as this can lead to excessive foliage growth at the expense of tuber development.
Regularly monitoring the moisture level of the soil and providing adequate fertilizer will help ensure healthy potato plants and a bountiful harvest. Remember to adjust watering and fertilizing practices based on the specific needs of your potato variety and the condition of your soil.
Read more: How Many Potatoes Grow From One Seed Potato
Caring for the Potato Plants
Caring for your potato plants is essential to ensure their healthy growth and maximize the yield of flavorful tubers. Here are some crucial aspects of potato plant care:
Weeding:
- Regularly remove weeds from the potato patch to prevent competition for nutrients and water.
- Be gentle when weeding to avoid damaging the shallow roots of the potato plants.
- Consider mulching the soil around the plants to suppress weeds and maintain soil moisture.
Hilling:
- Hilling involves piling soil around the base of the plants as they grow.
- This helps to support the plants, prevent tubers from being exposed to light (which turns them green), and encourages more tuber development.
- Start hilling when the plants are about 6-8 inches tall, and continue hilling every few weeks until the foliage is fully developed.
Pest and Disease Control:
- Monitor your potato plants regularly for signs of pests or diseases such as potato beetles, aphids, or fungal infections.
- Use organic pest control methods when possible, such as manually removing pests or using insecticidal soap.
- If necessary, apply appropriate pesticides or fungicides according to the instructions and safety guidelines.
Supporting the Plants:
- As the potato plants grow taller, they may require support to prevent them from falling over.
- Insert stakes or install a trellis system near the plants and gently tie the foliage to provide support.
- Supporting the plants helps to prevent damage to the foliage and ensures better airflow, reducing the risk of fungal diseases.
Monitoring and Harvesting:
- Regularly monitor the plants for any signs of distress, such as yellowing foliage or wilting.
- Harvest time depends on the potato variety and desired maturity. Potatoes can typically be harvested when the foliage starts to die back and turn yellow or brown.
- Use a garden fork or shovel to gently dig up the tubers, being careful not to damage them during the harvest process.
By providing proper care and attention, you can ensure healthy and productive potato plants and enjoy a bountiful harvest of delicious homegrown potatoes.
Harvesting the Potatoes
After months of care and anticipation, it’s finally time to harvest your potatoes. Here’s what you need to know about harvesting the tubers:
Determining the Harvest Time:
- Potatoes can be harvested at different stages of maturity, depending on your preference.
- For “new potatoes,” harvest them when they are small and the plants are still green. These are young and tender potatoes, perfect for immediate consumption.
- If you prefer fully mature potatoes for storage, wait until the foliage has completely died back and turned brown. The skins will be thicker, and the tubers will have reached their maximum size.
Preparing for Harvest:
- Before harvesting, gently dig around the base of the plants to assess the size and readiness of the tubers.
- Choose a dry day to harvest to facilitate the cleaning and curing process.
Harvesting Techniques:
- Use a garden fork or shovel to dig up the tubers. Insert the tool a few inches away from the plant and gently lift to loosen the soil.
- Avoid stabbing or cutting the tubers and try to maintain their shape during the harvest.
- As you lift the plants, you may come across small “baby potatoes” called “fingerlings” near the surface. Feel free to collect these as well.
Curing and Storing:
- After harvest, gently brush off excess soil from the potatoes. Do not wash them as this can remove their protective skin.
- Allow the potatoes to cure and dry in a cool, dry, and well-ventilated space for 1-2 weeks. This helps to toughen the skin and extends their storage life.
- Store the cured potatoes in a dark, cool (around 40-50 degrees Fahrenheit or 4-10 degrees Celsius), and dry location. Avoid areas with high humidity.
- Check your stored potatoes regularly for any signs of spoilage, such as mold or soft spots, and remove any affected tubers to prevent further damage.
With proper harvesting techniques and storage, you can enjoy the fruits of your labor for several months and savor the delicious flavor of homegrown potatoes.
Conclusion
Growing potatoes from seed is a rewarding and enjoyable experience that allows you to fully appreciate the process of cultivating one of the world’s most versatile and beloved vegetables. By following the steps outlined in this article, you can successfully grow your own potatoes and enjoy the satisfaction of homegrown harvests.
From selecting the right potato seeds to preparing the soil, planting, and caring for the plants, each step plays a vital role in ensuring a successful potato harvest. Remember to pay attention to factors such as variety selection, watering, fertilizing, and pest control to provide the best growing conditions for your potato plants.
When the time comes for harvesting, carefully dig up the tubers and store them properly to extend their shelf life and maintain their quality.
Not only do homegrown potatoes provide a delicious and nutritious addition to your meals, but they also offer the satisfaction of knowing exactly where your food comes from and the joy of sharing your harvest with family and friends.
So, roll up your sleeves, grab some potato seeds, and start your potato-growing journey. With a little bit of knowledge, patience, and care, you’ll be rewarded with a bountiful supply of delicious potatoes that you can proudly say you grew yourself.
Frequently Asked Questions about How Long To Grow Potatoes From Seed
Was this page helpful?
At Storables.com, we guarantee accurate and reliable information. Our content, validated by Expert Board Contributors, is crafted following stringent Editorial Policies. We're committed to providing you with well-researched, expert-backed insights for all your informational needs.


0 thoughts on “How Long To Grow Potatoes From Seed”