Home>Garden Essentials>How To Hydro Seed A Lawn
Garden Essentials
How To Hydro Seed A Lawn
Modified: September 2, 2024
Discover how to hydro seed your garden and achieve a lush, green lawn with our step-by-step guide, perfect for both beginners and experienced gardeners!
(Many of the links in this article redirect to a specific reviewed product. Your purchase of these products through affiliate links helps to generate commission for Storables.com, at no extra cost. Learn more)
Introduction
Welcome to the world of hydroseeding, an innovative and effective method for establishing a lush and vibrant lawn. Whether you’re a gardening enthusiast or a homeowner looking to transform your patchy yard into a green oasis, hydroseeding is a technique worth considering. In this article, we will explore what hydroseeding is, its numerous benefits, and provide you with a step-by-step guide on how to hydroseed your lawn successfully.
Hydroseeding, also known as hydraulic mulch seeding or hydro-mulching, is a process that involves applying a combination of water, seed, mulch, and fertilizer to the soil. This mixture is sprayed evenly over the desired area, providing a superior growth medium for the seeds to germinate and thrive. Hydroseeding is widely recognized as a cost-effective and efficient method for establishing a healthy lawn, especially for large-scale projects.
So why choose hydroseeding over traditional methods such as laying sod or broadcasting seeds? There are several benefits that make hydroseeding a popular choice among gardeners and landscapers:
- Rapid germination: Hydroseeding promotes fast and uniform seed germination, thanks to the ideal conditions provided by the hydroseeding mixture.
- Fuller coverage: The hydroseeding mixture contains mulch, which acts as a protective layer, preventing soil erosion, and ensuring better seed-to-soil contact. This results in a thicker and more even coverage across your lawn.
- Customizable seed mixtures: With hydroseeding, you have the flexibility to choose the seed mixture that best suits your specific needs, including grass varieties that are well-adapted to your climate, soil type, or shade tolerance.
- Erosion control: Hydroseeding is an effective erosion control measure, reducing the risk of soil erosion, particularly on slopes or areas prone to runoff. The mulch in the hydroseeding mixture provides a protective barrier against wind and water erosion.
- Cost-effective: Hydroseeding is generally more economical compared to other methods, such as laying sod. It is particularly beneficial for large areas as it requires less labor and materials.
Now that you’re aware of the advantages, let’s dive into the process of hydroseeding your lawn. But before we get into the nitty-gritty, there are a few essential steps to prepare your lawn for hydroseeding, as well as some considerations in selecting the right grass and seed mixture. Stay tuned!
Key Takeaways:
- Hydroseeding is a cost-effective and efficient method for establishing a lush lawn, offering benefits such as rapid germination, erosion control, and customizable seed mixtures tailored to specific needs and local conditions.
- Proper preparation, including soil testing and clearing, is crucial for successful hydroseeding. Careful selection of the right grass and seed mixture, along with consistent maintenance, is essential for a thriving hydroseeded lawn.
Read more: How To Seed Lawn
What is Hydroseeding?
Hydroseeding is a popular method for establishing a new lawn or renovating an existing one. It involves the use of a specialized hydroseeding machine, which combines water, seeds, fertilizers, and other additives into a slurry-like mixture. This mixture is then applied evenly across the designated area using high-pressure spraying equipment.
One of the key components of hydroseeding is the mulch. Mulch acts as a protective covering, helping to retain moisture, control soil erosion, and provide a favorable environment for seed germination. Common mulch materials used in hydroseeding include wood fiber, straw, or a combination of both.
Hydroseeding offers numerous advantages compared to traditional seeding methods, such as broadcasting or hand seeding. The high-pressure spraying action of hydroseeding ensures that the seed mixture is distributed evenly across the entire lawn, resulting in a more consistent and uniform grass growth.
Additionally, hydroseeding uses a specially formulated seed mixture that is tailored to your specific needs and local conditions. Whether you desire a lush green lawn, a drought-tolerant grass variety, or a mixture suitable for heavy foot traffic, hydroseeding allows you to choose the ideal seed blend for optimal results.
The water component of hydroseeding plays a vital role as well. It not only facilitates the even distribution of the seed mixture but also provides moisture for the seeds to germinate. This is especially beneficial in dry or arid climates where traditional methods of seeding may struggle to establish healthy grass growth.
Hydroseeding is particularly effective for larger areas, making it a preferred choice for commercial properties, sports fields, golf courses, and residential yards. The process is relatively quick, saving both time and money compared to alternatives like sod installation. Furthermore, hydroseeding allows for easy customization and adjustment, ensuring that your lawn is tailored to meet your specific preferences and requirements.
Overall, hydroseeding offers a convenient and efficient solution for establishing a new lawn or rejuvenating an existing one. By harnessing the power of water and a customized seed mixture, hydroseeding provides an ideal environment for seed germination and robust grass growth. In the following sections, we will guide you through the steps involved in preparing your lawn, choosing the right seed mixture, and executing the hydroseeding process to transform your outdoor space into a breathtaking green oasis.
Benefits of Hydroseeding
Hydroseeding offers a wide range of benefits that make it a popular choice for establishing a healthy and vibrant lawn. From rapid germination to erosion control, here are some of the key advantages of hydroseeding:
Rapid Germination: One of the most significant benefits of hydroseeding is the rapid germination of seeds. The hydroseeding mixture is specifically designed to create an optimal environment for seed growth, providing the necessary nutrients, moisture, and protection. This results in quicker and more uniform germination, leading to a lush and green lawn in a shorter time frame compared to traditional seeding methods.
Uniform Coverage: Hydroseeding ensures an even distribution of seed and mulch across the entire lawn. The hydroseeding machine allows for precise and consistent application, eliminating the risk of patchy or uneven growth. With hydroseeding, you can achieve a uniform lawn that is aesthetically pleasing and healthy.
Erosion Control: Soil erosion can be a significant concern, especially on sloped areas or those prone to runoff. Hydroseeding provides effective erosion control by forming a protective barrier on the soil surface. The mulch in the hydroseeding mixture helps prevent soil erosion caused by wind, water, or excessive foot traffic. This is particularly beneficial during the initial stages of lawn establishment when the soil is more vulnerable.
Customizable Seed Mixtures: Hydroseeding allows for customization when it comes to selecting the seed mixture for your lawn. Depending on your specific needs, you can choose from a variety of grass species and blends. This flexibility ensures that you can opt for grass varieties that are well-suited to your climate, soil type, shade tolerance, or specific requirements, such as drought resistance or high traffic tolerance. With customizable seed mixtures, you can create a lawn that is tailored to your preferences and local conditions.
Cost-Effective: Hydroseeding is a cost-effective method for establishing a new lawn, especially for larger areas. It requires fewer materials and less labor compared to alternatives such as sod installation. Additionally, the hydroseeding process is relatively quick, saving time and reducing overall costs. By choosing hydroseeding, you can achieve a beautiful and healthy lawn without breaking the bank.
Environmental Benefits: Hydroseeding is an environmentally friendly method of establishing a lawn. The use of mulch and soil stabilizers in the hydroseeding mixture helps improve soil health and reduce water runoff. Furthermore, hydroseeding often requires fewer chemicals and fertilizers compared to traditional seeding methods, making it a more sustainable choice for your yard.
By harnessing the advantages of hydroseeding, you can enjoy a vibrant and well-established lawn in a shorter time frame. The next sections will guide you through the necessary steps and considerations to prepare your lawn for hydroseeding and ensure successful establishment and maintenance of your newly hydroseeded lawn.
Preparing the Lawn for Hydroseeding
Proper preparation is crucial to ensure the success of your hydroseeding project. By taking the time to prepare your lawn adequately, you can create the optimal conditions for seed germination and healthy grass growth. Here are the steps to follow when preparing your lawn for hydroseeding:
1. Clear the Area: Start by clearing the lawn of any debris, rocks, weeds, or existing vegetation. Use a rake or a lawn mower to remove any dead grass or unwanted plants. Ensure that the surface is smooth and free from obstacles that could interfere with the hydroseeding process.
2. Test the Soil: Conduct a soil test to determine the soil’s pH level and nutrient content. This will help you understand the soil’s fertility and any necessary amendments that should be made before hydroseeding. Soil tests can be done through a local cooperative extension office or with at-home soil testing kits available at garden centers.
3. Adjust the Soil: Based on the soil test results, you may need to make adjustments to improve the soil’s quality. This can include adding lime to raise the pH level if it is too acidic or adding sulfur to lower it if it is too alkaline. Additionally, you may need to incorporate organic matter, such as compost or well-rotted manure, to improve the soil structure and fertility.
4. Level the Surface: Ensure that the lawn surface is level and free from significant bumps or depressions. Use a rake, garden roller, or lawn leveling tool to even out any uneven areas. This will help with the uniform distribution of the hydroseeding mixture and result in an even lawn surface.
5. Address Drainage Issues: Adequate drainage is essential for a healthy lawn. If your lawn experiences poor drainage or areas of standing water, it’s important to address these issues before hydroseeding. Consider installing drainage tiles, creating trenches, or consulting with a professional landscaper to improve the overall drainage of your lawn.
6. Weed Control: Prior to hydroseeding, it is crucial to control any existing weeds. You can use herbicides or manual weed removal methods, such as hand pulling or digging, to eliminate persistent weeds. Removing weeds ensures that they won’t compete with the newly germinating grass seeds for nutrients and sunlight.
7. Irrigation System: If you have an irrigation system in place, inspect and ensure that it is in good working condition. Proper watering is vital for the success of your hydroseeded lawn, so make any necessary repairs or adjustments to your irrigation system to guarantee adequate water distribution.
8. Moisten the Soil: Before hydroseeding, it’s beneficial to moisten the soil to create an ideal environment for seed germination. Water the soil evenly to a depth of 6-8 inches. This will help the hydroseeding mixture adhere to the soil surface and improve seed-to-soil contact.
By following these steps, you can prepare your lawn for hydroseeding and set the stage for successful grass establishment. The next section will guide you through choosing the right grass seed mixture, an important step in achieving the desired results for your hydroseeded lawn.
Choosing the Right Grass and Seed Mixture
When it comes to hydroseeding, selecting the right grass and seed mixture is crucial for achieving a healthy and resilient lawn. Factors such as climate, soil type, sun exposure, and intended lawn usage should be considered when choosing the seed blend. Here are some tips to help you choose the ideal grass and seed mixture for your hydroseeding project:
1. Consider Your Climate: Different grass species have varying climate requirements. Choose grass varieties that are well-adapted to your local climate zone. If you reside in an area with cold winters, cool-season grasses like Kentucky bluegrass, perennial ryegrass, or fescue may be suitable. In warmer regions, warm-season grasses such as Bermuda grass, Zoysia grass, or St. Augustine grass might be the better choice.
2. Evaluate Sun and Shade Conditions: Observe how much sunlight your lawn receives throughout the day. Some grass species thrive in full sun, while others tolerate partial shade or even deep shade. Select a seed mix that matches the sun and shade conditions of your lawn to ensure optimal growth and vitality.
3. Determine your Soil Type: Understanding your soil type is crucial for choosing the right grass seed mixture. Sandy soils drain quickly but may require more frequent watering. Clay soils retain moisture but can be prone to compaction. If you have loamy soil, which is ideal for plants, you will have more flexibility in choosing grass varieties. Consider the texture, drainage, and pH level of your soil when selecting the seed mixture.
4. Assess Lawn Usage: How will you be using your lawn? Will it be primarily for aesthetics, recreational activities, or will it experience heavy foot traffic? Different grass varieties have specific characteristics to handle various lawn usage needs. For example, if you have children or pets that will be playing on the lawn, you may want to choose a grass variety known for its durability and ability to withstand heavy use.
5. Blended Seed Mixtures: Consider using a blended seed mixture that contains a combination of grass species. Blended mixtures provide a variety of grass types with different strengths, ensuring a resilient and well-adapted lawn. Blends often include a combination of grasses that excel in different areas, such as shade tolerance, drought resistance, or disease resistance.
6. Quality of the Seed: Don’t compromise on the quality of the seed. Opt for high-quality grass seed produced by reputable suppliers. Quality seed ensures better germination rates, disease resistance, and overall lawn performance. Read seed labels and look for information on germination rates, purity, and any coatings or treatments used on the seed.
7. Seed Mixture Ratios: Depending on your preferences and specific lawn conditions, adjust the seed mixture ratios to meet your needs. For example, if you desire a lawn with quick establishment and noticeable growth, you may want to increase the percentage of faster-growing grass species in the seed mixture.
8. Seek Professional Advice: If you are uncertain about which grass species or seed mixture is suitable for your lawn, consider consulting with a local garden center, landscaping professional, or cooperative extension office. They can provide guidance based on your specific location and requirements.
By considering these factors and selecting the appropriate grass and seed mixture, you can set your hydroseeded lawn up for success. The next section will guide you through the equipment and materials needed for the hydroseeding process.
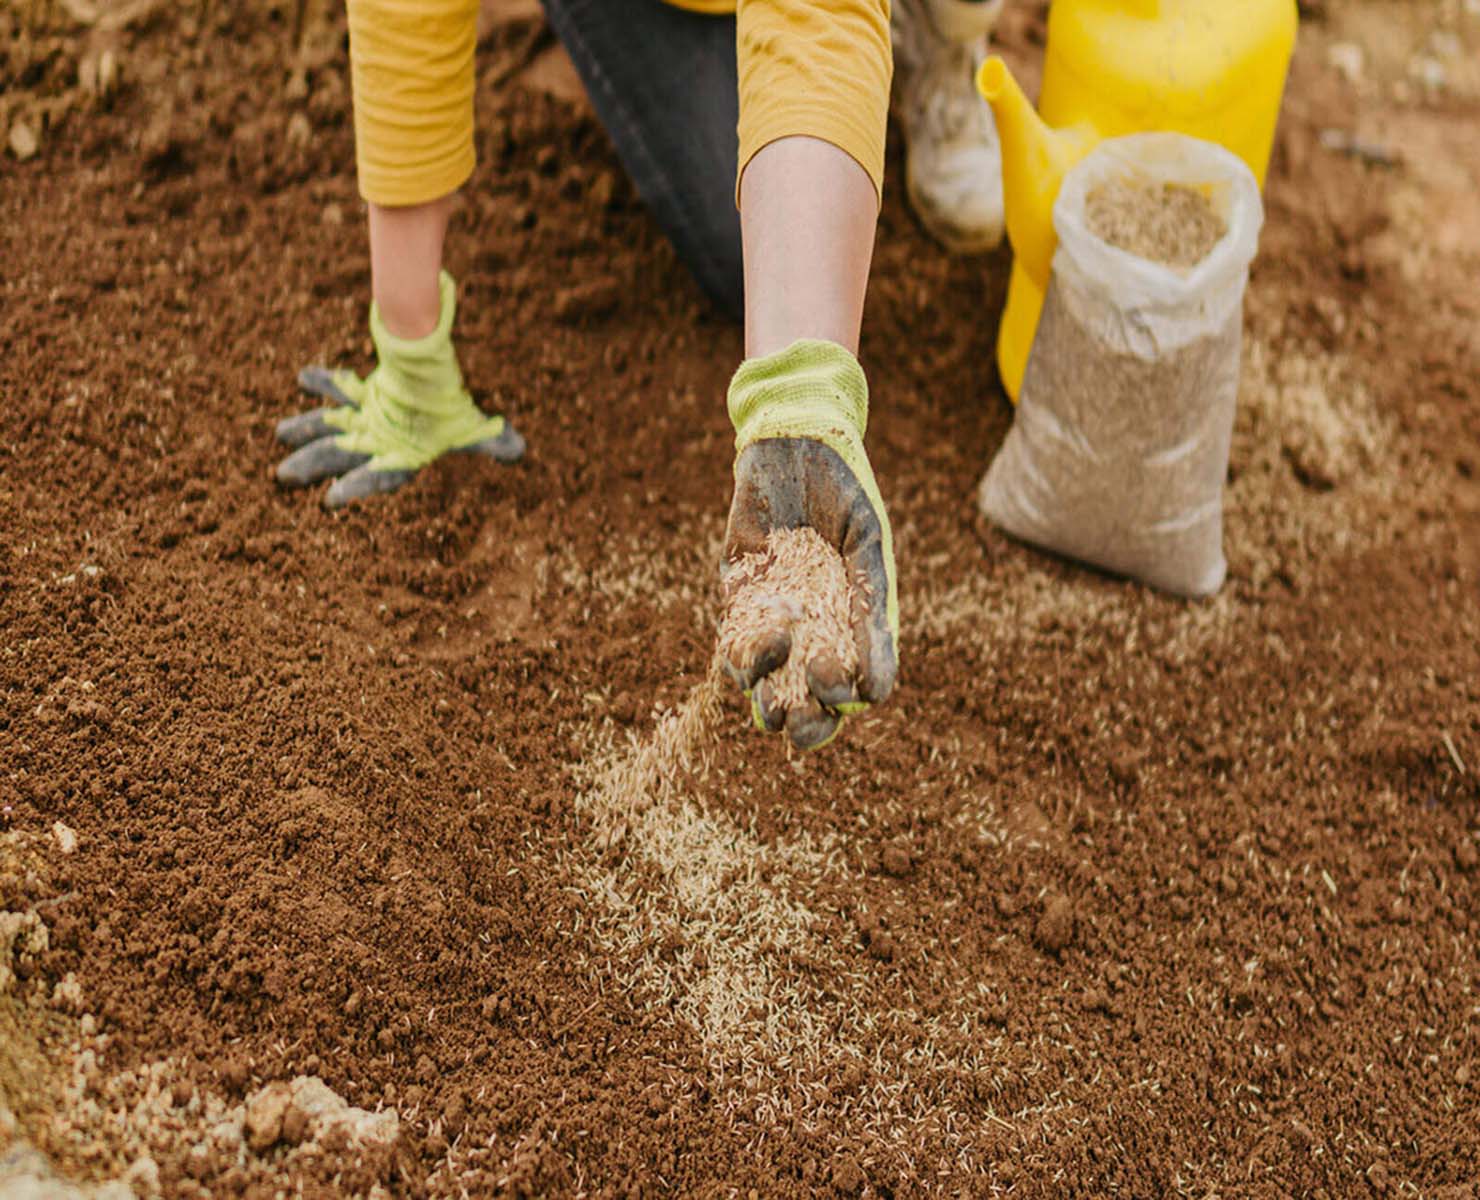
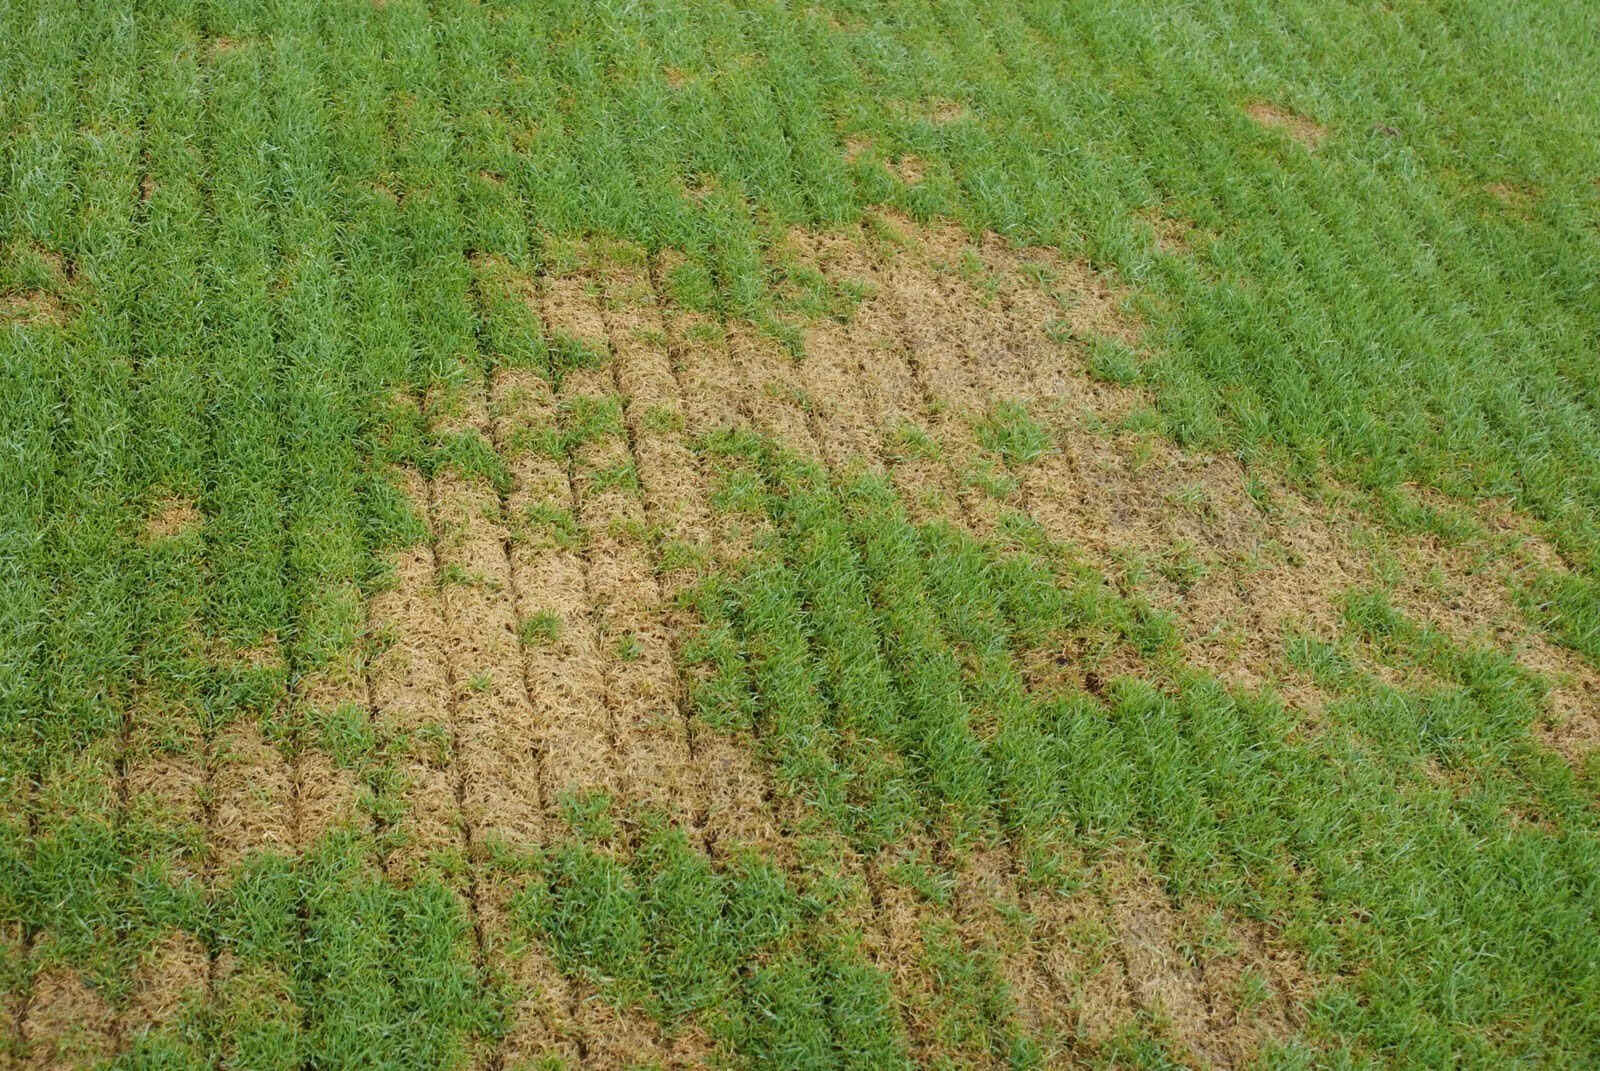
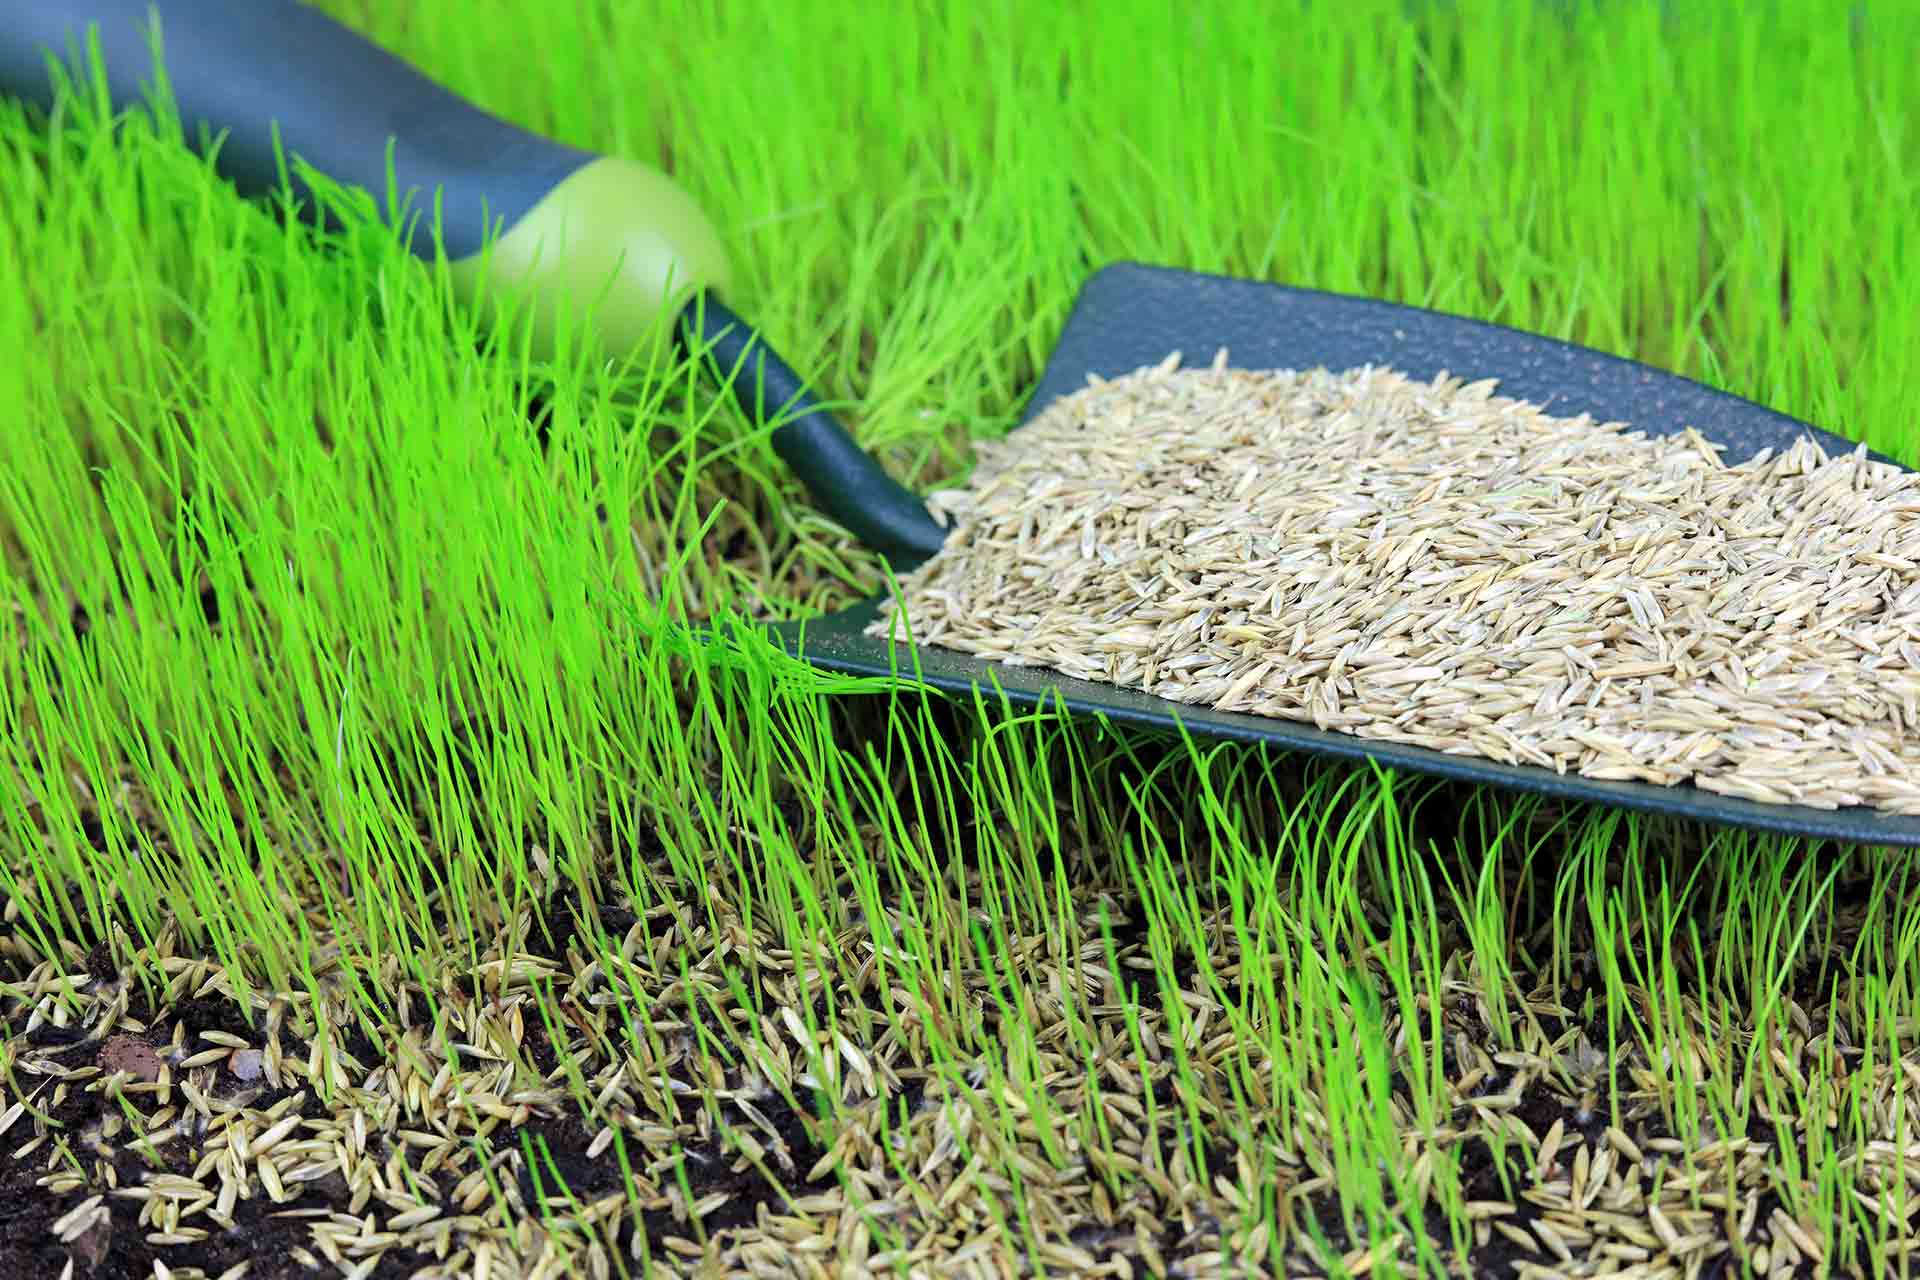
Before hydroseeding, make sure to prepare the soil by removing debris and loosening the top layer. This will help the seeds establish and grow more effectively.
Read more: How To Seed Lawn Patches
Hydroseeding Equipment and Materials
Hydroseeding requires specific equipment and materials to ensure successful seed germination and lush grass growth. Here is an overview of the essential equipment and materials you will need for the hydroseeding process:
1. Hydroseeder: The core equipment for hydroseeding is the hydroseeder itself. Hydroseeders come in various sizes, ranging from smaller models suitable for residential use to larger commercial-grade machines. The hydroseeder works by combining water, seed, mulch, fertilizers, and other additives into a slurry-like mixture that is then sprayed onto the lawn surface.
2. Mulch: Mulch is a critical component of the hydroseeding mixture. It helps retain moisture, provides a protective layer for seed germination, and prevents soil erosion. Common mulch materials used in hydroseeding include wood fiber, straw, or a combination of both. The type and quality of mulch can impact the success of your hydroseeding project, so it’s important to choose high-quality mulch from reputable suppliers.
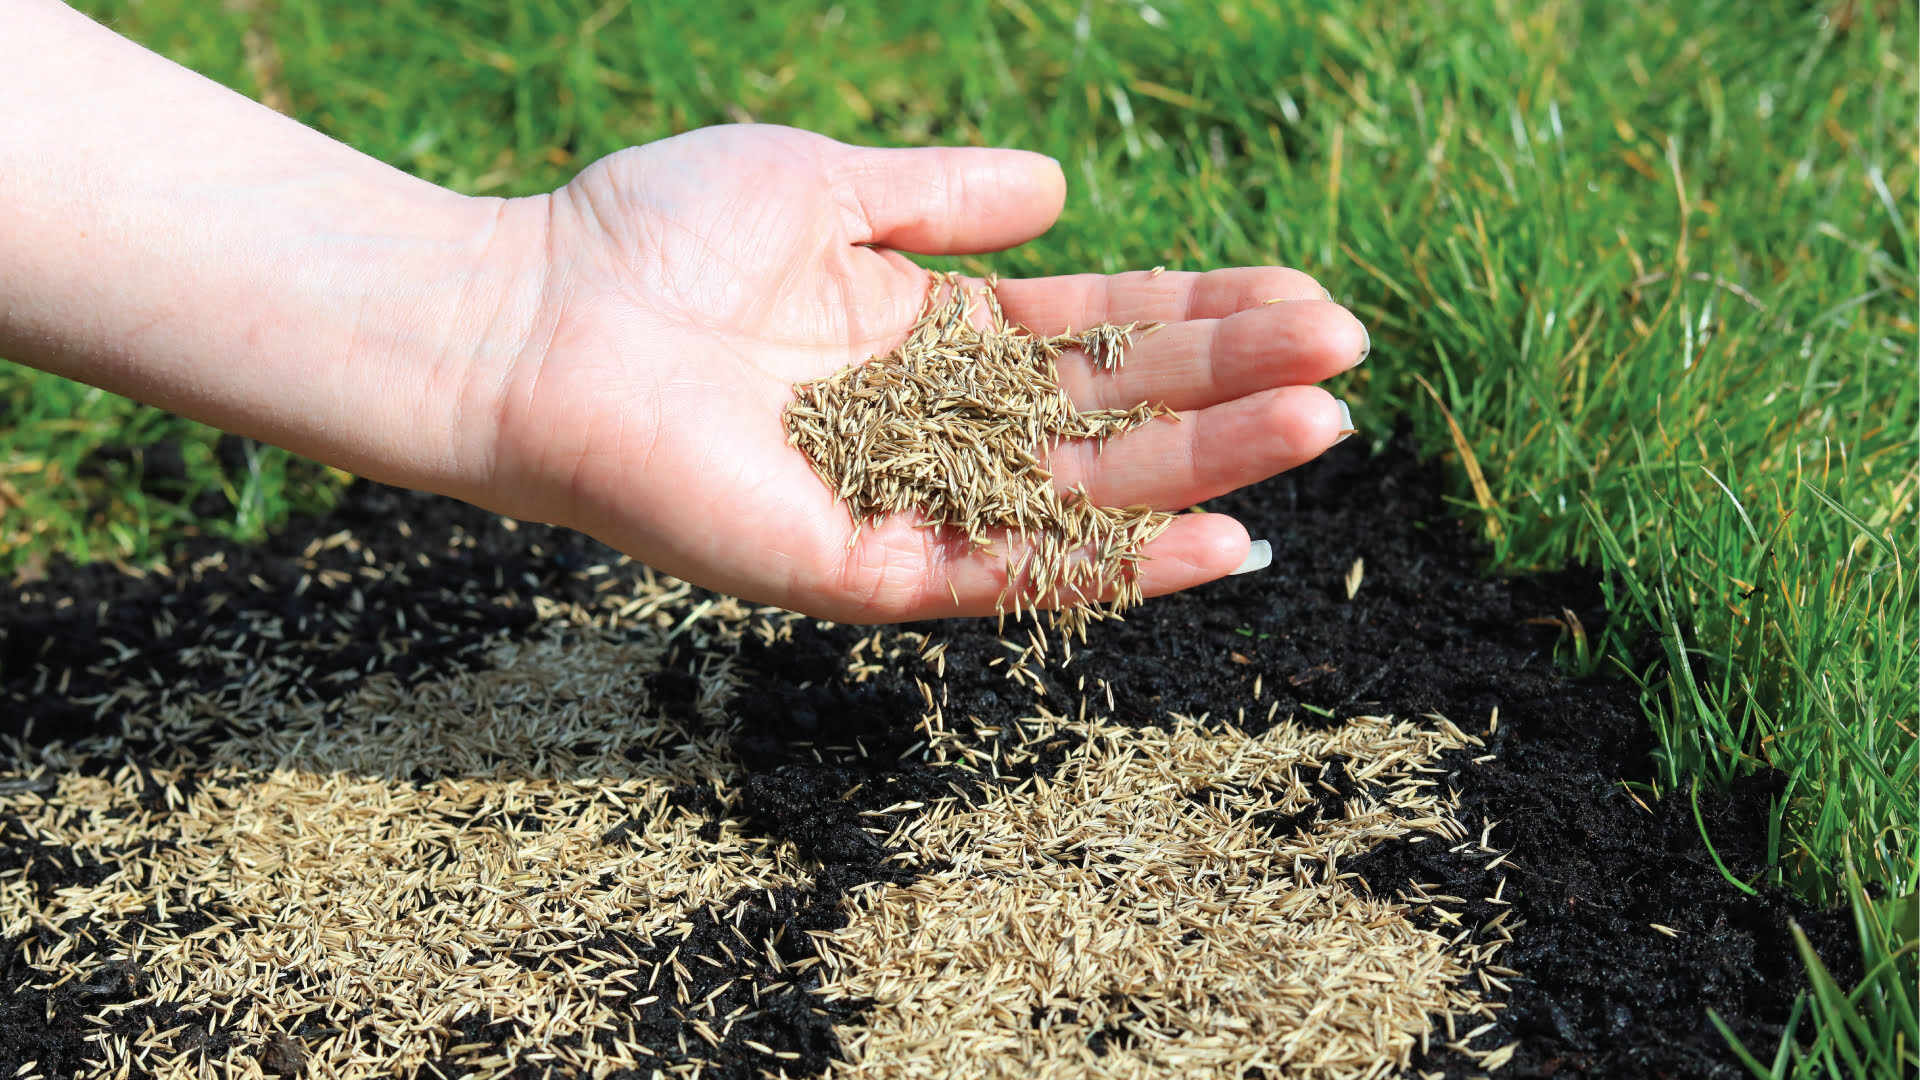
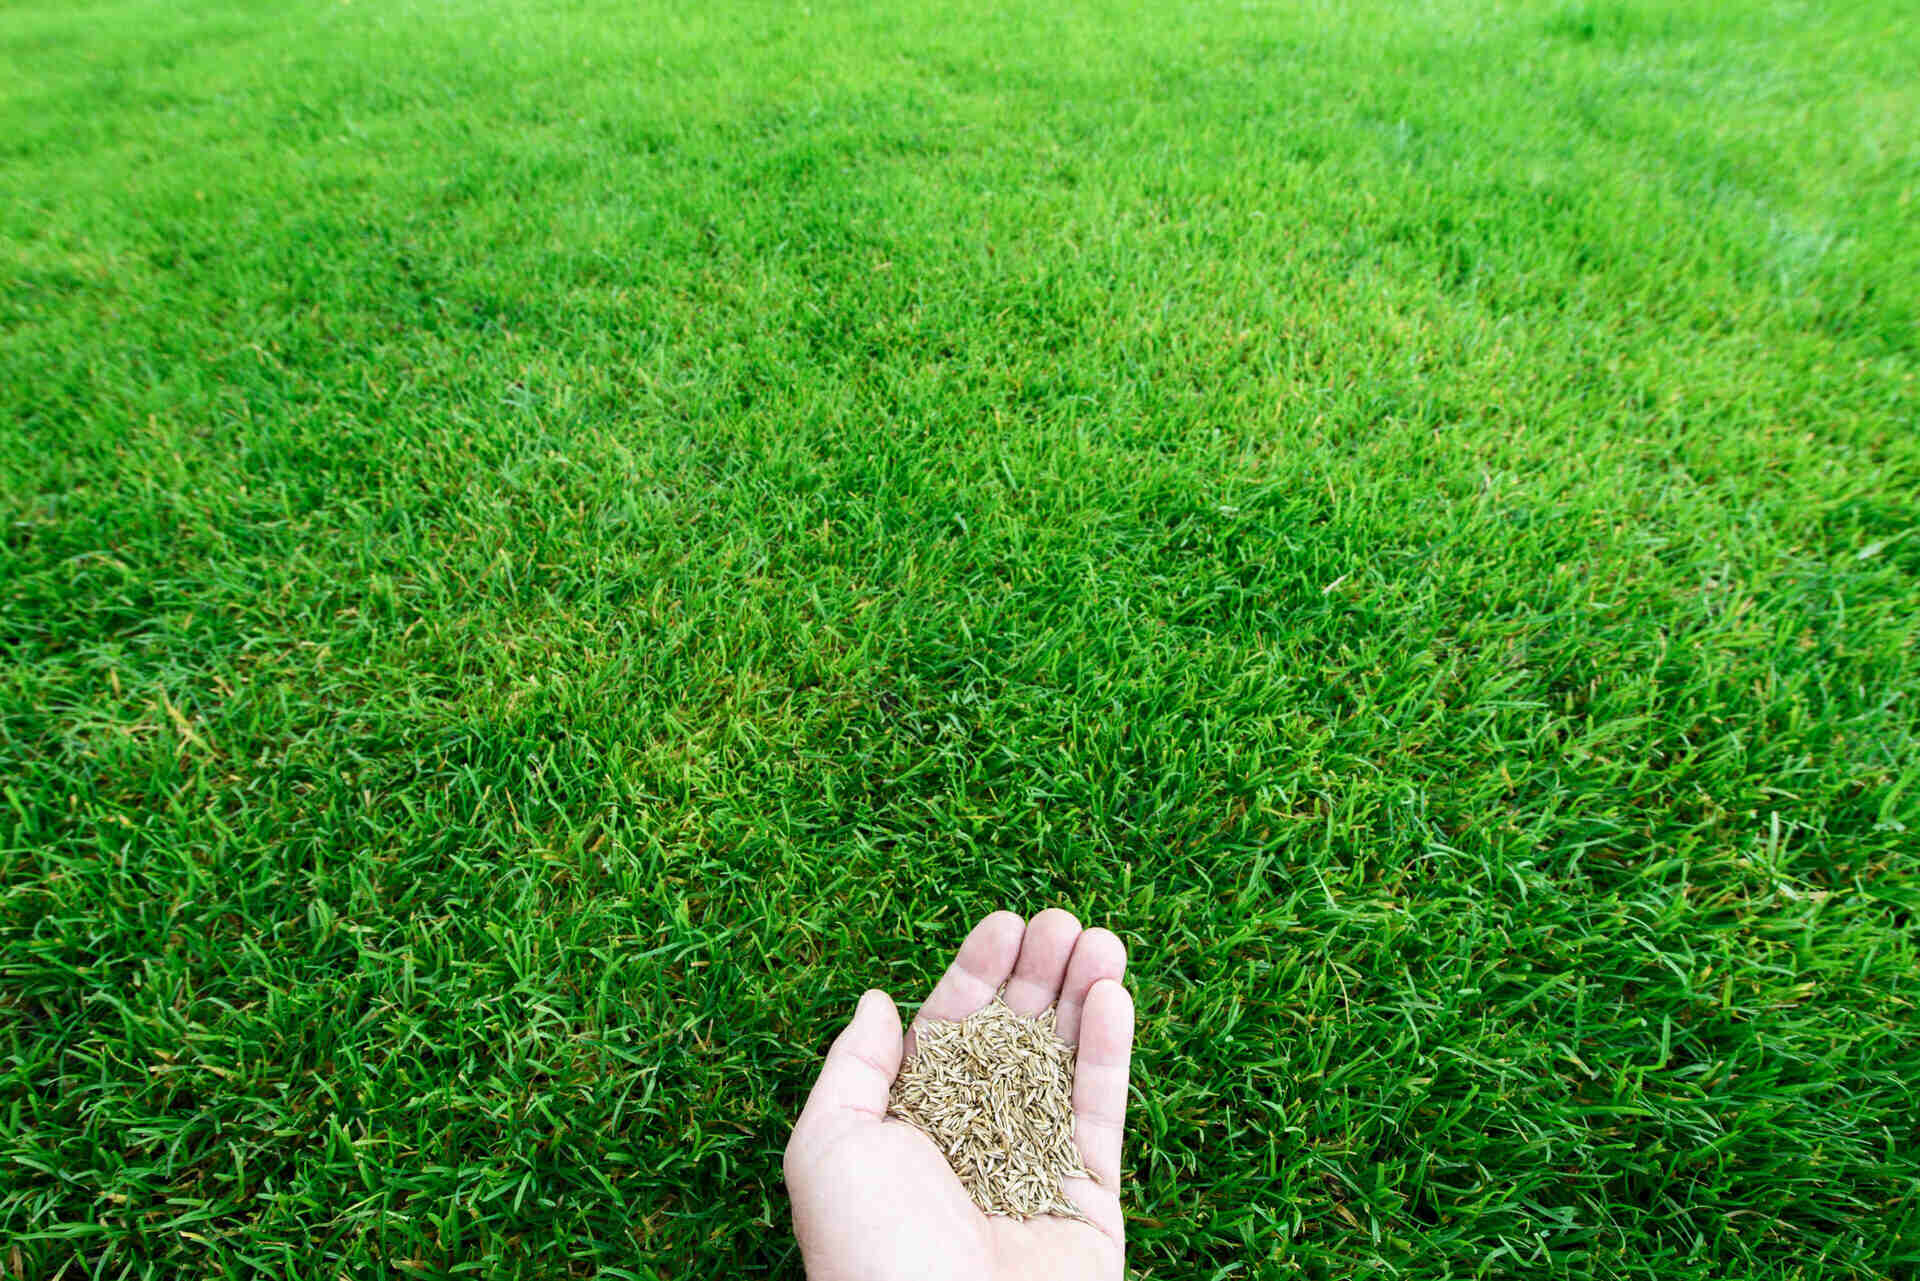
3. Grass Seed: Select high-quality grass seed that is appropriate for your climate, soil type, and lawn usage. Choose a seed mixture that includes grass varieties suited to your specific needs, such as shade tolerance, drought resistance, or high traffic tolerance. Ensure the seed is fresh and free from any contaminants or weed seeds.
4. Fertilizer: Fertilizer provides essential nutrients for healthy grass growth. Choose a slow-release or controlled-release fertilizer that is specifically formulated for germination and establishment. The fertilizer should contain a balanced ratio of nitrogen, phosphorus, and potassium (N-P-K) to promote root development and overall plant vigor.
5. Soil Amendments: Depending on the results of your soil test, you may need to add soil amendments to improve the soil’s composition and fertility. Common soil amendments include lime to adjust pH levels, organic matter such as compost or well-rotted manure to improve soil structure, and nutrients such as sulfur, phosphorus, or potassium if deficiencies are detected.
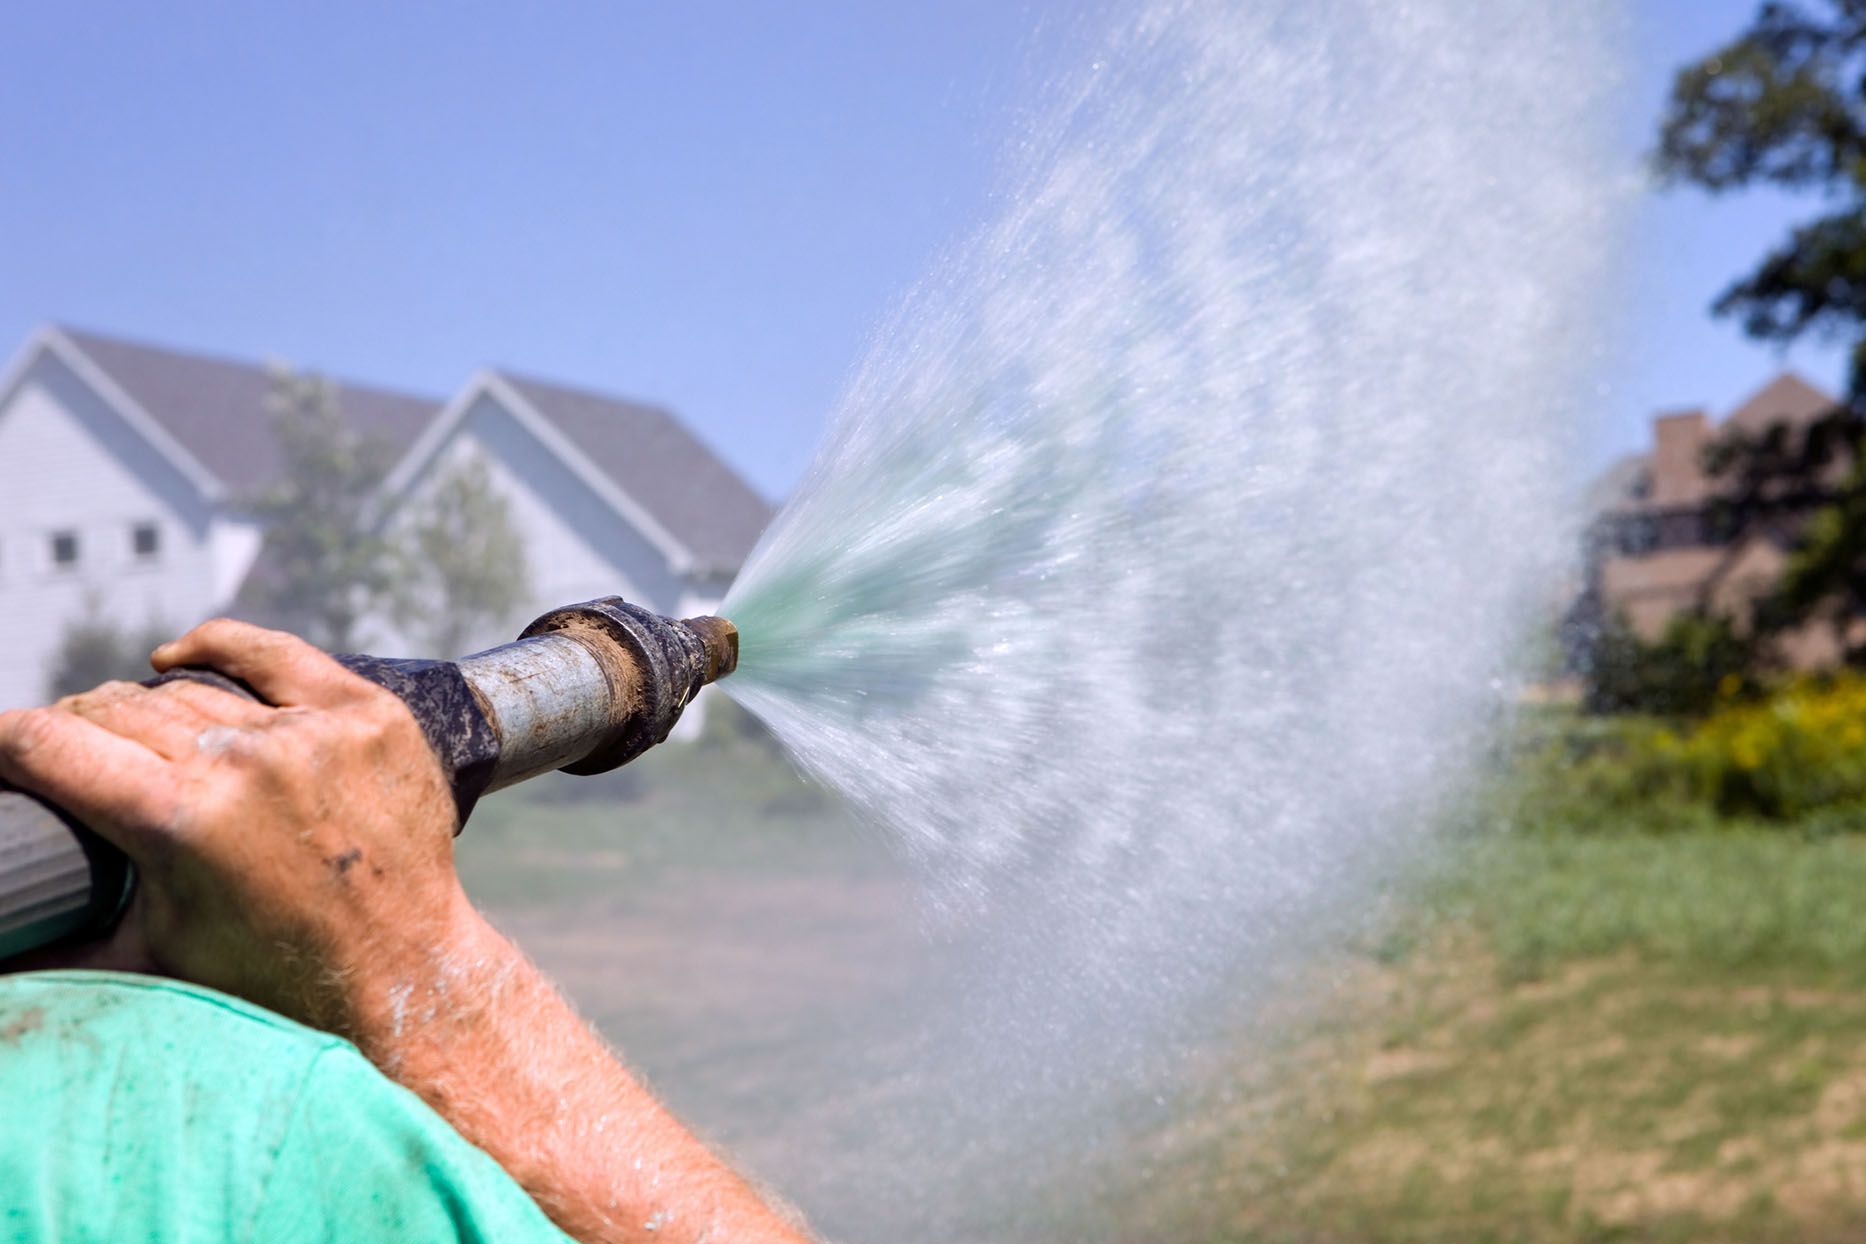
6. Water Source: Adequate water supply is essential for hydroseeding. Ensure that you have access to a sufficient water source, whether it’s a garden hose connected to a tap or a larger water tank if you’re working on a larger-scale project. Consistent and ample water supply is crucial for the success of seed germination and establishment.
7. Application Accessories: In addition to the core hydroseeding equipment, you may need some additional accessories. This can include a spray wand for precise application in smaller areas, hoses and connectors for water supply, and extension cords if needed. It’s also important to have appropriate personal protective equipment, such as gloves and goggles, to ensure your safety during the hydroseeding process.
8. Maintenance Tools: Once the hydroseeding process is complete, you will need common lawn maintenance tools such as a rake, mower, or trimmer to care for the newly hydroseeded lawn. Regular watering, mowing, and weed control are essential for the healthy development of your hydroseeded grass.
By ensuring you have the necessary equipment and materials, you can seamlessly execute the hydroseeding process and set the stage for a beautiful and thriving lawn. The next section will provide you with a step-by-step guide on how to hydroseed your lawn for optimal results.
The Hydroseeding Process Step by Step
The hydroseeding process consists of several key steps, from preparing the mixture to applying it to your lawn. Following these steps will help ensure a successful hydroseeding project. Here’s a step-by-step guide to the hydroseeding process:
1. Prepare the Hydroseeding Mixture: Start by filling the hydroseeder tank with water, following the manufacturer’s guidelines. Add the appropriate amount of grass seed, mulch, and fertilizer according to the recommended ratios for your lawn size and seed mixture. Mix the ingredients thoroughly to create a consistent slurry-like mixture.
2. Test the Sprayer: Before applying the hydroseeding mixture, test the sprayer to ensure it is functioning properly. Check for any clogs or blockages in the nozzle or hose. Adjust the spray pattern and pressure as necessary to achieve an even and consistent application.
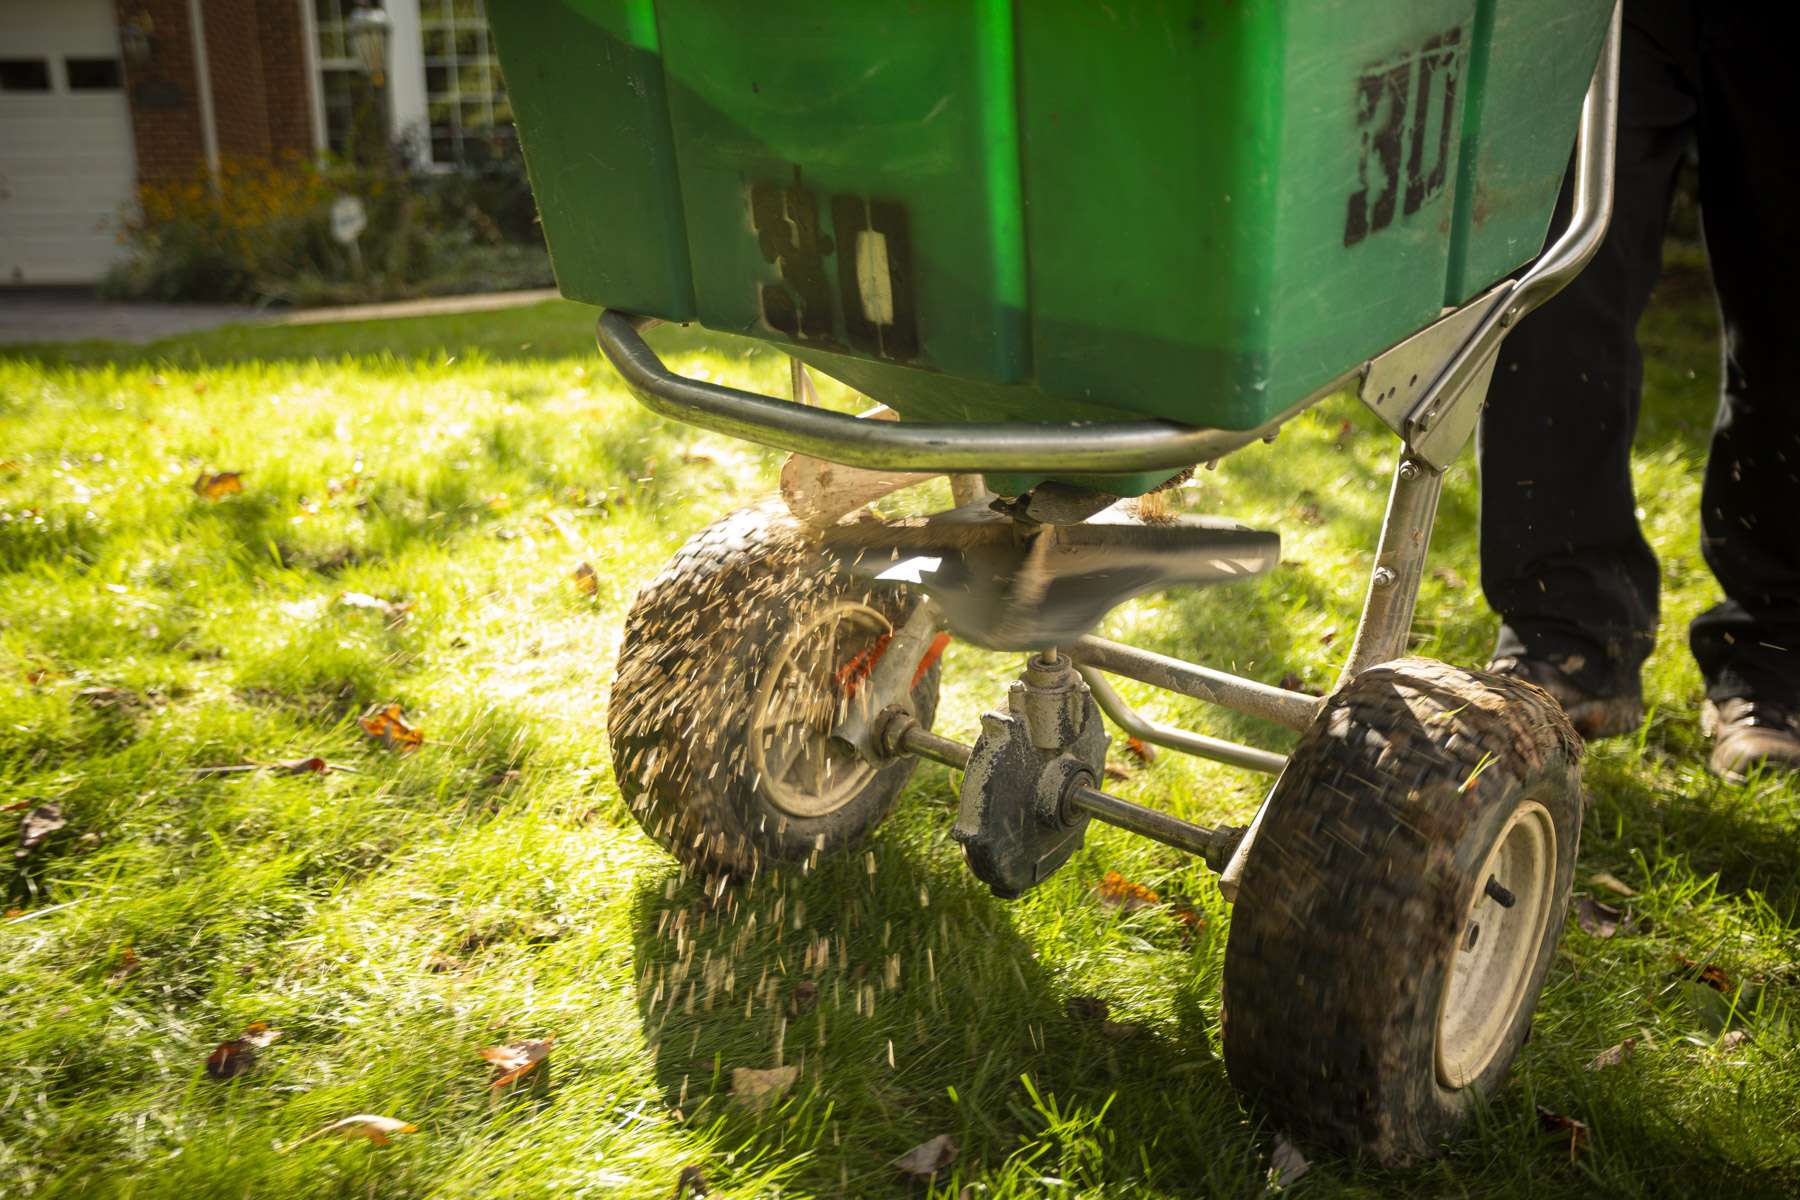
3. Apply the Hydroseeding Mixture: Start the hydroseeder and begin spraying the mixture onto the lawn surface. Work in a systematic pattern, moving from side to side or in overlapping rows to ensure even coverage. Aim for a uniform application, making sure the mixture reaches all areas, including edges, corners, and slopes.
4. Adjust as Needed: Continuously monitor the application as you go. Adjust the spray pattern, nozzle angle, or pressure as necessary to maintain an even distribution. Pay extra attention to areas prone to erosion or those that require additional seed or mulch coverage.
5. Follow Proper Application Technique: Maintain a consistent speed and distance from the ground to ensure an even application. Move at a slow and steady pace to prevent excessive buildup of the mixture in one area. Overlapping passes can help achieve a more uniform coverage.
6. Water Immediately: After applying the hydroseeding mixture, water the entire lawn area immediately. Watering is crucial for seed germination, so ensure that the soil is thoroughly moistened. Use a gentle spray or sprinkler to avoid washing away the mulch or dislodging the seeds.
7. Establish a Watering Schedule: Establish a regular watering schedule to keep the soil consistently moist. During the initial stages of germination, frequent and light watering is recommended to prevent drying out of the seeds. As the grass begins to establish, gradually decrease the frequency of watering while increasing the amount of water applied each time.
8. Monitor and Maintain: Regularly monitor the progress of your hydroseeded lawn. Inspect for signs of seed germination and adjust your maintenance routine accordingly. Mow the grass once it reaches a height of 3-4 inches, following the recommended mowing height for your grass type. Apply fertilizer and perform other routine lawn care tasks as needed.
By following these step-by-step instructions, you can ensure the successful application and establishment of your hydroseeded lawn. However, it’s essential to be patient and give the grass time to grow and develop. With proper care and maintenance, you’ll soon enjoy a lush and vibrant lawn.
Caring for the Newly Hydroseeded Lawn
Caring for your newly hydroseeded lawn is essential to ensure its successful establishment and long-term health. Following these care guidelines will help promote strong root growth, lush grass development, and a beautiful, well-maintained lawn. Here’s how to care for your newly hydroseeded lawn:
1. Watering: Water is crucial for seed germination and the growth of your hydroseeded lawn. Keep the soil consistently moist, but avoid overwatering, as it can lead to washouts or shallow root development. Water the lawn lightly two to three times a day for the first few weeks, focusing on keeping the soil surface moist. As the grass begins to grow and establish, gradually reduce the frequency of watering while increasing the amount of water applied each time.
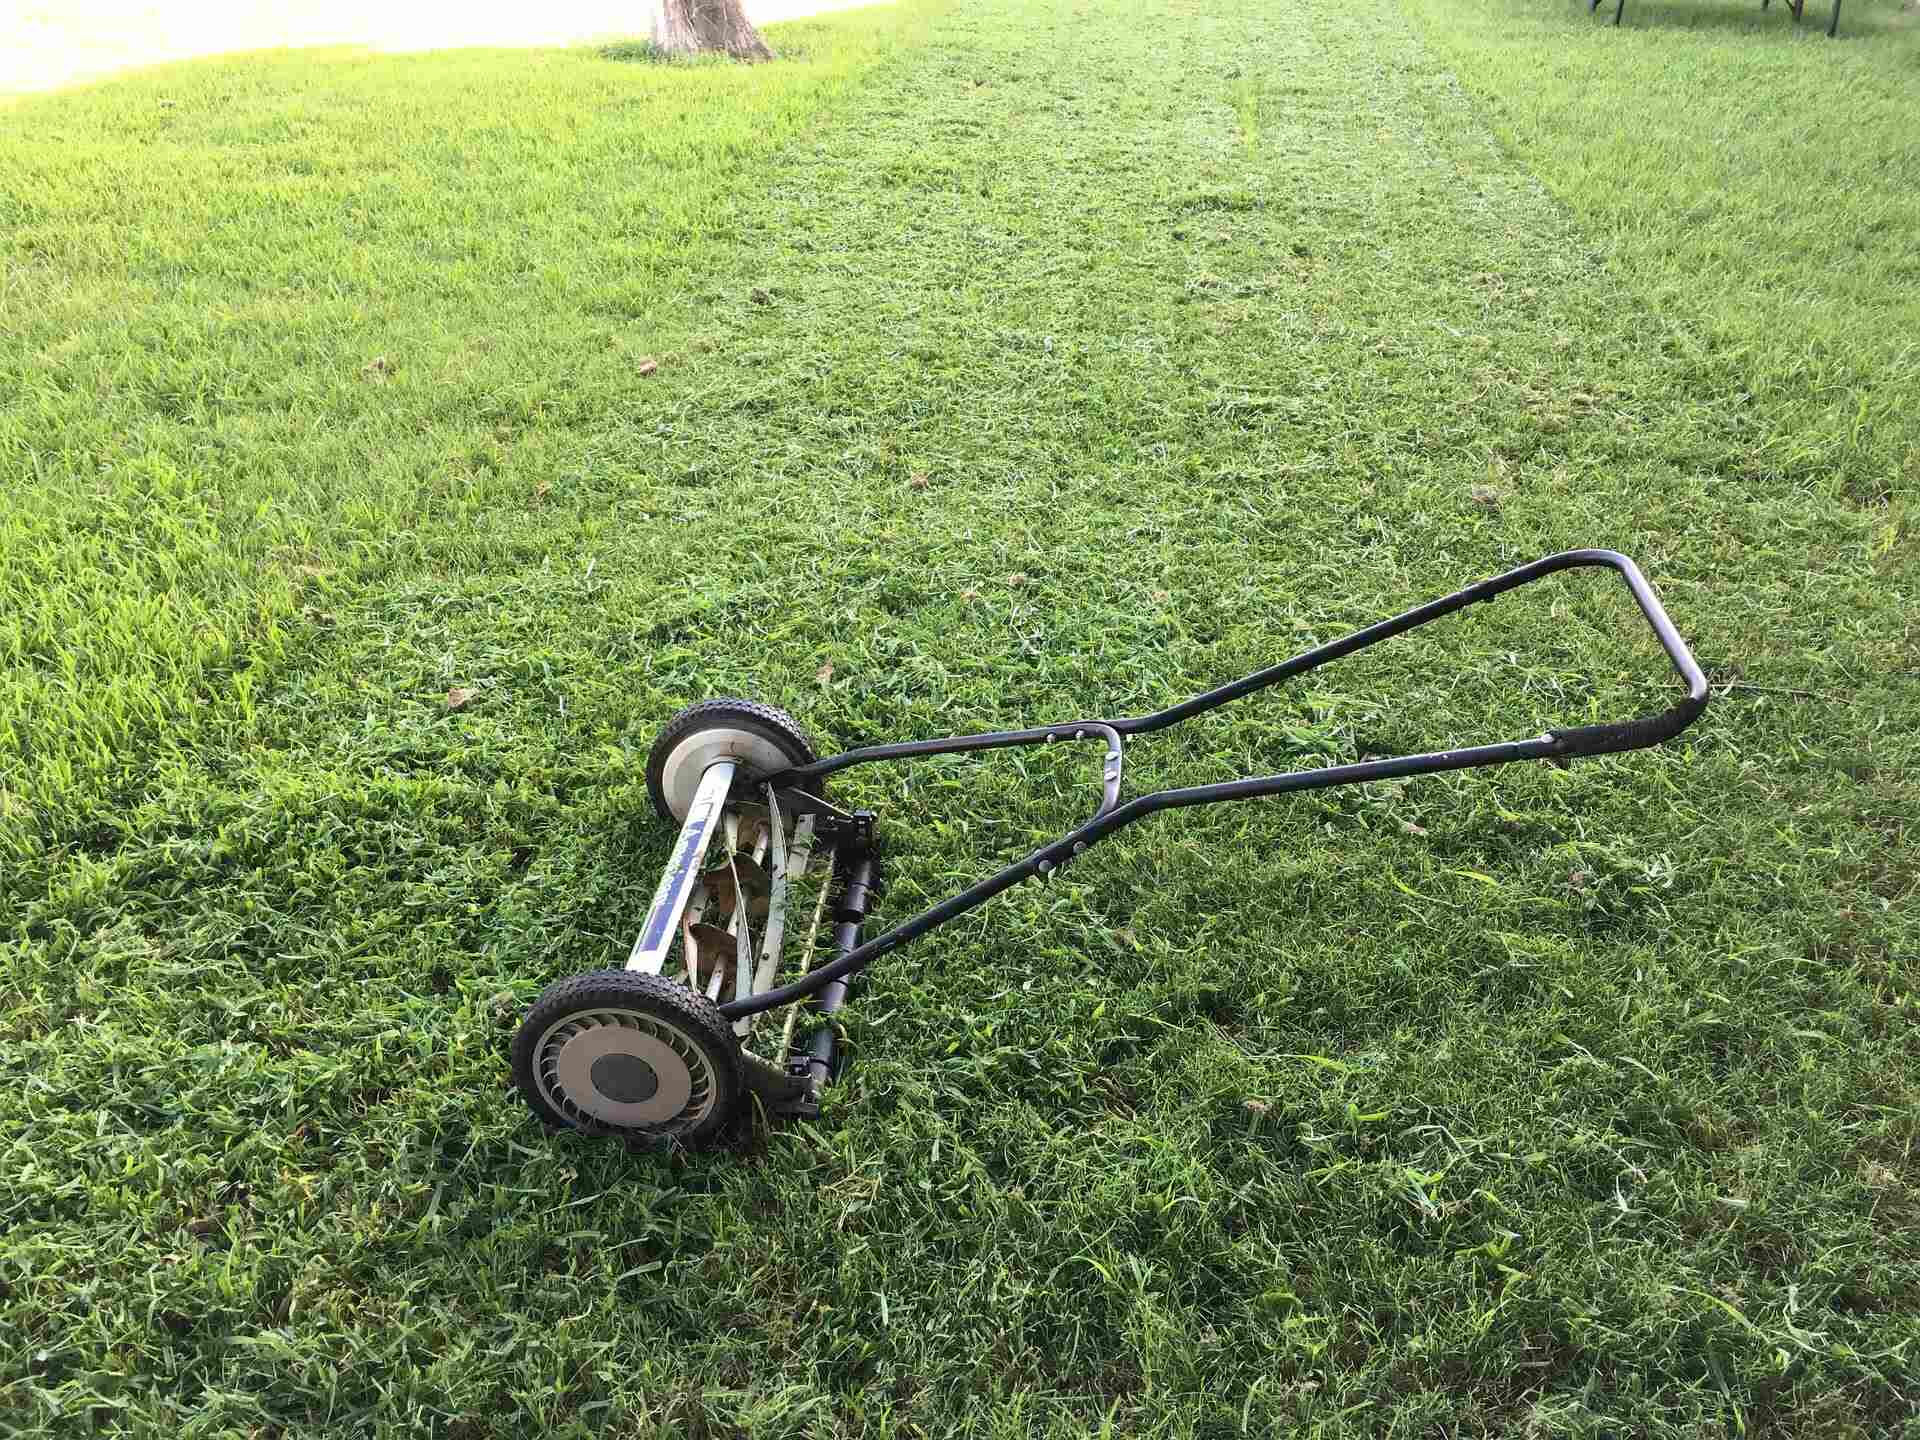
2. Mowing: Once the grass reaches a height of 3-4 inches, it’s time to mow. Set your mower at the recommended height for your grass type and follow the one-third rule, cutting no more than one-third of the grass blade length at a time. Regular mowing encourages dense growth, promotes root development, and helps maintain a neat and manicured appearance.
3. Fertilizing: After the grass has been established for a few weeks, apply a slow-release or controlled-release fertilizer to provide essential nutrients. Choose a fertilizer specifically formulated for new lawns or follow the recommended application rates on the fertilizer packaging. Fertilizing in early spring and fall will help maintain optimum lawn health and promote vigorous growth.
4. Weed Control: Keep an eye out for any weeds that may emerge in your newly hydroseeded lawn. Ensure that the grass is well-established before applying any herbicides, as young grass can be sensitive to chemical treatments. Hand-pull or spot-treat weeds as necessary, being careful not to disturb the newly germinated grass.
5. Aeration: Aerating the soil can improve air circulation and nutrient penetration, promoting strong root growth. Consider aerating your hydroseeded lawn once a year, preferably in the early spring or fall. Use a core aerator to remove small plugs of soil, allowing water, air, and nutrients to reach the grass roots more effectively.
6. Maintain Proper Height: Set your mower to the recommended cutting height for your grass type and maintain a consistent mowing height. Cutting the grass too short can weaken the roots and make the lawn more susceptible to weeds, pests, and diseases. Keeping the grass at an optimal height will encourage a healthy, robust root system and a dense, lush lawn.
7. Avoid Heavy Use: While your newly hydroseeded lawn is establishing, try to avoid heavy use, such as excessive foot traffic, playing sports, or parking vehicles, until the grass has had a chance to fully develop and strengthen. Gradually introduce normal lawn activities as the grass becomes more established and resilient.
8. Regular Maintenance: Regular lawn maintenance is key to a healthy and vibrant hydroseeded lawn. This includes raking leaves, removing debris, and ensuring proper irrigation and drainage. Perform routine maintenance tasks such as fertilizing, watering, and aerating as needed to maintain the optimal growth and appearance of your lawn.
By following these care guidelines, you can help your newly hydroseeded lawn thrive and establish a strong root system. With proper maintenance, your hydroseeded lawn will transform into a lush, beautiful landscape you can enjoy for years to come.
Common Mistakes to Avoid
To ensure the success of your hydroseeding project and the establishment of a healthy lawn, it’s important to be aware of common mistakes and avoid them. By steering clear of these pitfalls, you’ll increase the chances of achieving the desired results and a thriving hydroseeded lawn. Here are some common mistakes to avoid:
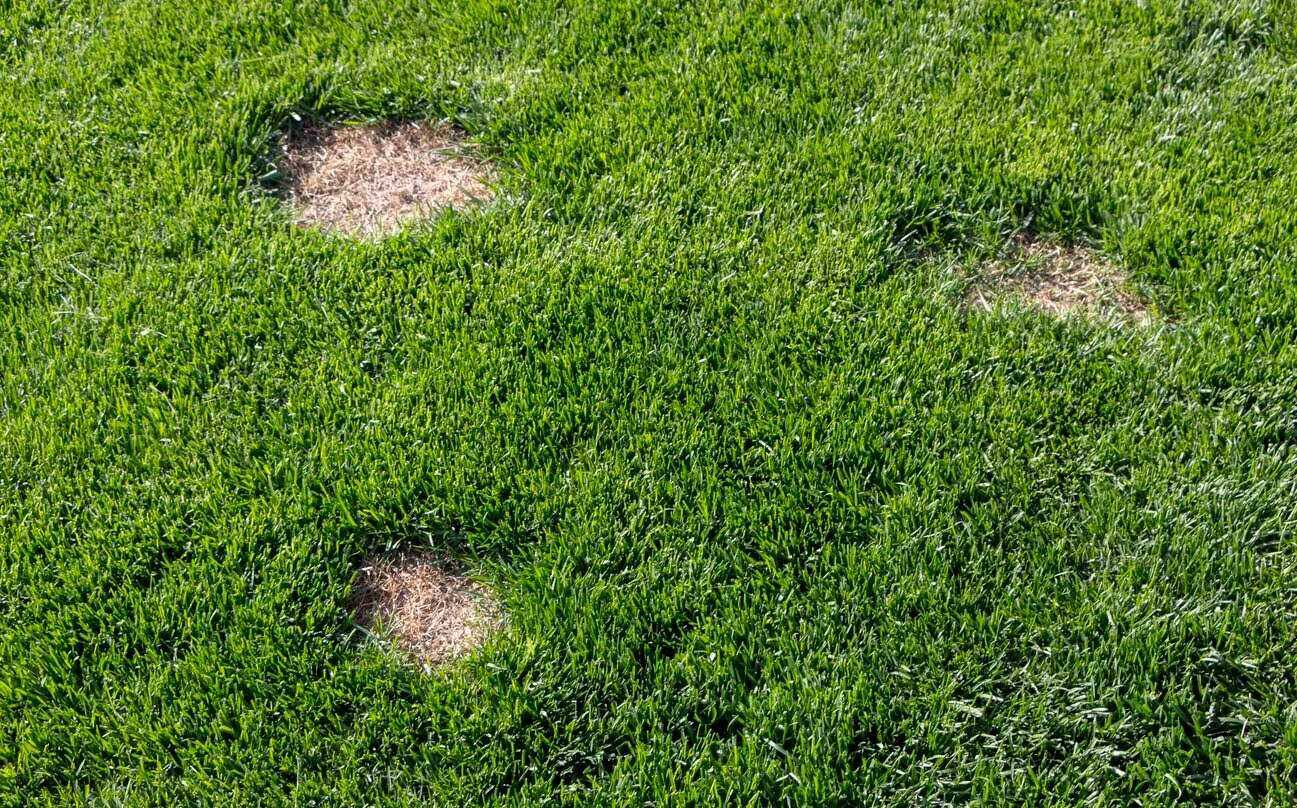
1. Insufficient Soil Preparation: Failing to properly prepare the soil before hydroseeding can hinder seed germination and grass growth. Take the time to clear any debris, level the surface, address drainage issues, and amend the soil as needed. Poor soil preparation can lead to uneven growth, patchy areas, or even the failure of the hydroseeding project.
2. Improper Seed Selection: Selecting the wrong grass seed or seed mixture can result in a lawn that is not suitable for your climate, soil type, or intended usage. Consider factors such as sun exposure, shade tolerance, and foot traffic when choosing the seed blend. Consult with experts or refer to local gardening resources to ensure you choose the right seed for your specific lawn conditions.
3. Over or Underwatering: Proper watering is critical during the initial stages of hydroseeding. Overwatering can wash away the seeds, while underwatering can result in poor germination and weak grass growth. Follow a consistent watering schedule, keeping the soil moist but not saturated or dry. Adjust the watering frequency and duration as the grass establishes and adapts to its new environment.
4. Ignoring Maintenance Needs: Neglecting regular maintenance tasks can prevent your hydroseeded lawn from reaching its full potential. Mowing, fertilizing, aerating, and controlling weeds are all essential aspects of lawn care. Stay on top of routine maintenance to promote healthy grass growth, prevent weed infestations, and retain the overall appearance and health of your lawn.
5. Applying Too Much or Too Little Mulch: The mulch component in the hydroseeding mixture plays a crucial role in seed protection, moisture retention, and erosion control. Applying too much mulch can smother the seeds and inhibit germination, while too little can leave the seeds exposed and vulnerable. Follow the recommended guidelines and ensure an even and appropriate application of mulch for optimal results.
6. Neglecting Weed Control: Weeds can quickly invade a newly hydroseeded lawn if not properly managed. Take proactive measures to control weeds before they become established and compete with the grass for nutrients and sunlight. Hand-pull weeds or spot-treat them with appropriate herbicides, ensuring that your lawn is free from invasive plant species.
7. Overlooking Soil pH and Fertility: Proper soil pH and fertility are crucial for the growth and health of your hydroseeded lawn. Conducting a soil test and making the necessary amendments based on the results can significantly enhance grass growth. Adjust soil pH as needed and incorporate organic matter or additional nutrients to improve soil fertility and provide an optimal environment for seed germination.
8. Rushing the Establishment Process: Establishing a lush and healthy lawn takes time. Avoid the temptation to rush the process by applying excessive seed or fertilizer. Follow the recommended application rates and provide adequate time for seed germination and grass development. Patience and consistency will yield better long-term results.
By avoiding these common mistakes and implementing proper techniques and maintenance practices, you can set the stage for a successful hydroseeding project and enjoy a vibrant and enduring lawn. Remember to consult with experts or seek guidance from local gardening resources to overcome any challenges and ensure optimal results.
Read more: How To Seed A Lawn In Fall
Conclusion
Hydroseeding offers an effective and efficient method for establishing a lush, vibrant, and healthy lawn. By combining water, seed, mulch, and fertilizer into a slurry-like mixture, hydroseeding provides an ideal environment for seed germination and grass growth. Through its numerous benefits, such as rapid germination, uniform coverage, erosion control, and customization options, hydroseeding has become a popular choice for homeowners and landscapers alike.
To ensure a successful hydroseeding project, proper preparation is crucial. Clearing the area, testing and amending the soil, and addressing any drainage issues are important steps to create an optimal foundation for growth. Choosing the right grass and seed mixture based on climate, soil type, sun exposure, and intended lawn usage will further enhance the success of your hydroseeding project.
The hydroseeding process itself involves preparing the hydroseeding mixture, testing the sprayer, applying the mixture evenly, and providing immediate watering. Caring for the newly hydroseeded lawn through proper watering, mowing, fertilizing, and weed control is essential to support healthy root development and lush grass growth.
Avoiding common mistakes, such as insufficient soil preparation, improper seed selection, over or underwatering, neglecting maintenance needs, and overlooking weed control, will help ensure the success of your hydroseeding project.
In conclusion, hydroseeding offers a cost-effective and efficient solution for establishing a beautiful lawn. By following the necessary steps, making informed decisions about seed selection and lawn care, and avoiding common mistakes, you can create a lush and inviting outdoor space to enjoy for years to come. Whether you’re rejuvenating an existing lawn or starting from scratch, hydroseeding is a valuable technique that can transform your yard into a green oasis.
Frequently Asked Questions about How To Hydro Seed A Lawn
Was this page helpful?
At Storables.com, we guarantee accurate and reliable information. Our content, validated by Expert Board Contributors, is crafted following stringent Editorial Policies. We're committed to providing you with well-researched, expert-backed insights for all your informational needs.


0 thoughts on “How To Hydro Seed A Lawn”