Home>Garden Essentials>How To Seed Lawn Patches
Garden Essentials
How To Seed Lawn Patches
Modified: August 17, 2024
Want to know how to seed lawn patches in your garden? Our expert guide will show you step-by-step instructions for lush and healthy grass growth!
(Many of the links in this article redirect to a specific reviewed product. Your purchase of these products through affiliate links helps to generate commission for Storables.com, at no extra cost. Learn more)
Introduction
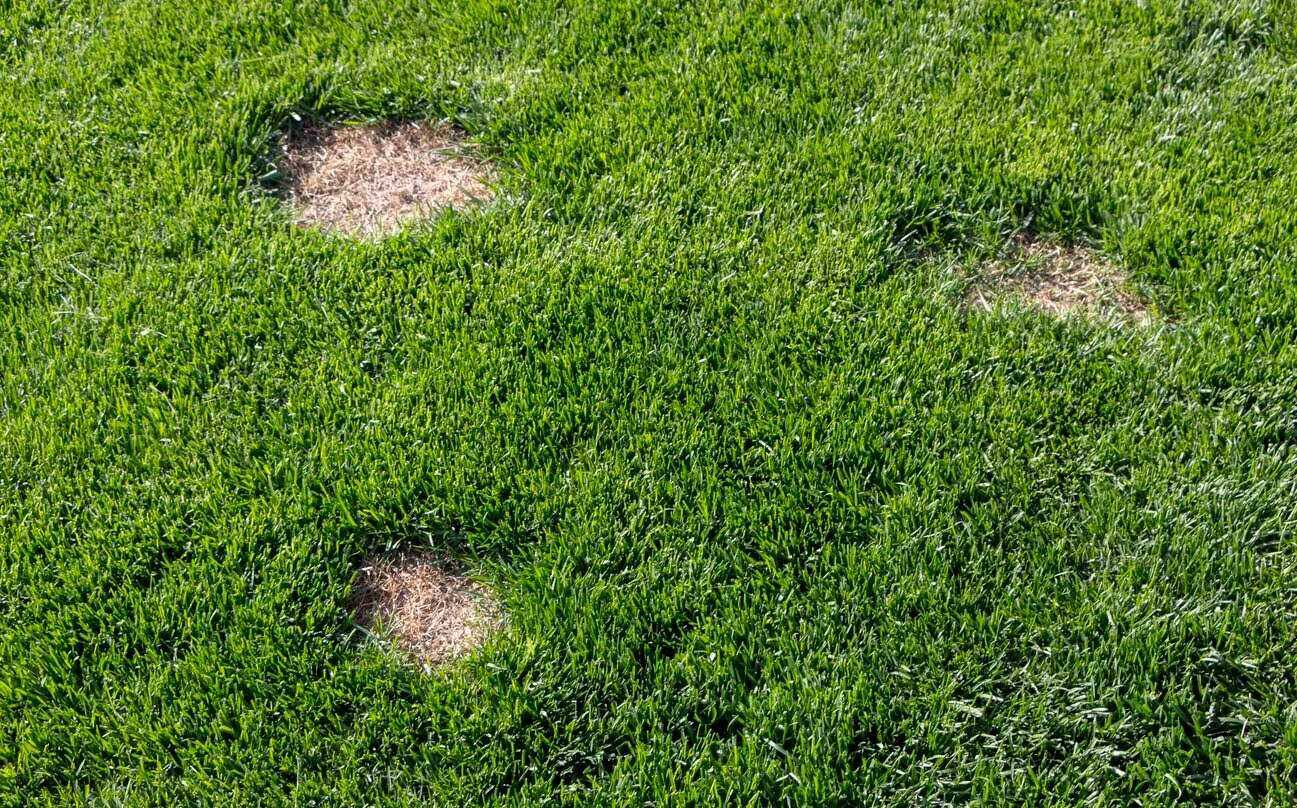
Having a lush and healthy lawn is the dream of every gardener. However, no matter how well we care for our lawns, there may come a time when we notice bare patches. Whether it’s due to heavy foot traffic, pet damage, or weather conditions, these unsightly patches can be a real eyesore.
Thankfully, with a bit of knowledge and the right approach, these lawn patches can be easily remedied by seeding. Seeding lawn patches is a cost-effective and natural way to restore the beauty and health of your lawn. In this article, we will explore the factors to consider before seeding, the tools and materials required, and a step-by-step guide to ensure successful seeding. We will also provide aftercare and maintenance tips to help you achieve the best results.
Before we dive into the process of seeding, it’s important to understand that not all lawn patches are created equal. The cause of the patch is an essential factor to consider, as it will influence the success of your seeding efforts. For example, if the patch is due to poor soil conditions, it’s crucial to address those issues before seeding.
Additionally, take into account the season and weather conditions. The best time to seed lawn patches is typically in the spring or fall when the temperature is moderate, and the soil is moist. These conditions create an optimal environment for the seeds to germinate and establish healthy roots.
Now that we have a basic understanding of the factors to consider let’s gather the essential tools and materials needed for the seeding process.
Key Takeaways:
- Restore your lawn’s beauty by seeding patches. Consider factors like soil quality and sunlight exposure. Proper care and maintenance are crucial for successful results.
- Troubleshoot common issues like poor germination and weed invasion. Patience and persistence are key to achieving a healthy and vibrant lawn.
Read more: How To Seed Lawn
Factors to Consider Before Seeding
Before you begin the process of seeding lawn patches, there are several important factors to consider to ensure successful results. By taking these factors into account, you can help create the ideal conditions for seed germination and growth.
- Cause of the Patch: Understanding the underlying cause of the lawn patch is crucial. If the patch is due to poor soil quality, it’s essential to address this issue before seeding. Conduct a soil test to determine its pH level and nutrient deficiencies and make the necessary amendments.
- Sunlight Exposure: Different grass varieties have different sunlight requirements. Determine how much sunlight the patch receives throughout the day. If it’s a shady area, opt for shade-tolerant grass seeds. Conversely, if it’s a sunny spot, choose grass varieties that thrive in full sun.
- Watering Accessibility: Ensure that the patch has easy access to water. Adequate watering is crucial for seed germination and establishment. If the patch is far from a water source, consider laying a temporary watering system or extending your existing irrigation system.
- Timing: As mentioned earlier, timing is crucial when it comes to seeding lawn patches. The best time to seed is during the spring or fall when temperatures are moderate, and the soil is moist. Avoid seedings during extreme heat or cold, as these conditions can hinder germination.
- Weed Control: It’s important to control weeds before seeding to give your grass seeds the best chance to establish. Remove any existing weeds from the patch, either manually or by using a herbicide. This will minimize competition for nutrients and space.
By considering these factors before seeding, you can create an environment that is conducive to seed germination and growth. Addressing any underlying issues and selecting the right grass varieties will set you up for success and lead to a healthy and vibrant lawn.
Tools and Materials Required
Before you start the seeding process, it’s important to gather all the necessary tools and materials. Having the right equipment on hand will make the job easier and ensure that you have everything you need to achieve successful results.
Here’s a list of the essential tools and materials you’ll need:
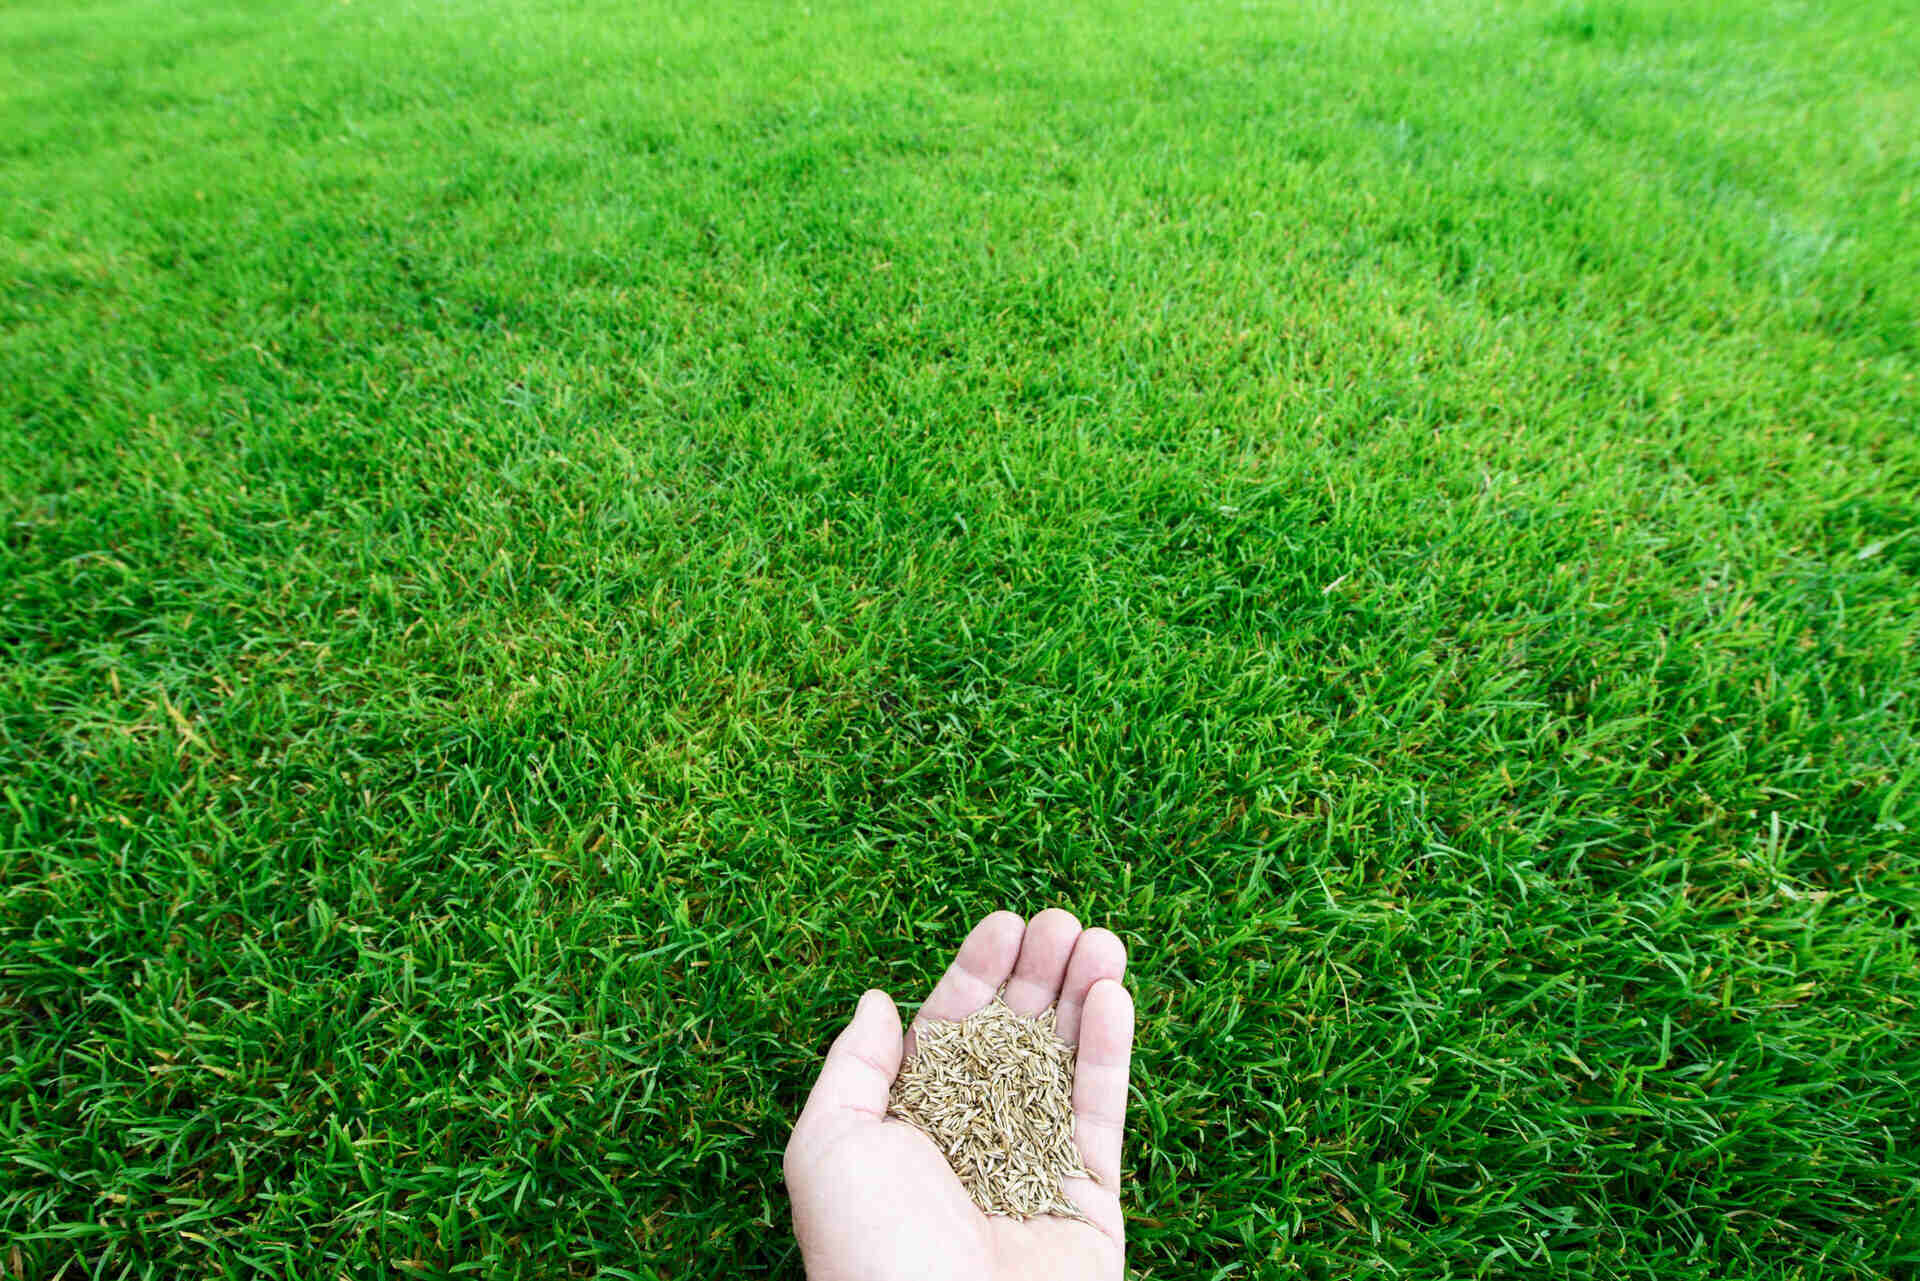
- Grass Seeds: Select high-quality grass seeds that are suitable for your specific region and lawn conditions. Consider factors such as sunlight exposure, foot traffic, and drought tolerance when choosing the grass varieties.
- Rake: A sturdy garden rake is essential for preparing the soil and removing any debris or dead grass from the patch. This will create a clean and level surface for seeding.
- Soil Amendments: If your soil requires amendments, gather the necessary materials such as compost, peat moss, or sand. These amendments can improve soil structure, drainage, and fertility, providing an optimal environment for seed germination.
- Hand Trowel: A hand trowel will come in handy for small patches or precise seed placement. It allows you to dig small holes and evenly distribute the seeds in targeted areas.
- Watering Can or Sprinkler: Ensuring proper hydration is crucial for seed germination and establishment. Depending on the size of the patch, you may use a watering can or a sprinkler system to provide adequate water coverage.
- Stakes and Twine: Use stakes and twine to mark off the seeded areas. This will prevent accidental foot traffic or damage to the newly seeded patches.
- Protective Covering: Consider using a protective covering such as straw or hay to help retain moisture and provide some protection for the newly seeded areas. This can be particularly beneficial in areas with high wind or erosion concerns.
Having these tools and materials ready before you begin the seeding process will save you time and make the task more efficient. Make sure to gather everything you need and have it easily accessible for a smooth and successful lawn seeding experience.
Step-by-Step Guide to Seeding Lawn Patches
Seeding lawn patches can be a straightforward process if done correctly. Follow this step-by-step guide to ensure optimal results and help your grass seeds germinate and establish successfully.
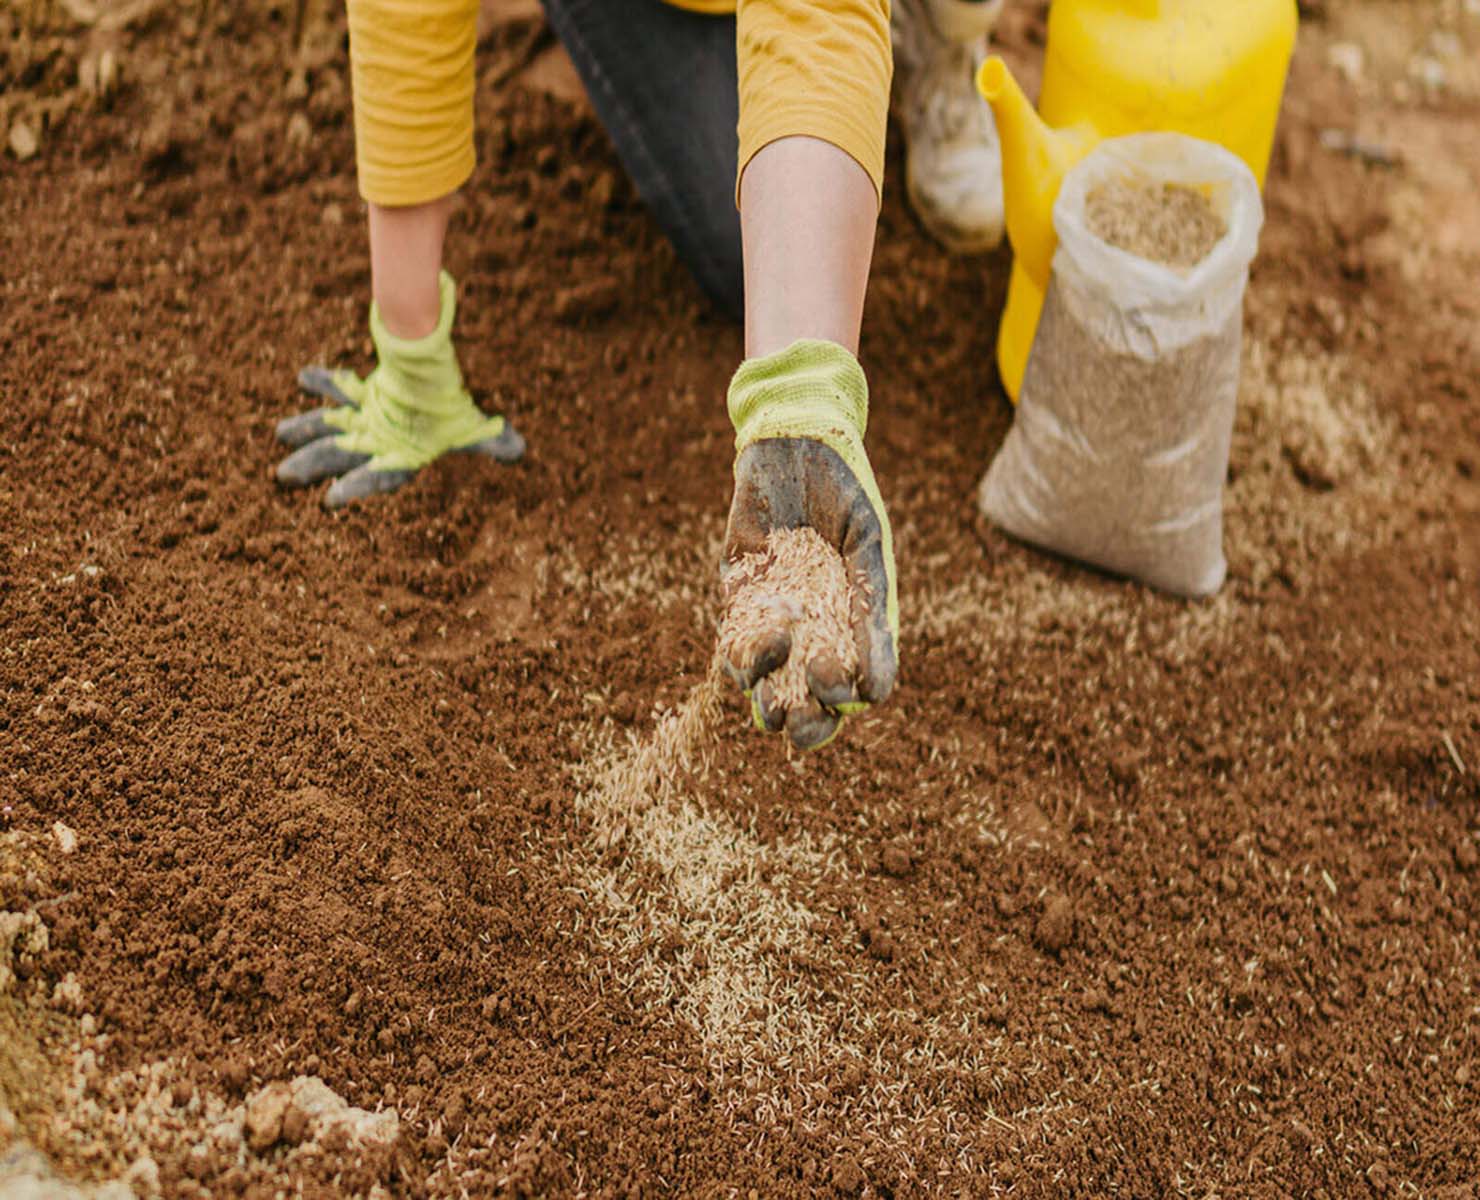
- Prepare the Soil: Start by using a rake to remove any debris, dead grass, or weeds from the patch. Loosen the soil’s top layer to create a better seedbed. If necessary, add soil amendments like compost or peat moss to improve soil fertility and drainage.
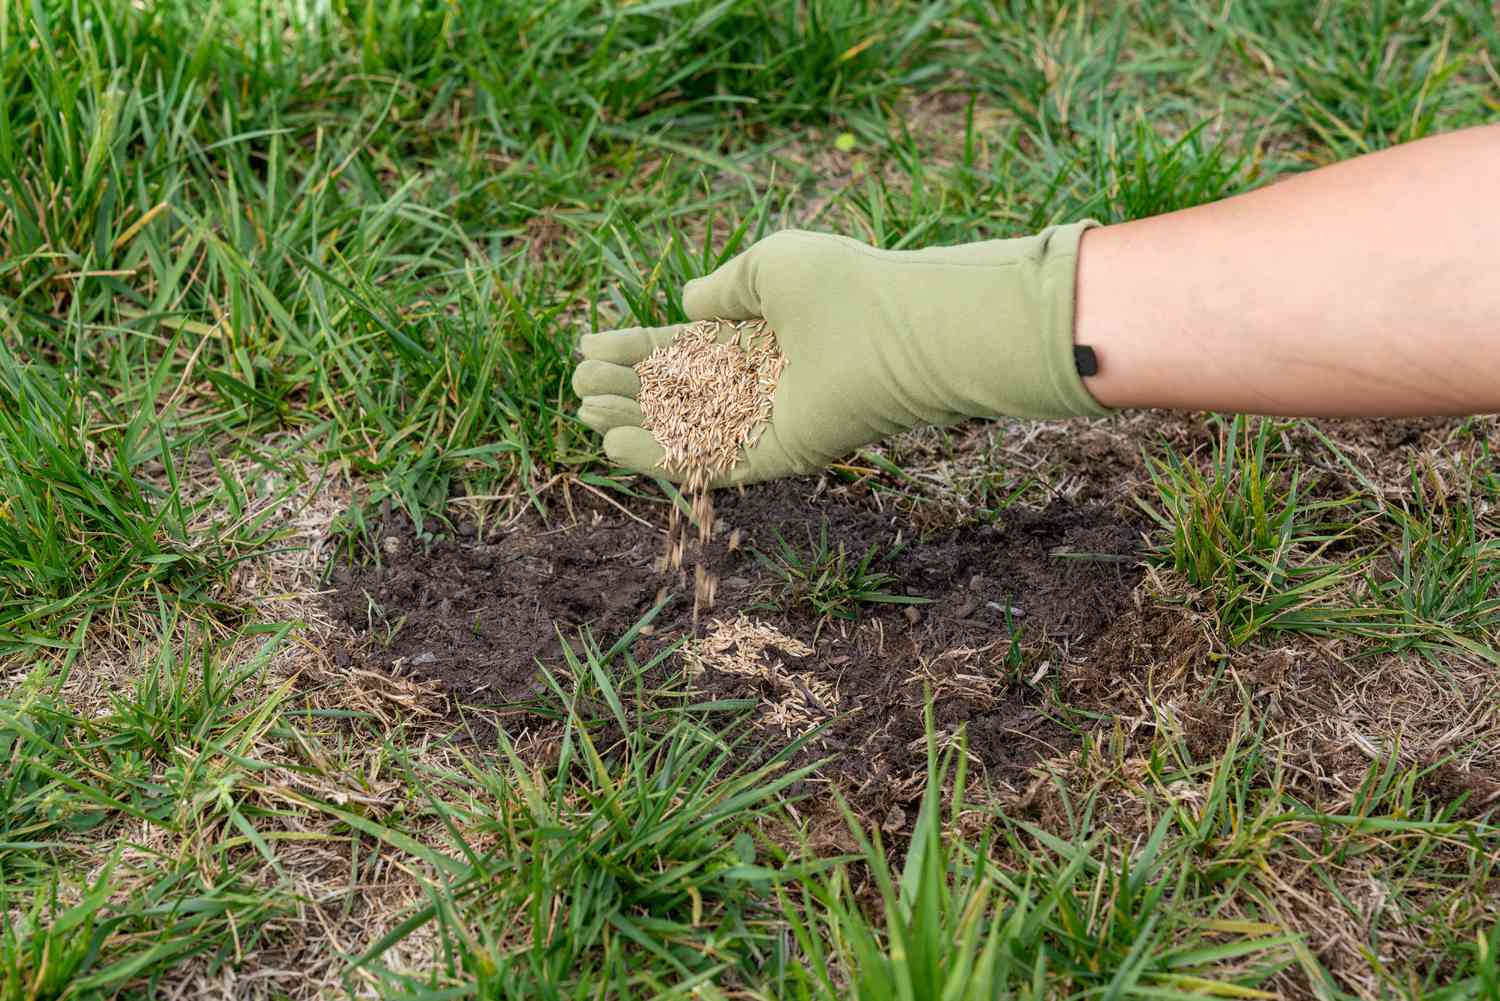
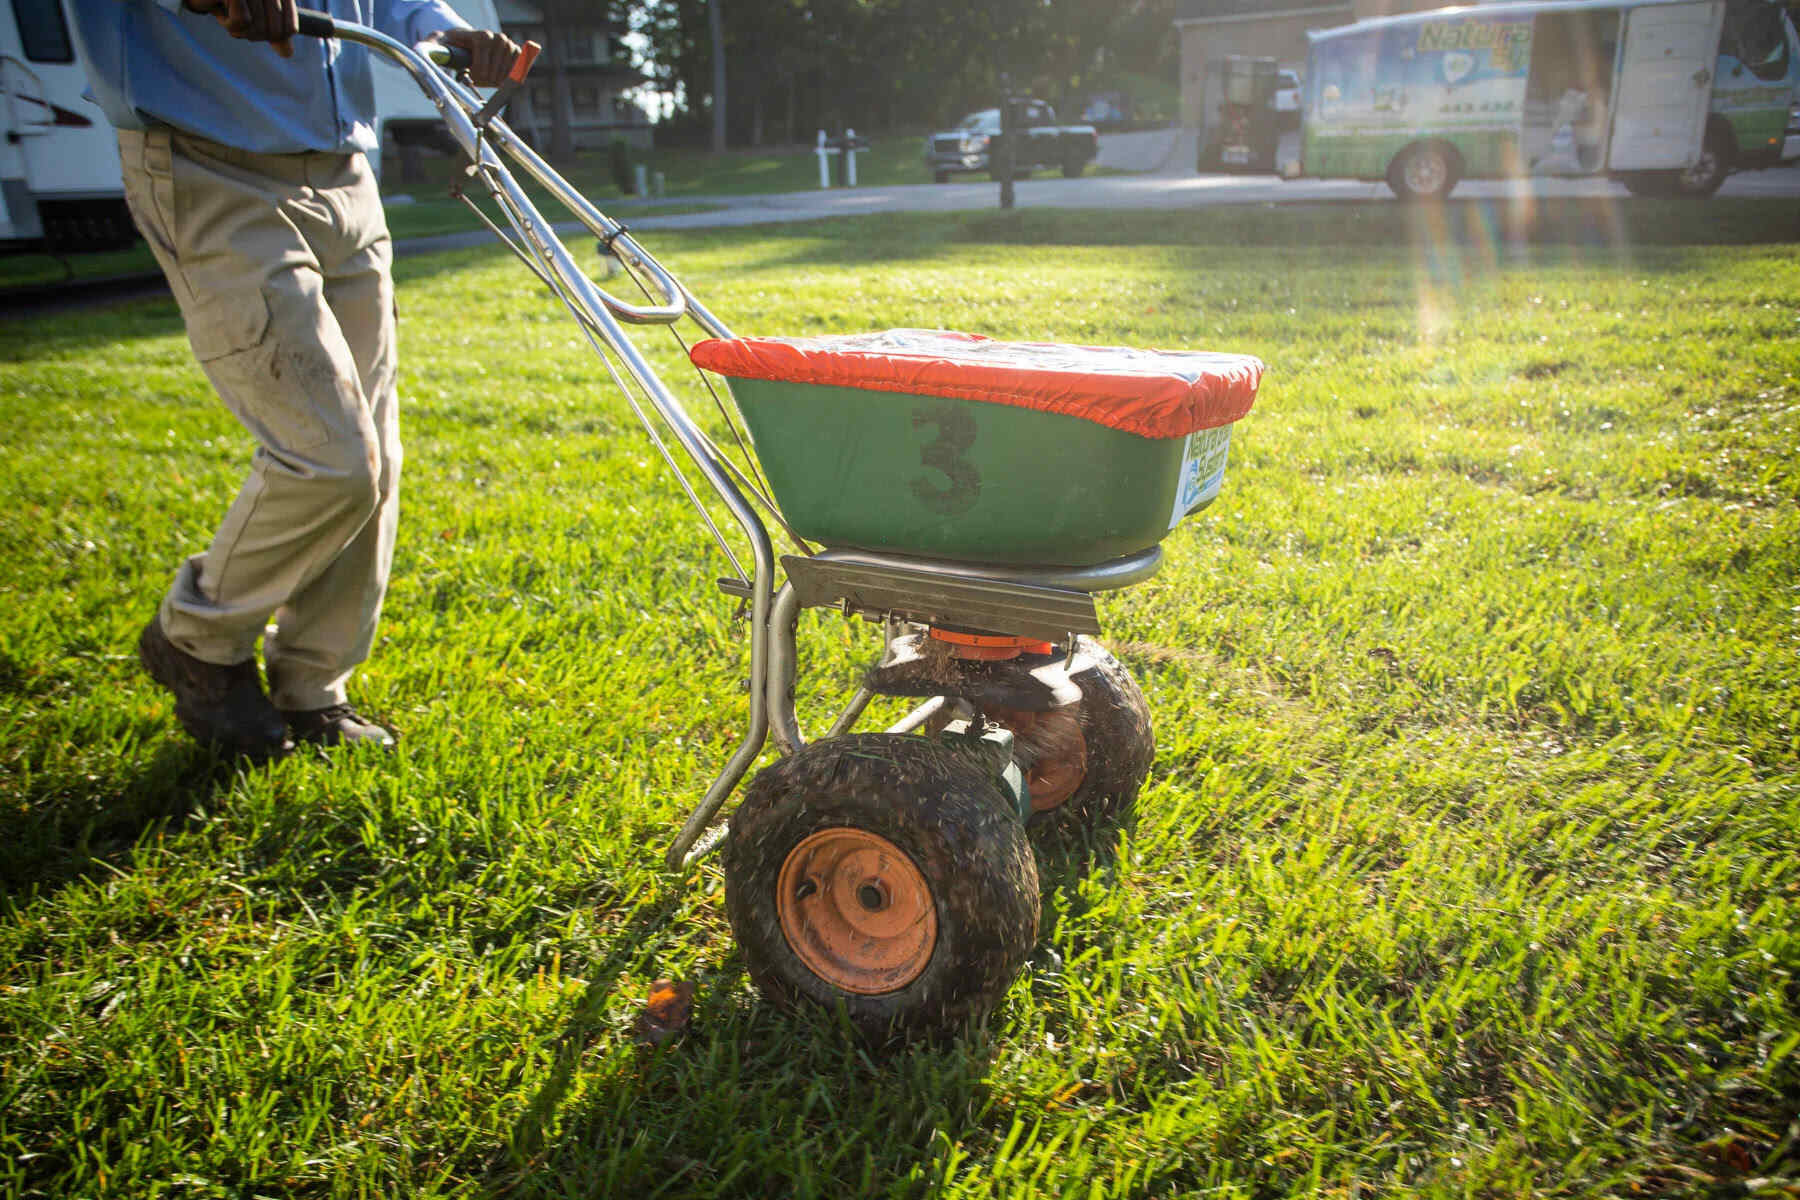
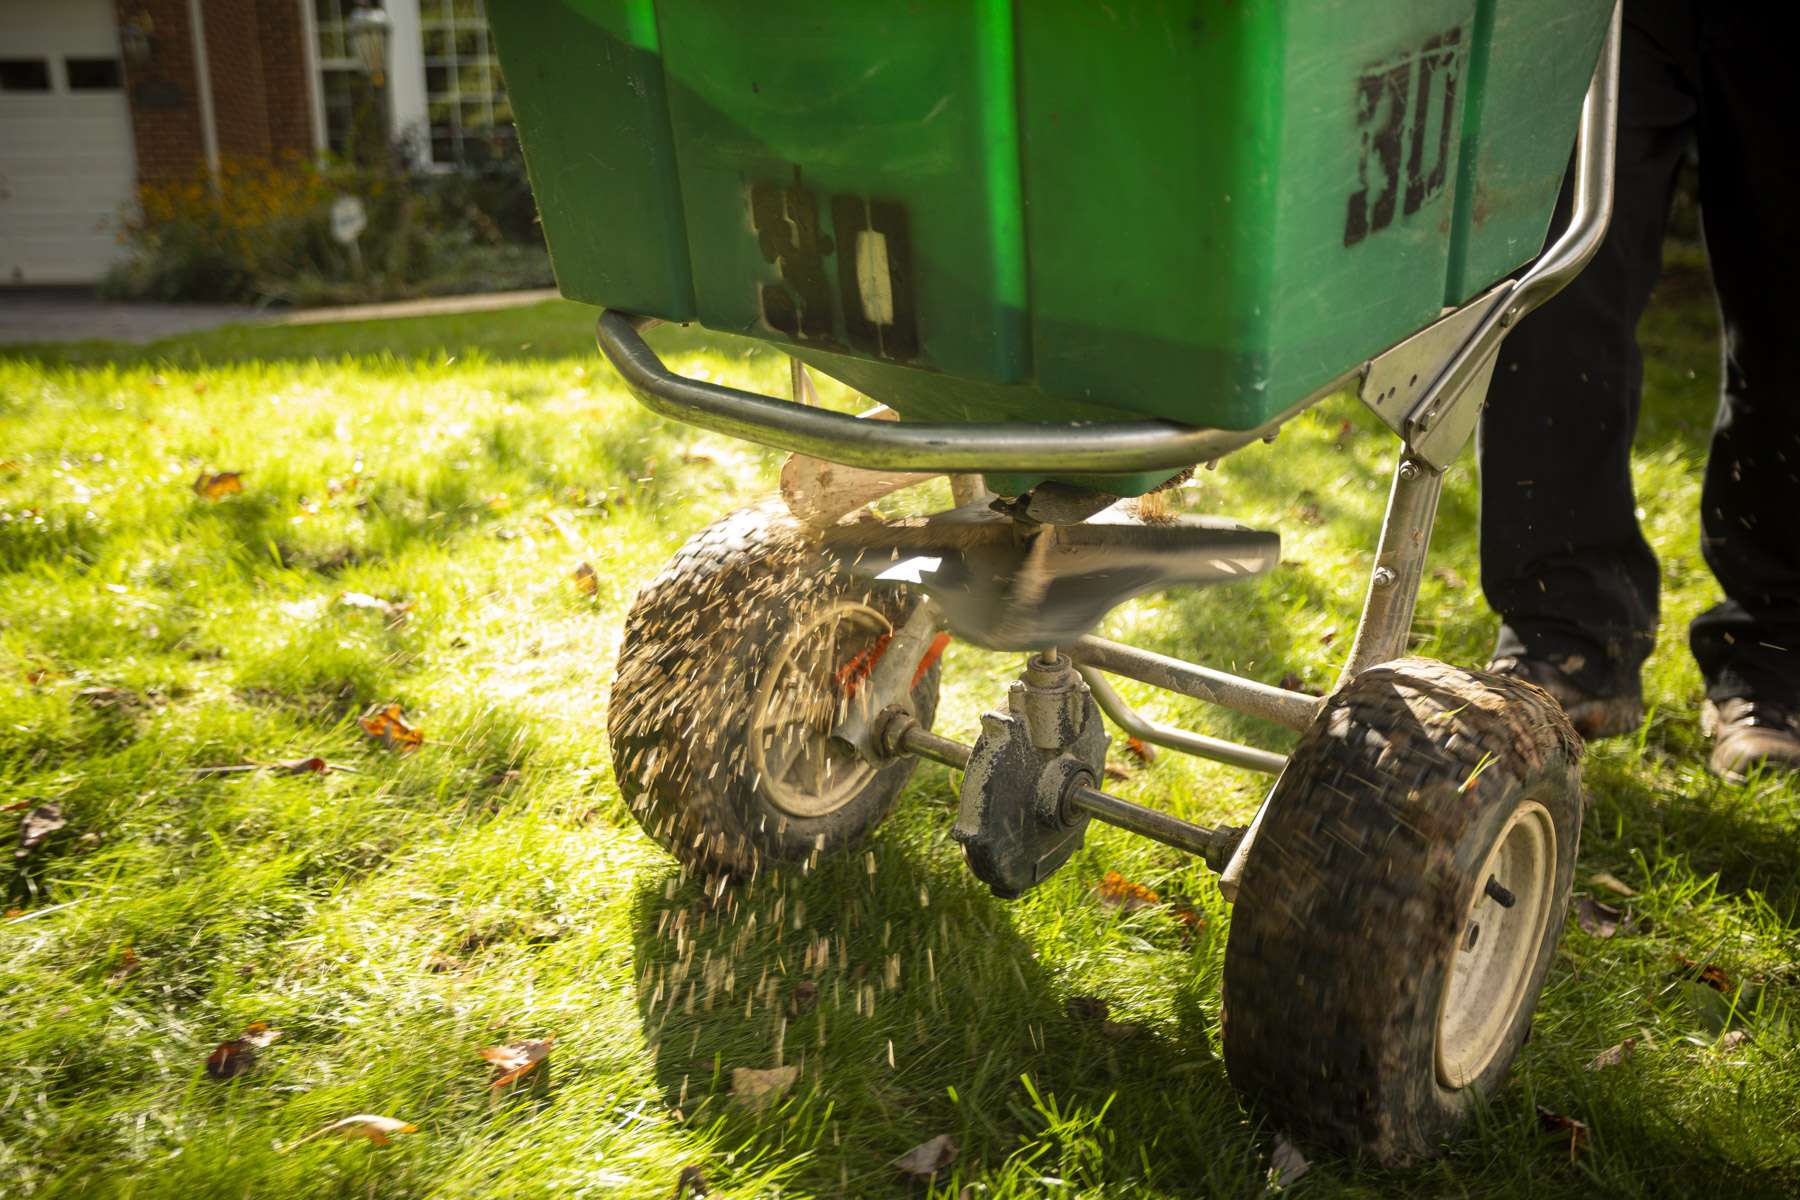
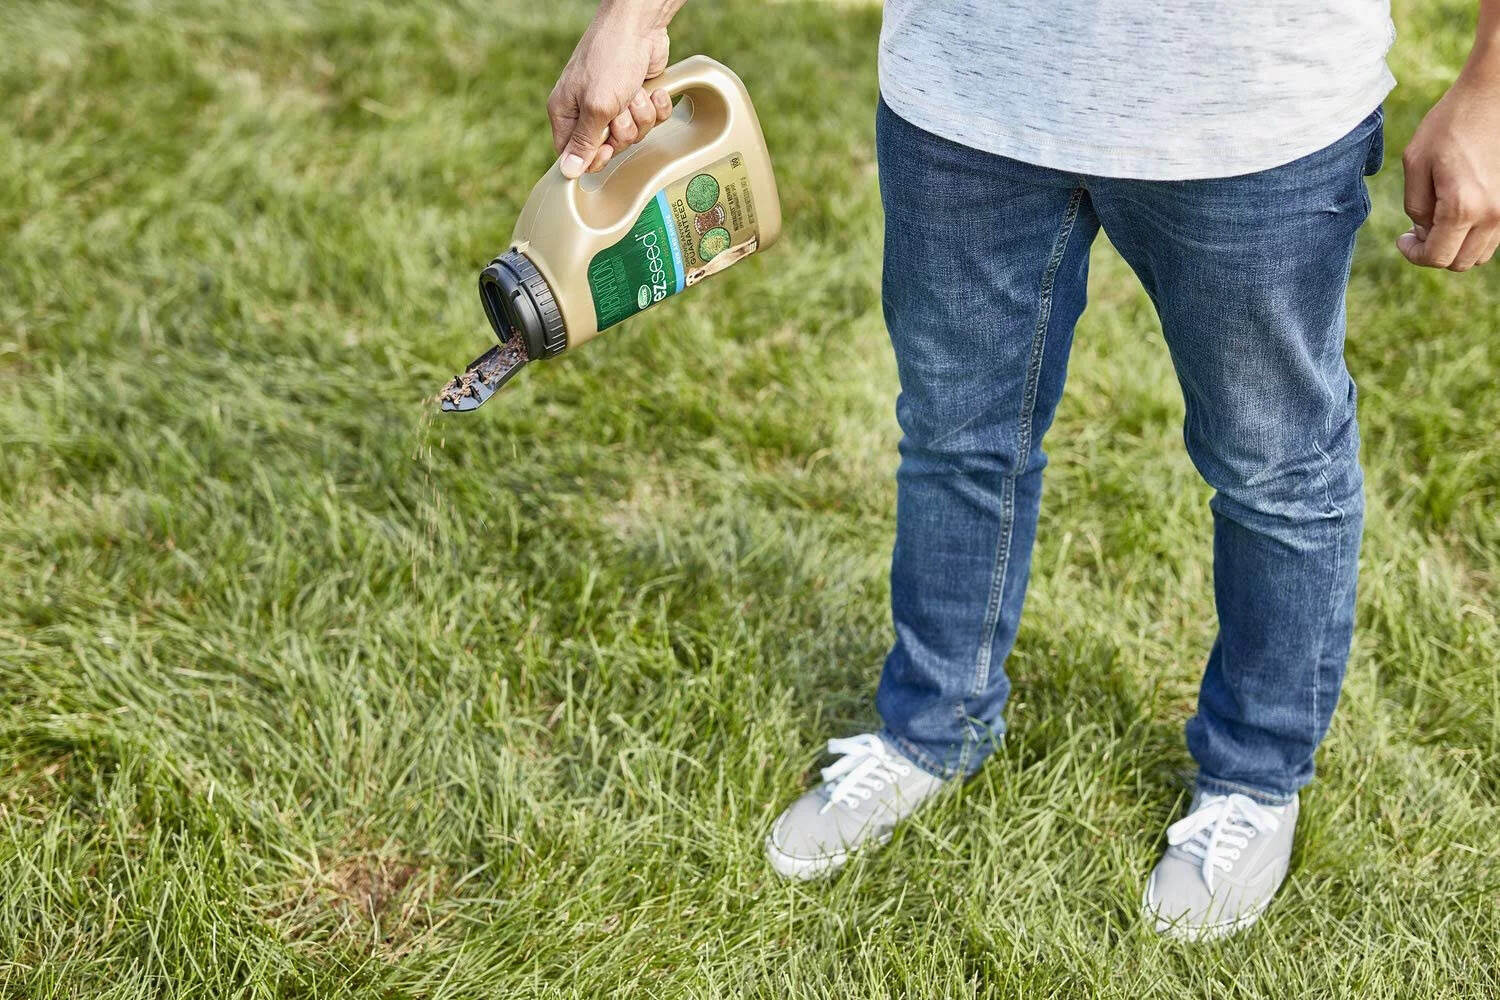
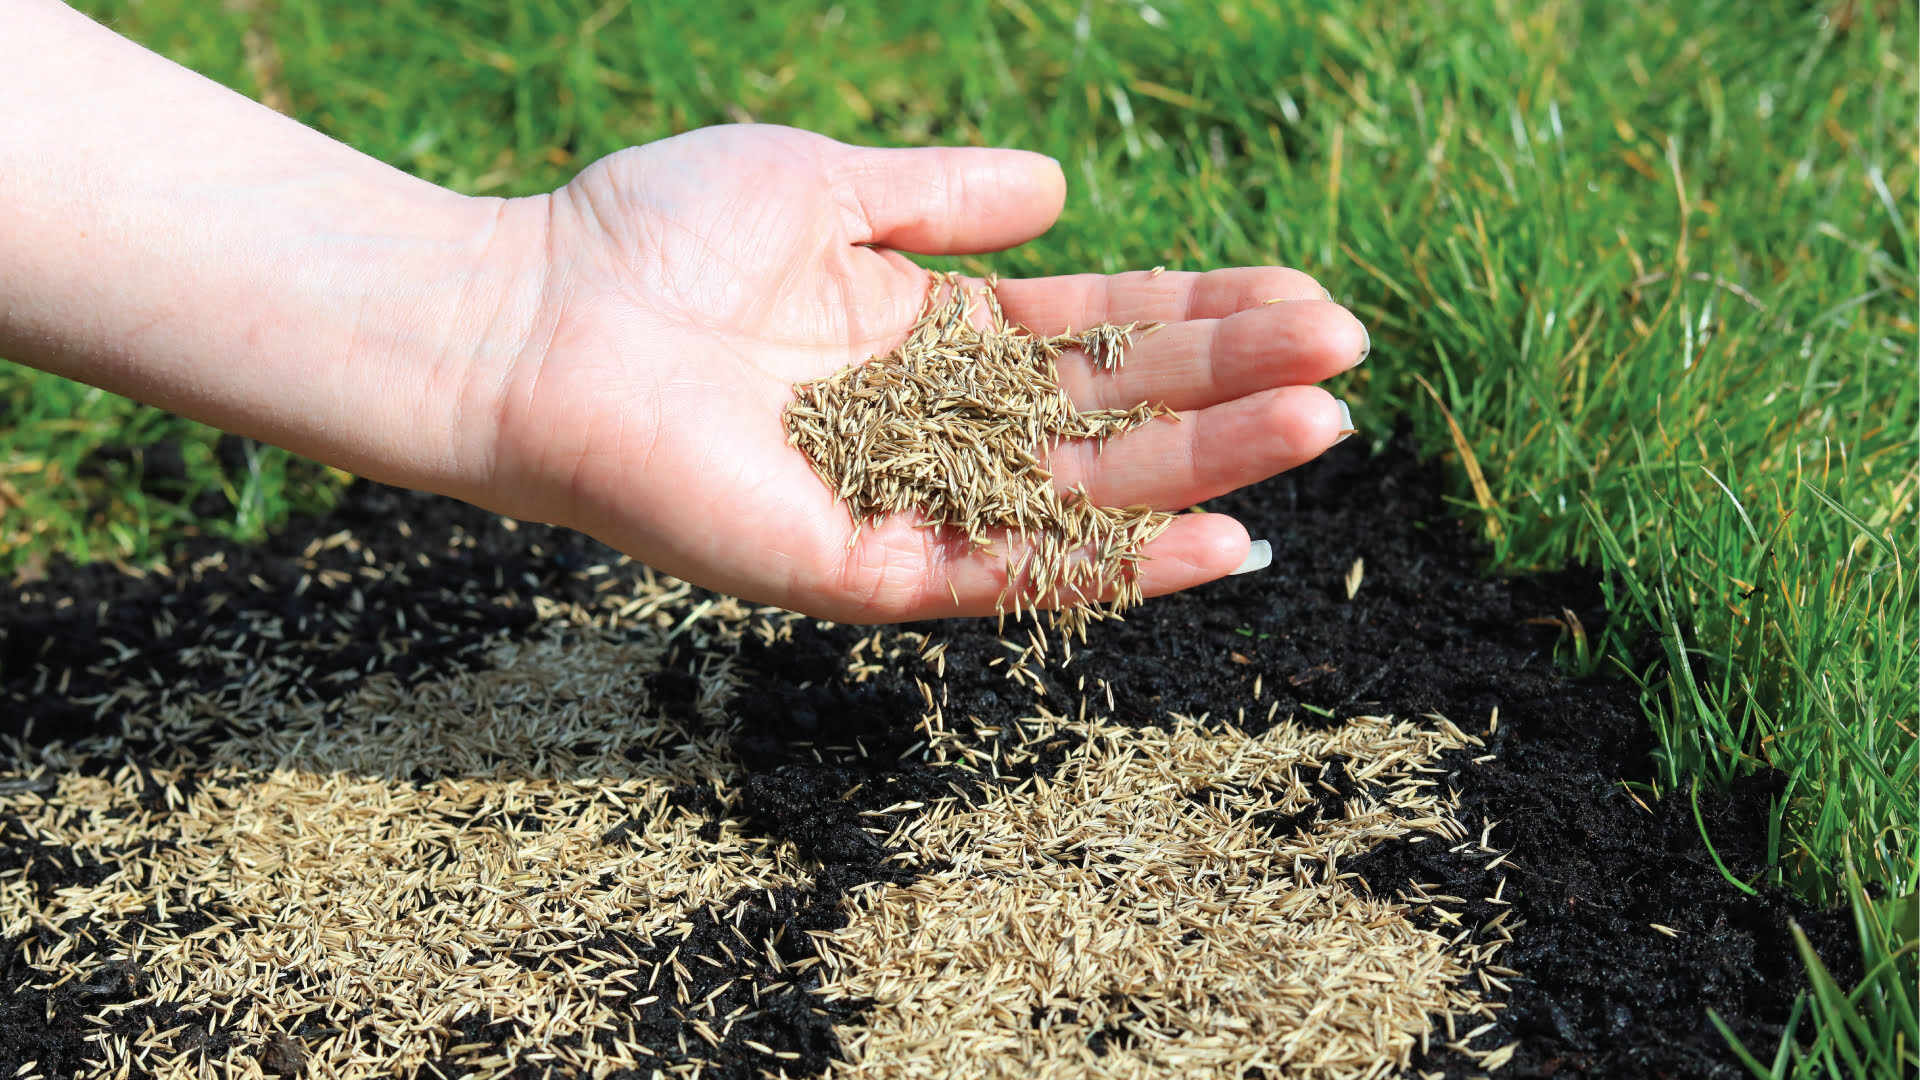
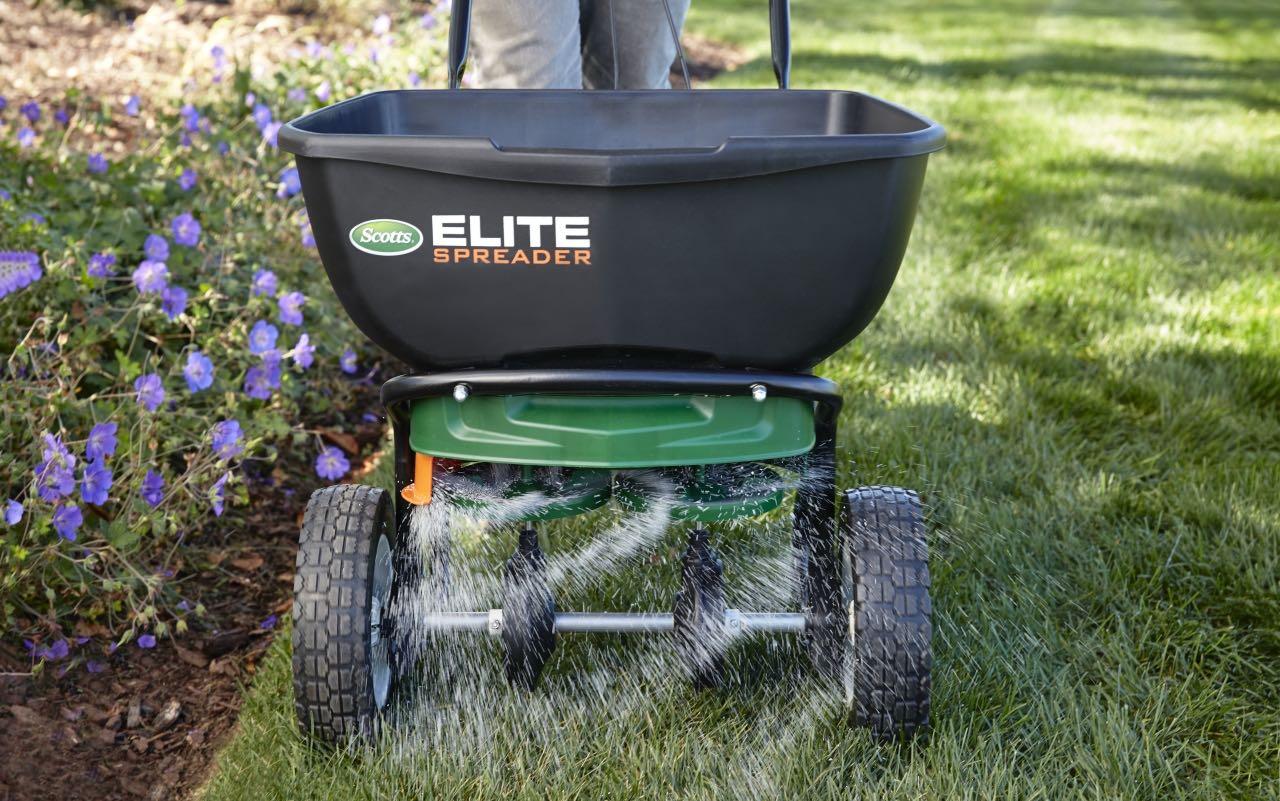
- Sow the Seeds: Evenly spread the grass seeds over the prepared soil. Use a hand trowel or a seed spreader for larger patches to ensure even distribution. Follow the recommended seeding rate mentioned on the seed package for the best results.
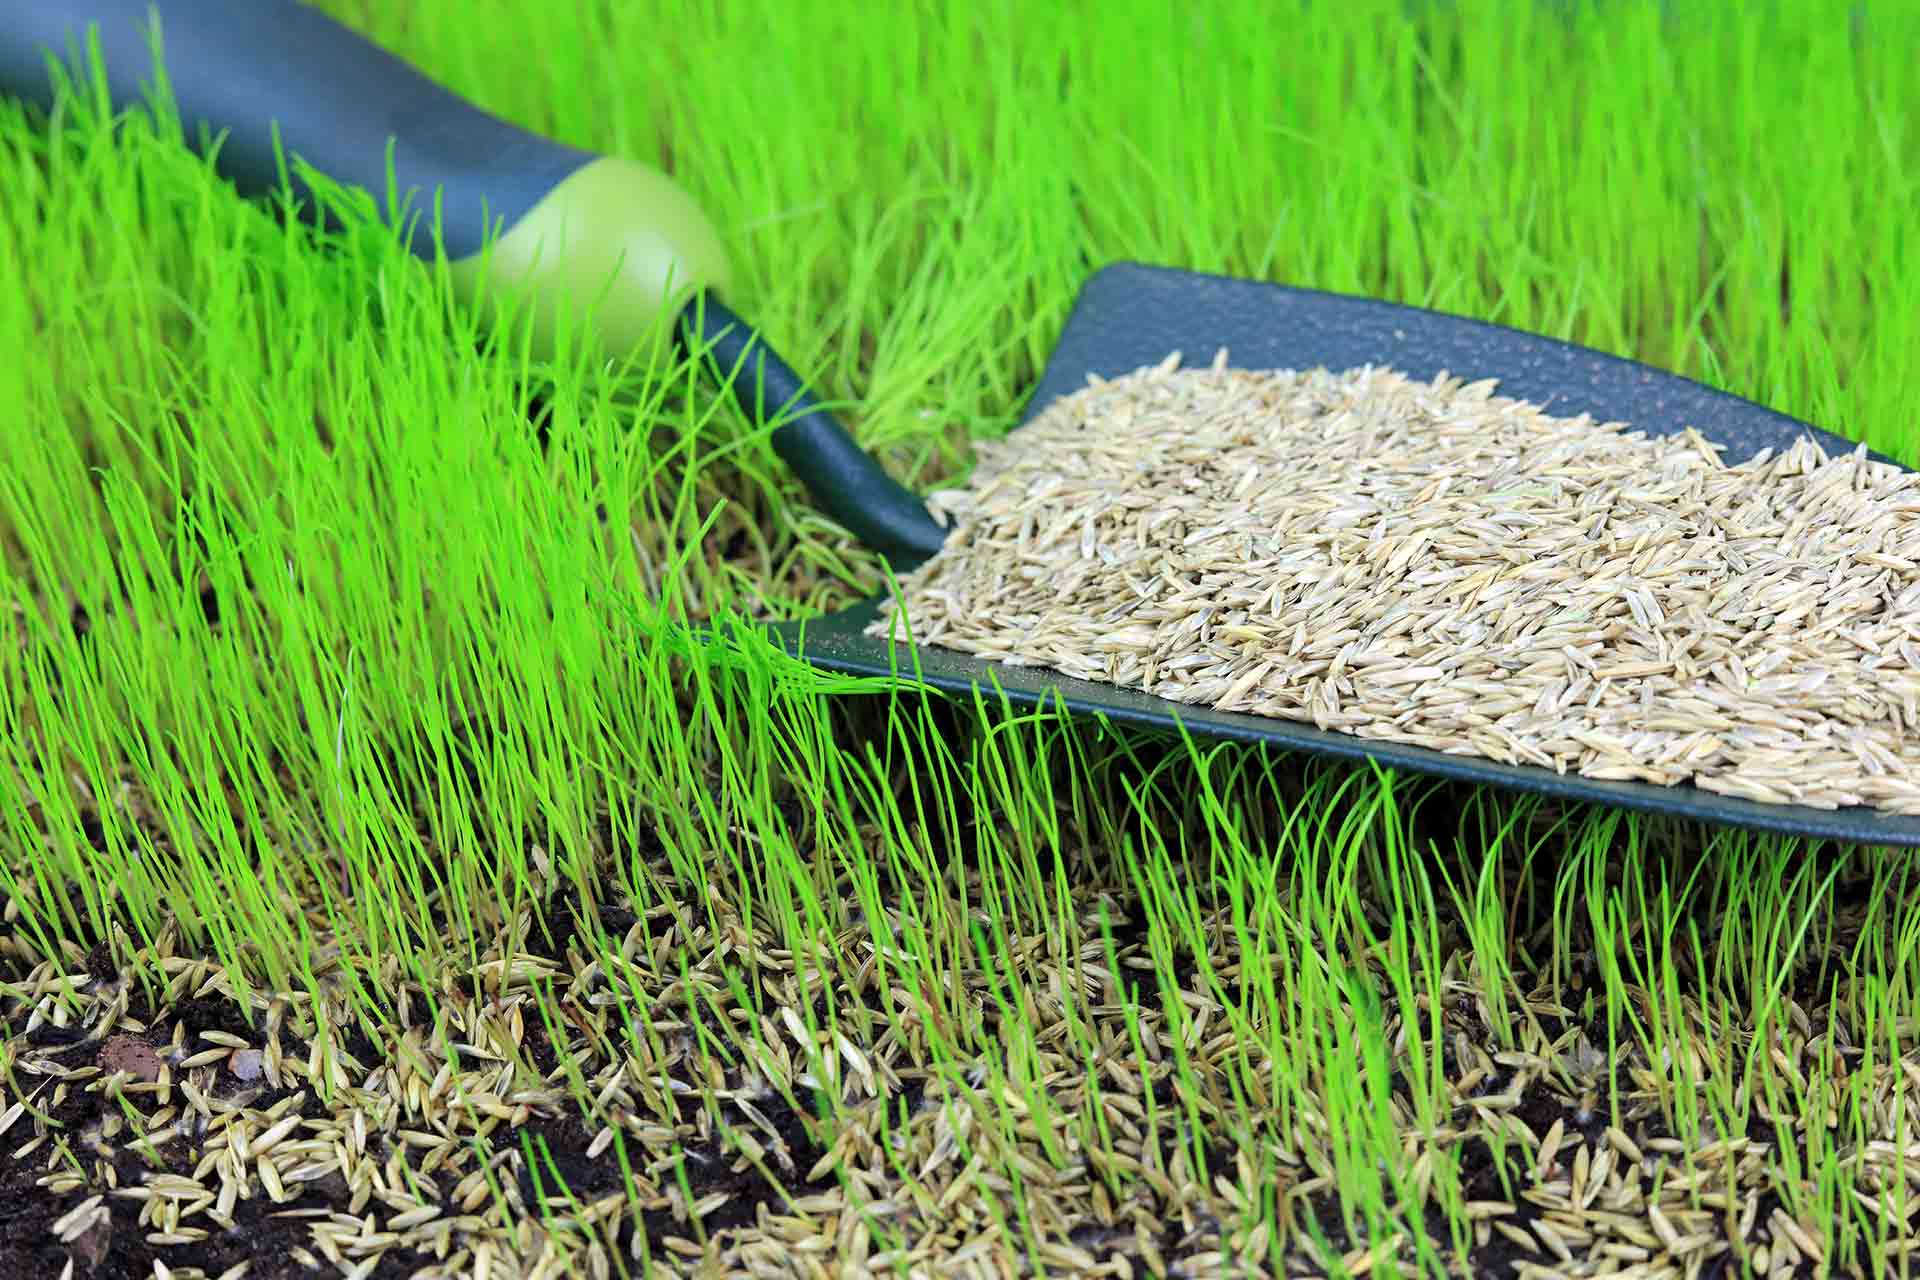
- Rake and Press: Lightly rake the seeded area to gently mix the seeds with the soil. This will help ensure good seed-to-soil contact, which is essential for germination. After raking, use the back of a garden rake or a lawn roller to lightly press the seeds into the soil.
- Water Thoroughly: After seeding, water the patched area thoroughly. Use a gentle spray or a sprinkler to ensure even coverage. Keep the soil consistently moist, but avoid overwatering, as it can lead to seed washout or fungal diseases.
- Provide Proper Care: To aid germination, cover the newly seeded area with a thin layer of straw or hay. This will help to retain moisture and protect the seeds from birds or other pests. Water the patch regularly, keeping the soil consistently moist until the new grass starts to establish.
- Maintain Consistency: Avoid walking or placing heavy objects on the newly seeded areas until the grass has had a chance to grow and establish a strong root system. Be patient and consistent with watering, providing adequate care and maintenance as outlined in the next section.
Remember, every lawn patch is unique, and the time it takes for the grass seeds to germinate and establish can vary. It’s important to be patient and monitor the progress regularly. With proper care and maintenance, your lawn will soon have vibrant and healthy patches that seamlessly blend with the rest of your turf.
When seeding lawn patches, make sure to loosen the soil, spread the seeds evenly, and lightly cover them with a thin layer of soil or mulch to protect them and keep them moist. Water regularly to help the seeds germinate and establish a healthy lawn.
Aftercare and Maintenance Tips
After seeding lawn patches, proper aftercare and maintenance are crucial to ensure the success and long-term health of the newly germinated grass. Follow these tips to maximize your chances of achieving a beautiful and lush lawn.
- Watering: Continue to water the newly seeded areas regularly, keeping the soil consistently moist. Watering deeply but infrequently encourages deep root growth. As the grass starts to establish, gradually reduce the frequency of watering, allowing the soil to dry slightly between waterings.
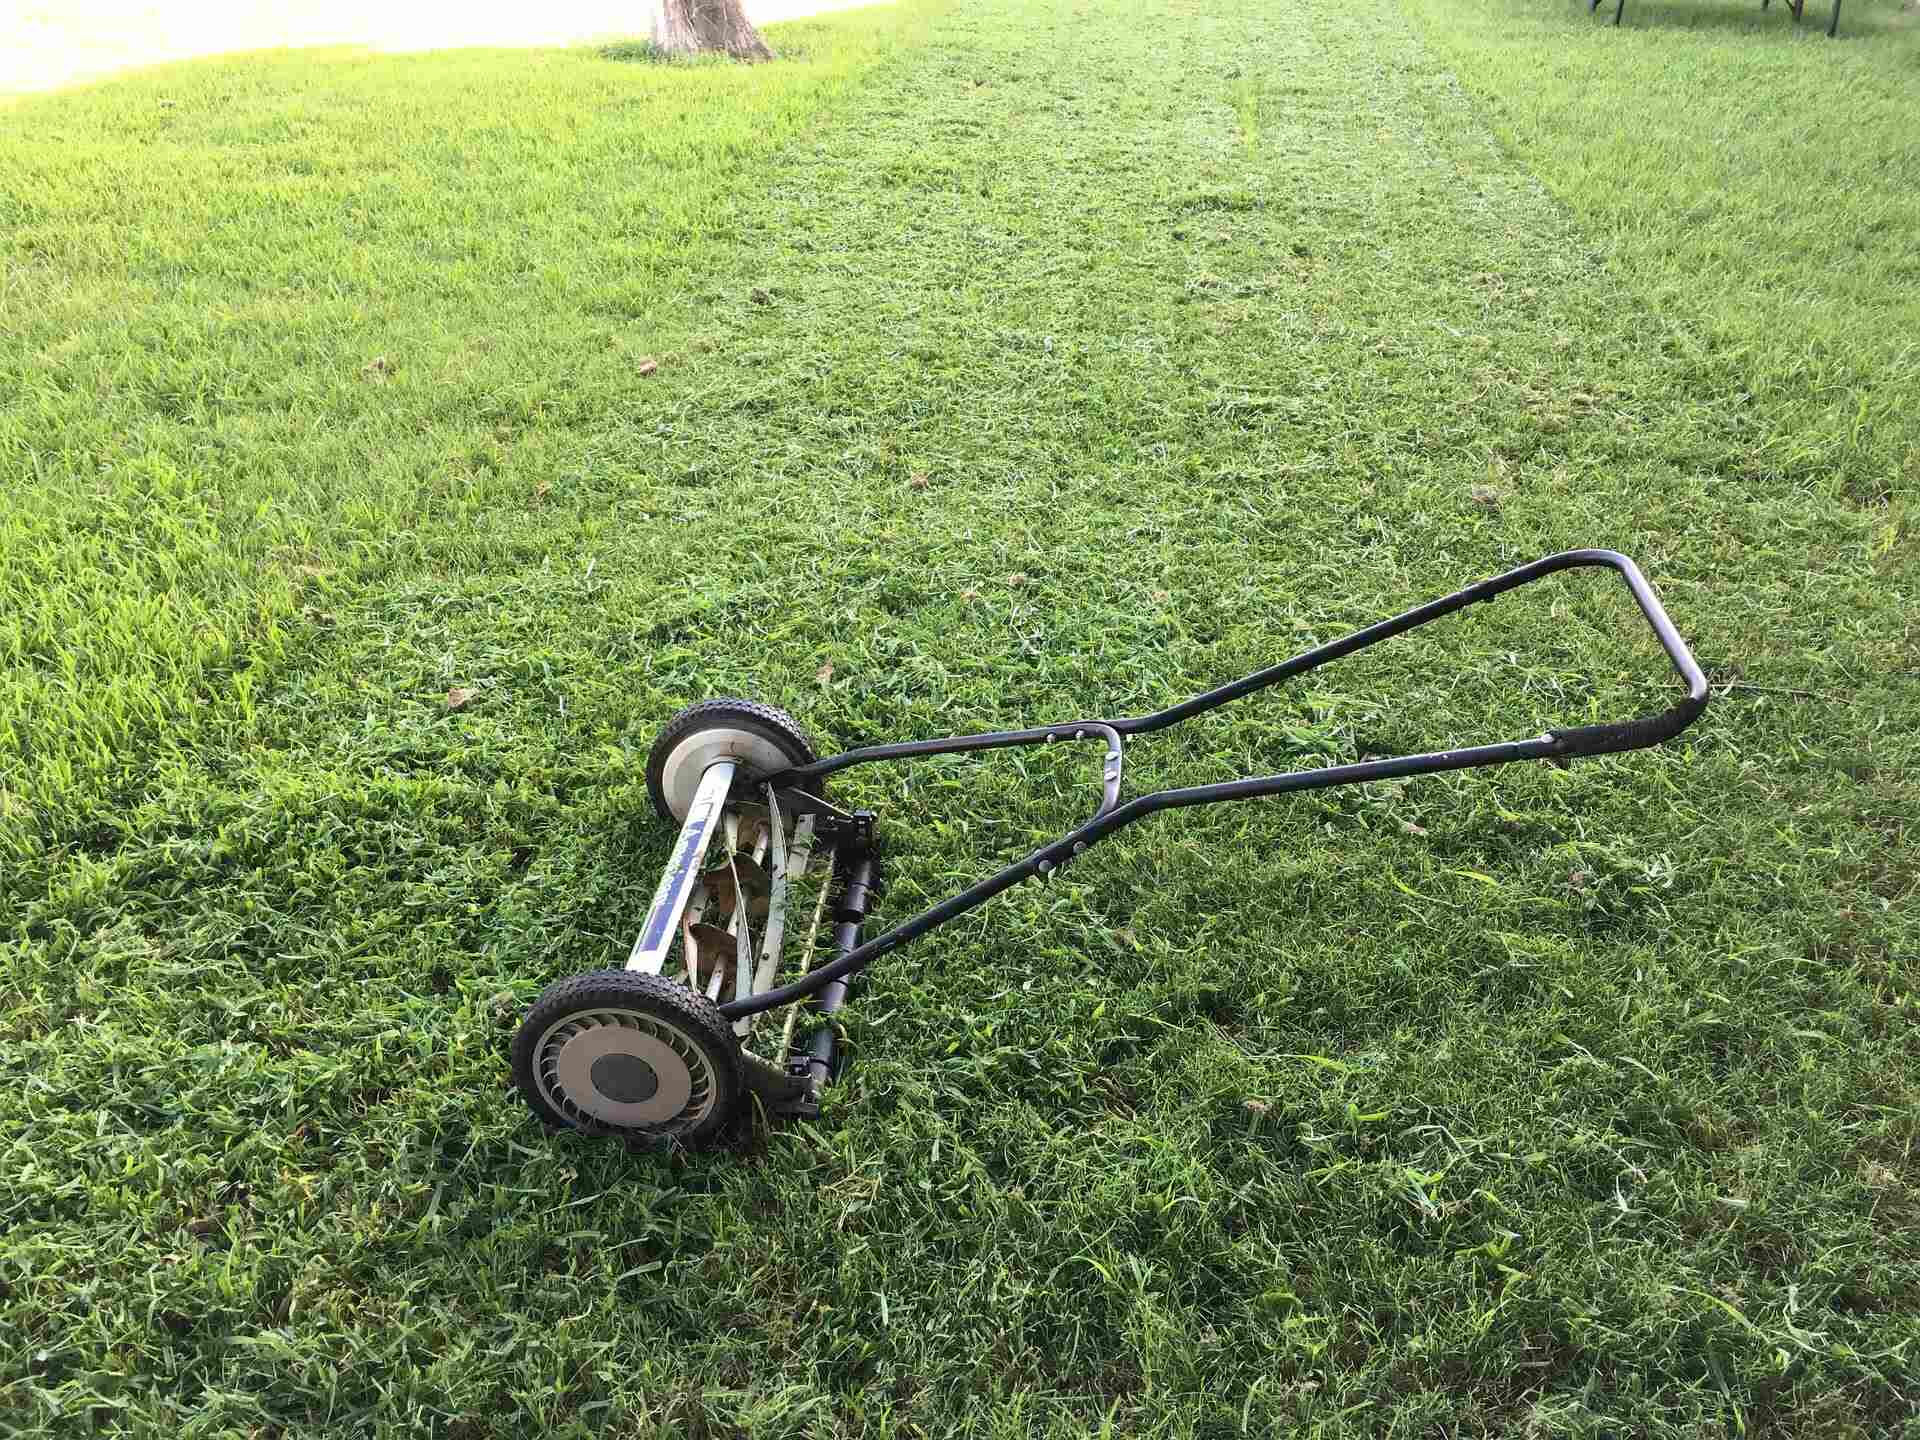
- Mowing: Once the newly seeded grass reaches a height of around 3-4 inches, it’s time to mow. Set your mower blade to a higher setting to avoid cutting the grass too short. Never remove more than one-third of the grass height in a single mowing session.
- Weed Control: Monitor the newly seeded areas for any signs of weeds. Hand-pull any weeds that appear, taking care not to disturb the newly germinated grass. Avoid using herbicides on the new grass until it’s well-established, as it may harm the young plants.
- Fertilizing: After the new grass has been mowed a few times, apply a slow-release fertilizer to provide essential nutrients for growth and development. Choose a fertilizer specifically formulated for new lawns or consult with a local garden center for recommendations.
- Avoid Heavy Traffic: To allow the new grass to establish strong root systems, avoid heavy foot traffic or placing heavy objects on the restored patches. Restrict access to these areas until the grass is fully grown and able to withstand regular use.
- Regular Maintenance: Incorporate the newly seeded areas into your regular lawn maintenance routine. This includes regular mowing, watering as needed, and addressing any pest or disease issues promptly. This will help promote a healthy and uniform lawn appearance.
Remember, each lawn is unique, and individual factors such as soil type, climate, and grass variety can impact the aftercare and maintenance requirements. Adjust your approach accordingly and observe the specific needs of your lawn to ensure the best results.
By following these aftercare and maintenance tips, you will provide the optimal conditions for the newly seeded grass to thrive, growing into a vibrant and healthy addition to your lawn.
Read more: How To Hydro Seed A Lawn
Troubleshooting Common Issues
When seeding lawn patches, it’s not uncommon to encounter certain issues that can hinder the success of your efforts. Being aware of these common problems and knowing how to troubleshoot them will help you overcome obstacles and ensure the best results. Here are some troubleshooting tips for common issues:
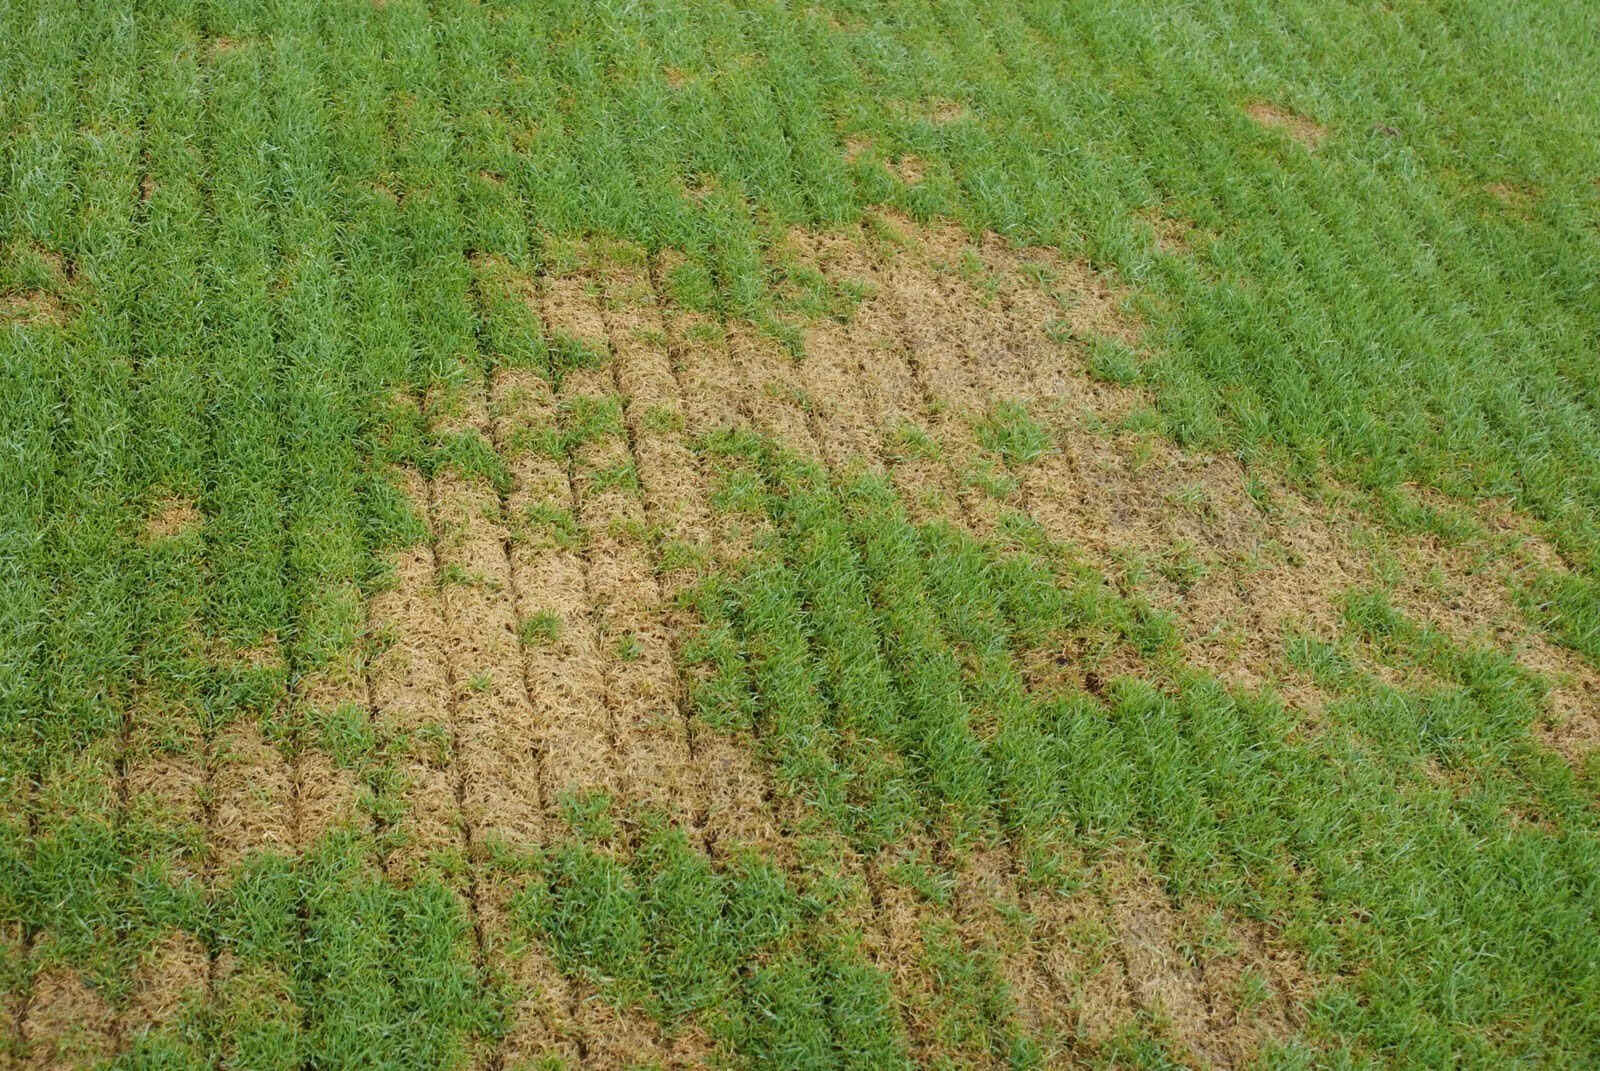
- Poor Germination: If you notice poor or uneven germination, it’s possible that the seeds were not sown evenly or were not in good contact with the soil. To improve germination, rake the area lightly to ensure good seed-to-soil contact, water consistently, and consider overseeding with additional grass seeds.
- Seed Washout: Heavy rainfall or watering can sometimes wash away the grass seeds from the patch. To prevent seed washout, apply a thin layer of straw or mulch to help anchor the seeds in place and protect them from erosion. Also, consider adjusting your watering technique to a gentler sprinkle or using a rain gauge to monitor rainfall.
- Weed Invasion: Weeds can be a common issue in newly seeded areas, especially if the patch was not properly prepared or weed control measures were not taken. Hand-pull weeds as they appear, making sure not to disturb the newly germinated grass. Consider using organic weed control methods or consult a professional for weed control solutions.
- Insufficient Watering: Inconsistent or insufficient watering is a common reason for seed failure. Monitor the soil moisture regularly and water deeply to ensure the seeds receive adequate moisture for germination. Use a gentle spray or sprinkler to avoid disturbing the seeds or causing erosion.
- Poor Soil Conditions: If the patch is located in an area with poor soil conditions, such as compacted soil or nutrient deficiencies, it can impact seed germination and grass growth. Consider aerating the soil, adding organic matter, and applying fertilizers or soil amendments to improve the soil quality and provide a better environment for the grass seeds.
- Animal Damage: Animals, such as birds, squirrels, or pets, can disrupt or destroy newly seeded areas. Use deterrents such as bird netting, scare devices, or pet barriers to prevent animals from accessing the seeded patches. If necessary, consider reseeding any damaged areas.
Remember, patience and persistence are key when troubleshooting issues with seeding lawn patches. Assess the problem, take appropriate action, and monitor the progress closely. With proper care and troubleshooting, you can overcome challenges and achieve a healthy and vibrant lawn.
Conclusion
Seeding lawn patches is a simple yet effective solution for restoring the beauty and health of your lawn. By considering factors such as soil quality, sunlight exposure, and timing, you can create optimal conditions for seed germination and growth. Preparing the soil, selecting the right grass seeds, and properly sowing them are crucial steps in the process.
After seeding, providing consistent watering, monitoring for weeds, and following proper maintenance practices will help the newly seeded grass establish and thrive. Troubleshooting common issues such as poor germination, seed washout, and weed invasion can be overcome with proper care and attention.
Remember, every lawn patch is unique, and results may vary based on individual conditions and maintenance. Be patient, adjust your approach as needed, and give your newly seeded grass the time it needs to establish. With proper care, you’ll soon have a beautiful, healthy, and fully restored lawn.
So, don’t let those unsightly patches bring down the overall appearance of your lawn. Take the necessary steps to seed and revitalize those areas, and soon you’ll have a uniform, vibrant, and inviting lawn to enjoy.
Happy gardening, and here’s to a lush and flourishing lawn!
Frequently Asked Questions about How To Seed Lawn Patches
Was this page helpful?
At Storables.com, we guarantee accurate and reliable information. Our content, validated by Expert Board Contributors, is crafted following stringent Editorial Policies. We're committed to providing you with well-researched, expert-backed insights for all your informational needs.


0 thoughts on “How To Seed Lawn Patches”