Home>Garden Essentials>How To Slice Seed A Lawn
Garden Essentials
How To Slice Seed A Lawn
Modified: March 16, 2024
Learn how to slice seed your lawn and achieve a lush garden with our step-by-step guide. Transform your outdoor space with our expert tips and techniques.
(Many of the links in this article redirect to a specific reviewed product. Your purchase of these products through affiliate links helps to generate commission for Storables.com, at no extra cost. Learn more)
Introduction
Welcome to our comprehensive guide on how to slice seed a lawn, a method that can help you achieve a lush and healthy lawn. Whether you’re starting your lawn from scratch or looking to revitalize an existing one, slice seeding can be a highly effective technique.
Unlike traditional overseeding methods that simply spread seed on the surface, slice seeding creates small furrows in the soil, allowing the seed to make direct contact with the earth. This ensures better germination rates and stronger root development, resulting in a denser and more resilient lawn.
In this guide, we will take you through the step-by-step process of preparing your soil, selecting the right seed, calculating the seed amount, and carrying out the slice seeding process. We will also offer tips on watering and maintenance, as well as post-seeding care to ensure the success of your lawn.
By following these guidelines and investing some time and effort, you can transform your lawn into a vibrant and beautiful space that you can enjoy for years to come. So, let’s dive in and learn how to slice seed a lawn!
Key Takeaways:
- Slice seeding creates small furrows in the soil for better seed contact, leading to a denser and more resilient lawn. Proper soil preparation and seed selection are crucial for successful slice seeding.
- Calculating the right seed amount, clearing the area, and spreading the seed evenly are essential steps for a thriving lawn. Post-seeding care, including proper watering and maintenance, supports the growth and health of the new lawn.
Read more: How To Seed Lawn
Step 1: Preparing the Soil
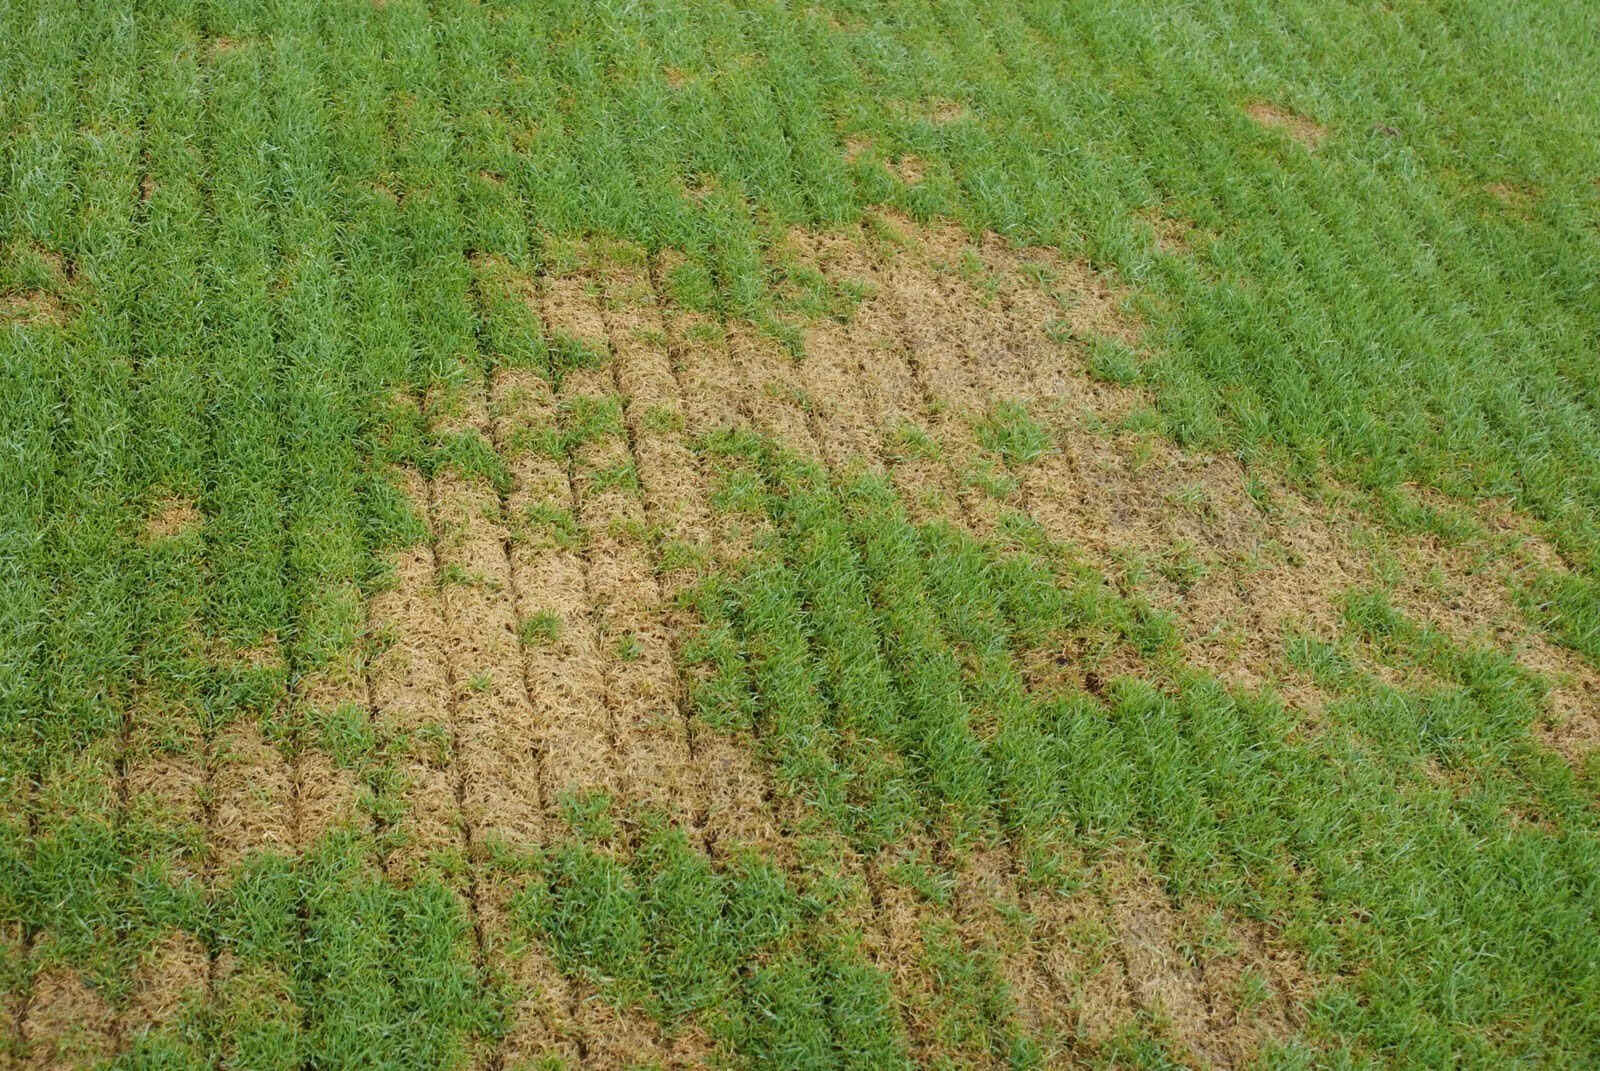
The first crucial step in slice seeding a lawn is to prepare the soil properly. This ensures that the seed has optimal conditions for germination and root development.
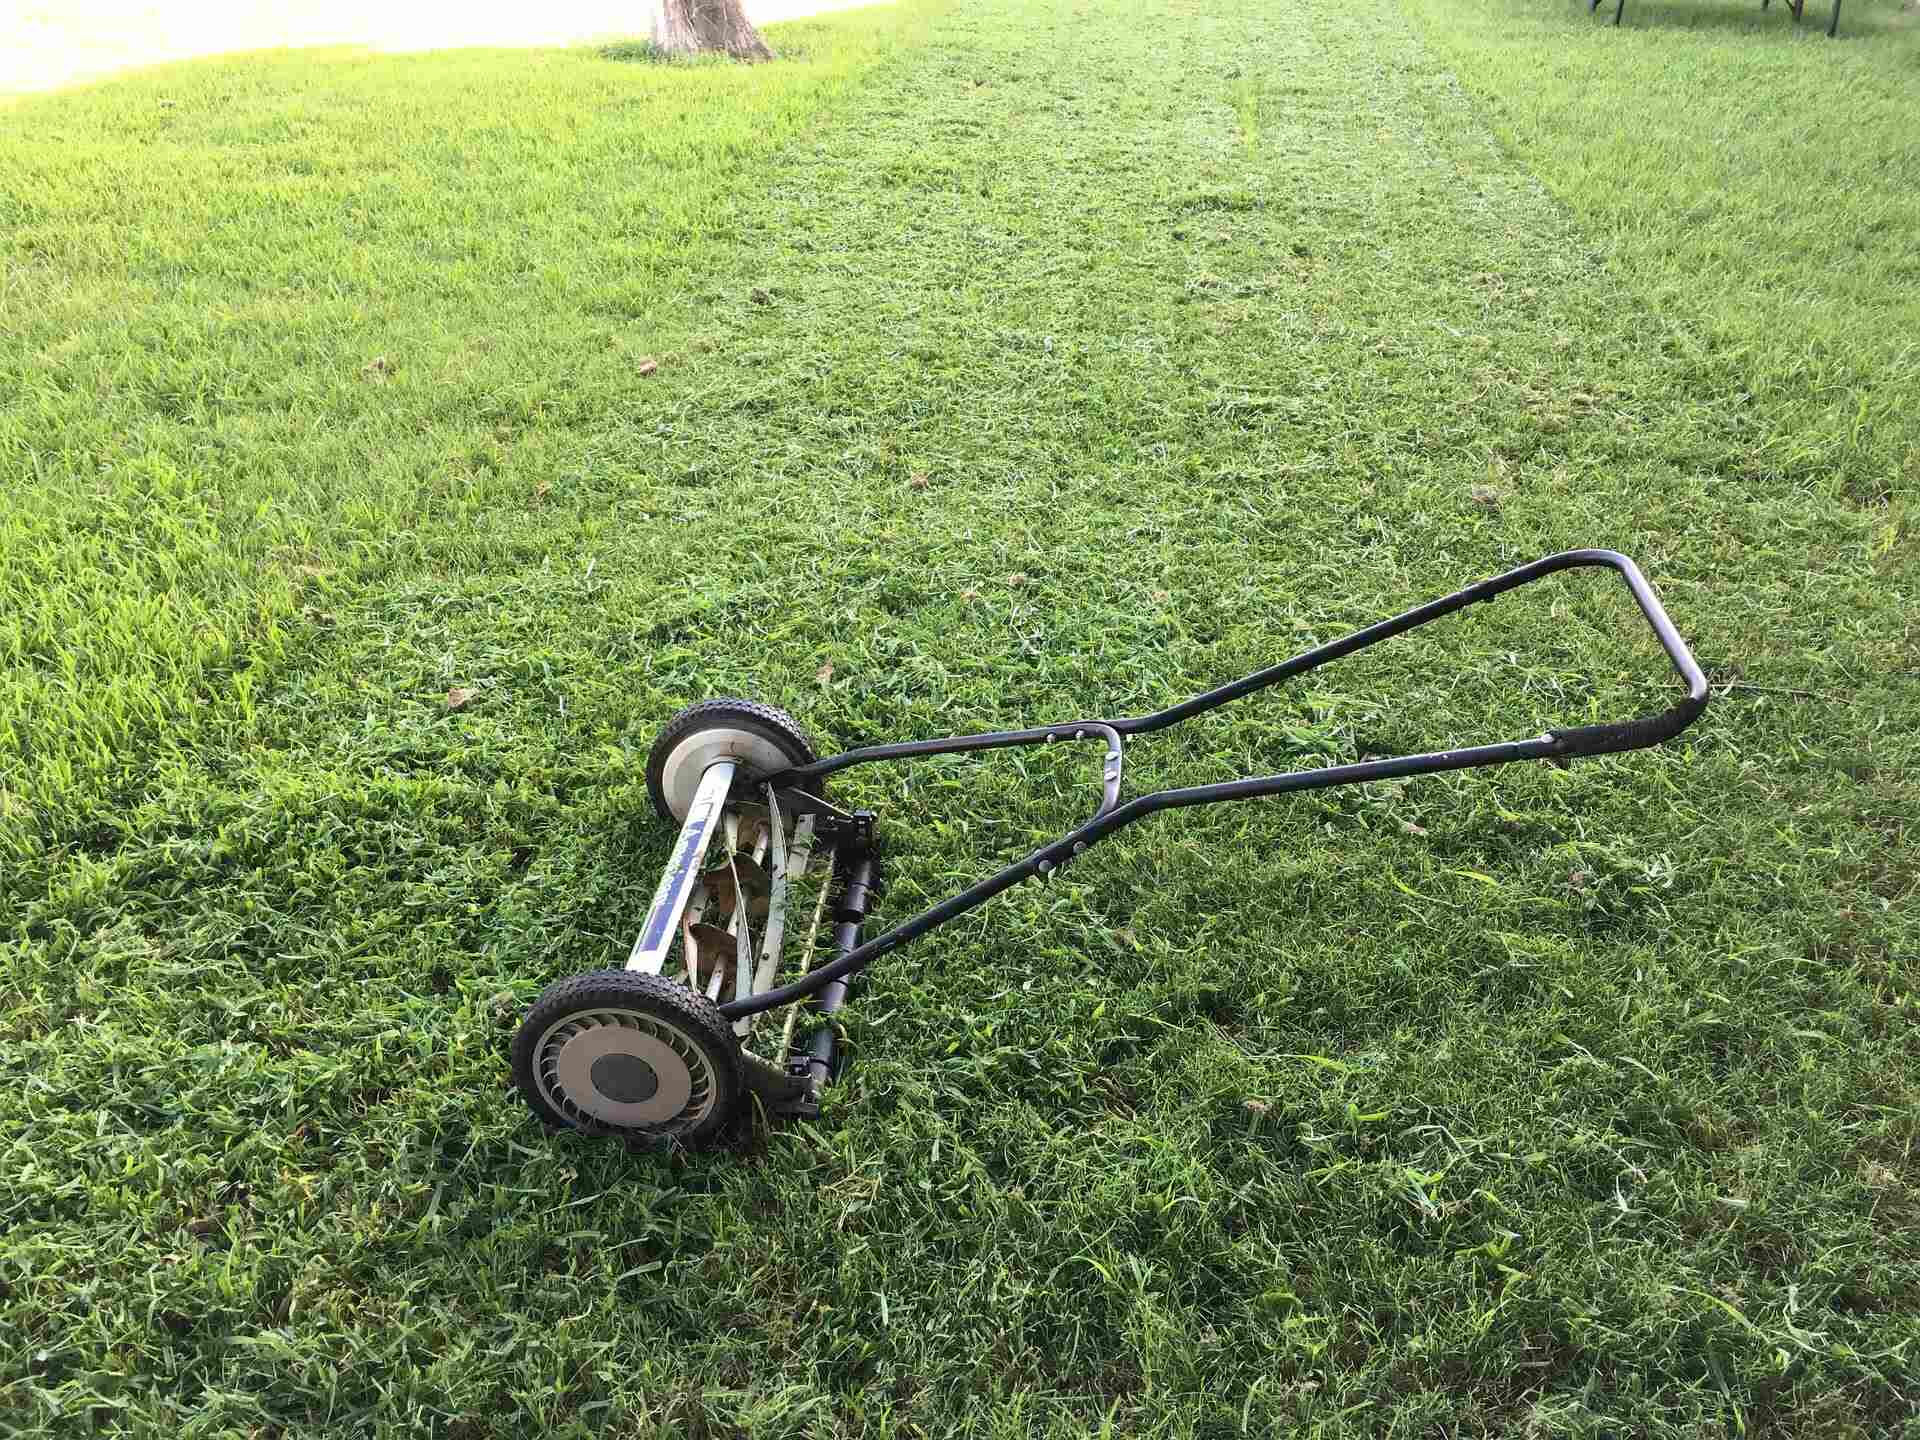
Begin by clearing the area of any debris, rocks, or existing vegetation. You can use a rake or a lawn mower to remove any excess thatch or dead grass. This helps create an even surface for the seed to make contact with the soil.
Next, you’ll want to assess the soil’s pH level and nutrient content. You can conduct a soil test using a kit available at your local gardening center or by sending a soil sample to a laboratory. The results will indicate any deficiencies or imbalances in the soil composition.
Based on the soil test results, you may need to amend the soil with organic matter or fertilizer. Organic matter, such as compost or well-rotted manure, improves soil structure and nutrient content. Spread a layer of organic matter across the lawn and use a garden rake to work it into the topsoil.
If the soil requires additional nutrients, apply a slow-release or balanced fertilizer according to the package instructions. Be mindful not to overfertilize, as this can lead to nutrient runoff and harm the environment.
Once the organic matter and fertilizer are incorporated, it’s time to level the soil. Use a garden rake or a lawn leveling tool to smooth out any uneven areas, creating a flat and even surface. This ensures that the seed will be distributed evenly during slice seeding.
Lastly, irrigate the soil thoroughly. Moisture is essential for seed germination, so ensure that the soil is evenly moist but not saturated. A sprinkler system or a garden hose with a gentle spray attachment can be used to provide adequate hydration to the soil.
With the soil properly prepared, you’re now ready to move on to the next step: choosing the right seed for your lawn.
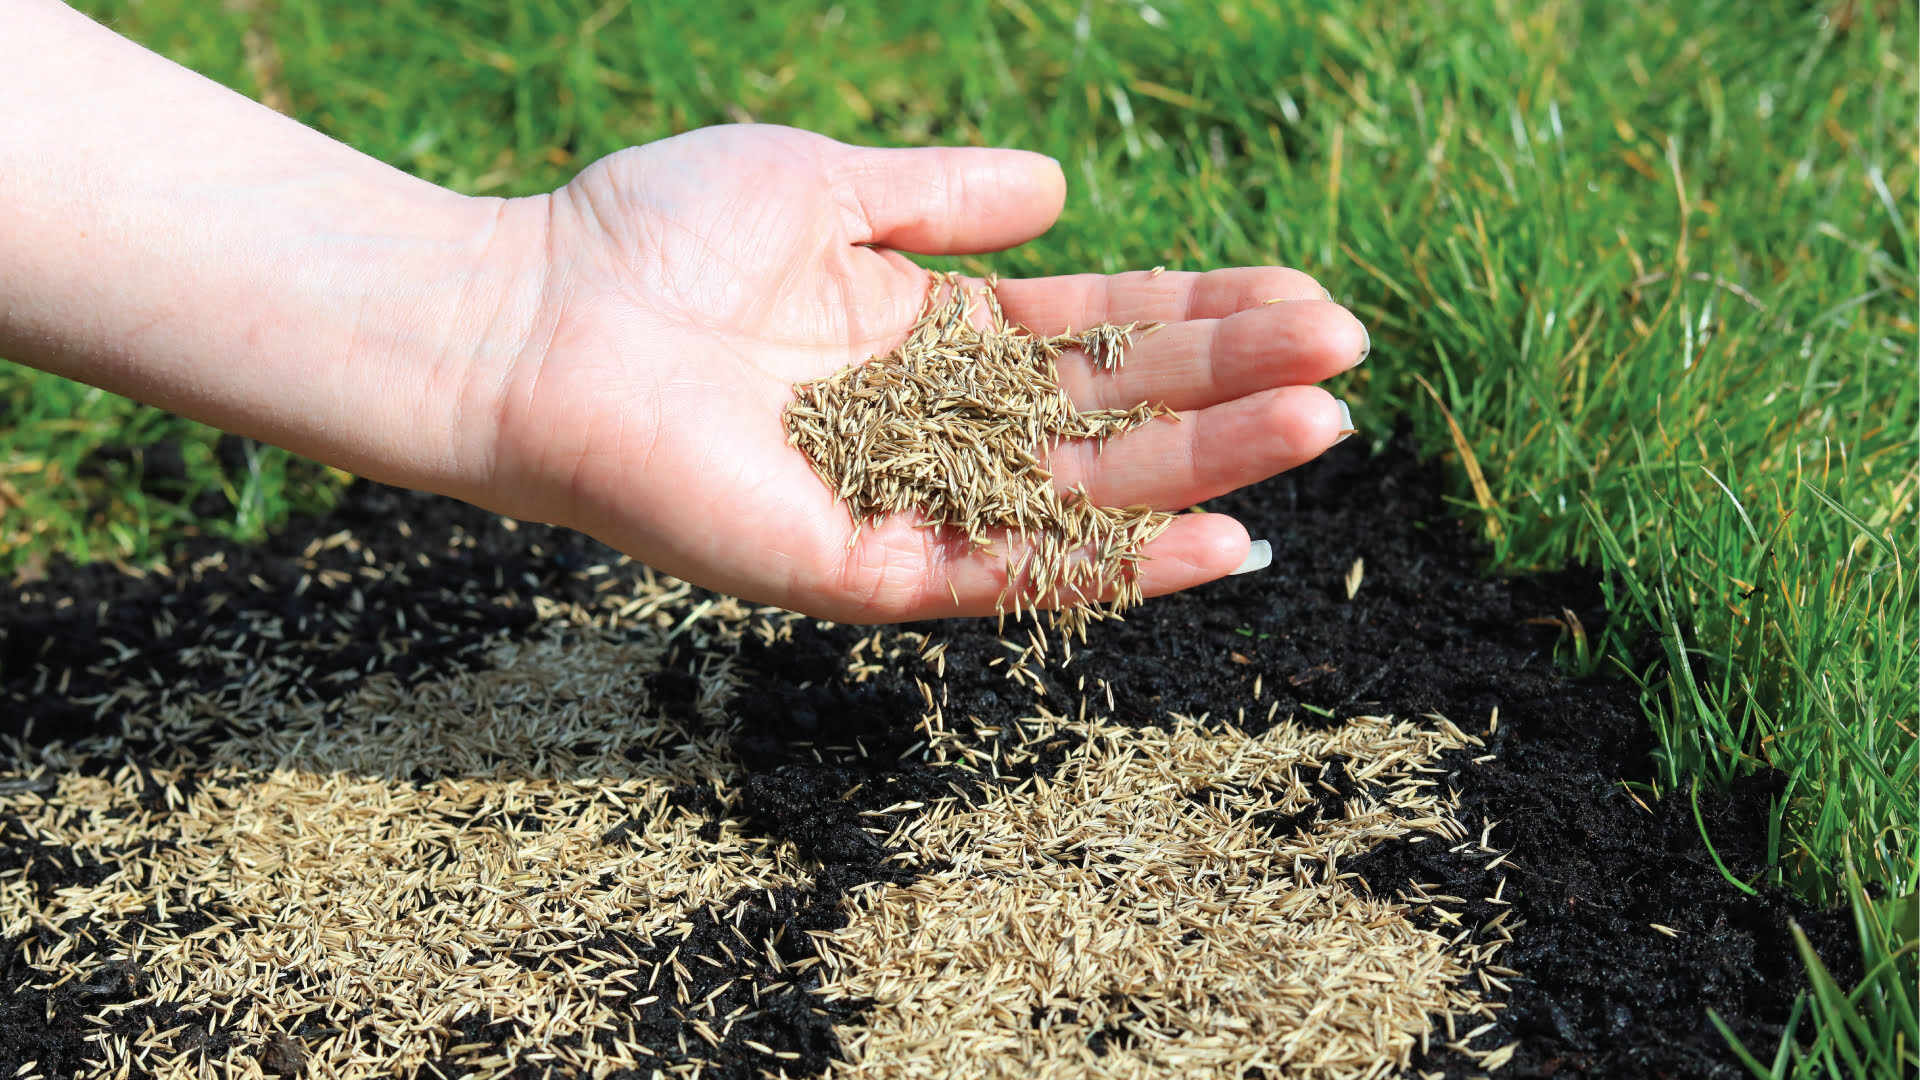
Step 2: Choosing the Right Seed
Choosing the right seed is a critical step in slice seeding a lawn. The type of seed you select will depend on various factors, such as your climate, soil type, and desired lawn appearance.
Start by considering the climate in your region. Different grass species thrive in different environments. Cool-season grasses, such as Kentucky bluegrass and perennial ryegrass, are ideal for regions with cold winters and moderate summers. Warm-season grasses, such as Bermuda grass or Zoysia grass, are better suited for regions with hot summers and mild winters.
Take into account the amount of sunlight your lawn receives. Some grass species require full sun, while others can tolerate shade. If your lawn is shaded for a significant portion of the day, consider shade-tolerant grass varieties like fine fescues or St. Augustine grass. For areas with ample sunlight, choose sun-loving grasses such as tall fescue or Bahiagrass.
Additionally, assess your soil type. Different grasses have different soil preferences. For sandy soils that drain quickly, choose grasses like Bermudagrass or Centipede grass. If you have heavy clay soil that retains moisture, opt for grasses such as Kentucky bluegrass or Zoysia grass, which can tolerate these conditions.
Consider the desired appearance and functionality of your lawn. Some grasses offer a lush, manicured look, while others are more hardy and durable. Kentucky bluegrass, for example, is known for its dense and luxurious appearance, making it ideal for front yards. On the other hand, fescue or Buffalo grass are more resilient and suitable for high-traffic areas.
It’s also worth considering any specific challenges your lawn may face. If you have pets that frequently play on the lawn, look for grasses that are tolerant of pet traffic and can recover quickly from any damage. If your area experiences drought conditions, select drought-tolerant grass varieties that require less water to thrive.
Once you have a clear understanding of your climate, sunlight exposure, soil type, and preferences, you can consult with a local garden center or a turf specialist to identify the best seed blend or specific grass variety for your needs.
Now that you’ve chosen the right seed, it’s time to move onto the next step: calculating the seed amount.
Step 3: Calculating the Seed Amount
Accurately calculating the seed amount is crucial for achieving optimal coverage and density in your newly slice seeded lawn. The right seed amount ensures that you have enough seeds to fill in any bare spots and promote even growth.
Start by measuring the area of your lawn that requires slice seeding. If you have a rectangular or square-shaped lawn, measure the length and width and multiply them together to get the square footage. For irregularly shaped lawns, break down the area into smaller sections and measure each section individually.
Next, determine the recommended seeding rate for the type of grass seed you’ve selected. This information can usually be found on the seed packet or obtained from the supplier. The seeding rate is typically given in pounds per 1,000 square feet.
To calculate the seed amount, use the following formula:
Seed amount (in pounds) = Seeding rate (in pounds per 1,000 square feet) x (Lawn area in square feet / 1,000)
For example, if the recommended seeding rate is 5 pounds per 1,000 square feet and your lawn area is 2,500 square feet, the calculation would be as follows:
Seed amount = 5 pounds per 1,000 square feet x (2,500 square feet / 1,000) = 12.5 pounds of seed
It’s important to note that different grass species and seed blends may have varying seeding rates. Be sure to check the specific recommendations for your chosen seed to ensure accurate calculations.
Once you have determined the seed amount, it’s a good idea to purchase slightly more than you calculated. This allows for any potential loss during the seeding process, ensuring that you have enough seed to achieve the desired coverage.
With the seed amount calculated, you’re now ready to move on to the next step: clearing the area for slice seeding.
Step 4: Clearing the Area
Before you start the slice seeding process, it’s important to clear the area of any obstacles that could hinder the successful growth of your new lawn. This step ensures that the seed can make direct contact with the soil and have ample space to germinate and develop.
Begin by removing any existing vegetation, such as weeds or grass. This can be done by hand pulling, using a garden hoe, or applying an appropriate herbicide to eradicate unwanted plants. Ensure that you follow the product instructions and take necessary safety precautions when using herbicides.
If you have stubborn or invasive weeds, it may be necessary to physically remove them by digging them out or using a weed eater or weed trimmer. Make sure to remove the entire weed, including the roots, to prevent regrowth.
In addition to removing vegetation, it’s important to clear the area of any debris, rocks, or large clumps of soil. These items can interfere with the slice seeding process and prevent the seed from establishing contact with the soil. Use a rake or a leaf blower to gather and remove any debris and rocks, creating a clean and even surface.
Take note of any low spots or uneven areas in the soil. It’s important to level the ground before slice seeding to ensure that the seed is distributed evenly and has equal access to nutrients and moisture. Use a lawn roller or a garden leveling tool to smooth out any bumps and depressions. This will help establish a uniform and level surface for the seed to be applied.
Once the area is cleared and leveled, it’s time to move on to the next step: spreading the seed. Carefully follow the seeding instructions and ensure that the seed is applied evenly throughout the lawn area.
By taking the time to properly clear the area, you’re setting the stage for a successful slice seeding process and giving your new lawn the best chance to flourish.
When slicing seed a lawn, make sure to mow the existing grass short, loosen the soil, spread the seeds evenly, and water the area regularly to keep the soil moist for germination.
Read more: How To Seed Lawn Patches
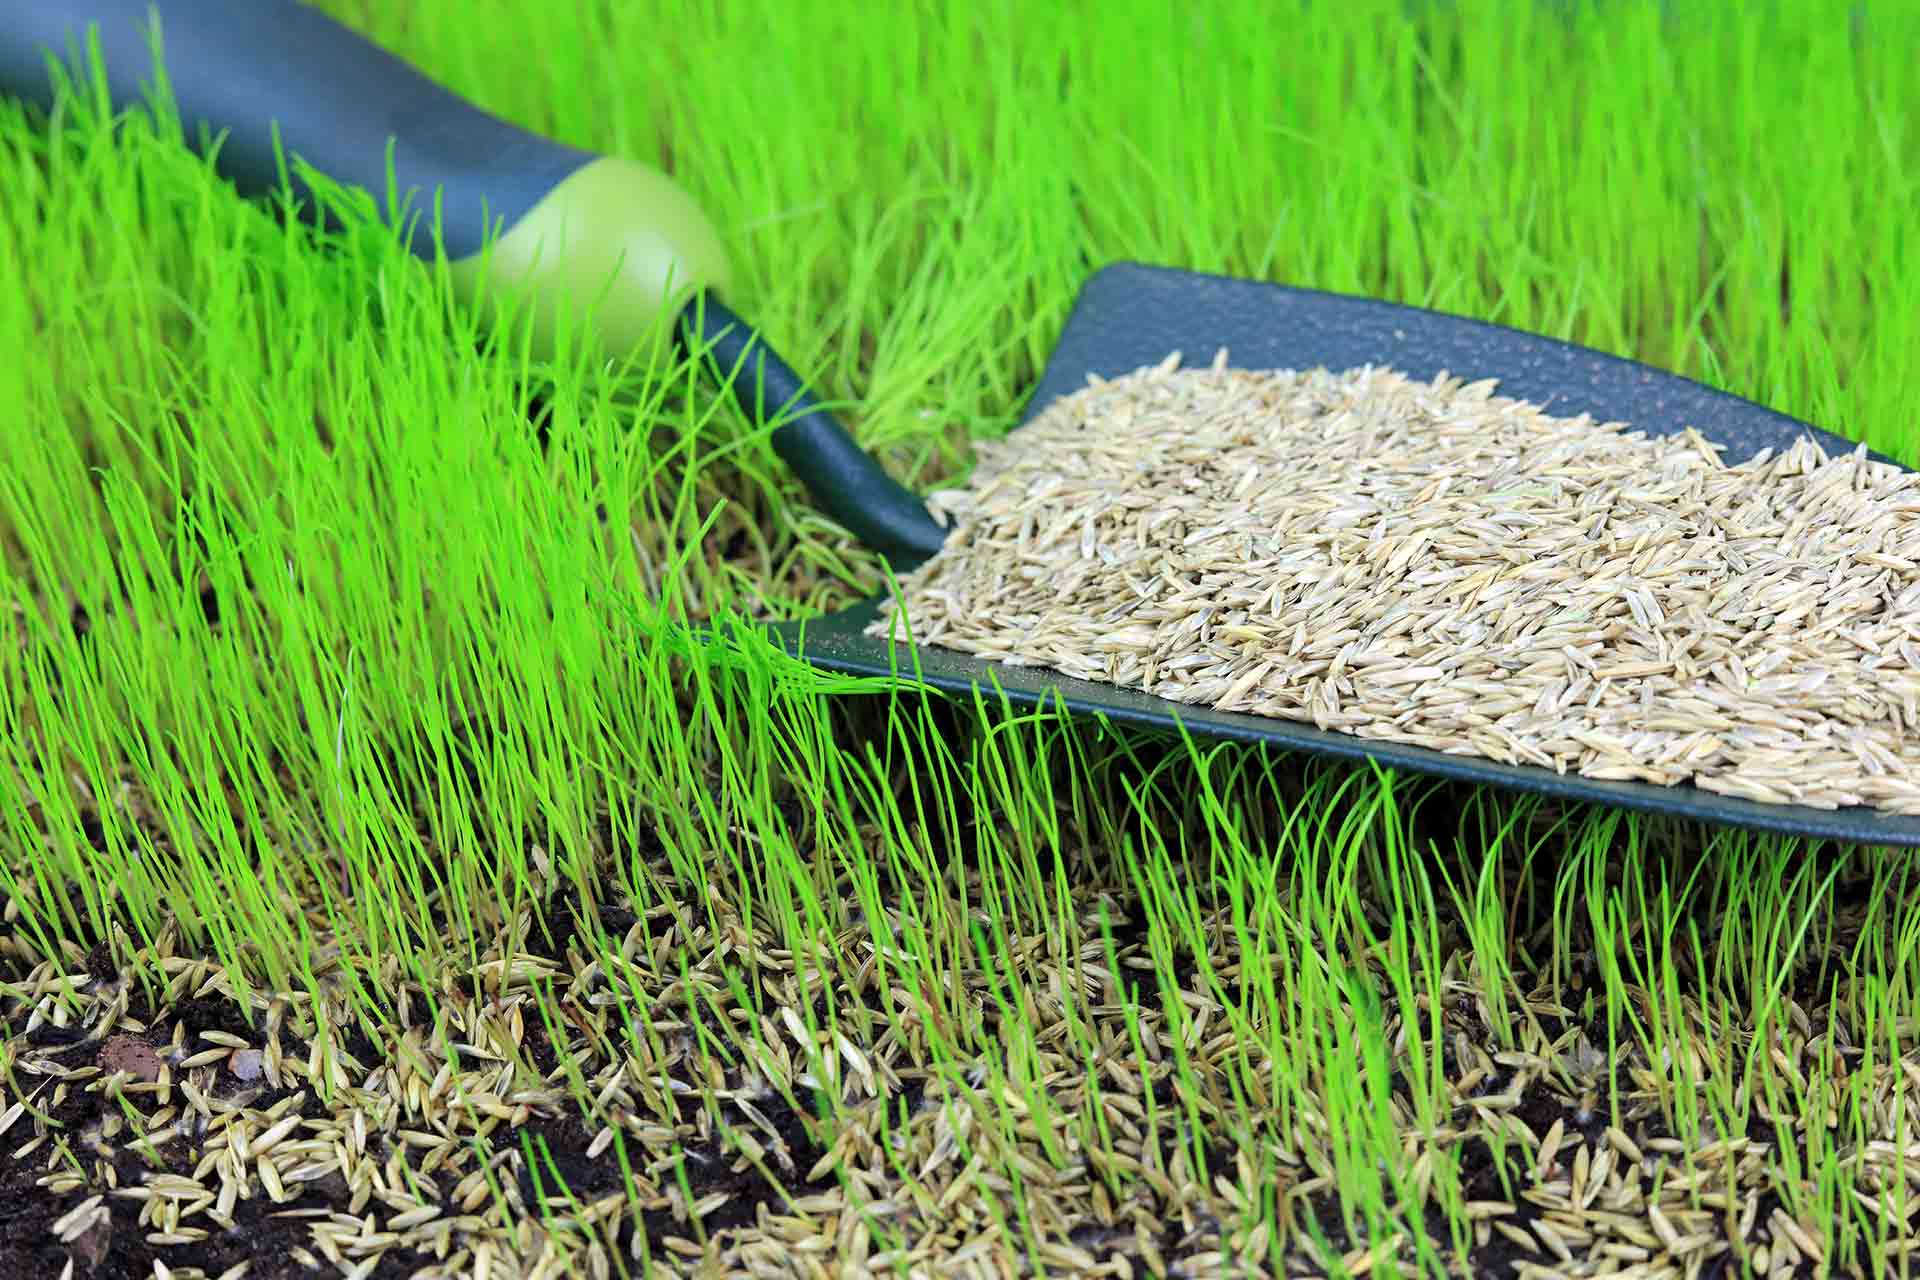
Step 5: Spreading the Seed
Now that the area is cleared and prepared, it’s time to spread the seed. Properly distributing the seed ensures even coverage and promotes healthy germination and growth.
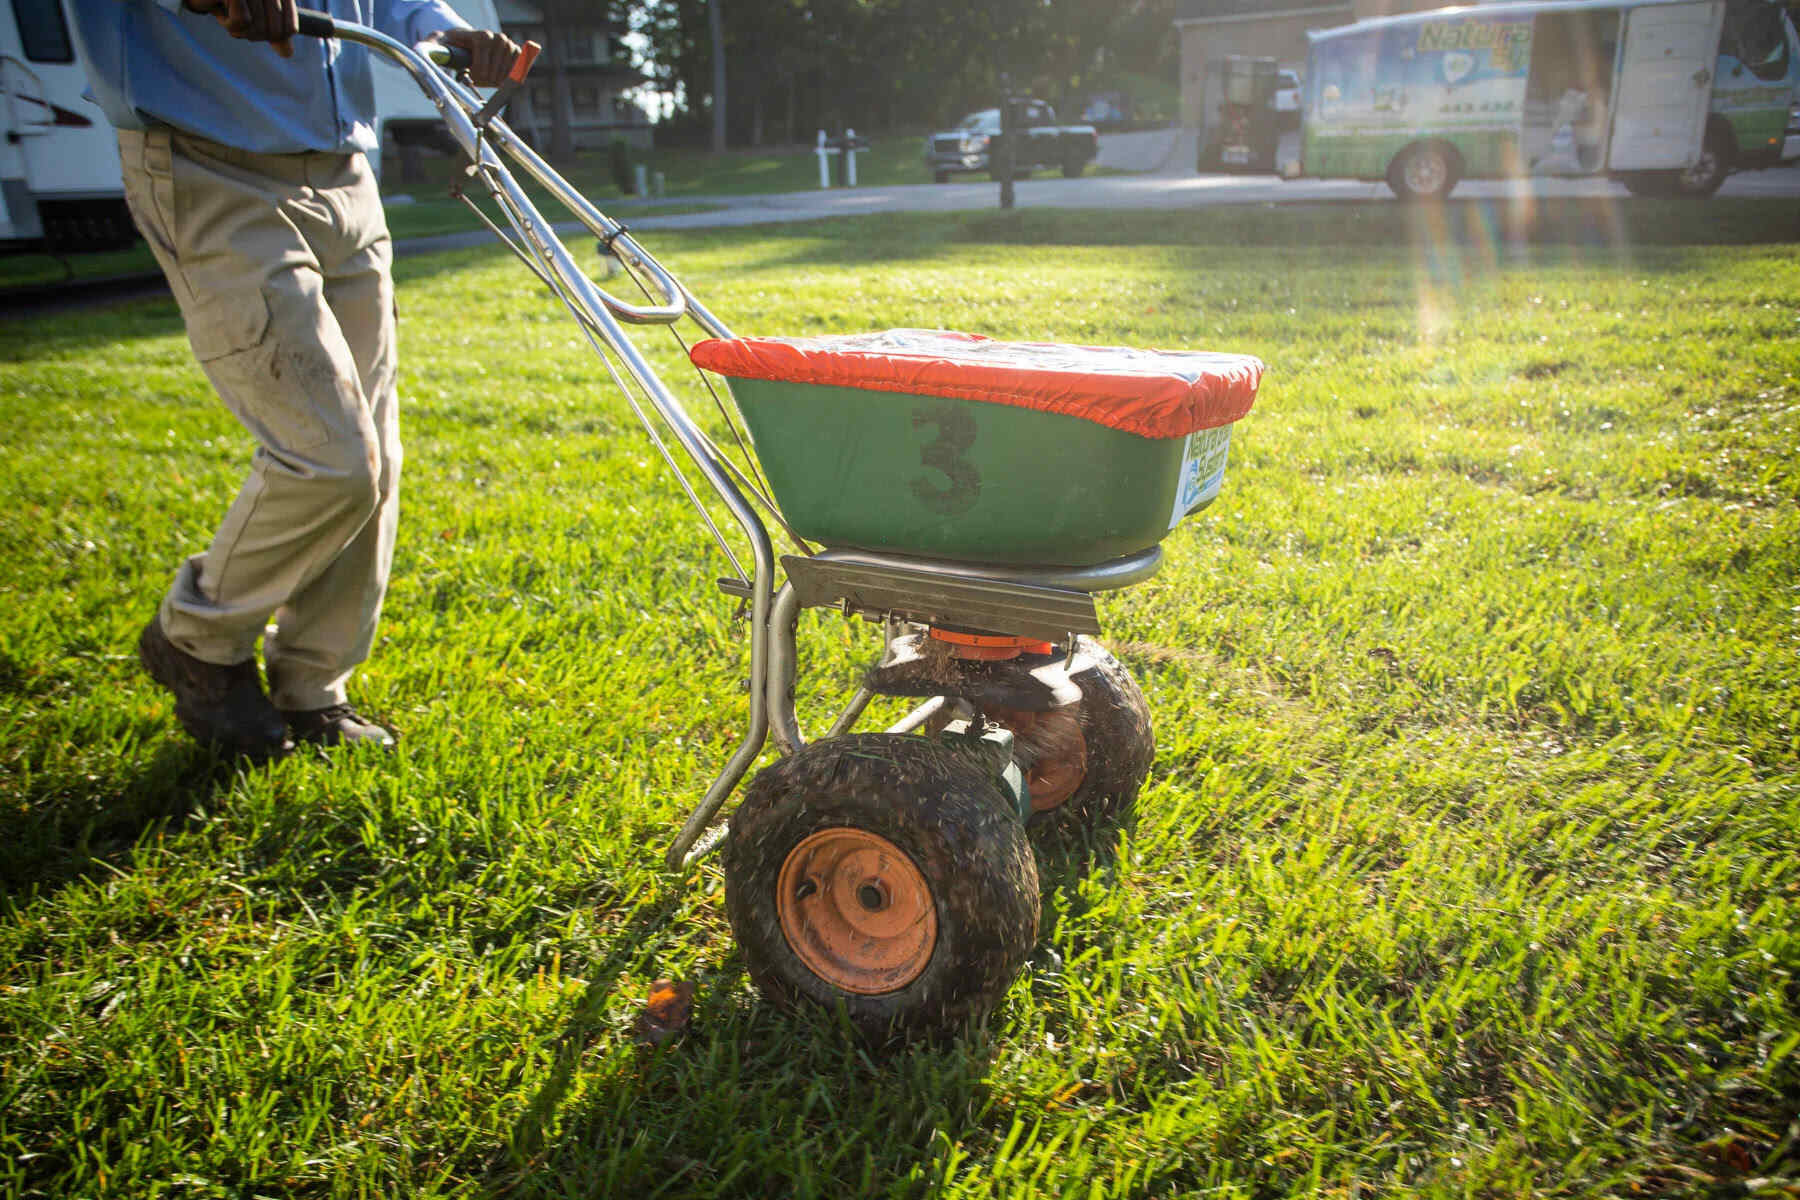
Start by selecting a spreader appropriate for your yard size and seed type. There are two main types of spreaders: broadcast spreaders and drop spreaders. Broadcast spreaders are ideal for larger areas, as they distribute the seed in a wide, even pattern. Drop spreaders are better suited for smaller areas, as they release the seeds through a series of openings directly below the spreader.
Before filling the spreader, read the instructions provided by the manufacturer. This will help you understand the recommended seed flow settings and ensure accurate application.
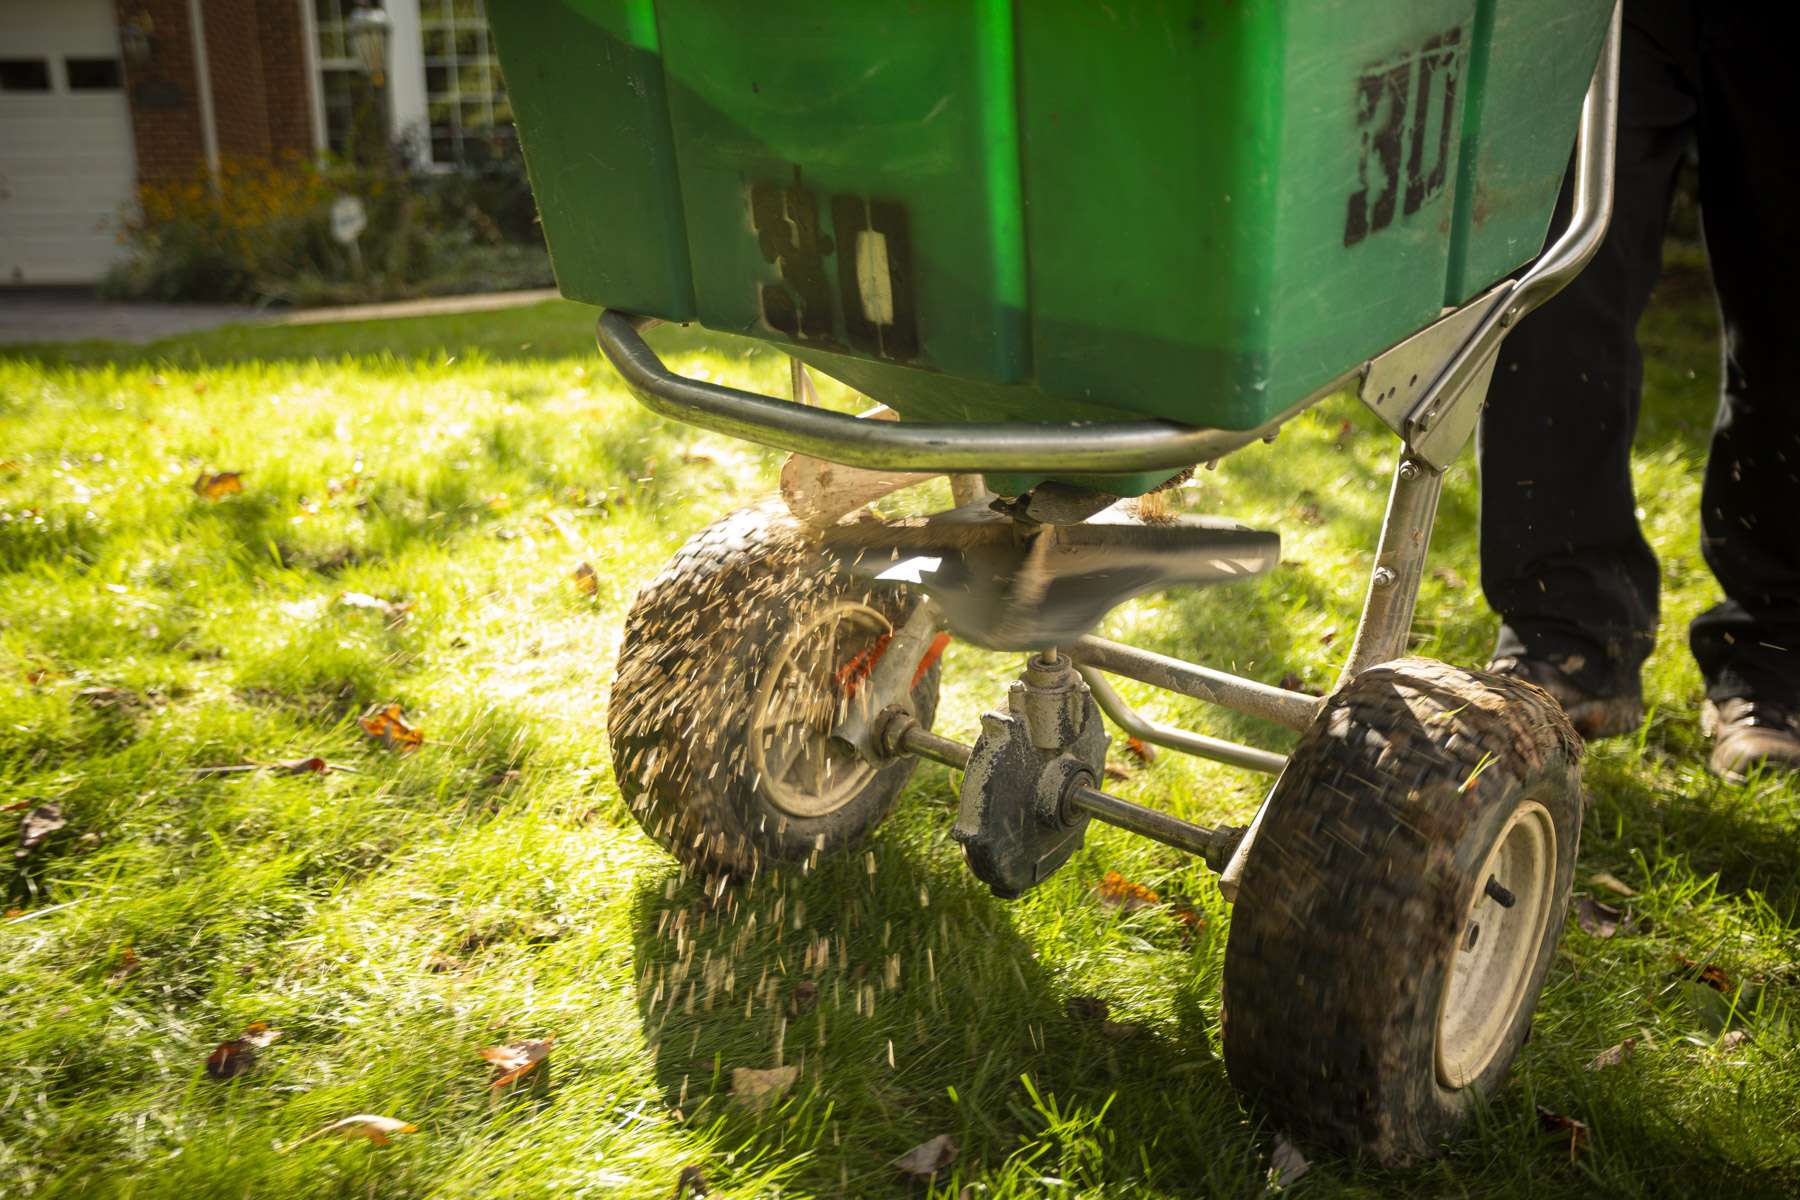
Pour the seed into the spreader’s hopper and adjust the settings according to the recommended seeding rate. It’s a good idea to divide the seed into smaller portions and make multiple passes over the lawn to achieve thorough coverage.
Begin by walking along the edge of the lawn, keeping the spreader at a consistent speed and height. Move in a systematic pattern, overlapping each pass slightly to prevent any gaps in coverage. Pay extra attention to areas that are more prone to bare spots or thinning grass.
Keep an eye on the seed as you spread it. Look for a uniform distribution and adjust the spreader’s settings if needed. Be cautious not to over-apply the seed, as this can lead to overcrowding or uneven growth.
After you have finished spreading the seed, lightly rake the area with a garden rake. This helps to ensure that the seed makes good contact with the soil, improving germination rates.
Once the seed is spread and raked, it’s time to move on to the next step: watering and maintenance. Proper watering is crucial for the successful germination and establishment of your new lawn.
By following these steps and taking care during the seed spreading process, you’re setting the foundation for a thriving and beautiful lawn.
Step 6: Watering and Maintenance
After spreading the seed, proper watering and maintenance are essential to ensure successful germination and establishment of your newly slice seeded lawn. Adequate water and care will promote healthy growth and help your lawn thrive.
Watering is crucial in the early stages of seed germination. For the first few weeks after seeding, keep the soil consistently moist but not saturated. Watering lightly multiple times a day, or using a misting sprinkler, can help prevent runoff and ensure the seed remains in place.
As the grass begins to sprout and establish roots, you can gradually reduce the frequency of watering and increase the amount of water applied each time. Aim to provide about 1 inch of water per week, either through rainfall or irrigation. Deep, infrequent watering encourages deeper root growth and promotes a healthier, more drought-resistant lawn.
Monitor the soil moisture regularly by checking the top inch of soil. If it feels dry, it’s time to water. Be mindful of any water restrictions in your area and adjust your watering schedule accordingly.
In addition to proper watering, regular mowing is important for maintaining your new lawn. Wait until the grass has reached a height of about 3 to 4 inches before the first mowing. Set your mower to a height of about 2 to 3 inches, as cutting too short can stress the grass and hinder its growth.
Regular mowing not only keeps the lawn looking neat and well-maintained but also helps the grass develop a strong root system. Aim to remove no more than one-third of the grass blade length at each mowing session to avoid causing stress or scalping the lawn.
Fertilizing is another crucial aspect of lawn maintenance. Once the grass has established itself and is actively growing, typically about 4 to 6 weeks after seeding, apply a slow-release or balanced fertilizer according to the manufacturer’s instructions. This will provide essential nutrients for the grass to grow strong and healthy.
Keep an eye out for any weeds that may appear in your newly seeded lawn. Hand pull any weeds or use appropriate herbicides that are safe for newly seeded lawns. Be cautious not to apply herbicides too soon after seeding, as it may harm the grass as well.
Regular monitoring and maintenance, including watering, mowing, fertilizing, and weed control, will ensure that your newly slice seeded lawn continues to thrive and develop into a lush and healthy green space.
Step 7: Post-Seeding Care
After completing the slice seeding process and implementing proper watering and maintenance, there are a few additional post-seeding care steps to follow to further support the growth and health of your new lawn.
First, avoid heavy foot traffic on the newly seeded lawn for at least 6 to 8 weeks. This allows the grass time to establish deep roots and avoid damage that could hinder its growth. Place temporary barriers, such as stakes or ropes, around the seeded area to prevent accidental foot traffic.
Next, continue monitoring the soil moisture and adjust your watering schedule accordingly. As the grass begins to establish and grow, you can gradually reduce the frequency of watering while increasing the amount of water applied each time. Remember to water deeply to encourage deep root growth.
For the first few mowings, be sure to use a sharp blade and mow at a height that removes no more than one-third of the grass blade length. This promotes even growth and minimizes stress on the young grass. Avoid mowing when the grass is wet to prevent clumping and damage to the seedlings.
Keep an eye out for any signs of disease or pests. Early detection and proper treatment can prevent damage to your newly seeded lawn. Consult with a local garden center or lawn care professional if you notice any issues that require attention.
If you encounter any bare spots or thinning areas in your lawn, consider overseeding those areas to promote uniform growth and density. Choose a grass seed that matches the existing lawn and follow the same process of preparation, seeding, and maintenance for those patches.
Finally, be patient with the growth and development of your newly seeded lawn. It takes time for the grass to establish and fill in the area. As long as you continue to provide proper care, you will see gradual improvement and growth over time.
By following these post-seeding care steps, you are giving your lawn the best chance to flourish and establish itself for a vibrant and healthy landscape.
Conclusion
Congratulations! You’ve reached the end of our comprehensive guide on how to slice seed a lawn. By following the steps outlined in this article, you have gained the knowledge and understanding needed to successfully transform your lawn into a lush and vibrant oasis.
We began by emphasizing the importance of preparing the soil properly, ensuring optimal conditions for seed germination and root development. We discussed the significance of choosing the right seed for your specific climate, soil type, and desired lawn appearance. Calculating the seed amount accurately is crucial for achieving proper coverage and density across your lawn.
We then moved on to clearing the area and creating a clean and even surface for slice seeding. Spreading the seed evenly and raking it lightly ensures good seed-to-soil contact and promotes successful germination. Proper watering and maintenance, including regular mowing, fertilizing, and weed control, are essential for the ongoing health and growth of your newly seeded lawn.
We concluded with post-seeding care, reminding you to be patient and allowing your lawn time to establish itself. Avoid heavy foot traffic, monitor soil moisture, and address any bare spots or thinning areas promptly.
Remember, creating and maintaining a beautiful lawn takes time and effort. With the right knowledge and consistent care, you can enjoy the rewards of a lush and healthy lawn that will be the envy of your neighbors.
Thank you for taking the time to read our guide. We hope it has provided you with valuable insights and useful tips for slice seeding your lawn. Now, go ahead and put your newfound knowledge into practice, and enjoy the transformation of your outdoor space!
Frequently Asked Questions about How To Slice Seed A Lawn
Was this page helpful?
At Storables.com, we guarantee accurate and reliable information. Our content, validated by Expert Board Contributors, is crafted following stringent Editorial Policies. We're committed to providing you with well-researched, expert-backed insights for all your informational needs.


0 thoughts on “How To Slice Seed A Lawn”