Home>Garden Essentials>How To Lay Astro Turf For Dogs On Dirt

Garden Essentials
How To Lay Astro Turf For Dogs On Dirt
Modified: August 16, 2024
Learn how to lay astro turf for dogs on dirt in your garden. Create a safe and durable play area for your furry friends with our step-by-step guide.
(Many of the links in this article redirect to a specific reviewed product. Your purchase of these products through affiliate links helps to generate commission for Storables.com, at no extra cost. Learn more)
Introduction
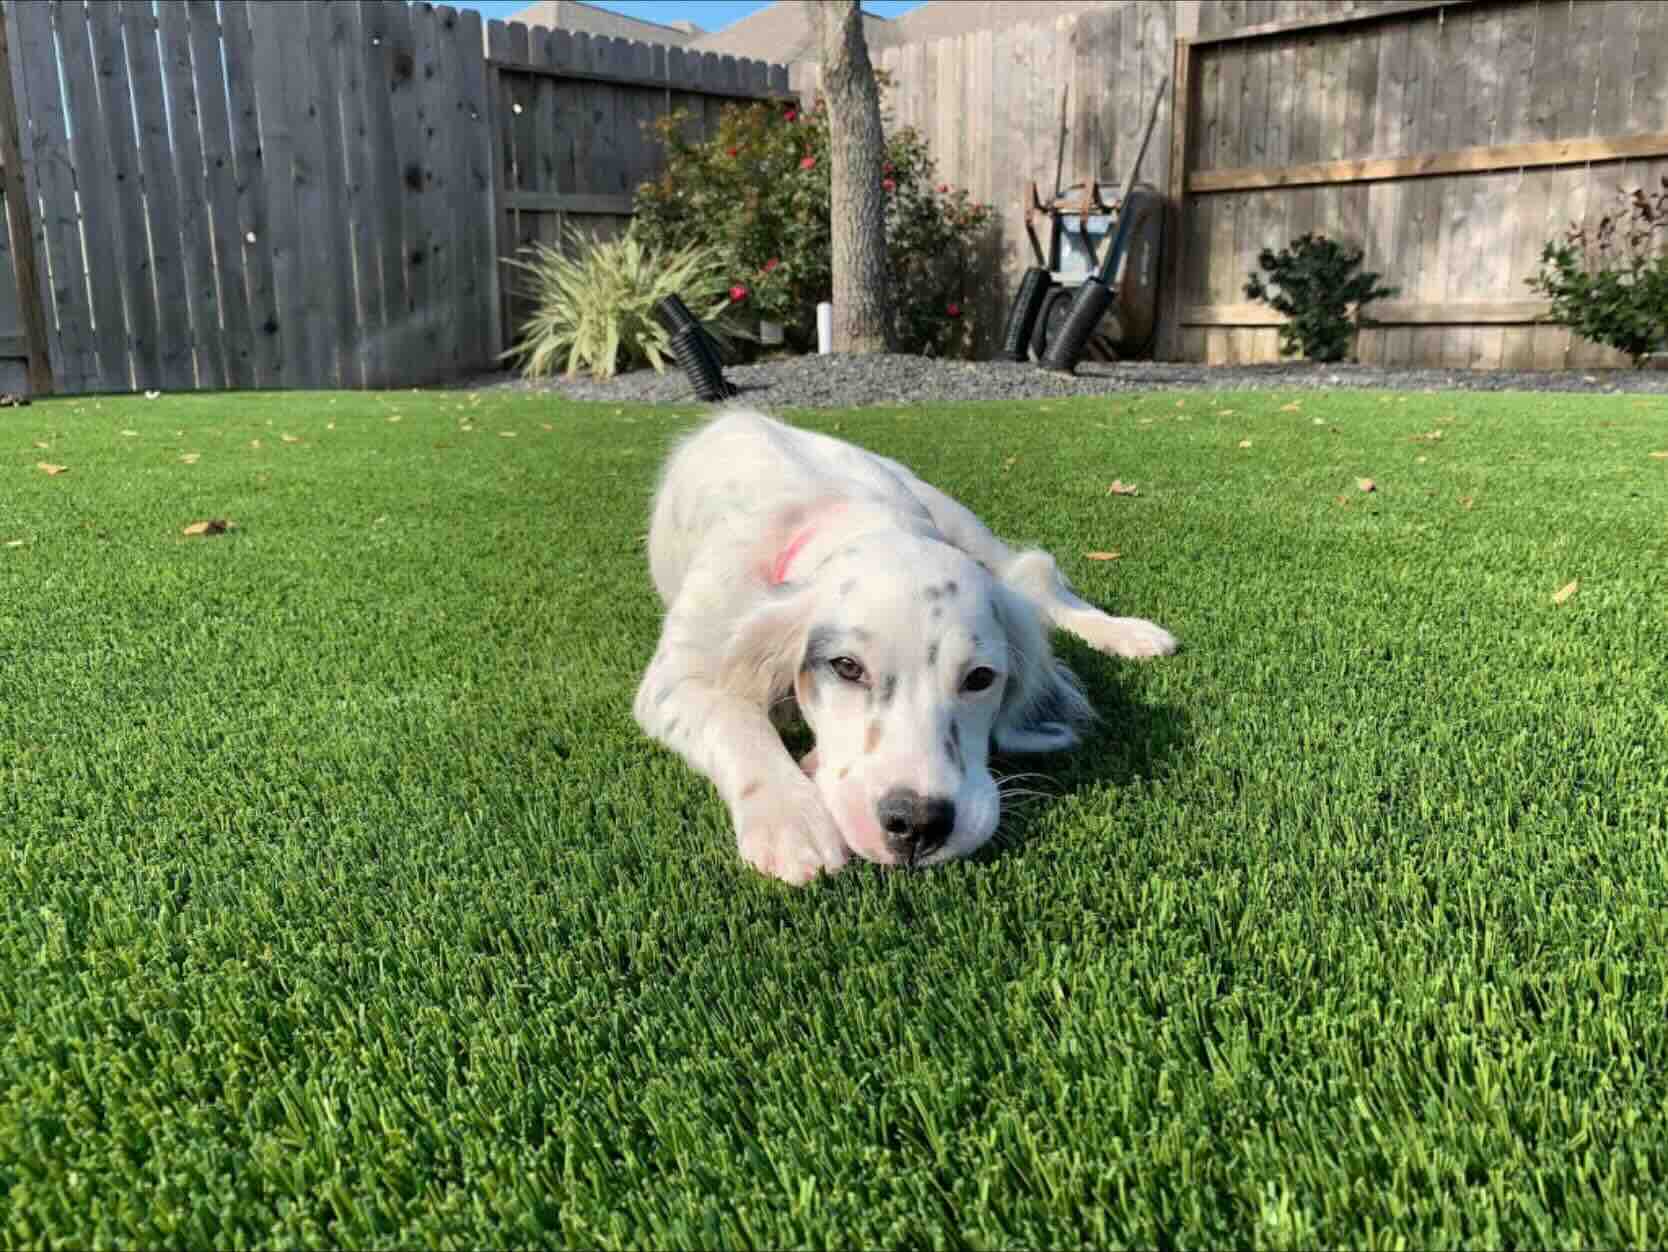
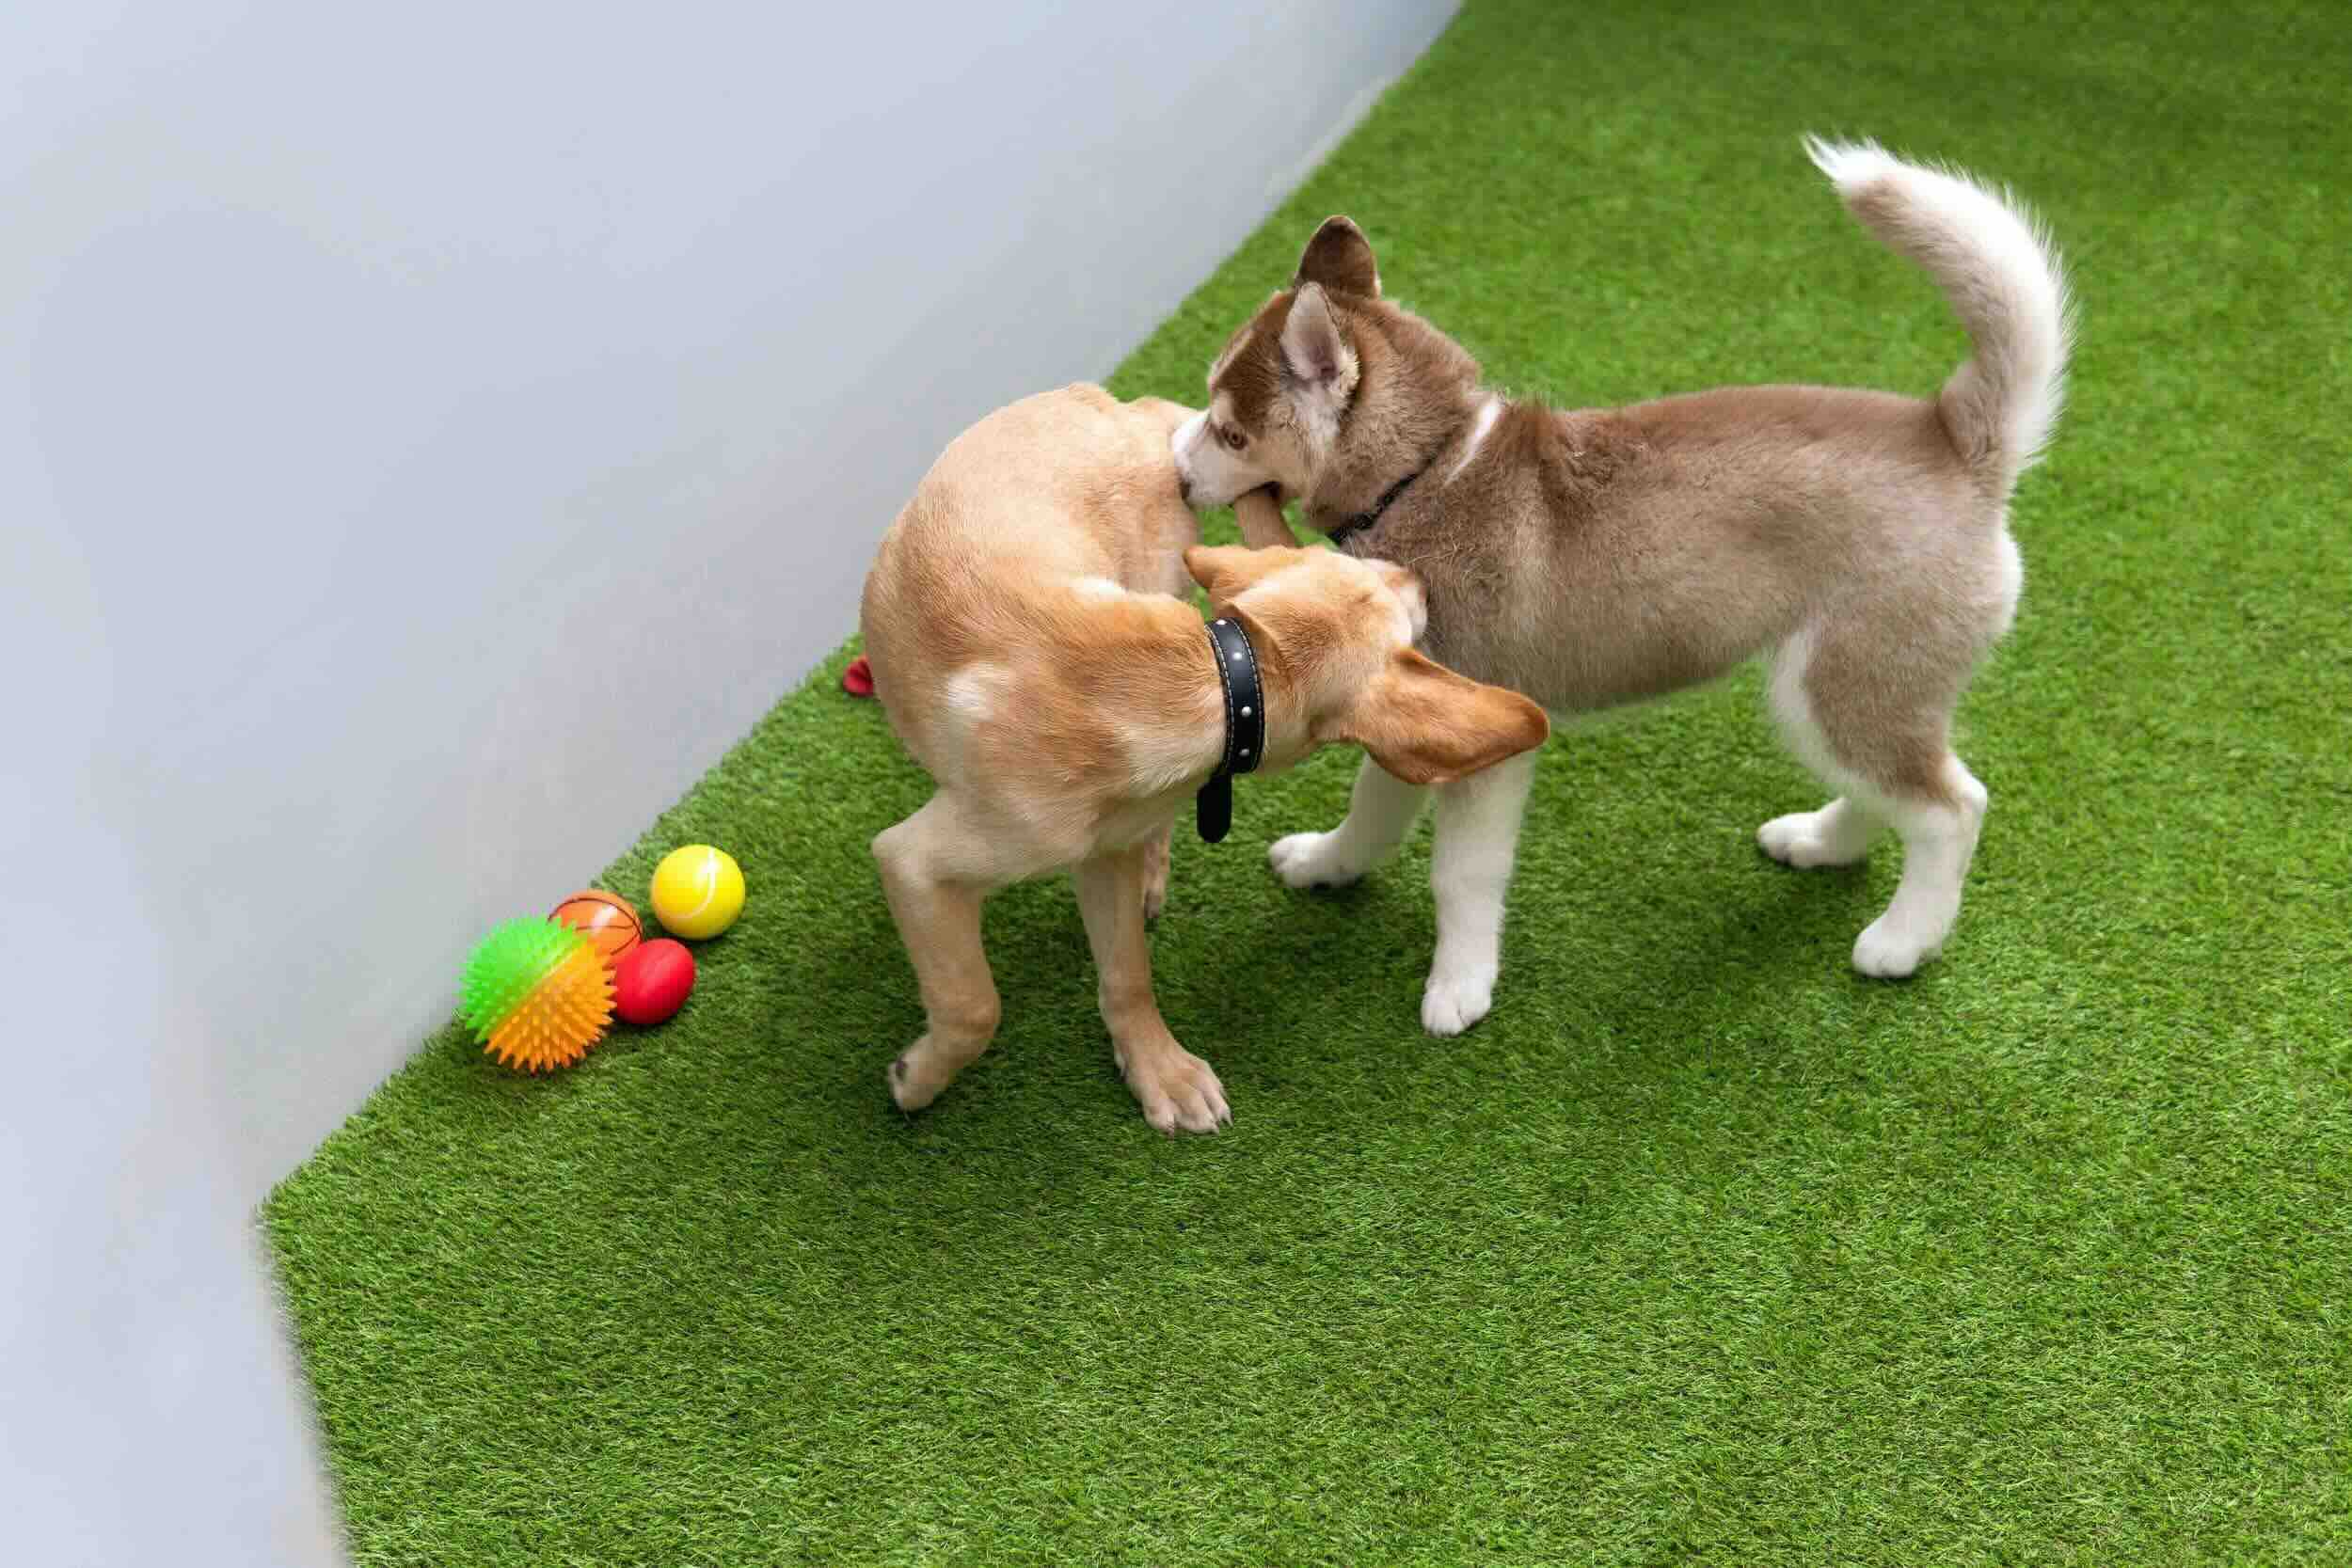
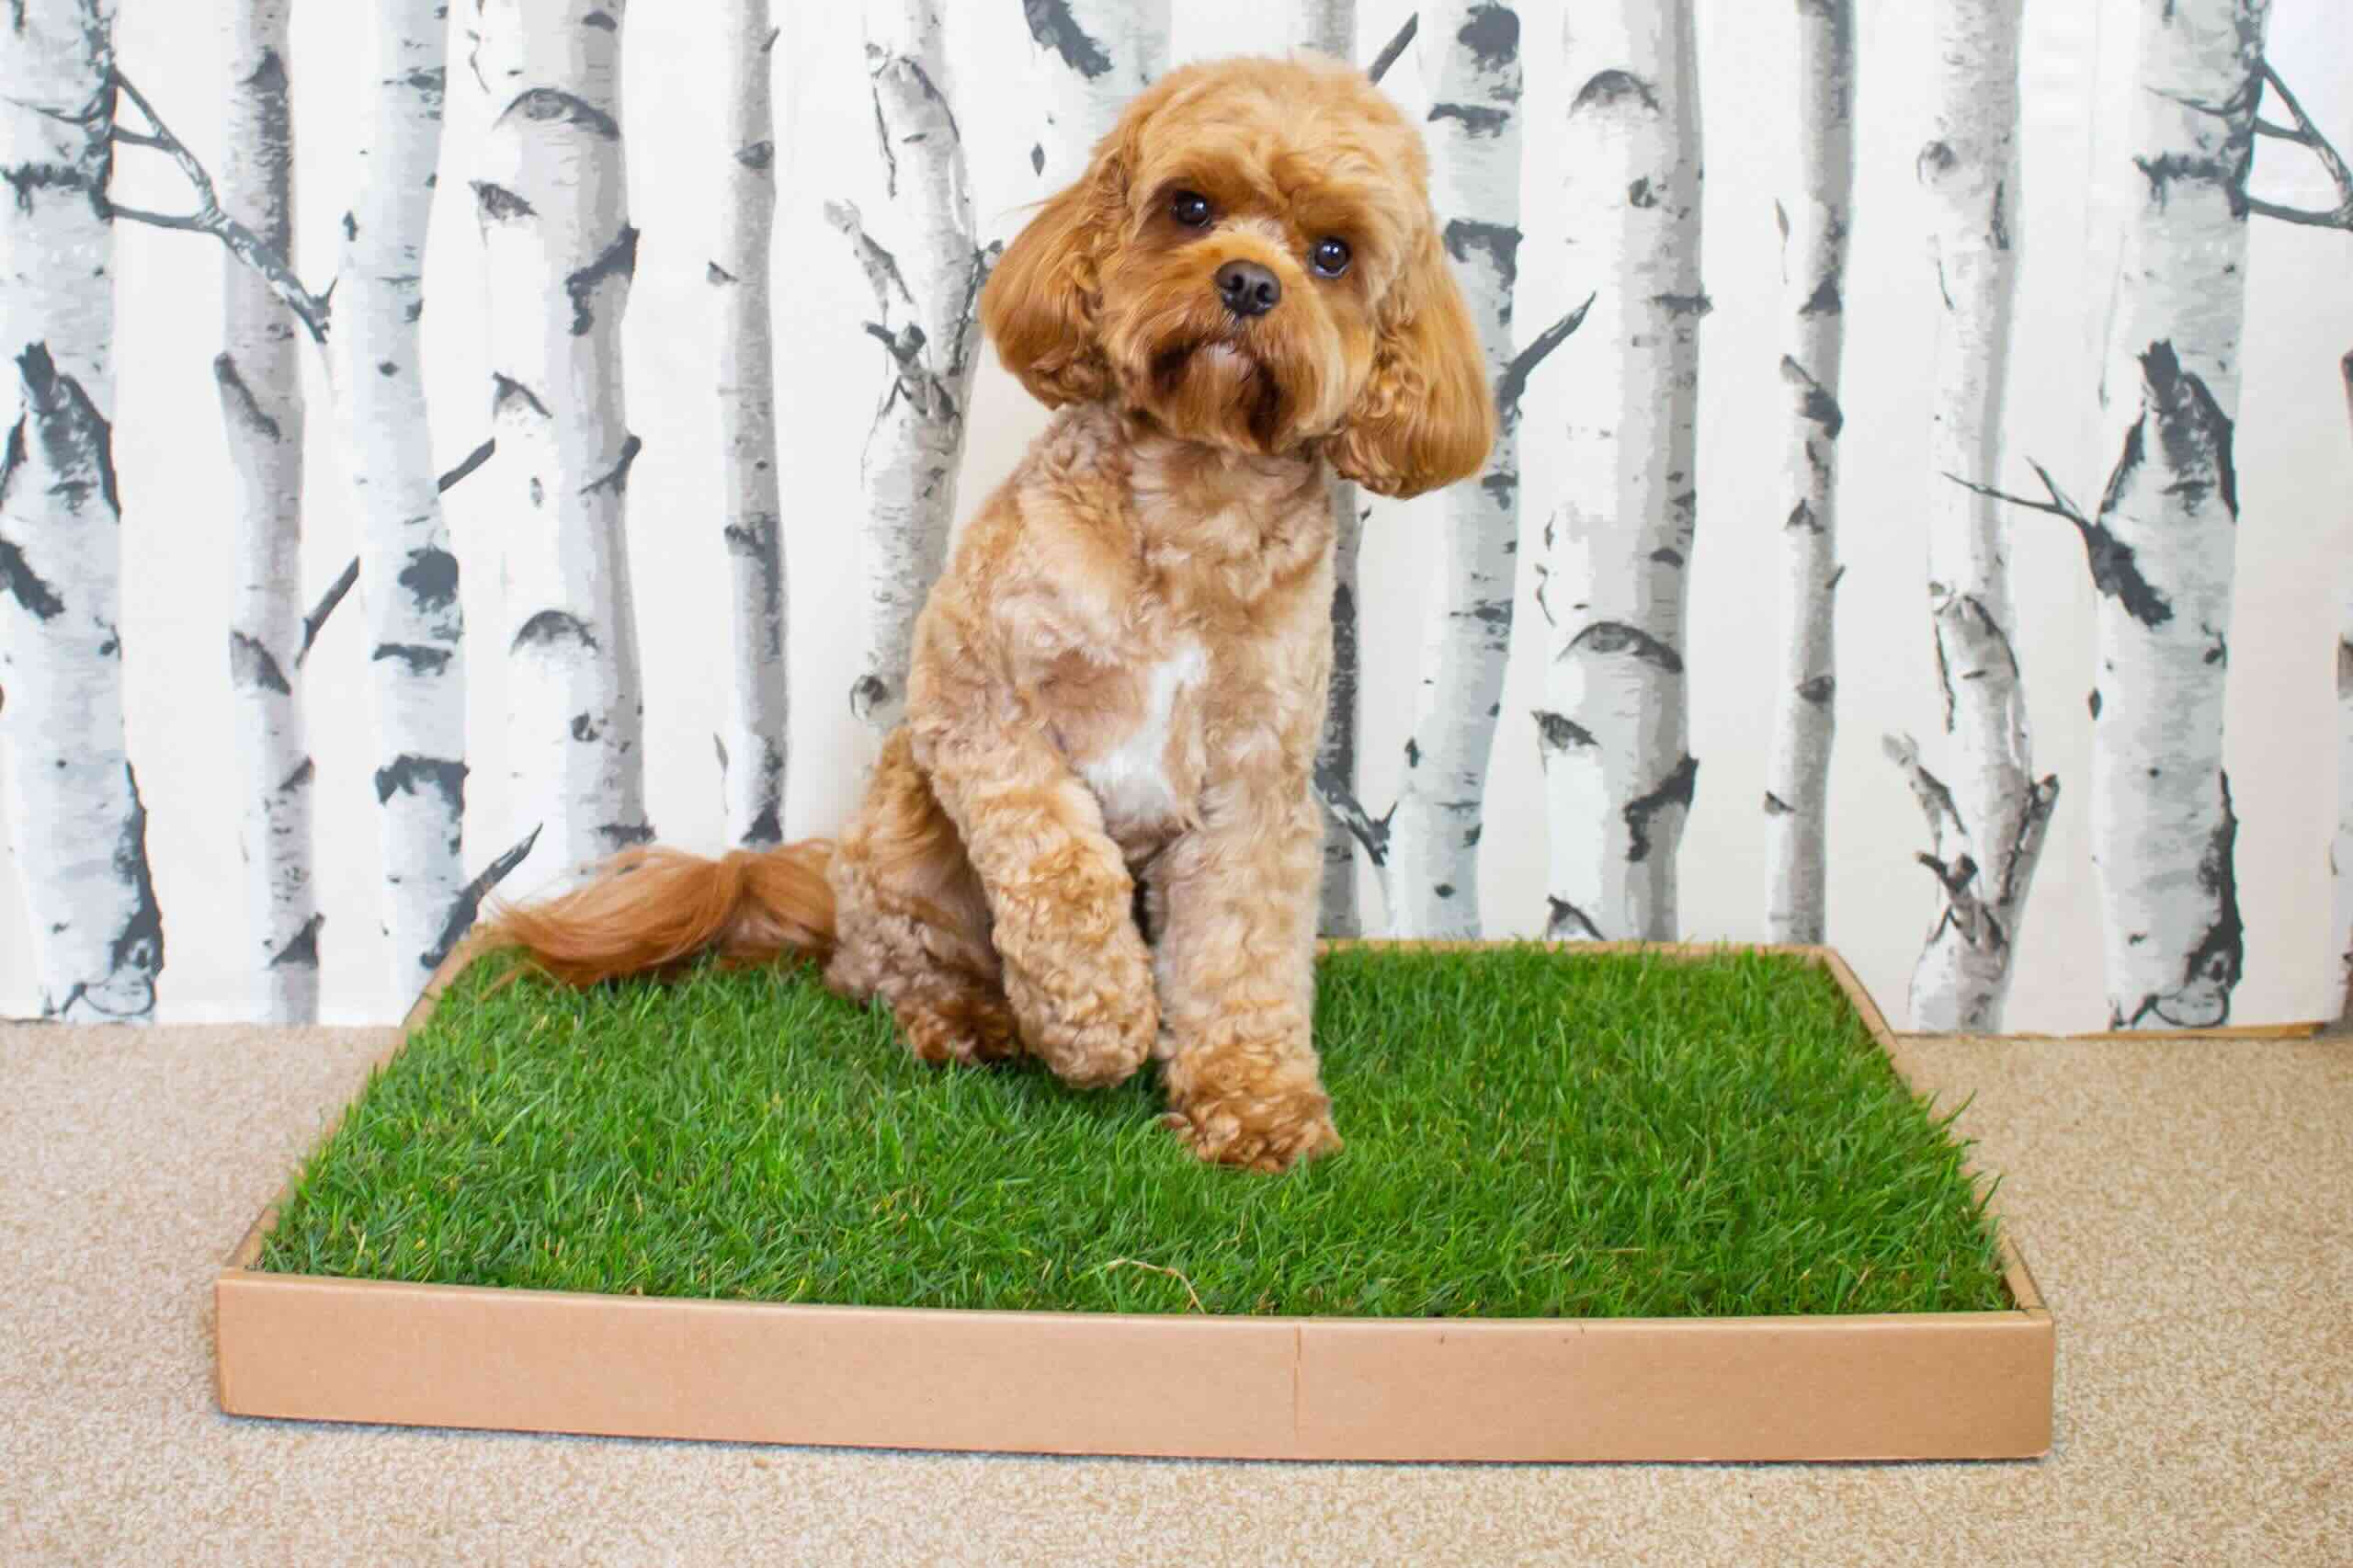
Welcome to our comprehensive guide on how to lay astro turf for dogs on dirt. If you have a furry friend that loves spending time outdoors, but you’re tired of dealing with muddy paws and patchy grass, astro turf can be the perfect solution. Whether you want to create a designated dog area in your backyard or upgrade your entire lawn, laying astro turf can provide a durable, low-maintenance, and pet-friendly alternative.
Astro turf, also known as synthetic grass or artificial turf, offers several advantages over natural grass. It requires minimal maintenance, doesn’t need to be watered or mowed, and can withstand heavy use and the wear and tear of playful dogs. Moreover, astro turf provides a clean and safe surface for your pets, as it eliminates dirt, mud, and the risk of digging holes.
In this guide, we will take you through a step-by-step process on how to lay astro turf for dogs on dirt. We will cover everything from preparing the area and installing a weed barrier to securely securing the turf and maintaining it for long-term use. So, let’s get started!
Key Takeaways:
- Laying astro turf for dogs on dirt involves preparing the area, leveling the surface, and securing the turf. Regular cleaning and maintenance are essential to keep the turf looking fresh and safe for pets.
- Infilling the astro turf provides additional support and cushioning, while proper compaction and securing ensure a long-lasting installation. With the right care, astro turf offers a low-maintenance and pet-friendly outdoor solution.
Read more: How To Install Astro Turf On Dirt
Step 1: Prepare the Area
Before you start laying astro turf for dogs, it’s important to properly prepare the area. Follow these steps to ensure a smooth and successful installation:
- Clear the area: Begin by removing any existing vegetation, rocks, or other debris from the designated area. Use a rake or shovel to clear the surface, ensuring there are no obstructions that may affect the installation process.
- Measure and mark: Measure the dimensions of the area where you want to lay the astro turf. Use marking spray or stakes and strings to outline the boundaries. This will help you ensure accurate installation and avoid any unnecessary trimming later on.
- Identify drainage points: Take note of any existing drainage points in the area, such as slopes or existing drains. Proper drainage is crucial to prevent water accumulation and maintain the longevity of the astro turf. Adjust the surface if needed to ensure proper water flow.
- Consider excavating: If your soil is compacted or uneven, consider excavating the area to create a level surface. Use a shovel or a small excavator to remove any excess soil, rocks, or debris. This will help create a stable and even base for the astro turf.
- Assess irrigation: If you have an existing irrigation system in the area, decide whether you want to remove or modify it. Astro turf doesn’t require watering, so you can save water and expenses by adjusting or eliminating the irrigation system.
By properly preparing the area, you will set the foundation for a successful astro turf installation. It will provide a level surface, optimal drainage, and eliminate any potential obstacles that could compromise the integrity of the turf. Once you have completed these steps, you can proceed to the next stage of the installation process.
Step 2: Remove Debris and Level the Surface
Once you have prepared the area, it’s time to remove any remaining debris and ensure that the surface is level. Follow these steps to achieve a smooth and even base for your astro turf:
- Remove any remaining debris: Inspect the area and remove any small rocks, sticks, or roots that may still be present on the surface. Use a rake or a garden blower to clear away any loose debris. This will help create a clean and obstacle-free environment for the astro turf.
- Inspect for dips and bumps: Carefully walk around the area and identify any uneven spots or bumps. These can be caused by settling soil or previous landscaping. Use a long, straight board or a level tool to check for any irregularities in the surface.
- Level the surface: If you come across any dips or bumps, you will need to level them out. Depending on the severity of the unevenness, you can either fill in the depressions with soil or use a leveling tool like a lawn roller. Make sure to compact the soil or use the roller evenly to create a flat and stable surface.
- Check for proper drainage: Ensure that the surface has proper drainage by observing any natural slopes or adjusting the area if needed. The goal is to prevent water from pooling on the turf, which can lead to issues in the long run.
Leveling the surface is crucial to achieve a professional-looking astro turf installation. It ensures that the turf will be smooth and comfortable for your dogs to walk and play on, without any potential tripping hazards. Once you have completed this step, you are ready to move on to the next stage of the installation process.
Step 3: Install a Weed Barrier
One important step in laying astro turf for dogs on dirt is to install a weed barrier. This will help prevent the growth of weeds and ensure that your astro turf remains weed-free. Follow these steps to install a weed barrier:
- Clean the surface: Before you begin installing the weed barrier, make sure the surface is free of any debris, such as rocks, sticks, or roots. Use a rake or a garden blower to clear away any loose materials.
- Measure and cut the weed barrier: Measure the dimensions of the area and cut the weed barrier accordingly. Make sure to leave enough extra material to cover the edges and overlap if needed. You can use a utility knife or a pair of scissors to cut the weed barrier to the desired size.
- Position the weed barrier: Lay the weed barrier on the prepared surface, making sure it covers the entire area. Smooth out any wrinkles or folds in the material to ensure a flat and even surface. If necessary, overlap multiple pieces of weed barrier and secure them together using landscape fabric pins or staples.
- Secure the weed barrier: To keep the weed barrier in place, use landscape fabric pins or staples to secure it to the ground. Place the pins or staples every few feet along the edges and in the center of the weed barrier. This will prevent it from shifting or lifting during the installation process.
- Cut holes for drainage: If there are existing drainage points in the area, such as slopes or drains, cut holes in the weed barrier to allow water to flow through. This will ensure proper drainage and prevent water buildup under the astro turf.
Installing a weed barrier is essential to prevent unwanted weeds from growing through the astro turf. It creates a barrier between the soil and the turf, ensuring a clean and low-maintenance surface for your dogs to enjoy. Once you have successfully installed the weed barrier, you can move on to the next step of the installation process.
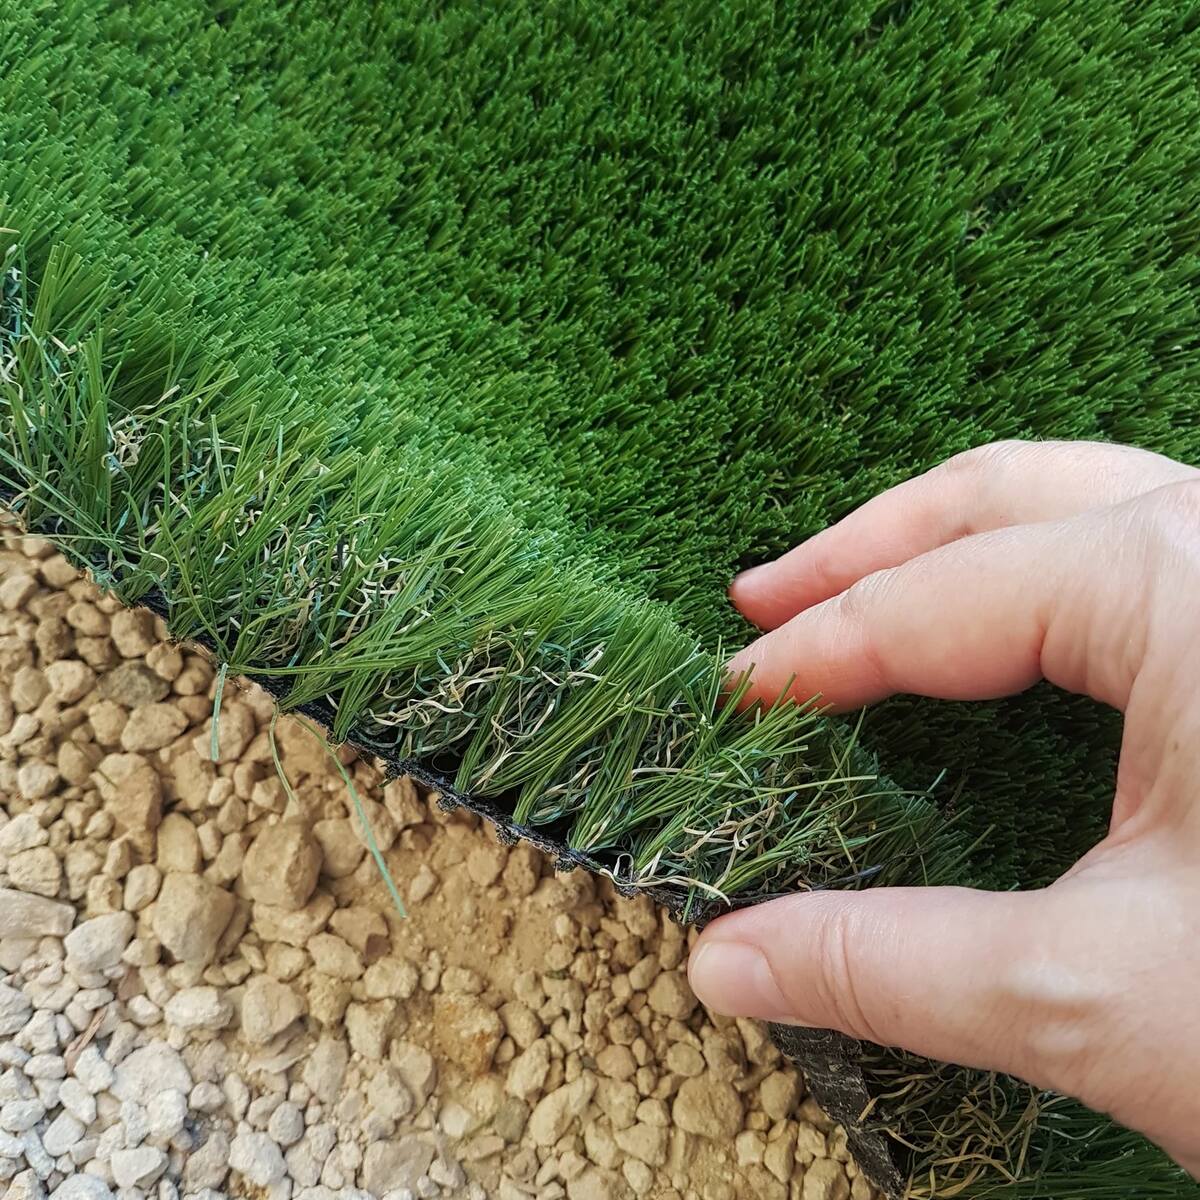
Step 4: Lay a Base Layer
After installing the weed barrier, the next step in laying astro turf for dogs on dirt is to lay a base layer. The base layer provides stability and helps with drainage. Follow these steps to lay a base layer:
- Select the appropriate base material: Choose a suitable base material for your astro turf installation, such as decomposed granite, crushed stone, or silica sand. Consult with a professional or the manufacturer’s recommendations to determine the best option for your specific project.
- Distribute the base material: Spread the selected base material evenly across the entire area. Use a shovel or a garden rake to distribute it to a uniform thickness. Aim for a base layer thickness of about 2 to 4 inches for optimal stability and drainage.
- Slightly moisten the base material: Lightly moisten the base material with water. This will help compact the material and create a solid foundation for the astro turf. However, be careful not to overwater, as excessive moisture can cause issues with drainage.
- Compact the base layer: Use a compactor or a hand tamper to compact the base layer evenly. Start at one corner and work your way across the entire area, applying even pressure. This will help ensure a firm and stable surface for the astro turf.
The base layer is an important component of the astro turf installation process. It provides a solid foundation for the turf, promotes proper drainage, and prevents the formation of uneven surfaces. Taking the time to lay a base layer will contribute to the longevity and performance of your astro turf. Once you have completed this step, you can proceed to the next stage of the installation process.
Read more: How To Lay Astro Turf On Concrete
Step 5: Compact the Base Layer
Once you have laid the base layer, the next step in laying astro turf for dogs on dirt is to compact the base layer. Compacting the base layer is crucial for creating a sturdy and even surface for the astro turf. Follow these steps to properly compact the base layer:
- Choose the right compaction equipment: Depending on the size of your project, you can use a plate compactor, a vibratory roller, or even a hand tamper. Determine the appropriate compaction equipment based on the size and scale of your installation.
- Start at one corner: Begin compacting the base layer in one corner of the area. This will help ensure uniform compaction throughout the entire surface. Move the compactor in a back-and-forth motion, overlapping each pass to achieve consistent compaction.
- Apply even pressure: Apply even pressure as you compact the base layer. Avoid exerting excessive force, as this can cause the material to become too dense and affect drainage. Aim for a firm, but not overly compacted, surface.
- Work in sections: Divide the area into manageable sections and compact each section individually. This will allow you to maintain control over the compaction process and ensure consistent results.
Compacting the base layer is essential for creating a stable and durable surface for the astro turf. It helps eliminate air pockets, settle the base material, and provide a solid foundation for the turf. Proper compaction will enhance the performance and longevity of your astro turf, ensuring a beautiful and functional space for your furry friends to enjoy. Once you have thoroughly compacted the base layer, you can proceed to the next step of the installation process.
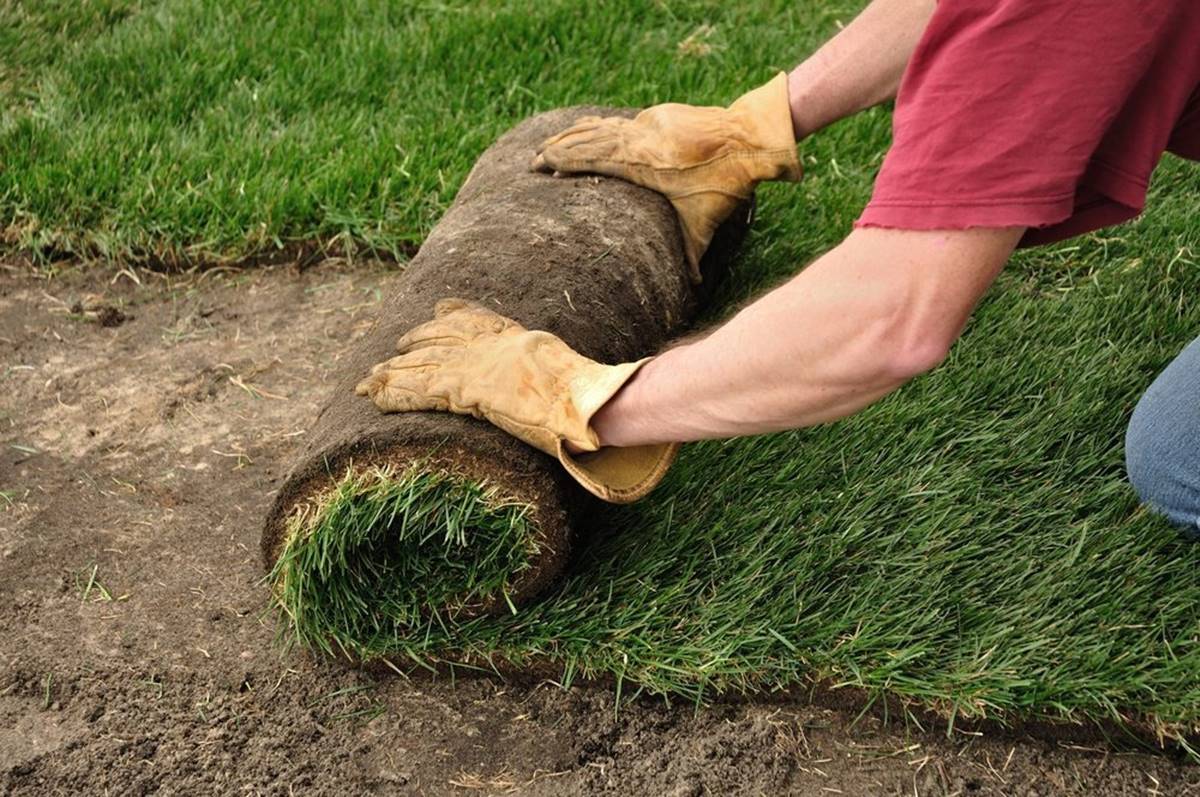
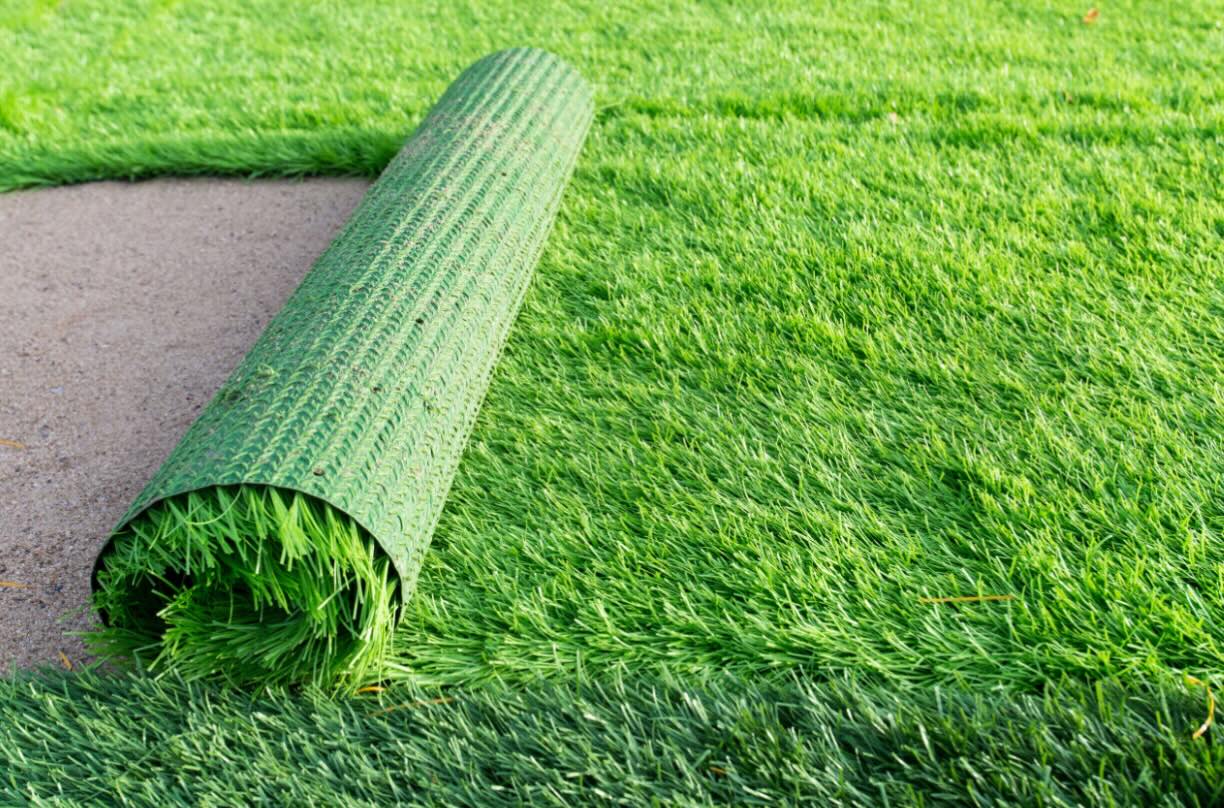
Step 6: Roll Out the Astro Turf
After prepping the base layer, it’s time to roll out the astro turf. This step brings your installation one step closer to completion. Follow these steps to properly roll out the astro turf:
- Measure and cut the astro turf: Measure the dimensions of the area where you will be laying astro turf. Roll out the turf on a flat surface and use a sharp utility knife to cut it to the appropriate size. Make sure to leave some extra material along the edges for trimming later on.
- Position the turf: Carefully position the rolled-out astro turf onto the prepared base layer. Make sure it covers the entire area without overlapping the edges. Take your time to align the edges and ensure a seamless fit.
- Smooth out any wrinkles: Smooth out any wrinkles or creases in the astro turf by gently pulling on the edges. This will help create a smooth and even surface. Avoid stretching the turf too much, as it can lead to unevenness and affect its overall appearance.
- Trim excess turf: Use a sharp utility knife to trim any excess turf along the edges. Follow the outline you previously marked to achieve clean and precise cuts. Take care not to cut into the base layer or the surrounding landscape.
Rolling out the astro turf is an exciting step, as you start to see the transformation take shape. Be mindful of any patterns or grain in the turf and ensure they are all aligned in the same direction for a cohesive look. By carefully following these steps, you’ll have the astro turf positioned and ready for the next phase of installation.
Before laying astro turf for dogs on dirt, make sure to properly prepare the area by removing any rocks, roots, and debris. Then, install a weed barrier to prevent any unwanted growth. Finally, compact the dirt and lay the astro turf, ensuring it is securely fastened.
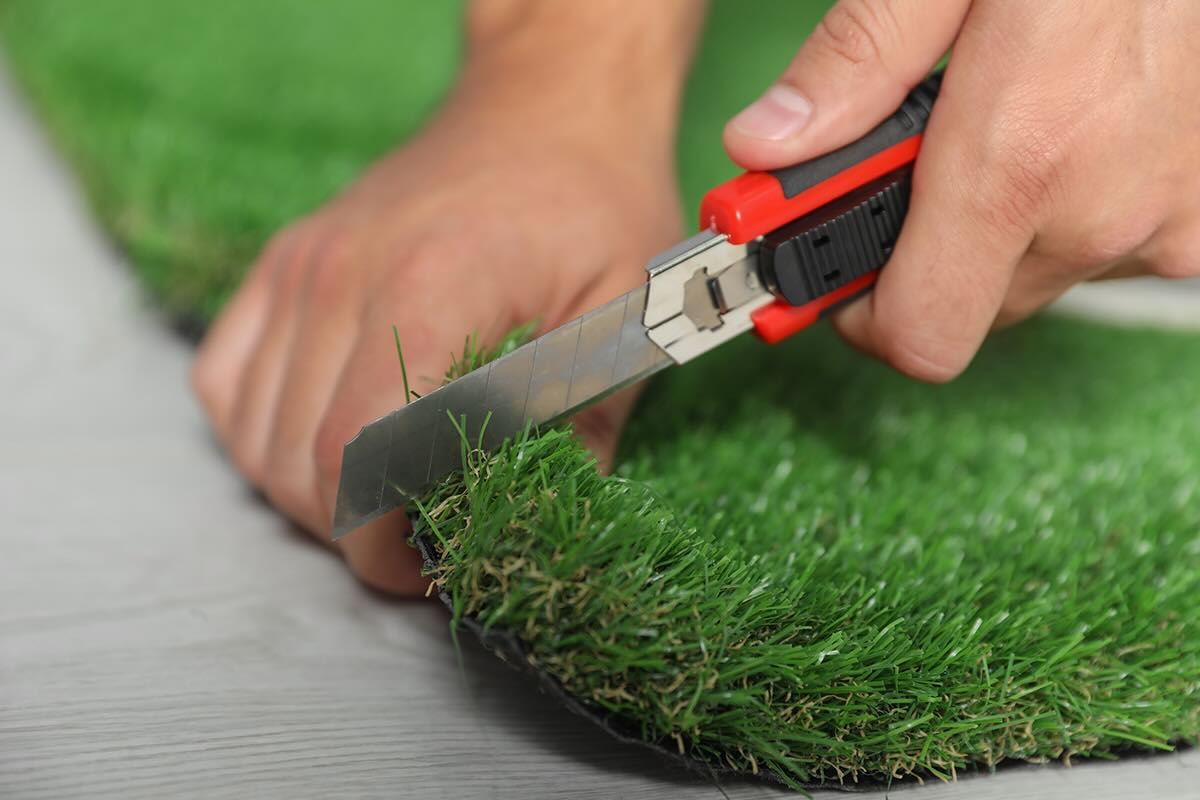
Step 7: Cut and Shape the Turf
Once the astro turf has been rolled out, the next step in the installation process is to cut and shape it to fit the designated area. This step ensures a precise and customized fit for a professional-looking finish. Follow these steps to cut and shape the astro turf:
- Plan the cuts: Before making any cuts, carefully plan out where you need to trim the turf to fit your area. Take into account any obstacles like trees, flower beds, or walkways. Use chalk or marking spray to outline the areas that need trimming.
- Use a sharp utility knife: Using a sharp utility knife, follow the marked lines and make clean, straight cuts through the turf. Apply firm, even pressure and make multiple passes if necessary to ensure a smooth, precise cut.
- Trim around obstacles: If you encounter obstacles like trees or existing structures, cut the turf in sections to fit around them. Take care to be precise and make small adjustments as needed to achieve a snug fit.
- Create seams if necessary: If your astro turf installation requires multiple pieces of turf, overlap the edges and create a seam. Use a sharp utility knife to cut through both pieces of turf where they overlap, ensuring a clean and seamless joining.
- Smooth out any rough cuts: Once all the necessary cuts have been made, smooth out any rough edges by gently pulling the turf and repositioning as needed. This will help achieve a neat and professional look.
Cutting and shaping the astro turf allows you to customize the installation to fit your specific area. Attention to detail and precision are key to creating a seamless and professional-looking finish. By following these steps, you’ll ensure that the astro turf fits perfectly and enhances the overall aesthetics of your outdoor space.
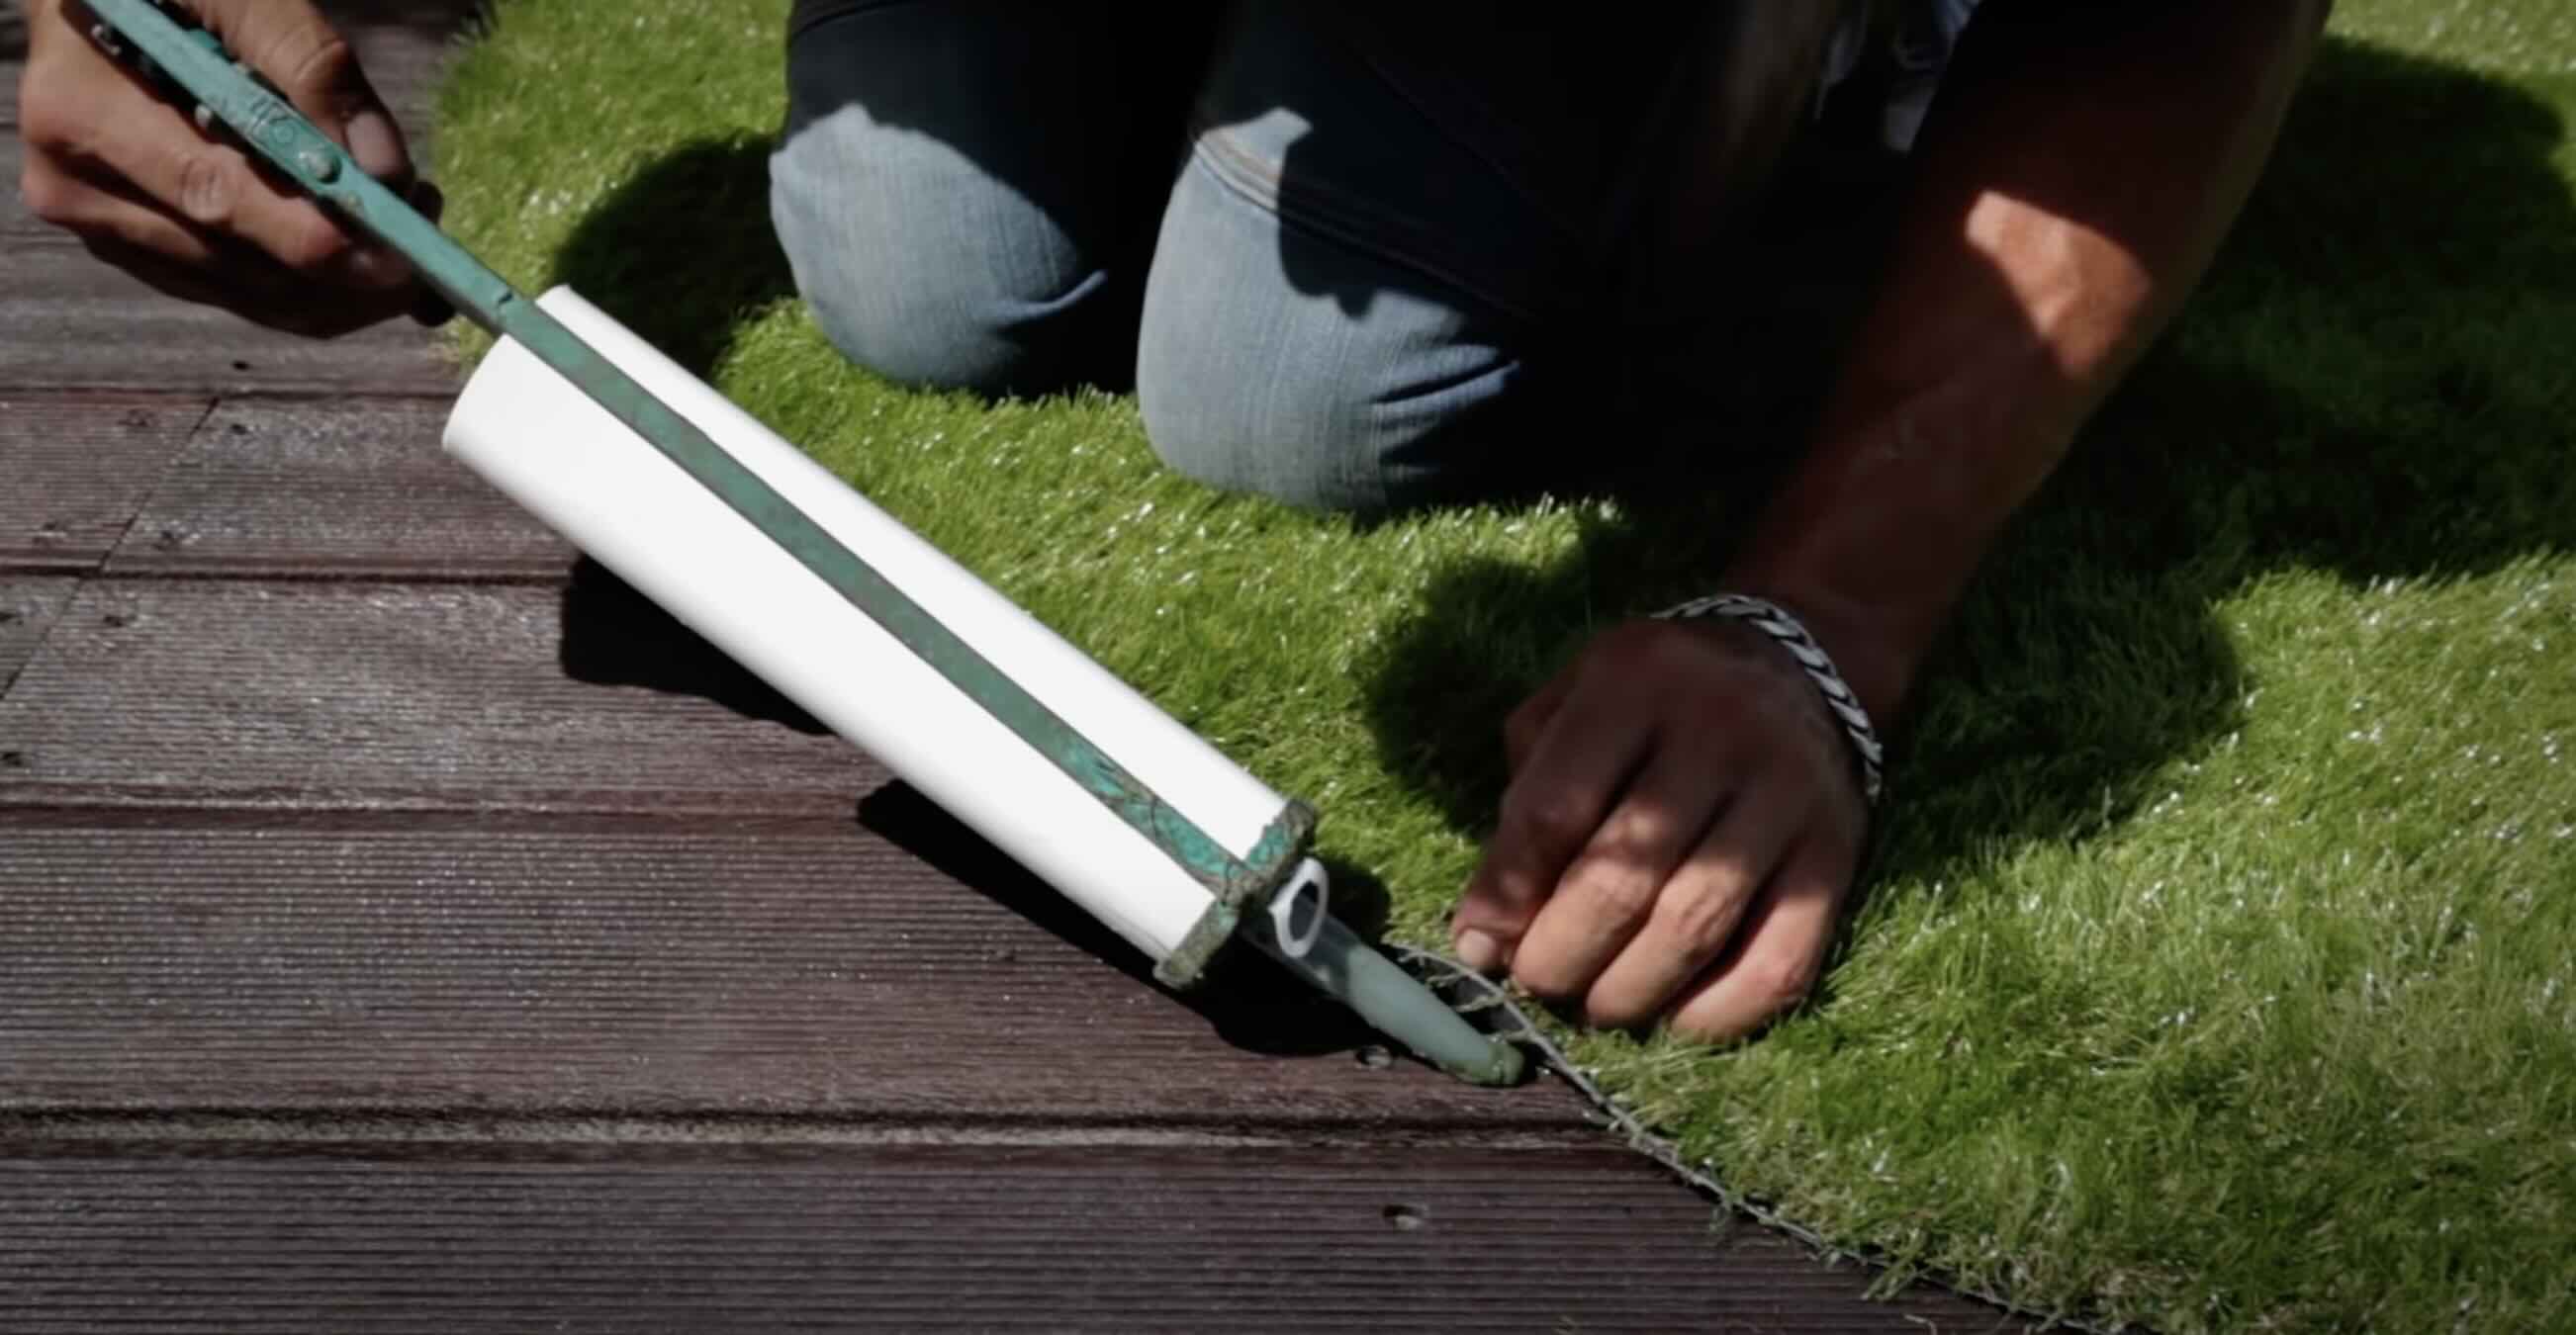
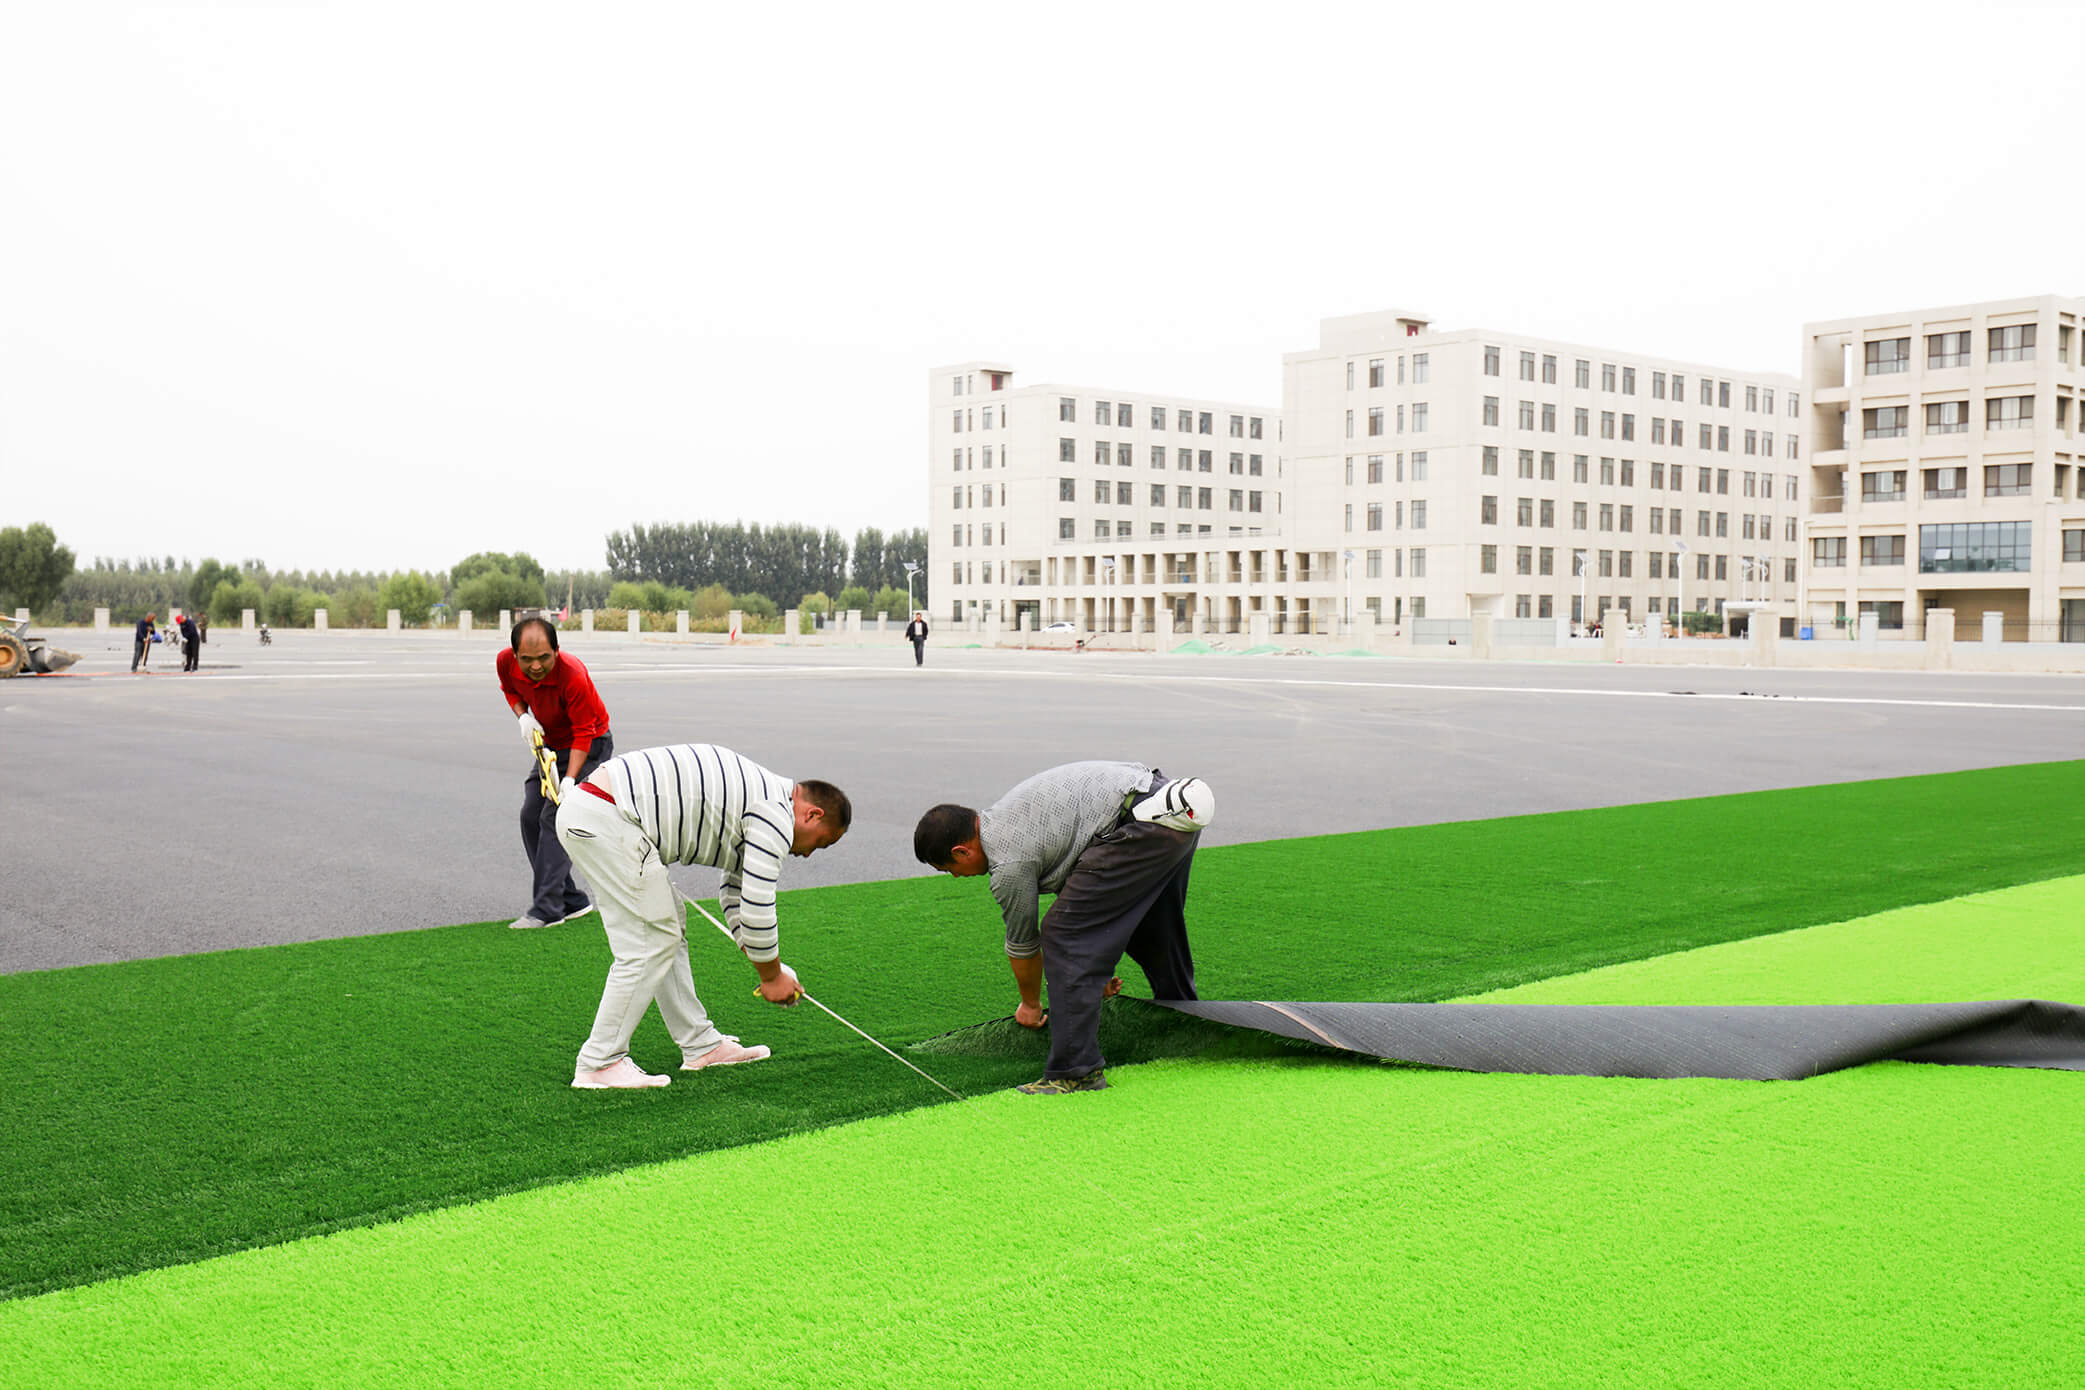
Step 8: Secure the Turf in Place
After cutting and shaping the astro turf, it’s important to secure it in place to prevent any shifting or movement. Properly securing the turf will ensure a long-lasting installation that can withstand heavy use. Follow these steps to secure the astro turf:
- Use landscape fabric pins or staples: Starting along one edge, use landscape fabric pins or staples to secure the turf to the base layer. Place the pins or staples every few inches along the edge, ensuring they penetrate through the turf and into the base material beneath.
- Secure the corners and seams: Pay special attention to the corners and seams of the astro turf. Use extra pins or staples to ensure these areas are securely fastened down. This will prevent any potential lifting or separation over time.
- Avoid overstretching: When securing the turf, be careful not to overstretch it. Overstretching can cause the turf to become misshapen or uneven. Use your hands or a soft brush to smooth out any wrinkles or ripples before securing.
- Check for proper alignment: As you secure the turf, periodically check for proper alignment and adjust if needed. Make sure the edges are aligned and the turf remains straight and level throughout the installation.
Properly securing the astro turf is crucial to maintain its appearance and functionality. By following these steps, you will ensure that the turf stays in place, even during active use by your dogs. Take the time to secure the turf correctly to enjoy a long-lasting and professionally installed astro turf surface.
Read more: How To Lay Astro Turf On Decking
Step 9: Brush the Turf
After securing the astro turf in place, it’s important to brush the turf to restore its natural appearance and ensure even distribution of the blades. Brushing helps the turf fibers stand upright, improves resilience, and enhances the overall aesthetics. Follow these steps to properly brush the astro turf:
- Choose the right brush: Select a brush specifically designed for synthetic turf. A stiff, synthetic bristle brush or a power broom will work well for this task. Avoid using metal-bristle brushes, as they can damage the turf fibers.
- Start from one end: Begin brushing the turf from one end and work your way across the entire area. Use long, sweeping strokes to gently brush the turf in the direction of the fibers. This will help the blades stand upright and create a uniform appearance.
- Pay attention to high-traffic areas: Give extra attention to areas that are prone to heavy foot traffic or pet activity. These areas may require more brushing to restore the turf’s resilience and prevent matting.
- Brush in different directions: To promote even distribution of the blades, occasionally brush the turf in different directions. This helps prevent the fibers from falling into a pattern and keeps the turf looking natural and lush.
- Remove debris: While brushing the turf, be on the lookout for any debris or pet waste. Remove any leaves, twigs, or other debris that may have accumulated on the surface. Regular maintenance and cleaning will help keep your astro turf looking its best.
Brushing the astro turf not only improves the turf’s appearance, but it also helps promote longevity and ensures optimal performance. By following these steps and regularly brushing the turf, you can maintain a beautiful and vibrant artificial lawn for your furry friends to enjoy.
Step 10: Infill the Turf
Once you have brushed the astro turf, the next step in the installation process is to infill the turf. Infilling involves adding a layer of material on top of the turf fibers, which provides additional support, stability, and cushioning. Follow these steps to properly infill the astro turf:
- Select the appropriate infill material: There are different types of infill materials to choose from, such as silica sand, rubber crumb, or organic infill. Consider factors like pet usage, desired feel, and drainage to determine the best infill material for your astro turf project.
- Distribute the infill evenly: Begin by evenly spreading the infill material across the entire surface of the astro turf. Use a garden rake or a power brush to distribute the infill material, making sure it reaches to the base of the turf fibers. Aim for a uniform layer that covers all areas of the turf.
- Broom or power brush the infill: Once the infill material is spread out, use a broom or power brush to work the infill into the turf fibers. This helps to evenly distribute the infill and ensure it settles between the blades of the turf.
- Adjust the amount of infill: Depending on your preferences and the specific needs of your astro turf, you may need to adjust the amount of infill material. Some variations may require more or less infill to achieve the desired level of firmness and cushioning. Consult with the manufacturer’s recommendations for guidance.
- Brush and groom the turf: After infilling, use a brush or power broom once again to brush and groom the turf. This will help incorporate the infill material into the turf fibers for a more natural and even appearance.
Infilling the astro turf provides numerous benefits, such as enhancing shock absorption, improving turf stability, and creating a more realistic feel underfoot. By following these steps and selecting the appropriate infill material, you can ensure that your astro turf installation is comfortable, safe, and long-lasting.
Step 11: Clean and Maintain the Turf
The final step in laying astro turf for dogs on dirt is to establish a regular cleaning and maintenance routine. Proper maintenance will help keep your astro turf looking fresh, clean, and in optimal condition for your furry friends to enjoy. Follow these steps to clean and maintain the turf:
- Remove debris: Regularly remove leaves, twigs, and other debris from the surface of the turf. Use a leaf blower, rake, or a stiff-bristled broom to clear the area. This will help prevent the buildup of organic matter and keep the turf looking tidy.
- Address stains and spills: Clean up any pet waste, food spills, or stains immediately. Use a neutral detergent diluted with water or a specialized turf cleaner to gently clean the affected area. Avoid using harsh chemicals or abrasive cleaners, as they can damage the turf fibers.
- Brush regularly: Regularly brush the turf to keep the blades upright and maintain a natural appearance. Use a bristle broom or a power brush to gently brush the turf in the direction of the fibers. This will help prevent matting and ensure an even distribution of the infill.
- Inspect for damage: Periodically inspect the astro turf for any signs of damage, such as tears, loose seams, or areas of excessive wear. If you notice any issues, address them promptly to prevent further damage and ensure the longevity of your astro turf installation.
- Keep the turf hydrated: If you live in a particularly dry climate, occasional light watering using a hose can help keep the turf hydrated and restore its freshness. However, avoid overwatering, as excessive moisture can lead to mold or mildew growth.
- Consider a yearly professional cleaning: To maintain the longevity and pristine appearance of your astro turf, consider scheduling a professional turf cleaning once a year. Professional cleaning can help remove deep-seated dirt, revive the fibers, and ensure optimal performance.
Taking the time to clean and maintain your astro turf regularly will help prolong its lifespan and keep it looking its best. By following these steps and establishing a proper maintenance routine, you can enjoy a beautiful, clean, and durable outdoor space for your dogs to play and relax on.
Conclusion
Congratulations! You have now completed the process of laying astro turf for dogs on dirt. By following the step-by-step guide provided in this article, you have created a pet-friendly, low-maintenance, and visually appealing outdoor space for you and your furry companions to enjoy.
Astro turf offers numerous advantages over natural grass, including durability, easy maintenance, and a clean surface for your dogs to play on. With proper preparation, installation, and maintenance, your astro turf will provide a long-lasting and hassle-free solution for your outdoor needs.
Remember to carefully prepare the area, remove debris, level the surface, and install a weed barrier before laying the base layer. Once the base layer is compacted and the astro turf is rolled out and secured, don’t forget to brush the turf to restore its natural appearance and infill it for added support and cushioning.
Regular cleaning and maintenance are essential to keep your astro turf looking its best. By removing debris, addressing stains, brushing regularly, and inspecting for damage, you can ensure that your astro turf remains vibrant, clean, and safe for your dogs to enjoy for years to come.
Now, sit back and relax as you and your dogs make the most of your new astro turf. Say goodbye to muddy paws and patchy grass, and hello to a lush and perfect outdoor space that requires minimal upkeep and provides maximum enjoyment.
Frequently Asked Questions about How To Lay Astro Turf For Dogs On Dirt
Was this page helpful?
At Storables.com, we guarantee accurate and reliable information. Our content, validated by Expert Board Contributors, is crafted following stringent Editorial Policies. We're committed to providing you with well-researched, expert-backed insights for all your informational needs.

0 thoughts on “How To Lay Astro Turf For Dogs On Dirt”