Home>Garden Essentials>How To Lay Astro Turf On Concrete
Garden Essentials
How To Lay Astro Turf On Concrete
Modified: August 23, 2024
Transform your concrete garden into a lush oasis with our step-by-step guide on how to lay astro turf. Say goodbye to maintenance and hello to year-round greenery.
(Many of the links in this article redirect to a specific reviewed product. Your purchase of these products through affiliate links helps to generate commission for Storables.com, at no extra cost. Learn more)
Introduction
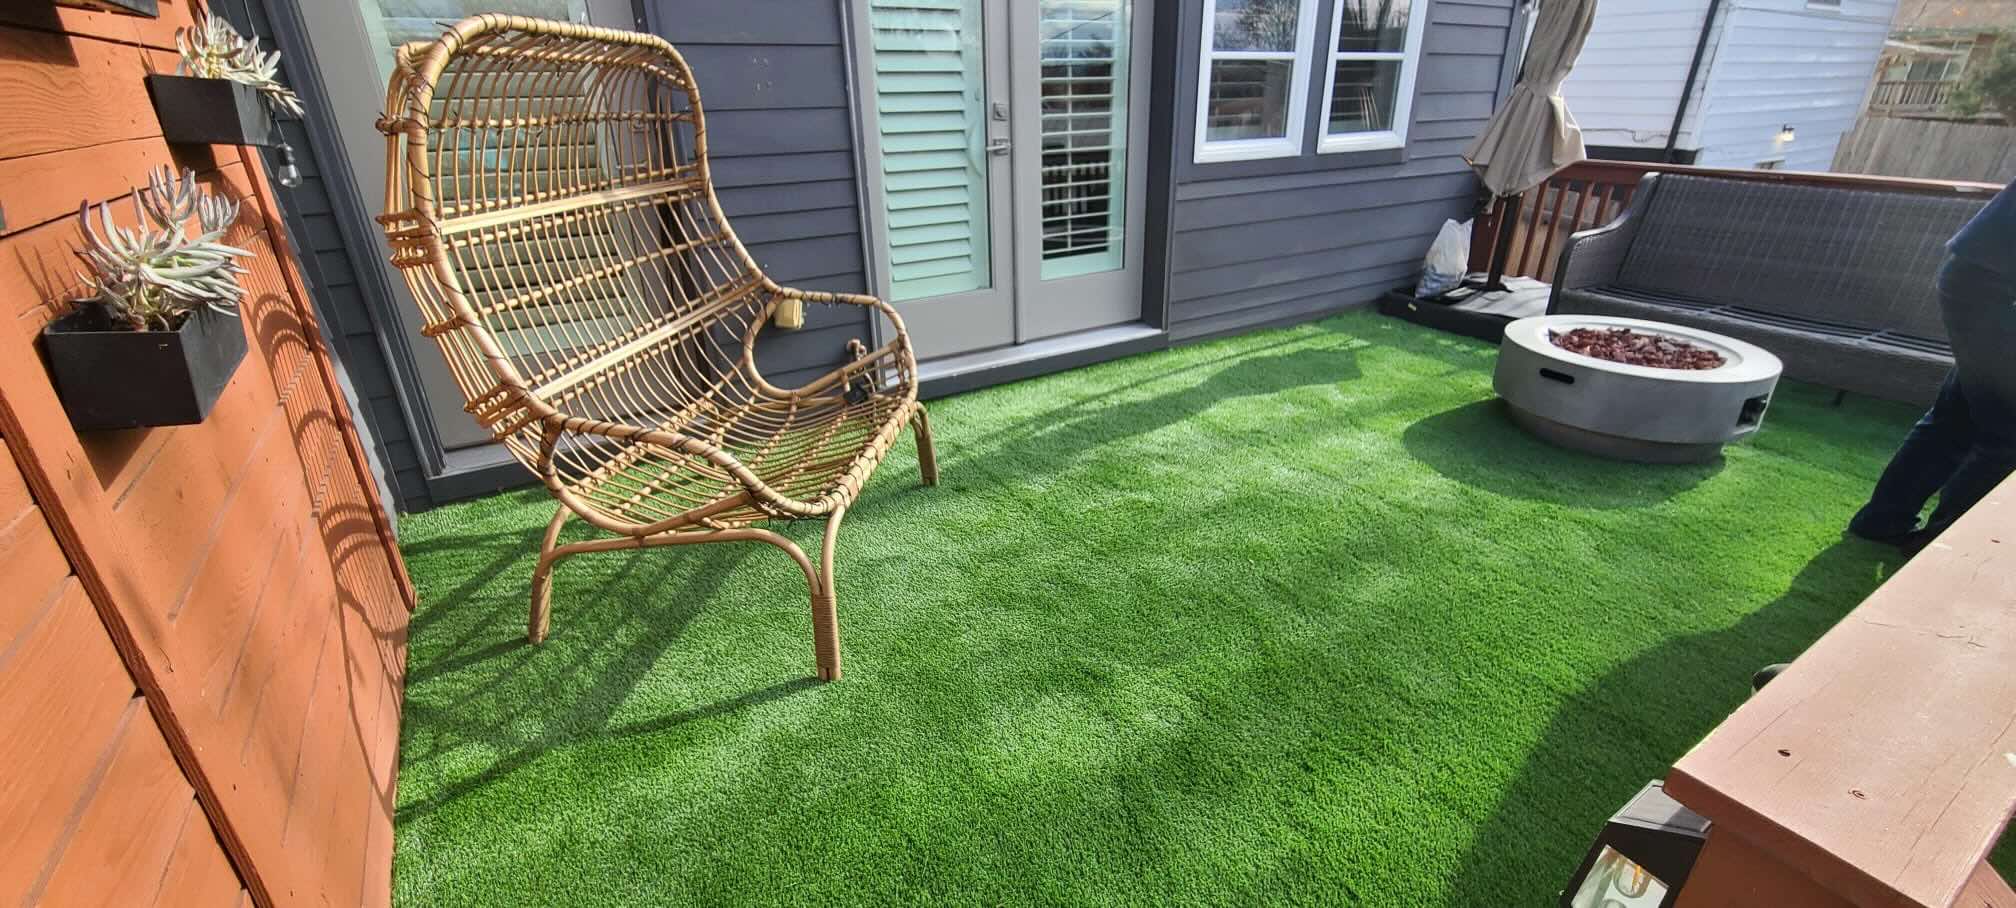
Welcome to our comprehensive guide on how to lay astro turf on concrete. Whether you have a small balcony, a rooftop terrace, or a courtyard, astro turf can transform any concrete space into a lush and green oasis. With its low maintenance requirements and realistic appearance, astro turf has become a popular choice for both residential and commercial outdoor areas.
Laying astro turf on concrete may seem like a daunting task, especially if you have limited gardening experience. However, with the right preparation and techniques, you can achieve a professional-looking result that will last for years to come. In this step-by-step guide, we will walk you through the process of preparing the concrete surface, measuring and cutting the astro turf, applying adhesive, and securing the edges. By following these steps, you can create a beautiful outdoor space that requires minimal upkeep.
Before we dive into the details, let’s quickly discuss the benefits of astro turf. Unlike natural grass, astro turf does not require mowing, watering, or fertilizing. This means that you can enjoy a green and vibrant lawn without the hassle of ongoing maintenance. Astro turf is also highly durable and resistant to wear and tear, making it an excellent choice for high-traffic areas. Additionally, astro turf is an eco-friendly alternative to natural grass, as it eliminates the need for harmful pesticides and reduces water consumption.
Now that you understand the advantages of astro turf, let’s get started with the first step: preparation. This is a crucial stage that will ensure a smooth installation process and a long-lasting result. So, grab your tools and let’s begin!
Key Takeaways:
- Transform any concrete space into a lush oasis with astro turf. Enjoy a low-maintenance, vibrant lawn without the hassle of mowing, watering, or fertilizing.
- Achieve a professional-looking astro turf installation with proper preparation, precise measurements, and attention to detail. Enjoy a durable, eco-friendly outdoor space with minimal upkeep.
Read more: How To Lay Astro Turf On Decking
Step 1: Preparation
Before you can lay astro turf on concrete, you need to prepare the surface properly. This involves cleaning the concrete and ensuring it is smooth and free of any debris or uneven areas.
The first thing you will need to do is remove any existing vegetation or grass from the concrete. Use a shovel or a scraper to remove all traces of plants, weeds, and grass. Make sure to dig deep to remove the roots and any stubborn patches.
Once the surface is clear, thoroughly clean the concrete using a pressure washer or a garden hose with a high-pressure nozzle. This will remove any dirt, dust, or stains that have accumulated on the surface over time. Pay special attention to any areas with stubborn stains or grime, as these can interfere with the adhesive and affect the overall result.
After cleaning the concrete, inspect the surface for any cracks, holes, or uneven areas. If you come across any damage, it’s crucial to repair and level the surface before proceeding. Use a concrete patching compound to fill in any cracks or holes, following the manufacturer’s instructions. Smooth out the compound with a trowel and allow it to dry completely before moving on to the next step.
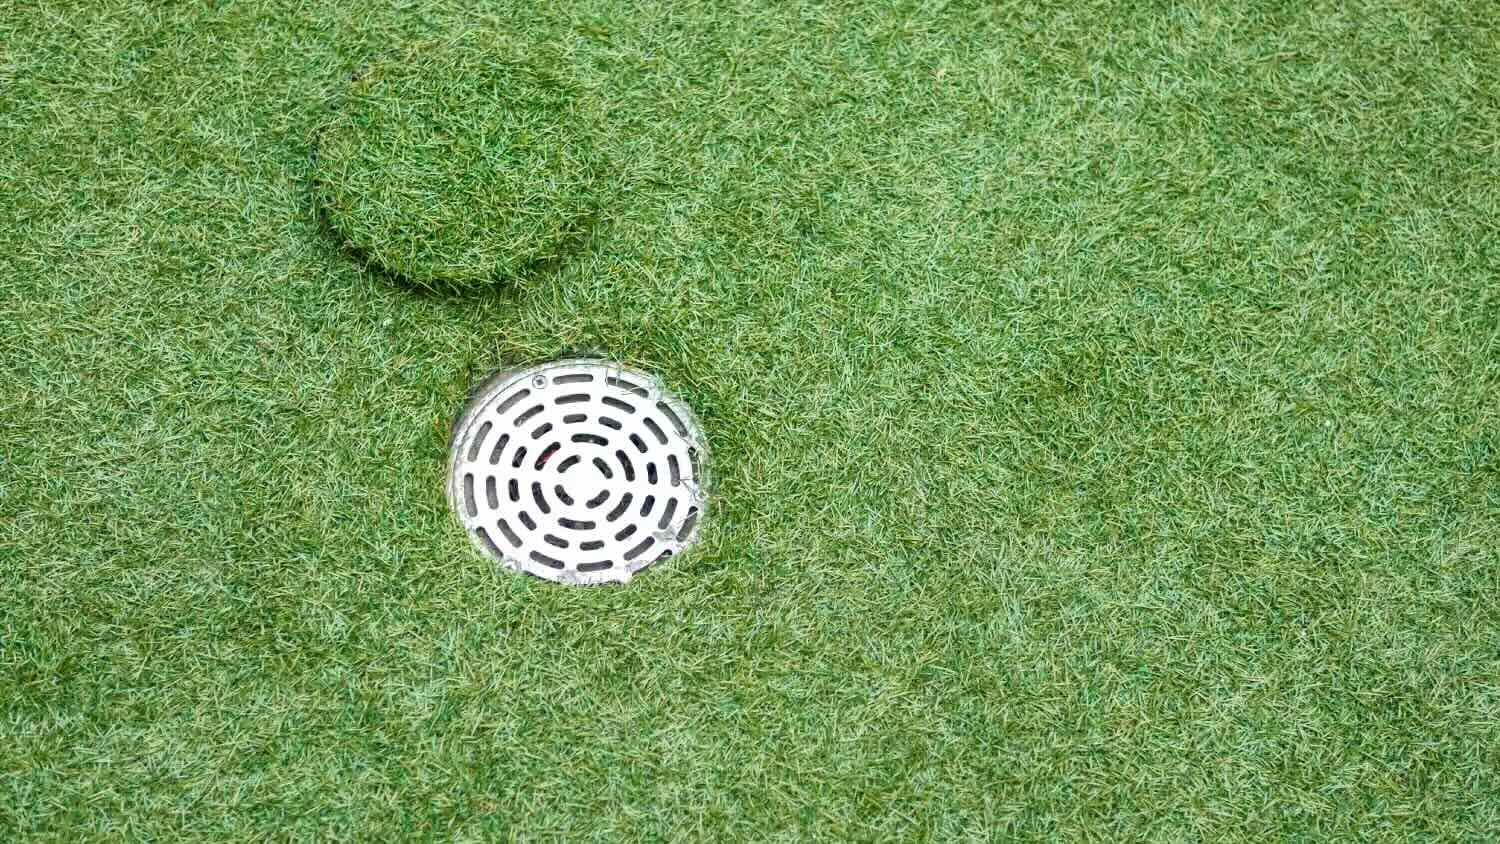
Once you have repaired any damage and ensured a smooth surface, it’s time to check the drainage situation. If your concrete does not have proper drainage, you may need to create a slope or install a drainage system to prevent water accumulation. This is especially important if you live in an area with heavy rainfall or if your concrete space is prone to getting waterlogged. Consult with a professional if you are unsure about the drainage requirements for your specific situation.
With the preparation stage complete, you are now ready to move on to the next step: measuring and cutting the astro turf. Stay tuned for our detailed instructions on how to achieve a perfect fit!
Step 2: Clean the Concrete Surface
Now that you have completed the preparation stage, it’s time to focus on cleaning the concrete surface. Properly cleaning the concrete is essential for ensuring a strong bond between the astro turf and the adhesive.
First, remove any remaining debris or loose particles from the concrete. Use a broom or a leaf blower to sweep away dirt, leaves, dust, or any other loose materials that may be present. Pay close attention to corners, edges, and hard-to-reach areas to ensure a thorough cleaning.
Next, fill a bucket with a mixture of warm water and mild detergent. Use a scrub brush or deck brush to scrub the concrete surface thoroughly. Pay attention to any stains or discoloration and apply a bit of extra pressure on those areas. Let the soapy water sit for a few minutes to allow it to penetrate and loosen any stubborn dirt or grime.
After scrubbing, rinse the concrete surface with clean water. You can use a garden hose with a high-pressure nozzle or a power washer for this step. Start from one end of the concrete and work your way to the other, ensuring that all soap residue is removed. Pay attention to any areas that were heavily stained or had stubborn dirt; make sure they are thoroughly rinsed.
Once the concrete surface is clean, inspect it closely for any remaining dirt or stains. If you notice any spots that require further cleaning, apply a concrete cleaner or stain remover according to the product instructions. Scrub the area gently with a brush and rinse it off with clean water.
After completing the cleaning process, it is crucial to allow the concrete surface to dry completely before proceeding with the installation. Moisture on the concrete can affect the adhesion of the astro turf and lead to an uneven or unstable surface. Depending on the weather conditions, this may take anywhere from a few hours to a couple of days.
With the concrete surface now clean and dry, you are ready to move on to the next step: measuring and cutting the astro turf. Stay tuned for our detailed instructions on how to achieve a precise fit for your space!
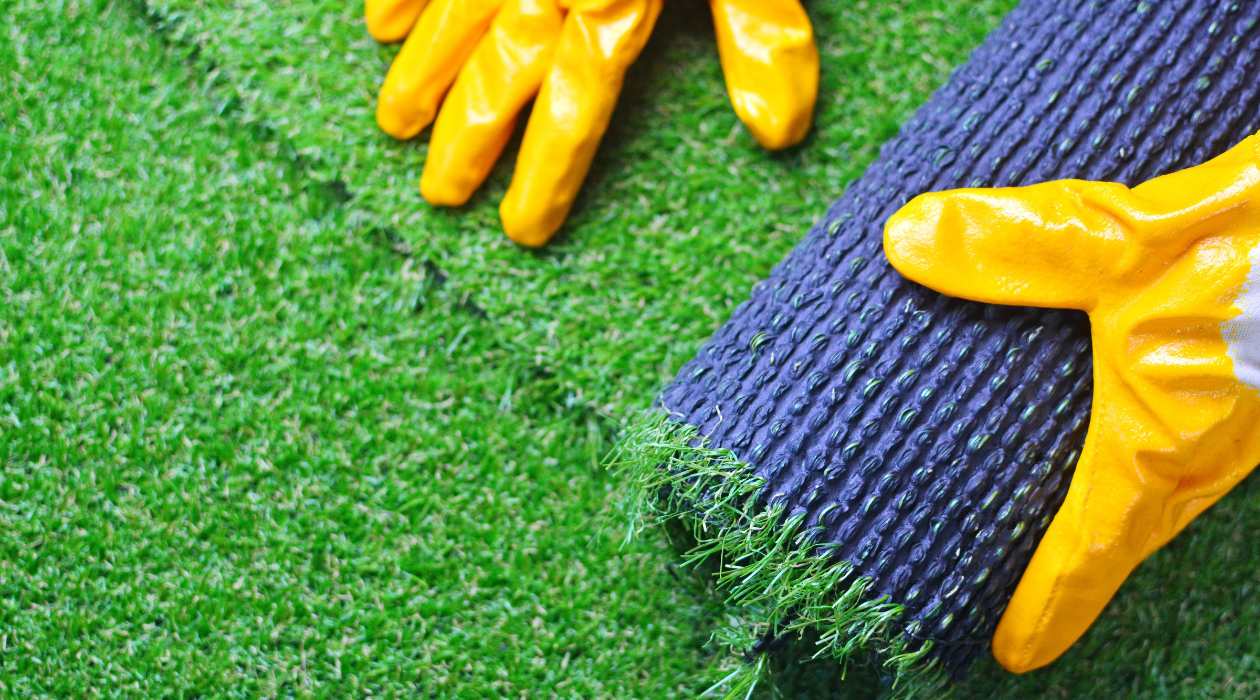
Step 3: Measure and Cut the Astro Turf
Now that the concrete surface is clean and ready, it’s time to measure and cut the astro turf to fit your space. Taking accurate measurements and cutting the turf properly are crucial for achieving a seamless and professional-looking installation.
Start by measuring the length and width of the concrete area where you plan to lay the astro turf. Use a tape measure to get precise measurements, and be sure to take into account any curves, corners, or irregularities in the shape of the space.
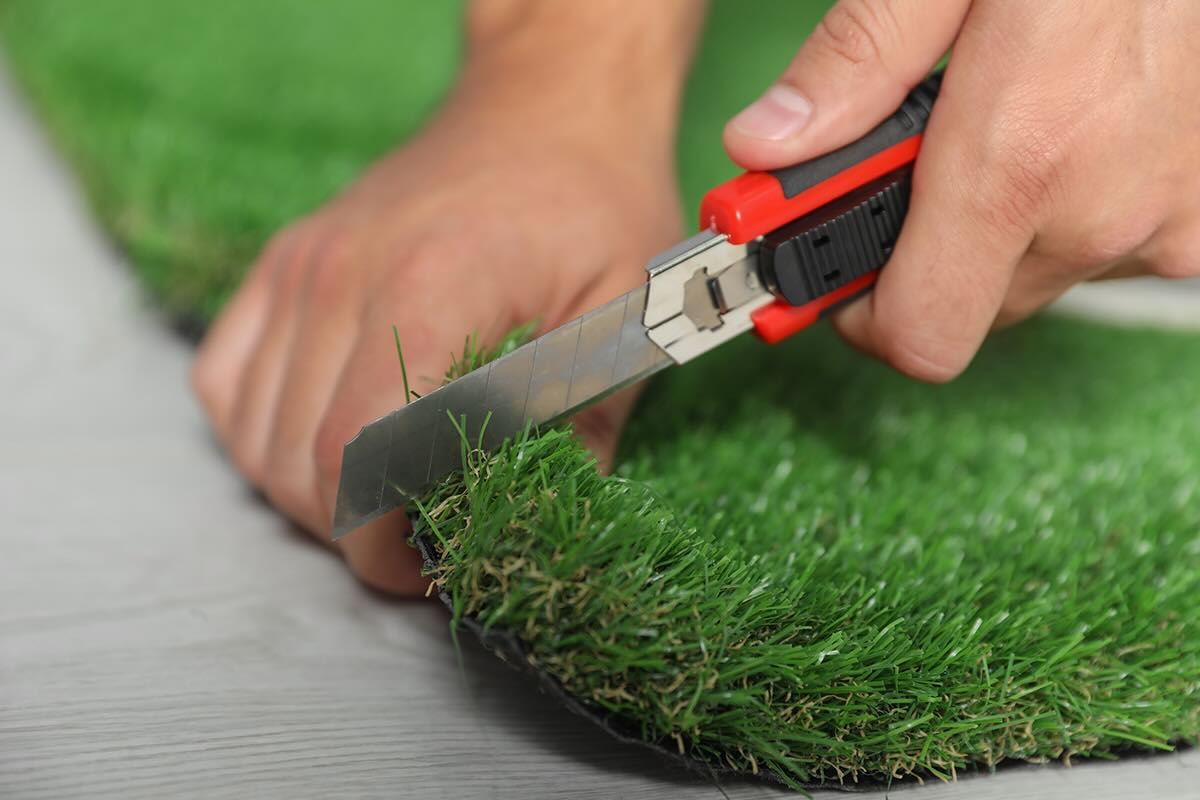
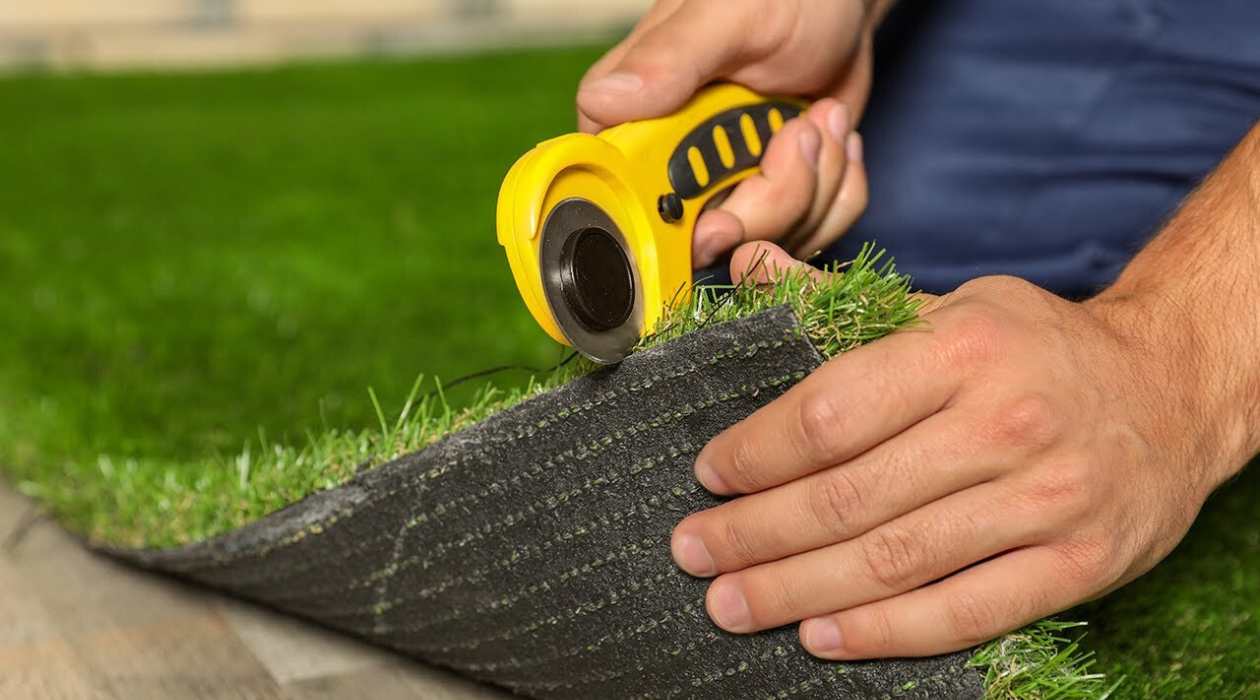
Once you have the measurements, roll out the astro turf on a flat surface, such as a patio or driveway. Trim away any excess material from the edges so that the turf matches the dimensions of your concrete area. When cutting, make sure to use a sharp utility knife or carpet cutter for clean and precise cuts.
When measuring and cutting, it’s important to leave a small gap (around 1/4 inch) between the edge of the turf and any fixed structures, such as walls or fences. This allows for expansion and contraction due to temperature changes and prevents the turf from buckling or lifting.
If you have a larger area to cover and need to join multiple pieces of astro turf together, follow similar steps for each piece. Make sure to align the pieces properly and use a sharp knife to trim away any excess material. To join the pieces, use a special astro turf adhesive or seaming tape, following the manufacturer’s instructions.
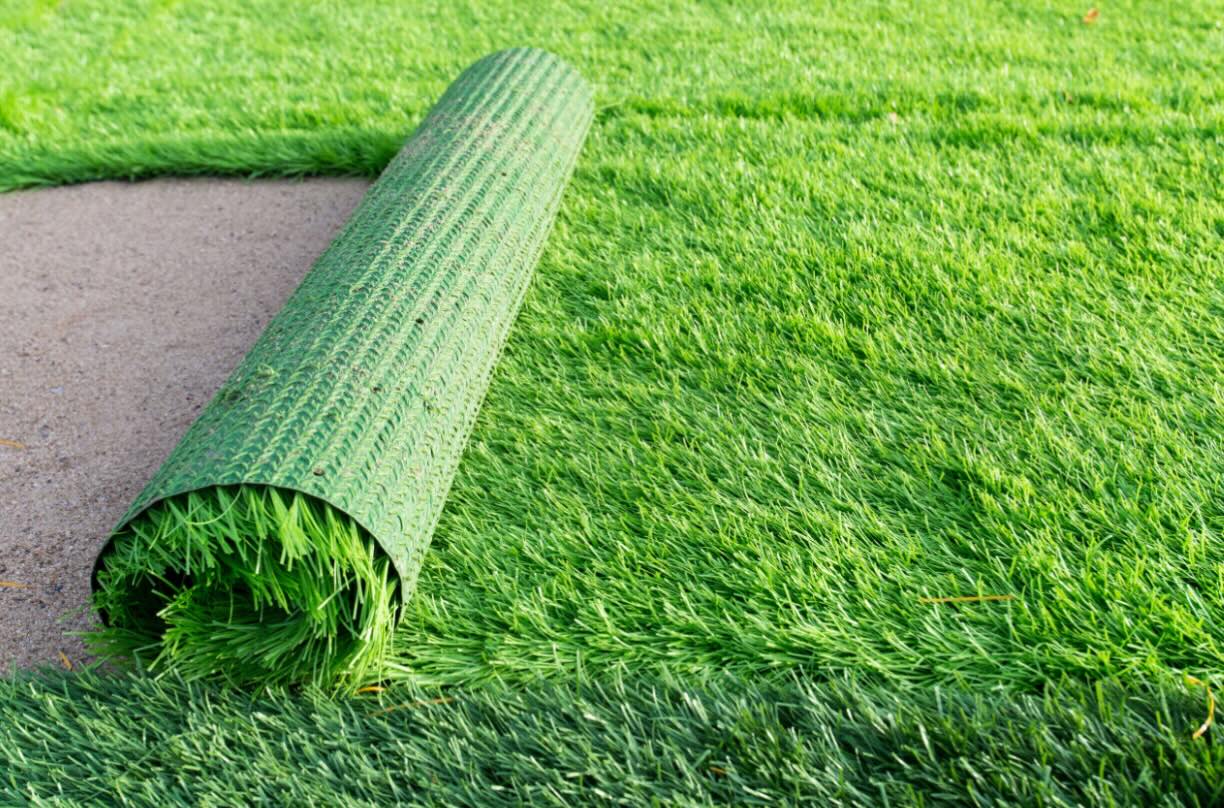
Once you have measured and cut the astro turf to the desired size and shape, roll it up and set it aside for now. In the next step, we will discuss how to apply adhesive to the concrete surface for secure and long-lasting installation. Keep reading to learn more!
Step 4: Apply Adhesive to the Concrete
Now that you have measured and cut the astro turf to fit your space, it’s time to apply adhesive to the concrete surface. The adhesive will ensure that the turf stays securely in place and prevents any shifting or movement.
Before applying the adhesive, make sure that the concrete surface is clean and dry. Any residual moisture or debris can interfere with the bonding process, so take the time to ensure the surface is fully prepared.
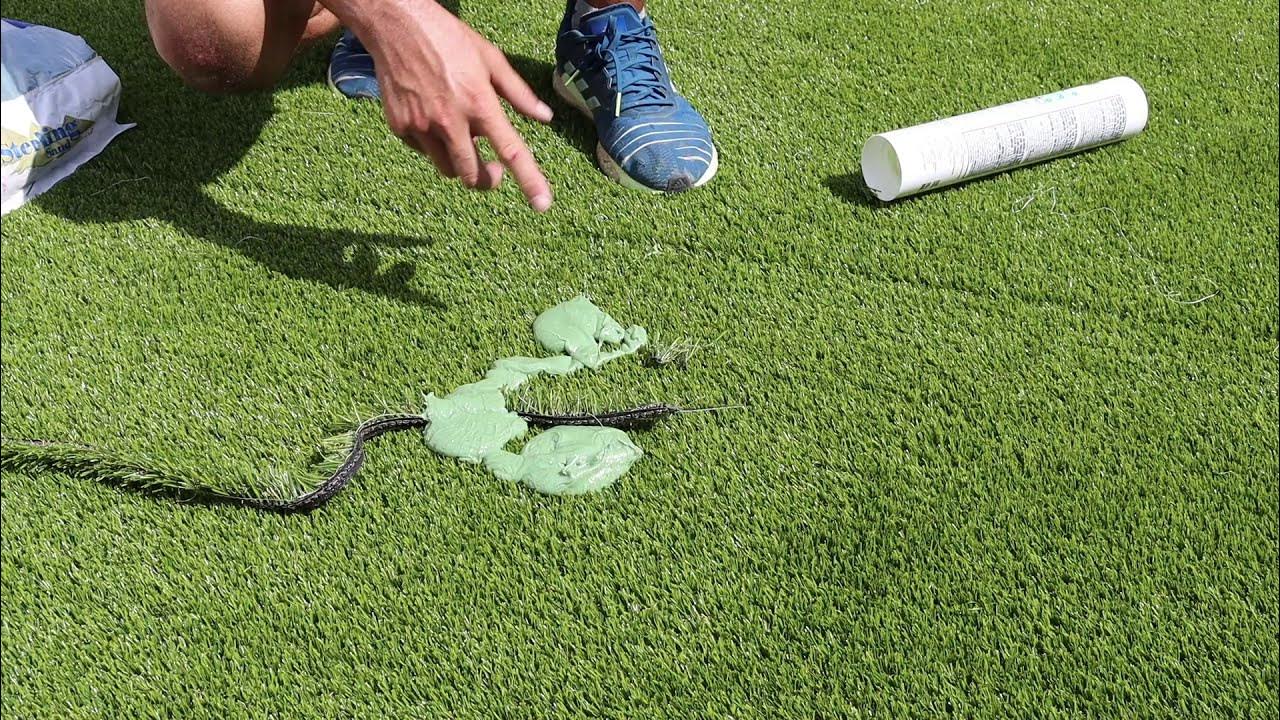
Start by pouring the astro turf adhesive into a bucket. Use a trowel or a notched adhesive spreader to apply a thin and even layer of adhesive onto the concrete. Work in small sections, starting from one end of the space and gradually moving towards the other.
Be sure to follow the manufacturer’s instructions for the adhesive, as different products may have specific application guidelines. Some adhesives may require mixing with water or applying a primer before applying the adhesive itself. Pay close attention to the recommended drying time as well.
When applying the adhesive, work in a consistent and deliberate manner. Use the notched side of the spreader to create grooves in the adhesive. This helps to ensure proper coverage and a stronger bond between the concrete and the astro turf.
As you spread the adhesive, avoid getting any onto the surrounding areas or structures. If any adhesive accidentally gets onto these surfaces, clean it immediately with a damp cloth or sponge.
Once you have applied the adhesive, let it sit for the recommended drying time specified by the manufacturer. This is typically around 10-15 minutes, but it may vary depending on the specific adhesive used and the temperature and humidity conditions in your area.
With the adhesive drying, it’s time to move on to the next step: laying the astro turf on the adhesive. Stay tuned for our instructions on how to achieve a smooth and secure installation!
Before laying astro turf on concrete, make sure the surface is clean and level. Use a foam underlay to provide cushioning and drainage. Secure the turf with adhesive or double-sided tape for a smooth and durable finish.
Read more: How To Lay Astro Turf On Plywood
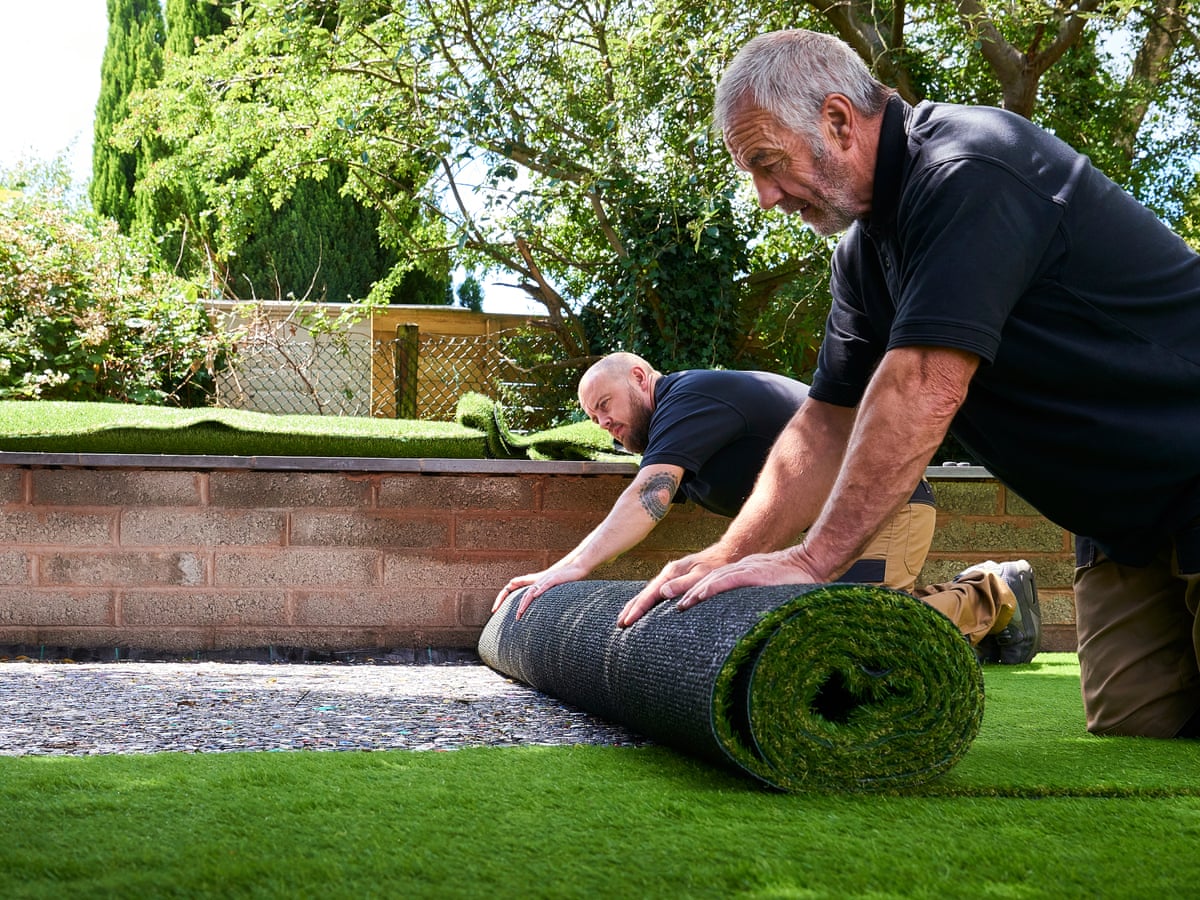
Step 5: Lay the Astro Turf on the Adhesive
Now that the adhesive on the concrete surface has dried adequately, it’s time to lay the astro turf on top. This step is crucial for creating a strong bond and ensuring the turf stays securely in place.
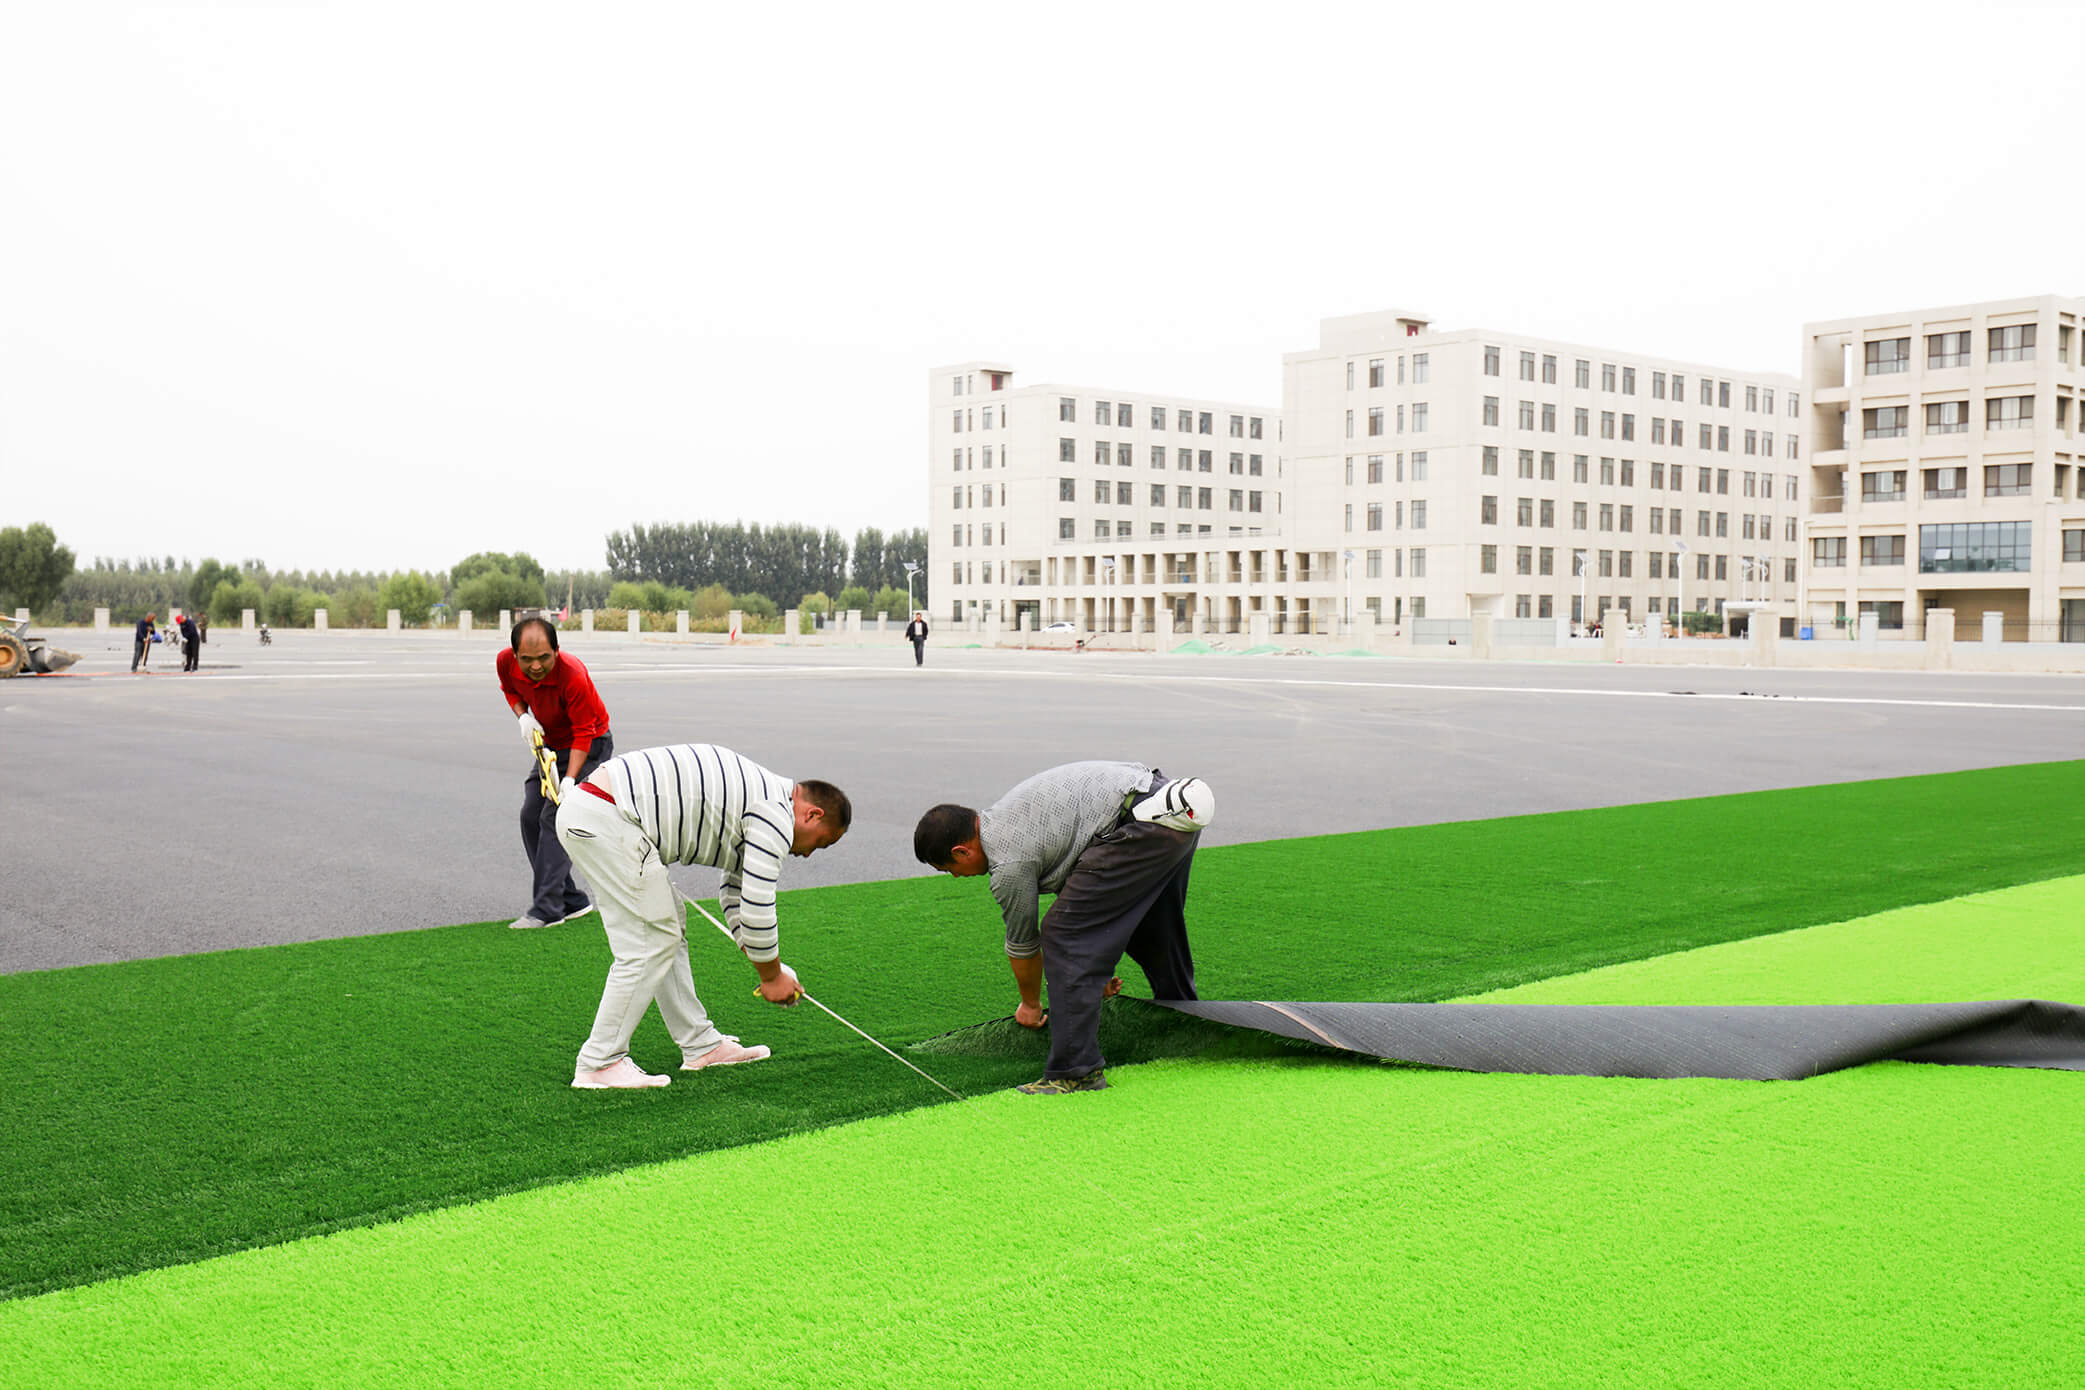
Start by carefully unrolling the astro turf onto the adhesive. Make sure to align the edges and corners of the turf with the edges of the concrete space. This will help create a seamless and professional-looking installation.
As you lay the turf, be cautious to avoid trapping any air bubbles or wrinkles. Smooth out the turf with your hands or a rubber squeegee, starting from the center and working your way towards the edges. This will help ensure a uniform and smooth surface.
As you work, periodically step back to inspect the turf for any imperfections or misalignment. If necessary, adjust the position of the turf before the adhesive fully sets.
It’s important to note that the astro turf may have a grain or direction to it. When unrolling and laying the turf, make sure the grain is facing the desired direction. This will give your lawn a more natural and appealing appearance.
Continue laying the astro turf section by section, applying firm pressure to ensure it adheres properly to the adhesive. Take your time and work methodically to create a seamless and even surface.
Once the turf is fully laid, use a carpet roller or a weighted object to press down on the entire surface. This will help ensure a strong bond between the turf and the adhesive and remove any remaining air pockets.
After pressing down the turf, allow the adhesive to cure and bond for the duration recommended by the manufacturer. This will typically be around 24-48 hours, but it’s important to follow the specific instructions provided with the adhesive product.
With the astro turf successfully laid on the adhesive, it’s time to move on to the next step: securing the edges. Stay tuned for the instructions on how to ensure a clean and tidy finish for your astro turf installation!
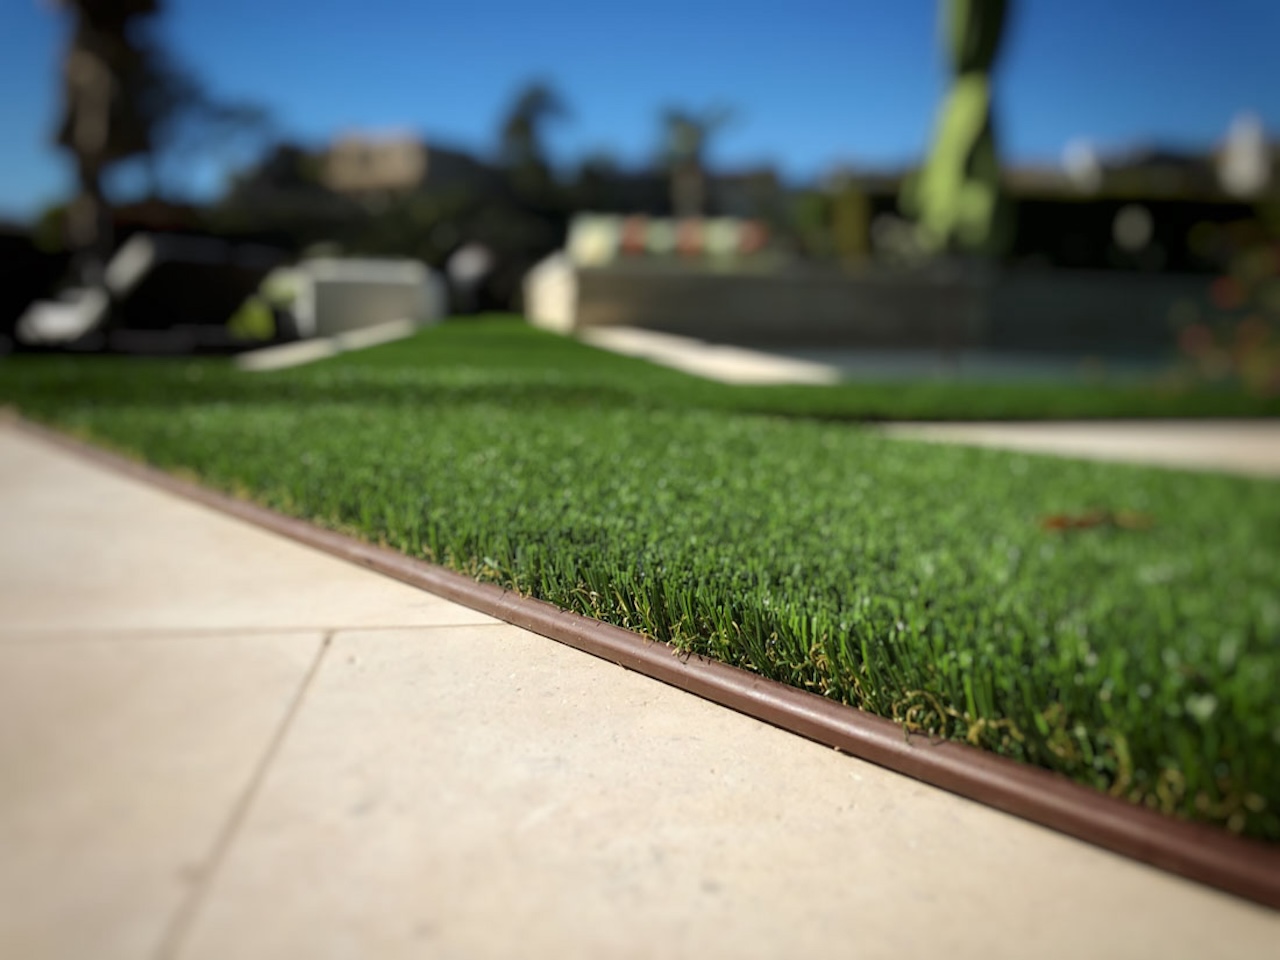
Step 6: Secure the Edges
Securing the edges of the astro turf is essential for creating a polished and professional finish. This step helps to prevent the turf from lifting or shifting over time, ensuring a long-lasting and visually appealing installation.
Start by checking the edges of the astro turf to ensure they are aligned properly with the edges of the concrete. If there are any areas where the turf extends beyond the concrete or gaps between the turf and the surface, you may need to trim or adjust accordingly.
To secure the edges, you have a few options depending on the specific installation and personal preference:
- Adhesive: If you have enough space between the turf and the surrounding structures, you can apply adhesive along the edges. Use a notched adhesive spreader to apply a thin layer of adhesive under the edge of the turf, pressing it against the concrete. This will help create a secure bond between the turf and the surface.
- Landscaping Nails: If you prefer a more traditional approach, you can use landscaping nails to secure the edges. Simply drive the nails through the turf and into the concrete surface, making sure they are spaced evenly along the edge. Be careful not to damage the turf fibers or create any tripping hazards.
Choose the method that best suits your needs and proceed with securing the edges accordingly. Consider the specific recommendations provided by the manufacturer of the astro turf and adhesive or consult with a professional if you’re unsure which option is best for your installation.
With the edges secured, it’s time to move on to the final step: trimming any excess turf. Stay with us to learn how to achieve a clean and tidy finish for your astro turf installation!
Step 7: Trim any Excess Turf
The final step in laying astro turf on concrete is to trim any excess turf to achieve a neat and professional finish. Trimming the turf will give your installation a polished look and ensure that it fits perfectly within the designated space.
Start by carefully examining the edges of the astro turf to identify any areas where the turf extends beyond the desired boundary. This could be along the perimeter of the concrete or around obstacles such as posts or structures.
Use a sharp utility knife or carpet cutter to trim the excess turf along the edges. Make sure to follow a straight line and take your time to avoid cutting too much or damaging the surrounding turf.
If you encounter obstacles like posts or structures, you may need to make precise cuts to fit the turf around them. Measure the dimensions carefully and mark the turf where it needs to be cut. This will help you achieve a seamless and tight fit around the obstacle.
While trimming the turf, take note of any seams where multiple pieces of astro turf are joined. Ensure that the seams are smooth and properly aligned. Trim any excess turf from the seams to create an even appearance.
As you trim the turf, periodically step back to assess the overall look and ensure that the edges are clean and tidy. This will help you achieve a visually appealing result.
After trimming, use a broom or brush to lightly sweep the surface of the turf to remove any loose dirt or debris. This will give your astro turf a fresh and clean look.
With the excess turf trimmed and the surface cleaned, your astro turf installation on concrete is now complete! Take a moment to appreciate the transformation of your space into a lush and vibrant outdoor area.
Remember, proper maintenance is key to enjoying your astro turf for years to come. Regularly brush the turf to keep the fibers upright and remove any debris. For more detailed cleaning, use a mild detergent or specialized astro turf cleaner. Avoid using harsh chemicals or pressure washers, as these can damage the turf.
Now, sit back, relax, and enjoy your beautiful astro turf oasis on your concrete surface!
Conclusion
Congratulations on successfully laying astro turf on your concrete surface! With proper preparation, precise measurements, and attention to detail, you have transformed your outdoor space into a green and inviting oasis. By following the steps outlined in this guide, you have achieved a professional-looking installation that will provide you with a low-maintenance and visually appealing lawn for years to come.
Astro turf offers numerous benefits compared to natural grass, including reduced maintenance, durability, and eco-friendliness. With its realistic appearance and resistance to wear and tear, it provides a beautiful and functional outdoor space for both residential and commercial areas.
Remember to keep up with routine maintenance to prolong the lifespan of your astro turf. Regularly brush the turf to keep the fibers upright and remove any debris. Additionally, be mindful of cleaning techniques and avoid using harsh chemicals or high pressure washers that could damage the turf.
Whether you have transformed a small balcony, a rooftop terrace, or a courtyard, astro turf on concrete provides a versatile and practical solution for creating an inviting outdoor space. Enjoy the benefits of a lush green lawn without the hassle of ongoing maintenance.
We hope this comprehensive guide has provided you with the necessary knowledge and confidence to lay astro turf on concrete effectively. Now, it’s time to sit back, relax, and enjoy your newly transformed outdoor area!
Frequently Asked Questions about How To Lay Astro Turf On Concrete
Was this page helpful?
At Storables.com, we guarantee accurate and reliable information. Our content, validated by Expert Board Contributors, is crafted following stringent Editorial Policies. We're committed to providing you with well-researched, expert-backed insights for all your informational needs.


0 thoughts on “How To Lay Astro Turf On Concrete”