Home>Garden Essentials>How To Make Bird Seed Blocks With Gelatin
Garden Essentials
How To Make Bird Seed Blocks With Gelatin
Modified: March 16, 2024
Learn how to make bird seed blocks for your garden using gelatin. Attract a variety of birds with this simple DIY project.
(Many of the links in this article redirect to a specific reviewed product. Your purchase of these products through affiliate links helps to generate commission for Storables.com, at no extra cost. Learn more)
Introduction
Welcome to the world of bird feeding! If you are looking for a fun and creative way to attract birds to your garden, making bird seed blocks with gelatin is a fantastic option. Not only are these blocks a nutritious treat for our feathered friends, but they are also a delightful and visually appealing addition to any garden space.
Creating bird seed blocks with gelatin is a simple and enjoyable activity that can be done by both adults and children. You don’t need any fancy equipment or extensive gardening skills – just a few basic materials and a little bit of time. In this article, we will guide you through the step-by-step process of making bird seed blocks using gelatin.
These bird seed blocks are made from a mixture of gelatin, bird seeds, and water. Gelatin acts as a binding agent, ensuring that the bird seeds stick together and form solid blocks. The best part is that you can customize the ingredients according to your bird’s preferences, whether it be sunflower seeds, millet, or safflower seeds.
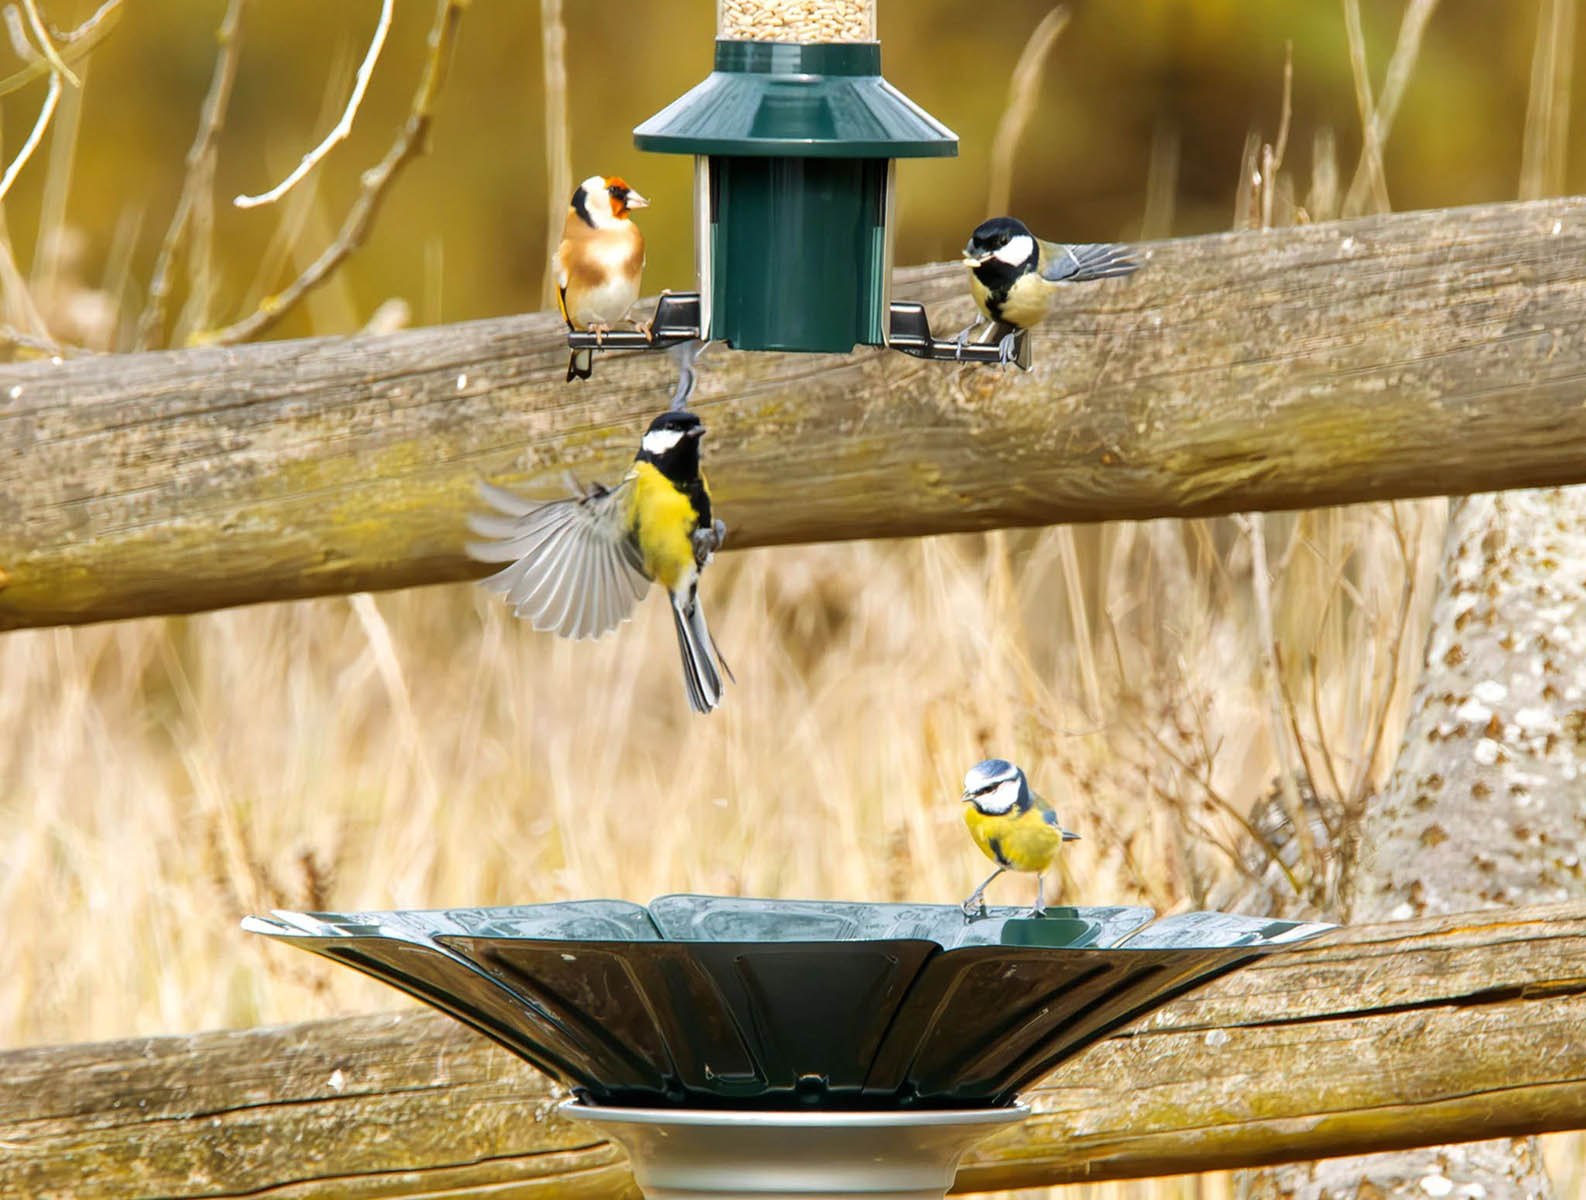
Once you have made your bird seed blocks, you can hang them from tree branches, bird feeders, or even create a dedicated feeding station in your garden. Not only will you provide nourishment for your feathered visitors, but you will also enjoy the delight of watching a variety of birds flocking to your garden.
So, roll up your sleeves, gather your materials, and let’s dive into the fun and exciting world of making bird seed blocks with gelatin. Get ready to attract a colorful array of birds and create a charming garden space that will be the envy of your neighbors!
Key Takeaways:
- Making bird seed blocks with gelatin is a fun and easy way to attract birds to your garden. It’s like creating a tasty treat for our feathered friends, and it’s a simple activity that both kids and adults can enjoy together.
- By hanging the bird seed blocks in your garden, you provide a valuable food source for birds, especially during times when natural food may be scarce. It’s a wonderful way to attract a diverse range of bird species and create a haven for wildlife in your own backyard.
Read more: How To Make Bird Seed Blocks Without Gelatin
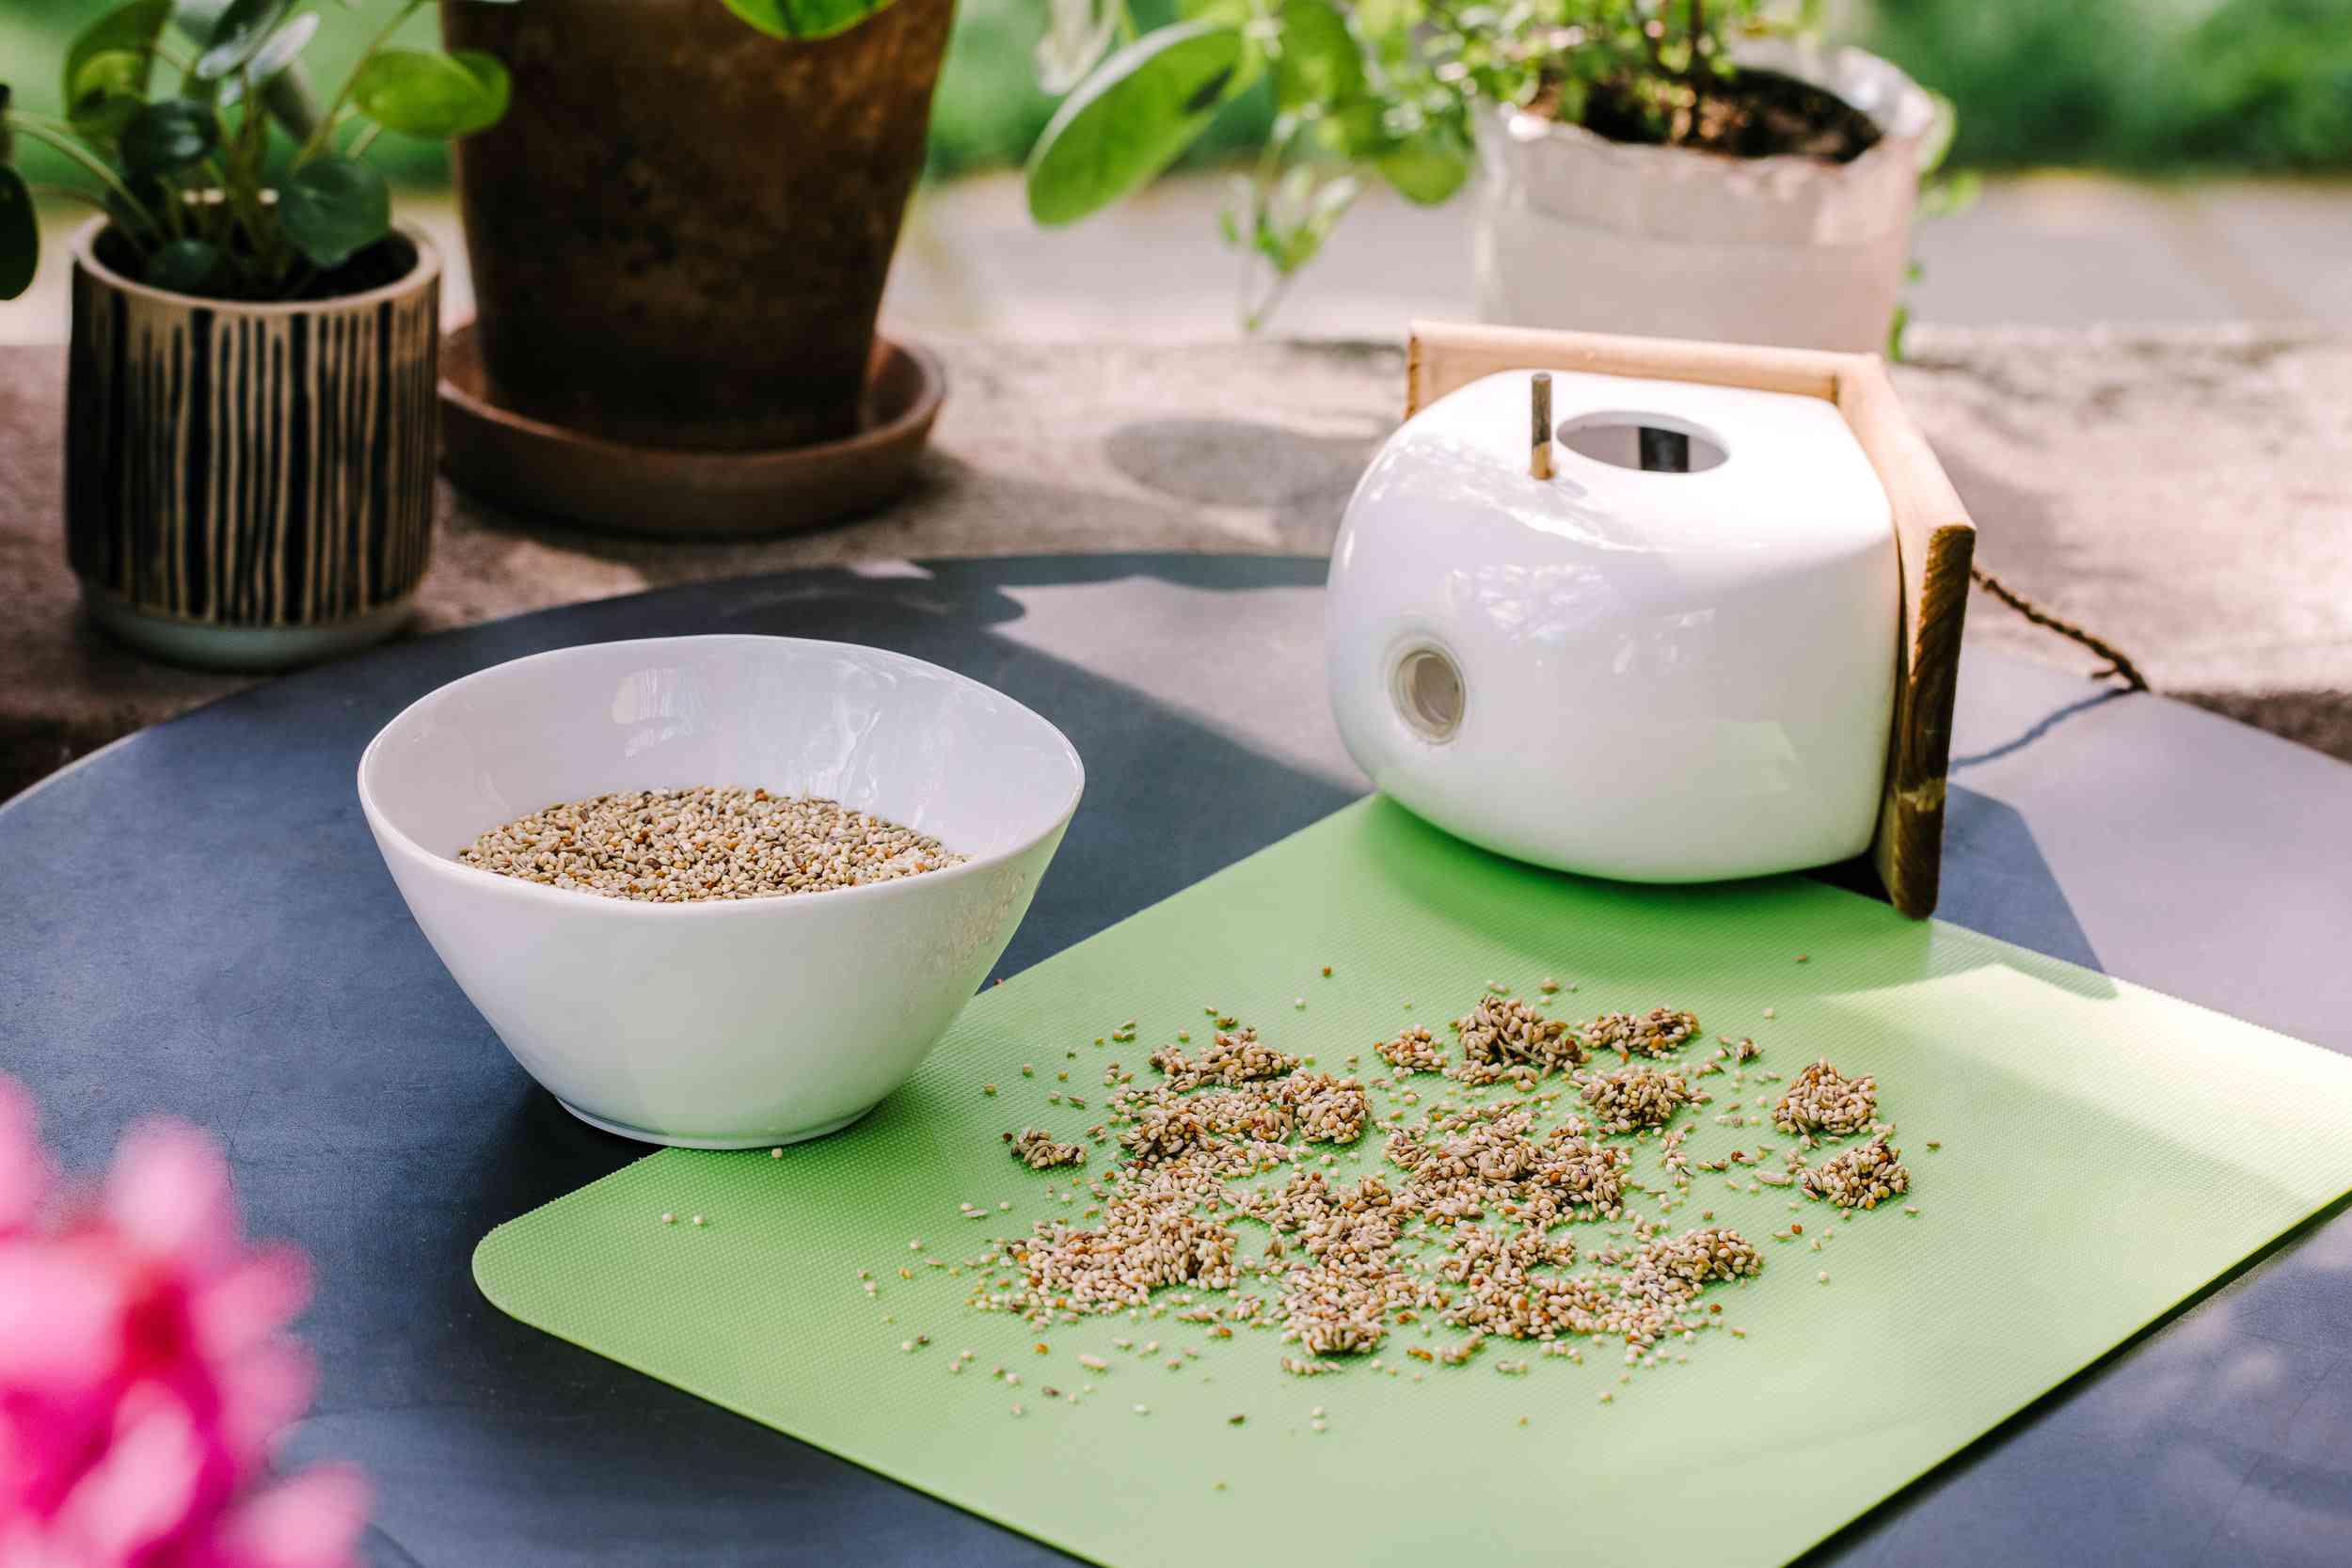
Materials Needed
Before you get started, make sure you have the following materials on hand:
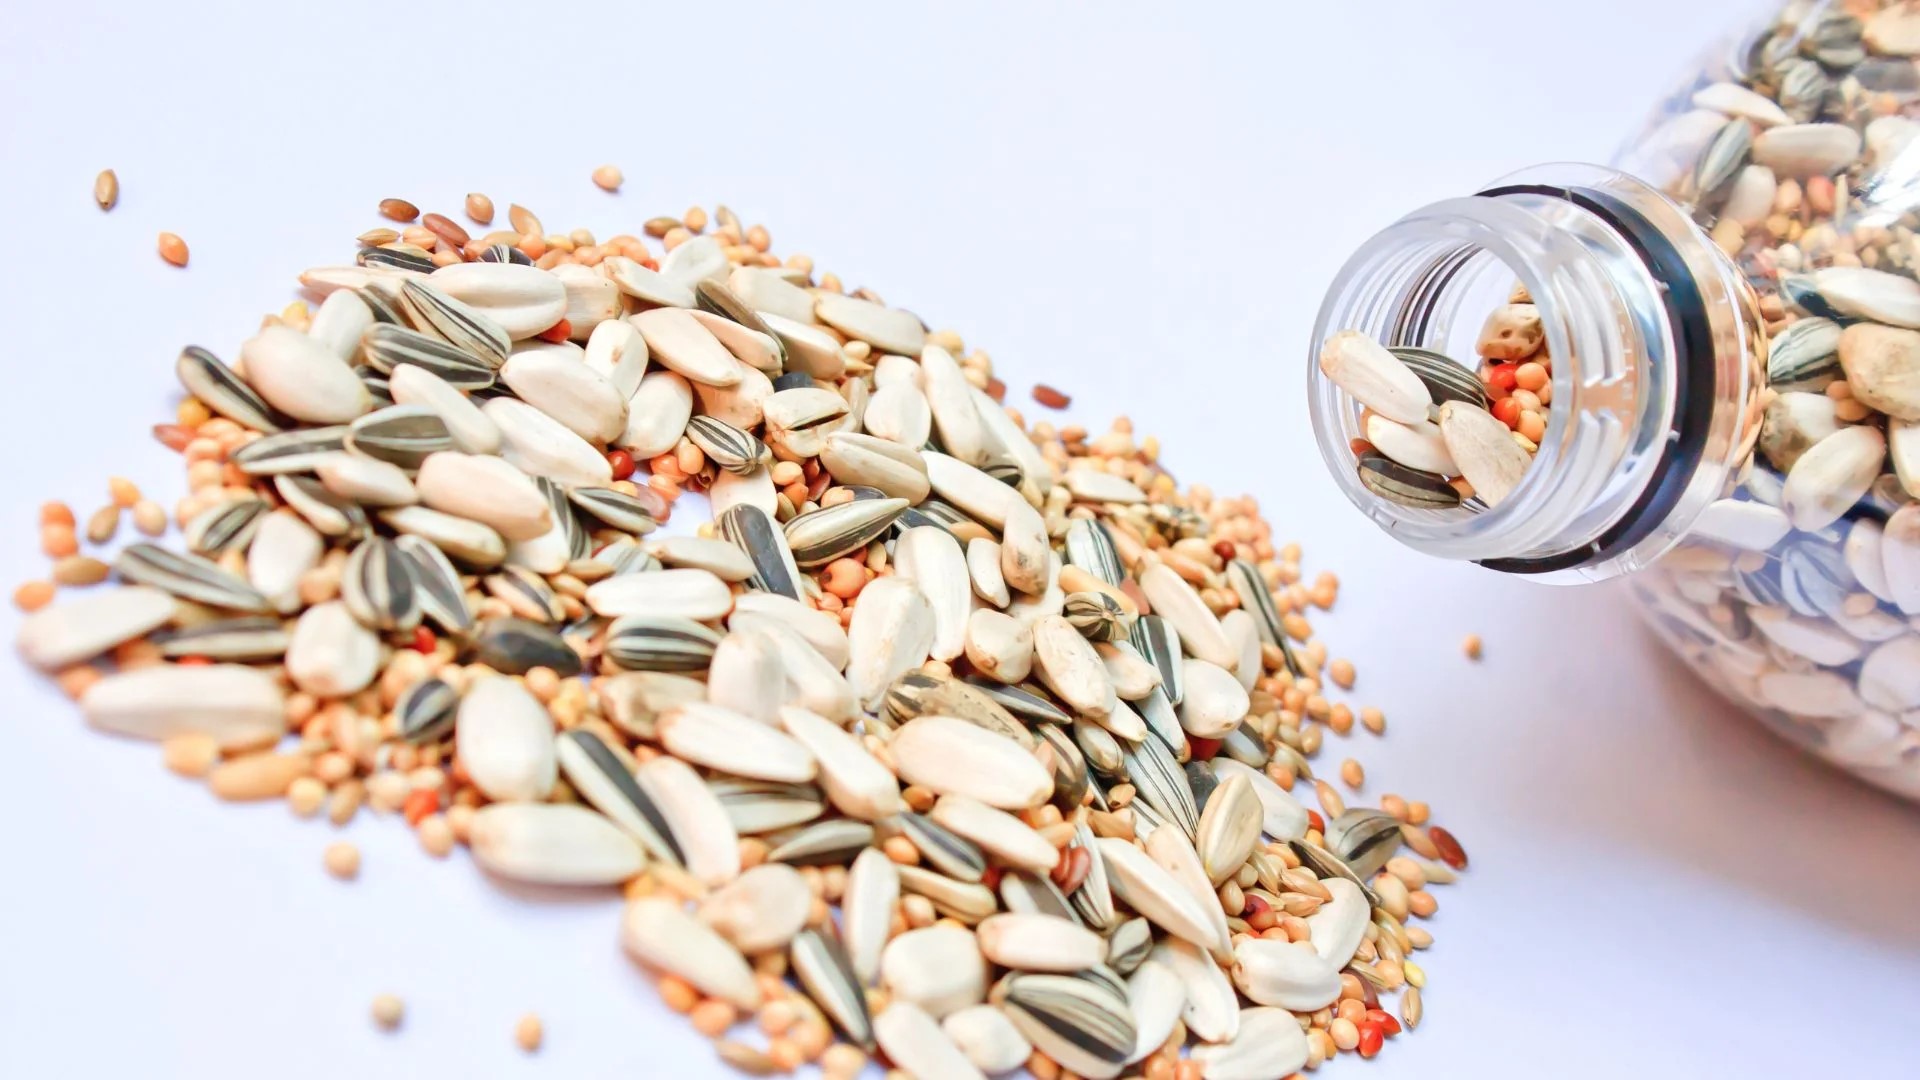
- A packet of unflavored gelatin
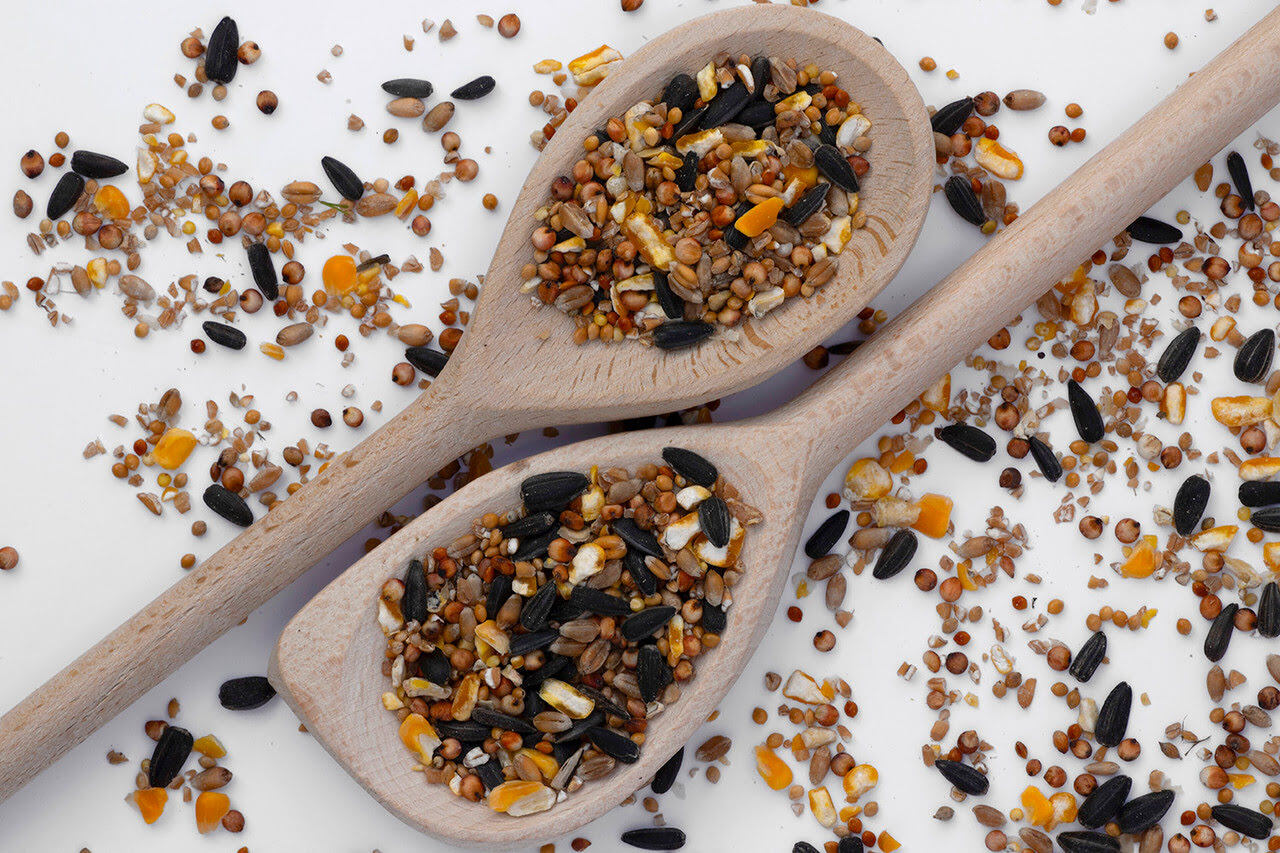
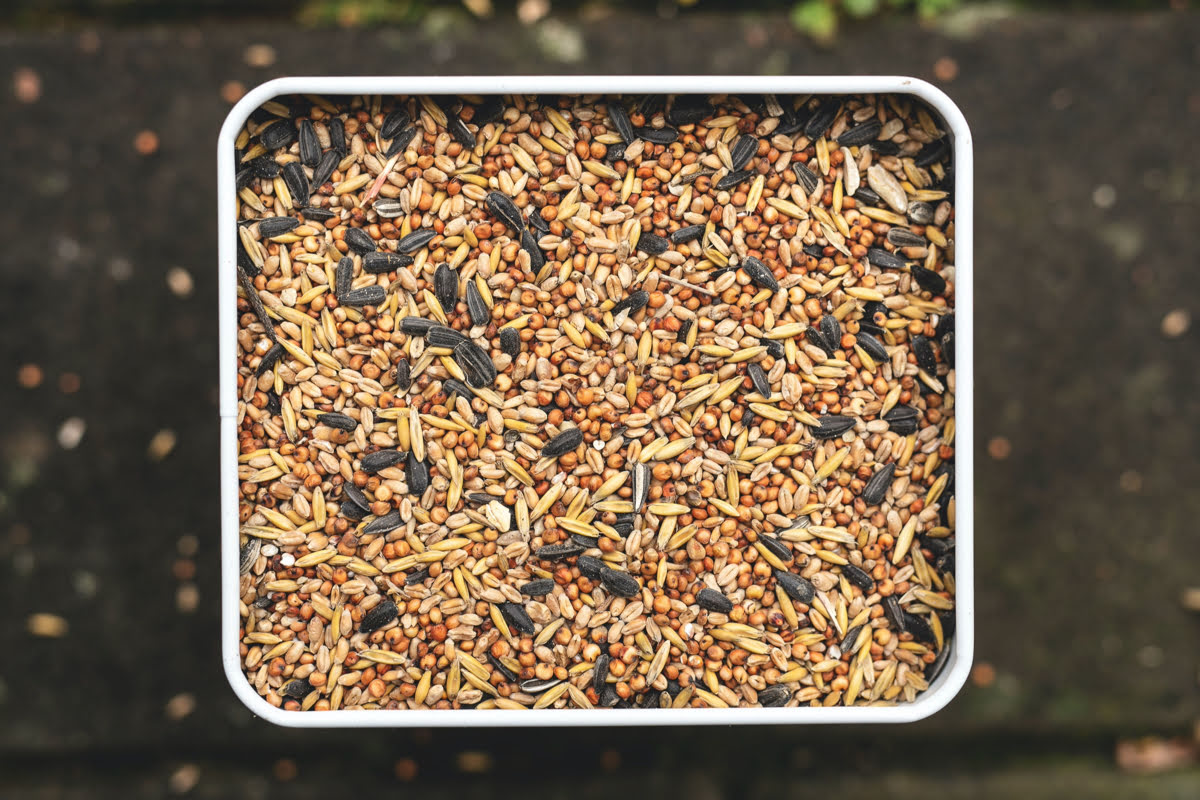
- Bird seeds of your choice (such as sunflower seeds, millet, or safflower seeds)
- Water
- A mixing bowl
- A spoon or spatula for stirring
- Molds or containers to shape the bird seed blocks (you can use cookie cutters, silicone molds, or even repurpose empty yogurt containers)
- Parchment paper or wax paper for lining the molds
- String or twine for hanging the bird seed blocks
Note: It’s important to use unflavored gelatin without any added sugar or artificial flavors. Birds have different nutritional needs than humans and don’t require the additional additives found in flavored gelatin. Stick to plain, unflavored gelatin for the health and safety of your avian visitors.
You can find unflavored gelatin at most grocery stores or online. It often comes in small packets, which are convenient for smaller batch sizes. As for the bird seeds, choose a variety that is suitable for the birds in your area. Different bird species have different food preferences, so consider researching which seeds are most appealing to the birds you want to attract.
Now that you have all your materials ready, let’s move on to the step-by-step process of making bird seed blocks with gelatin.
Step 1: Prepare the Gelatin Mixture
The first step in creating bird seed blocks with gelatin is to prepare the gelatin mixture. Follow these simple instructions:
- In a small saucepan, heat 1 cup of water over medium heat. Bring it to a simmer, but do not let it boil.
- Add one packet of unflavored gelatin to the simmering water.
- Stir the mixture continuously until the gelatin has completely dissolved.
- Once the gelatin has dissolved, remove the saucepan from heat and let the mixture cool for a few minutes. You want it to be warm but not hot.
It’s important to dissolve the gelatin completely to ensure that the bird seed blocks hold together. If there are any clumps of gelatin remaining, it may affect the overall consistency and stability of the blocks.
Take your time to dissolve the gelatin thoroughly, stirring until you no longer see any grains or lumps. Once the gelatin is fully dissolved, move on to the next step – adding the bird seeds!
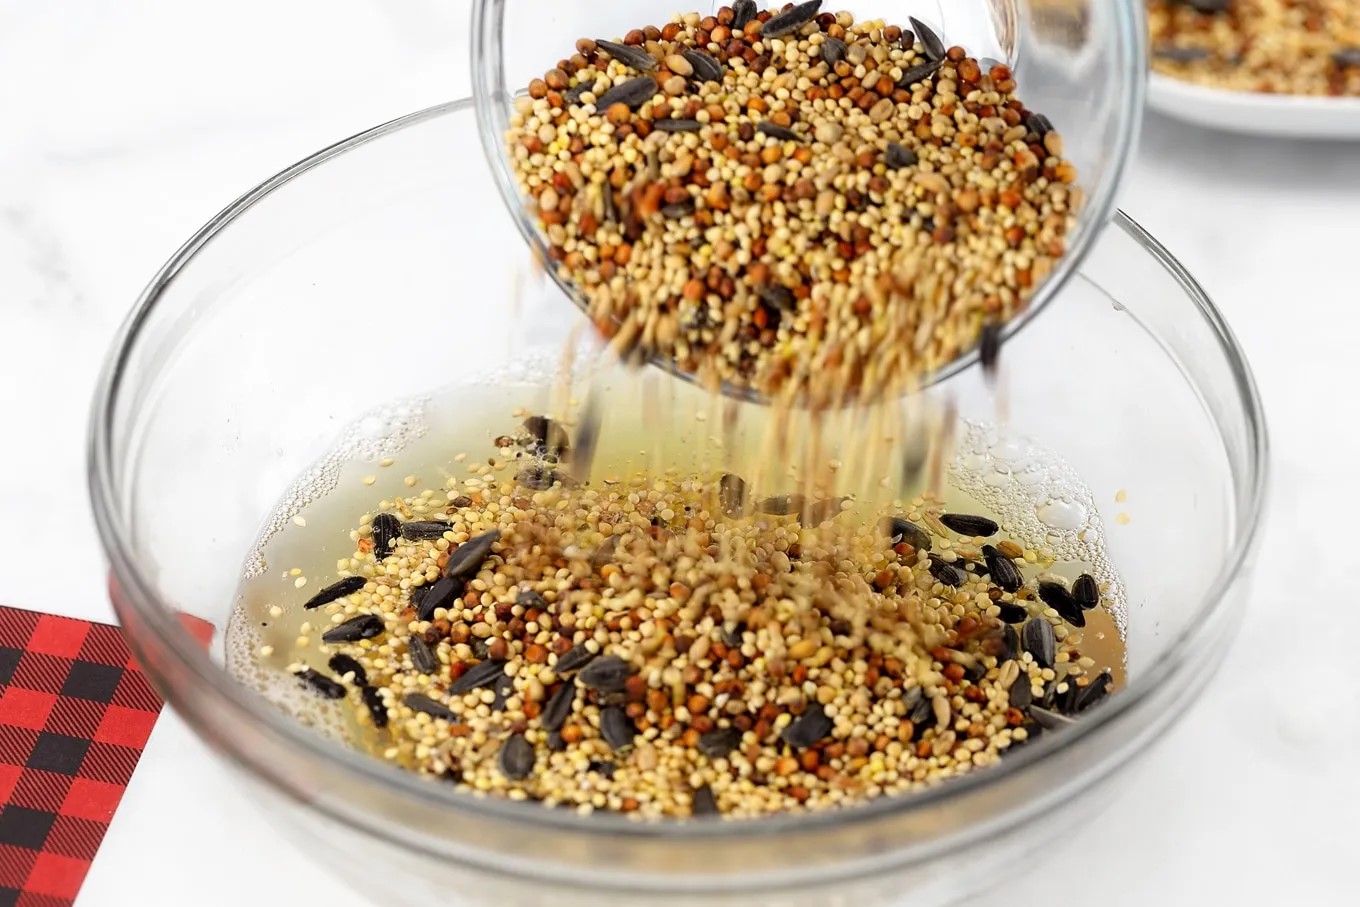
Step 2: Add Bird Seeds
Now that the gelatin mixture is ready, it’s time to add the bird seeds. Follow these simple instructions:
- Measure out your desired amount of bird seeds. The quantity will depend on how many bird seed blocks you want to make and the size of your molds.
- Add the bird seeds to the warm gelatin mixture in the saucepan.
- Stir well to ensure that the bird seeds are evenly coated with the gelatin mixture.
Don’t be afraid to mix thoroughly and ensure that all the bird seeds are well coated. This will help in creating solid bird seed blocks that won’t crumble or fall apart once they are set.
Experiment with different bird seed combinations to cater to the tastes of the birds in your area. You can mix different types of seeds, such as sunflower seeds, millet, or safflower seeds, to create a variety of bird seed blocks that will attract a diverse range of bird species to your garden.
Once the bird seeds are well mixed with the gelatin, it’s time to move on to the next step – shaping the mixture into blocks!
Step 3: Mix Well
After adding the bird seeds to the gelatin mixture, it’s important to mix everything together thoroughly. Here’s how:
- Using a spoon or spatula, thoroughly mix the bird seeds into the gelatin mixture. Make sure that every seed is well coated.
- Continue mixing until you have a sticky and well-combined mixture.
Mixing the bird seeds well into the gelatin will ensure that the seeds are evenly distributed throughout the blocks. It will also help in enhancing their adhesion, ensuring that the blocks hold together once they are set.
Feel free to use both stirring and folding motions to mix the bird seeds and gelatin. By doing so, you will create a consistent and cohesive mixture that will make shaping the bird seed blocks easier.
Remember, this step is crucial for the overall success of your bird seed blocks. So take your time and make sure that the mixture is well-mixed before moving on to the next step – shaping the mixture into blocks!
When making bird seed blocks with gelatin, make sure to use unflavored gelatin to avoid any harmful additives for the birds.
Read more: How To Make A Bird Seed Ball
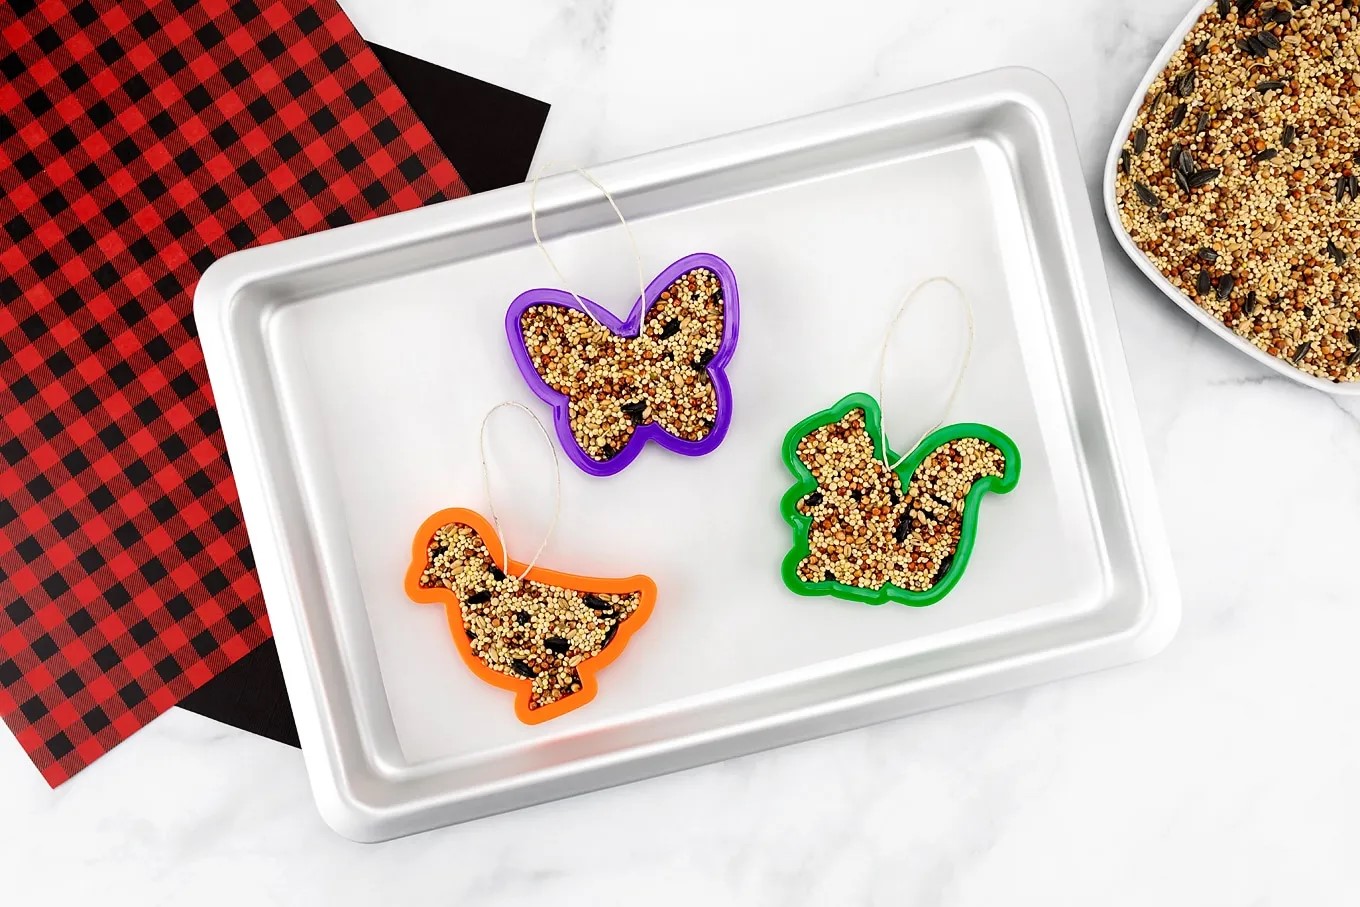
Step 4: Shape the Mixture
With the bird seed mixture well-mixed, it’s time to shape it into blocks. Follow these steps to create beautifully molded bird seed blocks:
- Prepare your molds or containers for shaping the mixture. Line them with parchment paper or wax paper to prevent sticking.
- Spoon the bird seed mixture into the prepared molds, pressing it firmly with the back of the spoon or your fingers. Be sure to fill the molds evenly and compactly.
- If you’re using cookie cutters, place them on a lined baking sheet and press the bird seed mixture into the cutters, ensuring they are tightly packed.
- For an added touch, you can create a hole in the center of each block using a straw or a skewer. This will allow you to hang the blocks later.
Get creative with your mold shapes! You can use various cookie cutter shapes, silicone molds in different designs, or even shape the bird seed mixture by hand into unique forms.
When pressing the mixture into the molds, make sure to exert enough pressure to compact the seeds tightly. This will help the blocks hold their shape and prevent them from crumbling once they are set.
Once you have shaped all the bird seed mixture into blocks, it’s time to let them set and harden. Move on to the next step to learn how!
Step 5: Let it Set
After shaping the bird seed mixture into blocks, it’s important to let them set and harden before unmolding them. This will ensure that the blocks hold their shape and stay intact. Follow these steps for the setting process:
- Place the molds or containers with the bird seed mixture in a cool location, such as the refrigerator or a cool, dry area.
- Allow the bird seed blocks to set and harden for at least a few hours or overnight. The exact time will depend on the temperature and humidity of your environment.
- Check the blocks periodically to ensure that they are firm and completely set. They should hold their shape when gently touched.
Patience is key during this step. It’s essential to let the bird seed blocks set and harden fully to ensure their structural integrity. Rushing the process may result in blocks that are soft or break apart easily.
If you’re in a hurry or want to expedite the setting process, you can place the molds in the refrigerator, which will speed up the solidification of the gelatin mixture. However, be cautious not to leave them for too long, as excessive cold temperatures can cause the blocks to become brittle.
Once the bird seed blocks are set and firm to the touch, it’s time to move on to the next step – unmolding them!
Step 6: Unmold the Bird Seed Blocks
Now comes the exciting part – it’s time to unmold the bird seed blocks! Follow these steps to safely remove the blocks from their molds:
- Gently remove the parchment paper or wax paper lining from the molds, if applicable.
- If you used silicone molds or cookie cutters, carefully push on the backside of the molds or press down on the edges of the cookie cutters to release the blocks. If needed, you can use a butter knife to help loosen the edges.
- If you used containers, gently invert the containers and tap them on a flat surface to release the blocks. You may need to lightly press on the bottom of the container to help release the blocks.
Take your time during the unmolding process to prevent any damage to the bird seed blocks. Be patient and gentle, ensuring that the blocks remain intact and retain their shape.
If any part of the blocks sticks to the molds, carefully peel it away or use a toothpick or small knife to gently separate it. Just be cautious not to apply too much force, as it may cause the blocks to crumble.
Once all the bird seed blocks are unmolded successfully, they are ready to be hung and enjoyed by our feathered visitors. Let’s move on to the final step!
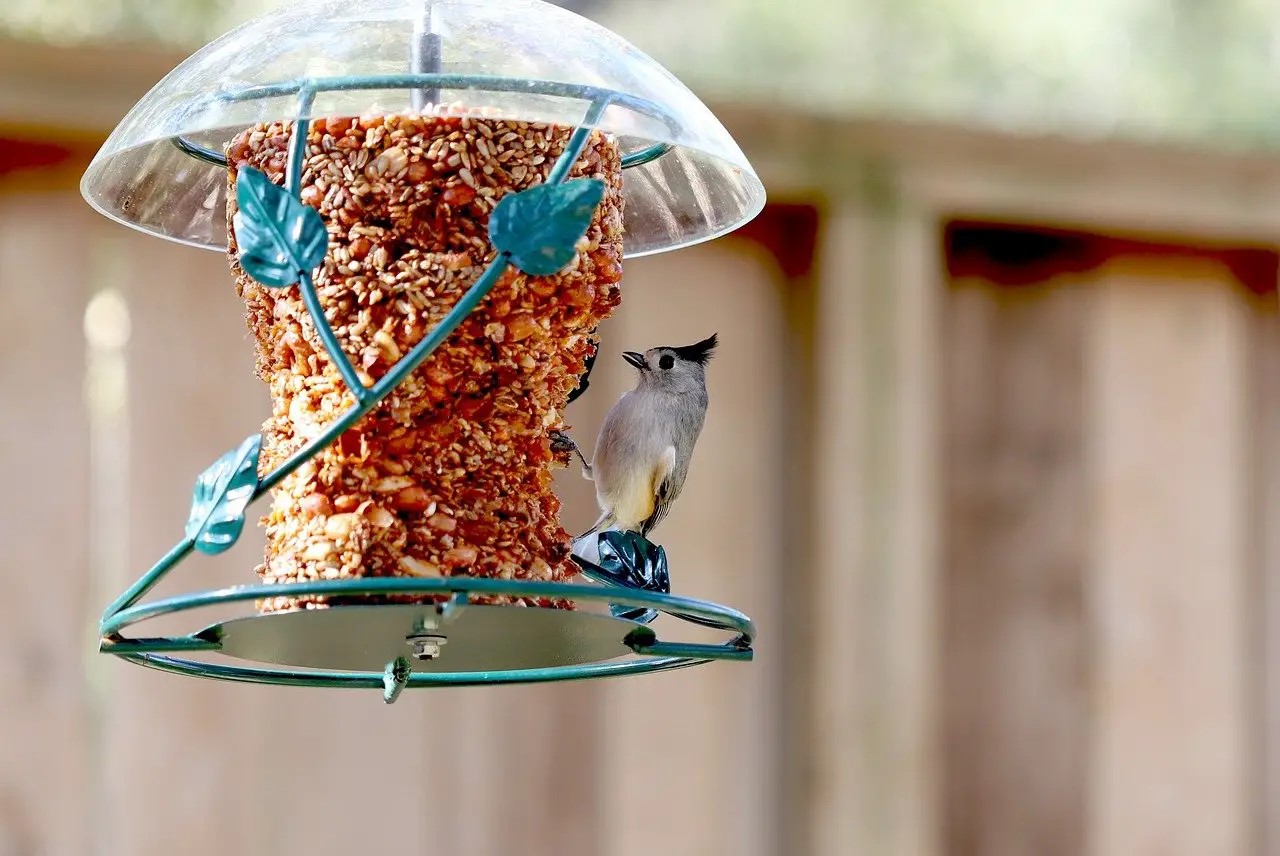
Step 7: Hang and Enjoy
Congratulations on making your bird seed blocks! Now, it’s time to hang them and watch as the birds flock to enjoy this delicious and nutritious treat. Follow these steps to ensure proper hanging and maximize the enjoyment for both you and the birds:
- Choose a suitable location to hang the bird seed blocks. It should be easily visible from bird-friendly areas, such as trees or shrubs.
- Using a string or twine, thread it through the hole in the center of each block. Tie a secure knot to prevent the blocks from falling off.
- Hang the bird seed blocks from tree branches or bird feeders. Ensure that they are at a suitable height and accessible for the birds.
- Keep in mind that different bird species have different feeding habits and preferences. Consider the preferences of the birds in your area and hang the blocks accordingly.
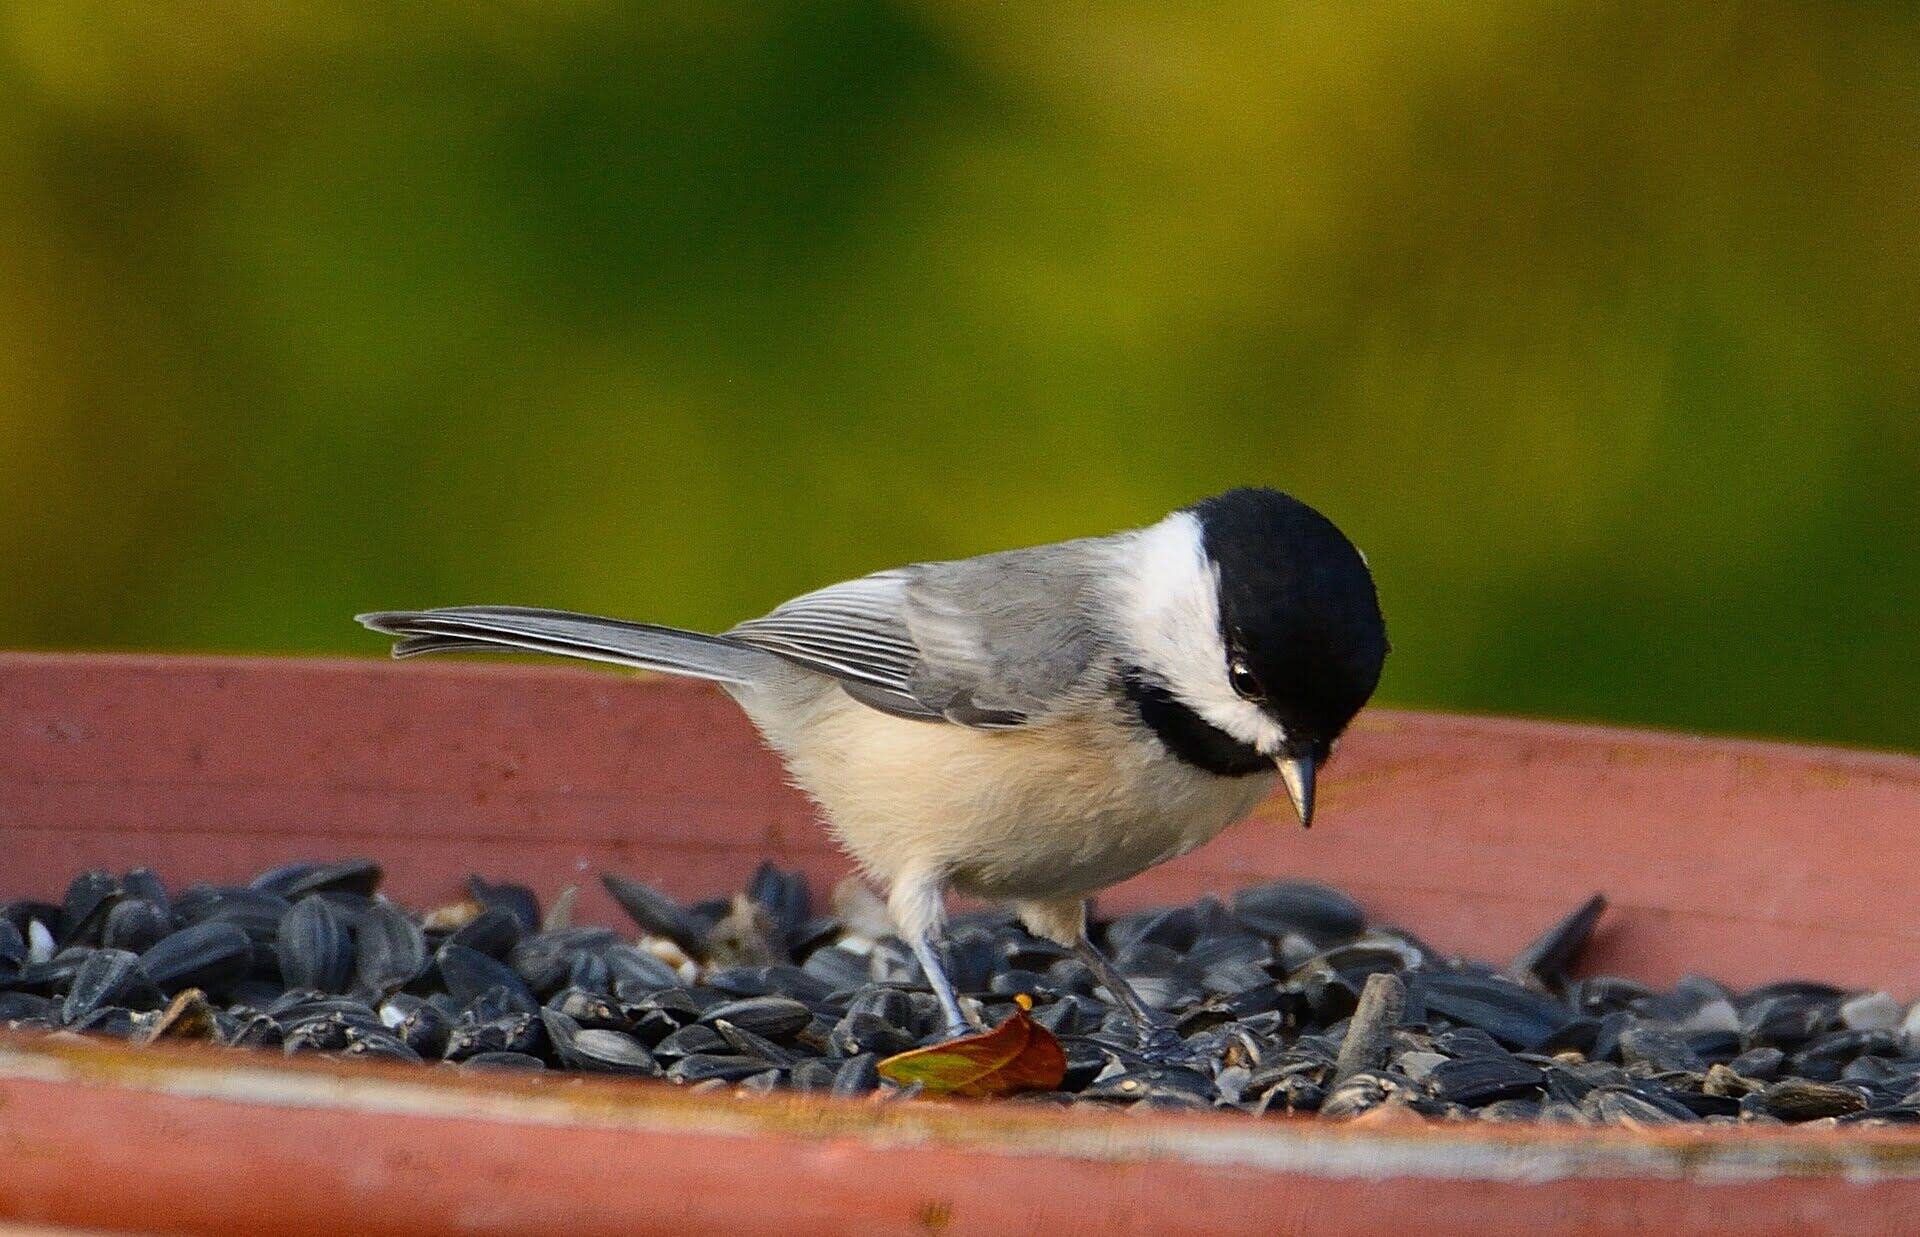
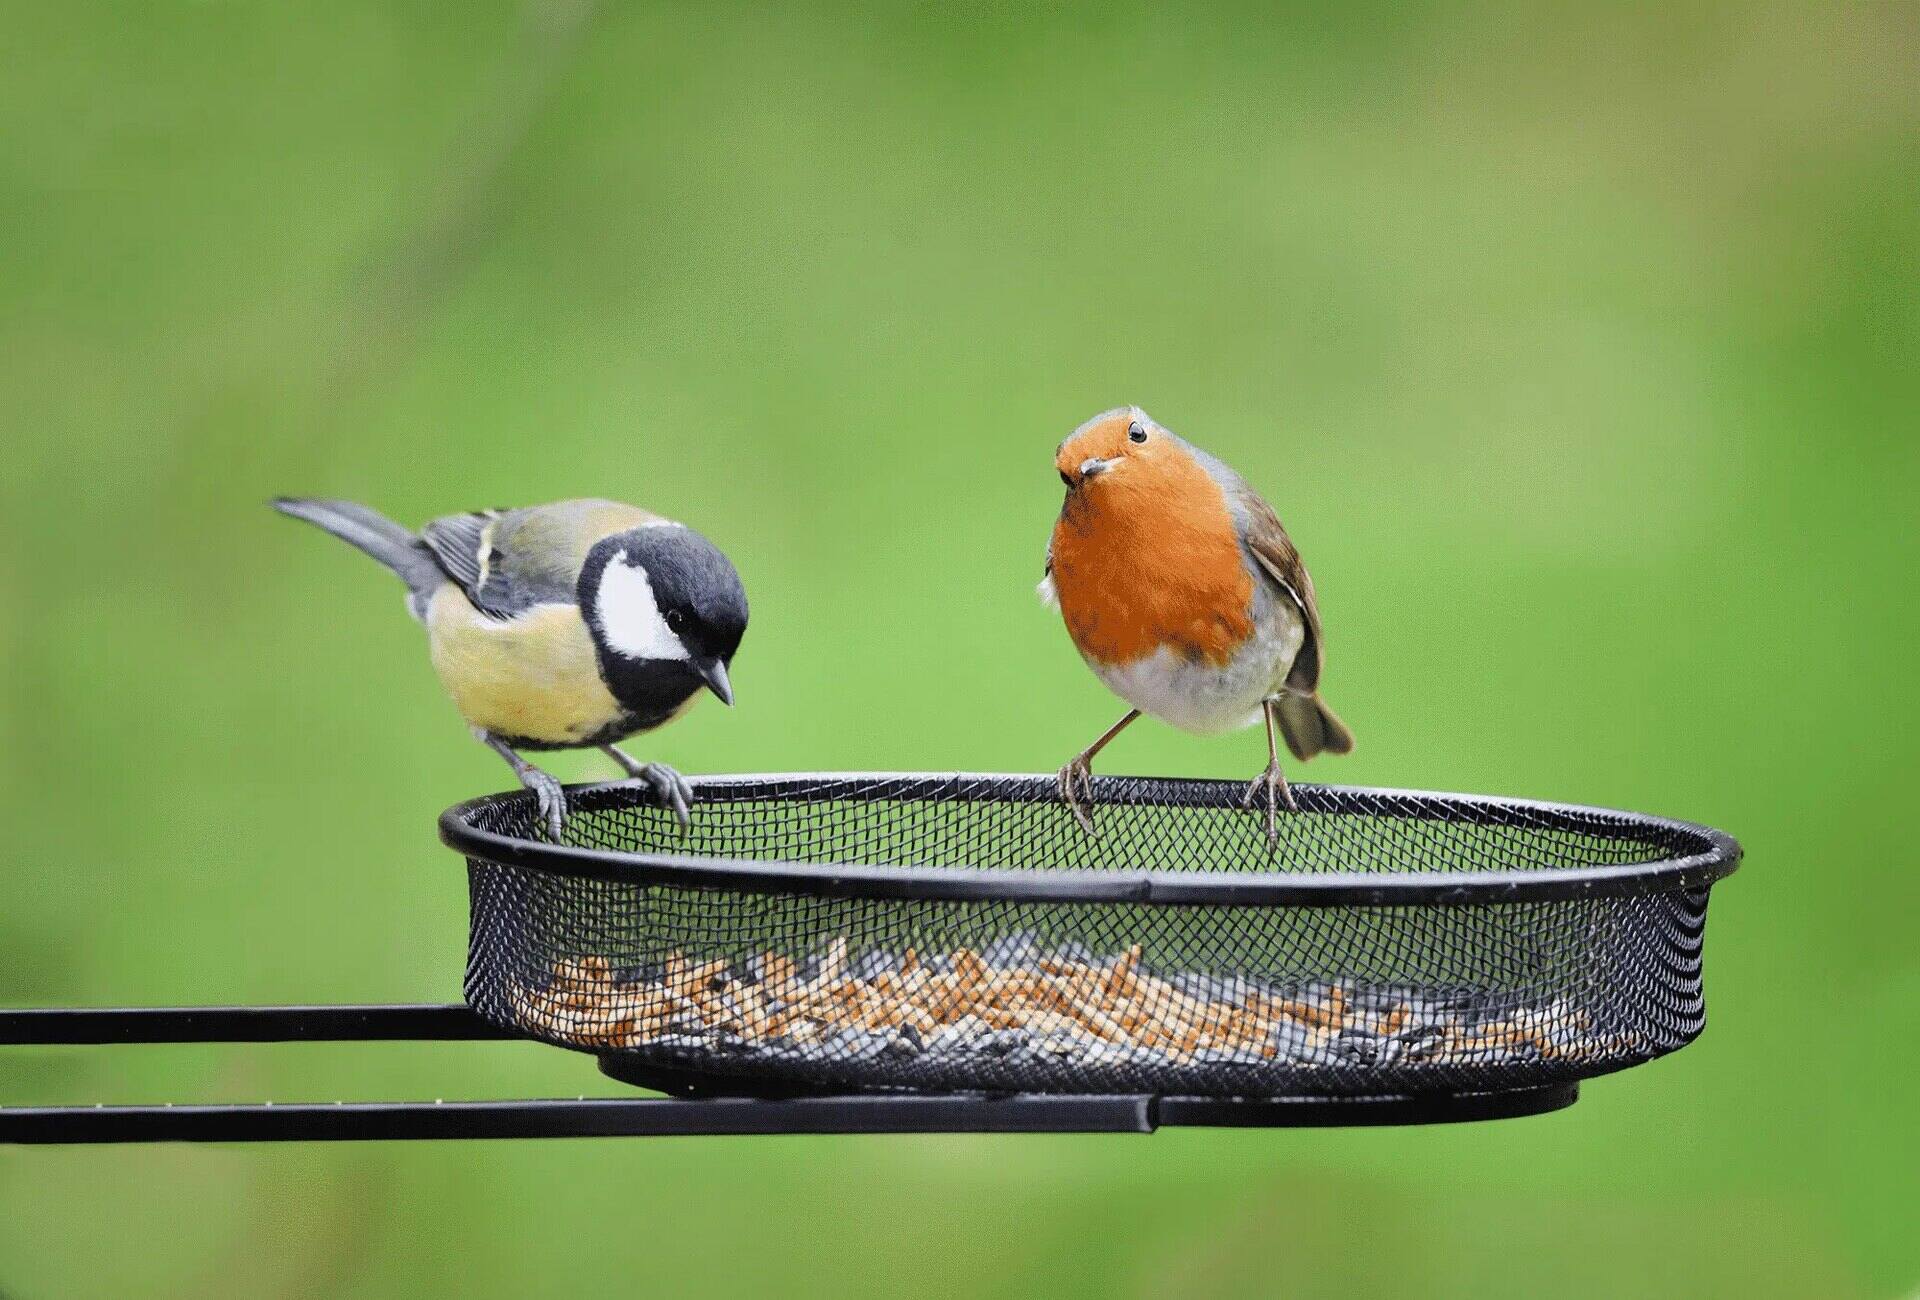
- Observe and enjoy the birds as they come to feast on the bird seed blocks. Grab your binoculars, camera, or simply sit back and marvel at their beauty.
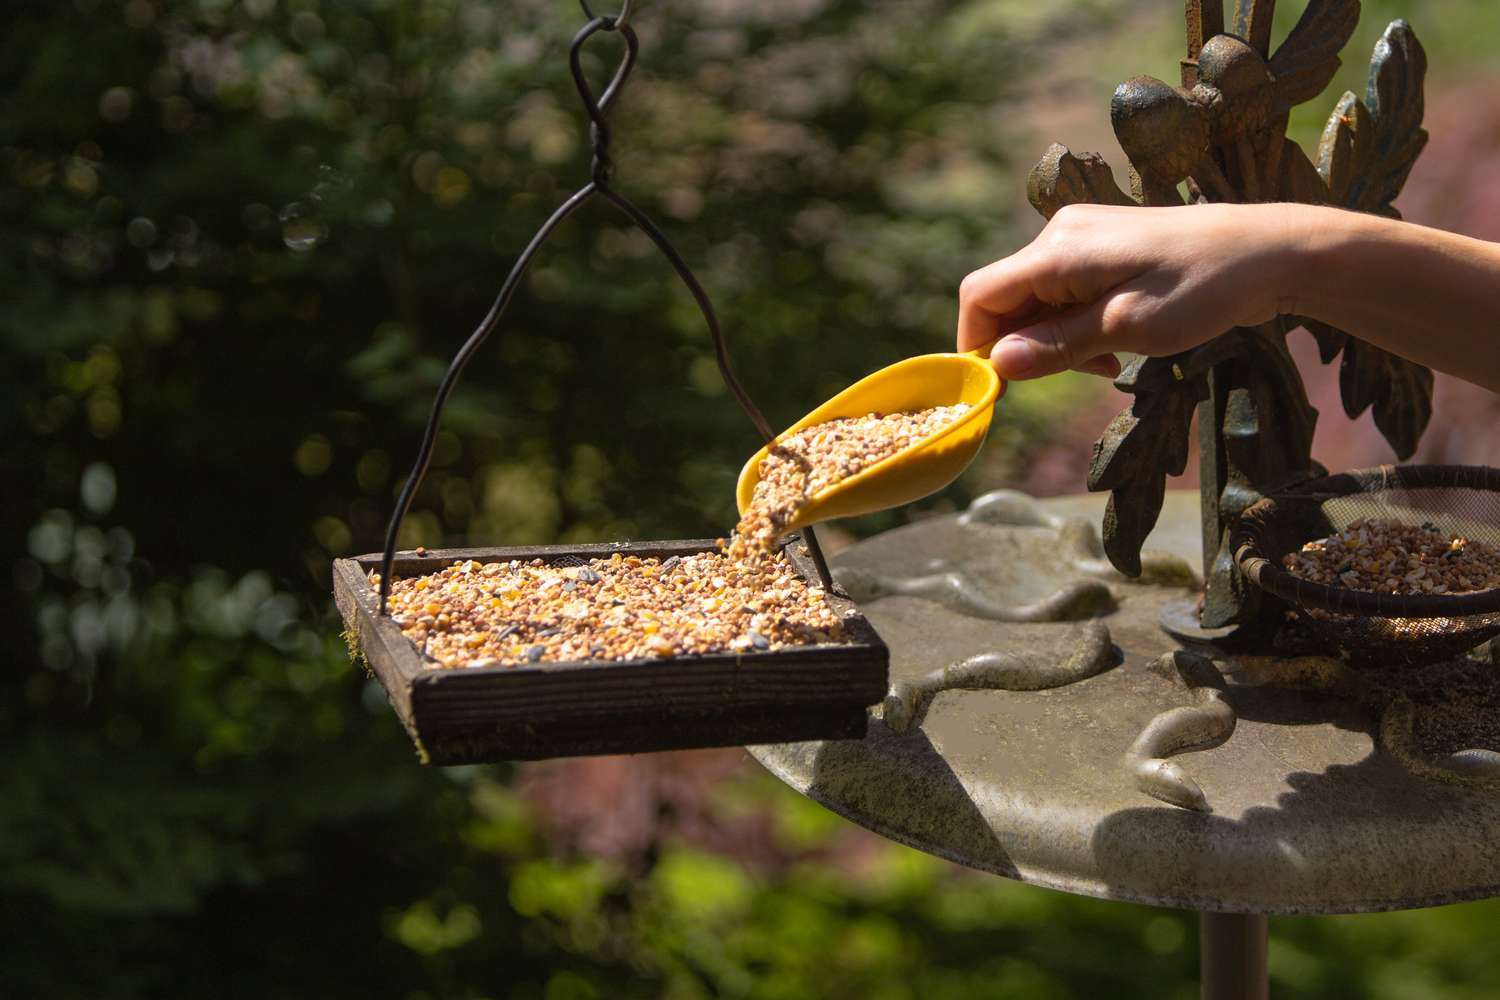
- Remember to clean and refill the bird seed blocks regularly, especially during rainy or humid weather, to prevent spoilage.
By hanging the bird seed blocks in your garden, you provide a valuable food source for birds, especially during times when natural food may be scarce. It’s a wonderful way to attract a diverse range of bird species and create a haven for wildlife in your own backyard.
As you enjoy the sight of birds indulging in the bird seed blocks, consider keeping a bird identification book or app handy to learn more about the different species you attract. This can add an educational aspect to your bird feeding experience!
So sit back, relax, and immerse yourself in the beauty and joy of bird watching with the help of your homemade bird seed blocks.
Read more: How To Make A Bird Seed Wreath
Conclusion
Congratulations! You have successfully learned how to make bird seed blocks with gelatin. By following the simple steps outlined in this article, you have created a delightful and nutritious treat for the birds in your garden.
Making bird seed blocks with gelatin is not only a fun and creative activity, but it also provides a rewarding experience as you observe the birds visiting your garden. These homemade treats offer a reliable source of nourishment for birds, especially during periods when natural food may be scarce.
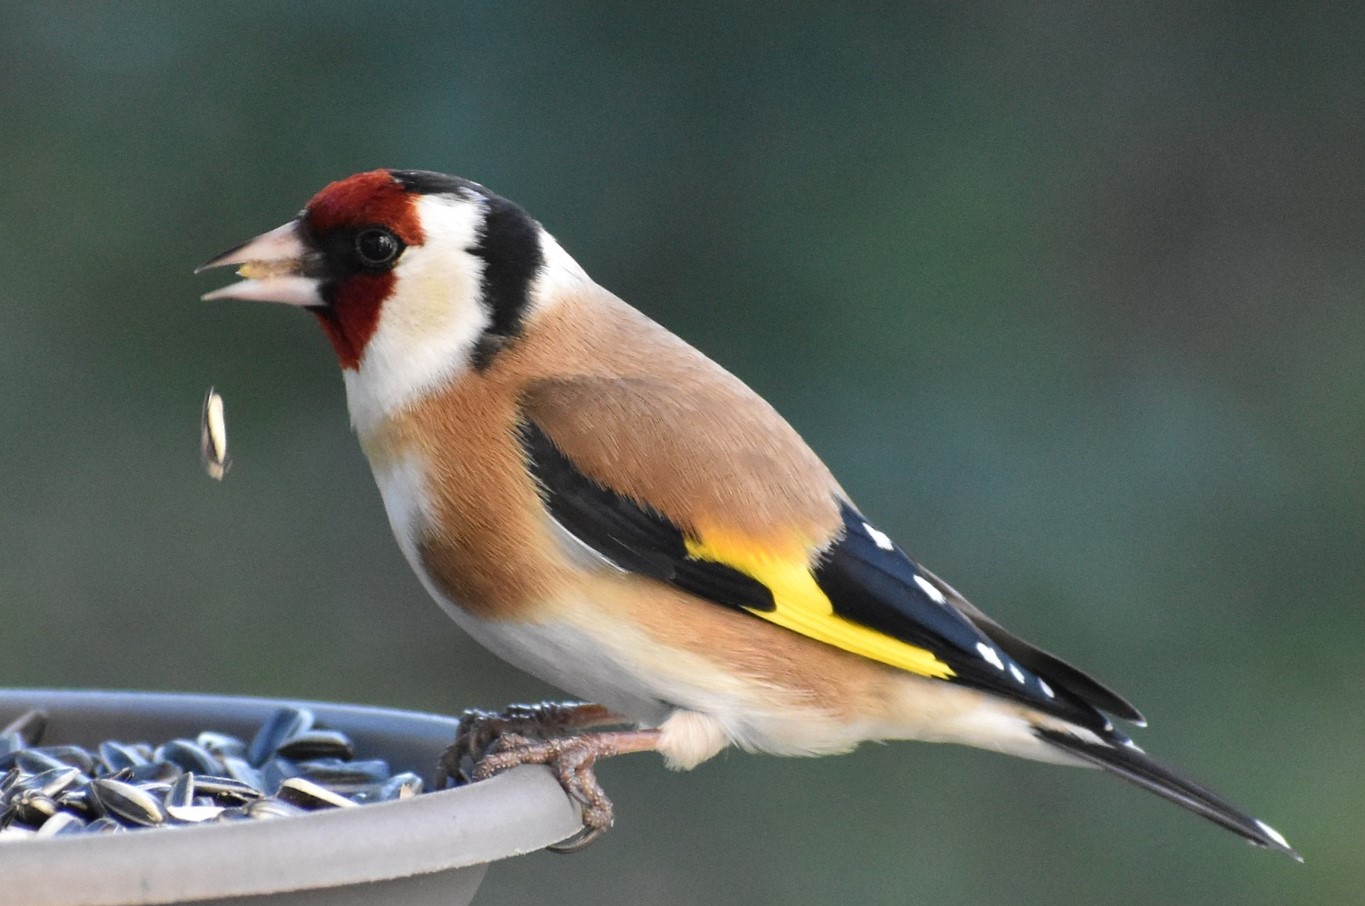
Remember to choose a variety of bird seeds that are appealing to different bird species in your area. By providing a diverse selection, you can attract a wide range of birds and enjoy the beauty of their vibrant colors and melodious songs.
Be sure to hang the bird seed blocks in suitable locations, ensuring they are easily visible and accessible to the birds. Regularly clean and refill the blocks to maintain their freshness and appeal to the avian visitors in your garden.
By creating a welcoming space for birds, you are not only benefiting the wildlife but also bringing life and beauty to your own outdoor space. So sit back, relax, and enjoy the company of the feathered friends that grace your garden with their presence.
Continue to explore and expand your knowledge of bird species, their habits, and their fascinating behaviors. With each bird that visits your homemade bird seed blocks, you have the opportunity to learn more and appreciate the wonders of nature.
Thank you for joining us on this bird feeding adventure. We hope that making bird seed blocks with gelatin brings you joy, enriches your garden, and helps create a haven for beautiful birds in your neighborhood.
Frequently Asked Questions about How To Make Bird Seed Blocks With Gelatin
Was this page helpful?
At Storables.com, we guarantee accurate and reliable information. Our content, validated by Expert Board Contributors, is crafted following stringent Editorial Policies. We're committed to providing you with well-researched, expert-backed insights for all your informational needs.
0 thoughts on “How To Make Bird Seed Blocks With Gelatin”