Home>Garden Essentials>How To Make A Bird Seed Wreath
Garden Essentials
How To Make A Bird Seed Wreath
Modified: March 15, 2024
Learn how to make a bird seed wreath for your garden and attract beautiful feathered friends. Transform your outdoor space with this DIY project!
(Many of the links in this article redirect to a specific reviewed product. Your purchase of these products through affiliate links helps to generate commission for Storables.com, at no extra cost. Learn more)
Introduction
Welcome to the wonderful world of bird seed wreaths! These delightful creations not only add a touch of charm to your garden, but they also provide essential nourishment for your feathered friends. Making a bird seed wreath is a fun and rewarding DIY project that can be enjoyed by gardeners of all levels of experience.
By crafting your own bird seed wreath, you have the freedom to choose high-quality ingredients and customize the design to suit your taste. Plus, the process is surprisingly simple and requires just a few materials. In this article, we will guide you through the step-by-step process of creating a beautiful bird seed wreath that will attract a wide variety of birds to your garden.
Before we dive into the steps, let’s take a moment to understand why bird seed wreaths are such a valuable addition to your garden. Birds are an essential part of a healthy ecosystem, providing natural pest control and pollination. By providing them with a reliable food source, such as a bird seed wreath, you can create a welcoming environment for these feathered creatures year-round.
Not only will you enjoy the sight of colorful birds flocking to your garden, but you will also be contributing to their overall well-being. Plus, bird seed wreaths serve as an attractive decoration that adds a touch of whimsy and natural beauty to any outdoor space.
So, let’s gather our materials and get ready to create a bird seed wreath that both you and your feathered friends will love!
Key Takeaways:
- Making a bird seed wreath is a fun and easy way to attract birds to your garden while providing them with a nutritious food source. It’s a simple DIY project that adds charm to your outdoor space.
- By using high-quality bird seed and adding decorative elements, you can create a personalized bird seed wreath that not only attracts birds but also adds natural beauty to your garden.
Read more: How To Make A Bird Seed Ball
Materials Needed
Before you can embark on your bird seed wreath-making adventure, it’s important to gather all the necessary materials. Fortunately, you don’t need a long list of items to get started. Here’s what you’ll need:
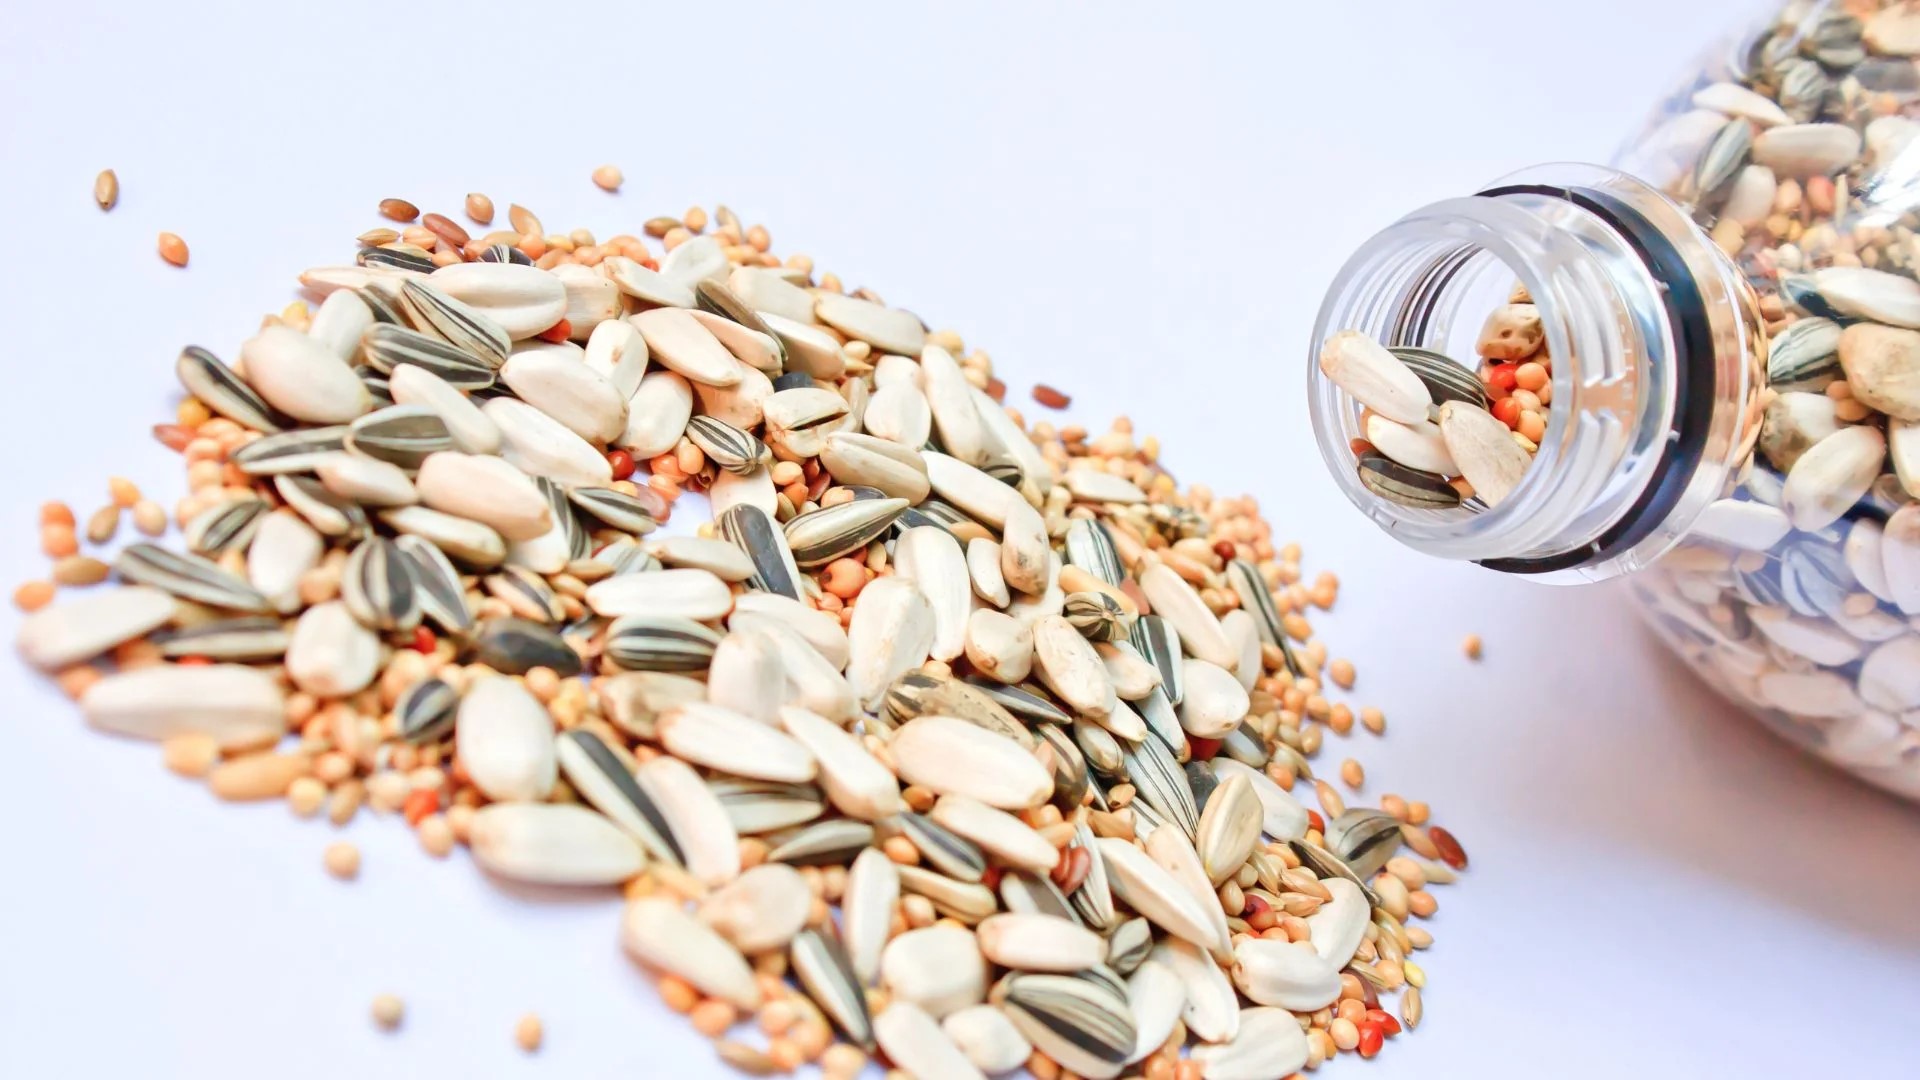
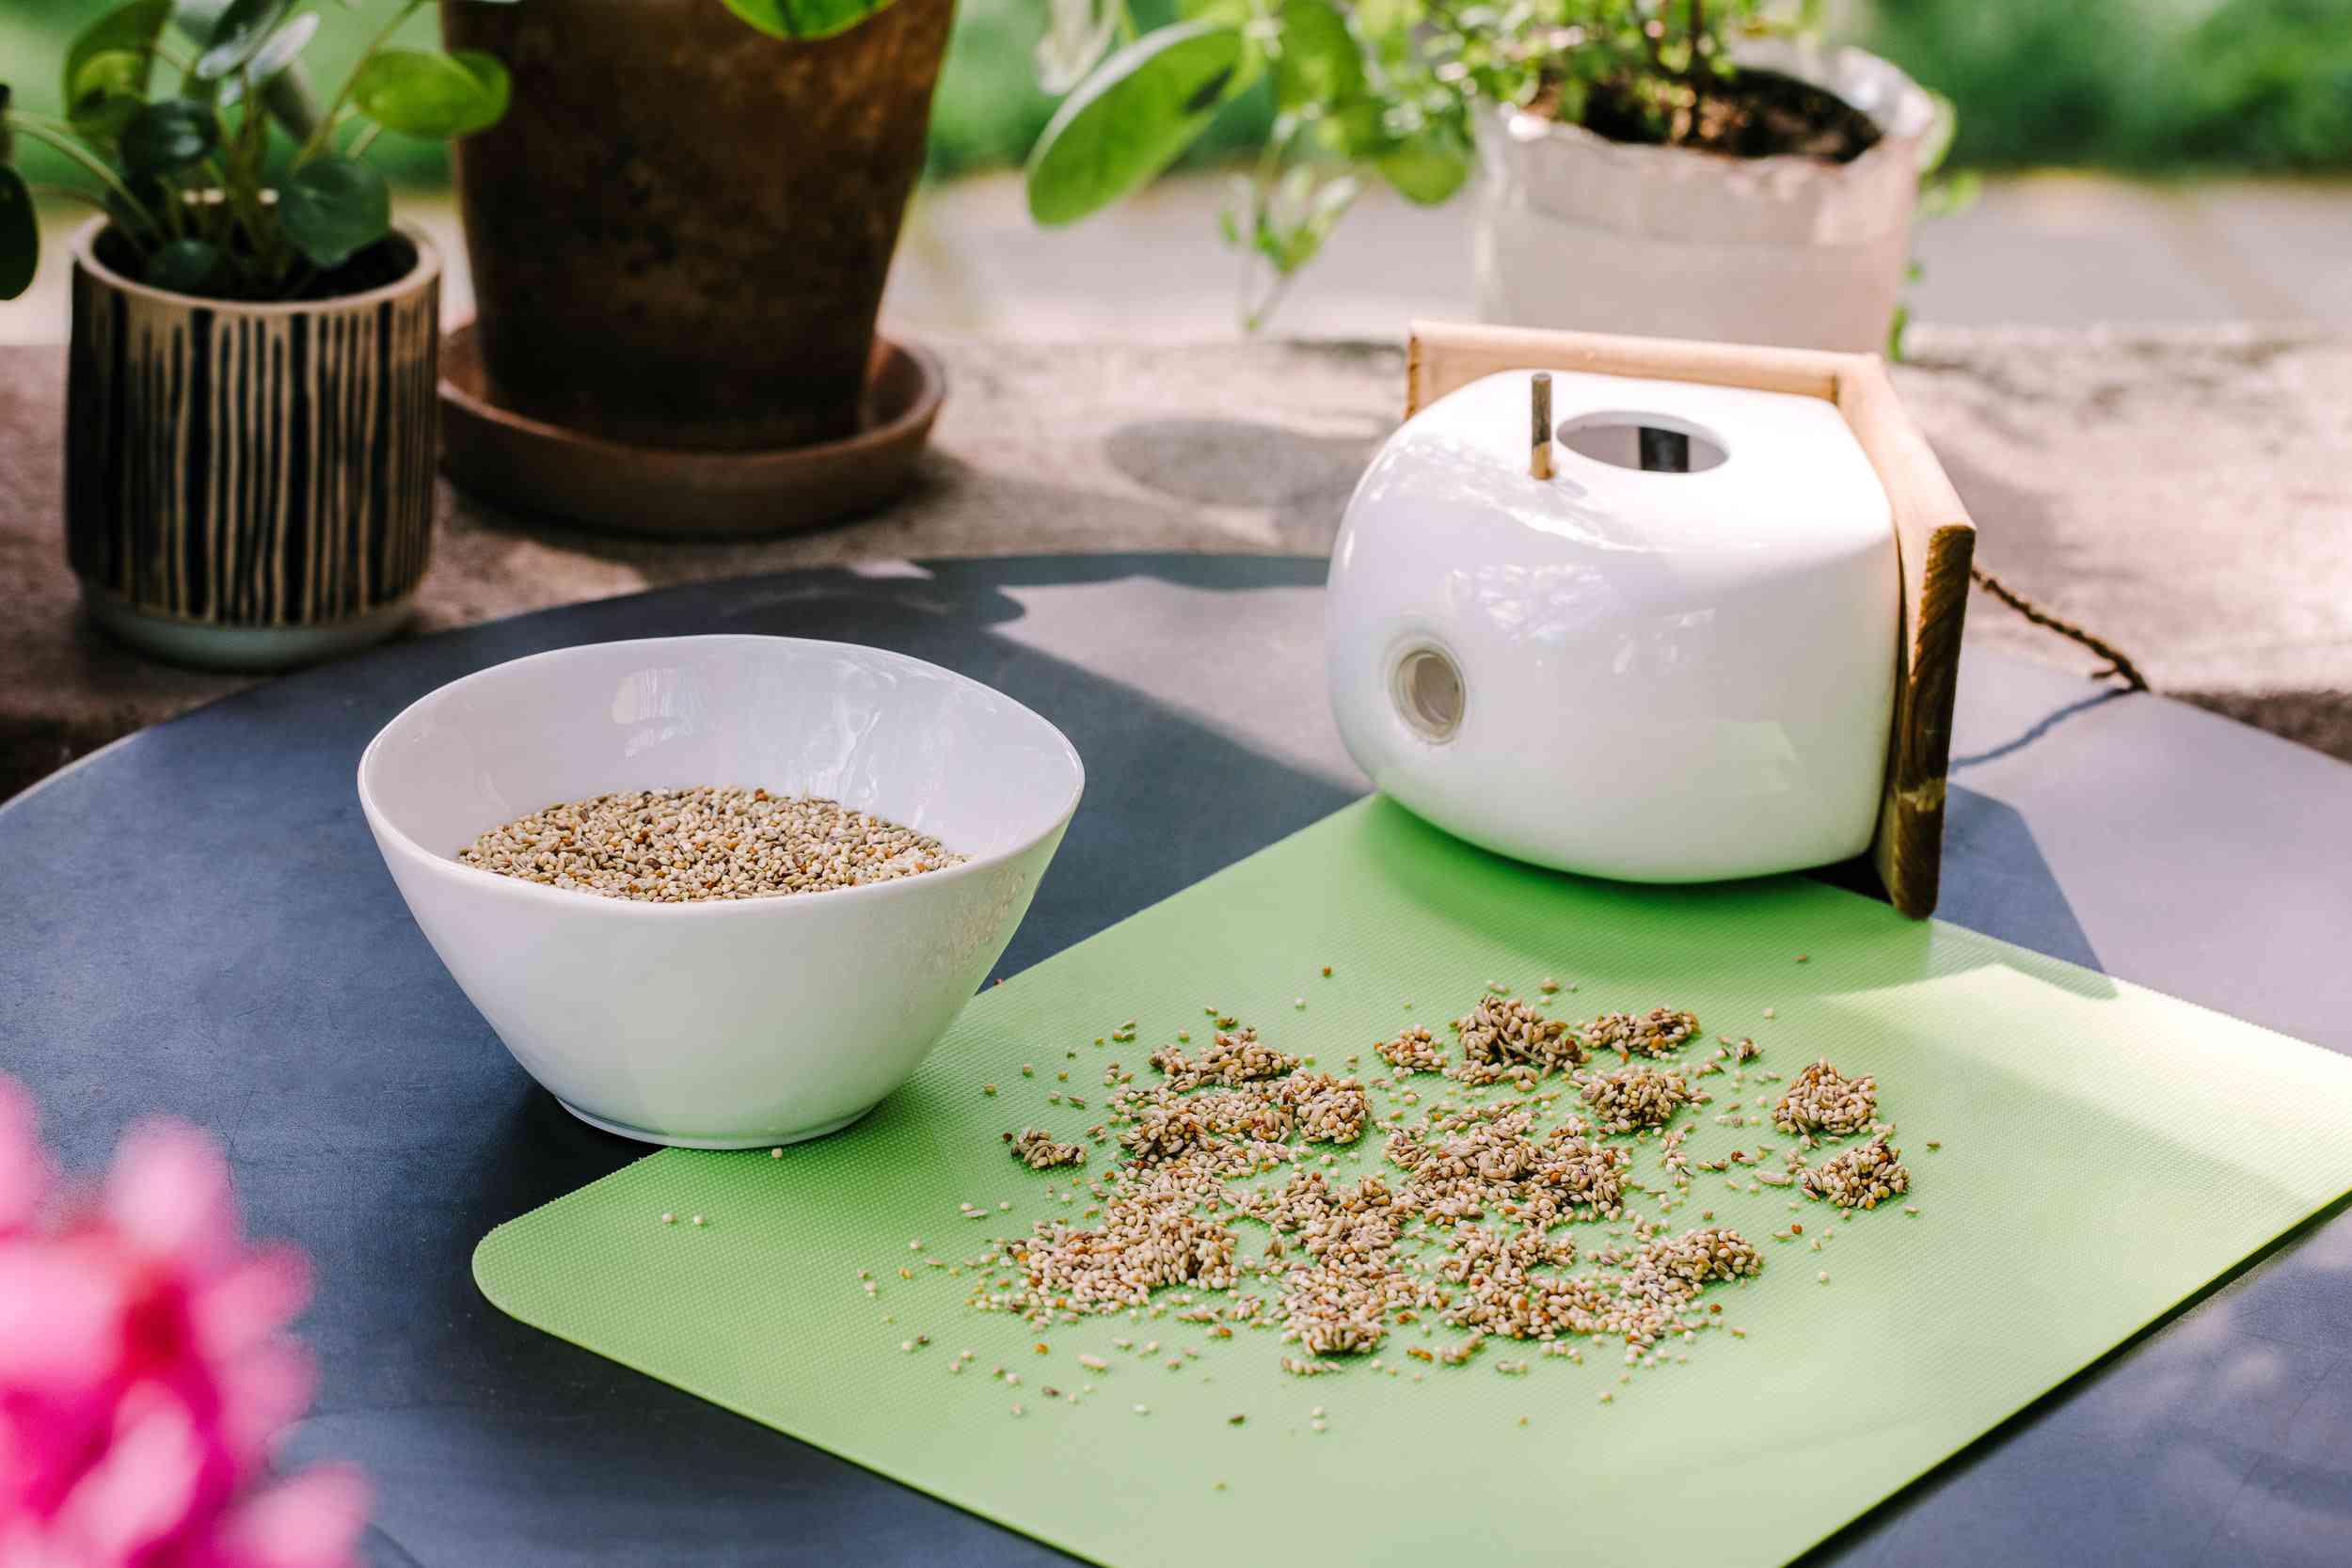
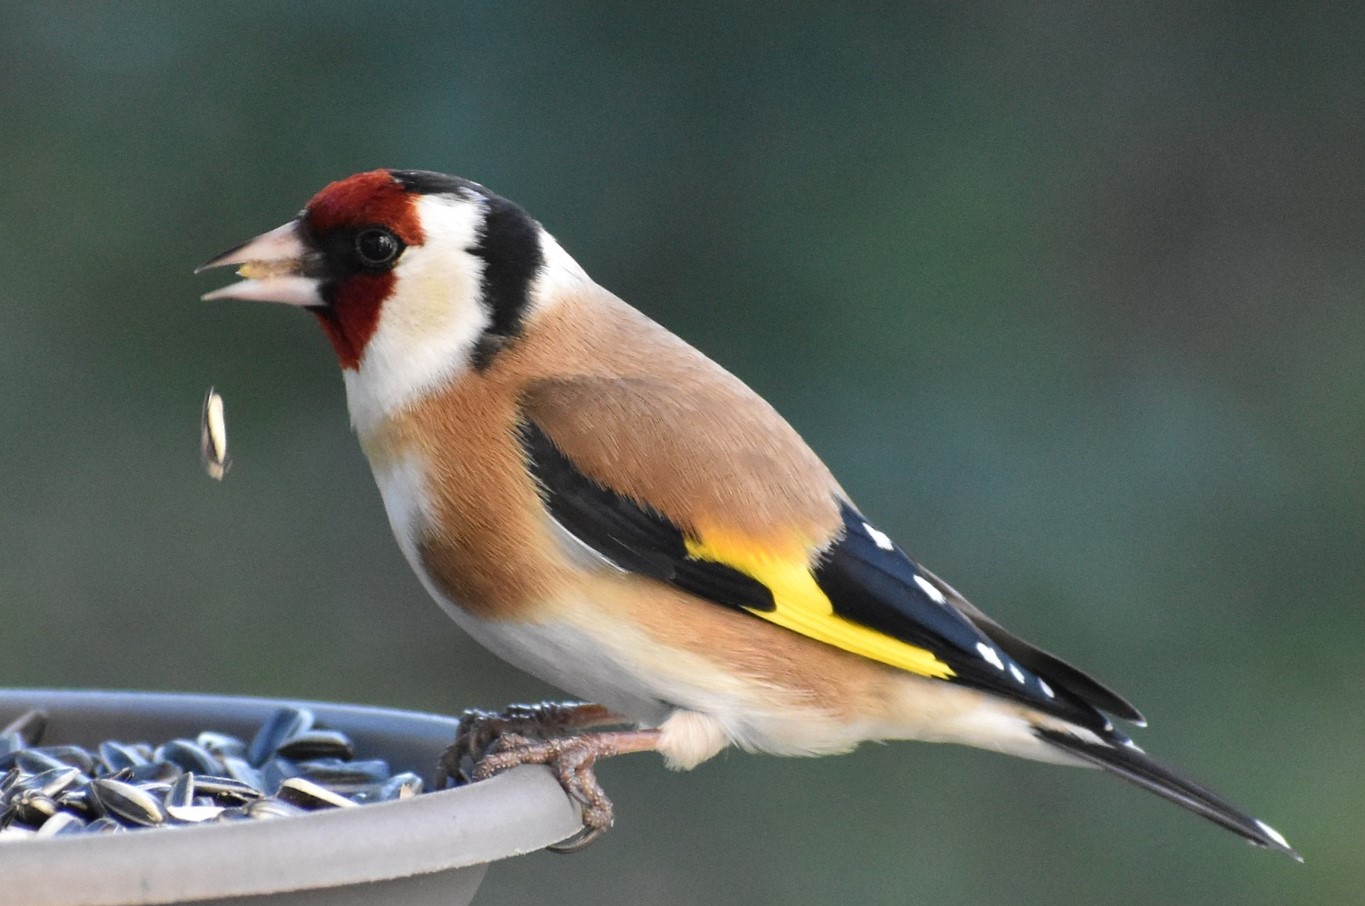
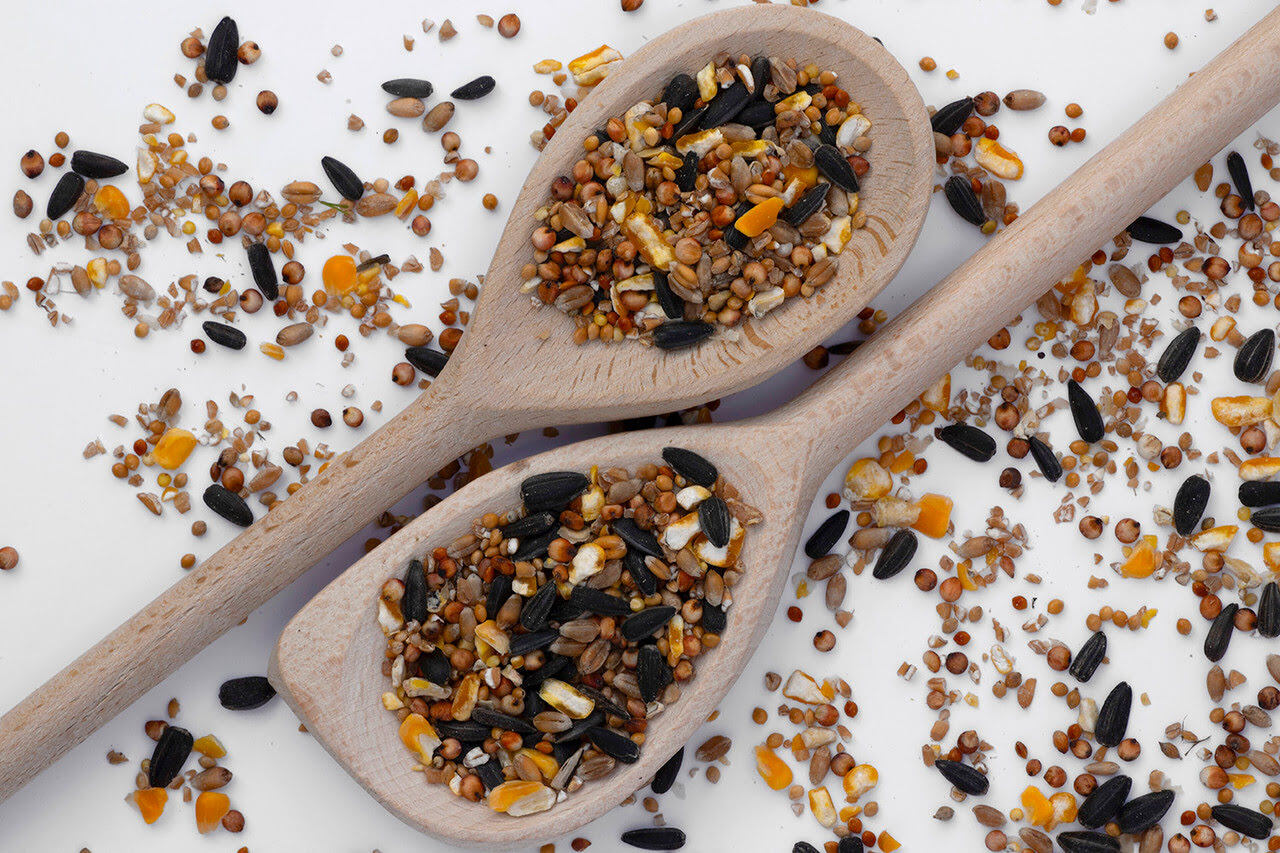
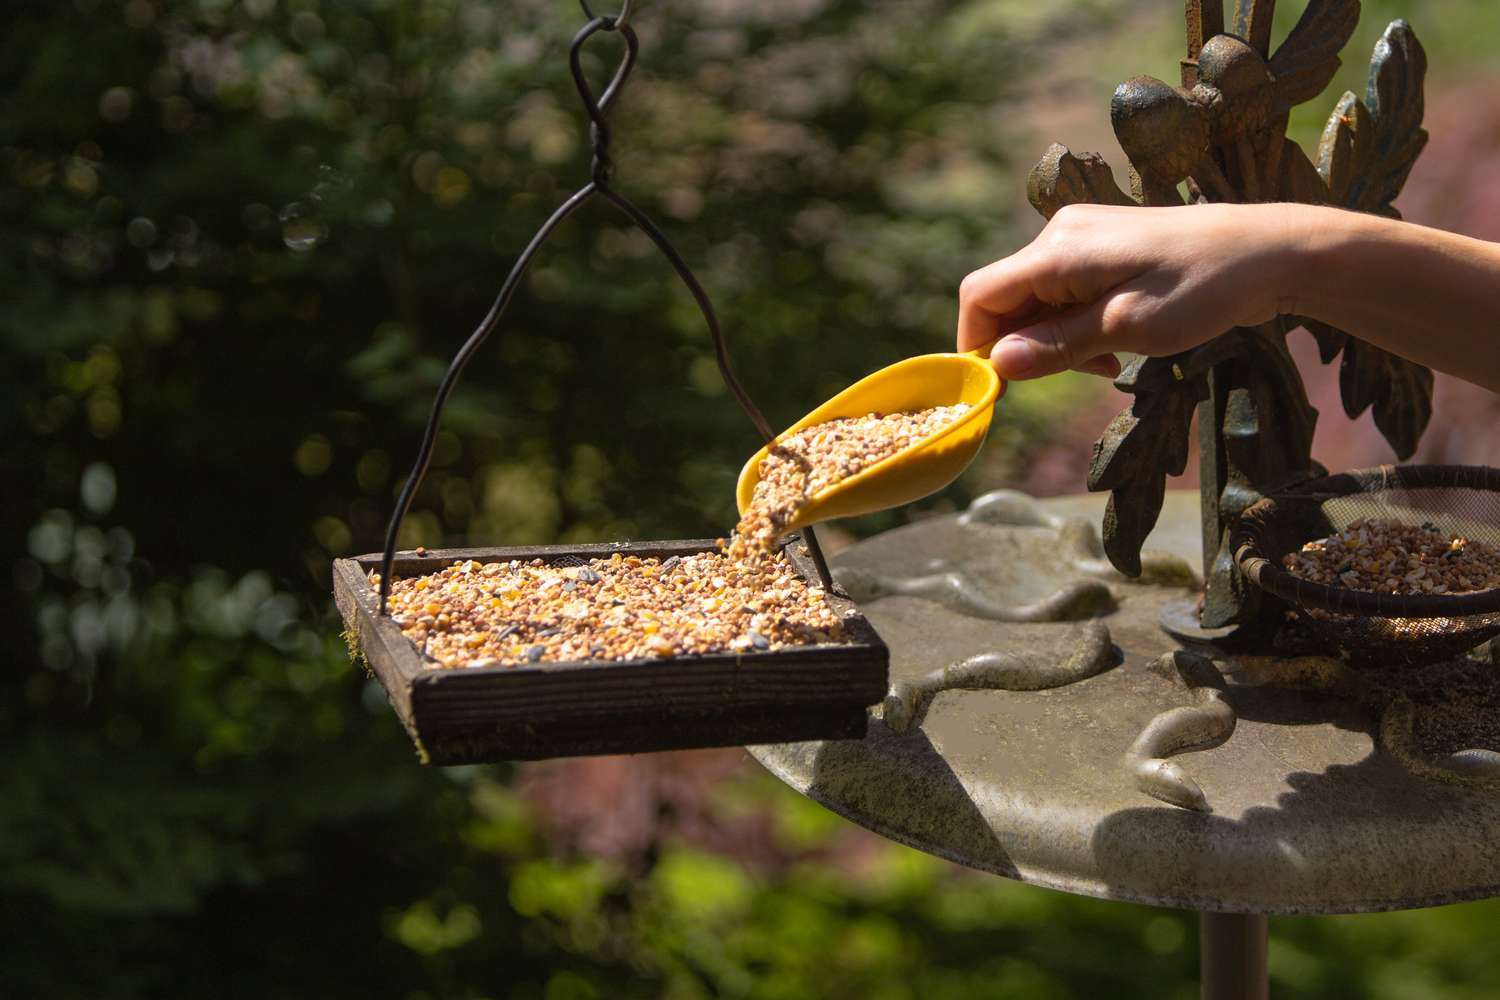
- Bird Seed: Choose a high-quality bird seed blend that is suitable for the species of birds you wish to attract. A mix that includes a variety of seeds, such as sunflower seeds and millet, is generally ideal.
- Gelatin or Unflavored Gelatin Substitute: This acts as a binding agent to hold the bird seed together. You can either use gelatin or opt for a gelatin substitute if you prefer a vegetarian-friendly option.
- Boiling Water: This is needed to dissolve the gelatin and create the mixture for the wreath.
- Cookie Cutters or a Wreath Mold: Choose a shape that appeals to you, such as a heart, star, or traditional wreath shape. Alternatively, you can use a wreath mold specifically designed for making bird seed wreaths.
- Twine or Ribbon: This will be used to hang the bird seed wreath once it’s ready.
- Optional Decorations: You can add some extra flair to your bird seed wreath by including decorative elements, such as dried flowers, berries, or pinecones. Just make sure that these decorations are bird-safe and won’t harm our feathered friends.
With these materials on hand, you’re ready to begin the fun and creative process of making your own bird seed wreath. So, roll up your sleeves and let’s get started!
Step 1: Gathering the Supplies
Before diving into the exciting process of making your bird seed wreath, it’s important to gather all the necessary supplies. Ensuring that you have everything you need will make the crafting experience smoother and more enjoyable. Here’s what you’ll need:
- Bird seed: Choose a high-quality bird seed mix that is suitable for the species of birds you wish to attract. Look for a blend that includes a variety of seeds, such as sunflower seeds, millet, and corn.
- Gelatin or Agar-Agar: Either of these ingredients can act as a binding agent for the bird seed wreath. If you prefer a vegetarian or vegan option, use agar-agar, a gelatin substitute derived from seaweed.
- Boiling Water: This is required to dissolve the gelatin or agar-agar and create the mixture for the wreath. Ensure you have enough to thoroughly mix with the other ingredients.
- Cookie Cutters or Wreath Mold: Choose a shape that appeals to you, such as a heart, star, or traditional wreath shape. Alternatively, you can use a pre-made wreath mold specifically designed for making bird seed wreaths.
- Twine or Ribbon: This will be used to hang the finished bird seed wreath, so ensure you have enough to securely fasten it to a tree branch or bird feeder.
- Optional Decorations: To add some extra charm to your wreath, consider incorporating decorative elements like dried flowers, berries, or pinecones. Ensure they are safe for birds and won’t pose any harm to them.
Once you have gathered all the necessary supplies, you’re all set to move on to the next step: preparing the mixture for your bird seed wreath.
Pro tip: Before starting the project, it’s a good idea to read through all the steps to familiarize yourself with the process. This way, you’ll have a clearer understanding of what’s required and can work more efficiently.
Step 2: Prepare the Mixture
With all your supplies gathered, it’s time to prepare the mixture that will hold your bird seed wreath together. This is where the magic happens! Follow these steps to create the perfect mixture:
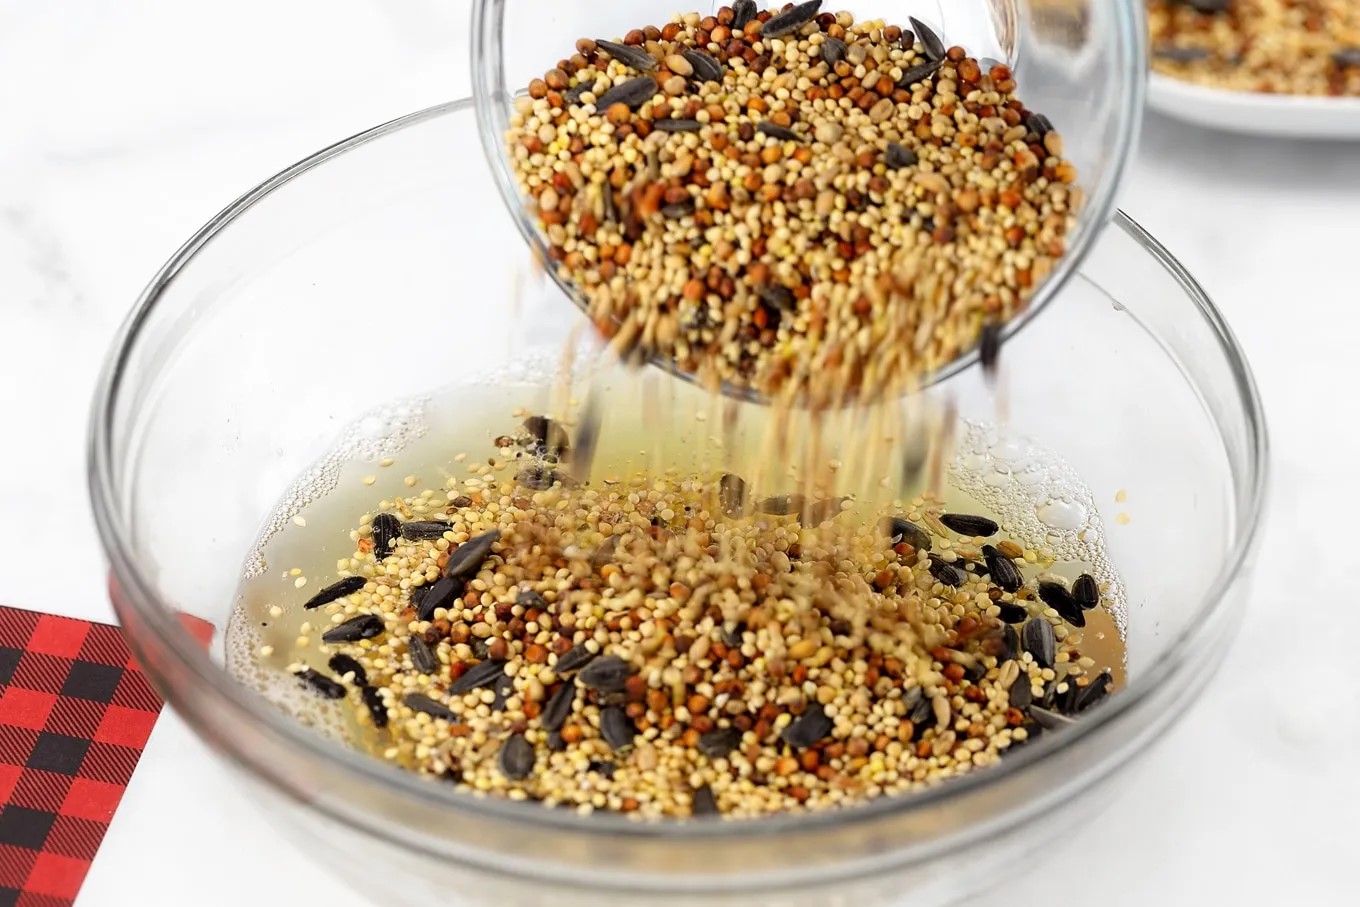
- In a large mixing bowl, combine the gelatin (or agar-agar) with the boiling water. Stir until the gelatin has completely dissolved. If using agar-agar, follow the instructions on the packaging for the appropriate amount to use.
- Let the mixture cool slightly, but make sure it doesn’t start to set. You want it to be warm and pourable.
- Gradually add the bird seed to the gelatin mixture, stirring well to ensure all the seeds are evenly coated. You may need to use your hands to mix and distribute the seeds thoroughly.
- If desired, add any optional decorations to the mixture, such as dried flowers, berries, or pinecones. Gently fold them in, taking care not to crush or damage the seeds.
This step requires some gentle and careful mixing to ensure that all the bird seed is coated with the gelatin mixture. Take your time to ensure an even distribution, as this will contribute to the overall strength and integrity of the wreath.
Once the mixture is thoroughly combined, you’re ready to move on to the next step: shaping the bird seed wreath.
Pro tip: If you find that your mixture is starting to set or become too difficult to work with, you can microwave it for a few seconds to soften it. Just be cautious not to overheat the gelatin or agar-agar.
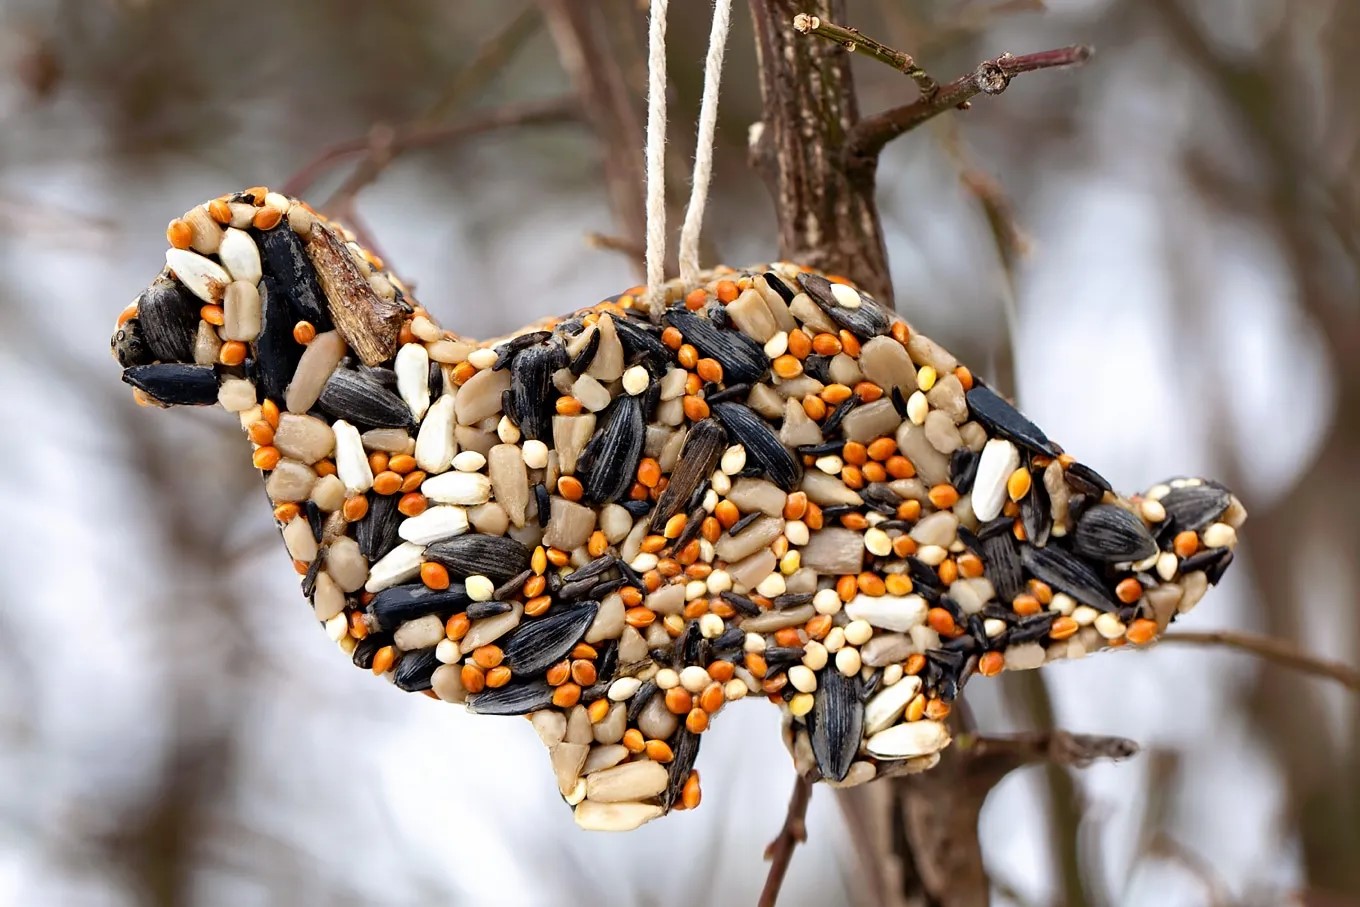
Step 3: Forming the Wreath Shape
Now that your bird seed mixture is ready, it’s time to shape it into a wreath. Follow these steps to create the perfect wreath shape:
- Prepare your chosen mold or cookie cutter by lightly greasing it to prevent the mixture from sticking. This step is especially important if you’re using a cookie cutter.
- Place the greased mold or cookie cutter onto a flat surface, such as a baking sheet lined with parchment paper.
- Using a spoon or your hands, carefully transfer the bird seed mixture into the mold. Press it firmly and evenly to ensure that it fills the entire shape. Smooth out the top surface to create an even thickness.
- If you’re using a cookie cutter, gently remove it by carefully pushing the molded mixture out from the bottom. If you’re using a wreath mold, leave it in place for now.
- Make a small hole in the top of the wreath using a drinking straw or skewer. This will serve as the anchor point for hanging the wreath.
During this step, be mindful of the thickness of the wreath. If it’s too thin, it may be fragile and break apart easily. On the other hand, if it’s too thick, it might take longer to dry and set. Aim for a thickness of about 1 inch or as desired.
If you’ve used a cookie cutter, gently transfer the molded wreath onto a clean surface to allow it to set. If you’re using a wreath mold, leave it in place for the next step.
Pro tip: If you’re making multiple wreaths, you can repeat this step for each one, using different molds or cookie cutters to create a variety of shapes.
To make a bird seed wreath, use a bundt pan for the mold, mix bird seed with gelatin and water, press the mixture into the pan, and let it set before hanging it outside for the birds to enjoy.
Read more: How To Make Bird Seed Ornaments
Step 4: Adding Decorative Elements
Now that you have successfully formed the wreath shape, it’s time to add some decorative elements to enhance its visual appeal. Follow these steps to give your bird seed wreath a charming and personalized touch:
- Take a moment to gather your chosen decorative elements, such as dried flowers, berries, or pinecones. Ensure that they are bird-safe and won’t pose any harm.
- Using a hot glue gun or non-toxic adhesive, attach the decorations onto the surface of the wreath. Be creative with the placement and arrangement, allowing your personal style to shine through.
- Take care not to overload the wreath with too many decorations, as it may become heavy or unstable. Keep a balanced and visually appealing design in mind.
Decorative elements can add pops of color and texture to your bird seed wreath, making it even more attractive to both birds and humans. They also provide additional natural elements for birds to explore and interact with.
Pro tip: If you’re using dried flowers, consider selecting varieties that are known to attract certain bird species. For example, sunflowers are popular among finches, while chickadees are attracted to coneflowers. This can help you attract specific types of birds to your wreath.
Once you have added the desired decorations, you’re ready to move on to the next step: allowing the wreath to set.
Step 5: Allowing the Wreath to Set
After adding the decorative elements to your bird seed wreath, it’s important to allow it adequate time to set and dry. This will ensure that the wreath maintains its shape and durability. Here’s what you need to do:
- Leave the wreath in a cool, dry place where it won’t be disturbed. Avoid exposing it to direct sunlight or extreme heat, as this can cause the wreath to dry unevenly or become brittle.
- Leave the wreath to set for at least 6 hours or overnight. This will give the gelatin or agar-agar enough time to fully harden and bind the bird seed together.
- For wreaths made with a wreath mold, carefully remove the mold once the wreath has set. Gently push on the back of the mold to release the wreath. This should be done with caution to avoid damaging the wreath or breaking it apart.
During the setting process, it’s normal for the wreath to shrink slightly and become more compact. This is a result of the gelatin or agar-agar solidifying and binding the bird seed together.
While waiting for the wreath to set, you can take this time to clean up your workspace and admire your crafty creation. Once the wreath is completely dry and firm, it’s time to move on to the final step: hanging the wreath and enjoying the bird feeding frenzy!
Pro tip: If you’re making bird seed wreaths with children, involve them in this step by teaching them patience and the importance of allowing the wreath to set before moving on to the next stage.
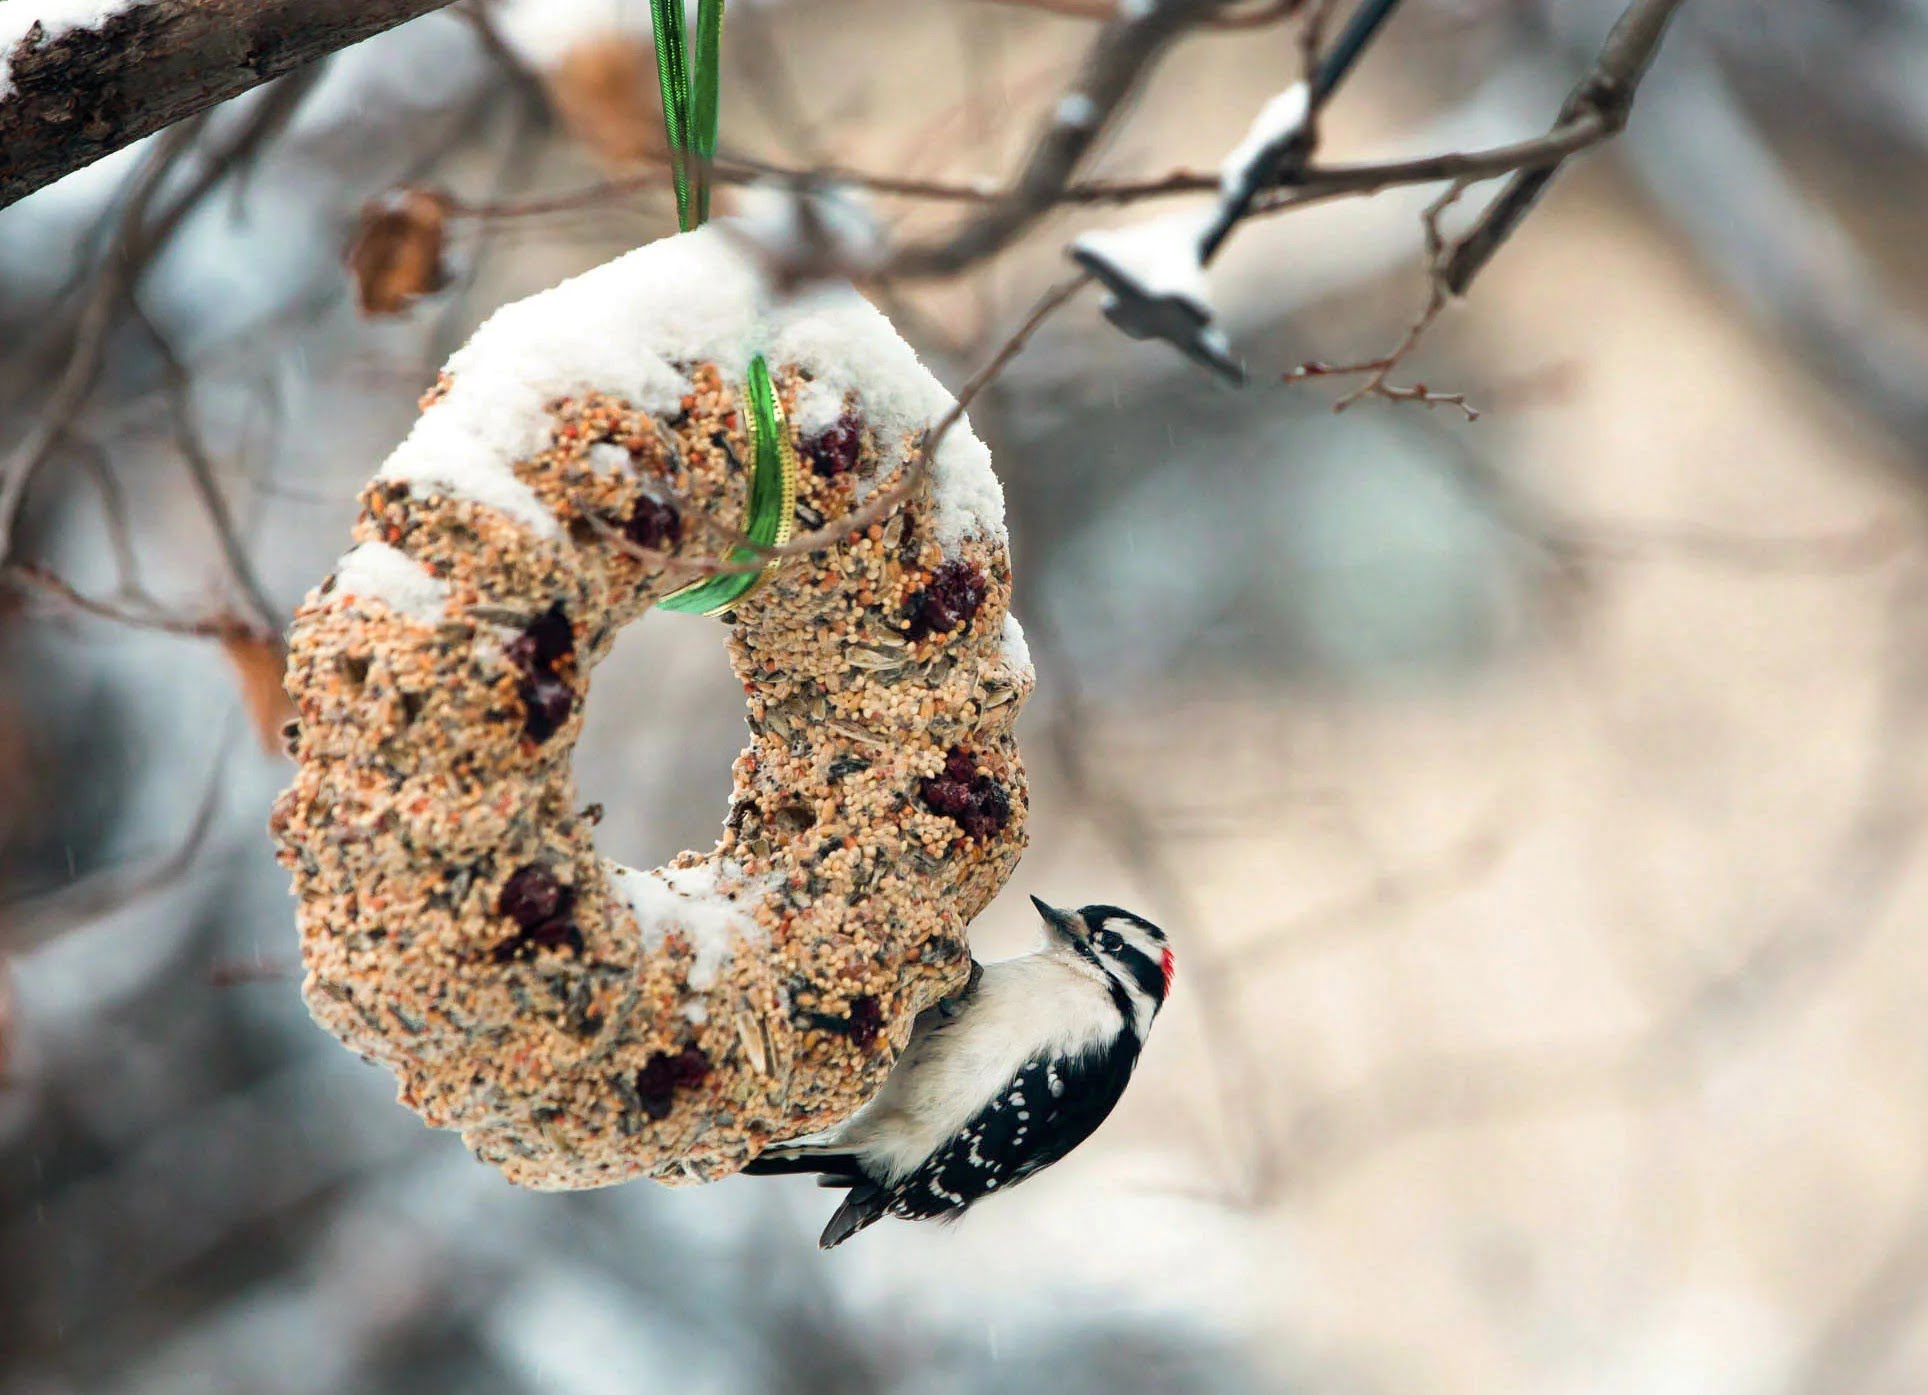
Step 6: Hanging the Wreath
Congratulations! You have reached the final step of creating your beautiful bird seed wreath. Now it’s time to hang it up and enjoy the sight of birds flocking to your garden. Here’s what you need to do:
- Attach a length of twine or ribbon through the hole you made in the top of the wreath. Make sure it is securely fastened, as you don’t want the wreath to fall and become inaccessible to the birds.
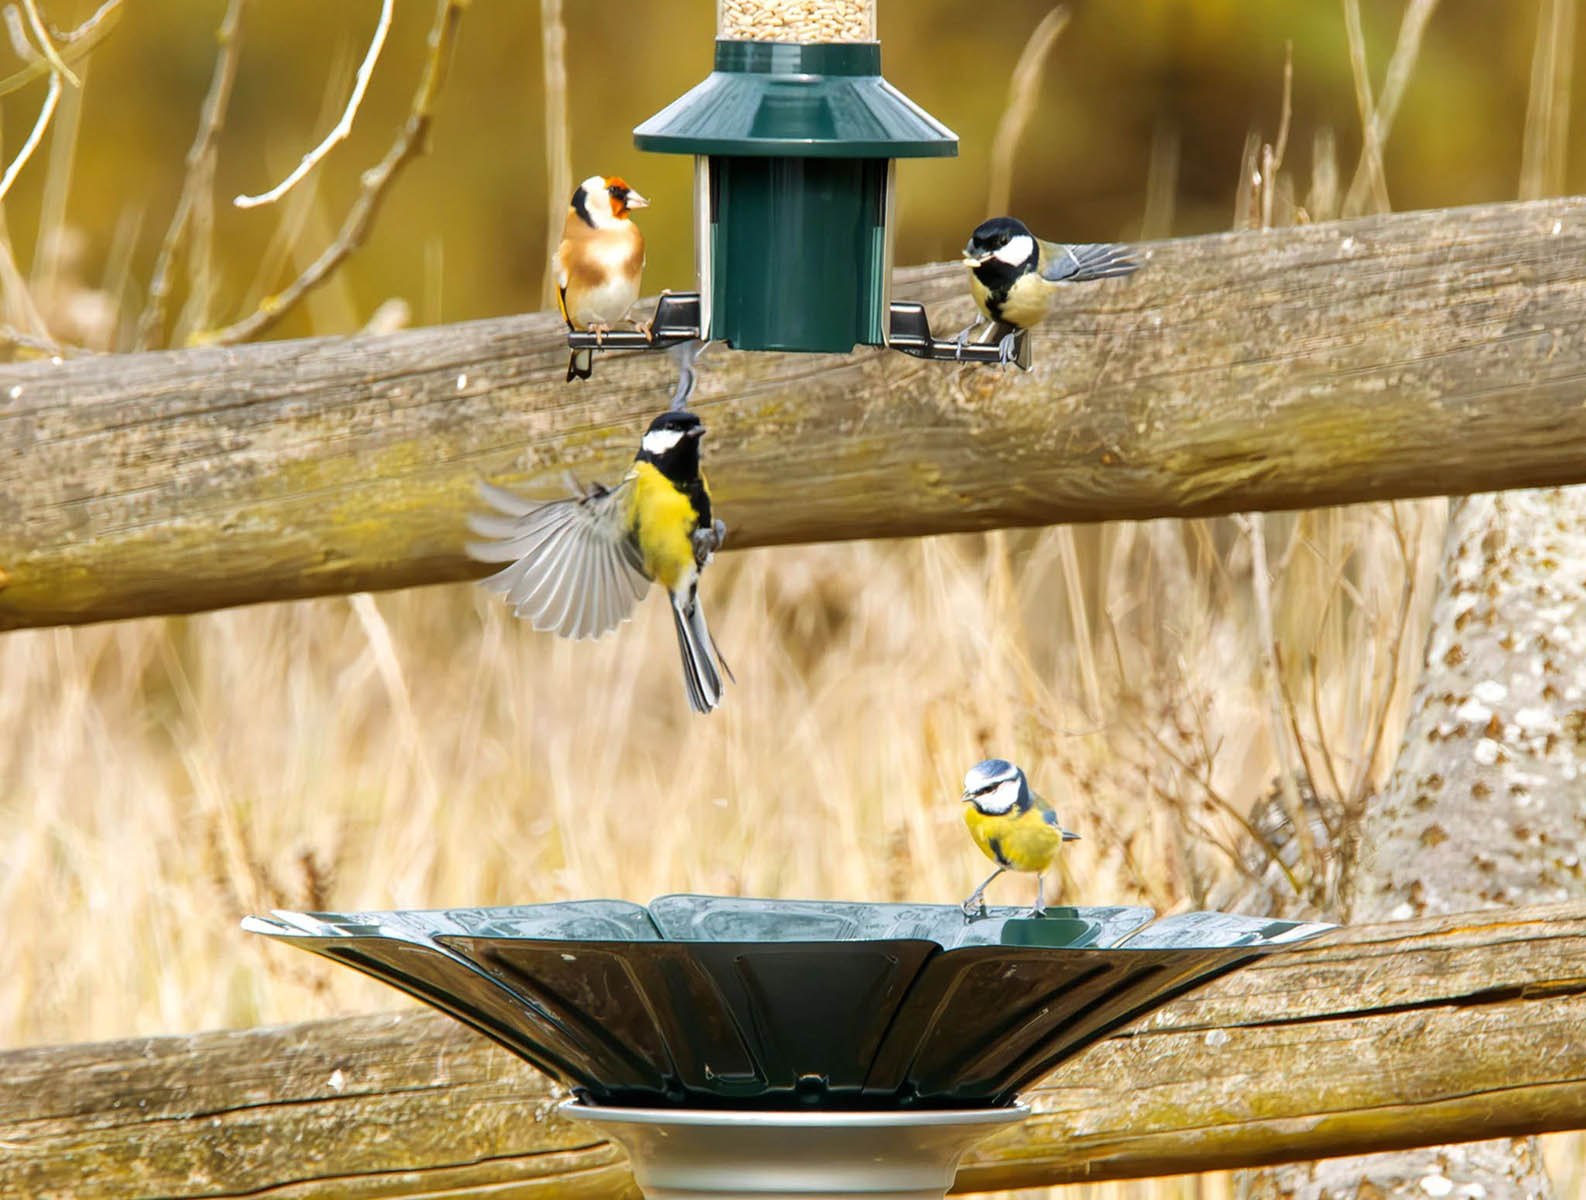
- Choose a suitable location to hang your wreath. Ideally, it should be placed in an area that is easily visible, yet safe for birds to access. Consider hanging it near trees, shrubs, or a bird feeder to attract more feathered visitors.
- Securely hang the wreath by tying the twine or ribbon to a tree branch, a bird feeder, or any other sturdy structure. Ensure that it is at a height where birds can easily reach it.
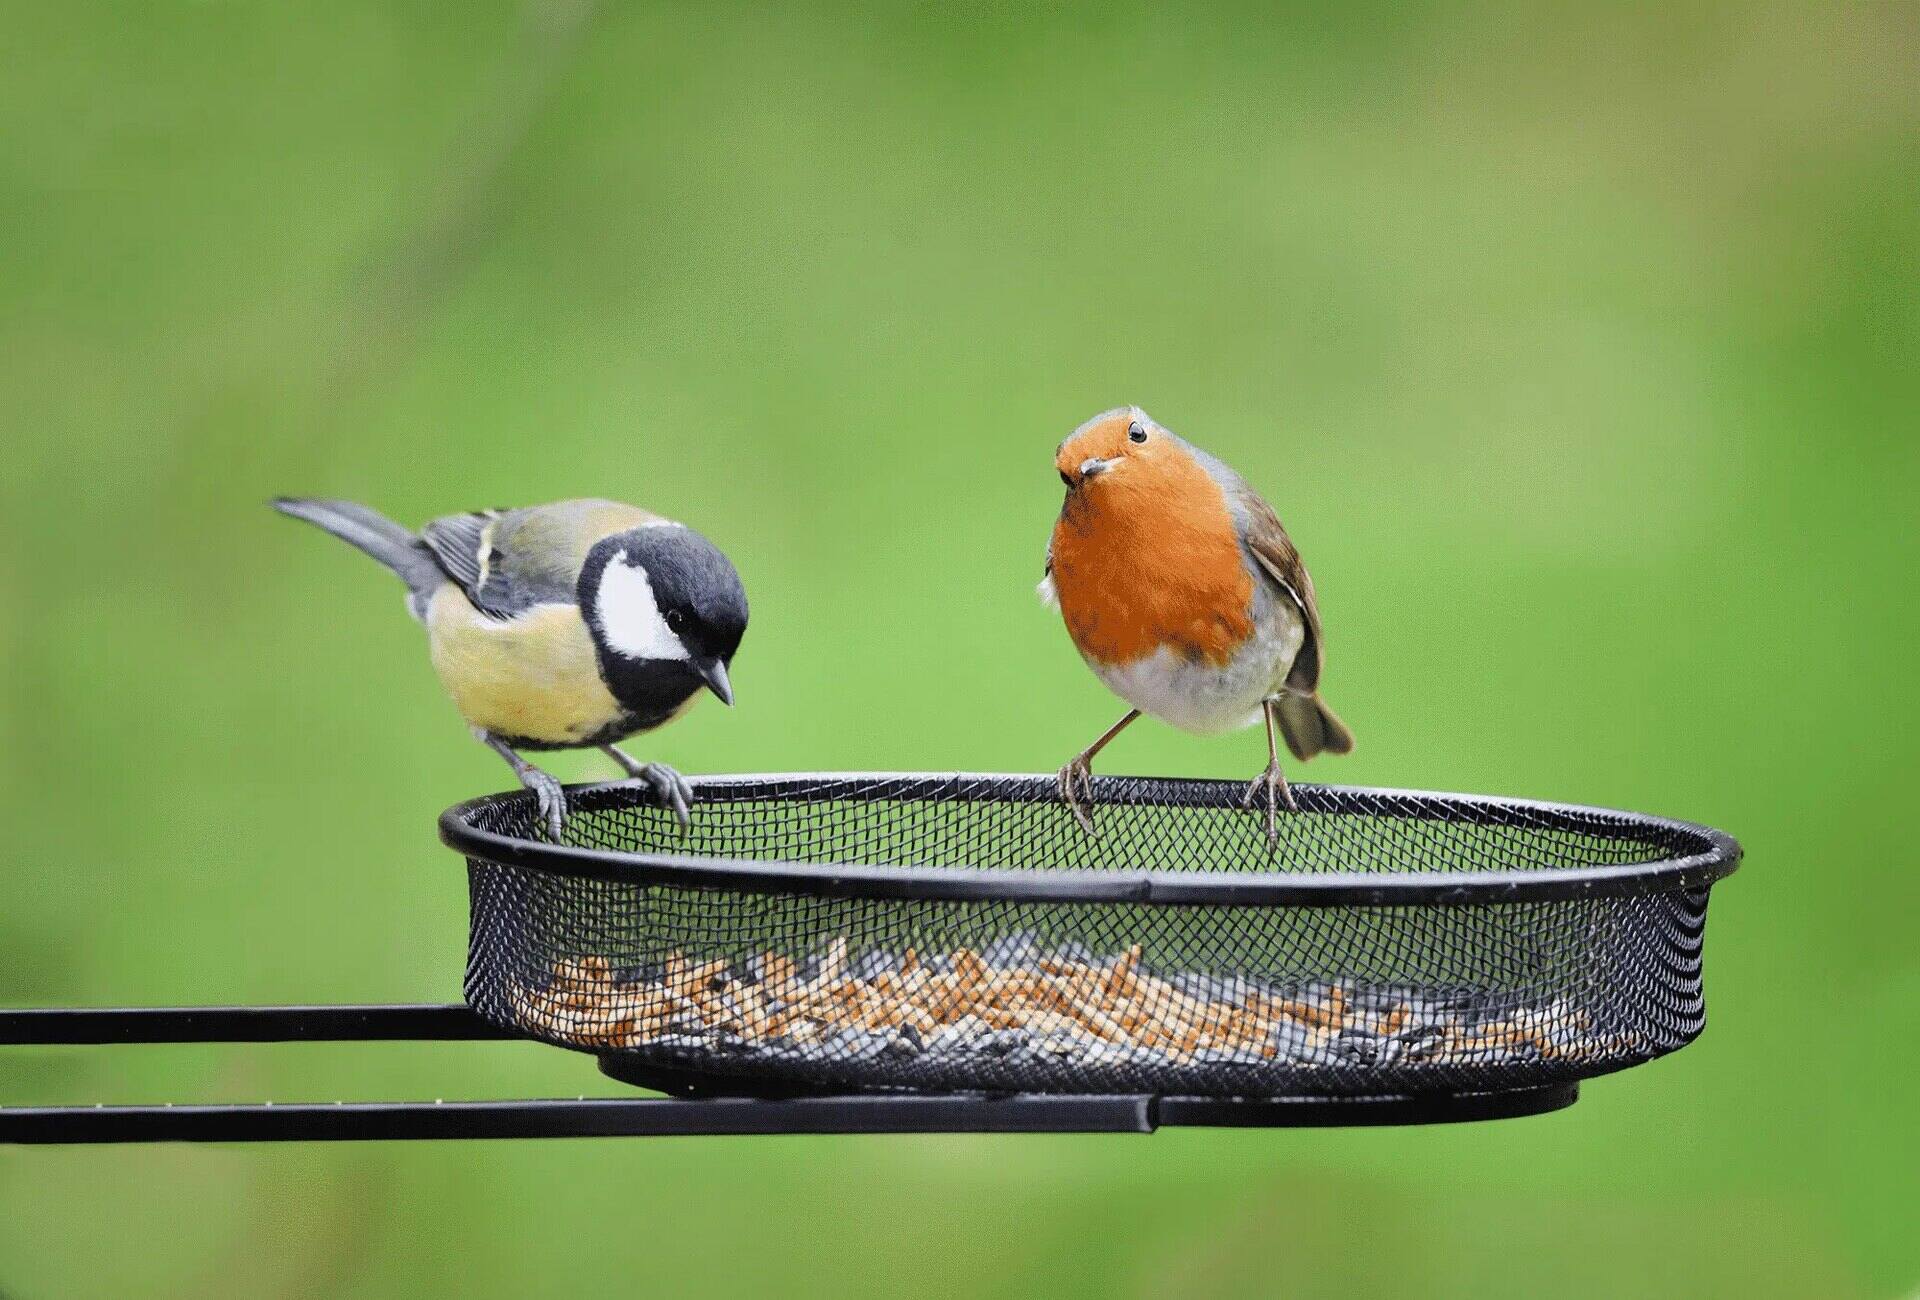
- Sit back, relax, and enjoy the view as birds discover and feast on your homemade bird seed wreath. You may want to keep a pair of binoculars handy to get a closer look at the different species that come to visit.
The bird seed wreath serves as a nutritious and enticing food source for birds. As they peck and nibble at the seeds, you’ll have the pleasure of witnessing their vibrant colors and unique behaviors up close.
Over time, birds will gradually consume the bird seed from the wreath. You can periodically refill the wreath with fresh bird seed to keep the feast going. This will ensure a continuous supply of nourishment for the birds and provide you with ongoing birdwatching opportunities.
Pro tip: Keep an eye out for any signs of damage or deterioration to the wreath. Extreme weather conditions or prolonged exposure to rain may cause the wreath to become soggy or moldy. If necessary, replace the wreath with a new one to maintain a safe and healthy feeding environment for the birds.
Now enjoy the delightful visits from your feathered friends and take pride in creating a beautiful bird-friendly oasis in your garden!
Conclusion
Creating a bird seed wreath is not only a fun and creative DIY project but also a wonderful way to attract and support the bird population in your garden. By providing a nourishing food source, you can enjoy the beauty and presence of various bird species while contributing to their well-being.
In this article, we have walked you through the step-by-step process of making a bird seed wreath. From gathering the necessary materials to adding decorative elements and hanging the wreath, each step has been designed to ensure a successful and enjoyable experience.
Remember to choose high-quality bird seed and keep the specific needs of the bird species you wish to attract in mind. You can even incorporate decorative elements like dried flowers or pinecones to add a personal touch to your wreath. Just be sure to prioritize the safety and well-being of our feathered friends.
By offering a bird seed wreath, you are not only providing a reliable food source, but you are also creating a welcoming environment that encourages birds to visit your garden. As you observe the colorful flutter of wings and hear their melodic songs, you will feel a deeper connection with nature and experience the joy that comes from coexisting with these fascinating creatures.
So, roll up your sleeves, gather your materials, and embark on the adventure of making your own bird seed wreath. It’s time to immerse yourself in the beauty of nature and create a haven for the birds that grace your garden.
Remember to observe and learn from the habits of the birds that frequent your wreath. Whether it’s a hummingbird sipping nectar or a finch cracking open seeds, each interaction is an opportunity to appreciate the wonders of the avian world.
Enjoy the rewards of your efforts as you witness the happiness your bird seed wreath brings to the feathered visitors in your garden. Happy bird watching!
Frequently Asked Questions about How To Make A Bird Seed Wreath
Was this page helpful?
At Storables.com, we guarantee accurate and reliable information. Our content, validated by Expert Board Contributors, is crafted following stringent Editorial Policies. We're committed to providing you with well-researched, expert-backed insights for all your informational needs.

0 thoughts on “How To Make A Bird Seed Wreath”