Home>Garden Essentials>How To Make Bird Seed Ornaments
Garden Essentials
How To Make Bird Seed Ornaments
Modified: March 15, 2024
Learn how to make beautiful bird seed ornaments for your garden. These DIY garden decorations will attract birds and add a touch of whimsy to your outdoor space.
(Many of the links in this article redirect to a specific reviewed product. Your purchase of these products through affiliate links helps to generate commission for Storables.com, at no extra cost. Learn more)
Introduction
Welcome to the wonderful world of bird seed ornaments! If you have a love for birds and want to attract them to your garden, then making bird seed ornaments is a fun and creative way to do so. Not only are these ornaments beautiful to look at, but they also provide nourishment for our feathered friends during the colder months when food may be scarce.
In this article, we will guide you through the step-by-step process of making bird seed ornaments. Whether you are a seasoned gardener or a novice, this DIY project is suitable for all skill levels. Get ready to unleash your creative side and bring a touch of nature to your outdoor space!
Before we dive into the details, let’s make sure we have everything we need to make these delightful treats for our feathered friends.
Key Takeaways:
- Making bird seed ornaments is a fun and easy way to attract birds to your garden. By following simple steps like mixing ingredients and shaping ornaments, you can create nourishing treats for our feathered friends.
- Hanging bird seed ornaments in your garden provides both visual appeal and a valuable food source for birds. Enjoy the sight of birds feasting on your homemade treats and take pride in contributing to their well-being.
Read more: How To Make A Bird Seed Ball
Materials Needed
Before you embark on this bird seed ornament adventure, gather the following materials:
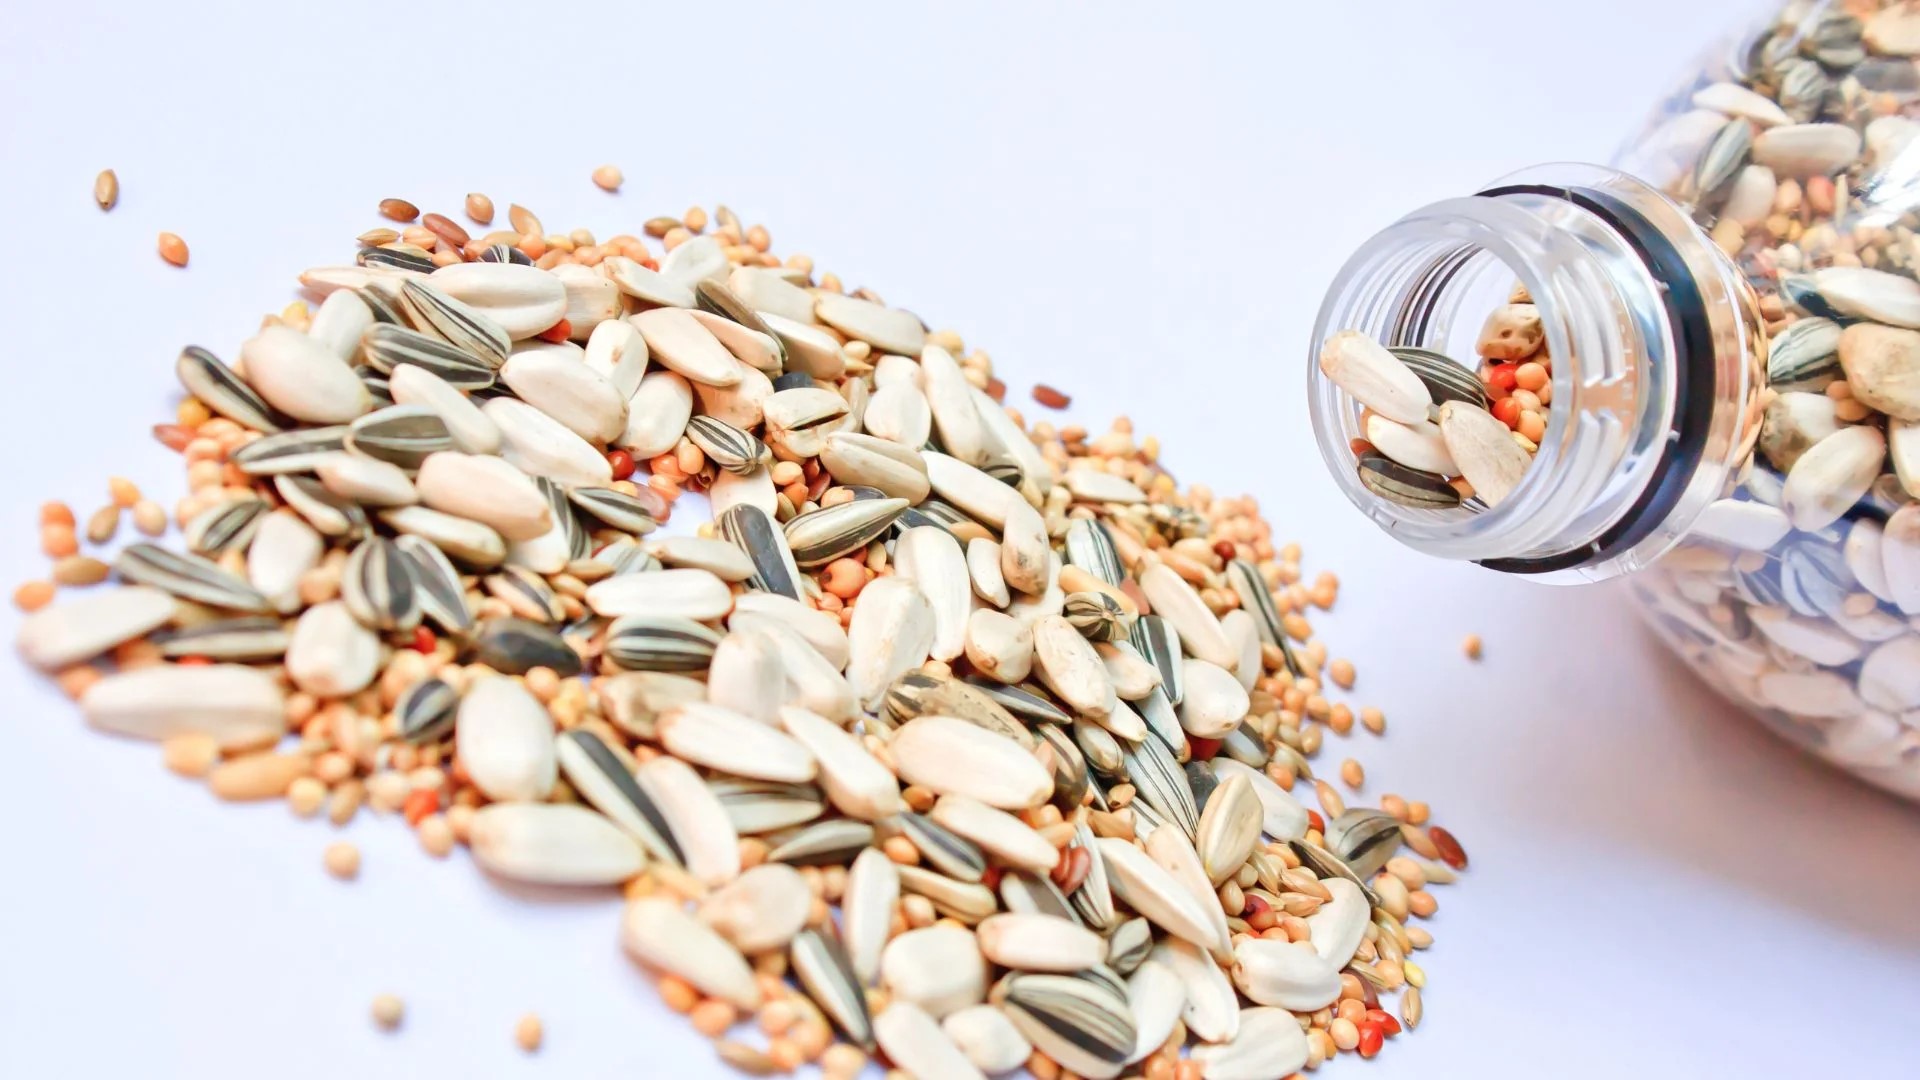
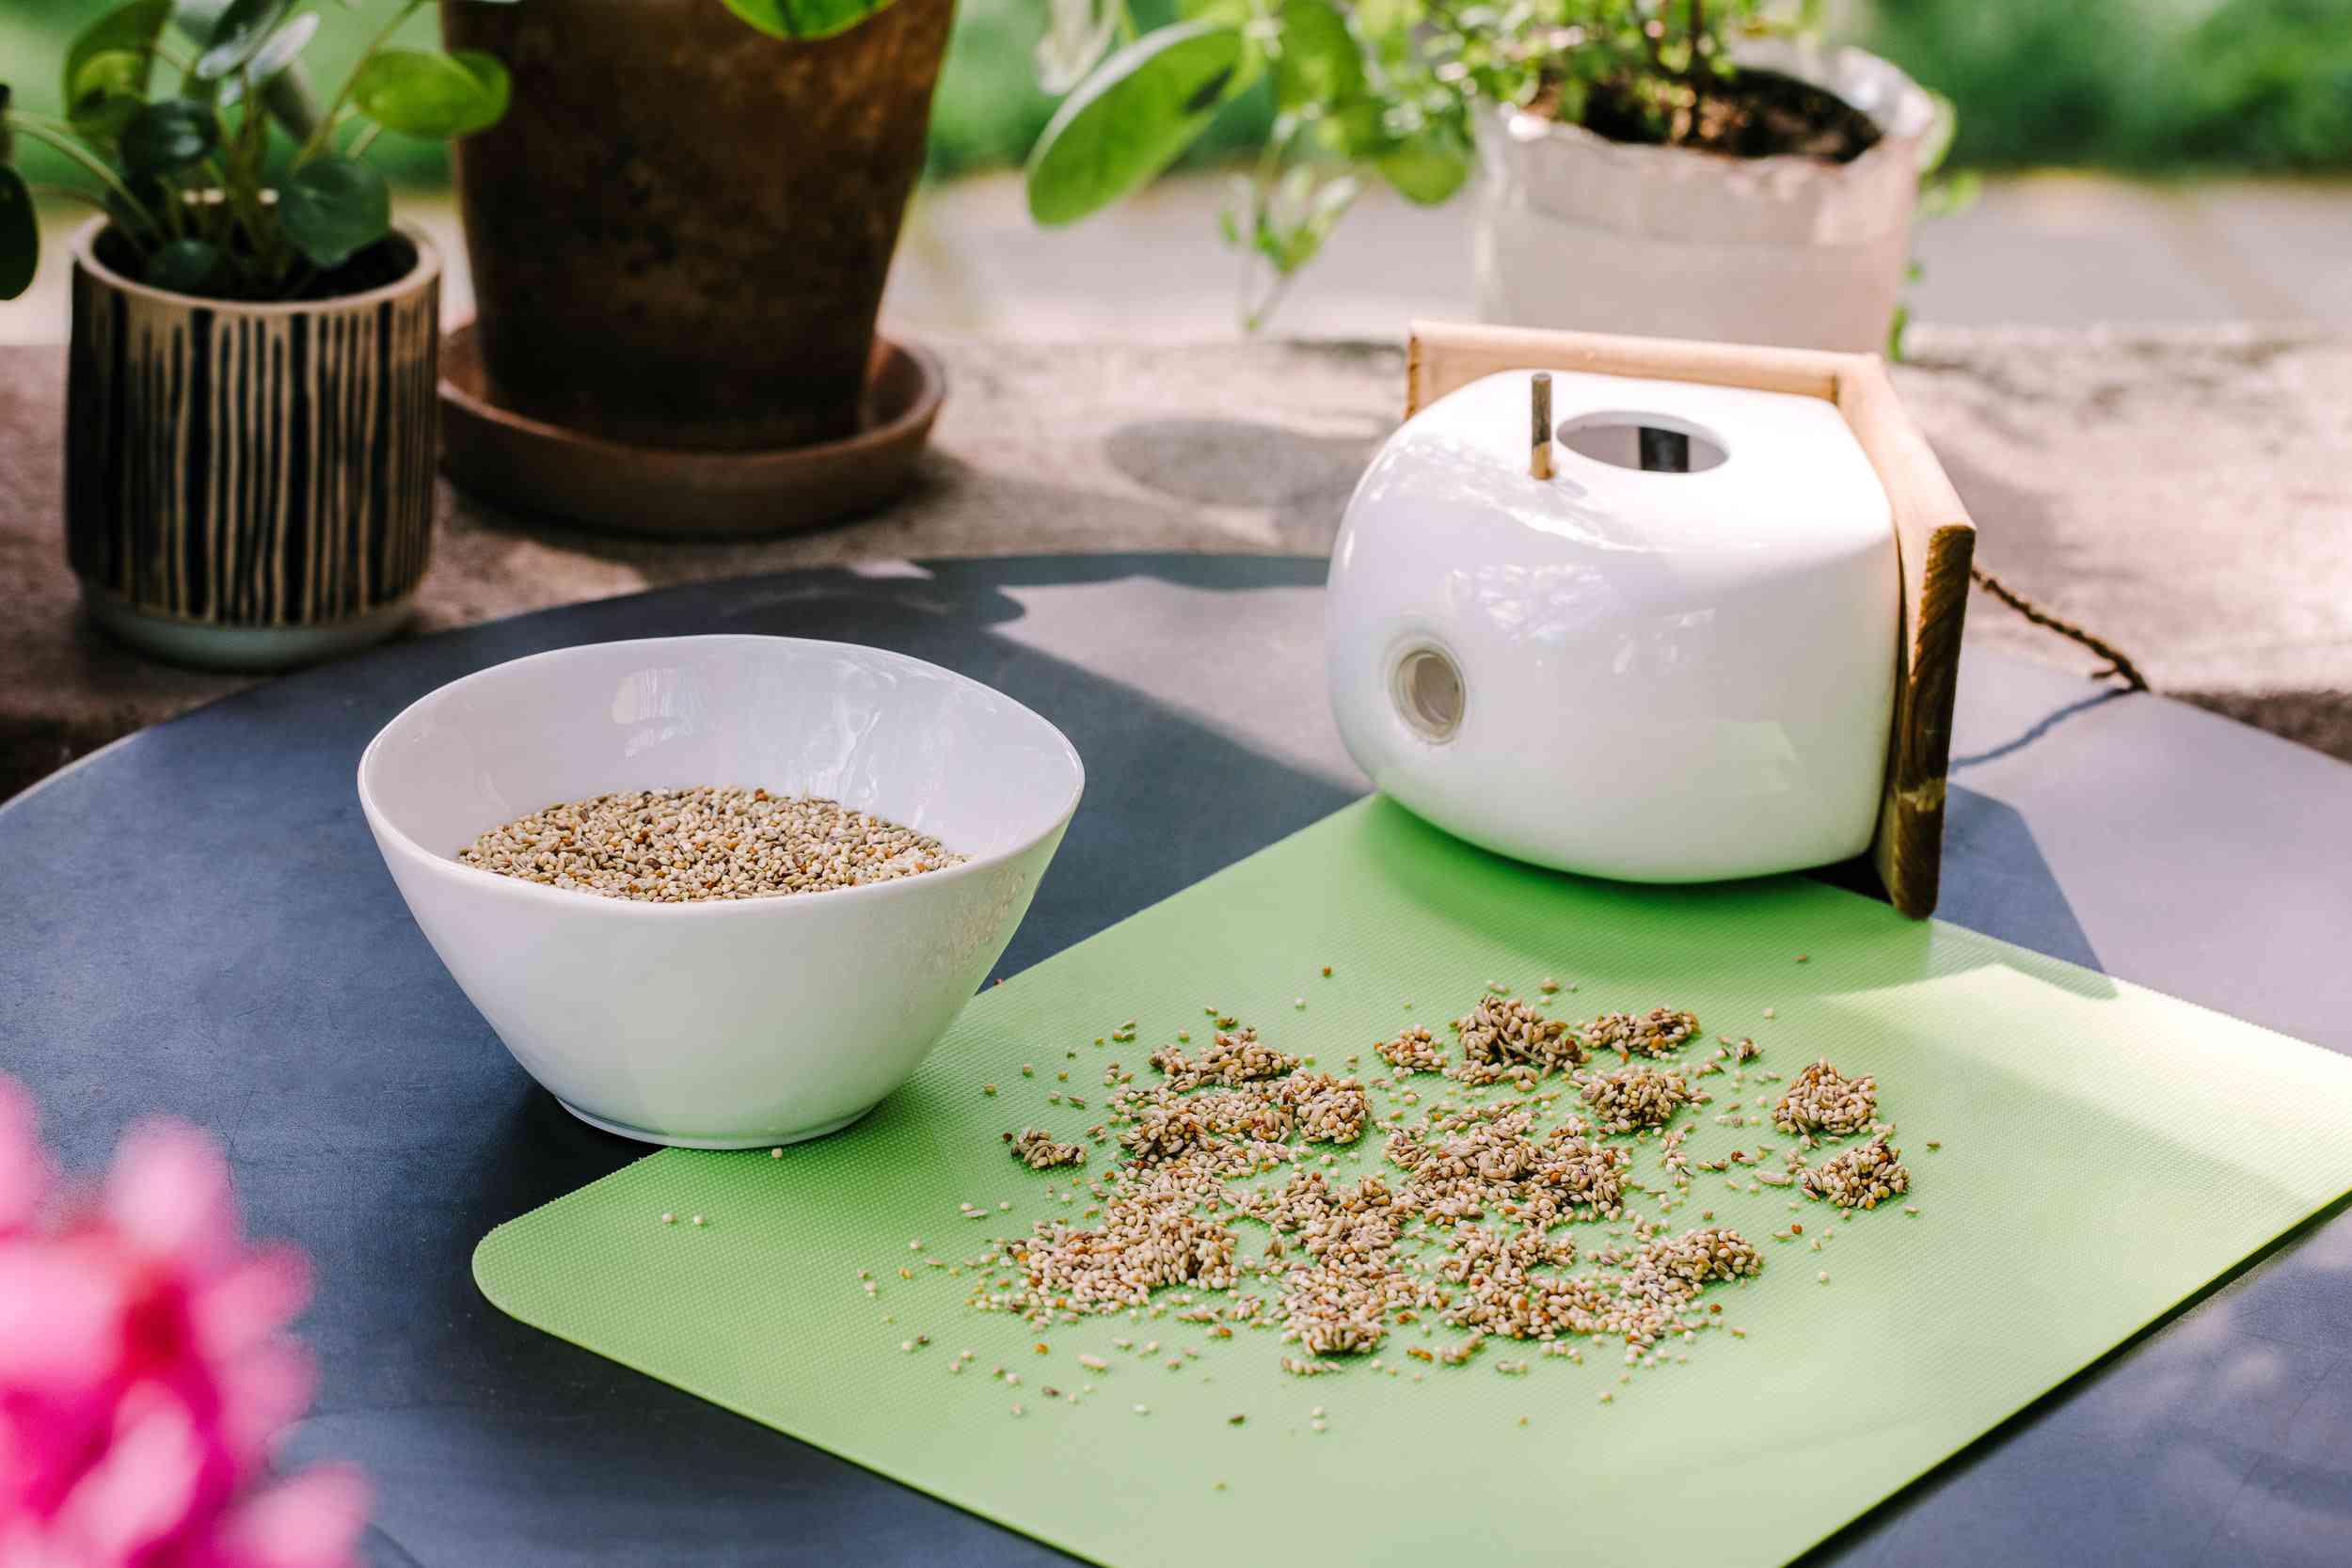
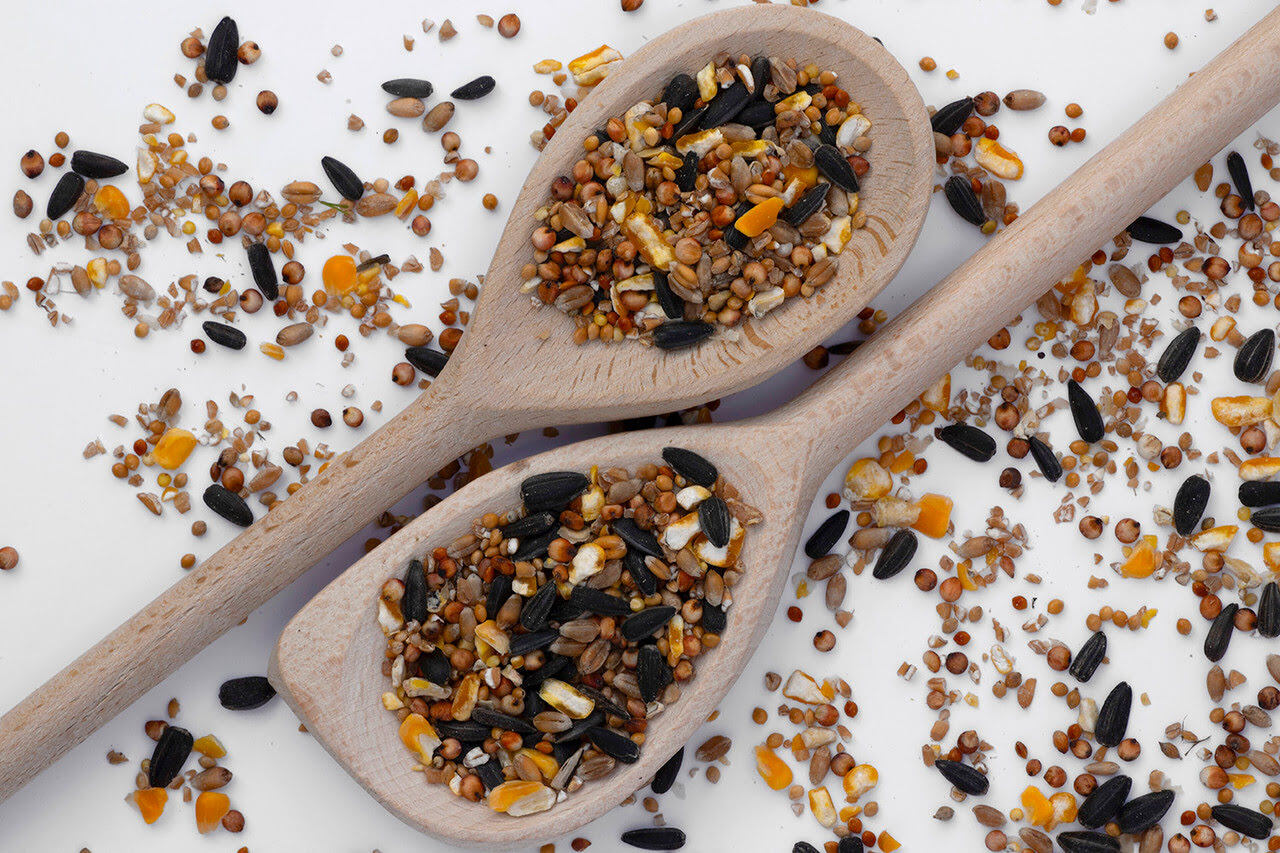
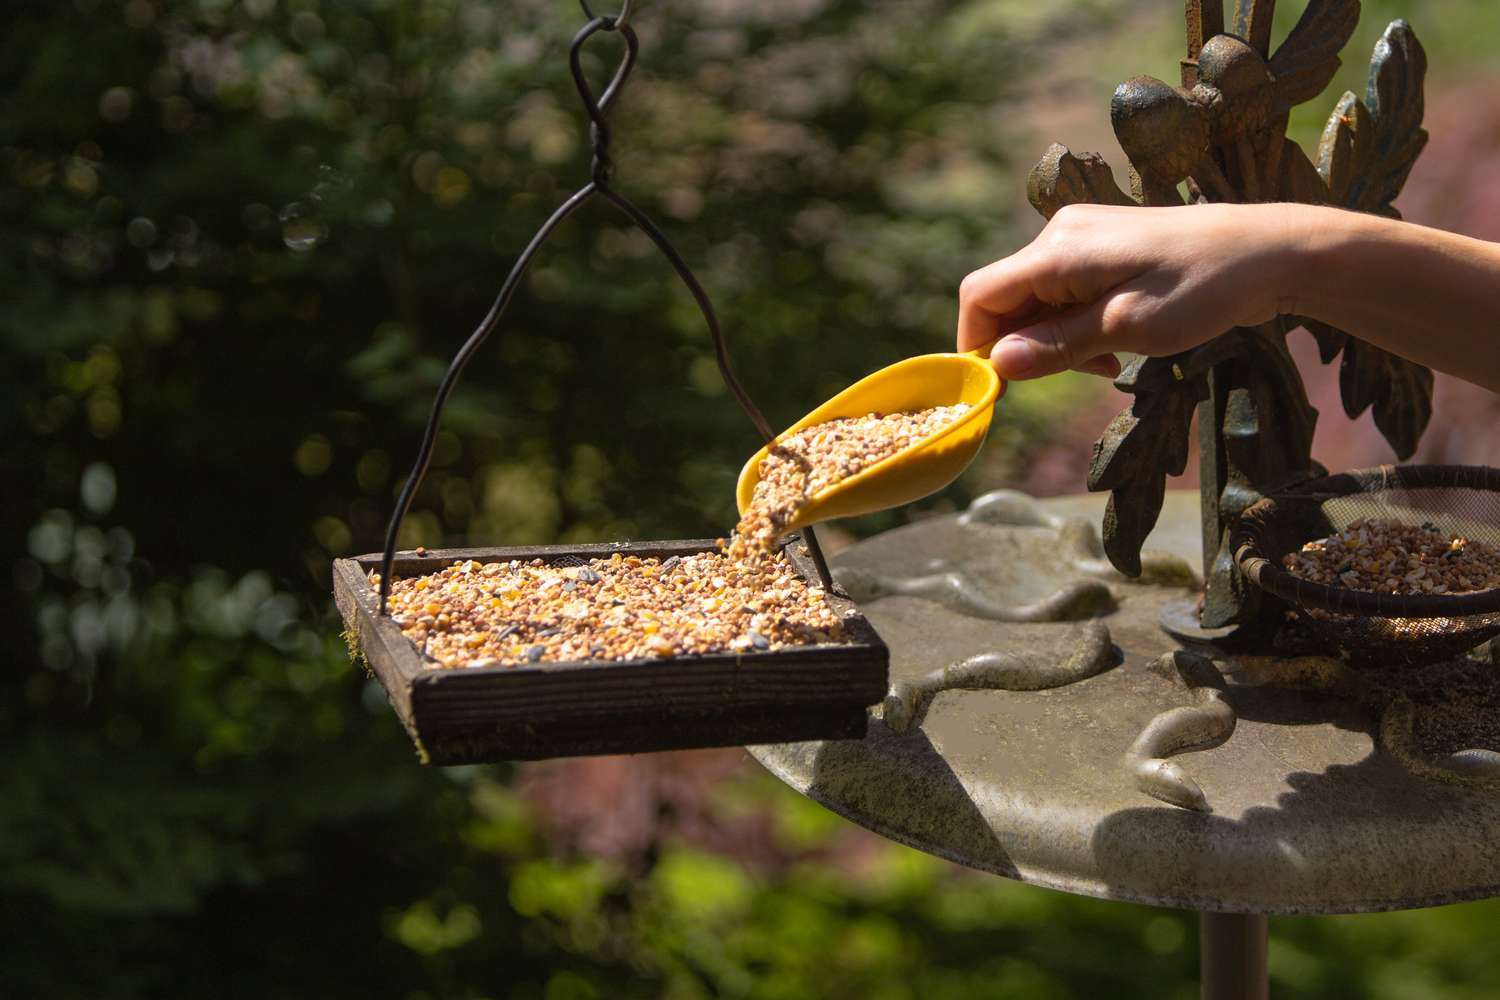
- Bird seed: Choose a high-quality bird seed mix that is suitable for the birds in your area. Different species of birds prefer different types of seeds, so it’s a good idea to research and select a mix that will attract a variety of birds.
- Gelatin or corn syrup: This sticky ingredient will help bind the bird seed together so that it forms a solid ornament. Gelatin is a natural and edible option, while corn syrup provides a vegetarian-friendly alternative.
- Water: You’ll need water to dissolve the gelatin or mix with the corn syrup.
- Cookie cutters or molds: These will give your bird seed ornaments their desired shape. You can use cookie cutters in various shapes, or get creative and use silicone molds or even cupcake tins.
- Twine or ribbon: This is essential for creating a hanging loop so that you can easily hang your bird seed ornaments in your garden or on your balcony.
- Parchment paper or plastic wrap: This will help prevent the bird seed ornaments from sticking to the surface while they dry.
- Optional: Food coloring or natural dyes: If you want to add a pop of color to your bird seed ornaments, you can use food coloring or natural dyes made from fruits or vegetables. This step is purely aesthetic and can be skipped if desired.
- Optional: Dried fruits, nuts, or berries: To make your bird seed ornaments even more enticing, you can add small pieces of dried fruits, nuts, or berries. These additional treats will give birds an extra burst of energy.
Now that you have all the necessary materials, let’s get started with the fun part – making the bird seed ornaments!
Step 1: Gather Your Ingredients
Before you begin making your bird seed ornaments, it’s important to gather all your ingredients in one place. This will make the process smoother and ensure that you have everything you need at hand.
Start by measuring out the amount of bird seed you’ll need. This will depend on the number of ornaments you plan to make and the size of your molds or cookie cutters. It’s better to have a little extra bird seed on hand, just in case.
Next, gather your gelatin or corn syrup, water, and any optional ingredients such as food coloring, dried fruits, nuts, or berries. If you’re using gelatin, make sure to follow the instructions on the package for proper preparation.
Prepare your molds or cookie cutters by lining them with parchment paper or plastic wrap. This will prevent the bird seed mixture from sticking to the molds and make it easier to remove the ornaments once they’re dry.
Finally, have your twine or ribbon ready for creating the hanging loops. You can cut them into small pieces in advance or leave them as longer strands to be cut later.
With all your ingredients gathered and prepared, you’re now ready to move on to the next step: mixing the ingredients together to create the bird seed mixture.
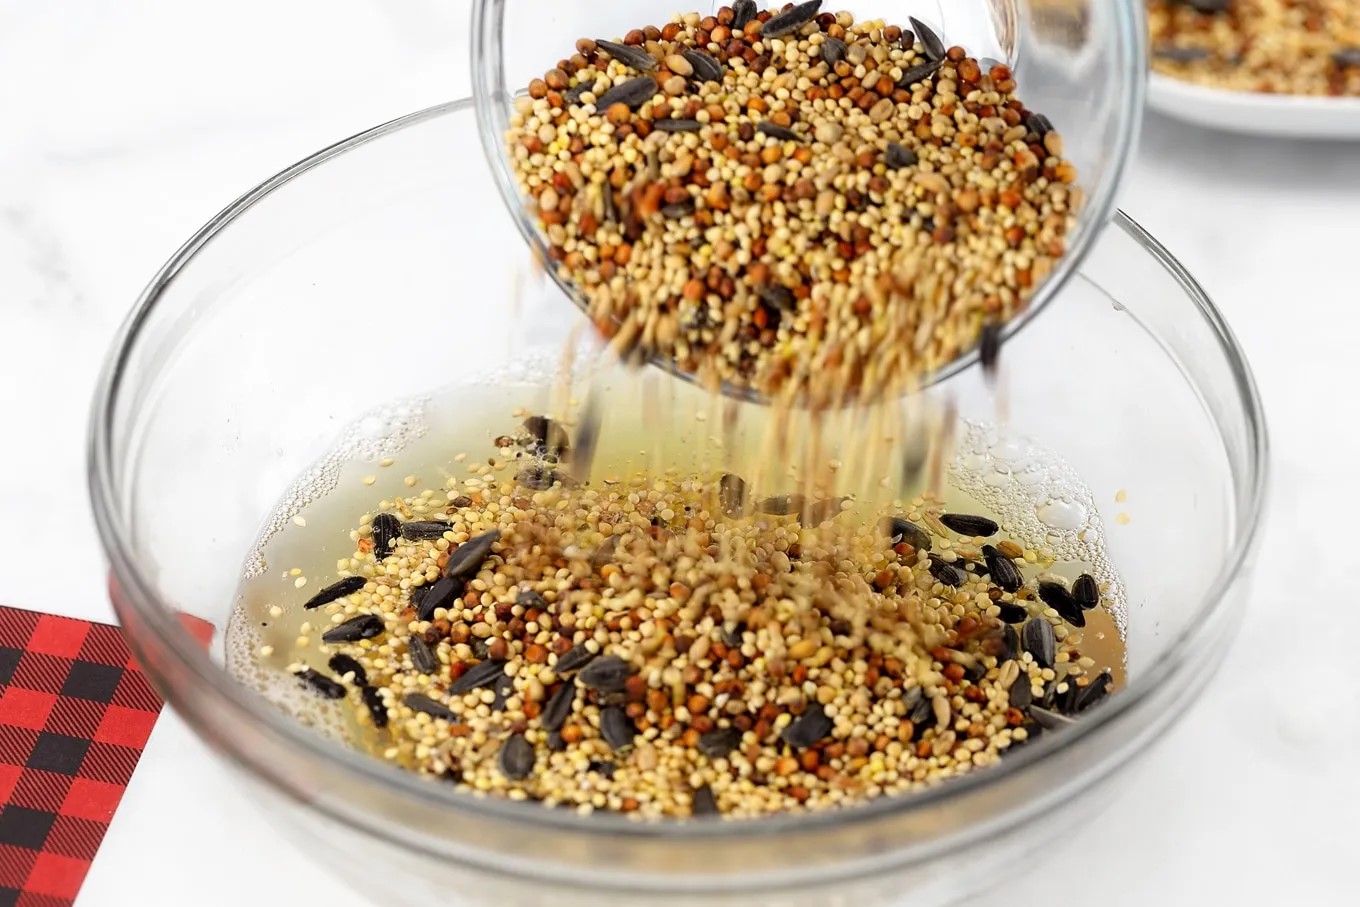
Step 2: Mix the Ingredients
Now that you have all your ingredients gathered, it’s time to mix them together to create the bird seed mixture. This step is crucial as it will ensure that the bird seed ornaments hold their shape and provide the necessary sustenance for the birds.
If you’re using gelatin, start by dissolving it in hot water according to the instructions on the package. Make sure to stir thoroughly until the gelatin is completely dissolved and the mixture is smooth.
If you’re using corn syrup instead of gelatin, simply combine it with water in a bowl. The proportions can vary depending on the consistency of the corn syrup, but a general guideline is to use equal parts corn syrup and water.
Once your gelatin or corn syrup mixture is ready, it’s time to add the bird seed. Pour the bird seed into a large bowl and slowly pour the gelatin or corn syrup mixture over it. Use a spoon or your hands to mix everything together until the bird seed is evenly coated and the mixture is sticky.
If you’re adding any optional ingredients such as food coloring, dried fruits, nuts, or berries, now is the time to incorporate them into the mixture. Add a few drops of food coloring to achieve your desired color or sprinkle in the dried fruits, nuts, or berries for an extra treat for the birds.
Continue mixing until all the ingredients are well combined and the bird seed mixture is sticking together. Take care not to overmix or crush the bird seed too much, as you want to maintain the shape and texture of the seeds.
With the ingredients thoroughly mixed, you’re now ready to move on to the next step: shaping the bird seed ornaments.
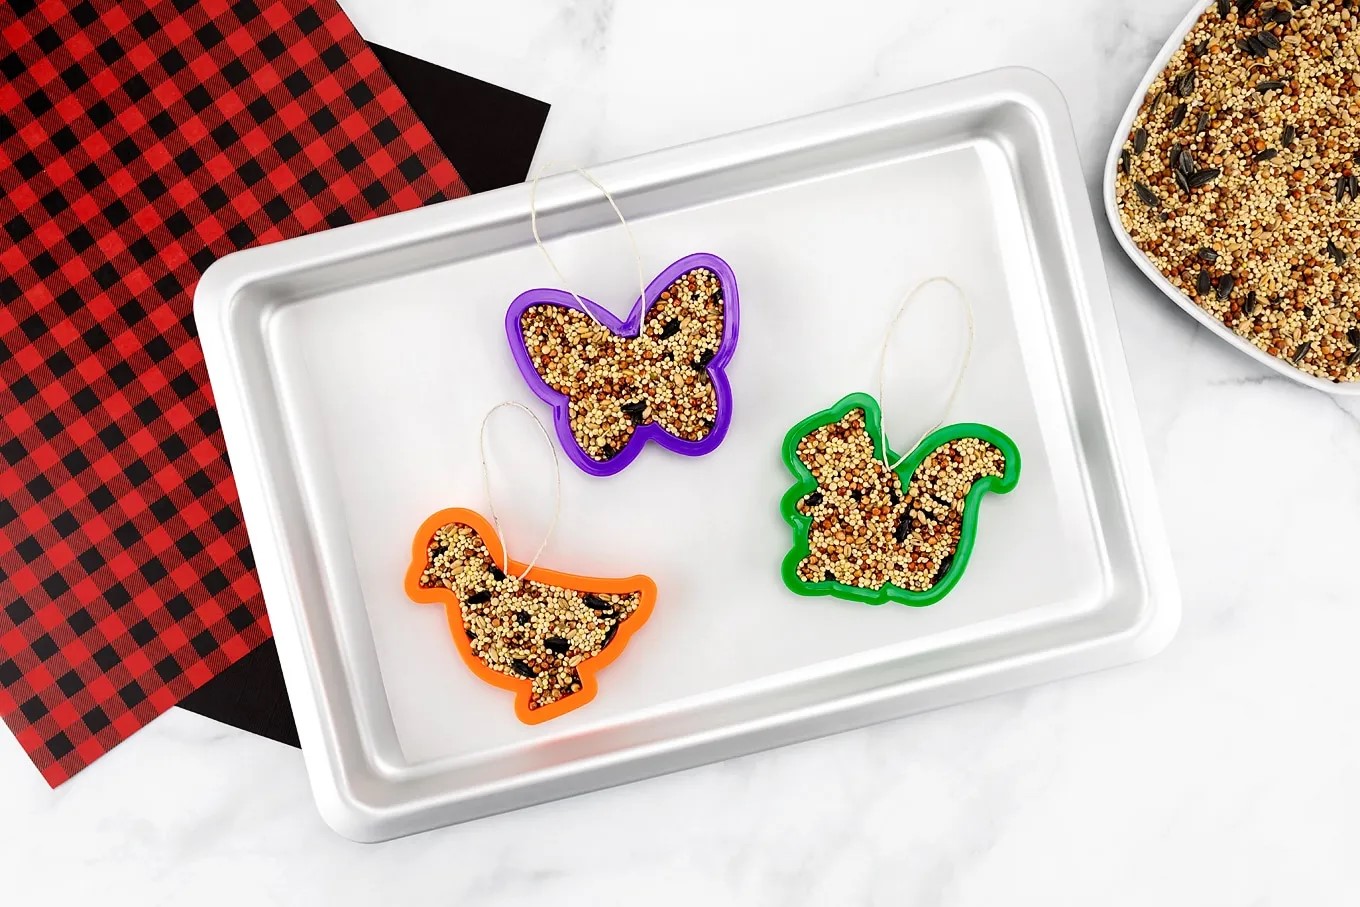
Step 3: Shape the Ornaments
Now that you have your bird seed mixture ready, it’s time to shape it into ornaments. This step allows you to get creative and choose the desired shape and size for your bird seed ornaments.
If you’re using cookie cutters, lightly grease them with cooking spray or oil to prevent sticking. Place the greased cookie cutter on a lined baking sheet or a flat surface covered with parchment paper or plastic wrap.
Scoop a generous amount of the bird seed mixture into the cookie cutter, pressing it down firmly and evenly. Use your fingers or the back of a spoon to smooth the surface and ensure that the mixture is tightly packed.
If you’re using silicone molds or cupcake tins, you can simply spoon the bird seed mixture into each mold, filling it up to the desired level. Again, make sure to press down firmly to compact the mixture.
For those who want to get creative, you can also shape the bird seed mixture by hand. Take a small handful of the mixture and shape it into balls, hearts, or any other shape you desire. If the mixture is sticking too much to your hands, dampen them slightly with water.
Continue shaping the ornaments until you have used up all the bird seed mixture. If you find that the mixture is starting to dry out or lose its stickiness, you can moisten your hands with water or remoisten the mixture with a little bit of water.
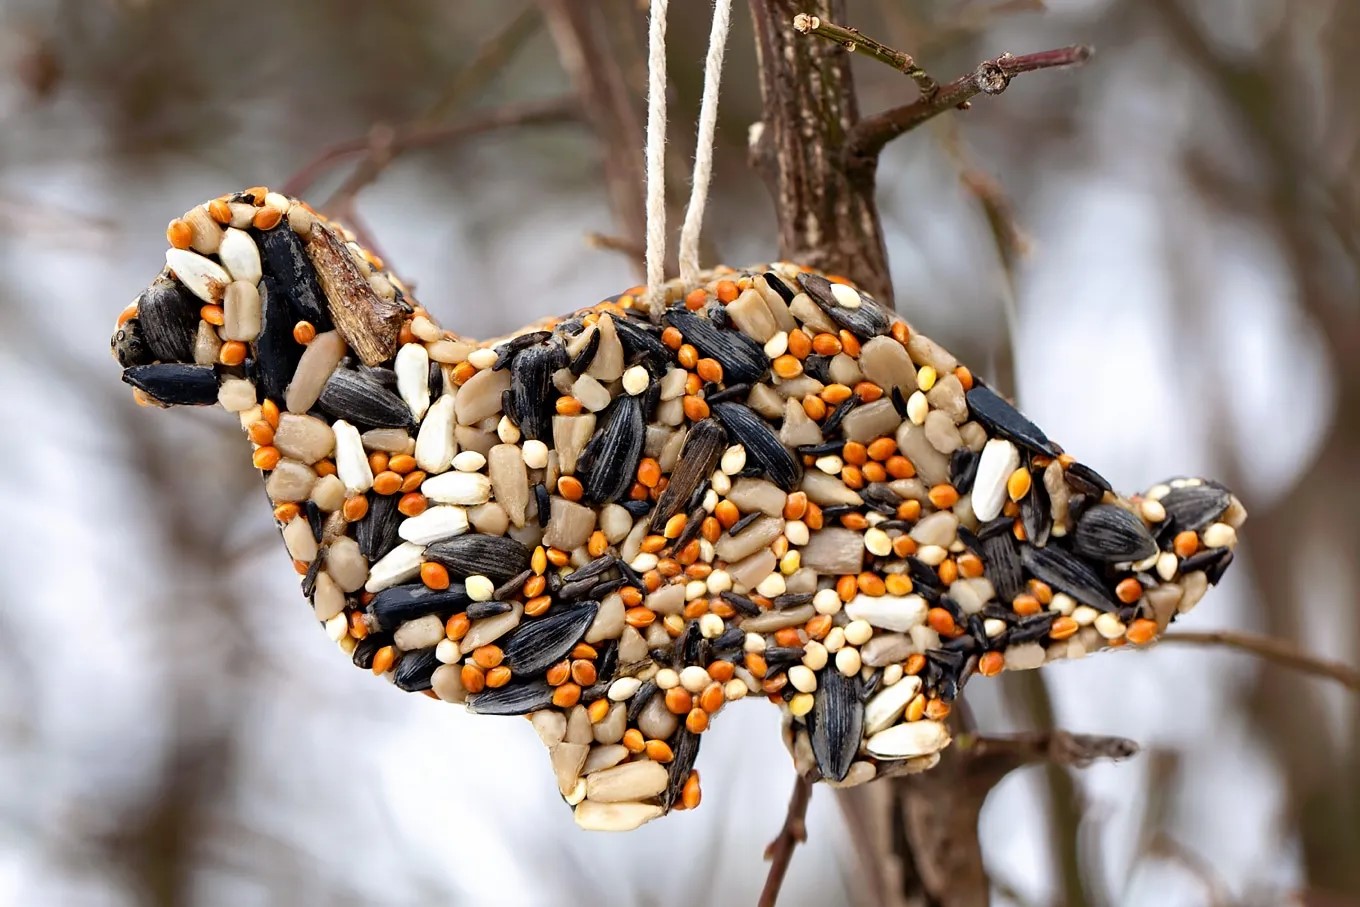
Once all the ornaments are shaped, take a moment to admire your creations. You’ve put your personal touch into each one, making them unique and beautiful.
Now that you have your shaped ornaments, it’s time to move on to the next step: creating a hole for hanging.
Mix bird seed with gelatin and water to create a sticky mixture. Press the mixture into cookie cutters, add a straw for hanging, and let it dry before hanging it outside for the birds to enjoy.
Read more: How To Make A Bird Seed Wreath
Step 4: Create a Hole for Hanging
Now that you have your beautifully shaped bird seed ornaments, it’s time to create a hole for hanging them. This step will allow you to easily hang the ornaments in your garden or on a tree branch.
The best time to create the hanging hole is when the bird seed mixture is still soft and pliable. You can use a drinking straw or a skewer to create the hole. Simply insert the straw or skewer into the top of the ornament and twist it gently to create a small hole.
Make sure not to go all the way through the ornament, as you want the hole to be shallow. A depth of about 1/4 inch (0.6 cm) is sufficient to accommodate the twine or ribbon for hanging.
Alternatively, if you’re using cookie cutters, you can create the hole before removing the ornament from the cutter. Simply press the straw or skewer through the bird seed mixture near the top of the cutter, and then gently lift the cutter off the ornament.
Take your time and be gentle when creating the holes to avoid cracking or breaking the ornaments. If you do encounter any cracks, simply press the mixture back together and smooth it out with your fingers.
Once you’ve created the holes in all the ornaments, double-check to make sure they are wide enough for your twine or ribbon to thread through easily. Adjust the holes if necessary by widening them slightly with the straw or skewer.
Now that the hanging holes are ready, you can move on to the next step: letting the ornaments dry.
Step 5: Let the Ornaments Dry
After shaping your bird seed ornaments and creating the hanging holes, it’s time to let them dry. Drying is a crucial step as it allows the ornaments to firm up and hold their shape.
Place the bird seed ornaments on a flat surface, such as a baking sheet or a tray. Make sure there is enough space between each ornament so that they can dry without touching each other.
If you’re drying the ornaments outdoors, choose a shaded and well-ventilated area to avoid direct sunlight and exposure to harsh elements. You can lay them on a table or hang them on a clothesline using clips or clothespins.
Allow the ornaments to dry for at least 24 to 48 hours, or until they feel firm and solid to the touch. The drying time may vary depending on the humidity in your environment, so be patient and give the ornaments ample time to dry completely.
During the drying process, it’s important to periodically check on the ornaments and gently flip them over to ensure even drying. If you notice any cracks or deformities, you can gently reshape the ornaments using your hands before they fully dry.
Keep in mind that the drying time may be longer if you added additional ingredients such as food coloring, dried fruits, nuts, or berries. These ingredients contain moisture, which can extend the drying process.
Once the ornaments are completely dry and firm, gently remove them from the surface or clothesline. If you used molds, carefully pop them out of the molds by applying gentle pressure to the bottom.
Congratulations! Your bird seed ornaments are now ready to be hung and enjoyed by our feathered friends.
But before we move on to the final step, let’s take a moment to appreciate the beauty and craftsmanship of your homemade bird seed ornaments. Each one is a unique masterpiece that will add a touch of charm to your garden or outdoor space.
Now, let’s move on to the last step: hanging and enjoying your bird seed ornaments!
Step 6: Hang and Enjoy
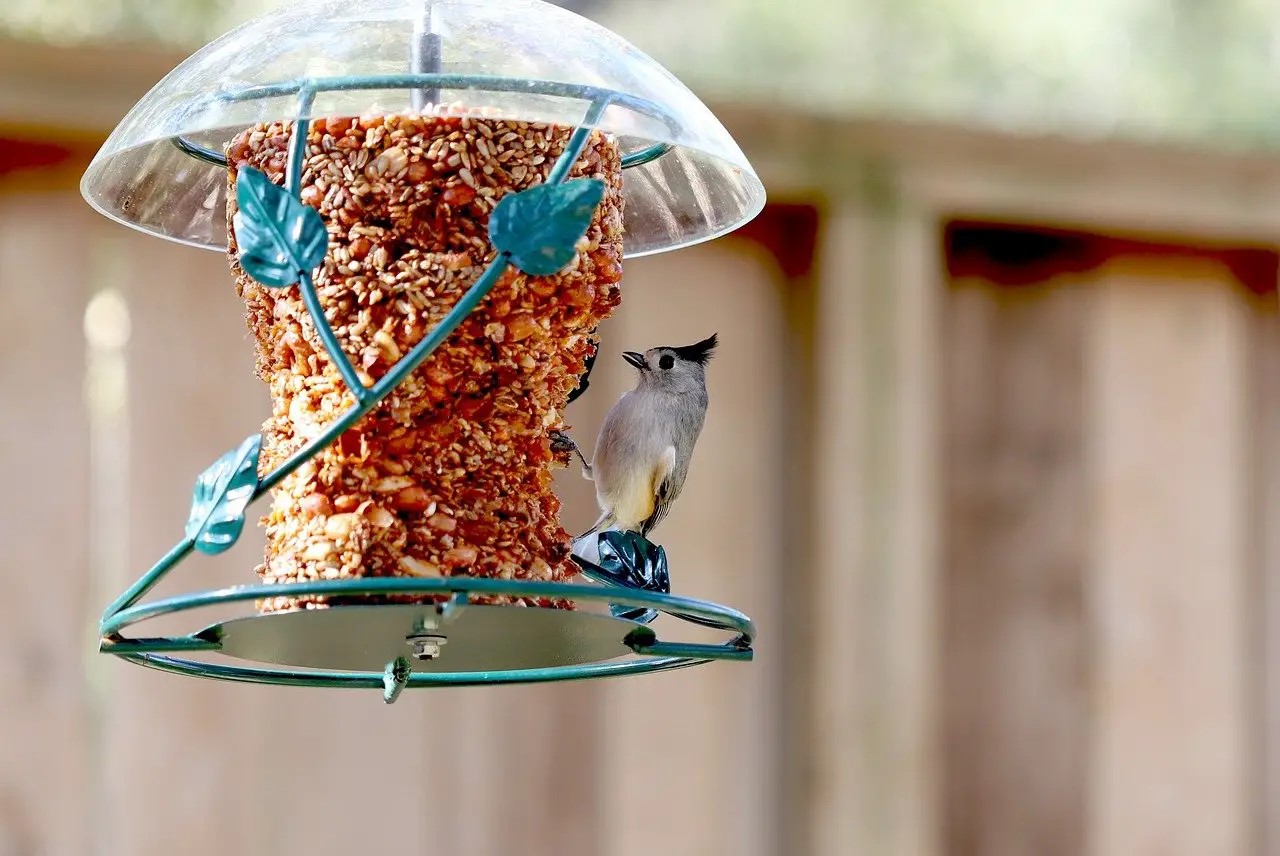
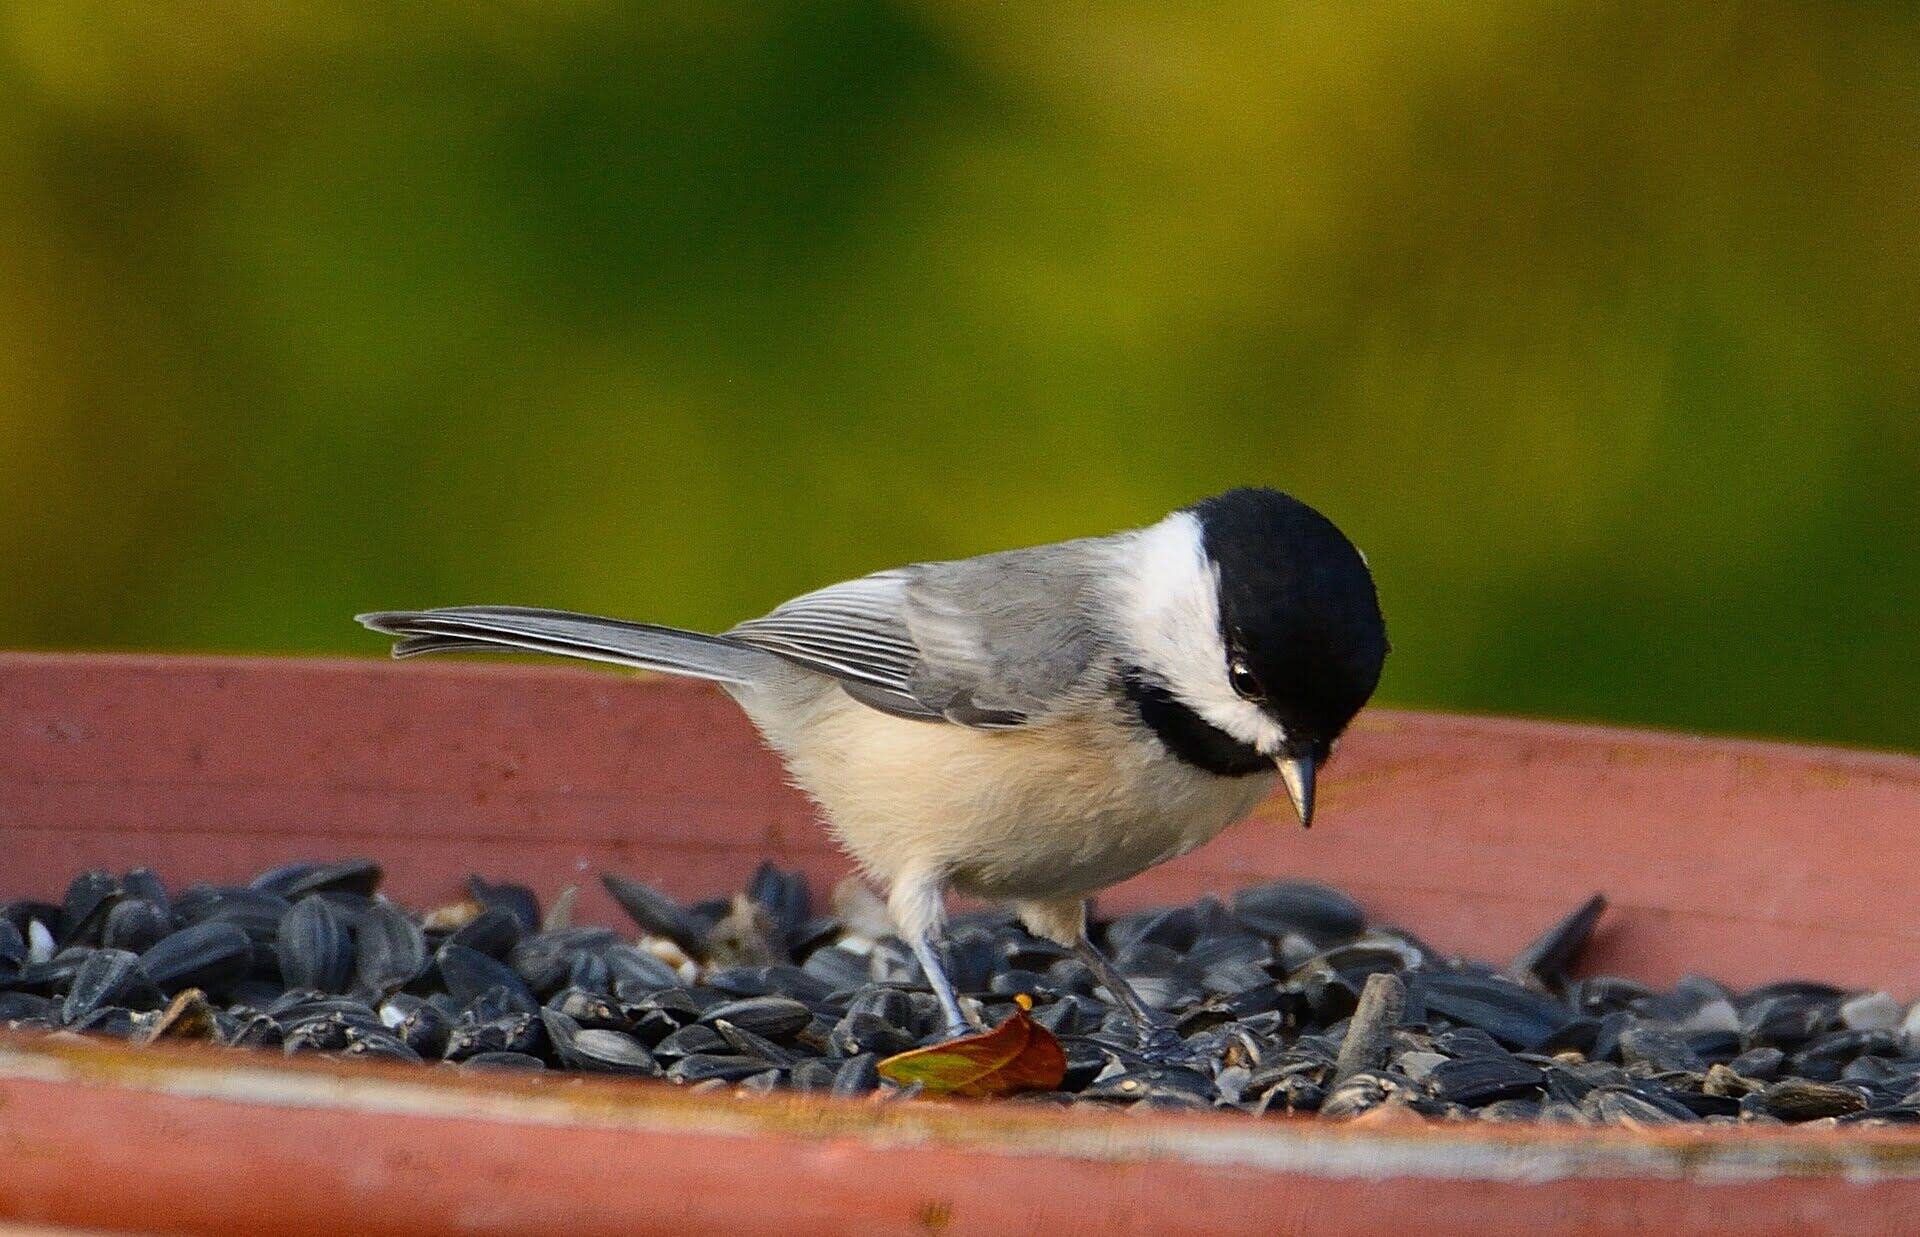
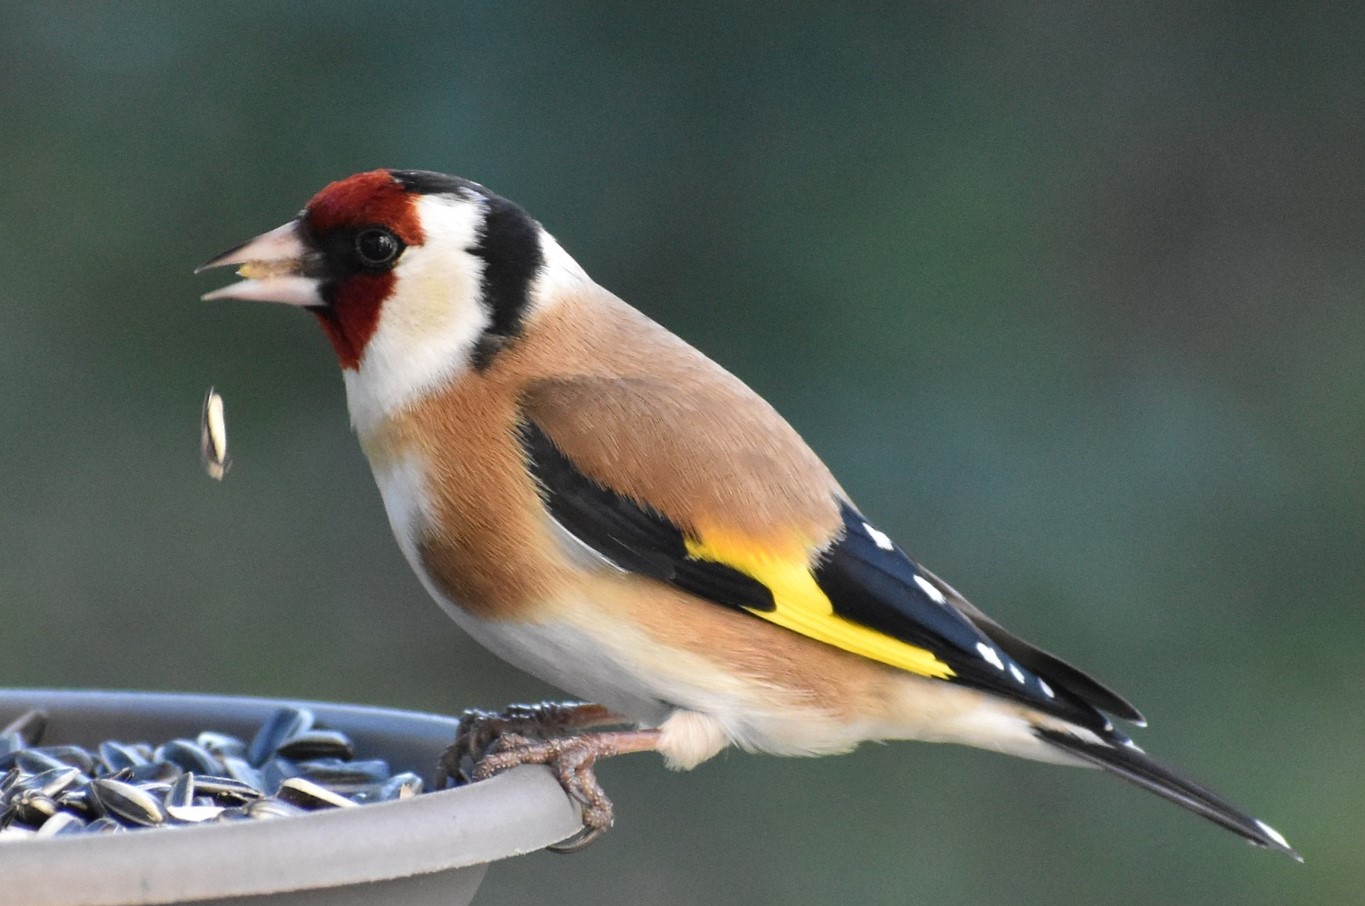
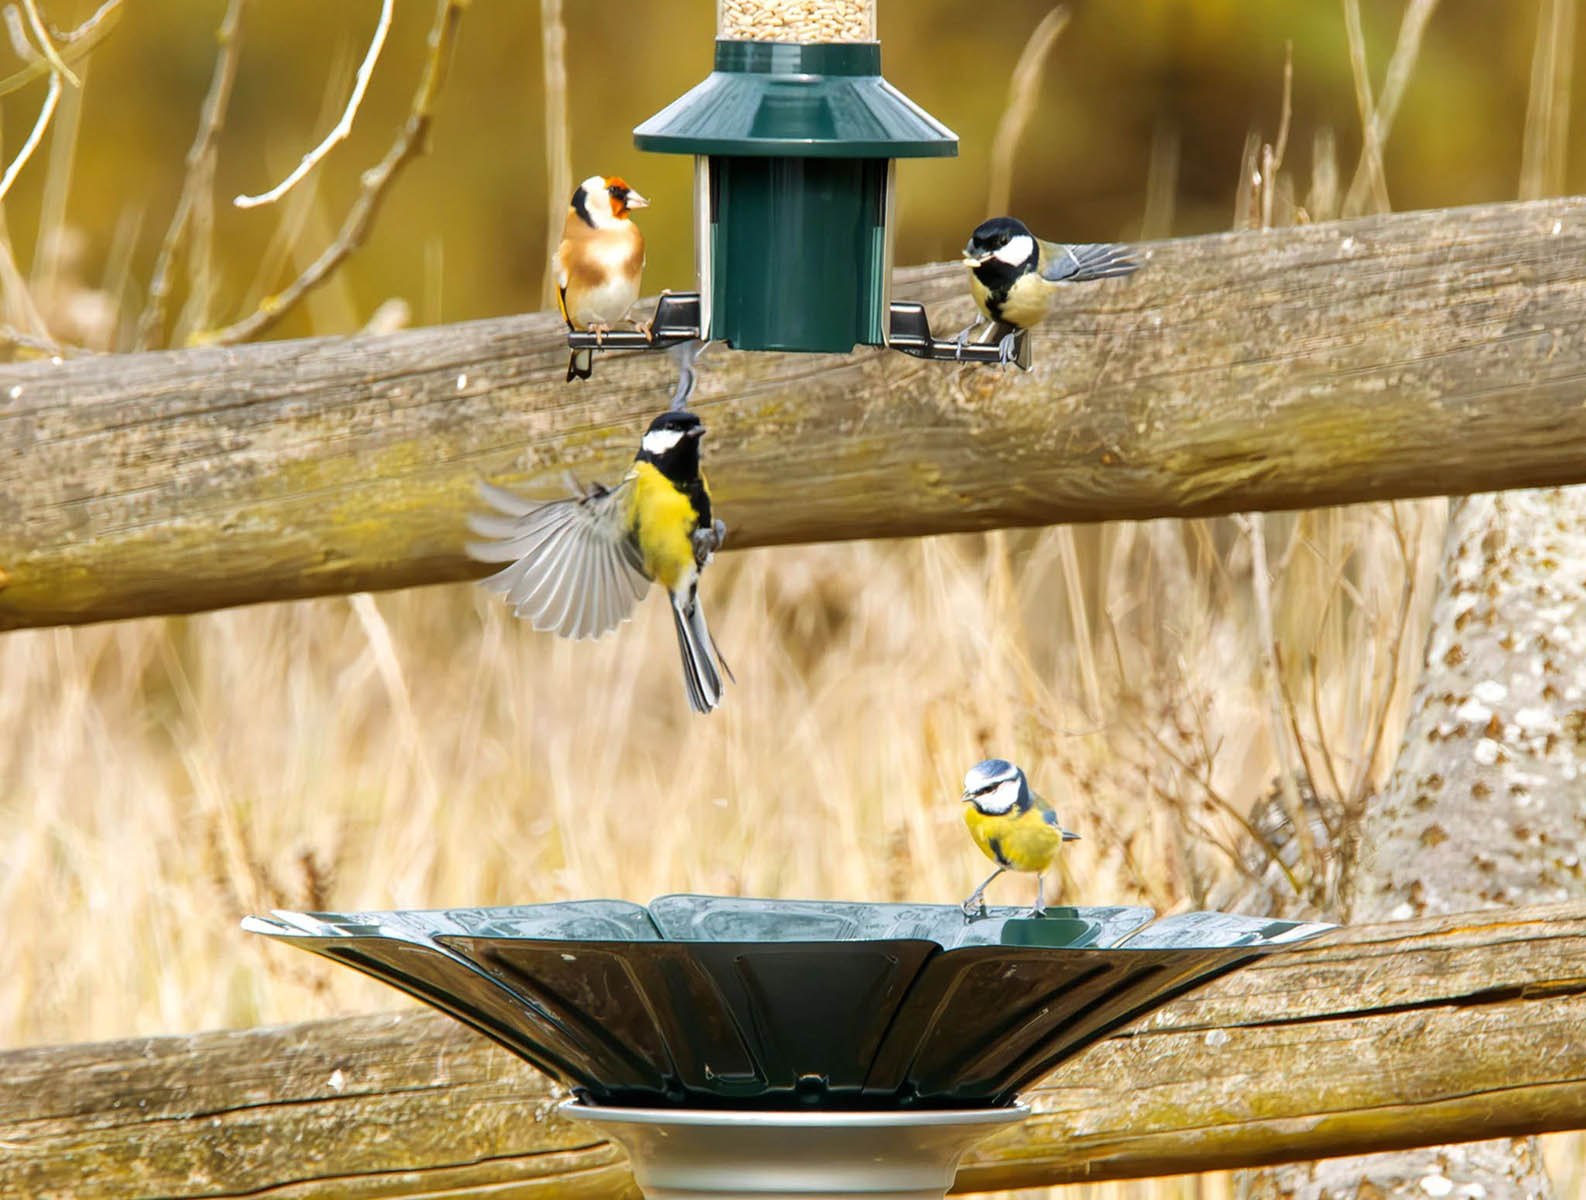
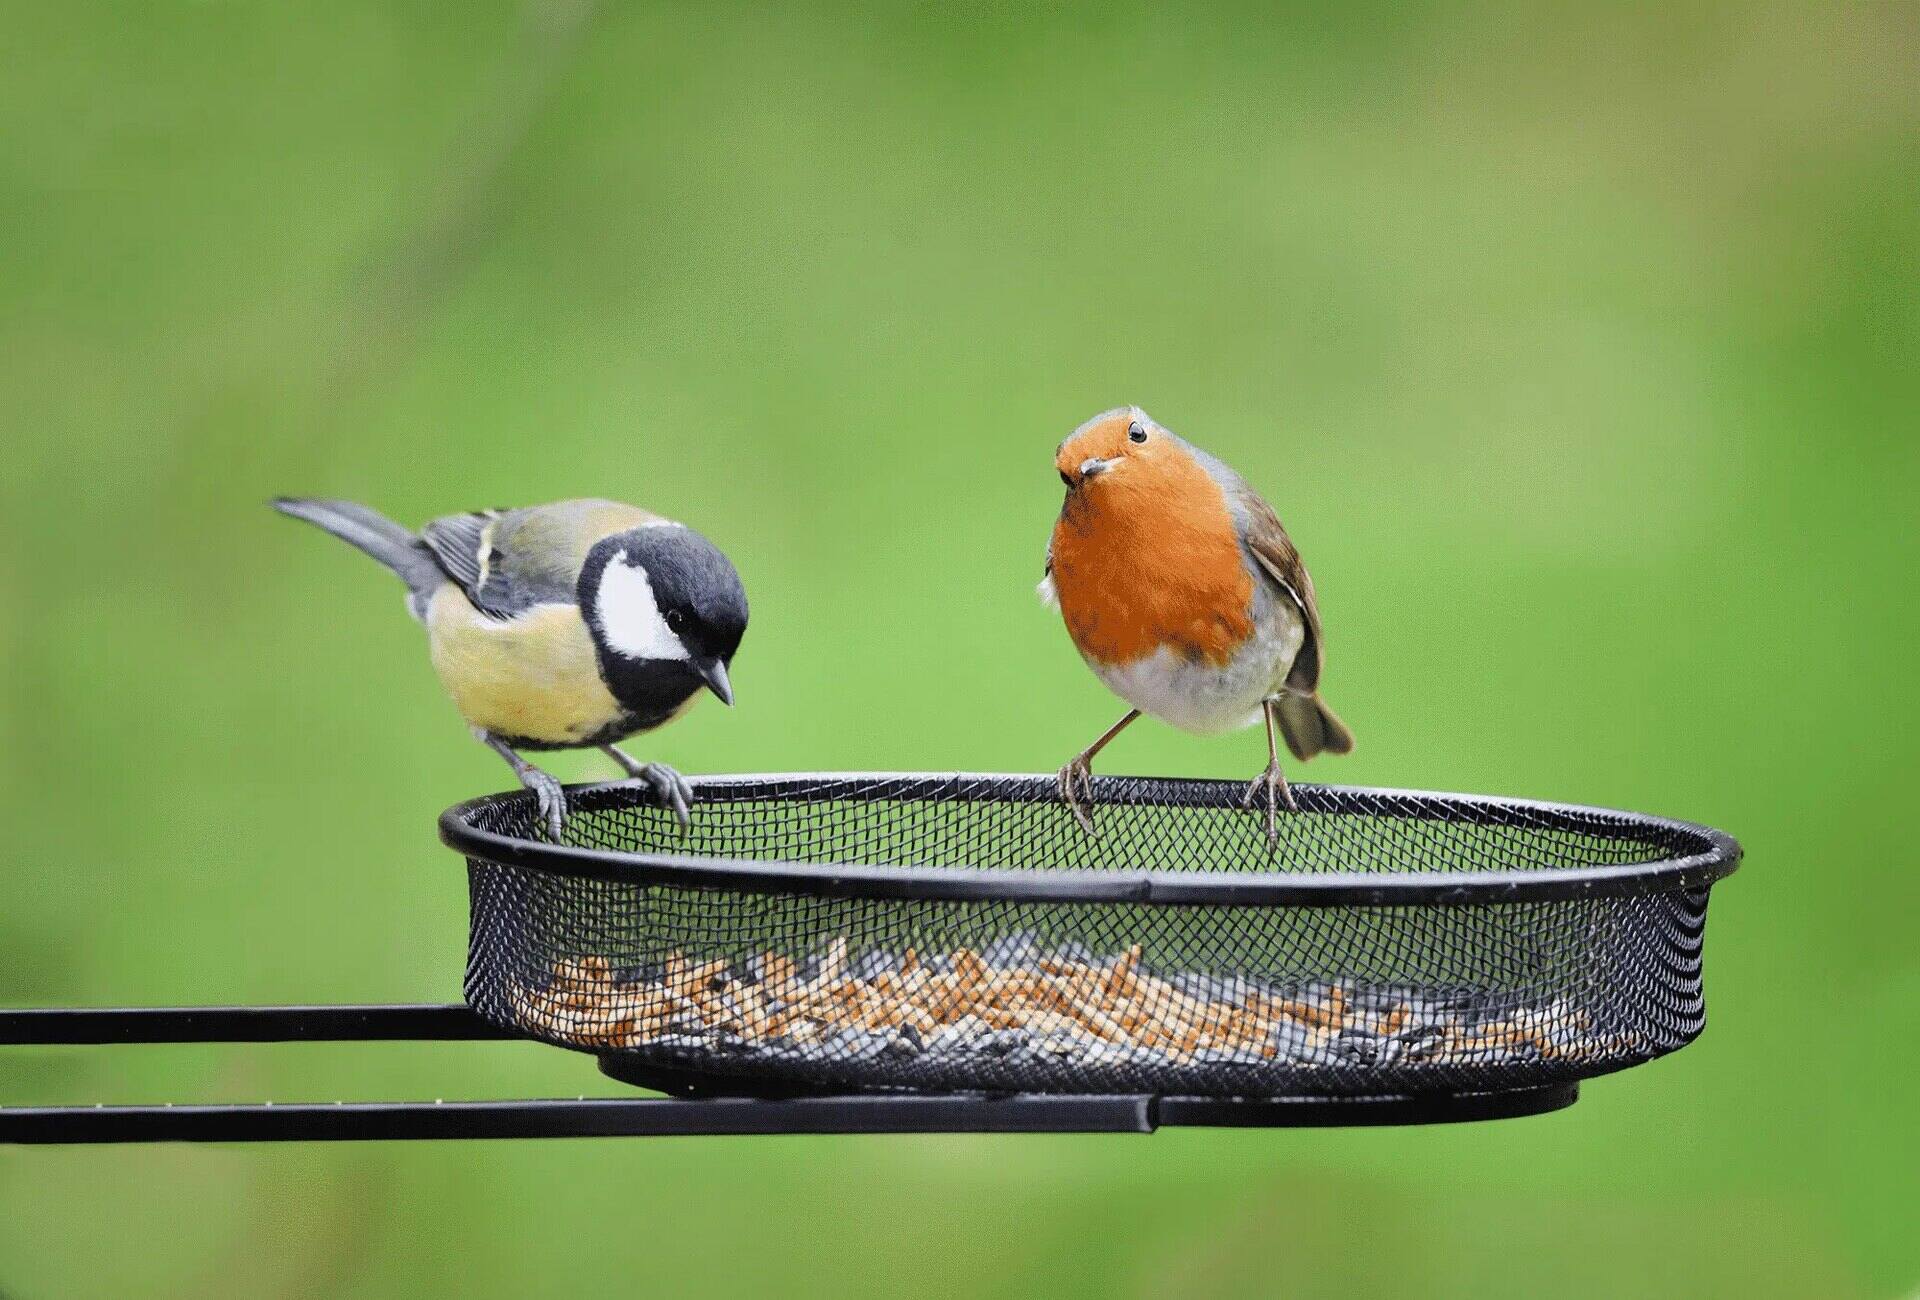
It’s finally time to hang your bird seed ornaments and enjoy the beauty they bring to your outdoor space. By hanging these ornaments, you’ll not only create a visually appealing display, but you’ll also provide a source of nourishment and entertainment for the birds in your area.
Choose a suitable location to hang your ornaments, such as a tree branch, a garden hook, or a balcony railing. Make sure the area is easily accessible to birds and provides a safe and comfortable environment for them to enjoy the treats.
Thread a length of twine or ribbon through the hanging hole of each ornament. Tie a secure knot at the top to create a loop for hanging. If you have multiple ornaments, you can space them out evenly along the length of the twine or ribbon.
Once you have your ornaments attached to the twine or ribbon, carefully hang them in your chosen location. Take a moment to step back and admire the sight of the ornaments swaying gently in the breeze, attracting the attention of passing birds.
Keep in mind that it may take some time for birds to discover and start enjoying the bird seed ornaments. As with any new addition to your garden, it might take a little bit of patience before they become a popular bird hangout.
As you watch the birds come and enjoy the bird seed ornaments, take a moment to observe their behavior. You’ll be treated to the sights and sounds of various bird species hopping, pecking, and feasting on the delicious treats you’ve created.
Remember to keep an eye on the ornaments and replenish them as needed. If they get wet or start to crumble, it’s a sign that they need to be replaced. Regularly checking and maintaining the ornaments will ensure a continuous supply of food for your feathered friends.
By hanging and enjoying your bird seed ornaments, you’re not only providing nourishment for the birds, but also creating a harmonious connection with nature. So sit back, relax, and take pleasure in the delightful display of birds flocking to your garden to savor the homemade treats.
Congratulations on successfully making and hanging your bird seed ornaments! Now you can proudly say that you’ve made a positive impact on the well-being of your feathered neighbors.
Before we conclude, let’s recap the steps one last time:
- Gather Your Ingredients
- Mix the Ingredients
- Shape the Ornaments
- Create a Hole for Hanging
- Let the Ornaments Dry
- Hang and Enjoy
Thank you for joining us on this journey of creating bird seed ornaments. We hope you find joy in both the process and the result, and that your garden becomes a haven for birds and a testament to your love for nature.
Happy bird watching!
Conclusion
Congratulations on completing your bird seed ornament journey! By following the steps outlined in this article, you have learned how to create beautiful and nourishing treats for the birds in your area. Not only have you added a touch of creativity and charm to your outdoor space, but you have also provided a valuable food source for our feathered friends.
Throughout the process, you gathered your ingredients, mixed them together, shaped the ornaments with care, created holes for hanging, and patiently allowed them to dry. The end result is a collection of unique and enticing bird seed ornaments that will attract a variety of bird species to your garden.
As you hang your ornaments and observe the birds delighting in the treats, remember the importance of maintaining and replenishing the ornaments. Regularly check for signs of wear, such as wetness or crumbling, and replace them as needed to ensure a consistent supply of food.
Creating bird seed ornaments is not only a rewarding DIY project, but it also strengthens our connection with nature. It allows us to appreciate the beauty of birds, their important role in our ecosystem, and the joy they bring to our lives.
So, continue to enjoy the sights and sounds of birds visiting your garden, feasting on the homemade treats you’ve provided. Take pride in knowing that your efforts have made a positive impact on the well-being of these magnificent creatures.
Remember, the process of making bird seed ornaments is not limited to a one-time event. You can revisit this project whenever you feel inspired, experimenting with different shapes, colors, and ingredients to further entice and nourish the birds.
Thank you for joining us on this bird seed ornament adventure. We hope that your garden becomes a haven for birds, filled with their songs and vibrant presence. By creating a welcoming space for them, you are contributing to the conservation of our natural world.
Keep exploring, learning, and sharing your love for nature. Happy bird watching!
Frequently Asked Questions about How To Make Bird Seed Ornaments
Was this page helpful?
At Storables.com, we guarantee accurate and reliable information. Our content, validated by Expert Board Contributors, is crafted following stringent Editorial Policies. We're committed to providing you with well-researched, expert-backed insights for all your informational needs.
0 thoughts on “How To Make Bird Seed Ornaments”