Home>Garden Essentials>How To Save Seeds From Sunflowers
Garden Essentials
How To Save Seeds From Sunflowers
Modified: August 16, 2024
Learn how to save seeds from sunflowers in your garden and ensure a bountiful harvest for years to come.
(Many of the links in this article redirect to a specific reviewed product. Your purchase of these products through affiliate links helps to generate commission for Storables.com, at no extra cost. Learn more)
Introduction
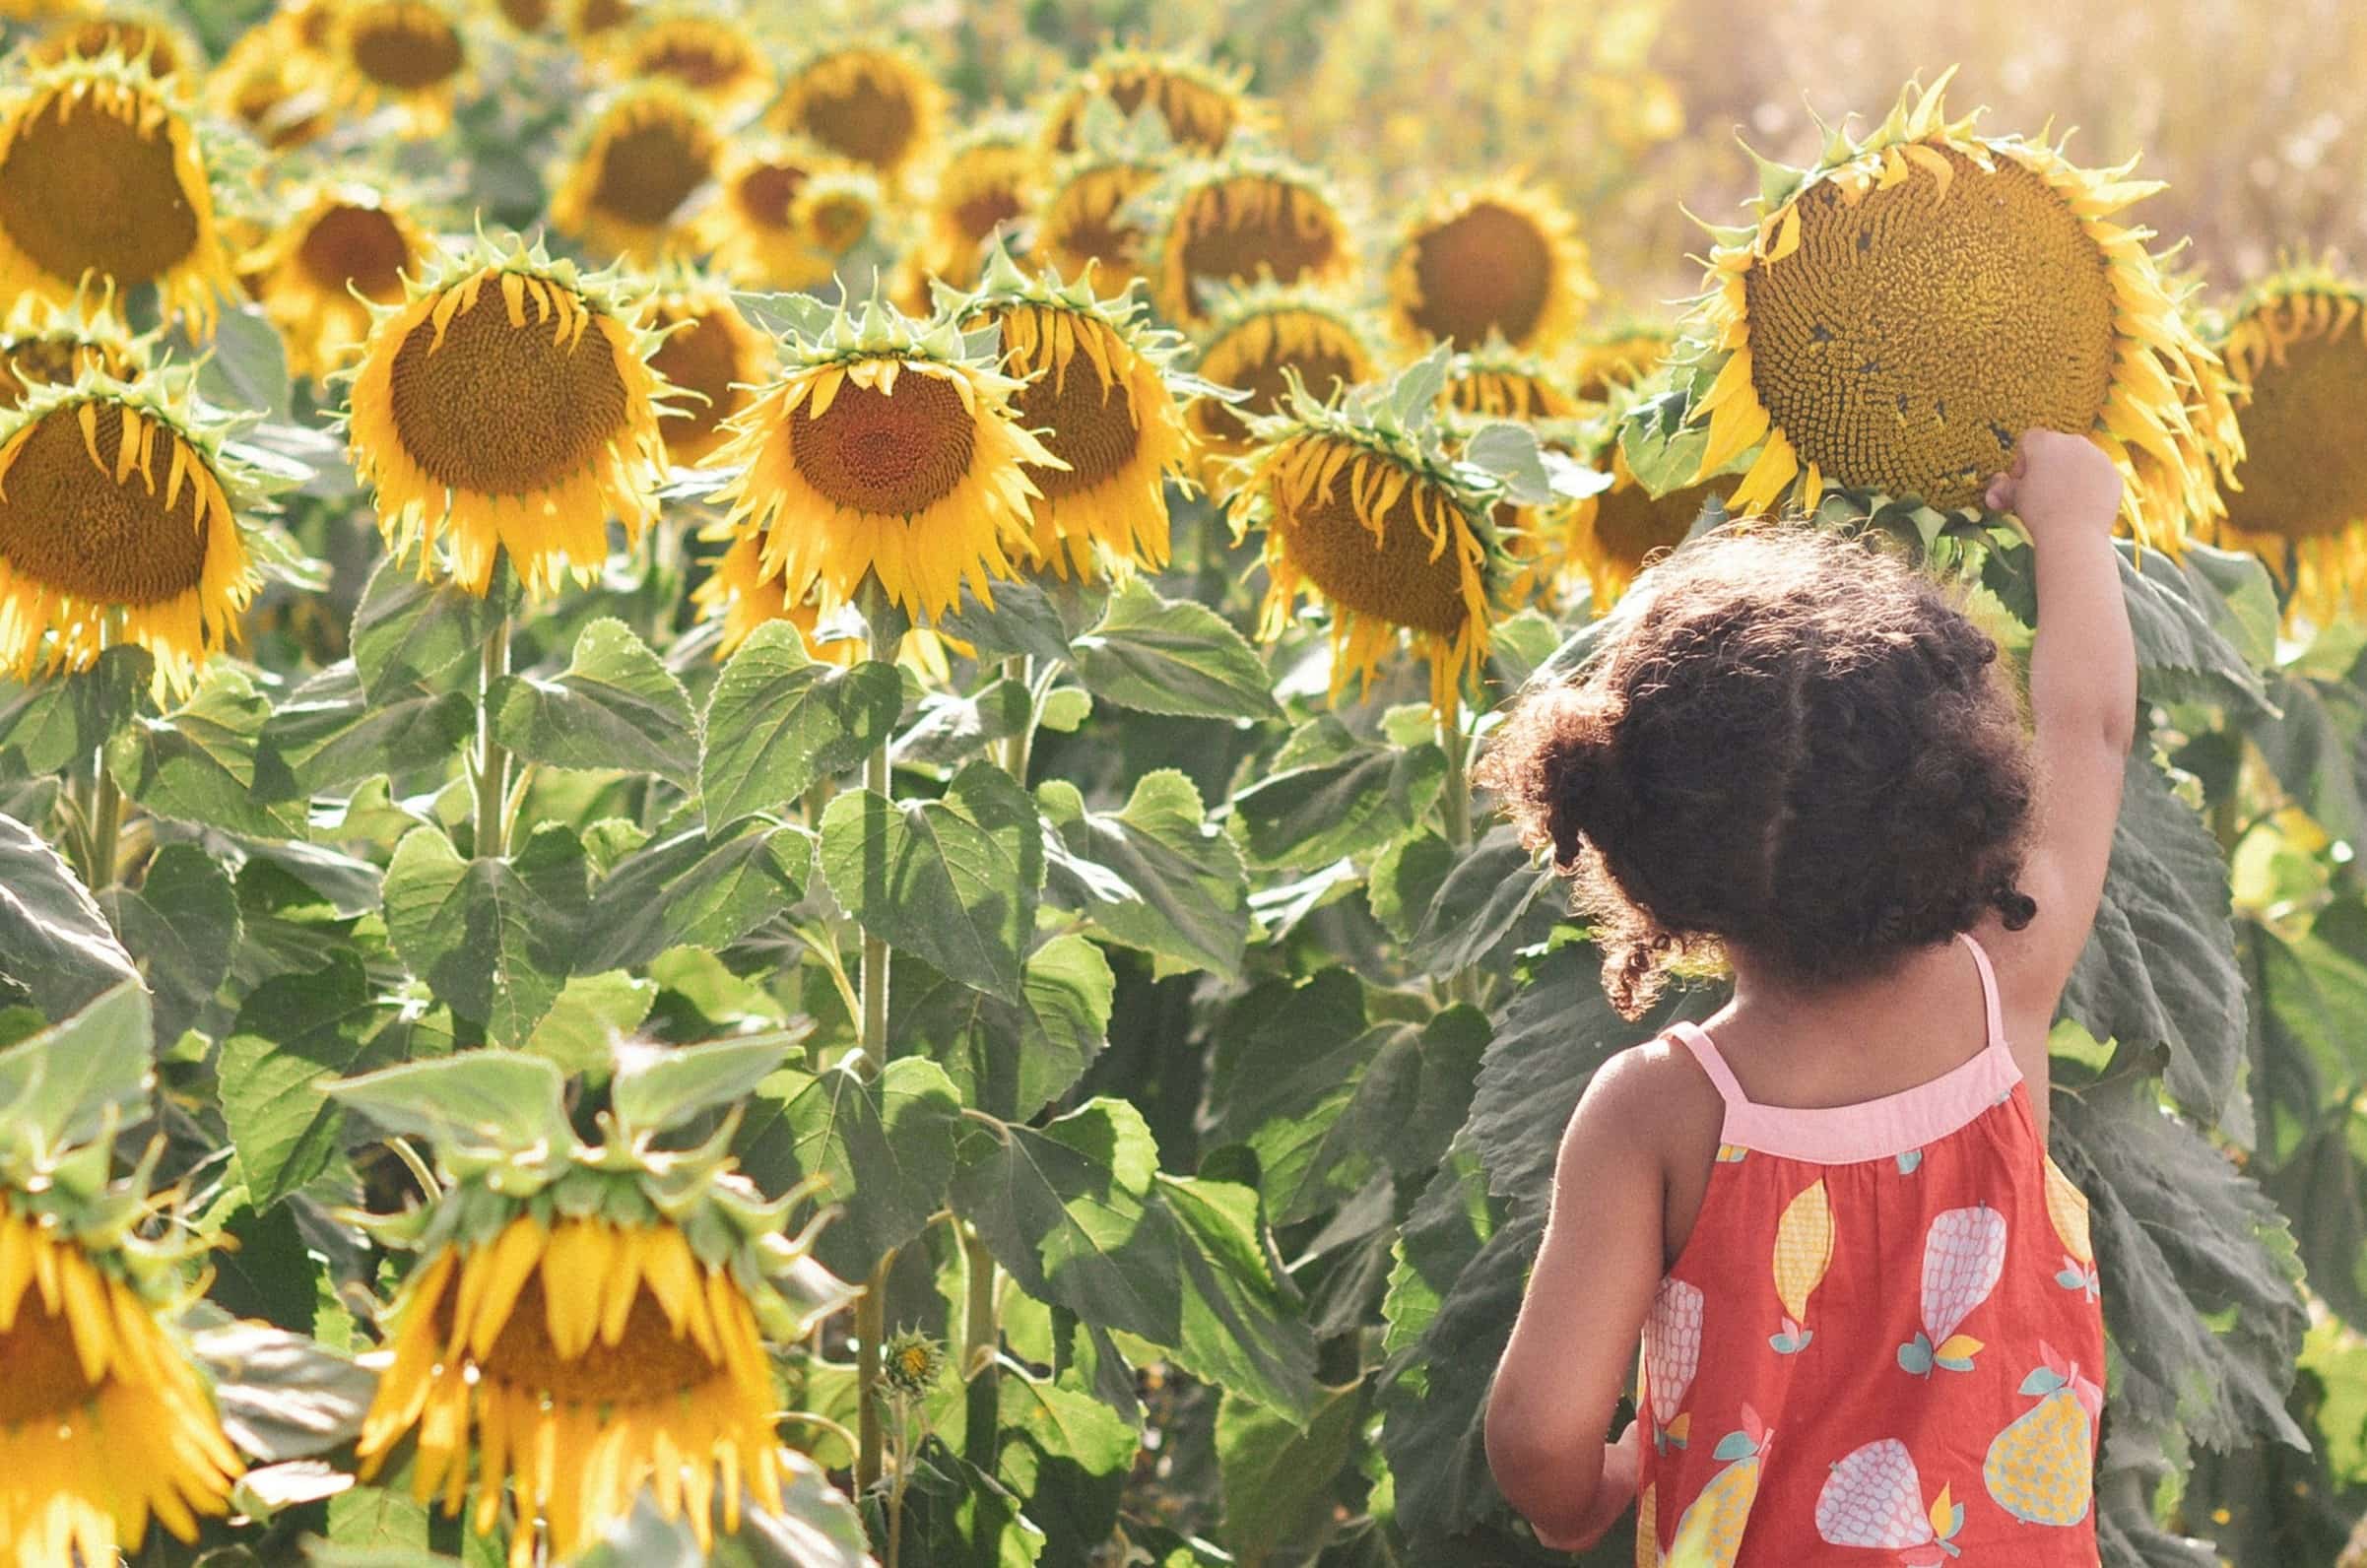
Welcome to the wonderful world of sunflowers! These tall, majestic blooms bring joy to any garden with their vibrant colors and larger-than-life presence. But did you know that sunflowers are not just beautiful to look at, but also have the potential to provide you with an abundant supply of seeds?
In this article, we will explore the art of saving sunflower seeds. Why should you bother saving seeds, you may ask? Well, by saving sunflower seeds, you can continue the cycle of growth in your garden year after year, save money on buying new seeds, and even share the joy of sunflowers with friends and family.
So, if you’re ready to embark on a seed-saving adventure, let’s dive in and discover how you can save sunflower seeds like a pro!
Key Takeaways:
- Save sunflower seeds to grow more plants, save money, and preserve unique varieties. It’s a fun and rewarding way to connect with nature and share the joy of sunflowers with others.
- Harvest, clean, and store sunflower seeds carefully to ensure they remain viable for future planting. Test seed viability to maximize successful germination and enjoy beautiful sunflower blooms in your garden.
Read more: How To Make Sunflower Seeds From A Sunflower
Why Save Sunflower Seeds
There are several compelling reasons why you should consider saving sunflower seeds. Firstly, by saving seeds from your sunflowers, you ensure a sustainable source of future plants. Instead of relying on purchasing seeds each year, you can rely on the seeds you save to grow new sunflowers in your garden.
Saving seeds also allows you to preserve the qualities and characteristics of specific sunflower varieties that you particularly enjoy. Over time, as you continue to save seeds from the best-performing sunflowers in your garden, you can develop your own unique strain of sunflowers perfectly adapted to your growing conditions and aesthetic preferences.
Additionally, saving sunflower seeds can be a cost-effective measure. Sunflower seeds can be quite expensive to purchase, especially if you’re looking for rare or specialty varieties. By saving seeds, you can reduce your gardening expenses and invest the savings in other areas of your garden.
Furthermore, seed saving is an important part of preserving biodiversity. Many traditional and heirloom sunflower varieties have been lost over the years as commercial hybridized varieties dominate the market. By saving seeds from heirloom or open-pollinated sunflowers, you contribute to the conservation of unique genetic traits and diversify the available varieties.
Finally, saving sunflower seeds can be a rewarding and educational experience. It allows you to become more connected to the life cycle of plants, appreciate the intricate process of pollination and seed formation, and develop a deeper understanding of the interconnectedness of nature.
Now that we understand the importance of saving sunflower seeds, let’s move on to the next step: knowing when to harvest the seeds.
When to Harvest Sunflower Seeds
Timing is crucial when it comes to harvesting sunflower seeds. Harvesting too early may lead to immature seeds that won’t germinate, while waiting too long can result in seeds that are no longer viable or have been eaten by birds or other animals.
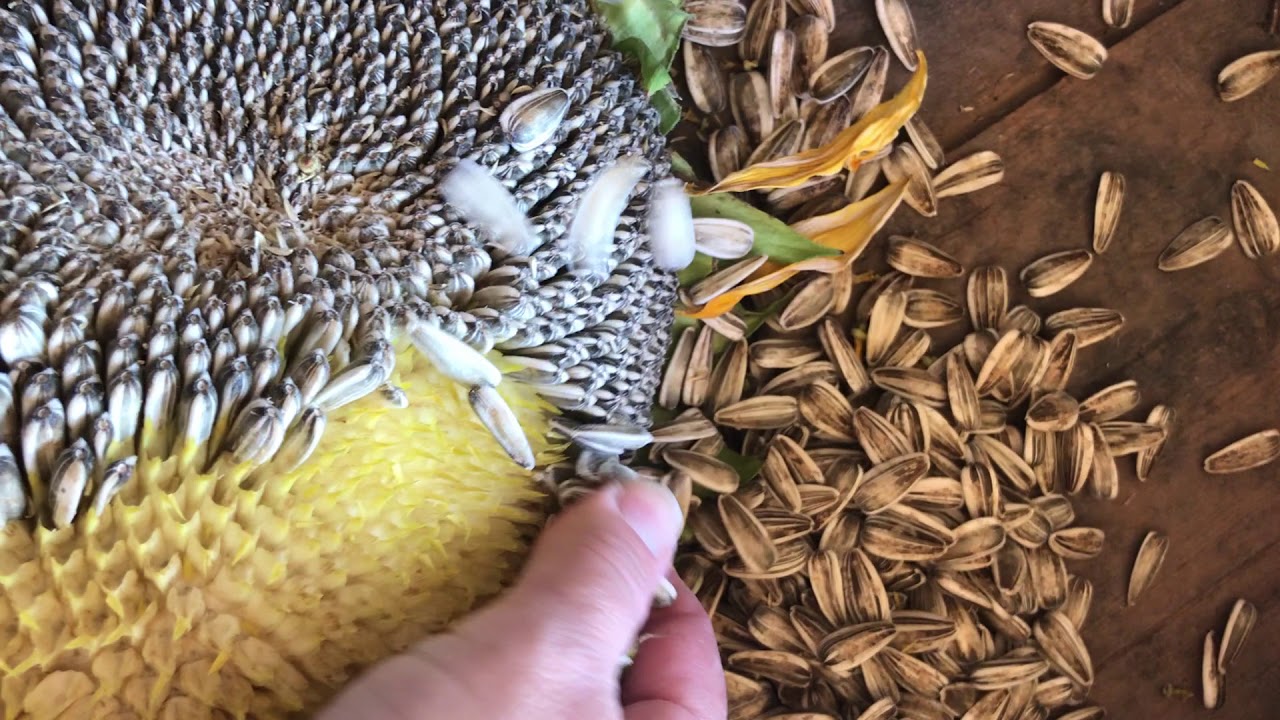
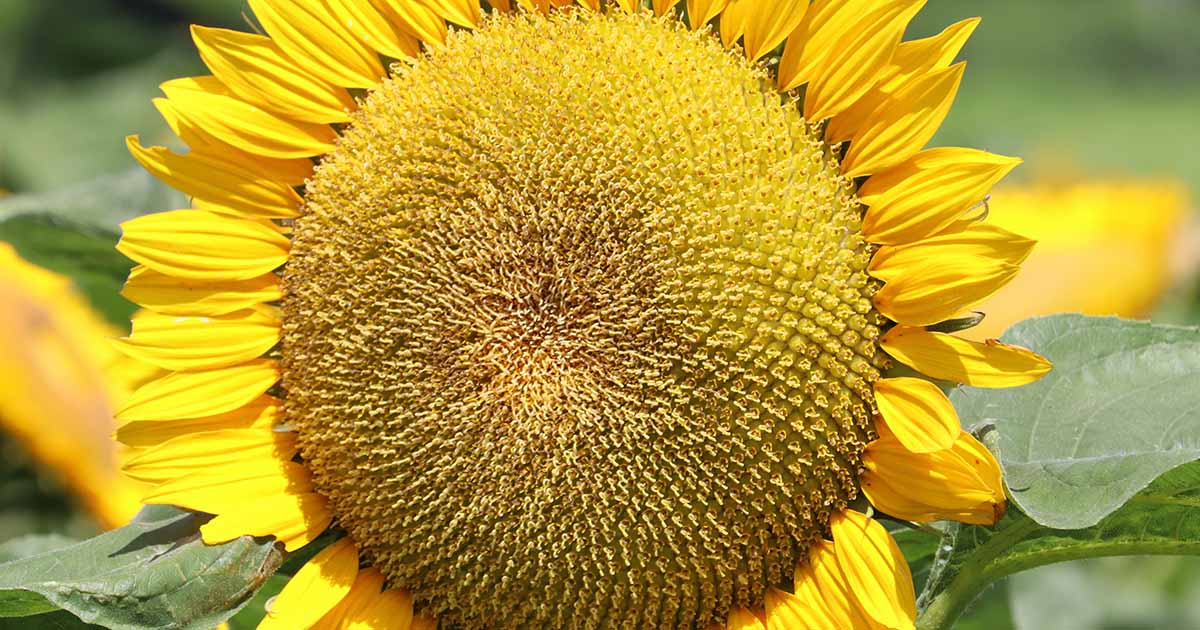
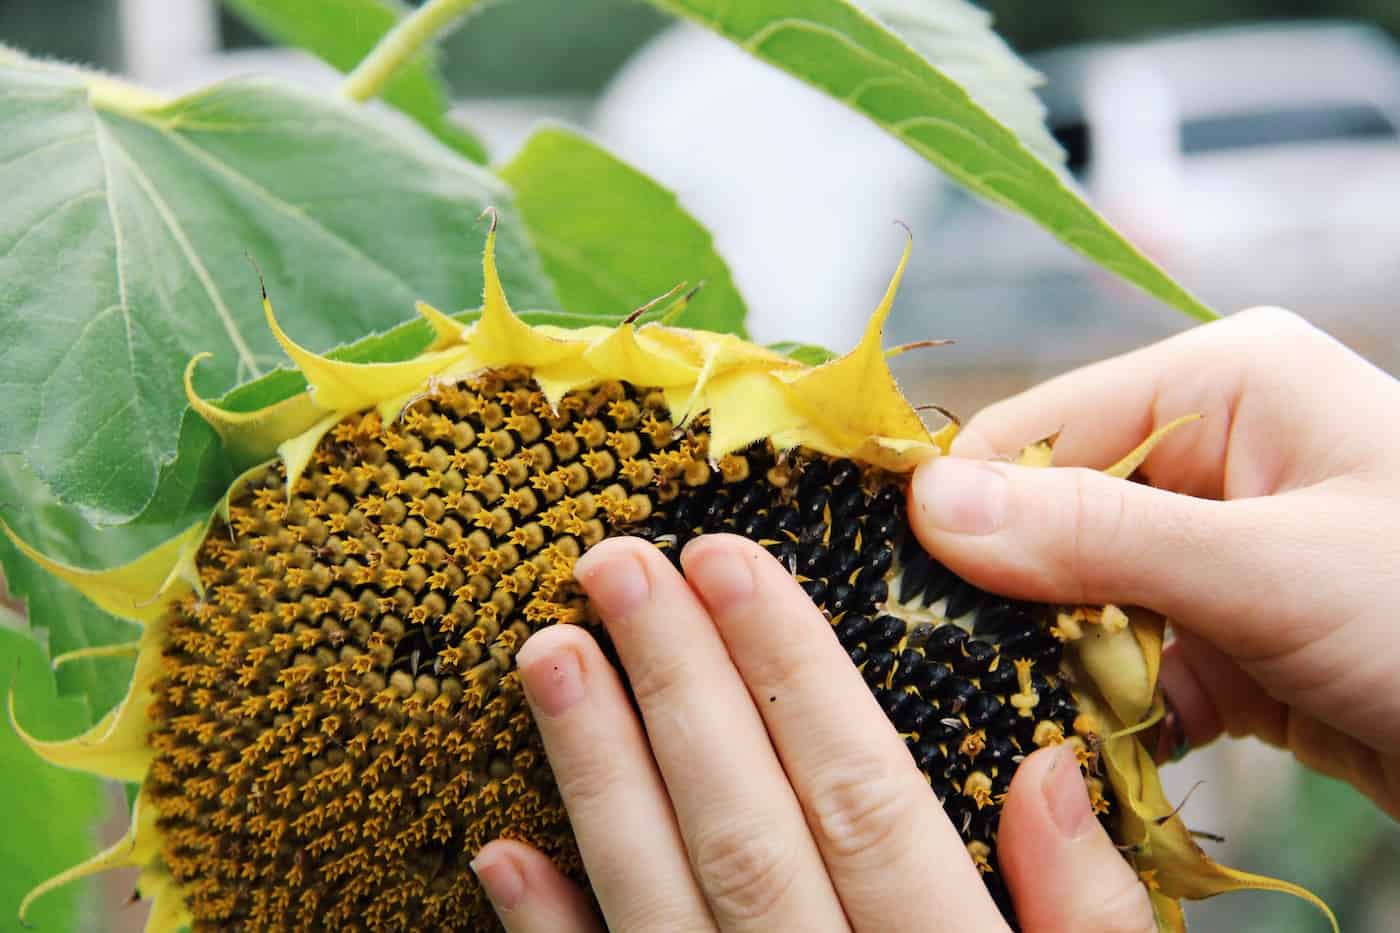
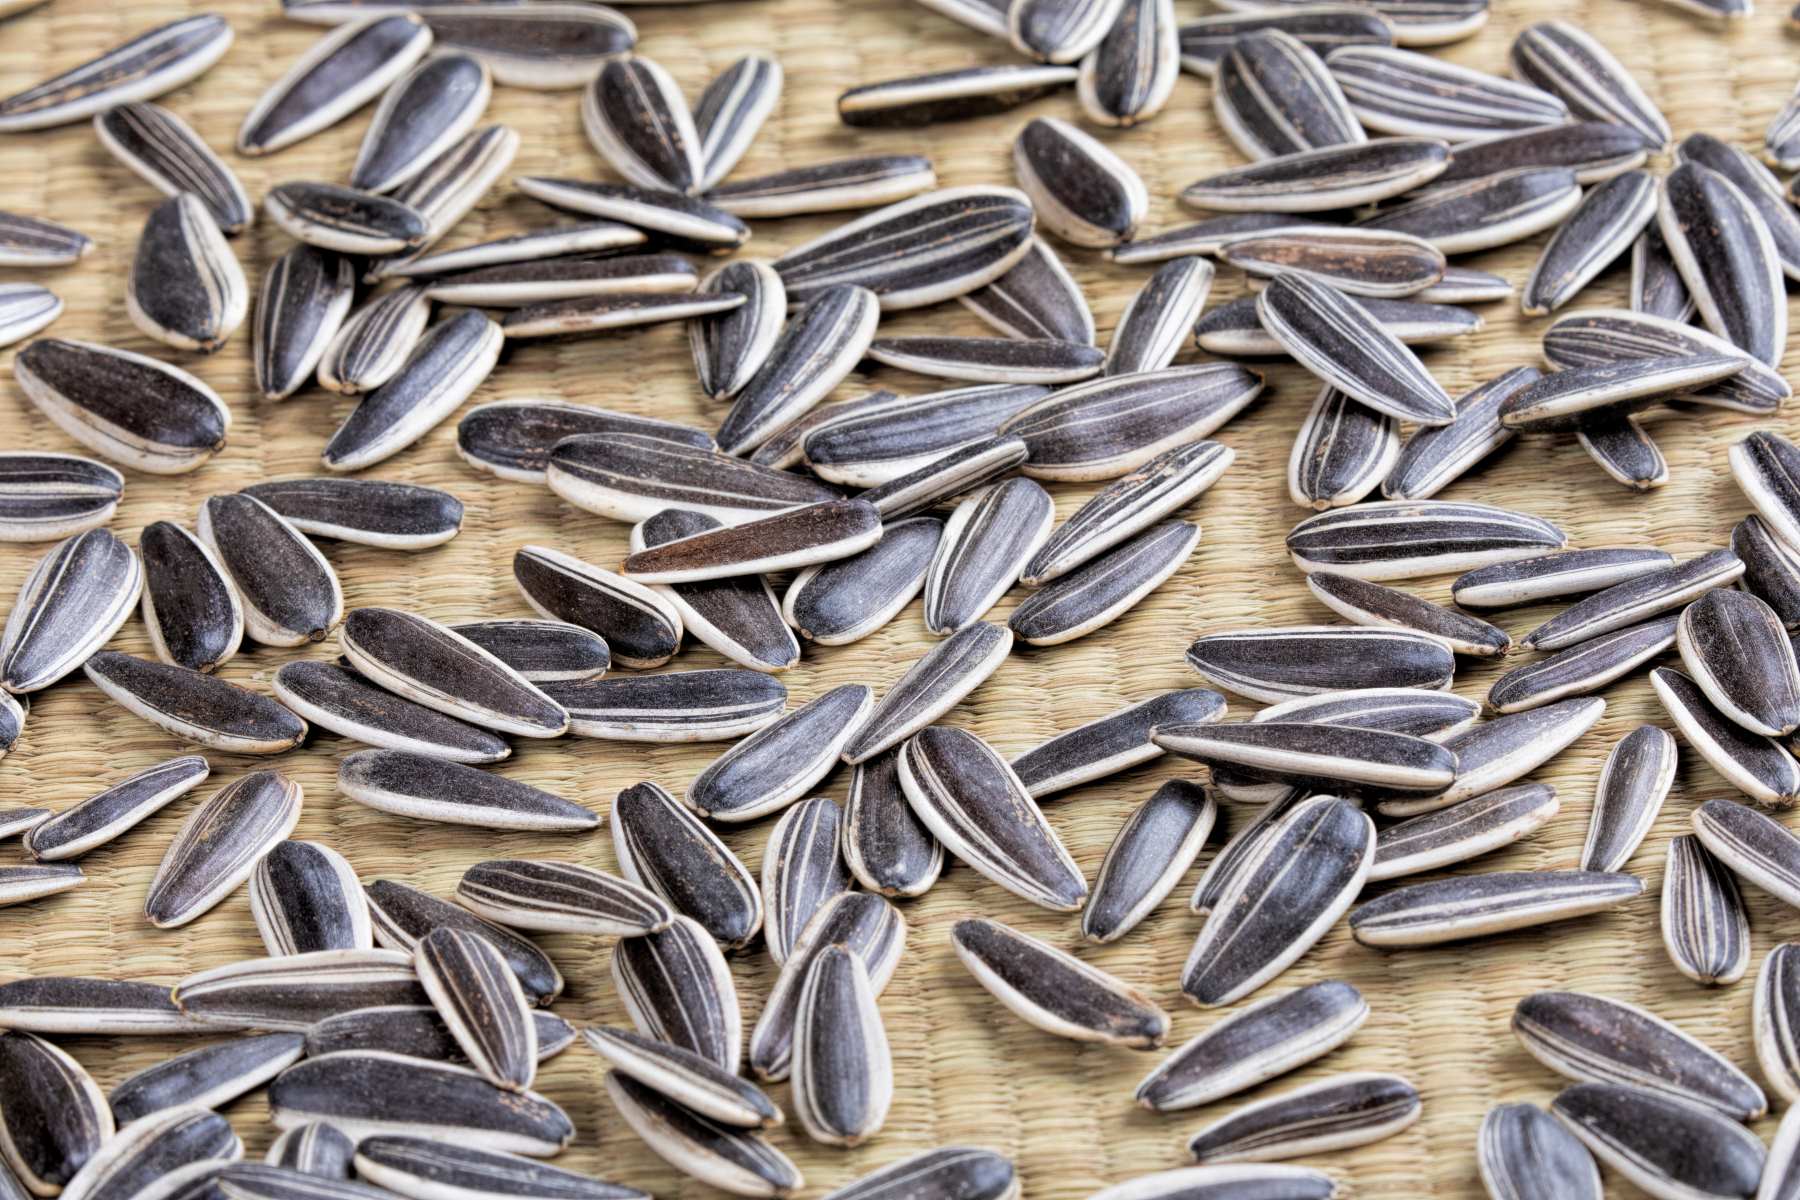
The ideal time to harvest sunflower seeds is when the back of the flower head turns yellow or brown and the petals have fallen off. The seeds should be plump and the disk florets in the center of the flower head should be dry and shriveled.
To check if the sunflower seeds are ready for harvest, gently press your thumbnail into a seed. If it leaves an indentation, the seeds are not ready yet. If the seed resists your thumbnail and feels firm, then it is mature and ready for harvest.
Keep in mind that different sunflower varieties have varying maturation times. Some may take around 80-100 days from planting to harvest, while others may take longer. Check the seed packet or consult the variety’s specific guidelines to get a more accurate estimate.
It’s also important to consider weather conditions when determining the best time to harvest. If there is a heavy rainstorm or strong winds in the forecast, it may be wise to harvest the sunflower heads a bit earlier to prevent seed loss.
Once you’ve determined that the seeds are ready for harvest, prepare yourself for the next step: choosing the right sunflower variety for seed saving.
Choosing the Right Sunflower Variety for Seed Saving
When it comes to choosing the right sunflower variety for seed saving, there are a few key factors to consider. Here are some guidelines to help you make the best selection:
- Open-pollinated or heirloom varieties: It’s best to choose open-pollinated or heirloom sunflower varieties for seed saving. These types of sunflowers will produce seeds that, when planted, will grow true to the parent plant. They have not been cross-pollinated with other varieties, ensuring genetic consistency.
- Non-hybrid varieties: Avoid hybrid sunflower varieties if you intend to save seeds. Hybrids are the result of cross-pollination between two different parent plants, and their offspring may not retain the desired traits of the parent plant. Stick to non-hybrid varieties for reliable seed saving.
- Disease resistance and adaptability: Consider selecting sunflower varieties that are known for their disease resistance and adaptability to your specific growing conditions. By choosing hardy varieties, you increase the chances of successful seed production and future plant growth.
- Flower size and seed quantity: Take into account the size of the flower head and the quantity of seeds produced by each sunflower variety. If you plan to save seeds on a larger scale or want plenty of sunflower seeds for snacking or bird feed, opt for varieties that produce larger flower heads with more seeds.
- Personal preference: Of course, don’t forget about your personal preference when choosing a sunflower variety for seed saving. Consider factors like color, petal shape, and overall aesthetic appeal. After all, you want to enjoy the beauty of your sunflowers while also benefiting from the seeds they produce.
Keep in mind that it’s always a good idea to experiment with different varieties and observe their performance in your specific garden conditions. This way, you can identify the sunflowers that thrive and produce the best seeds for your seed-saving endeavors.
With the right sunflower variety chosen, it’s time to prepare for the seed harvesting process. Let’s delve into the next step: preparing for seed harvesting.
Preparing for Seed Harvesting
Before you embark on the exciting task of harvesting sunflower seeds, it’s important to make some preparations to ensure a smooth and efficient process. Here are a few steps to help you get ready for seed harvesting:
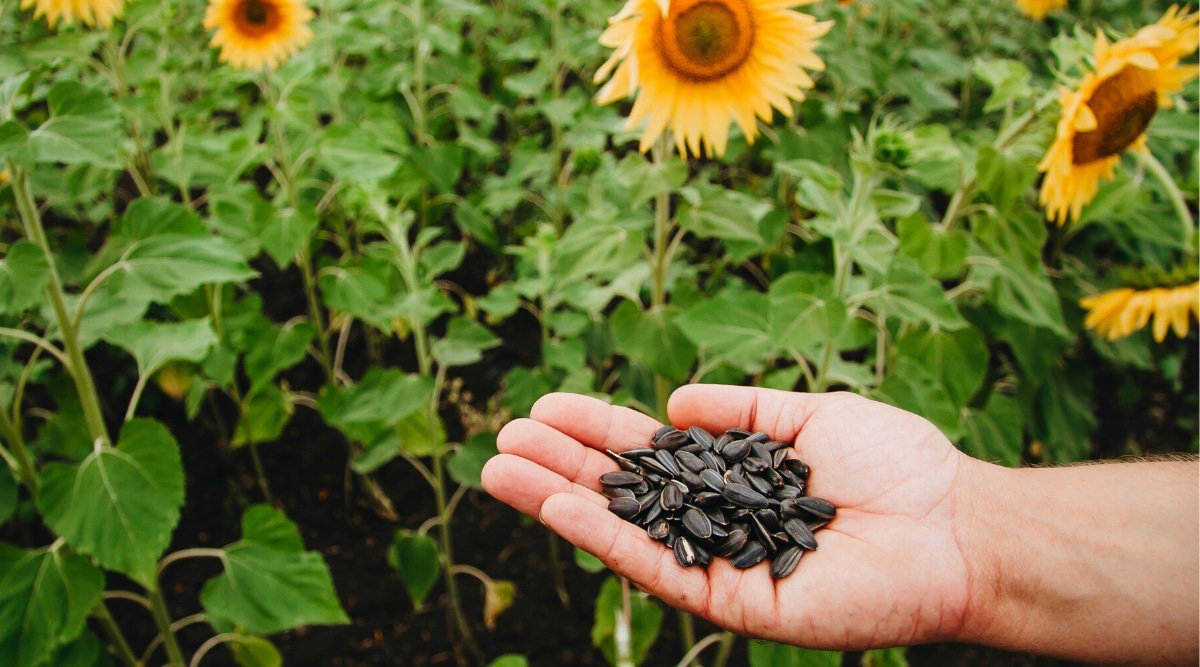
- Choose healthy and mature plants: Select sunflowers that are healthy and free from diseases or pests. Make sure the flower heads are fully matured and ready for seed harvest.
- Gather the necessary tools: Equip yourself with the right tools for seed harvesting. You will need a pair of pruners or sharp scissors, a container or bucket to collect the harvested flower heads, and a clean, dry cloth or paper bag to cover the seed heads.
- Protect the flower heads: As the seeds mature, it’s essential to protect the flower heads from birds, insects, and damp weather. You can cover the flower heads with a cloth or paper bag to prevent unwanted visitors from eating or damaging the seeds.
- Check for dry weather: Ideally, choose a sunny day with dry weather for seed harvesting. Moisture can cause the seeds to mold or deteriorate during storage.
- Prepare a designated area: Set up a clean and well-ventilated area where you can work on the seed harvesting process. Having a dedicated space will help you stay organized and minimize mess.
- Label and organize: If you are saving seeds from multiple sunflower varieties, make sure to label each harvested flower head or separate them into clearly marked containers. This will prevent confusion and ensure you can identify the specific variety when it’s time for planting.
By taking these preparatory steps, you will be ready to embark on the actual process of harvesting sunflower seeds. So, put on your gardening gloves and get ready for an enjoyable and fruitful seed-saving experience!
After the sunflower has finished blooming, allow the flower head to dry on the plant. Once the back of the flower head turns brown, cut it off and hang it upside down in a dry, well-ventilated area. When the seeds are fully dry, remove them from the flower head and store in a cool, dry place.
Read more: How To Get Sunflower Seeds From A Sunflower
Harvesting Sunflower Seeds
Now comes the exciting part – harvesting the sunflower seeds! Follow these steps to ensure a successful harvest:
- Choose the right time: As mentioned earlier, wait until the back of the flower head turns yellow or brown, the petals have fallen off, and the seeds are plump and firm. This indicates that the sunflower seeds are fully matured and ready for harvesting.
- Prepare your workspace: Set up a clean surface where you can work comfortably. Lay down a large tray, baking sheet, or newspaper to catch any seeds that may fall during the process.
- Cut the flower head: Use sharp pruners or scissors to cut the sunflower head from the stem. Leave a few inches of the stem attached to the flower head. This will make handling and drying the heads easier.
- Remove excess foliage: Carefully remove any remaining leaves or stem pieces from the flower head. This will help prevent mold or rot during the drying process.
- Protect the seeds: To protect the seeds from being eaten by birds or rodents, cover the sunflower head with a clean, dry cloth or paper bag. Secure the covering with a string or rubber band.
- Hang or store the flower heads: Hang the covered sunflower heads upside down in a well-ventilated area. Make sure to place a tray or newspaper underneath to catch any seeds that may fall during the drying process.
- Allow the heads to dry: Leave the sunflower heads hanging for several weeks, or until the flower heads are completely dry. You’ll know they are ready when the seeds can easily be rubbed off the head.
- Collect the seeds: Once the flower heads are dry, gently rub the seeds off the head using your hands or a clean cloth. Be careful not to crush or damage the seeds in the process.
- Remove debris: Separate the seeds from any remaining bits of flower head or debris by gently blowing or using a sieve or colander. This will help ensure that you have clean, pure sunflower seeds.
Now that you have harvested the sunflower seeds, it’s time to clean and dry them for long-term storage. Let’s move on to the next step in the process: cleaning and drying sunflower seeds.
Cleaning and Drying Sunflower Seeds
After harvesting sunflower seeds, it is important to clean and dry them properly to ensure their longevity and prevent any moisture-related issues. Follow these steps to clean and dry your sunflower seeds:
- Separate the seeds from debris: Before cleaning, remove any remaining bits of flower head, chaff, or other debris from the harvested seeds. Use a sieve or colander with small holes to help separate the seeds from unwanted material.
- Rinse the seeds (optional): If your sunflower seeds are still quite dirty or have sticky residue, you can rinse them under cool water. Make sure to rinse them gently, avoiding any vigorous scrubbing or rubbing, as this may damage the seeds.
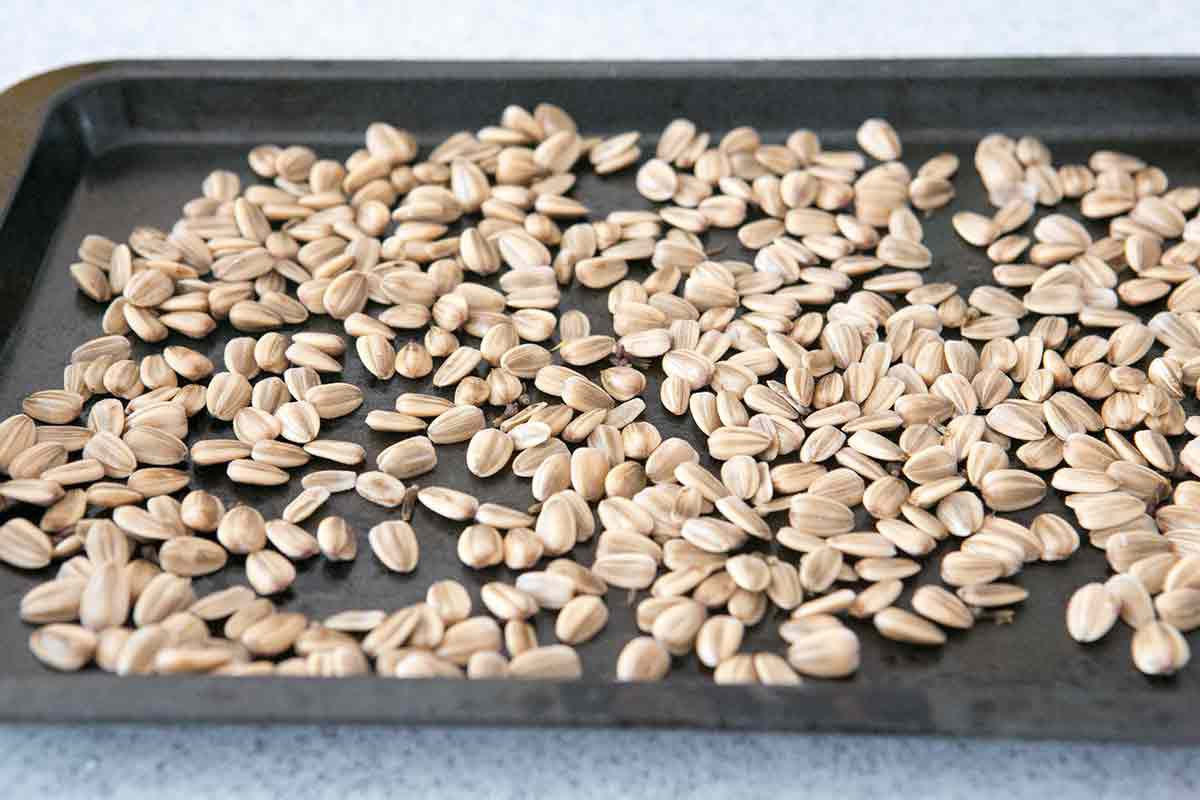
- Spread the seeds for drying: Once the seeds are separated and, if necessary, rinsed, spread them in a single layer on a clean, dry surface. A baking sheet or a flat tray works well for this purpose.
- Air dry the seeds: Place the tray of sunflower seeds in a well-ventilated area with good airflow. Make sure the seeds are not exposed to direct sunlight, as this can cause them to become too dry and brittle.
- Stir and turn the seeds: Every few days, gently stir and turn the sunflower seeds to ensure even drying. This helps prevent mold or moisture buildup by exposing all sides of the seeds to the air. Continue this drying process for about 1-2 weeks.
- Check for dryness: To determine if the sunflower seeds are fully dried, take a few seeds and crack them open. If the inside of the seed is dry and crispy, they are ready for storage. If the seeds still feel slightly moist or have a soft texture, they need more time to dry.
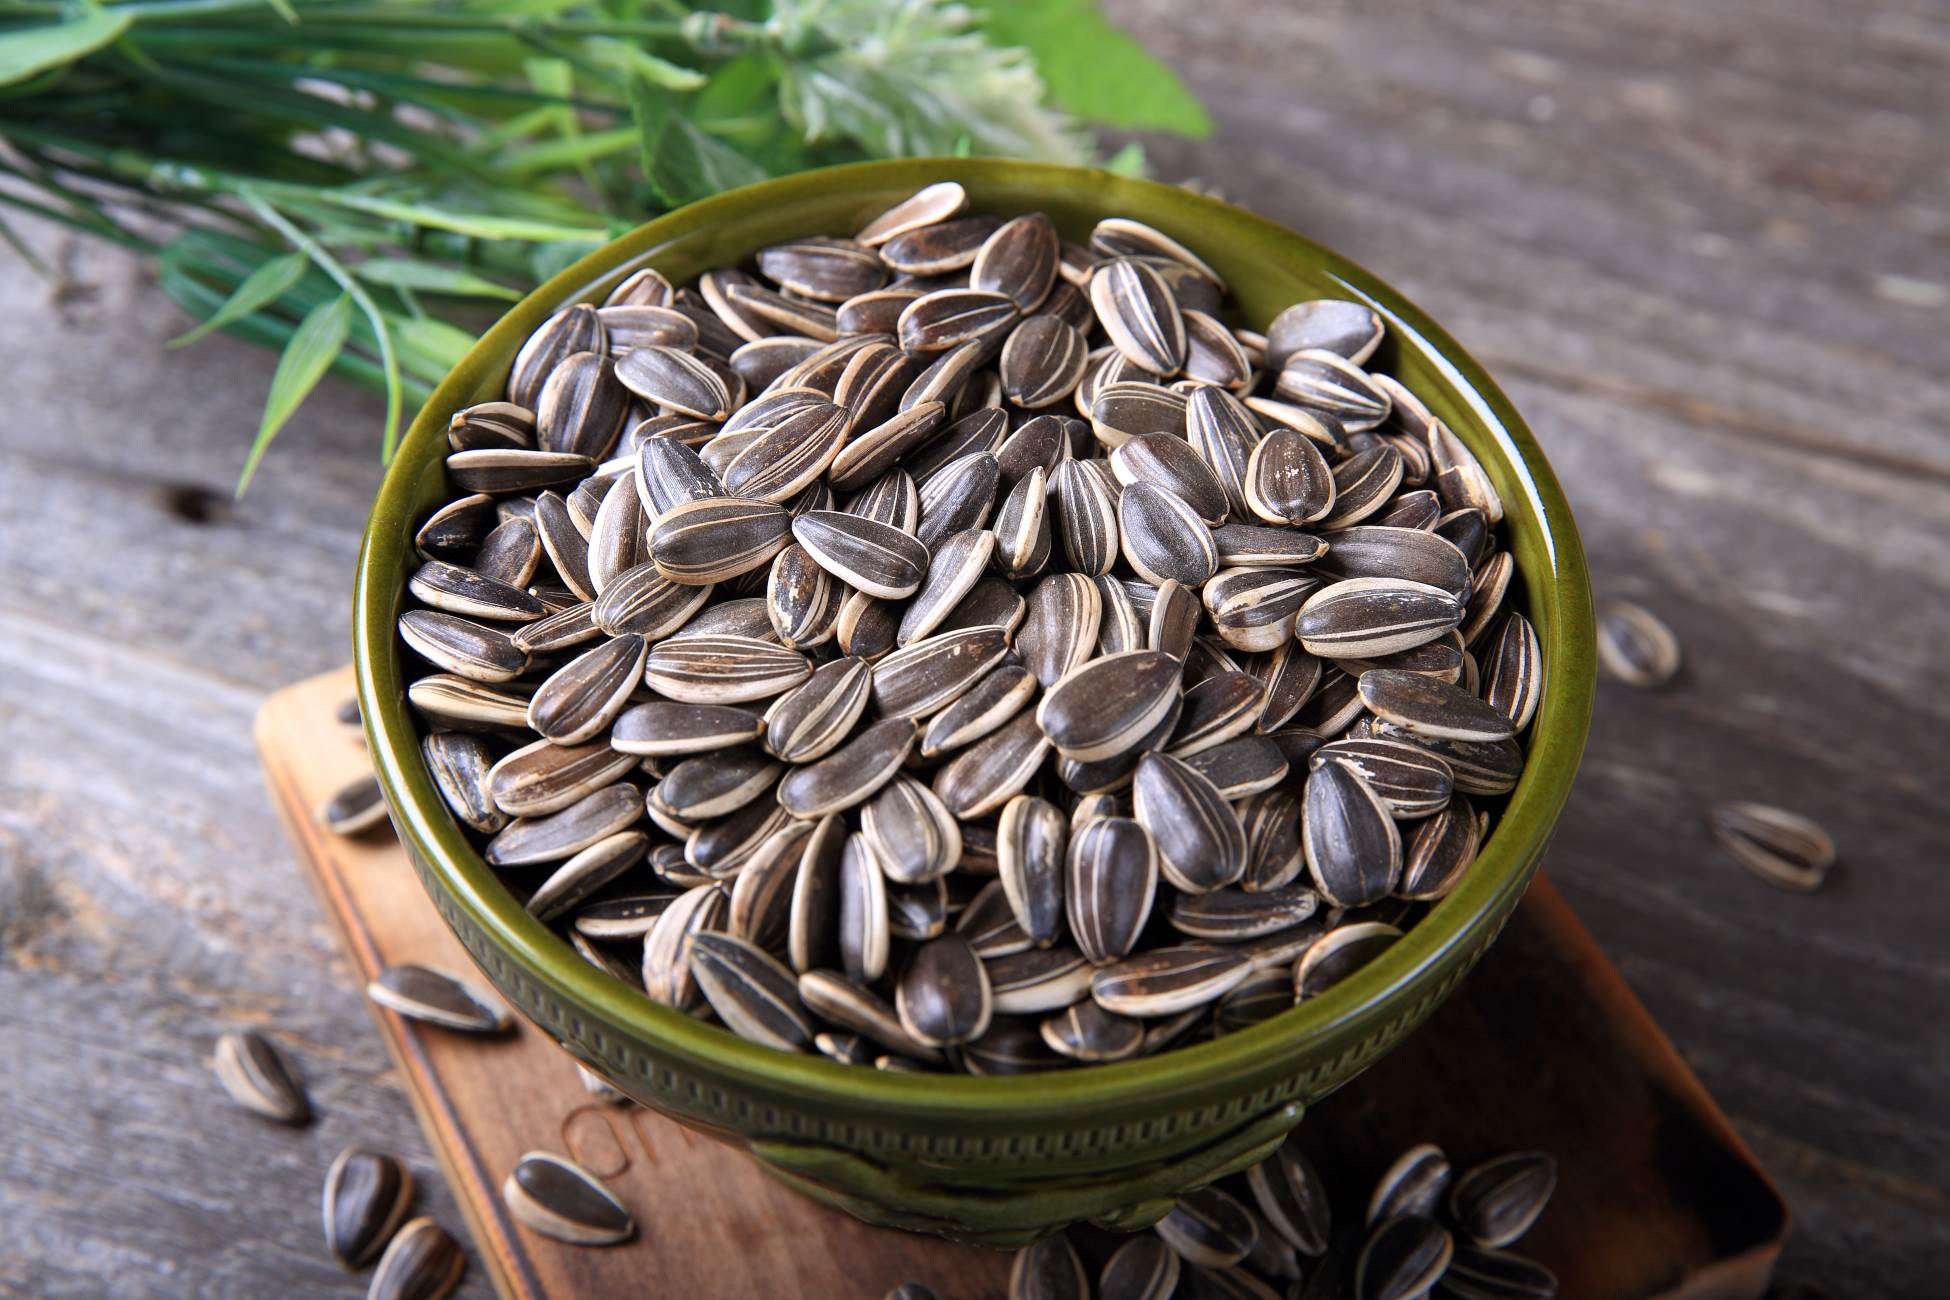
- Store in airtight containers: Once the sunflower seeds are completely dry, transfer them to airtight containers such as glass jars or resealable bags. Label the containers with the variety and date of harvest for easy reference.
- Store in a cool, dark place: To maintain the quality and viability of the seeds, store them in a cool, dark place like a pantry or cellar. Avoid storing them in areas with high humidity or temperature fluctuations.
- Test seed viability: If you’re unsure about the viability of your sunflower seeds, conduct a simple germination test by planting a few seeds in a pot or garden bed. This will help determine the percentage of seeds that will successfully grow.
By following these steps, you can ensure that your sunflower seeds are clean, dry, and ready for future planting or other uses. Now it’s time to learn about seed viability and how to test it.
Storing Sunflower Seeds
Proper storage is key to maintaining the quality and viability of sunflower seeds for future use. Follow these guidelines to ensure your sunflower seeds stay fresh and viable:
- Clean and dry the seeds: Before storing, ensure that the sunflower seeds are completely clean and dry. Any moisture or debris left on the seeds can lead to spoilage or mold during storage.
- Use airtight containers: Transfer the sunflower seeds to airtight containers, such as glass jars, resealable bags, or plastic containers with tight-fitting lids. This helps prevent moisture and air from reaching the seeds, preserving their quality.
- Label and date the containers: Properly label each container with the variety of sunflower seeds and the date of harvest. This will ensure that you can easily identify the seeds and keep track of their freshness.
- Store in a cool and dark location: Find a cool and dark location for storing the sunflower seeds, such as a pantry, cellar, or refrigerator. Sunflower seeds are best stored at temperatures between 40-50°F (4-10°C) to maintain their viability.
- Avoid moisture and humidity: Moisture is the enemy of stored seeds. Keep the containers away from areas with high humidity, like the kitchen or bathroom. Additionally, avoid storing the seeds near sources of moisture, such as windows or appliances.
- Monitor for pests: Regularly check the stored seeds for any signs of pests or insects. If you notice any infestation, remove and discard the affected seeds to prevent further contamination.
- Plan for regular usage: Sunflower seeds can remain viable for several years if stored properly, but it’s best to use them within 1-2 years for optimal germination rates. Plan your planting schedule accordingly to ensure you’re using the seeds at their peak viability.
- Consider freezing for long-term storage: For long-term storage, you can place the seed containers in the freezer. Freezing can extend the shelf life of sunflower seeds for up to 5 years. Just be sure to thaw them at room temperature before using.
By following these storage guidelines, you can preserve the quality and viability of your sunflower seeds, ensuring that they remain ready for future planting or other uses.
Now that you know how to store your sunflower seeds properly, let’s move on to the final step in the seed-saving process: testing the seed viability.
Testing Seed Viability
Before you plant or share your saved sunflower seeds, it’s a good idea to test their viability to ensure that they will germinate and grow into healthy plants. Here’s how you can test the viability of your sunflower seeds:
- Select a representative sample: Take a small representative sample of your sunflower seeds for testing. Aim for about 10-20 seeds to get an accurate assessment of their viability.
- Prepare a damp paper towel: Moisten a paper towel with water and wring out any excess moisture. The paper towel should be damp but not dripping wet.
- Place the seeds on the paper towel: Arrange the sunflower seeds on the damp paper towel, leaving some space between each seed. Make sure they are evenly spaced and not touching each other.
- Fold the paper towel: Fold the damp paper towel over the seeds to create a seed packet. This will help retain moisture and create a suitable environment for germination.
- Label and seal the packet: Label the seed packet with the date and variety of the seeds being tested. Place the packet in a plastic bag or container to prevent moisture loss.
- Keep the seeds in a warm location: Find a warm and well-lit area, such as a windowsill or a countertop near a heat source. The ideal temperature for germinating sunflower seeds is around 70-85°F (21-29°C).
- Monitor and observe: In the following days, check the seed packet regularly to ensure that the paper towel remains damp. Avoid over-saturating or allowing it to dry out. Observe the seeds for signs of germination.
- Record germination rates: After a week or so, check the seeds for germination. Count how many seeds have sprouted and compare it with the total number of seeds tested. This will give you a germination rate percentage.
- Evaluate the results: A high germination rate indicates that the majority of the tested seeds are viable. If the germination rate is low, it means that some of the seeds may not be viable or have lower chances of successful germination.
- Adjust planting density (if necessary): If the germination rate is low, you may need to adjust your planting density by sowing more seeds to compensate for the lower viability. This will increase the chances of successful plant establishment.
By testing the viability of your sunflower seeds, you can ensure that you are sowing seeds with the highest chances of successful germination. If the germination rate is high, you can confidently plant your saved sunflower seeds and enjoy their beautiful blooms in your garden.
Congratulations! You have now completed the entire process of saving and testing sunflower seeds. You are well-equipped to continue the cycle of growth in your garden, save money, and share the joy of sunflowers with others.
Remember to have fun, get creative, and explore the wonderful world of seed-saving. Happy gardening!
Read more: How To Save Seeds From Vegetables
Conclusion
Saving sunflower seeds is a rewarding and fulfilling experience that allows you to embrace the beauty and abundance of these vibrant flowers. By taking the time to save and store your sunflower seeds properly, you can ensure a sustainable source of future plants, preserve unique characteristics, and even save money on seed purchases.
Throughout this article, we’ve covered the importance of saving sunflower seeds, the optimal timing for harvesting, choosing the right varieties for seed saving, preparing for seed harvesting, the process of harvesting, cleaning and drying the seeds, proper storage techniques, and testing seed viability.
Remember, when saving and storing sunflower seeds, cleanliness, dryness, and proper labeling are key. By providing a suitable environment and following the necessary steps, you can maximize the viability and longevity of your saved seeds.
Don’t forget to experiment with different sunflower varieties and embrace the joy of seed saving. It allows you to connect with nature, maintain biodiversity, and create your own unique strains of sunflowers perfectly suited to your garden.
So, grab your pruners, find the perfect sunflower heads, and embark on a seed-saving adventure. With patience, care, and a little bit of know-how, you can enjoy the beauty and abundance of sunflowers for years to come.
Happy seed saving, and may your garden be filled with the glorious splendor of sunflowers!
Frequently Asked Questions about How To Save Seeds From Sunflowers
Was this page helpful?
At Storables.com, we guarantee accurate and reliable information. Our content, validated by Expert Board Contributors, is crafted following stringent Editorial Policies. We're committed to providing you with well-researched, expert-backed insights for all your informational needs.
0 thoughts on “How To Save Seeds From Sunflowers”