Home>Garden Essentials>How To Install A Water Fountain Pump

Garden Essentials
How To Install A Water Fountain Pump
Modified: August 17, 2024
Learn how to install a garden water fountain pump in your backyard and enhance the beauty of your garden with soothing water sounds.
(Many of the links in this article redirect to a specific reviewed product. Your purchase of these products through affiliate links helps to generate commission for Storables.com, at no extra cost. Learn more)
Introduction
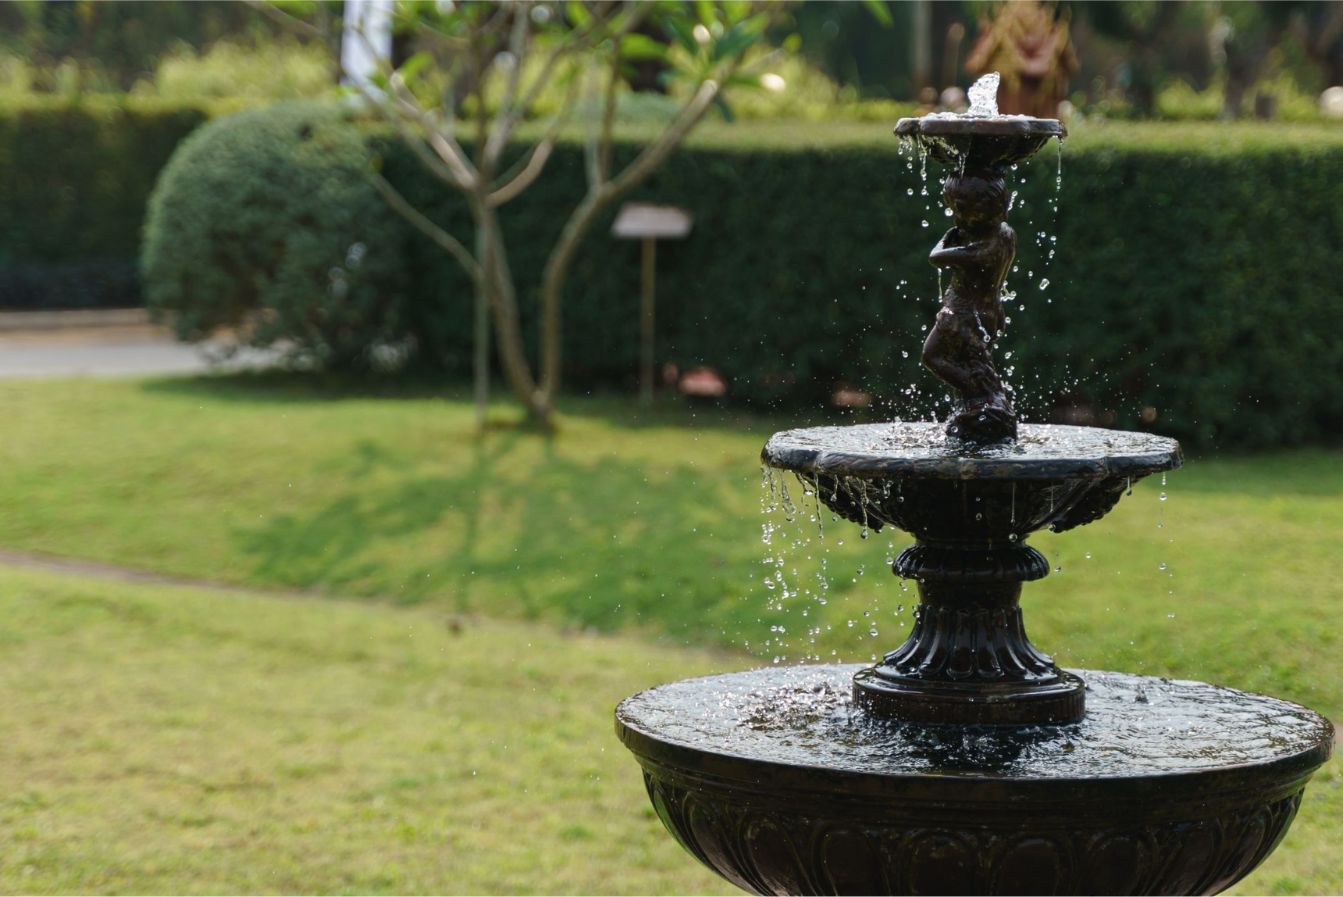
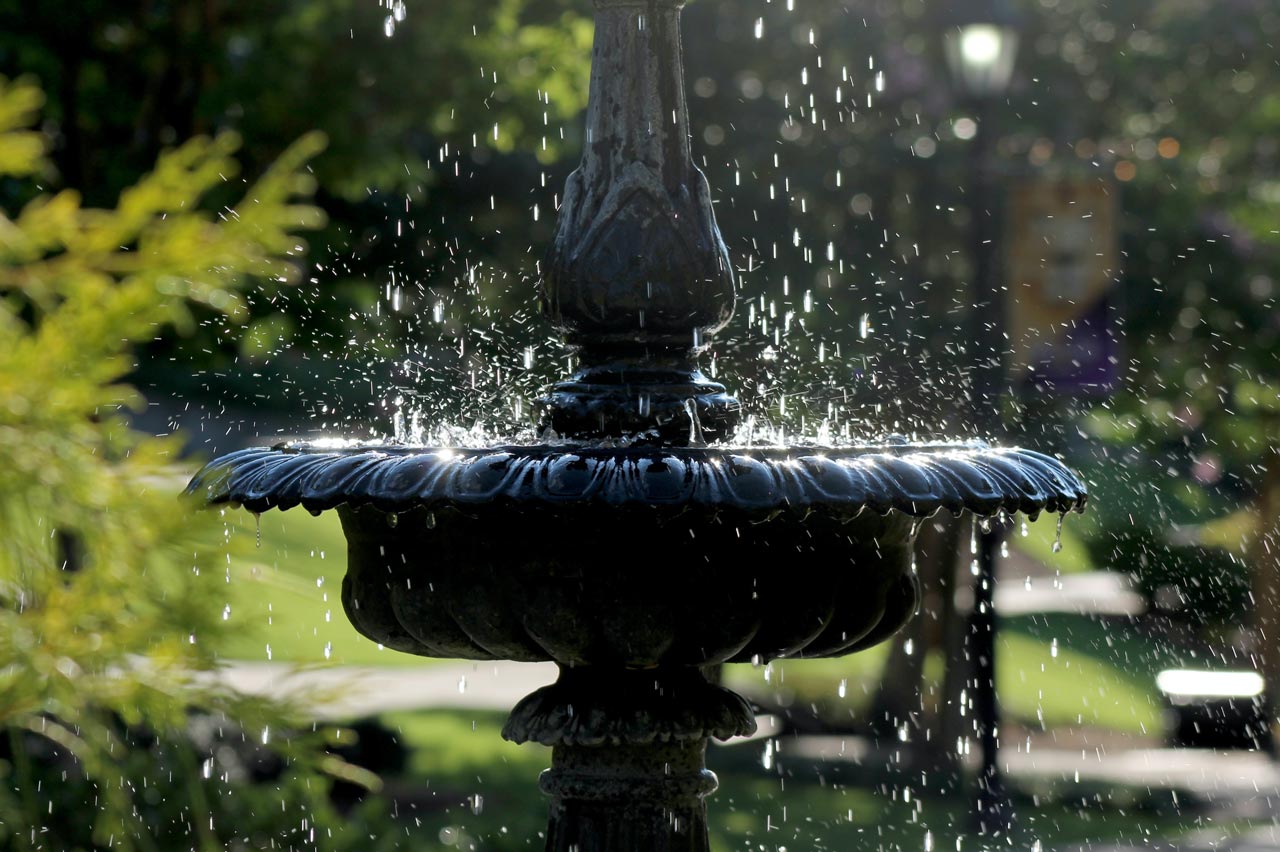
Welcome to this comprehensive guide on how to install a water fountain pump! Adding a water fountain to your garden can create a peaceful and soothing ambiance, transforming your outdoor space into a tranquil oasis. A key component of any water fountain is the pump, which keeps the water flowing and creates the gentle sounds of cascading water.
Installing a water fountain pump may seem like a complex task, but with the right materials and careful instructions, it can be a rewarding DIY project. This article will take you through each step of the installation process, from gathering the necessary materials to maintaining the water fountain pump to ensure its longevity.
By following these step-by-step instructions, you’ll be able to confidently install a water fountain pump and enjoy the beauty and serenity it brings to your garden. So, let’s dive in and get started on creating your own water feature!
Key Takeaways:
- Create a peaceful oasis in your garden by installing a water fountain pump. Choose the right location, gather materials, and follow step-by-step instructions for a DIY project that brings soothing sounds to your outdoor space.
- Keep your water fountain pump running smoothly by testing, adjusting, and maintaining it. Regular cleaning, monitoring water levels, and winterizing (if needed) will ensure a tranquil and beautiful garden oasis.
Read more: How To Install A Water Fountain
Step 1: Gather necessary materials
Before you begin the installation process, it’s essential to gather all the necessary materials. Having everything you need on hand will save you time and ensure a smooth installation. Here are the materials you’ll need:
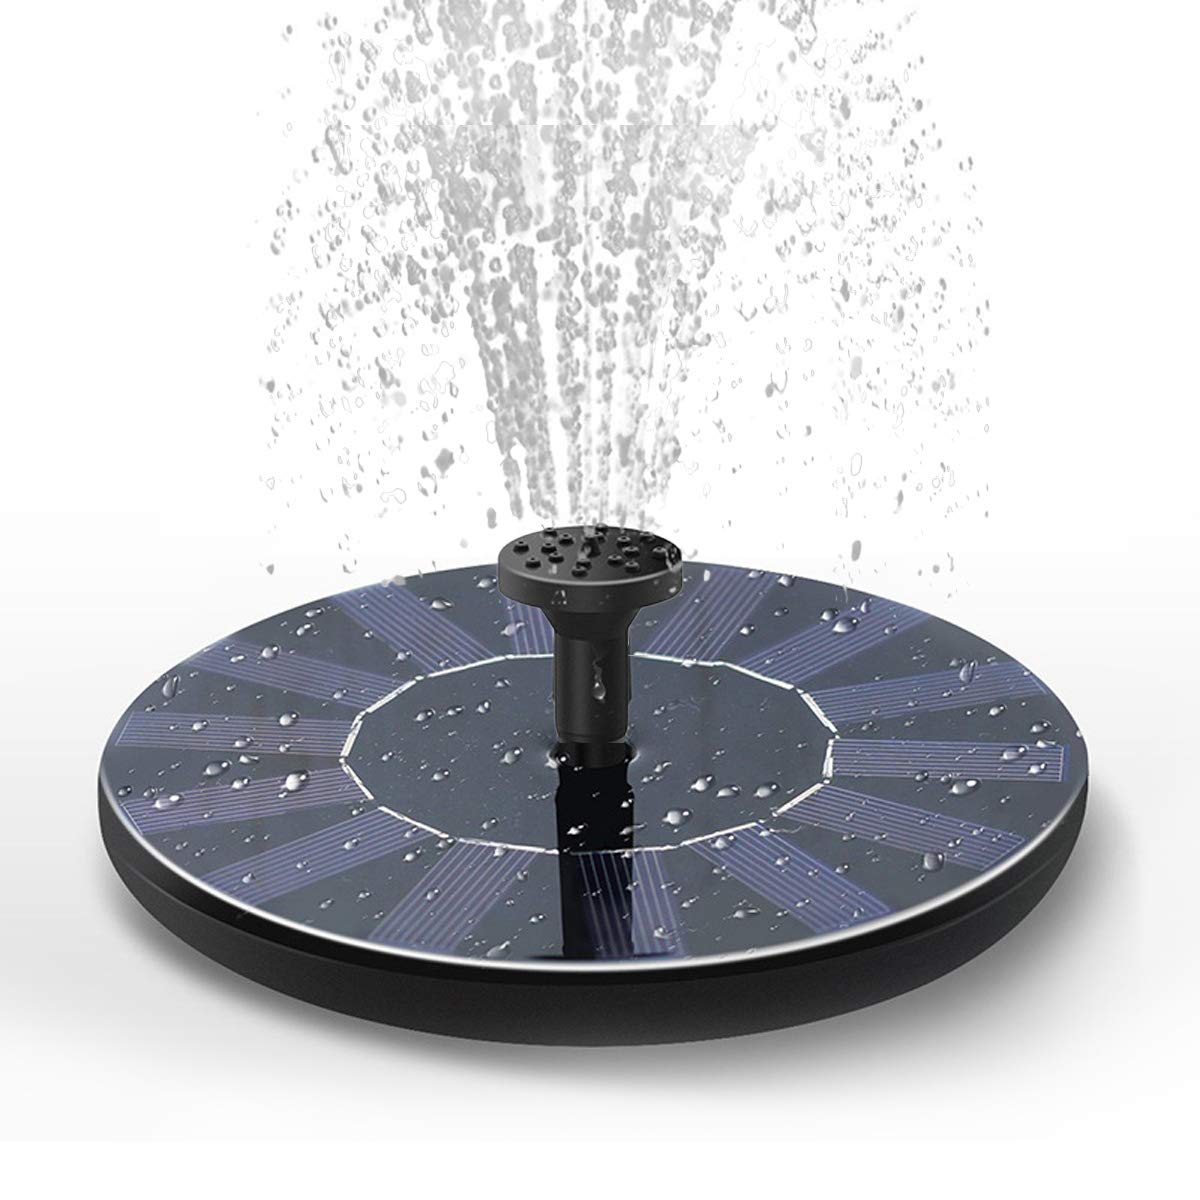
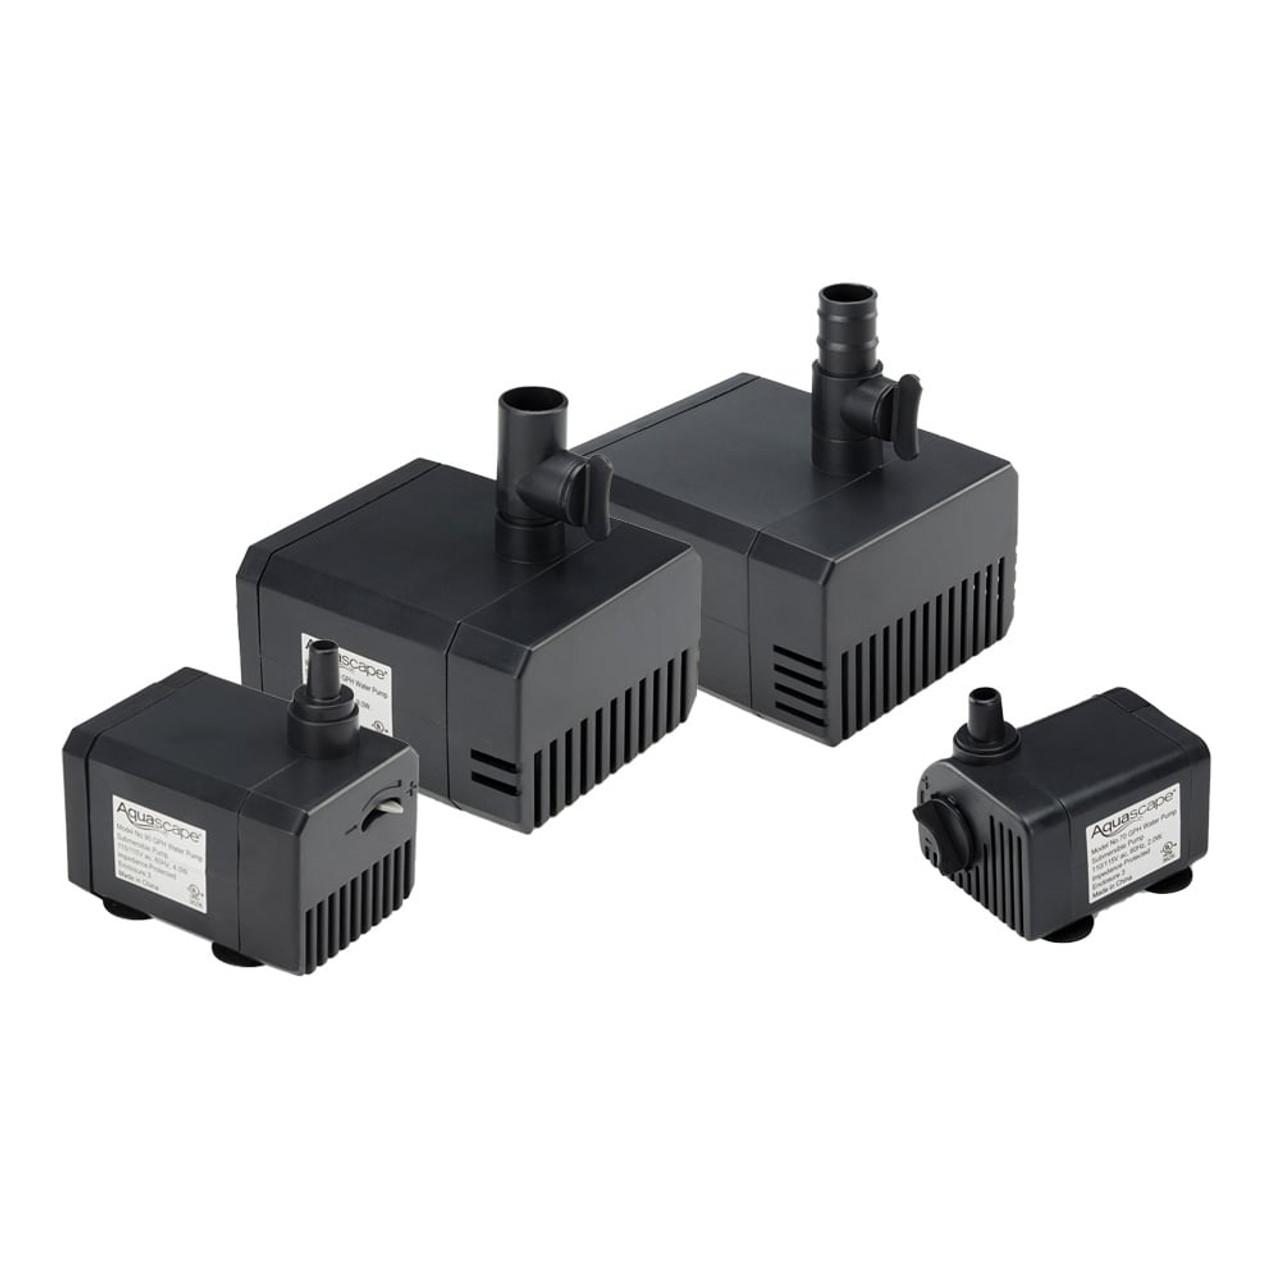
- A water fountain pump – Choose a pump that is suitable for the size and type of water feature you have in mind. Consider factors such as the pump’s flow rate and maximum head height.
- Waterproof container or basin – This will hold the water in your fountain and house the pump. Ensure that it is large enough to accommodate the pump and has a cover to protect it from debris.
- Tubing – You’ll need tubing to connect the pump to the water fountain. Choose the appropriate size and length for your specific fountain design.
- Nozzle attachments – These are optional but can add visual interest to your water fountain. Nozzle attachments come in various shapes and sizes, allowing you to customize the water flow pattern.
- Electrical cord and plug – Make sure you have an electrical cord long enough to reach your power source, along with a plug that is compatible with your electrical outlet.
- Waterproof sealant – This is necessary to seal any gaps or openings in the water fountain to prevent leakage.
- Level – A level will help you ensure that your water fountain is properly balanced and sits level on the ground.
- Decorative elements – Consider adding stones, pebbles, or aquatic plants to enhance the aesthetic appeal of your water fountain.
- Tools – You may need a utility knife, pliers, and a tape measure for cutting tubing and making adjustments during the installation process.
Once you have gathered all these materials, you’ll be fully prepared to proceed with the installation of your water fountain pump. Take a moment to double-check that you have everything on the list before moving on to the next step.
Step 2: Choose the right location
Choosing the right location for your water fountain is crucial to ensure its visual appeal and functionality. Here are a few factors to consider when selecting the perfect spot:
- Visibility: Choose a location that offers maximum visibility, allowing you to enjoy the beauty and soothing sounds of your water fountain from various vantage points in your garden.
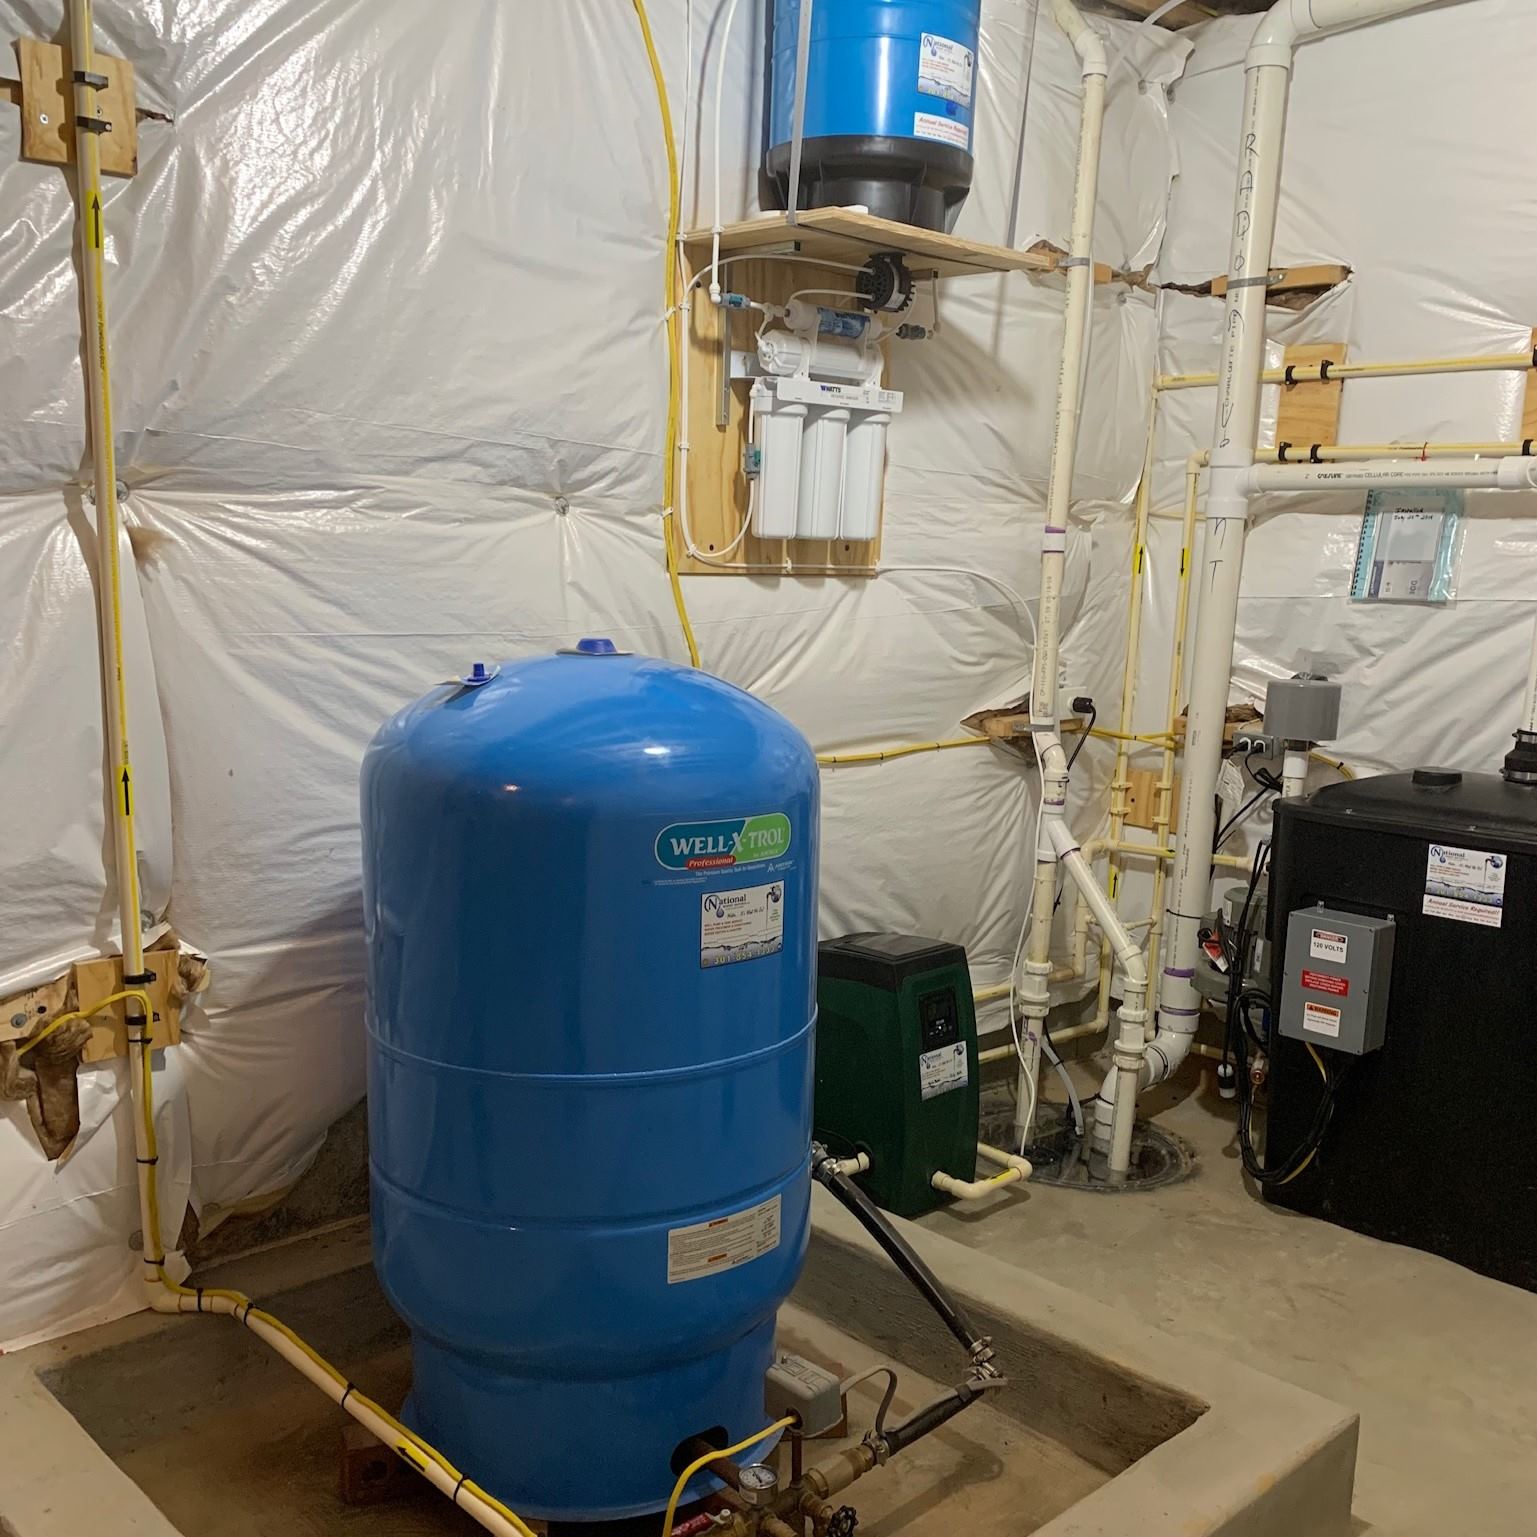
- Power source: Ensure that the chosen location is within reach of an electrical outlet. This will allow you to easily plug in the water fountain pump without the need for long extension cords.
- Level ground: Your water fountain needs to be placed on a level, stable surface. Avoid uneven or sloping areas, as this can affect the stability of the fountain and the flow of water.
- Sunlight exposure: Consider the amount of sunlight the location receives throughout the day. While some water plants thrive in direct sunlight, excessive exposure can lead to algae growth and increased evaporation. Balance is key.
- Landscape design: Take into account the overall aesthetic of your garden and how the water fountain will fit into the landscape design. Consider the surrounding plants, shrubs, and trees, and ensure that the fountain complements the existing elements.
Once you have considered these factors, take some time to observe how the sunlight moves through your garden at different times of the day. This will help you determine the best location that balances visibility, access to a power source, stability, and sunlight exposure.
Remember, the location you choose will significantly impact your overall enjoyment of the water fountain. Take your time and find the perfect spot that enhances both the visual and auditory aspects of your garden oasis.
Step 3: Prepare the water fountain
Now that you have selected the ideal location for your water fountain, it’s time to prepare the fountain itself before installing the pump. Follow these steps to ensure a smooth and successful installation process:
- Clean the fountain: If you are using an existing water fountain, thoroughly clean it to remove any debris, dirt, or algae that may have accumulated over time. Use a mild detergent or vinegar solution and scrub gently with a brush. Rinse the fountain thoroughly with clean water.
- Inspect for damages: Check the water fountain for any signs of cracks, chips, or other damages. Repair any cracks or leaks using a waterproof sealant or epoxy designed for outdoor use. Allow the sealant to dry completely before proceeding.
- Add a waterproof liner: To prevent water leakage, consider adding a waterproof liner inside the fountain basin. This will provide an extra layer of protection and help maintain the water levels. Ensure that the liner is properly fitted and secured to the walls of the fountain.
- Plan for water flow: Visualize how you want the water to flow within the fountain. Consider the size and shape of the fountain, as well as any decorative elements or nozzle attachments you plan to use. This will help you determine the ideal position and height of the pump.
- Place decorative elements: If desired, add decorative elements such as stones, pebbles, or aquatic plants to the basin of the fountain. Arrange them in an aesthetically pleasing manner, keeping in mind the overall design and style of your garden.
By thoroughly cleaning and inspecting the water fountain, adding a waterproof liner, and planning for the water flow and decorative elements, you are preparing the foundation for a successful water fountain installation. Once these steps are completed, you are ready to proceed with installing the water fountain pump in the next step.
Step 4: Install the water fountain pump
Now comes the exciting part: installing the water fountain pump. Follow these step-by-step instructions to ensure a proper installation:
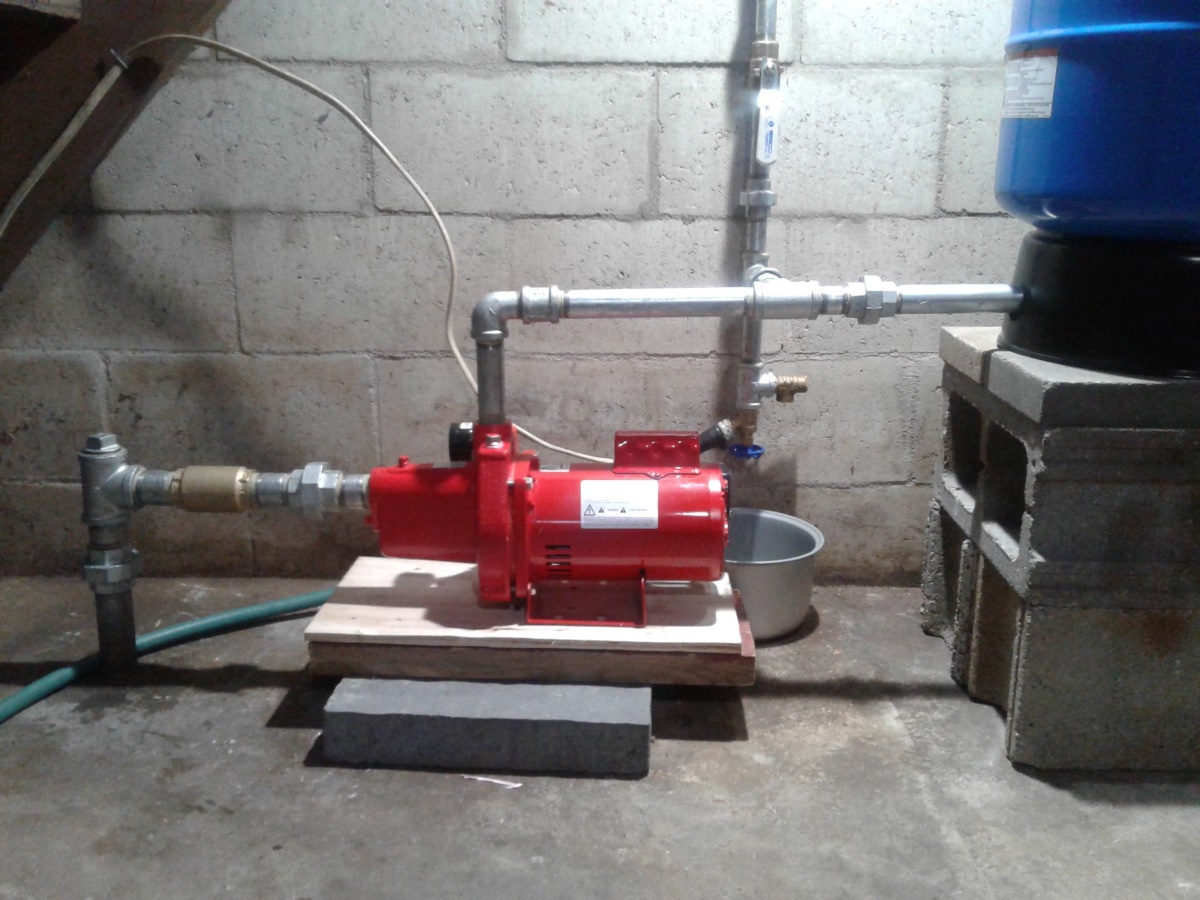
- Position the pump: Carefully place the water fountain pump in the designated location within the basin. Ensure that it is positioned in a way that allows easy access for maintenance and adjustments if needed.
- Attach the tubing: Take the tubing and connect one end to the outlet of the water fountain pump. Secure the tubing in place using hose clamps or zip ties. Make sure the connection is tight to prevent any water leakage.
- Thread the tubing through the fountain: If your water fountain has built-in holes or openings, thread the tubing through them, ensuring a secure and stable fit. If the fountain does not have pre-made openings, carefully create a small hole using a drill or a utility knife.
- Connect to the nozzle attachment: If you are using a nozzle attachment to create a specific water flow pattern, attach the tubing to the nozzle according to the manufacturer’s instructions. Make sure the connection is secure to prevent any water loss.
- Secure the pump and tubing: Use rocks, bricks, or other stable objects to secure the pump and tubing in place. This will prevent them from shifting or moving once the water is added to the fountain.
- Fill the basin with water: Slowly add water to the basin, ensuring that it covers the pump and reaches the appropriate level. Take care not to overfill, as this can cause water to spill over and potentially damage the pump or electrical components.
Once you have completed these steps, you have successfully installed the water fountain pump in your fountain. But before you celebrate, it’s important to move on to the next step and test the pump to ensure proper functionality.
Make sure to place the water fountain pump on a level surface and connect the tubing securely. Also, check the water flow and adjust the pump settings as needed for the desired water flow rate.
Read more: How To Install Lights In A Water Fountain
Step 5: Test the water fountain pump
After installing the water fountain pump, it’s crucial to test its functionality before finalizing the setup. Follow these steps to test the pump:
- Turn on the pump: Plug in the electrical cord of the water fountain pump and switch on the power source.
- Observe the water flow: Watch the water fountain closely to see if the pump is functioning properly. Look for a steady flow of water from the nozzle attachment, if applicable, or from the tubing connected to the pump.
- Check for leaks: Examine the connections between the pump, tubing, and nozzle attachment (if used) to ensure there are no leaks. If you notice any leaks, carefully tighten the connections or reseal them with waterproof sealant.
- Listen for unusual sounds: A well-functioning water fountain pump should operate quietly, producing soothing sounds of flowing water. If you hear any unusual noises such as rattling or grinding, it may indicate a problem with the pump, and further investigation may be required.
- Adjust the flow rate: Many water fountain pumps have adjustable flow rates. If the water flow is too strong or too weak, adjust the flow rate using the controls or settings provided with the pump. Observe the impact of the adjustments on the water flow and choose the desired level.
By testing the water fountain pump, you can ensure that it is running smoothly and creating the desired water flow and sound effects. If any issues arise during the testing phase, make the necessary adjustments or consult the manufacturer’s instructions for troubleshooting guidance.
Once you are satisfied with the functionality of the water fountain pump and have made any necessary adjustments, it’s time to move on to the next step: adjusting the flow rate to achieve your desired water flow.
Step 6: Adjust the flow rate
Adjusting the flow rate of your water fountain pump allows you to customize the water flow according to your preferences. Here’s how to adjust the flow rate:
- Locate the flow rate adjustment valve: Many water fountain pumps have a valve or dial that regulates the flow rate. It is usually located near the outlet or on the pump itself.
- Start with the lowest setting: If the pump has a dial, turn it to the lowest setting initially. This will reduce the flow rate to a minimum.
- Observe the water flow: As you adjust the flow rate, observe the water flow in your fountain. Increase or decrease the flow rate gradually, paying attention to the impact on the water height, movement, and sound.
- Find the ideal flow rate: Adjust the flow rate until you achieve the desired water flow. This may involve finding a balance between a gentle trickle and a more vigorous cascade, depending on your preference and the style of your water fountain.
- Make minor adjustments as needed: Once you have found the ideal flow rate, make any minor adjustments necessary to fine-tune the water flow. This may involve slightly increasing or decreasing the flow rate to achieve the perfect balance.
By carefully adjusting the flow rate of your water fountain pump, you can create the aesthetic and auditory effects you desire. Keep in mind that finding the perfect flow rate may require some experimentation and patience. Take your time and enjoy the process of discovering the optimum setting for your water fountain.
Once you’re satisfied with the flow rate, it’s important to maintain the water fountain pump to ensure its continued functionality and longevity. Let’s move on to the final step: maintaining the water fountain pump.
Step 7: Maintain the water fountain pump
To ensure that your water fountain pump continues to operate efficiently and to extend its lifespan, regular maintenance is essential. Follow these maintenance tips to keep your water fountain pump running smoothly:
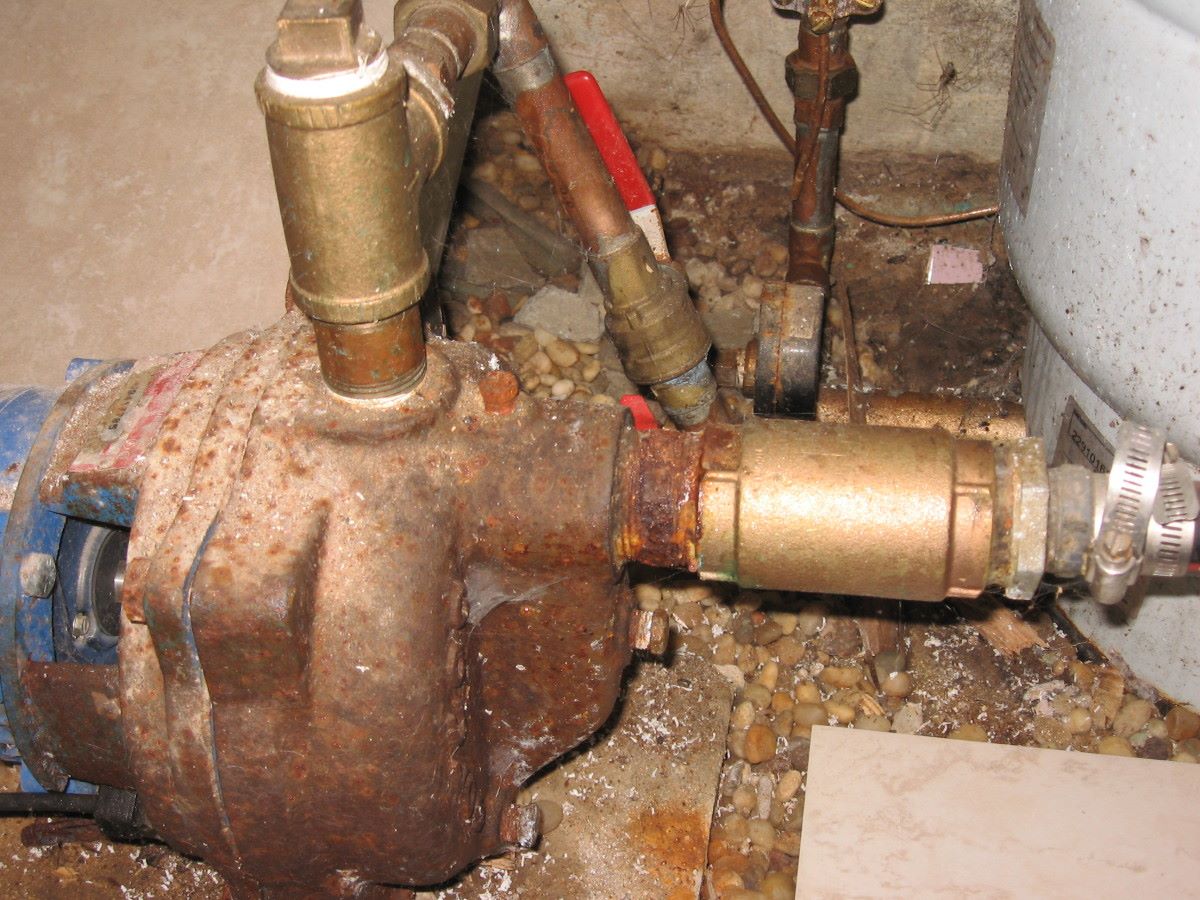
- Clean the pump regularly: Over time, debris, algae, and mineral deposits can accumulate in the pump, affecting its performance. Remove the pump from the fountain and clean it according to the manufacturer’s instructions. Use a soft brush or toothbrush to gently scrub away any dirt or buildup.
- Check and clean the intake screen: The intake screen, located on the pump, prevents larger debris from entering and clogging the pump. Regularly check and clean the screen to ensure proper water flow. Remove any leaves, twigs, or other debris that may have accumulated.
- Monitor water levels: Check the water levels in the fountain regularly and ensure they do not drop below the recommended level. Low water levels can cause the pump to overheat and may lead to damage. Add water as needed to maintain the proper level.
- Inspect and replace worn parts: Regularly inspect the pump for any signs of wear or damage. Pay attention to the tubing, seals, and connections, and replace any worn or damaged parts. This will prevent leaks and ensure the pump’s optimal performance.
- Keep the fountain clean: Regularly clean the surface of the fountain and remove any debris or dead leaves. This will not only keep the fountain looking its best but also prevent debris from clogging the pump or affecting its performance.
- Winterize the pump (if applicable): If you live in an area with freezing temperatures, it’s important to winterize the water fountain pump. Remove the pump from the fountain, clean it thoroughly, and store it in a dry and protected place until the freezing temperatures subside.
By following these maintenance practices, you can ensure the longevity and optimal functioning of your water fountain pump. Regular attention and care will keep your water fountain running smoothly and continue to enhance the beauty and tranquility of your garden.
Now that you’ve learned how to install and maintain the water fountain pump, you can sit back, relax, and enjoy the soothing sounds of flowing water in your garden oasis. Happy water fountain gardening!
Conclusion
Congratulations on successfully installing and maintaining your water fountain pump! By following the step-by-step instructions provided in this guide, you have transformed your garden into a tranquil oasis, complete with the soothing sounds of flowing water. Installing a water fountain pump may have seemed like a daunting task, but with the right materials, careful planning, and regular maintenance, you have created a beautiful focal point in your outdoor space.
Remember, the key to a successful water fountain installation is selecting the right location, gathering the necessary materials, and following proper installation techniques. By choosing a location that offers visibility, access to a power source, level ground, and suitable sunlight exposure, you can optimize the visual and audible effects of your water fountain.
Ensuring that you have all the necessary materials, including the water fountain pump, tubing, nozzle attachments (if desired), and tools, will streamline the installation process. Take the time to thoroughly clean and prepare the water fountain before installing the pump to create a solid foundation for your water feature.
When installing the water fountain pump, carefully position it, secure the tubing, and connect any nozzle attachments to achieve your desired water flow and visual effects. Test the pump, watch for leaks, and adjust the flow rate until you achieve the perfect balance. Regular maintenance, such as cleaning the pump, inspecting and replacing worn parts, and monitoring water levels, will ensure proper functionality and longevity.
Now that your water fountain is up and running, take the time to appreciate the serenity and beauty it brings to your garden. Relax in your outdoor space, surrounded by the gentle sounds of cascading water, and enjoy the therapeutic benefits that a water fountain can provide.
Thank you for joining us on this journey to install a water fountain pump. We hope this guide has been informative and helpful in creating your own garden oasis. Happy gardening!
Frequently Asked Questions about How To Install A Water Fountain Pump
Was this page helpful?
At Storables.com, we guarantee accurate and reliable information. Our content, validated by Expert Board Contributors, is crafted following stringent Editorial Policies. We're committed to providing you with well-researched, expert-backed insights for all your informational needs.


0 thoughts on “How To Install A Water Fountain Pump”