Home>Technology>Home Entertainment Systems>How To Fix Black Spot On Projector
Home Entertainment Systems
How To Fix Black Spot On Projector
Modified: January 4, 2024
Learn how to fix black spots on your projector with our expert tips. Improve your home entertainment system today!
(Many of the links in this article redirect to a specific reviewed product. Your purchase of these products through affiliate links helps to generate commission for Storables.com, at no extra cost. Learn more)
Introduction
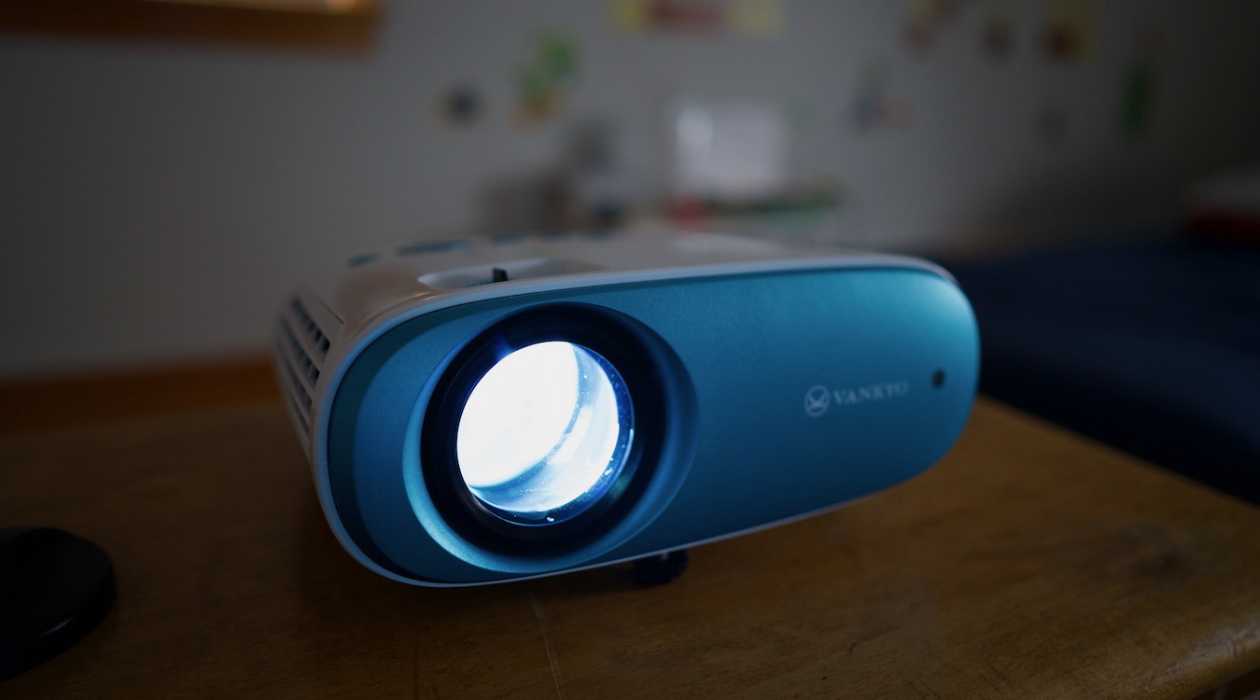
Welcome to the immersive world of home entertainment systems! Whether you're a movie buff, a gaming enthusiast, or a sports fanatic, a high-quality projector can elevate your viewing experience to new heights. However, encountering black spots on your projector's display can be a frustrating and perplexing issue. Fear not, as we delve into the causes of these pesky black spots and explore effective solutions to restore your projector's pristine image quality.
Picture this: you're settling in for a movie night with friends or gearing up for a gaming marathon, only to be greeted by distracting black spots marring the projected image. These anomalies can significantly detract from the visual splendor and impact your overall viewing pleasure. But fret not! By understanding the root causes of these black spots and learning how to address them, you can reclaim the crystal-clear visuals your home entertainment system was designed to deliver.
In this comprehensive guide, we'll embark on a journey to demystify the origins of black spots on projectors, empowering you with the knowledge and techniques to rectify this common issue. From routine maintenance tasks to troubleshooting potential hardware malfunctions, we'll equip you with the insights and practical steps needed to banish those irksome black spots and restore your projector to its full glory.
So, grab your popcorn, get comfortable, and let's embark on a quest to bid farewell to those unwelcome black spots and rediscover the captivating allure of your home entertainment system. It's time to unlock the full potential of your projector and immerse yourself in a world of unparalleled visual splendor.
Key Takeaways:
- Say goodbye to black spots on your projector by cleaning the lens and replacing the bulb. These simple steps can restore your projector’s pristine image quality and elevate your viewing experience.
- Uncover the root causes of black spots on your projector, from dust and debris to hardware malfunctions. By troubleshooting and addressing these issues, you can banish those pesky black spots and rediscover the captivating allure of your home entertainment system.
Read more: Why Do Mirrors Get Black Spots
Understanding the Causes of Black Spots
Before delving into the solutions, it’s crucial to comprehend the factors that can give rise to black spots on a projector’s display. These aberrations can stem from various sources, each warranting distinct remedial approaches. Let’s shed light on the common culprits behind these vexing black spots:
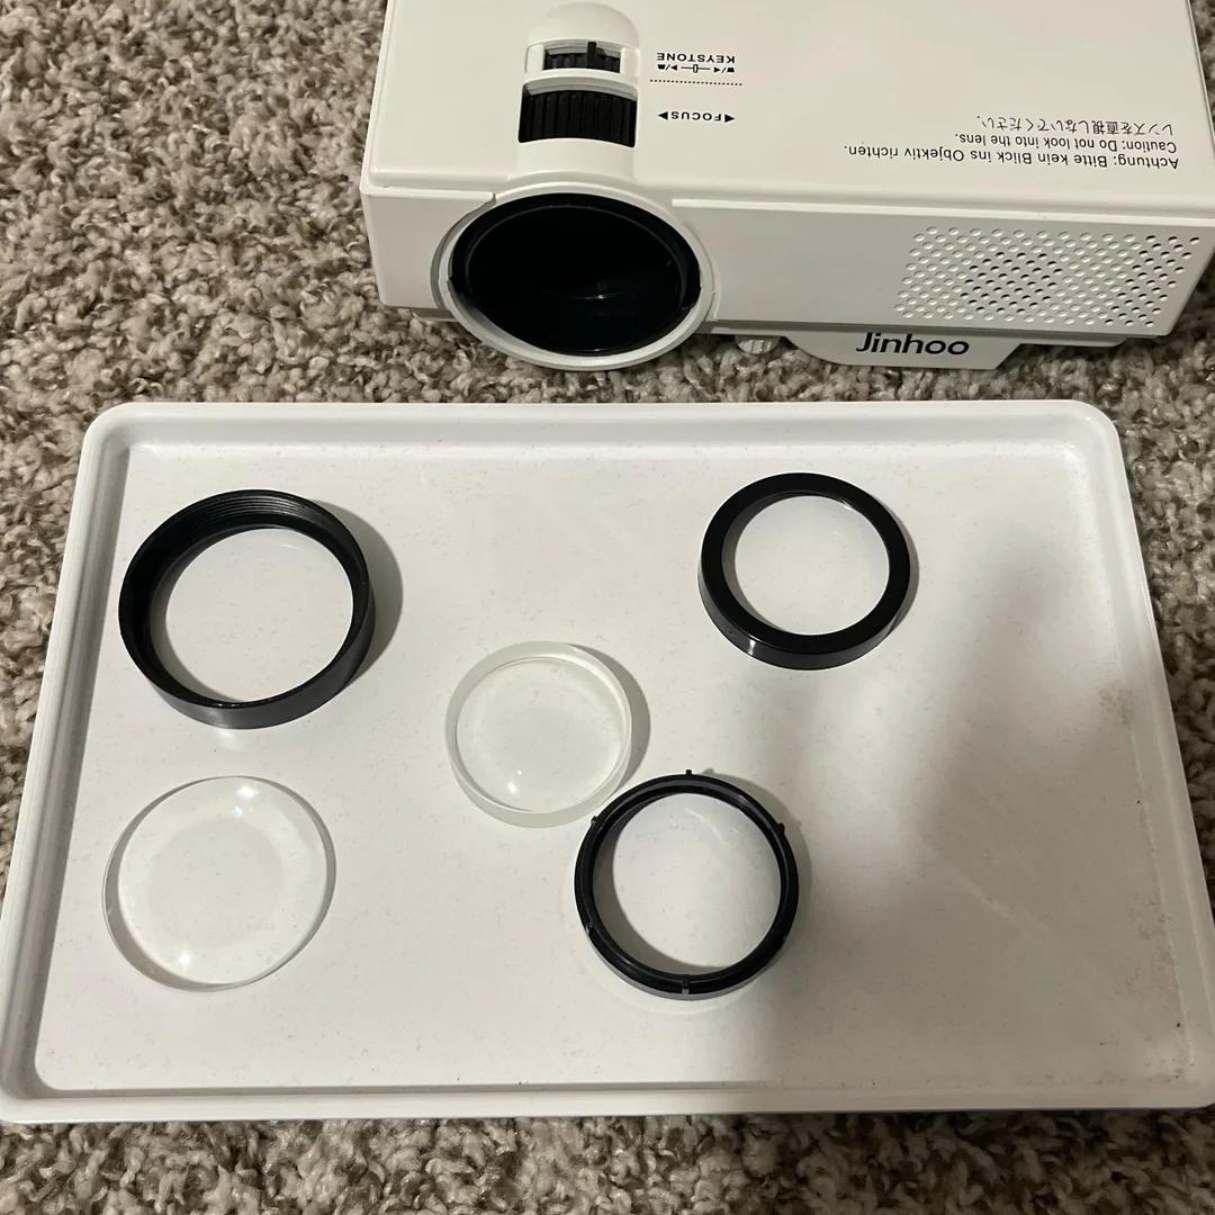
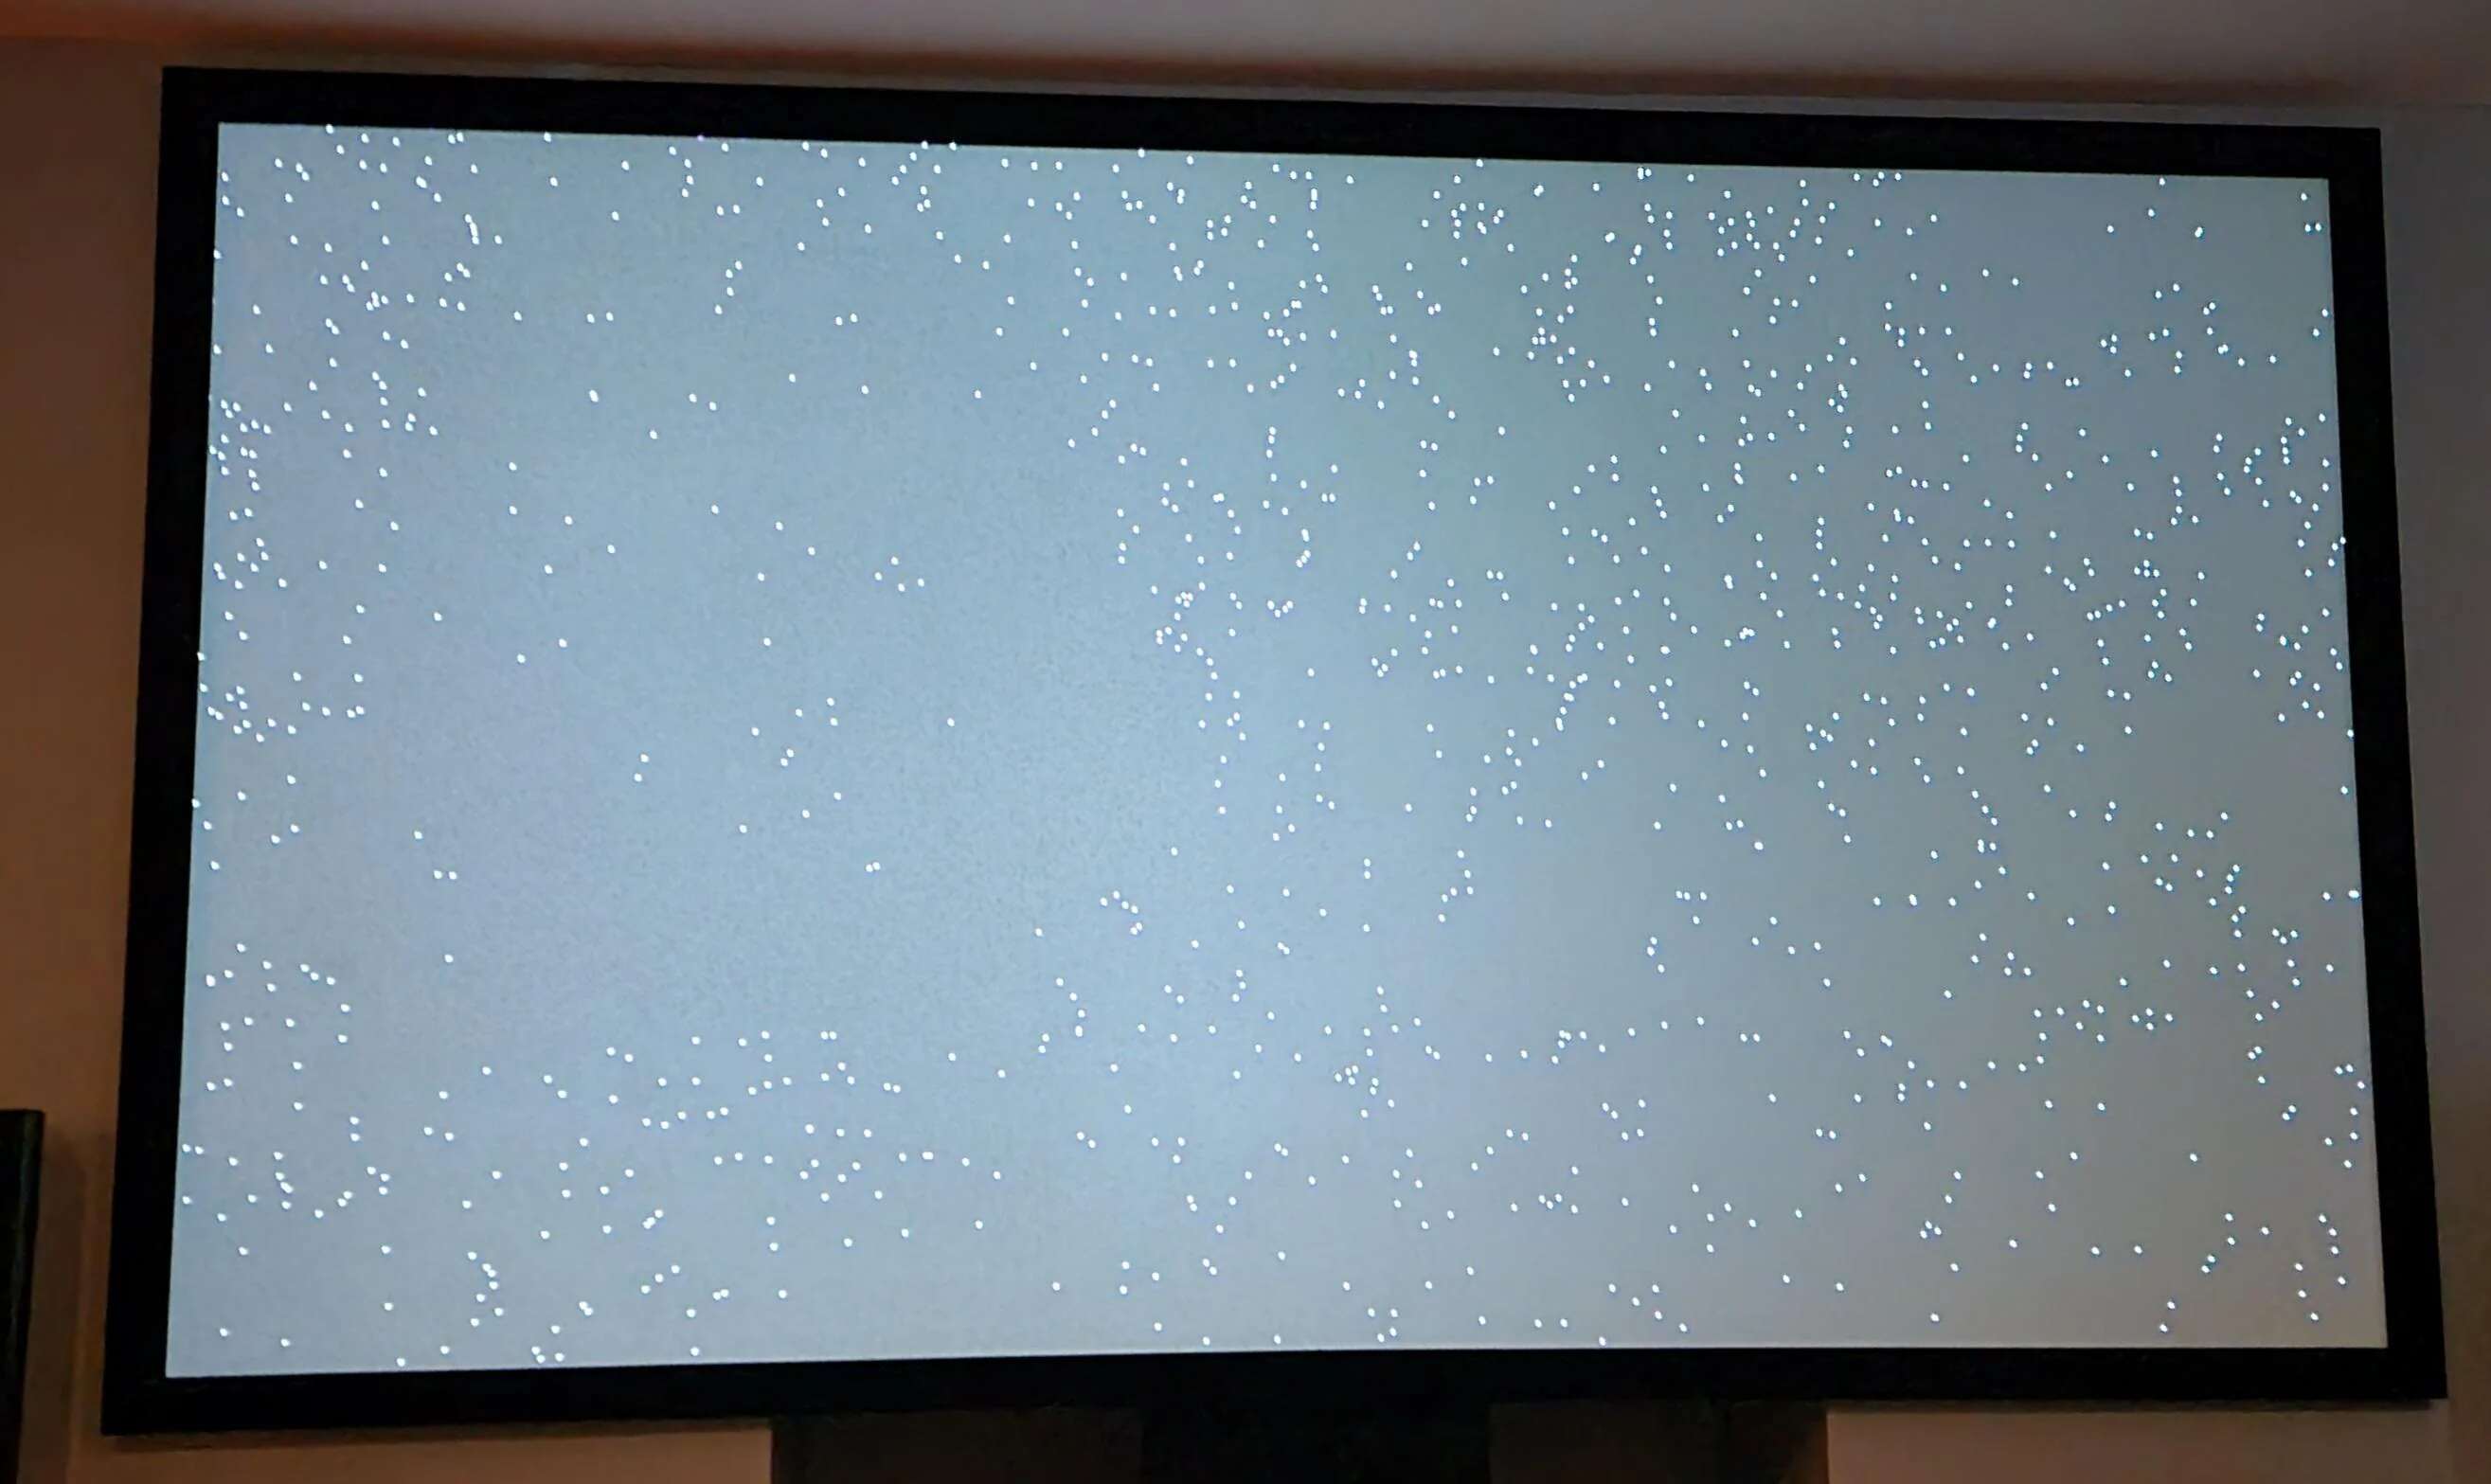
- Dust and Debris: One of the primary contributors to black spots is the accumulation of dust, dirt, or other particles on the projector’s lens. Over time, these minuscule intruders can obstruct the light path, leading to distorted or obscured projections.
- Projector Bulb Issues: A malfunctioning or aging projector bulb can manifest as black spots on the screen. Whether it’s due to a partial burnout, irregularities in the filament, or other bulb-related anomalies, these issues can adversely impact the projected image’s uniformity and clarity.
- Internal Optics Contamination: Within the intricate internal optics of the projector, contaminants such as dust, moisture, or residue can compromise the light path, resulting in irregularities or dark spots on the display.
- Projection Surface Anomalies: Sometimes, the surface onto which the projector is beaming the image can harbor imperfections or irregularities, causing black spots or distortions in the projected output.
- Hardware Malfunctions: In some cases, underlying hardware issues within the projector, such as faulty imaging components or electronic malfunctions, can lead to the manifestation of black spots on the screen.
By discerning the potential origins of these black spots, you can tailor your diagnostic efforts and corrective measures to effectively address the specific underlying cause. Whether it entails meticulous cleaning, bulb replacement, or more intricate troubleshooting, a nuanced understanding of these factors is pivotal in devising an appropriate remedy.
Now that we’ve illuminated the common triggers of black spots on projectors, it’s time to roll up our sleeves and explore the actionable steps to mitigate these issues. Let’s embark on a journey to restore the pristine visual output of your projector and reignite the magic of your home entertainment experience.
Cleaning the Projector Lens
When confronted with black spots on your projector’s display, a prudent first step is to address potential issues stemming from lens contamination. The accumulation of dust, dirt, or smudges on the lens can impede the transmission of light, resulting in unsightly black spots and compromising the image quality. To remedy this, a systematic and gentle cleaning approach can work wonders in restoring the clarity and uniformity of the projected visuals.
Before commencing the cleaning process, it’s imperative to power off and unplug the projector to ensure safety and prevent accidental damage. Here’s a step-by-step guide to effectively clean the projector lens:
- Gather the Essentials: Equip yourself with a soft, lint-free microfiber cloth and a specialized optical lens cleaning solution. Avoid using abrasive materials or harsh chemicals, as these can scratch or damage the delicate lens surface.
- Dust Removal: Begin by gently using a bulb blower or compressed air to dislodge any loose dust or particles from the lens surface. Exercise caution to prevent inadvertently pushing debris further into the lens assembly.
- Gentle Wiping: Apply a small amount of the lens cleaning solution to the microfiber cloth, ensuring it is not excessively damp. With delicate, circular motions, lightly wipe the lens surface, gradually working from the center towards the periphery. This method helps lift and remove stubborn smudges or contaminants without exerting undue pressure on the lens.
- Final Inspection: After cleaning, inspect the lens under adequate lighting to verify that it is free from streaks, smudges, or residual contaminants. If needed, repeat the gentle wiping process to achieve a pristine, spotless lens surface.
- Reassembly and Testing: Once satisfied with the cleanliness of the lens, carefully reassemble any dislodged components and power on the projector to assess the impact of the cleaning. Verify if the black spots have diminished or disappeared, signaling a successful restoration of visual clarity.
By diligently adhering to these cleaning guidelines, you can effectively address lens-related issues that contribute to black spots on the projector’s display. This proactive maintenance not only enhances the image quality but also prolongs the longevity of your projector, ensuring a consistently captivating viewing experience.
With the lens now rejuvenated, we’ve taken a significant stride towards banishing those intrusive black spots. However, if the issue persists, it may be prudent to explore other potential causes and remedies to fully restore your projector’s visual prowess. Let’s delve further into the diagnostic journey to uncover the elusive origins of these vexing black spots.
To fix black spots on a projector, try cleaning the lens and the air filter. If the issue persists, the problem may be with the DMD chip, and it may need to be replaced by a professional technician.
Checking and Replacing the Projector Bulb
As we navigate the quest to vanquish black spots from your projector’s display, the health and functionality of the projector bulb emerge as pivotal considerations. A dim, flickering, or faulty bulb can manifest as irregularities in the projected image, including the presence of black spots. Therefore, conducting a thorough assessment of the bulb’s condition and, if necessary, embarking on the process of replacement can yield significant improvements in the visual output.
Here’s a systematic approach to checking and, if warranted, replacing the projector bulb:
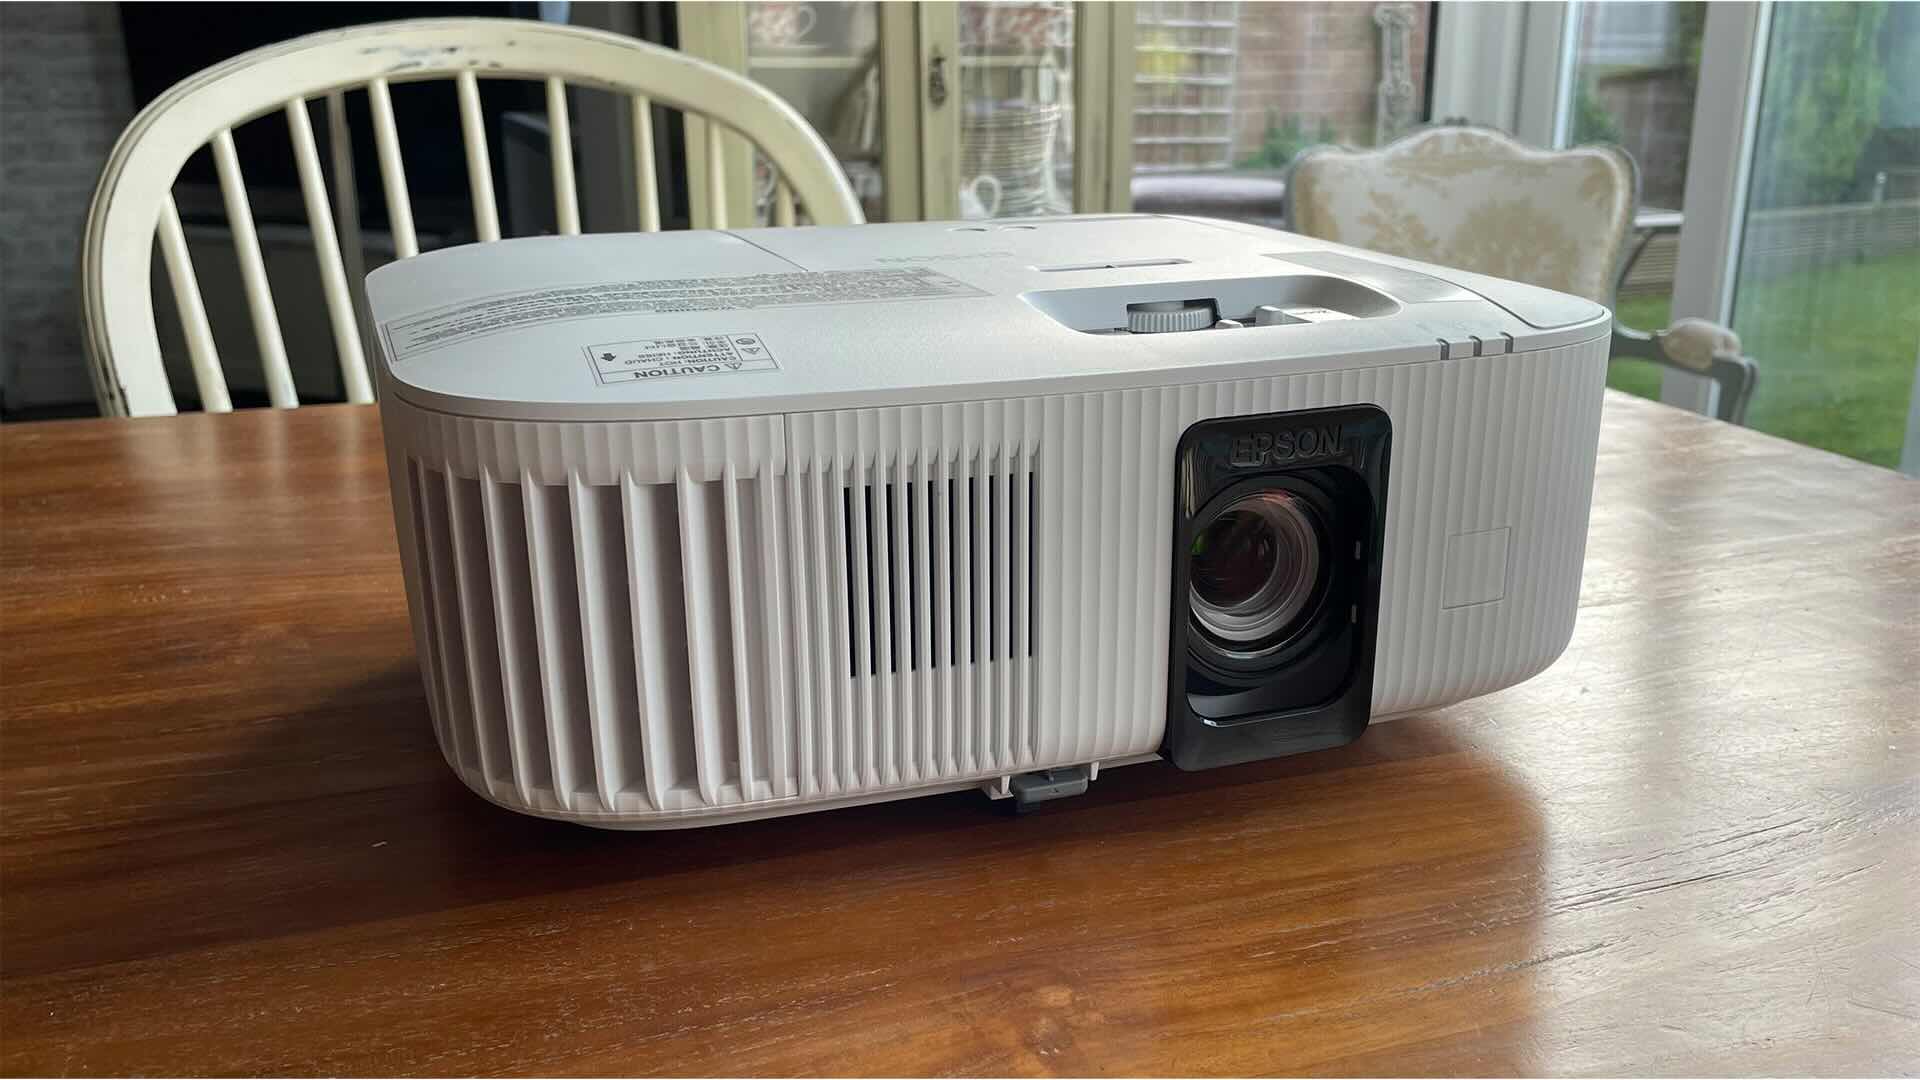
- Power Off and Cooling: Prior to any inspection or replacement endeavors, power down the projector and allow sufficient time for the bulb to cool. Handling a hot bulb can pose safety risks and potentially damage the delicate components.
- Accessing the Bulb Compartment: Refer to the projector’s user manual to locate and access the bulb compartment. Depending on the model, this may involve removing a panel or accessing the bulb through a designated opening.
- Visual Examination: Carefully inspect the bulb for any signs of damage, irregularities, or discoloration. Look for indications of a partial burnout, compromised filament, or other anomalies that could impede the bulb’s performance.
- Replacement Consideration: If the bulb exhibits visible signs of wear, deterioration, or malfunction, it is advisable to proceed with the replacement process. Refer to the user manual or manufacturer’s guidelines for the compatible replacement bulb model and specifications.
- Bulb Replacement: Follow the prescribed steps to safely remove the existing bulb and install the replacement unit. Exercise caution to align the bulb correctly and secure it in place according to the manufacturer’s instructions.
- Testing and Calibration: After installing the new bulb, power on the projector and assess the clarity and uniformity of the projected image. Verify if the black spots have diminished or vanished, indicating a successful resolution of the issue.
By meticulously attending to the condition of the projector bulb and taking proactive measures to replace it when necessary, you can effectively mitigate black spots stemming from bulb-related irregularities. This proactive approach not only enhances the visual output but also ensures the sustained performance and reliability of your projector.
With the bulb conundrum addressed, we’ve made significant strides in our pursuit to restore the pristine image quality of your projector. However, if the black spots persist, it’s time to delve deeper into potential alternative causes and remedies, unraveling the mysteries that encroach upon your viewing pleasure.
Troubleshooting Other Potential Issues
As we navigate the labyrinth of projector anomalies, addressing black spots on the display may necessitate delving into additional potential issues that could be contributing to this visual aberration. By systematically troubleshooting these factors, we can unveil the underlying culprits and implement targeted solutions to restore the pristine image quality of your projector.
Here are key considerations for troubleshooting other potential issues associated with black spots on the projector’s display:
- Internal Optics Examination: Delve into the projector’s internal optics to inspect for any signs of contamination, moisture ingress, or optical misalignments that could engender irregularities in the projected image. If feasible, consult the user manual for guidance on accessing and assessing the internal optical components.
- Projection Surface Assessment: Evaluate the surface onto which the projector is beaming the image. Look for irregularities, imperfections, or obstructions that could manifest as black spots or distortions in the projected output. Consider using a different projection surface or adjusting the projector’s positioning to gauge the impact on the visual quality.
- Hardware Diagnostics: Engage in a comprehensive diagnostic evaluation of the projector’s hardware components, including the imaging system, color wheel, and electronic circuitry. Look for indications of malfunctions, irregularities, or component degradation that could be contributing to the appearance of black spots on the display.
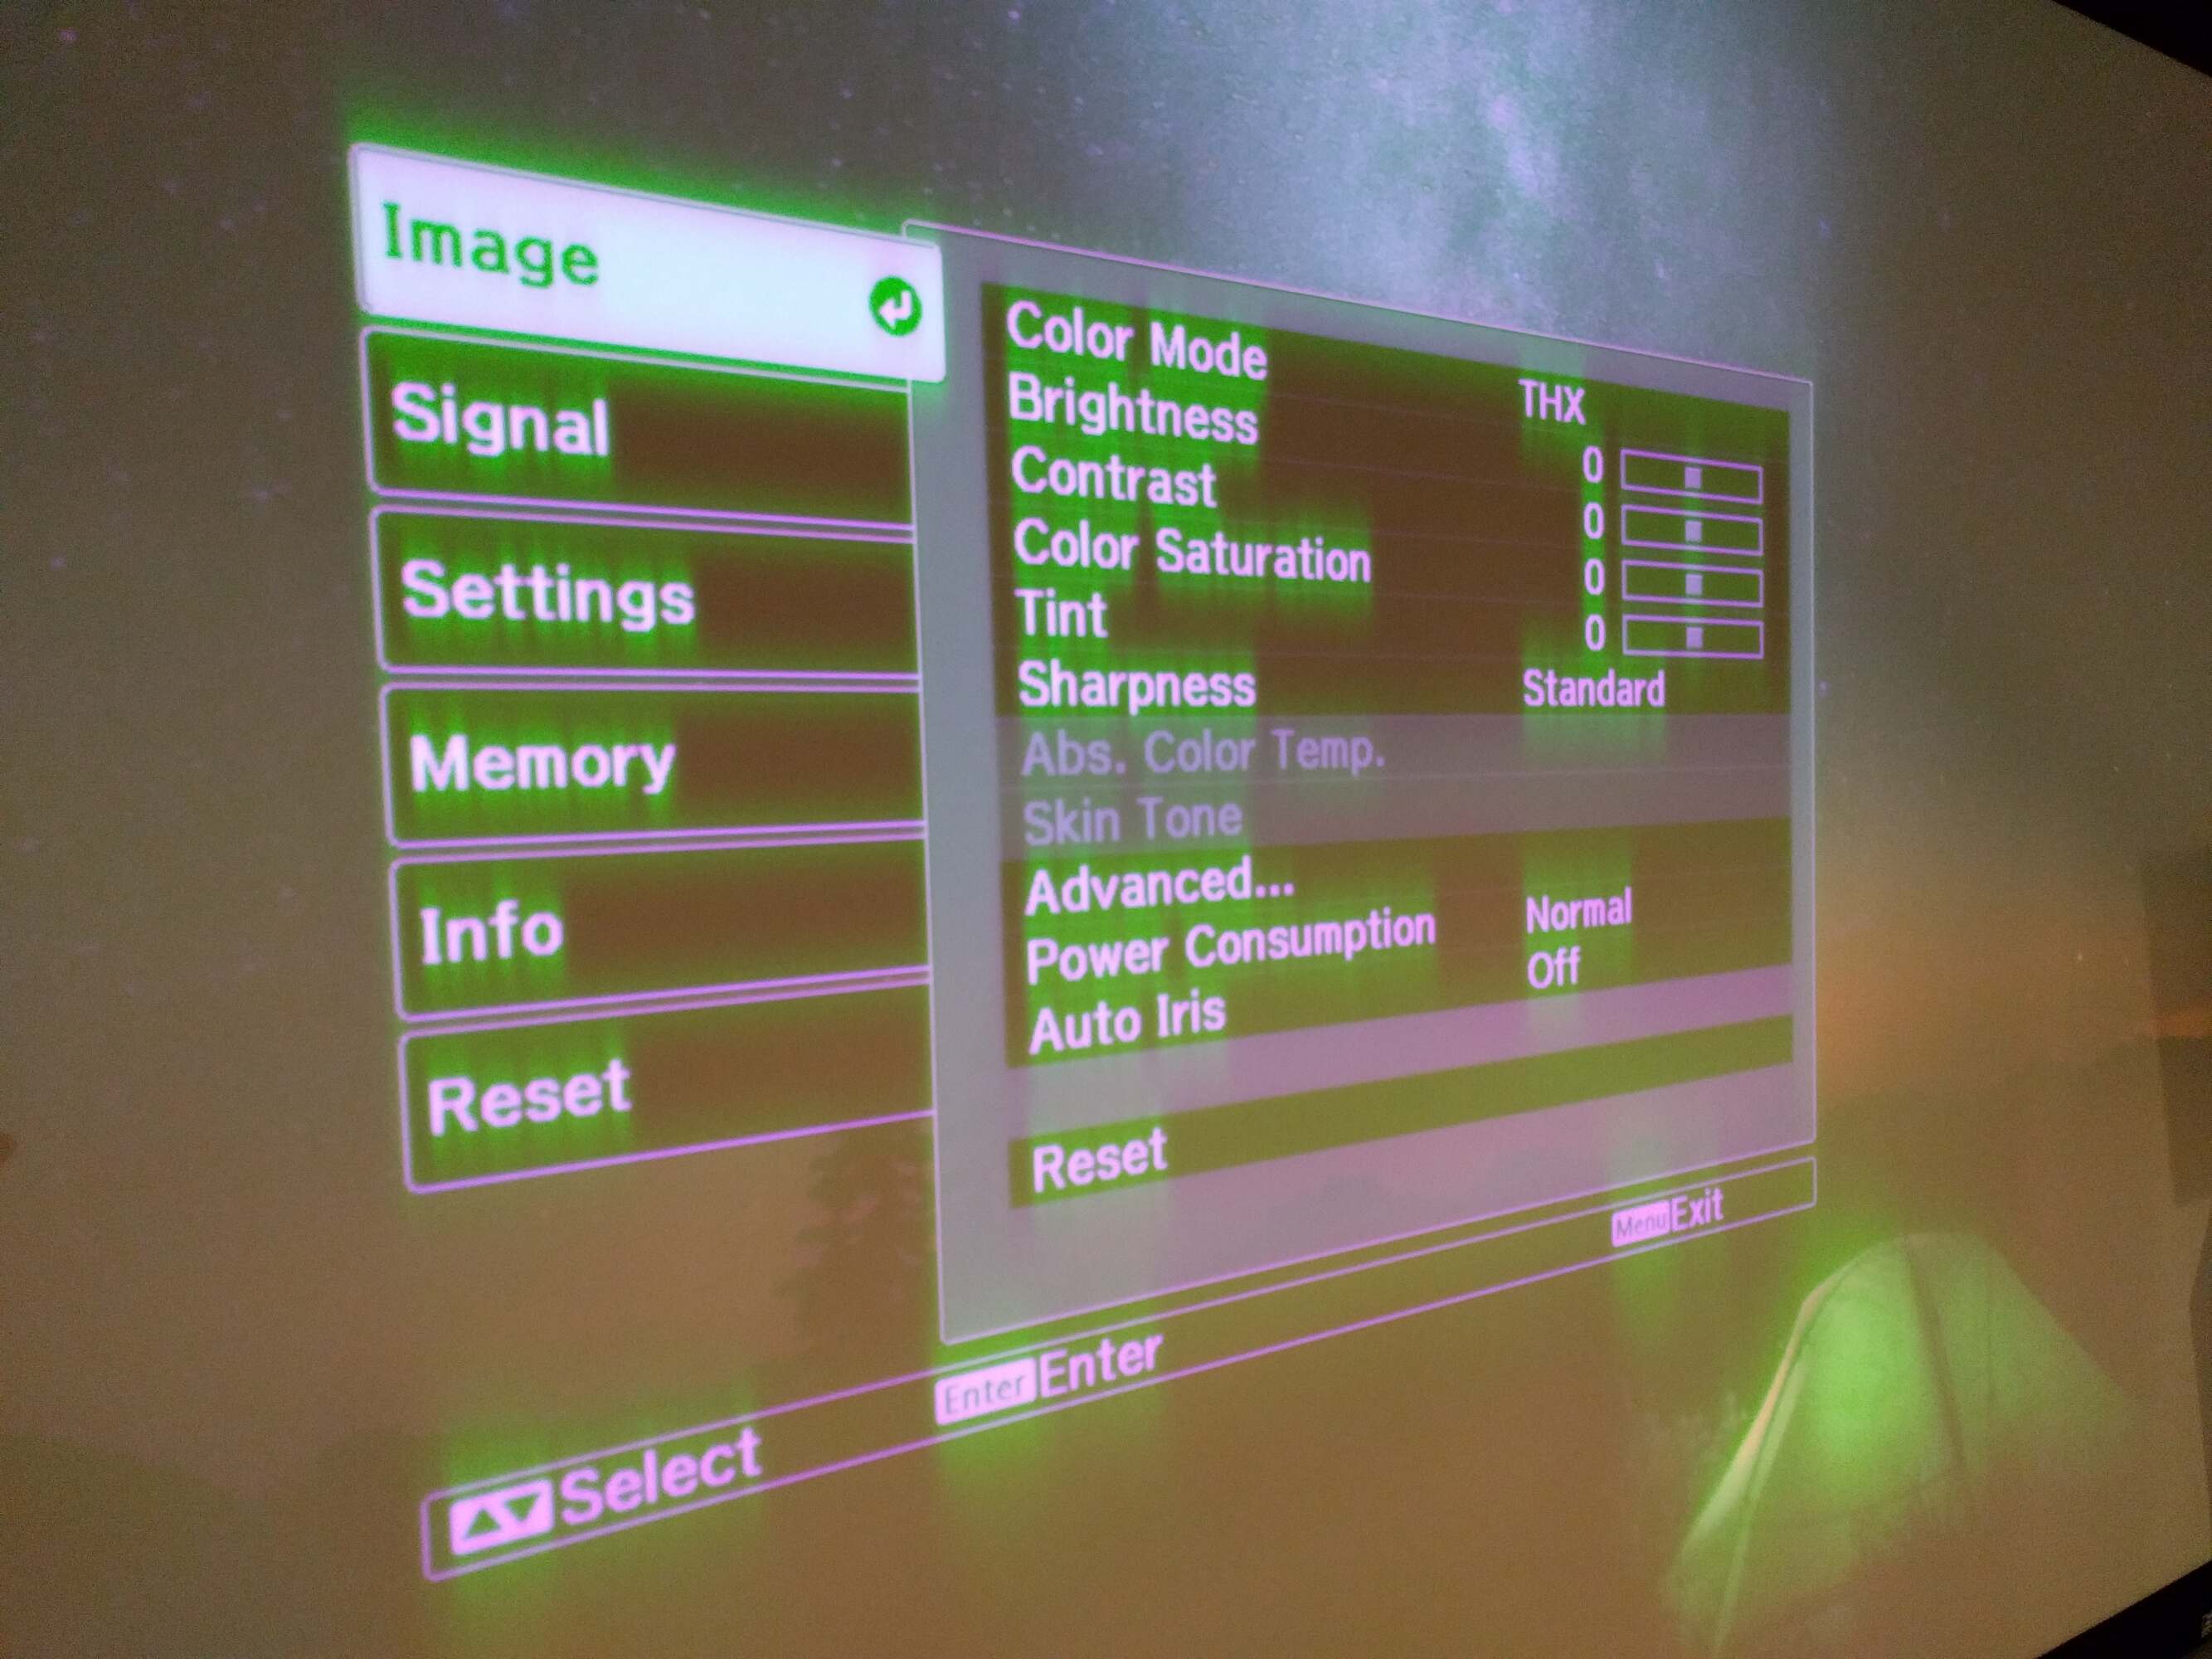
- Software and Firmware Updates: Verify if the projector’s software and firmware are up to date. In some instances, software glitches or outdated firmware can lead to visual anomalies, necessitating the installation of the latest updates or patches provided by the manufacturer.
- Professional Assessment: If the troubleshooting efforts yield inconclusive results or if the underlying issues appear to be beyond the scope of basic maintenance, consider seeking the expertise of a qualified technician or contacting the projector’s manufacturer for professional diagnostics and servicing.
By meticulously exploring these potential issues and implementing targeted diagnostic and remedial measures, you can effectively unravel the complexities underlying the appearance of black spots on your projector’s display. This proactive approach empowers you to address the root causes and restore the captivating visual allure of your home entertainment system.
Armed with these insights, you’re well-equipped to embark on a diagnostic odyssey, unraveling the enigma of black spots and reclaiming the pristine visual splendor of your projector. Let’s press forward with determination and diligence, as we endeavor to banish these vexing anomalies and usher in a new era of unblemished visual delight.
Read more: Why Is My Grass Turning Black In Spots
Conclusion
Congratulations on embarking on a transformative journey to reclaim the visual splendor of your home entertainment system! Throughout this comprehensive guide, we’ve navigated the intricate realm of projector maintenance and troubleshooting, arming you with the knowledge and techniques to combat the vexing presence of black spots on your projector’s display. As we draw the curtains on this illuminating odyssey, let’s recap the key takeaways and celebrate the strides made in restoring the captivating allure of your projector.
From the outset, we ventured into the heart of the issue, unraveling the multifaceted causes of black spots and their disruptive impact on the projected image. By understanding the pernicious influence of dust, debris, bulb irregularities, and other potential factors, you gained invaluable insights into the origins of this visual anomaly, laying the groundwork for targeted remedial actions.
With a keen focus on proactive maintenance, we delved into the meticulous art of cleaning the projector lens, employing gentle precision to banish dust, smudges, and contaminants that mar the visual output. By adhering to the prescribed cleaning regimen, you revitalized the lens’s clarity, paving the way for a resurgence of pristine, unblemished projections.
Furthermore, we embarked on an exploration of the pivotal role played by the projector bulb, recognizing its profound impact on the uniformity and luminosity of the projected image. Through a methodical assessment and, if necessary, the replacement of the bulb, you harnessed the power to dispel the shadows that encroached upon your viewing pleasure, heralding a new era of radiant, uninterrupted visuals.
As we navigated the labyrinth of potential issues, you fearlessly ventured into the realms of internal optics, projection surfaces, hardware diagnostics, and software considerations, leaving no stone unturned in your quest to unravel the enigma of black spots. Armed with a spirit of perseverance and a penchant for meticulous troubleshooting, you fortified your arsenal with the tools needed to conquer the most elusive projector anomalies.
Armed with these newfound insights and a steadfast resolve, you stand poised to reclaim the immersive, unadulterated visual delight that your home entertainment system was destined to deliver. Whether it’s the thrill of cinematic adventures, the pulse-pounding excitement of gaming, or the communal joy of shared viewing experiences, your projector now stands as a beacon of unbridled visual excellence, free from the shadows that once sought to obscure its brilliance.
As you bask in the radiant glow of your restored projector, remember that this journey is not just about conquering black spots; it’s a testament to your unwavering commitment to elevate your viewing experiences and immerse yourself in a world of unparalleled visual splendor. Your projector now stands as a testament to your dedication, a conduit to transport you to realms of breathtaking beauty and unbridled excitement.
So, with newfound clarity and a heart brimming with anticipation, let’s revel in the captivating allure of your projector, as it illuminates your world with unblemished brilliance and unbridled visual grandeur. Here’s to a future filled with countless moments of awe-inspiring wonder, all made possible by your unwavering pursuit of visual perfection.
Frequently Asked Questions about How To Fix Black Spot On Projector
Was this page helpful?
At Storables.com, we guarantee accurate and reliable information. Our content, validated by Expert Board Contributors, is crafted following stringent Editorial Policies. We're committed to providing you with well-researched, expert-backed insights for all your informational needs.


0 thoughts on “How To Fix Black Spot On Projector”