Home>Garden Essentials>How To Plant Germinated Seeds

Garden Essentials
How To Plant Germinated Seeds
Modified: March 15, 2024
Learn how to successfully plant germinated seeds in your garden and ensure a healthy growth. Get step-by-step instructions and expert tips for a thriving garden.
(Many of the links in this article redirect to a specific reviewed product. Your purchase of these products through affiliate links helps to generate commission for Storables.com, at no extra cost. Learn more)
Introduction
Welcome to the world of gardening! Whether you’re a seasoned gardener or a beginner, planting germinated seeds is an exciting and rewarding process. Germination is the first step in a seed’s journey towards becoming a beautiful and thriving plant. By planting germinated seeds, you give your garden a head start, ensuring better success rates and healthier plants.
In this article, we will guide you through the process of planting germinated seeds, providing you with all the information you need to get started. From gathering supplies to caring for the seedlings, we’ll cover each step in detail and offer helpful tips along the way.
So, let’s dig in and learn how to plant germinated seeds!
Key Takeaways:
- Get ready to plant germinated seeds by gathering supplies like containers, potting mix, and labels. Follow the steps to prepare the growing medium and germinate the seeds for a successful gardening journey.
- Care for your seedlings by providing proper watering, light, and temperature. Consider transplanting them for long-term growth, and enjoy the beauty and rewards of gardening!
Read more: How To Germinate A Plant
Step 1: Gather Supplies
Before you begin the process of planting germinated seeds, it’s important to gather all the necessary supplies. Having everything you need on hand will make the process smoother and more efficient. Here’s a list of essential supplies:
- Germinated seeds: Make sure you have already germinated your seeds using the appropriate method. You can germinate seeds using techniques such as paper towel germination or using germination pots.
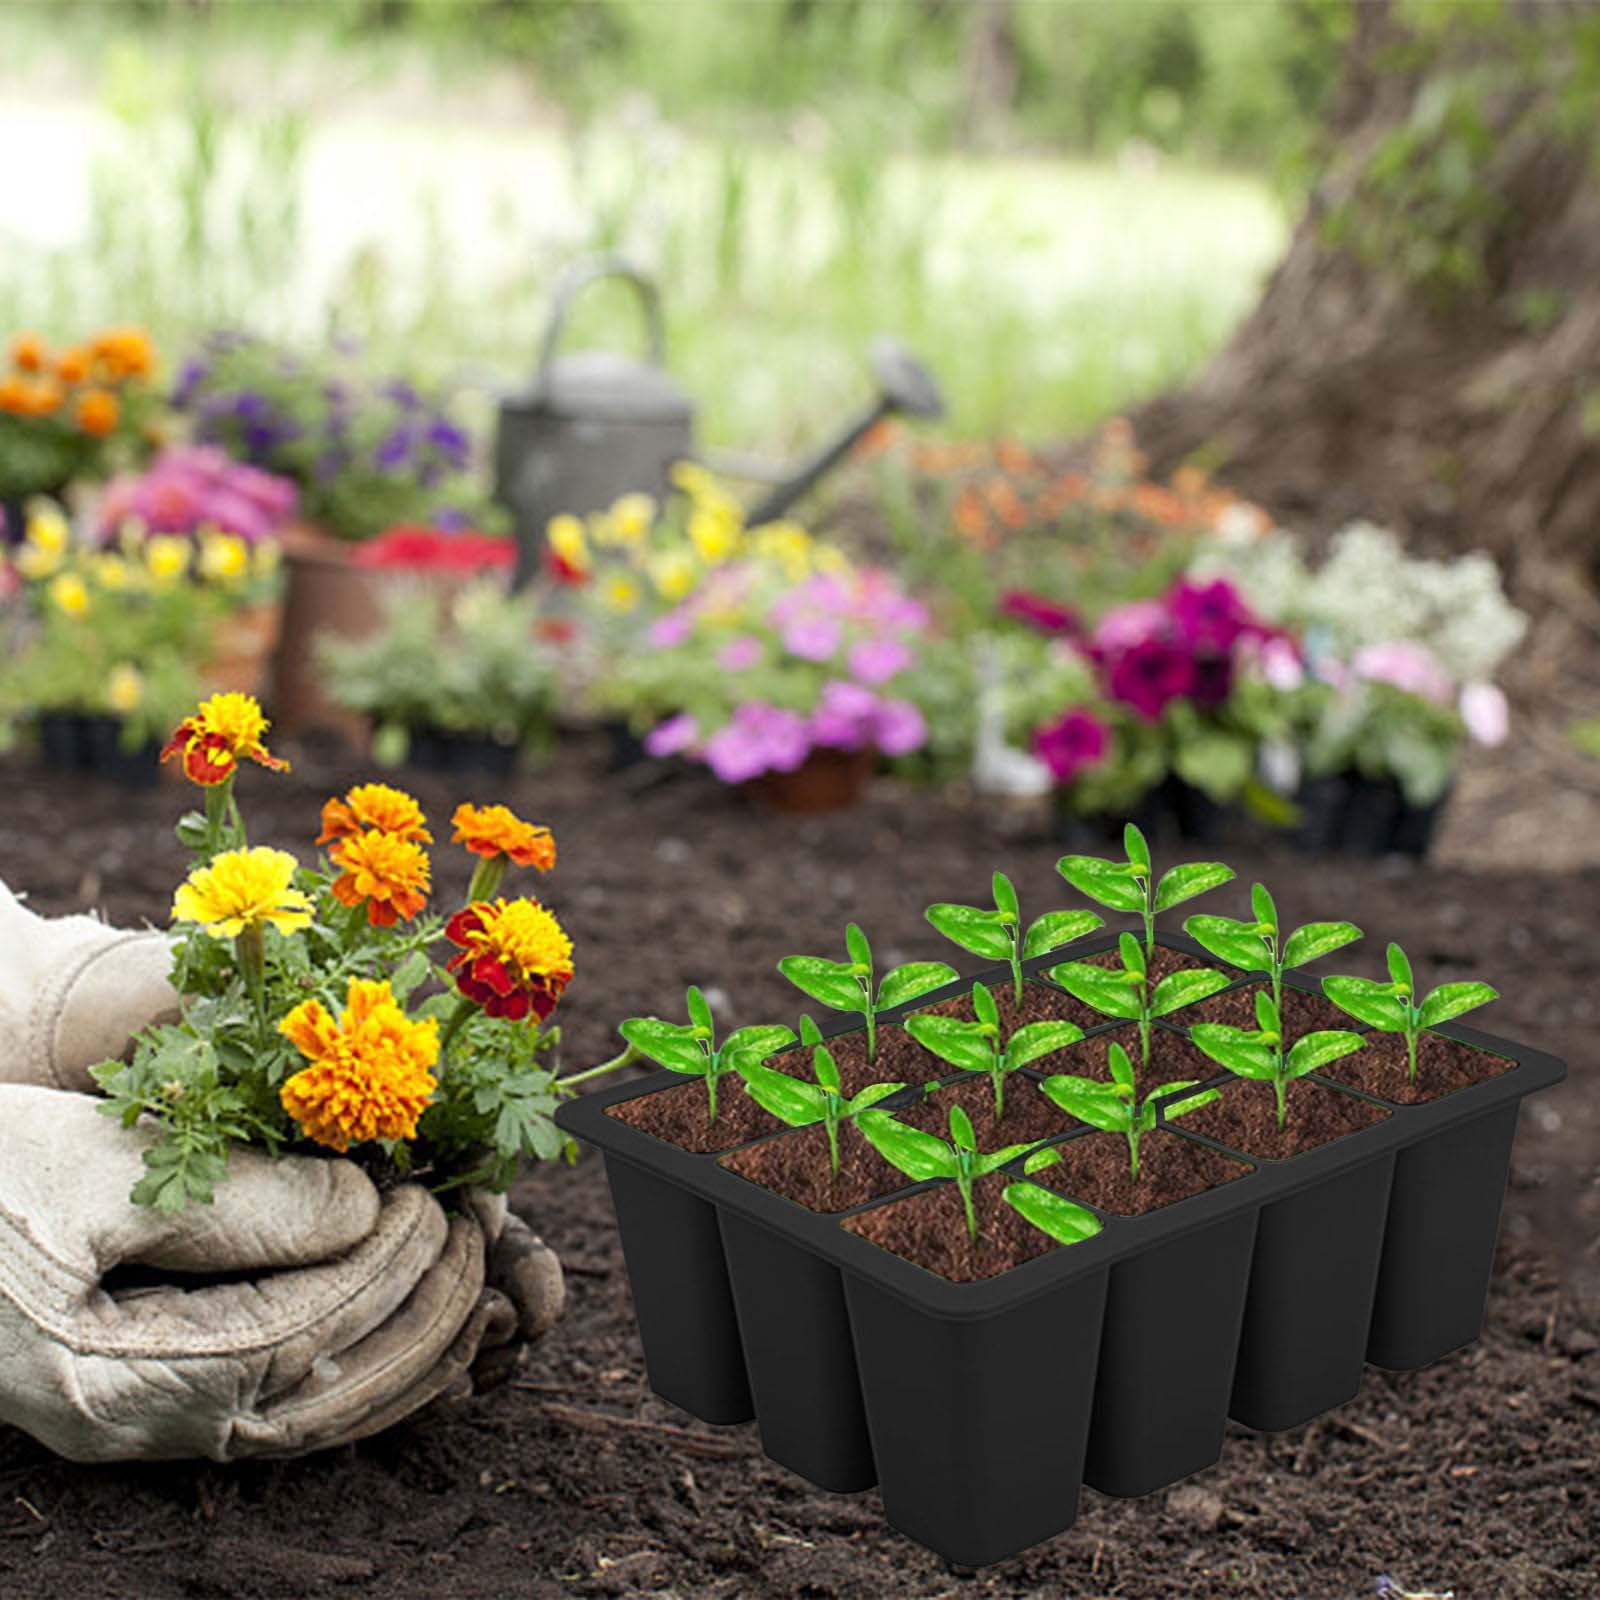
- Planting containers: Choose containers based on the size and number of germinated seeds you have. You can use seed trays, peat pots, or recycled containers like yogurt cups or egg cartons.
- Growing medium: Select a high-quality potting mix or seed starting mix. Avoid using garden soil, as it can be heavy and may contain pests or diseases.
- Watering can or spray bottle: Ensure you have a watering can or spray bottle for gently watering the seeds and seedlings.
- Plant labels: Use plant labels or popsicle sticks to label your containers. This will help you keep track of different plant varieties.
- Plastic wrap or humidity dome: If you’re planting the germinated seeds in trays or pots, you may need to cover them with plastic wrap or use a humidity dome to create a moist and warm environment.
- Grow lights or a sunny location: Choose a well-lit area for your seedlings. If you don’t have access to natural sunlight, invest in grow lights to provide adequate light for their growth.
- Optional: Heat mat: If you’re germinating seeds in a colder climate or during the winter months, a heat mat can provide the ideal temperature for successful germination.
Once you have gathered all the necessary supplies, you’re ready to move on to the next step: preparing the growing medium.
Step 2: Prepare the Growing Medium
The growing medium you choose plays a crucial role in the success of your germinated seeds. It provides essential nutrients and a suitable environment for the seedlings to establish their roots. Follow these steps to prepare the growing medium:
- Select the right potting mix: Choose a well-draining potting mix or seed starting mix specifically designed for young seedlings. Avoid using heavy garden soil, as it can compact and hinder root growth.
- Moisten the growing medium: Before filling your containers with the potting mix, moisten it slightly. This will ensure that the seeds have access to the moisture they need to germinate and grow.
- Fill the containers: Fill each container with the moistened potting mix, leaving about half an inch of space at the top. Gently firm the soil, but avoid compacting it too much.
- Create planting holes: Use your finger or the end of a small gardening tool to create small planting holes in the potting mix. The depth of the holes should be slightly deeper than the size of the germinated seed.
By preparing the growing medium properly, you create an optimal environment for the germinated seeds to establish their roots and grow into healthy seedlings. Now that the growing medium is ready, it’s time to move on to the next step: germinating the seeds.
Step 3: Germinate the Seeds
The process of germinating seeds is essential for their successful growth. There are a few methods you can use to germinate seeds, such as the paper towel method or germination pots. Here’s how you can germinate your seeds:
- Paper towel method: Take a few sheets of damp paper towels and place the germinated seeds on one half. Fold the other half of the paper towel over the seeds to cover them. Place the paper towel in a zipper bag or covered container and keep it in a warm location.
- Germination pots: Use germination pots or trays filled with a seed starting mix. Place the germinated seeds into the planting holes you created earlier, gently covering them with soil. Water the soil lightly to ensure moisture.
- Provide warmth and humidity: Seeds need warmth and humidity to germinate successfully. Keep the germination containers in a warm area, or use a heat mat to maintain the ideal temperature. If using germination pots, cover them with plastic wrap or use a humidity dome to create a humid environment.
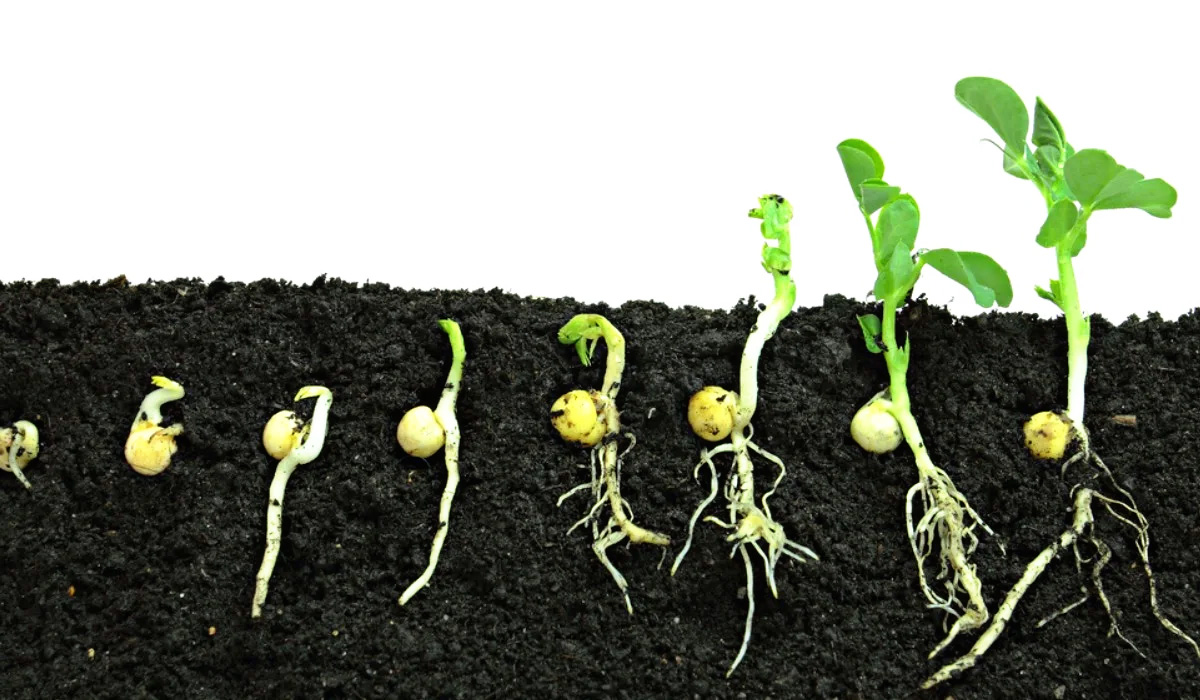
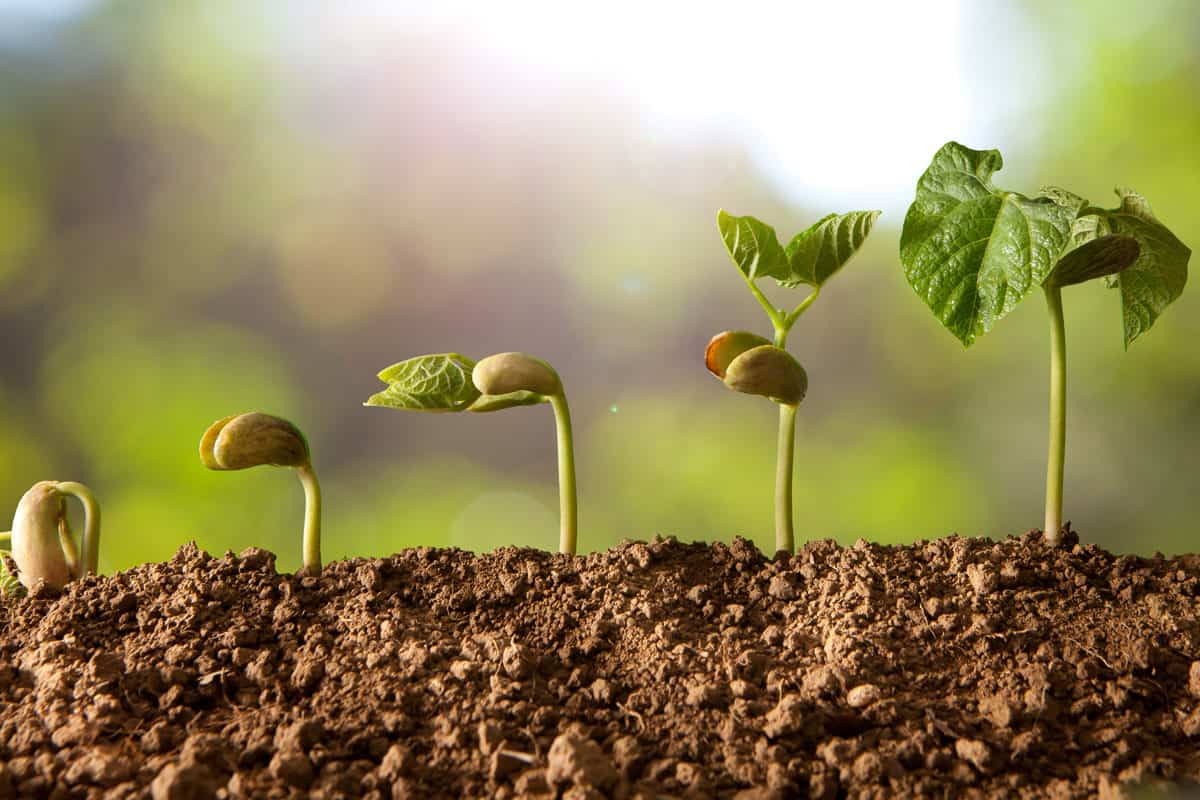
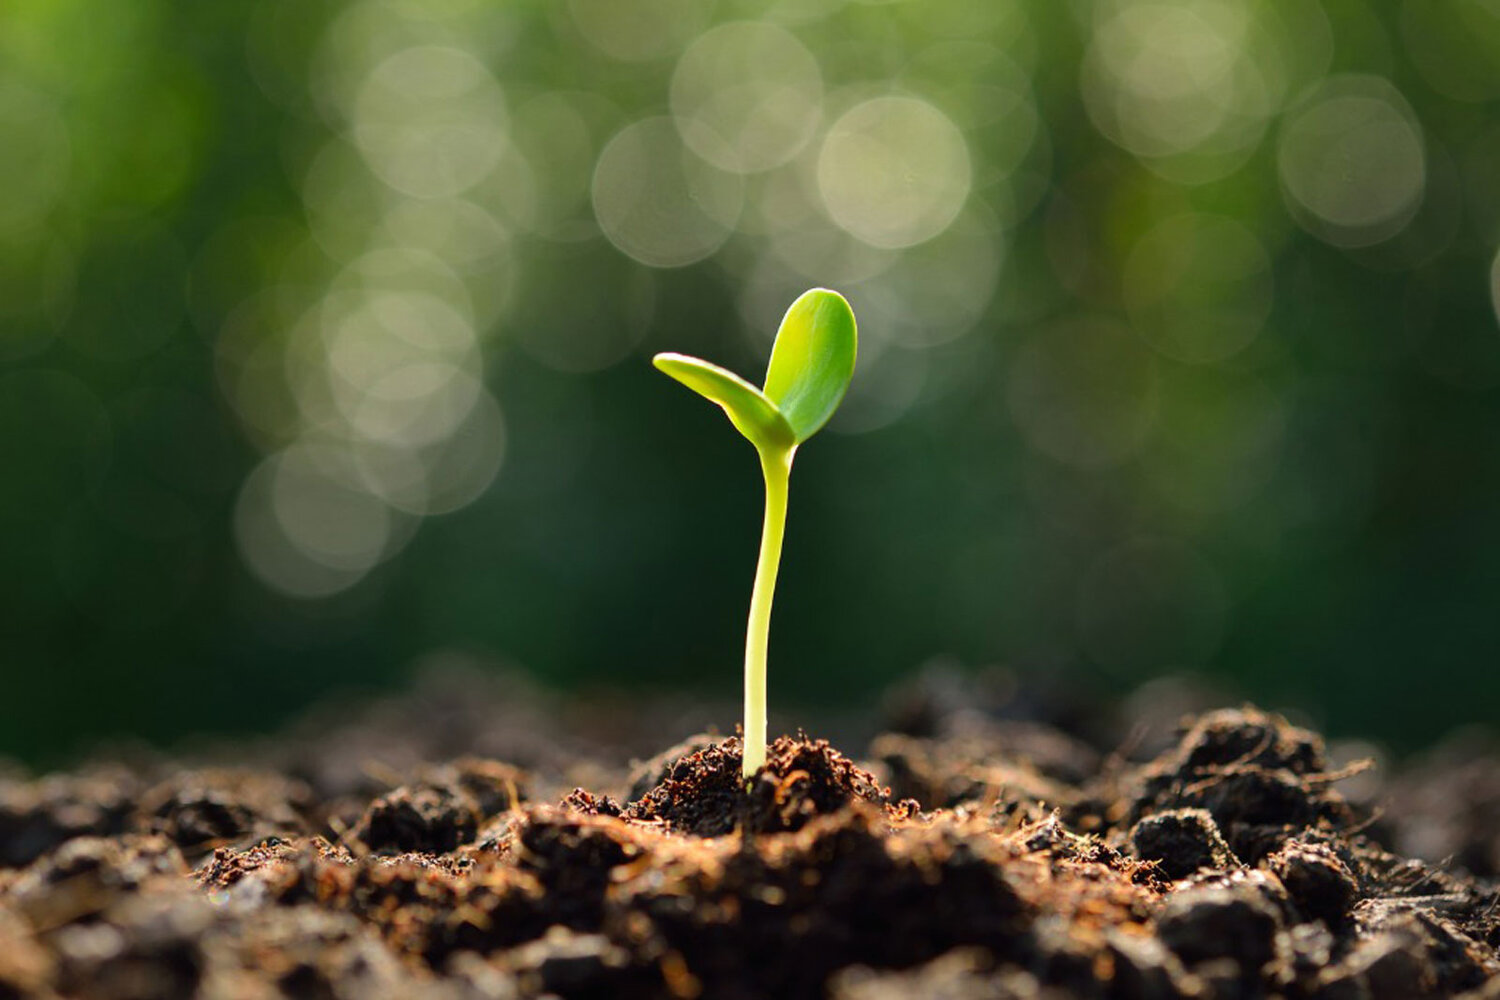
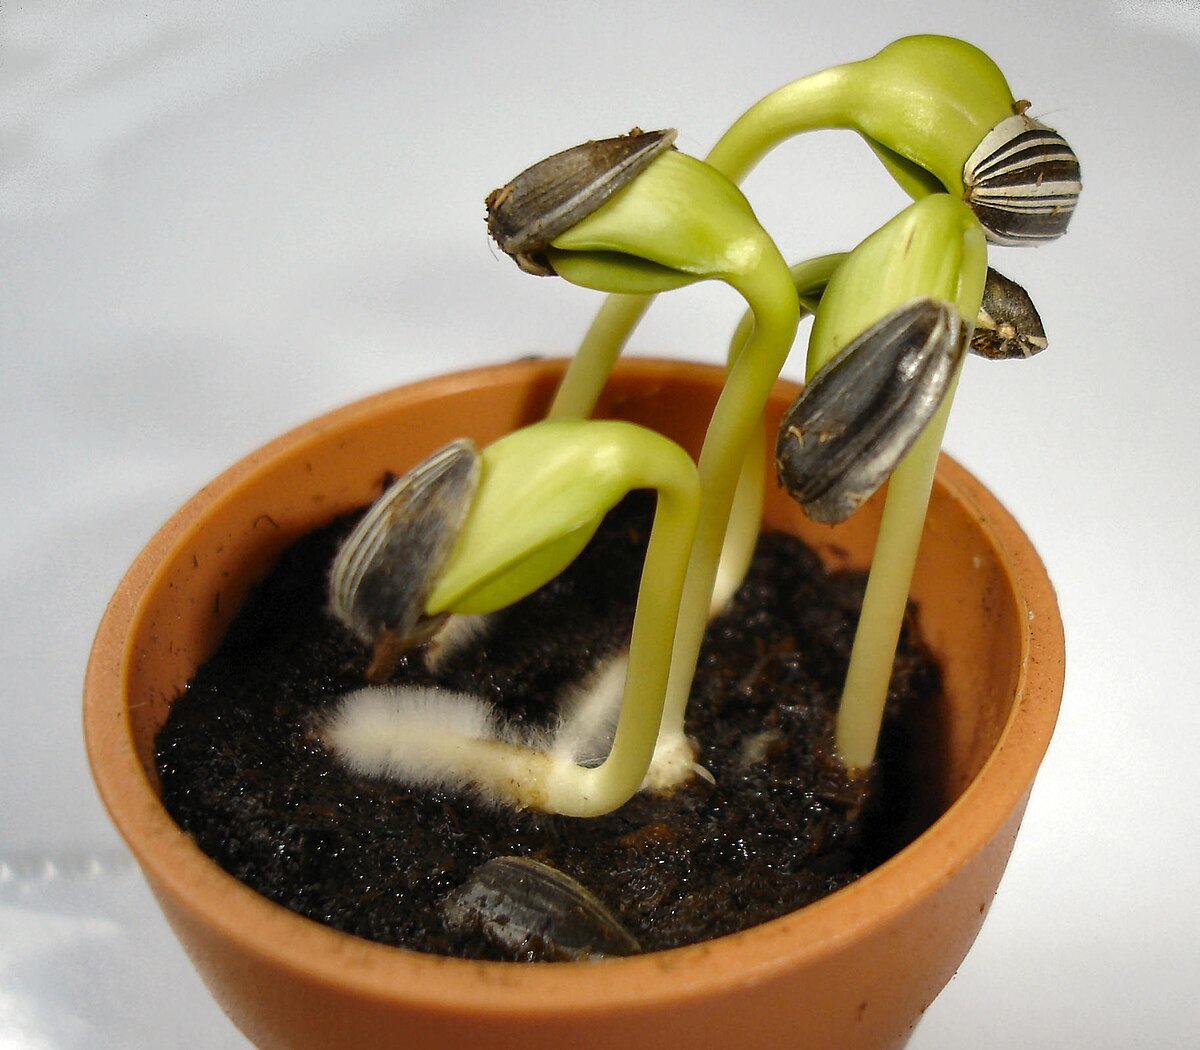
- Monitor and wait: Check on your germinated seeds regularly to ensure they have enough moisture. Within a few days to a couple of weeks, depending on the plant variety, you should start to see sprouts emerging from the seeds.
Germinating the seeds allows them to break out of their dormant state and begin their journey to becoming plants. Once your seeds have germinated and sprouted, it’s time to proceed to the next step: planting the germinated seeds.
After germinating seeds, plant them in a well-draining soil mix, making sure to bury them at the recommended depth for the specific plant. Keep the soil consistently moist and provide adequate sunlight for healthy growth.
Step 4: Plant the Germinated Seeds
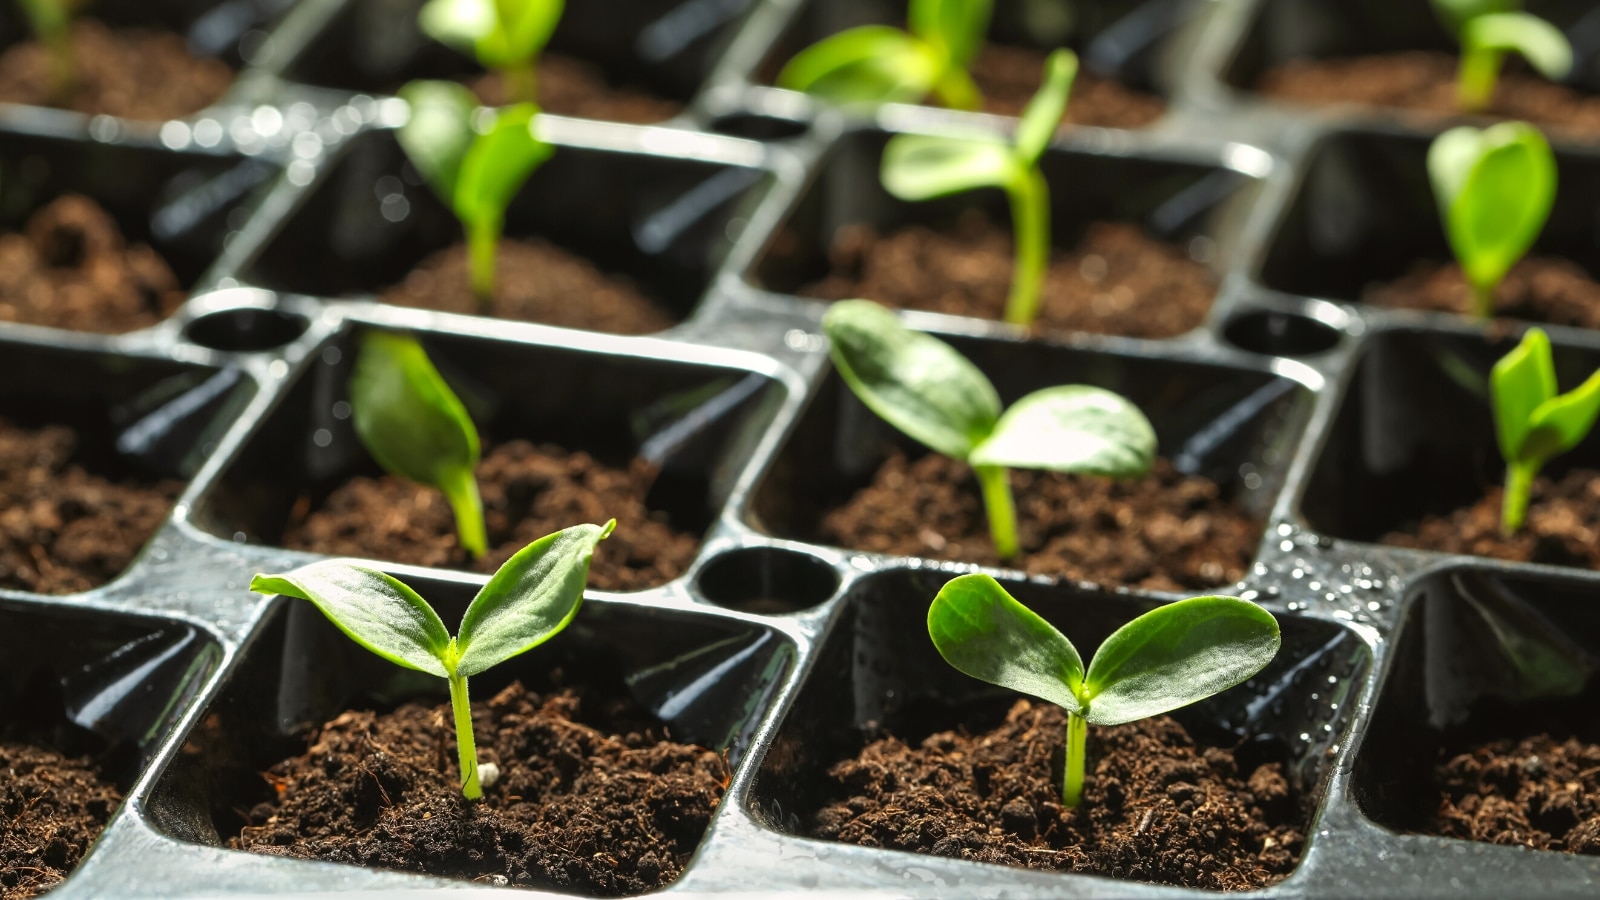
Now that your seeds have germinated and sprouted, it’s time to carefully plant them in their designated containers. Follow these steps to ensure successful planting:
- Prepare the planting holes: If you haven’t already done so, create small planting holes in the growing medium. These holes should be slightly deeper than the length of the sprouted seed’s root.
- Transfer the germinated seeds: Gently lift the germinated seedlings from their germination container, taking care not to damage the delicate root systems. Place each seedling into the planting hole, ensuring the roots are spread in the hole.
- Cover and firm the soil: Carefully cover the roots of the seedlings with the growing medium, gently firming the soil around the base of each plant. Avoid compacting the soil too much, as this can hinder root growth.
- Label your containers: To keep track of different plant varieties, use plant labels or popsicle sticks to mark each container. This will help you identify the plants as they grow.
- Water the seedlings: Give the newly planted seedlings a gentle watering to settle the soil and provide them with the necessary moisture. Use a watering can or spray bottle to avoid flooding the containers.
By carefully planting the germinated seeds, you give them the space and nutrients they need to continue their growth. Now that the seedlings are planted, it’s important to provide the proper care and maintenance to ensure their health and vitality. Let’s move on to step 5: watering and caring for the seedlings.
Read more: How To Plant Germinated Seed
Step 5: Water and Care for the Seedlings
Watering and providing proper care for the seedlings are vital for their healthy development and growth. Follow these guidelines to ensure your seedlings thrive:
- Watering: Check the moisture level of the soil regularly and water the seedlings when the top inch of soil feels dry. Use a watering can or spray bottle to gently moisten the soil, being careful not to overwater and drown the seedlings.
- Light requirements: Place the seedlings in a location where they receive adequate sunlight or use grow lights to provide the necessary light. Most seedlings require 12-16 hours of bright light daily for optimal growth.
- Temperature: Maintain an appropriate temperature for the seedlings. Most plants prefer temperatures between 60°F-75°F (15°C-24°C) during the day and slightly cooler at night.
- Fertilization: After the seedlings have developed their first set of true leaves, you can start fertilizing them. Use a diluted liquid fertilizer specifically formulated for young seedlings, following the instructions on the package.
- Thinning (if necessary): If you have multiple seedlings growing in one container, you may need to thin them out to prevent overcrowding. Choose the strongest and healthiest seedling and carefully remove the others to give room for the chosen one to grow.
Regularly tending to the seedlings by watering, providing sufficient light, and maintaining an appropriate temperature will help them develop strong roots and healthy foliage. Now, if you’re planning to transplant your seedlings into a larger space or garden, you can move on to step 6. Otherwise, continue to care for the seedlings until they are ready for outdoor planting.
Step 6: Transplant the Seedlings (Optional)
Transplanting seedlings into a larger space or garden is an optional step but can be beneficial for their long-term growth. Here’s how to transplant your seedlings:
- Choose the right time: Wait until the seedlings have developed a strong root system and their true leaves have matured before transplanting. This is usually when the seedlings are 4-6 inches tall.
- Prepare the planting area: Choose a sunny spot in your garden with well-draining soil. Remove any weeds or debris and loosen the soil to make it easier for the roots to establish themselves.
- Make planting holes: Dig holes in the planting area that are slightly larger than the root ball of the seedling. Space the holes according to the recommended distance for the particular plant variety you are transplanting.
- Remove the seedlings: Gently remove the seedlings from their containers, being careful not to disturb the roots. If the roots are tightly wound around the container, gently tease them apart to encourage outward growth.
- Place the seedlings: Plant each seedling into the prepared hole, making sure the top of the root ball is level with the soil surface. Backfill the hole with soil and gently firm it around the seedling.
- Water the transplanted seedlings: Give the newly transplanted seedlings a thorough watering to settle the soil and help them establish. Maintain regular watering as needed to keep the soil moist but not waterlogged.
- Provide post-transplant care: Protect the transplanted seedlings from extreme weather conditions, such as strong winds or intense heat. Provide shade or use protective covers if necessary until the seedlings adjust to their new environment.
Transplanting seedlings allows them to have more space for root development and access to more nutrients in the garden soil. Remember to gradually acclimate the seedlings to outdoor conditions by exposing them to outdoor temperatures and sunlight for increasing periods each day.
Congratulations! You have successfully planted and cared for your germinated seeds. With proper attention and care, your seedlings will grow into flourishing plants, bringing beauty and joy to your garden. Enjoy the process and the bountiful rewards that gardening brings!
Conclusion
Planting germinated seeds is an exciting and rewarding journey that allows you to witness the miracle of life in your own garden. By following the steps outlined in this guide, you have gained the knowledge and confidence to successfully plant and care for your germinated seeds.
From gathering supplies, preparing the growing medium, germinating the seeds, and planting them, to providing proper watering and care, you have learned the essential steps to ensure the healthy growth of your seedlings. The optional step of transplanting the seedlings into a larger space or garden opens up new opportunities for their growth and development.
Remember, gardening is a dynamic process that requires observation, patience, and adaptability. Each plant has unique needs and preferences, so it’s important to continue learning and adjusting your gardening practices accordingly. Pay attention to how your seedlings respond to their environment and make adjustments as needed.
Now, armed with the knowledge and skills to plant germinated seeds, go forth and create your garden paradise. Enjoy the beauty, fragrance, and abundance that your plants will bring to your outdoor space. Gardening is not only a rewarding hobby but also a great way to connect with nature and find peace and tranquility in the process.
So put on your gardening gloves, grab your trowel, and get ready to witness the magic of germinated seeds turning into flourishing plants. Happy gardening!
Frequently Asked Questions about How To Plant Germinated Seeds
Was this page helpful?
At Storables.com, we guarantee accurate and reliable information. Our content, validated by Expert Board Contributors, is crafted following stringent Editorial Policies. We're committed to providing you with well-researched, expert-backed insights for all your informational needs.

0 thoughts on “How To Plant Germinated Seeds”