Home>Garden Essentials>How To Sprout Moringa Seeds

Garden Essentials
How To Sprout Moringa Seeds
Modified: March 24, 2024
Learn how to successfully sprout Moringa seeds in your garden with our step-by-step guide. Increase your garden's productivity with this valuable technique.
(Many of the links in this article redirect to a specific reviewed product. Your purchase of these products through affiliate links helps to generate commission for Storables.com, at no extra cost. Learn more)
Introduction
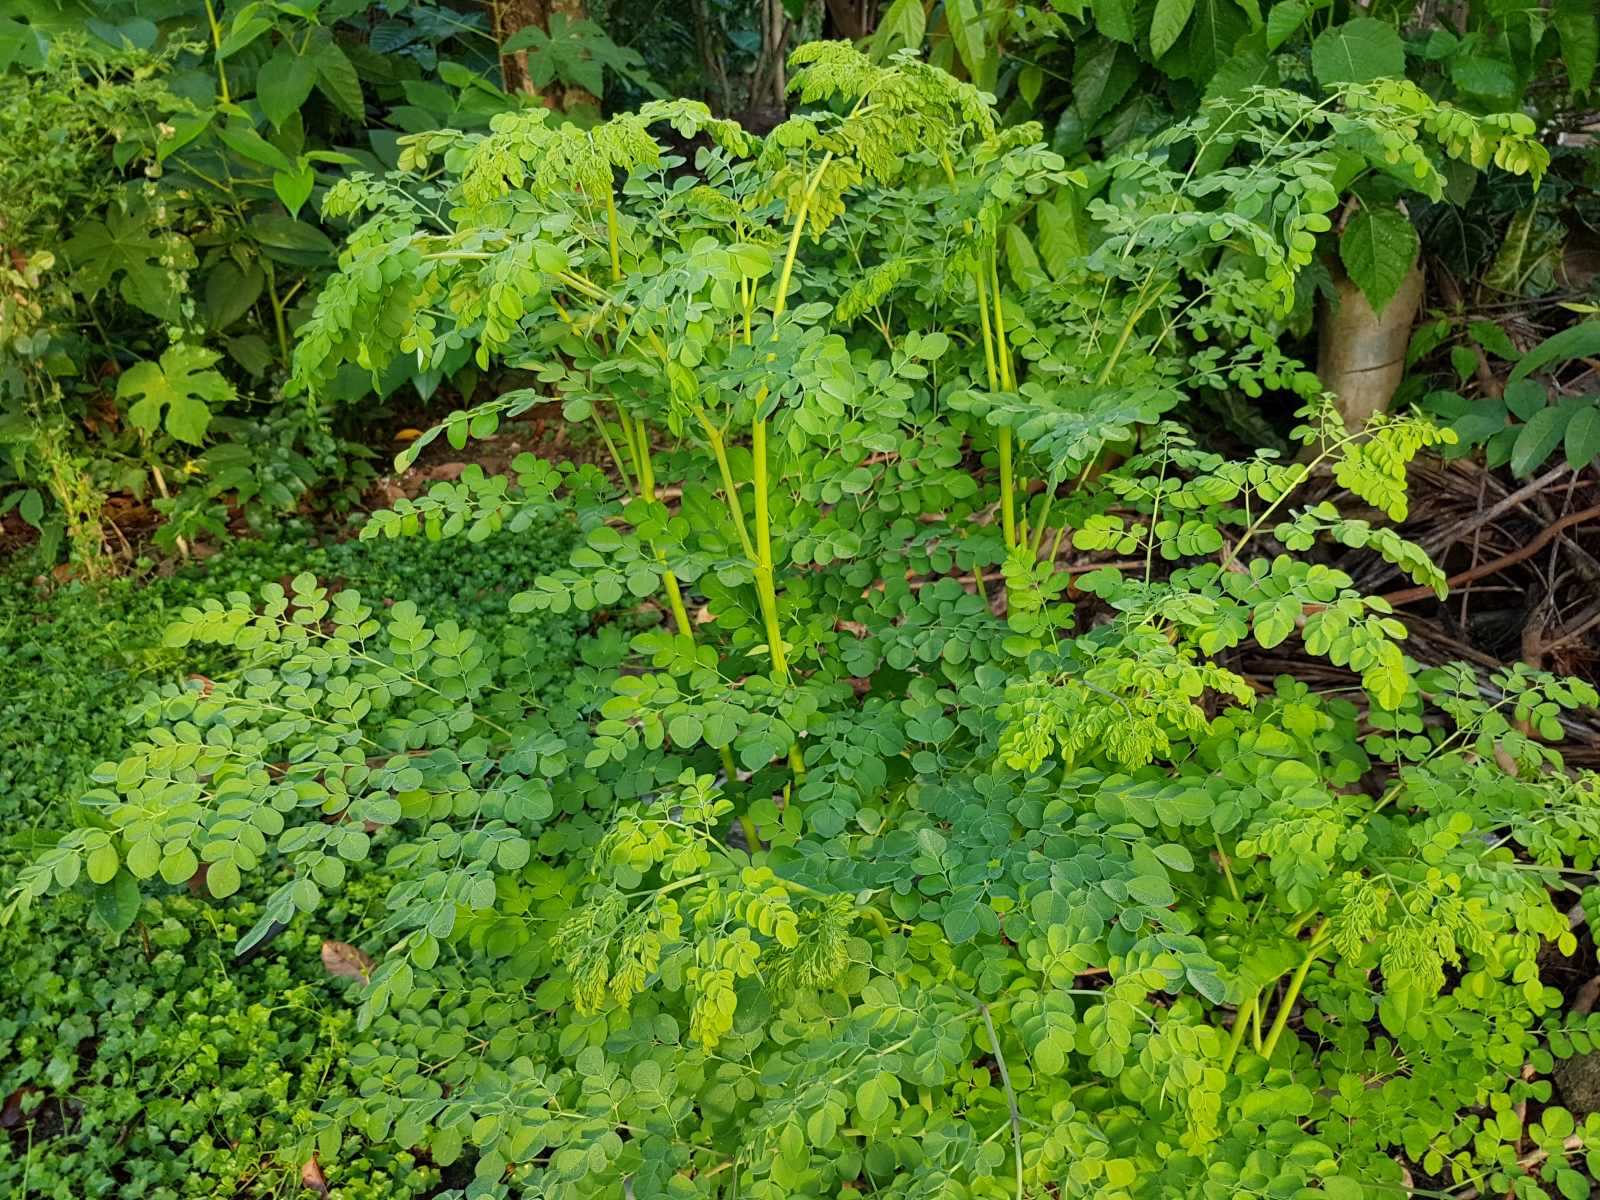
Gardening enthusiasts and plant lovers often enjoy the process of growing their own plants from seeds. It allows them to witness the fascinating journey of a tiny seed transforming into a flourishing plant. One such plant that captivates gardeners worldwide is the Moringa. Moringa is a fast-growing and nutrient-rich tree native to South Asia.
In addition to its numerous health benefits, the Moringa tree can also be grown in your backyard garden. However, starting with the right seeds and sprouting them properly is crucial to ensuring successful growth. In this article, we will guide you on how to sprout Moringa seeds and take you through the necessary steps to cultivate these seeds into healthy seedlings.
So, let’s gather our materials and get ready to embark on an exciting journey of sprouting and growing Moringa seeds!
Key Takeaways:
- Sprouting Moringa seeds is an exciting journey that starts with soaking and preparing the seeds, creating a warm and humid environment for germination, and caring for the seedlings as they grow into healthy Moringa trees.
- Harvesting Moringa leaves is a rewarding step that provides nutrient-rich leaves for culinary use and herbal remedies. Regular harvesting promotes continuous growth and encourages the tree to produce more leaves.
Read more: How To Consume Moringa Seeds
Materials Needed
Before we dive into the process of sprouting Moringa seeds, let’s gather the materials required to ensure a successful germination:
- Moringa seeds: Start with fresh and high-quality Moringa seeds. You can obtain them from a reputable supplier or harvest them from mature Moringa pods.
- Water: Clean, filtered water is essential for sprouting Moringa seeds. Make sure you have a good supply of water on hand.
- Container: Use a small container or tray with drainage holes to sow your Moringa seeds. This will allow excess water to drain out, preventing waterlogged soil.
- Seedling mix or potting soil: Choose a well-draining soil mix specifically designed for seed germination. Alternatively, you can create your own mix using a combination of peat moss, perlite, and vermiculite.
- Plastic wrap or dome: To create a humid environment for germination, you will need a plastic wrap or a transparent dome that fits over the container.
- Planting labels or markers: Keep track of your Moringa seeds by using planting labels or markers. This will help you identify and monitor the germination progress.
Once you have gathered all these materials, you’re ready to begin the process of sprouting your Moringa seeds.
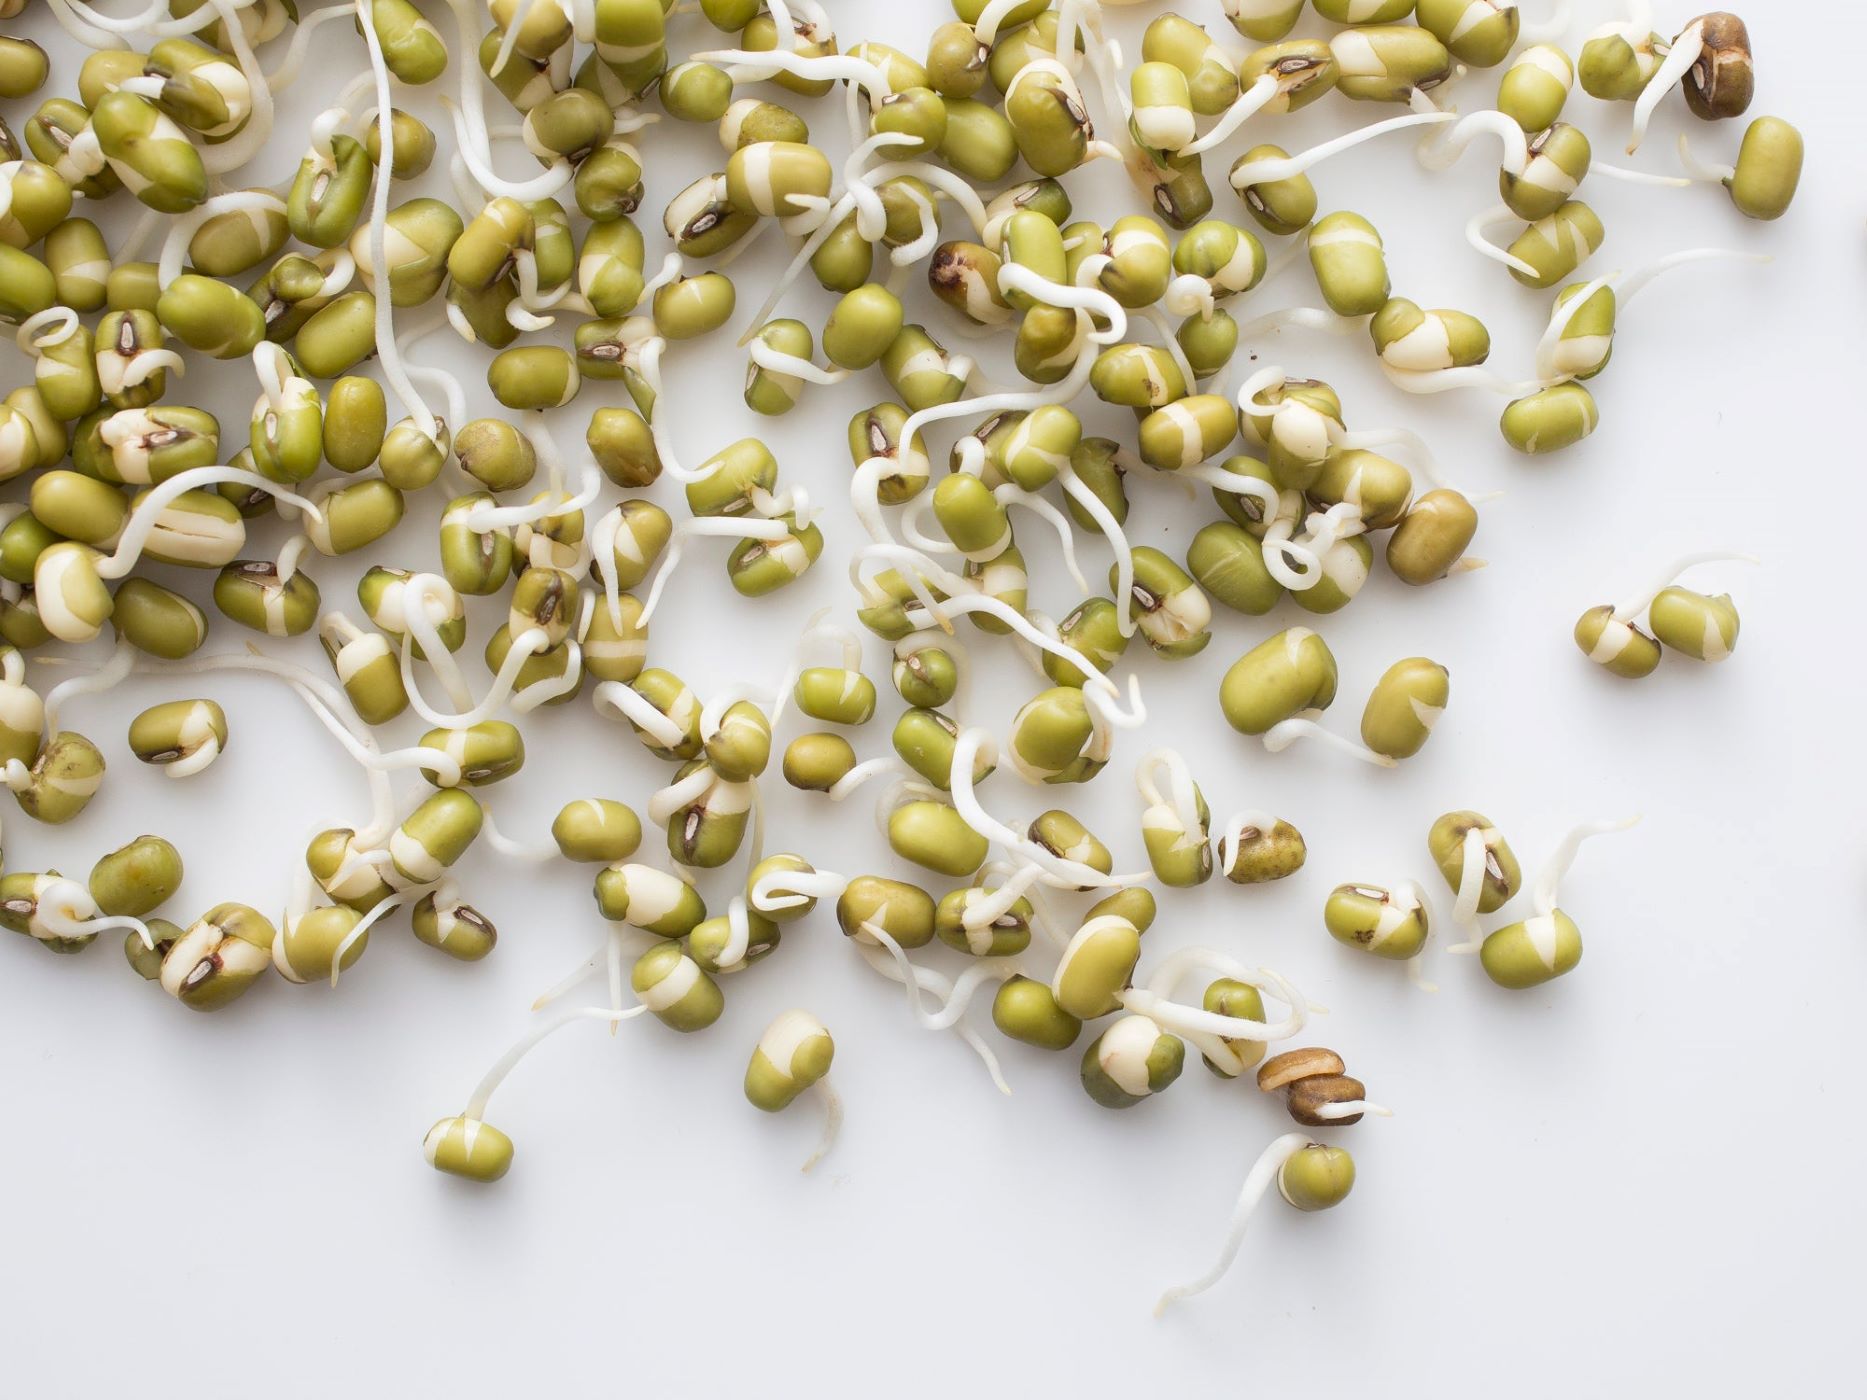
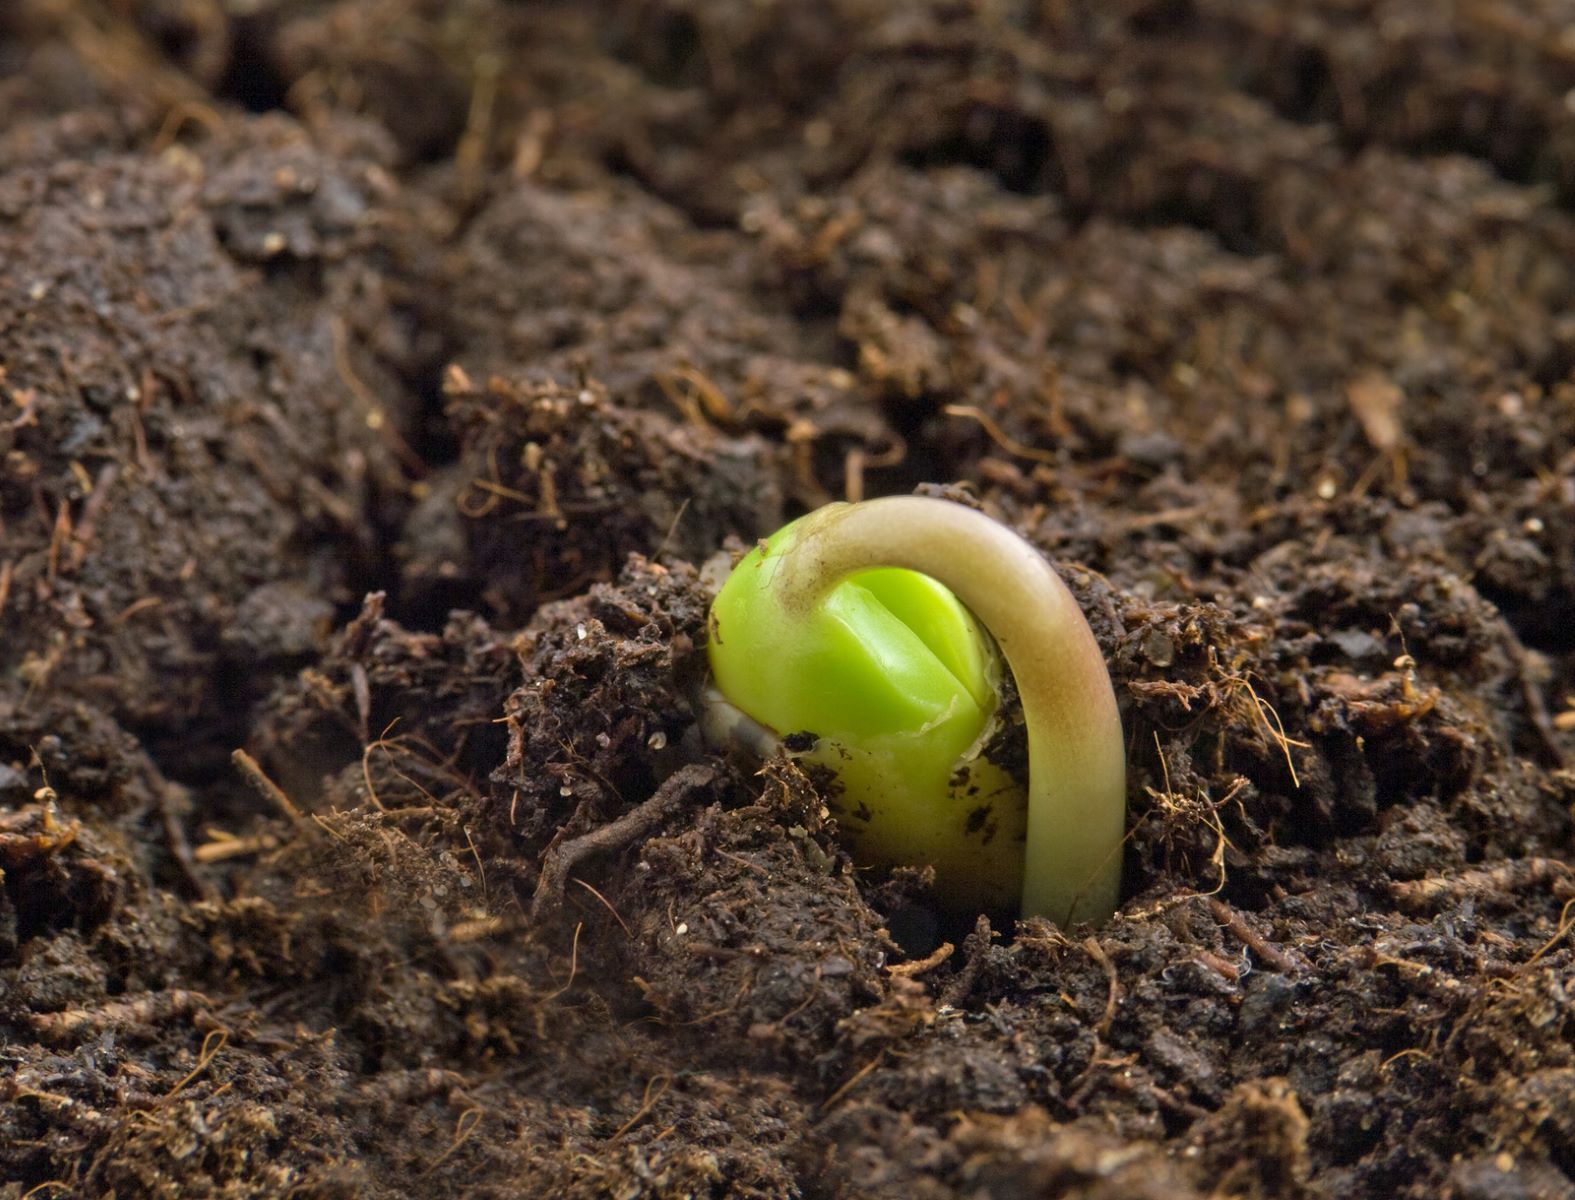
Step 1: Preparing the Seeds
Properly preparing the Moringa seeds is essential for successful sprouting. Follow these steps to ensure your Moringa seeds are ready for germination:
- Soak the seeds: Fill a small container with warm water and place the Moringa seeds in it. Let them soak for 24 to 48 hours. This soaking process helps soften the seed coat and promotes faster germination.
- Inspect the seeds: After soaking, carefully examine the seeds. Discard any seeds that are discolored, damaged, or overly soft. Only select healthy-looking seeds for sprouting.
- Scarfify the seeds (optional): Scarification is a process where you gently nick or file the hard seed coat of the Moringa seeds. This can help increase germination rates by allowing water to penetrate the seed more easily. Use a small file or sandpaper to create a small nick on the seed coat. Be careful not to damage the inner embryo.
Once you have completed these steps, your Moringa seeds are now prepared and ready for germination. Let’s move on to the next step in the process – the germination process.
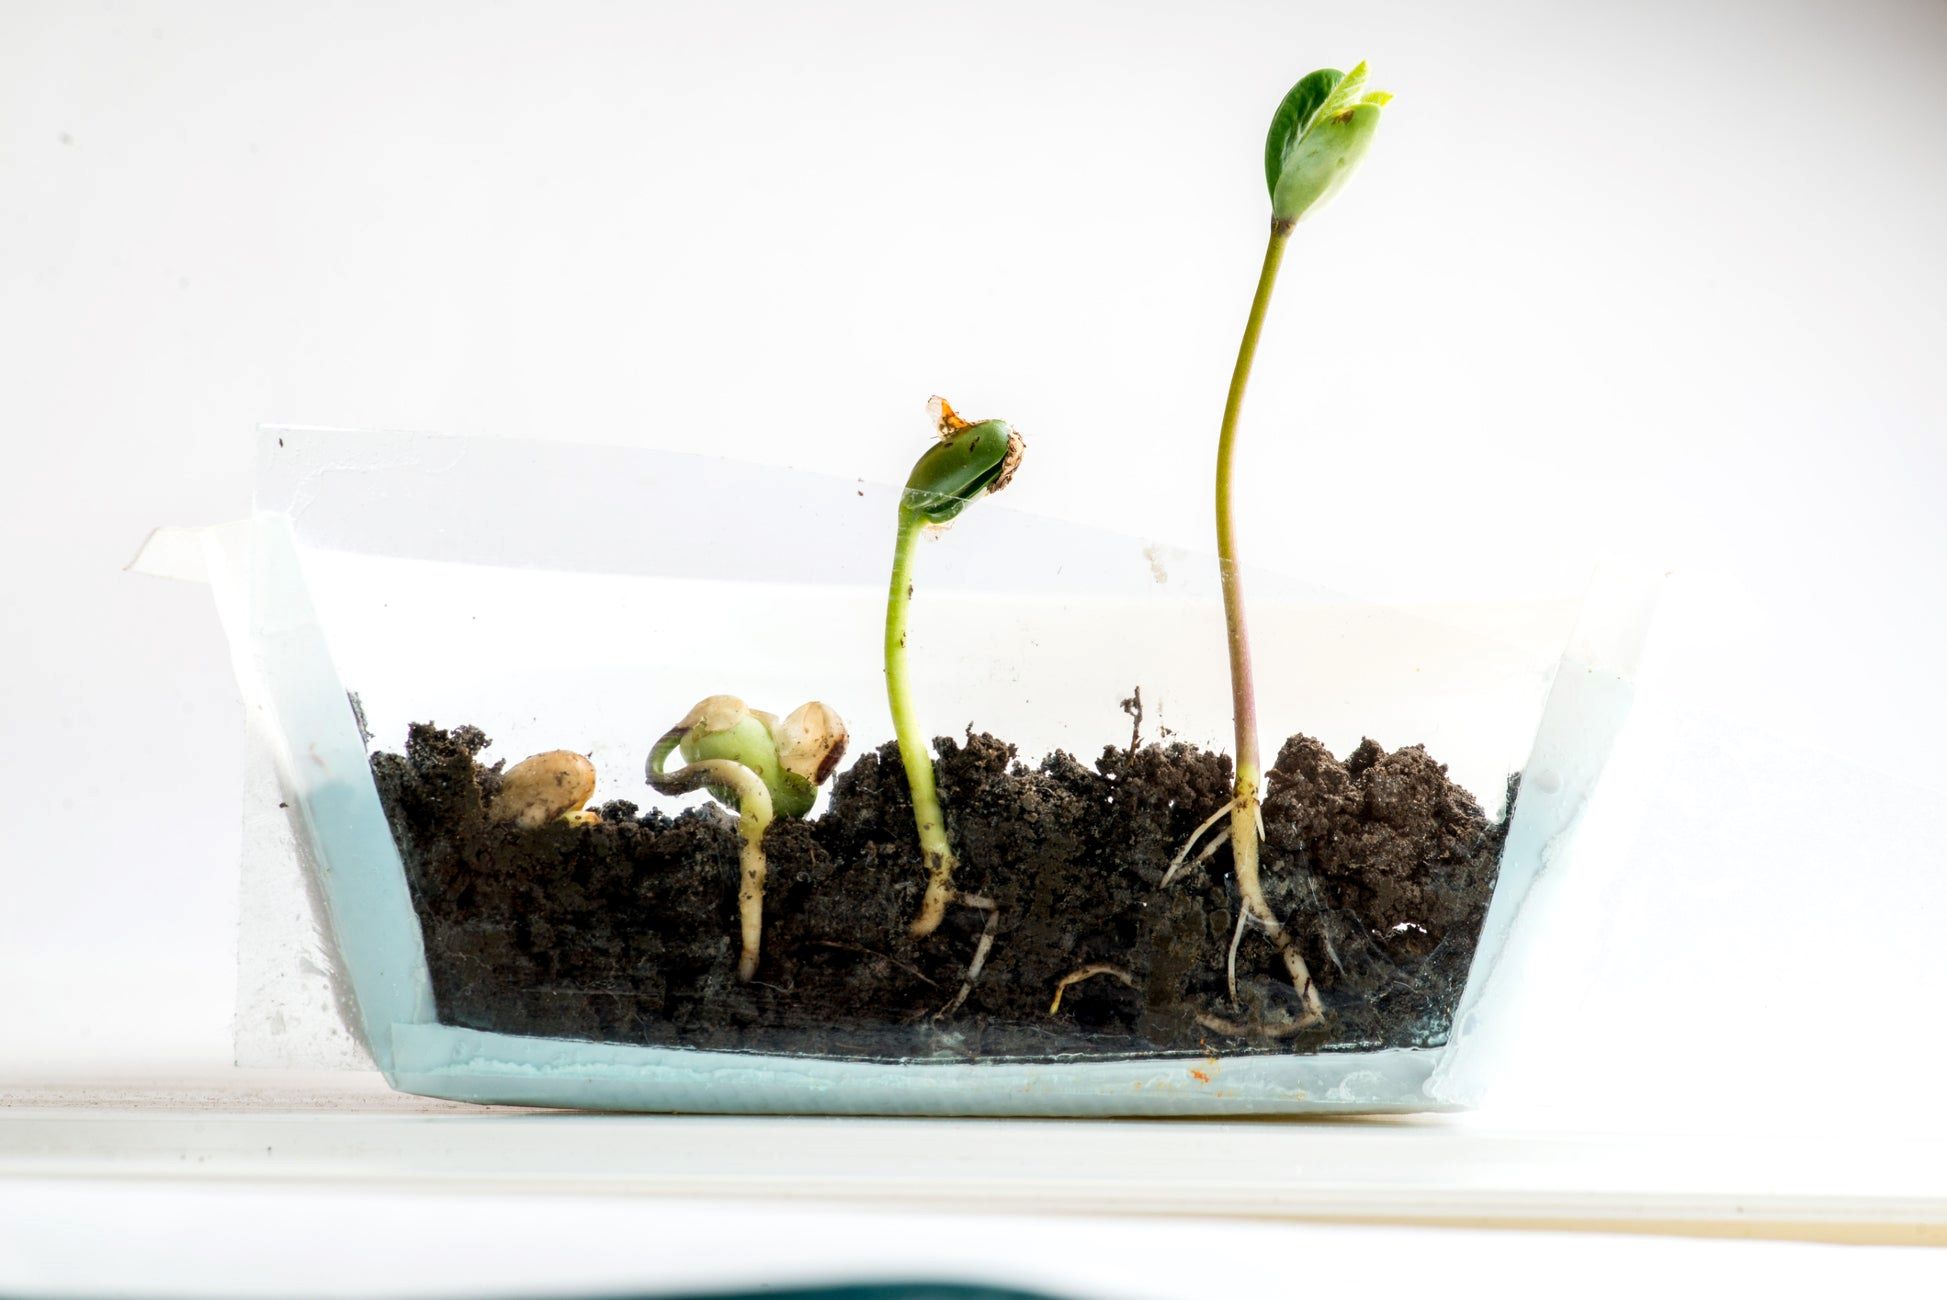
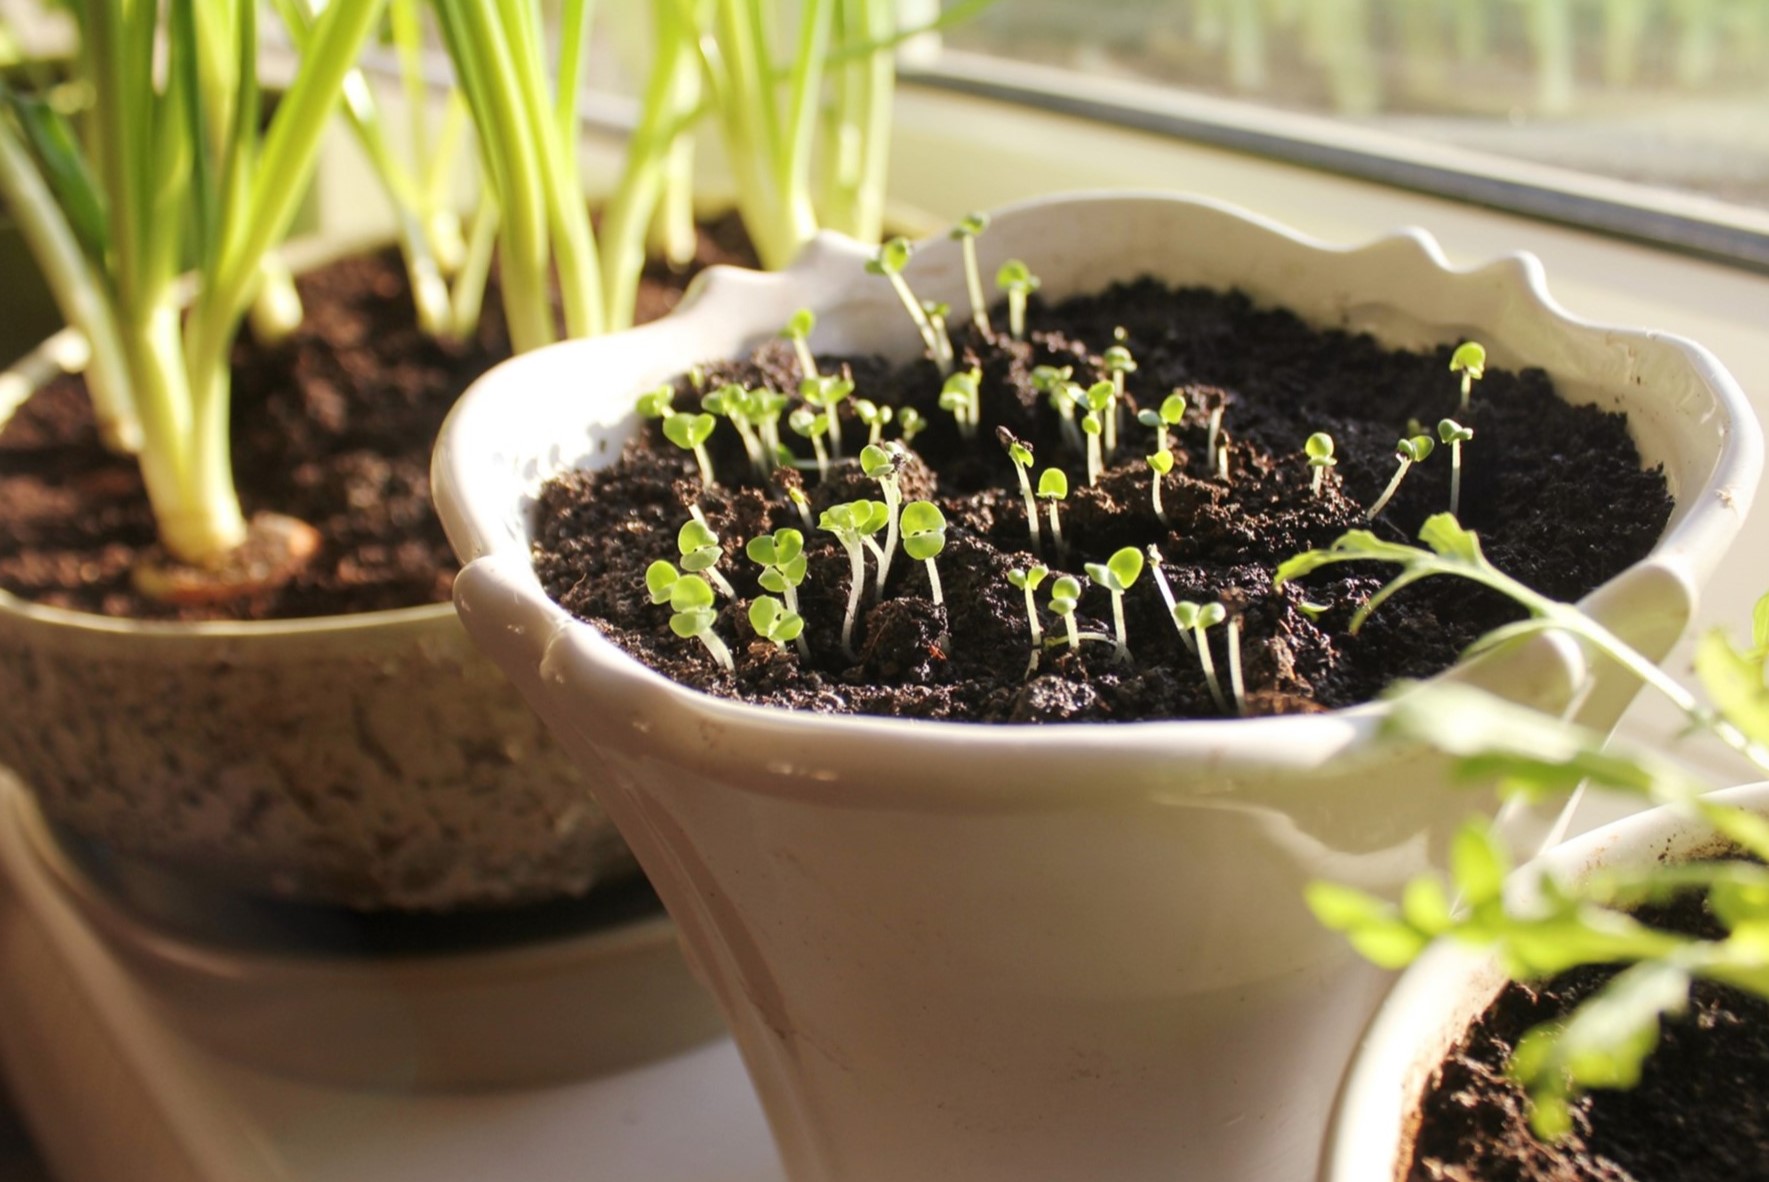
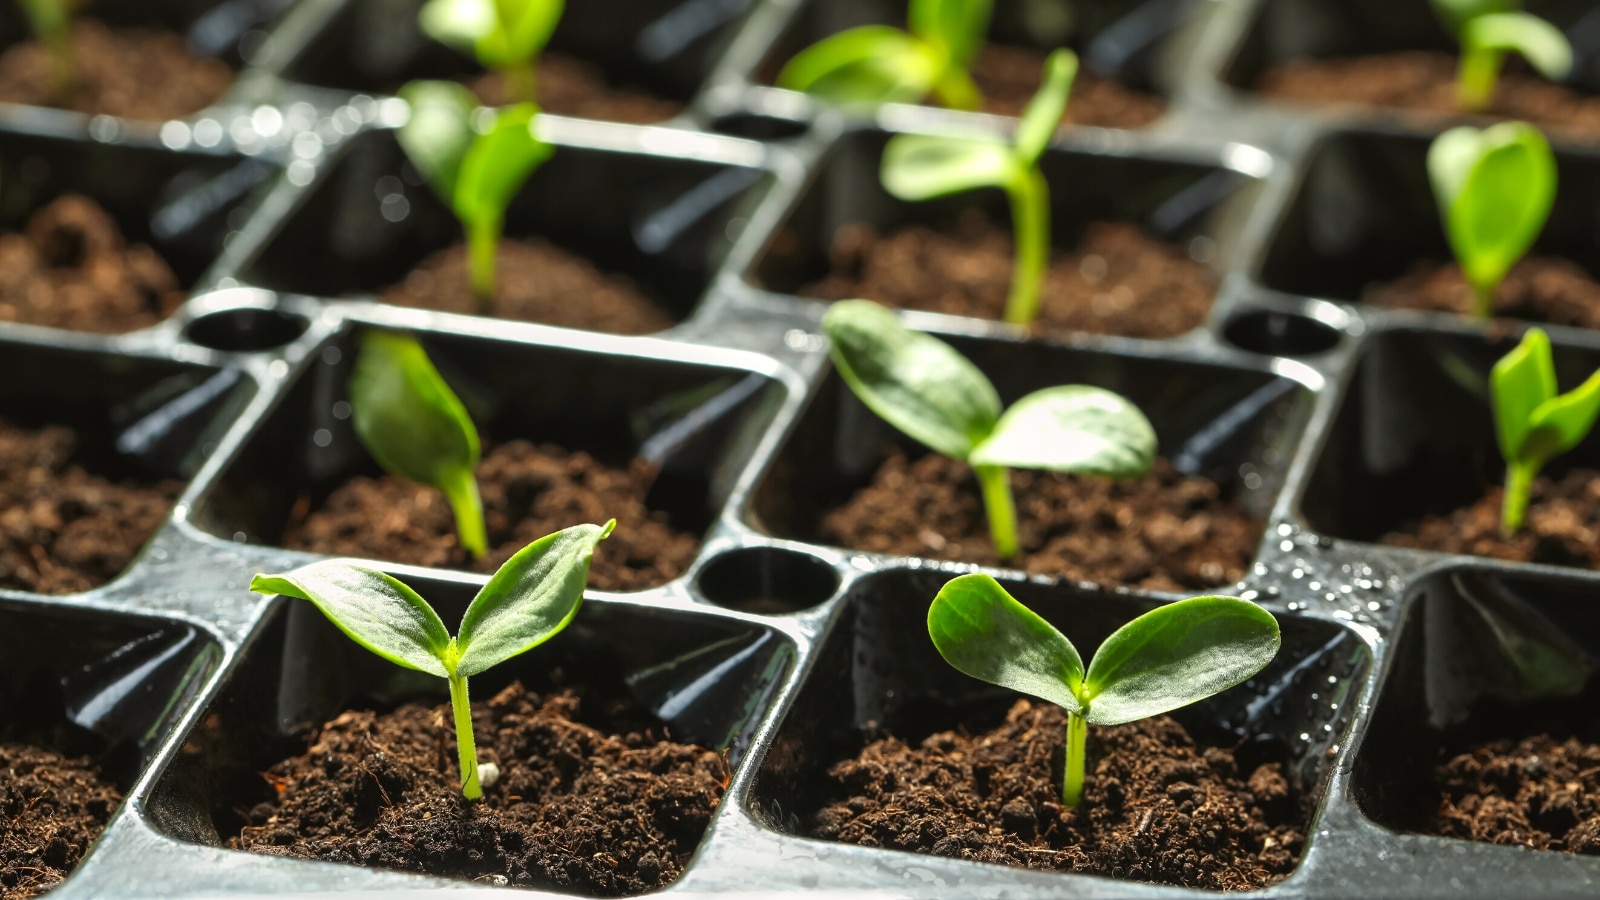
Step 2: Germination Process
The germination process is where the magic happens and your Moringa seeds begin to sprout. Follow these steps to ensure a successful germination:
- Prepare the container: Fill the container with the seedling mix or potting soil, leaving about half an inch of space at the top. Moisten the soil slightly to make it damp but not overly wet.
- Sow the seeds: Place the prepared Moringa seeds on top of the soil, spacing them evenly and gently pressing them into the soil. Aim for a depth of about half an inch. Cover the seeds with a thin layer of soil, ensuring they are completely buried.
- Create a humid environment: Cover the container with a plastic wrap or use a transparent dome to create a humid environment. This helps retain moisture and promotes germination. Place the container in a warm location, away from direct sunlight.
- Maintain proper temperature and moisture: Moringa seeds require warmth and consistent moisture for germination. Aim to keep the temperature between 70-90°F (21-32°C). Check the moisture level of the soil regularly and mist it with water if it starts to dry out.
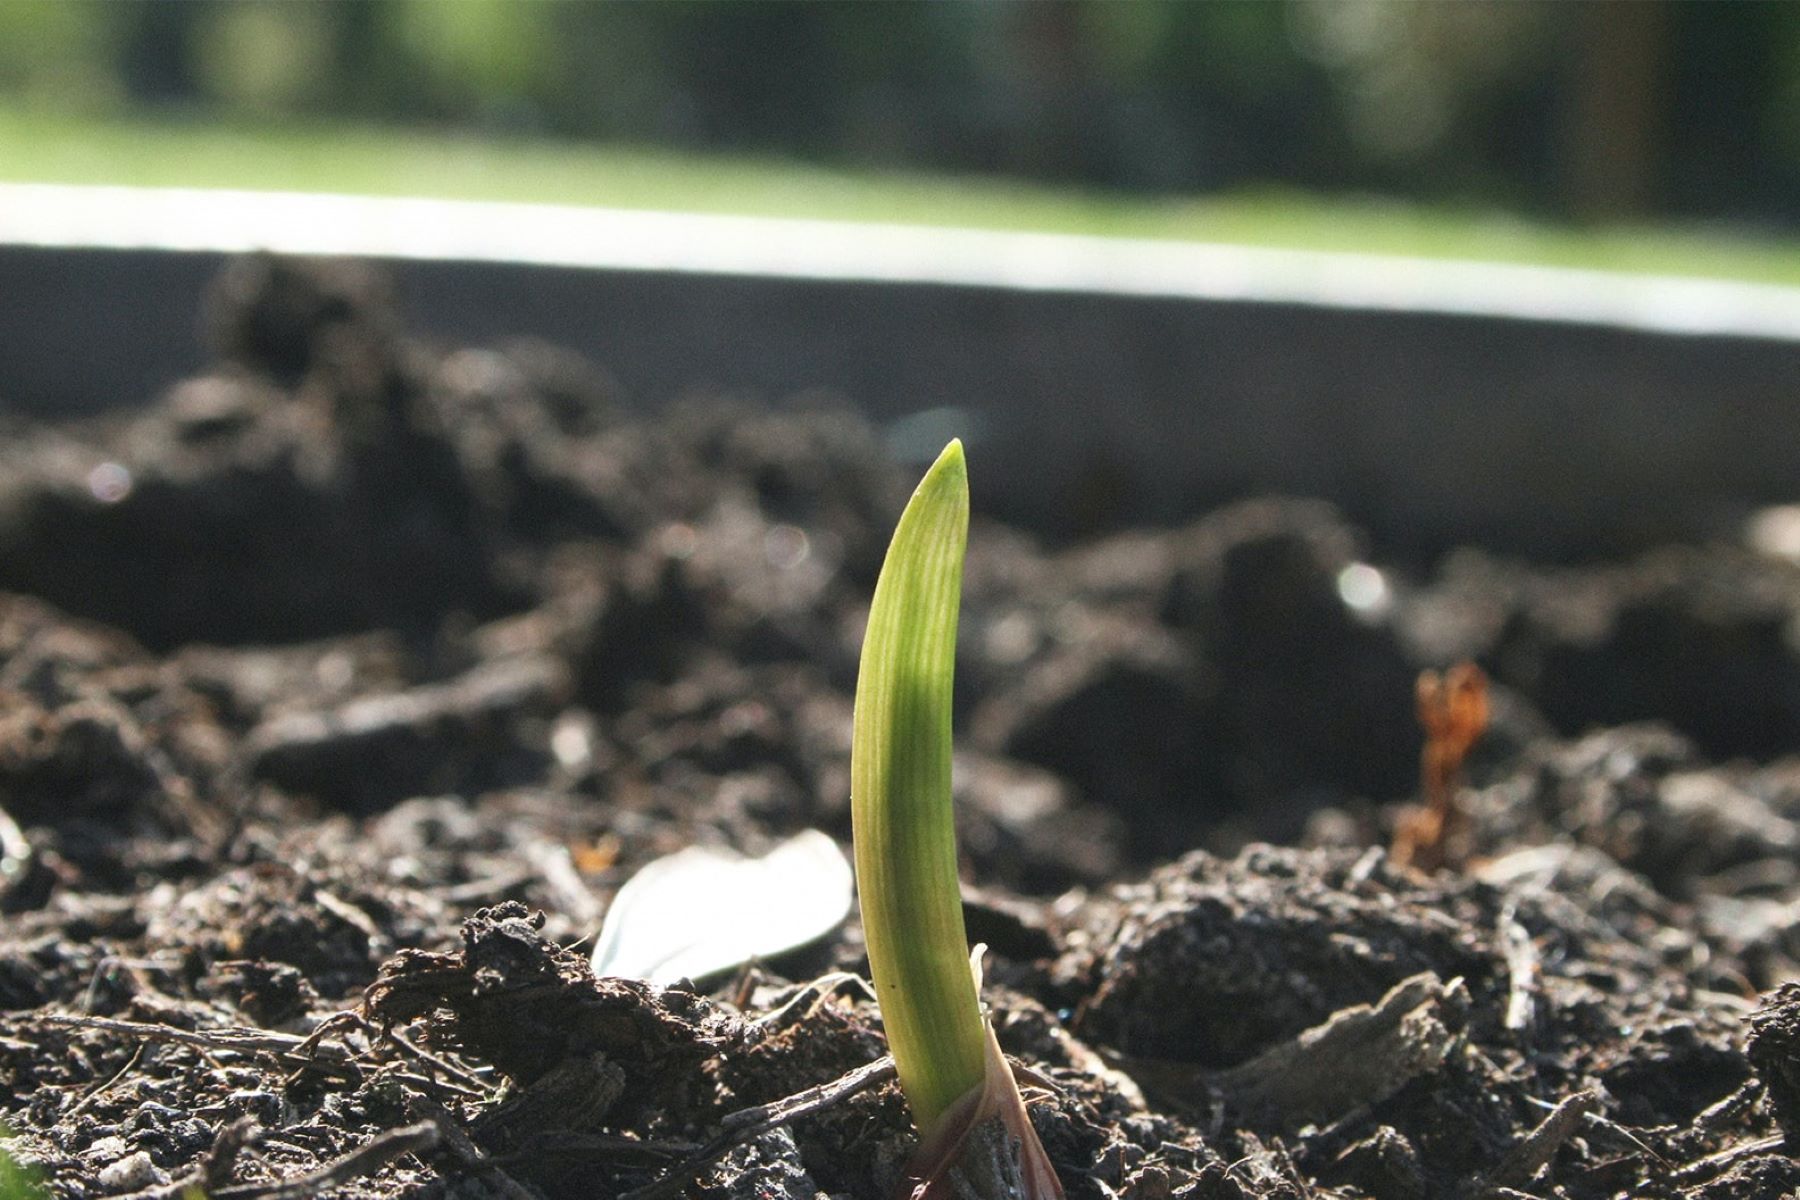
- Be patient and observe: Germination can take anywhere from 1 to 3 weeks. During this time, keep an eye on the container and monitor the progress. Once the seeds sprout and the seedlings emerge, it’s time to move on to the next step.
As your Moringa seeds start to sprout and seedlings emerge, it’s an exciting time that signals successful germination. Now, let’s move on to planting the sprouted seeds into their designated growing location.
Soak Moringa seeds in water for 24 hours to help soften the outer shell and encourage sprouting. Plant the seeds in a well-draining soil mix and keep them moist, warm, and in a sunny spot to promote germination.
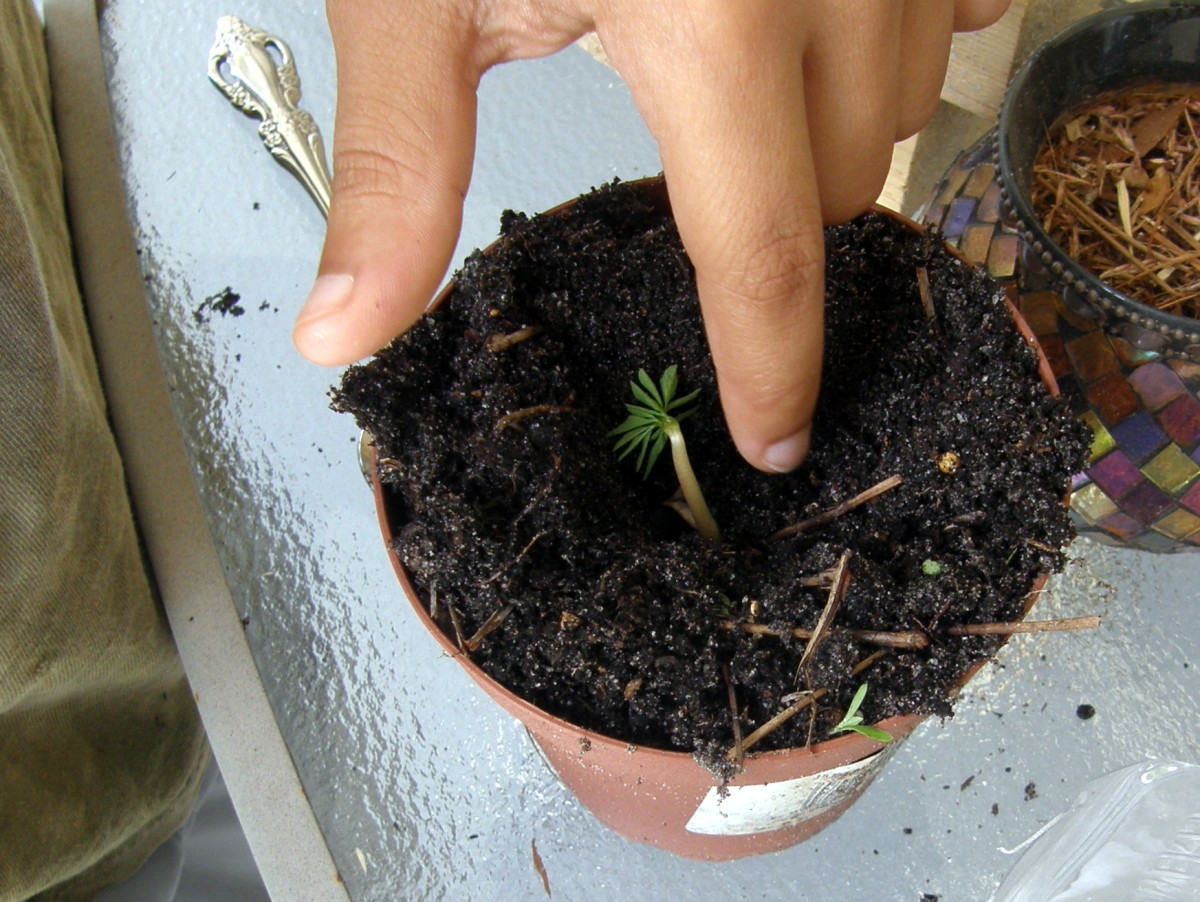
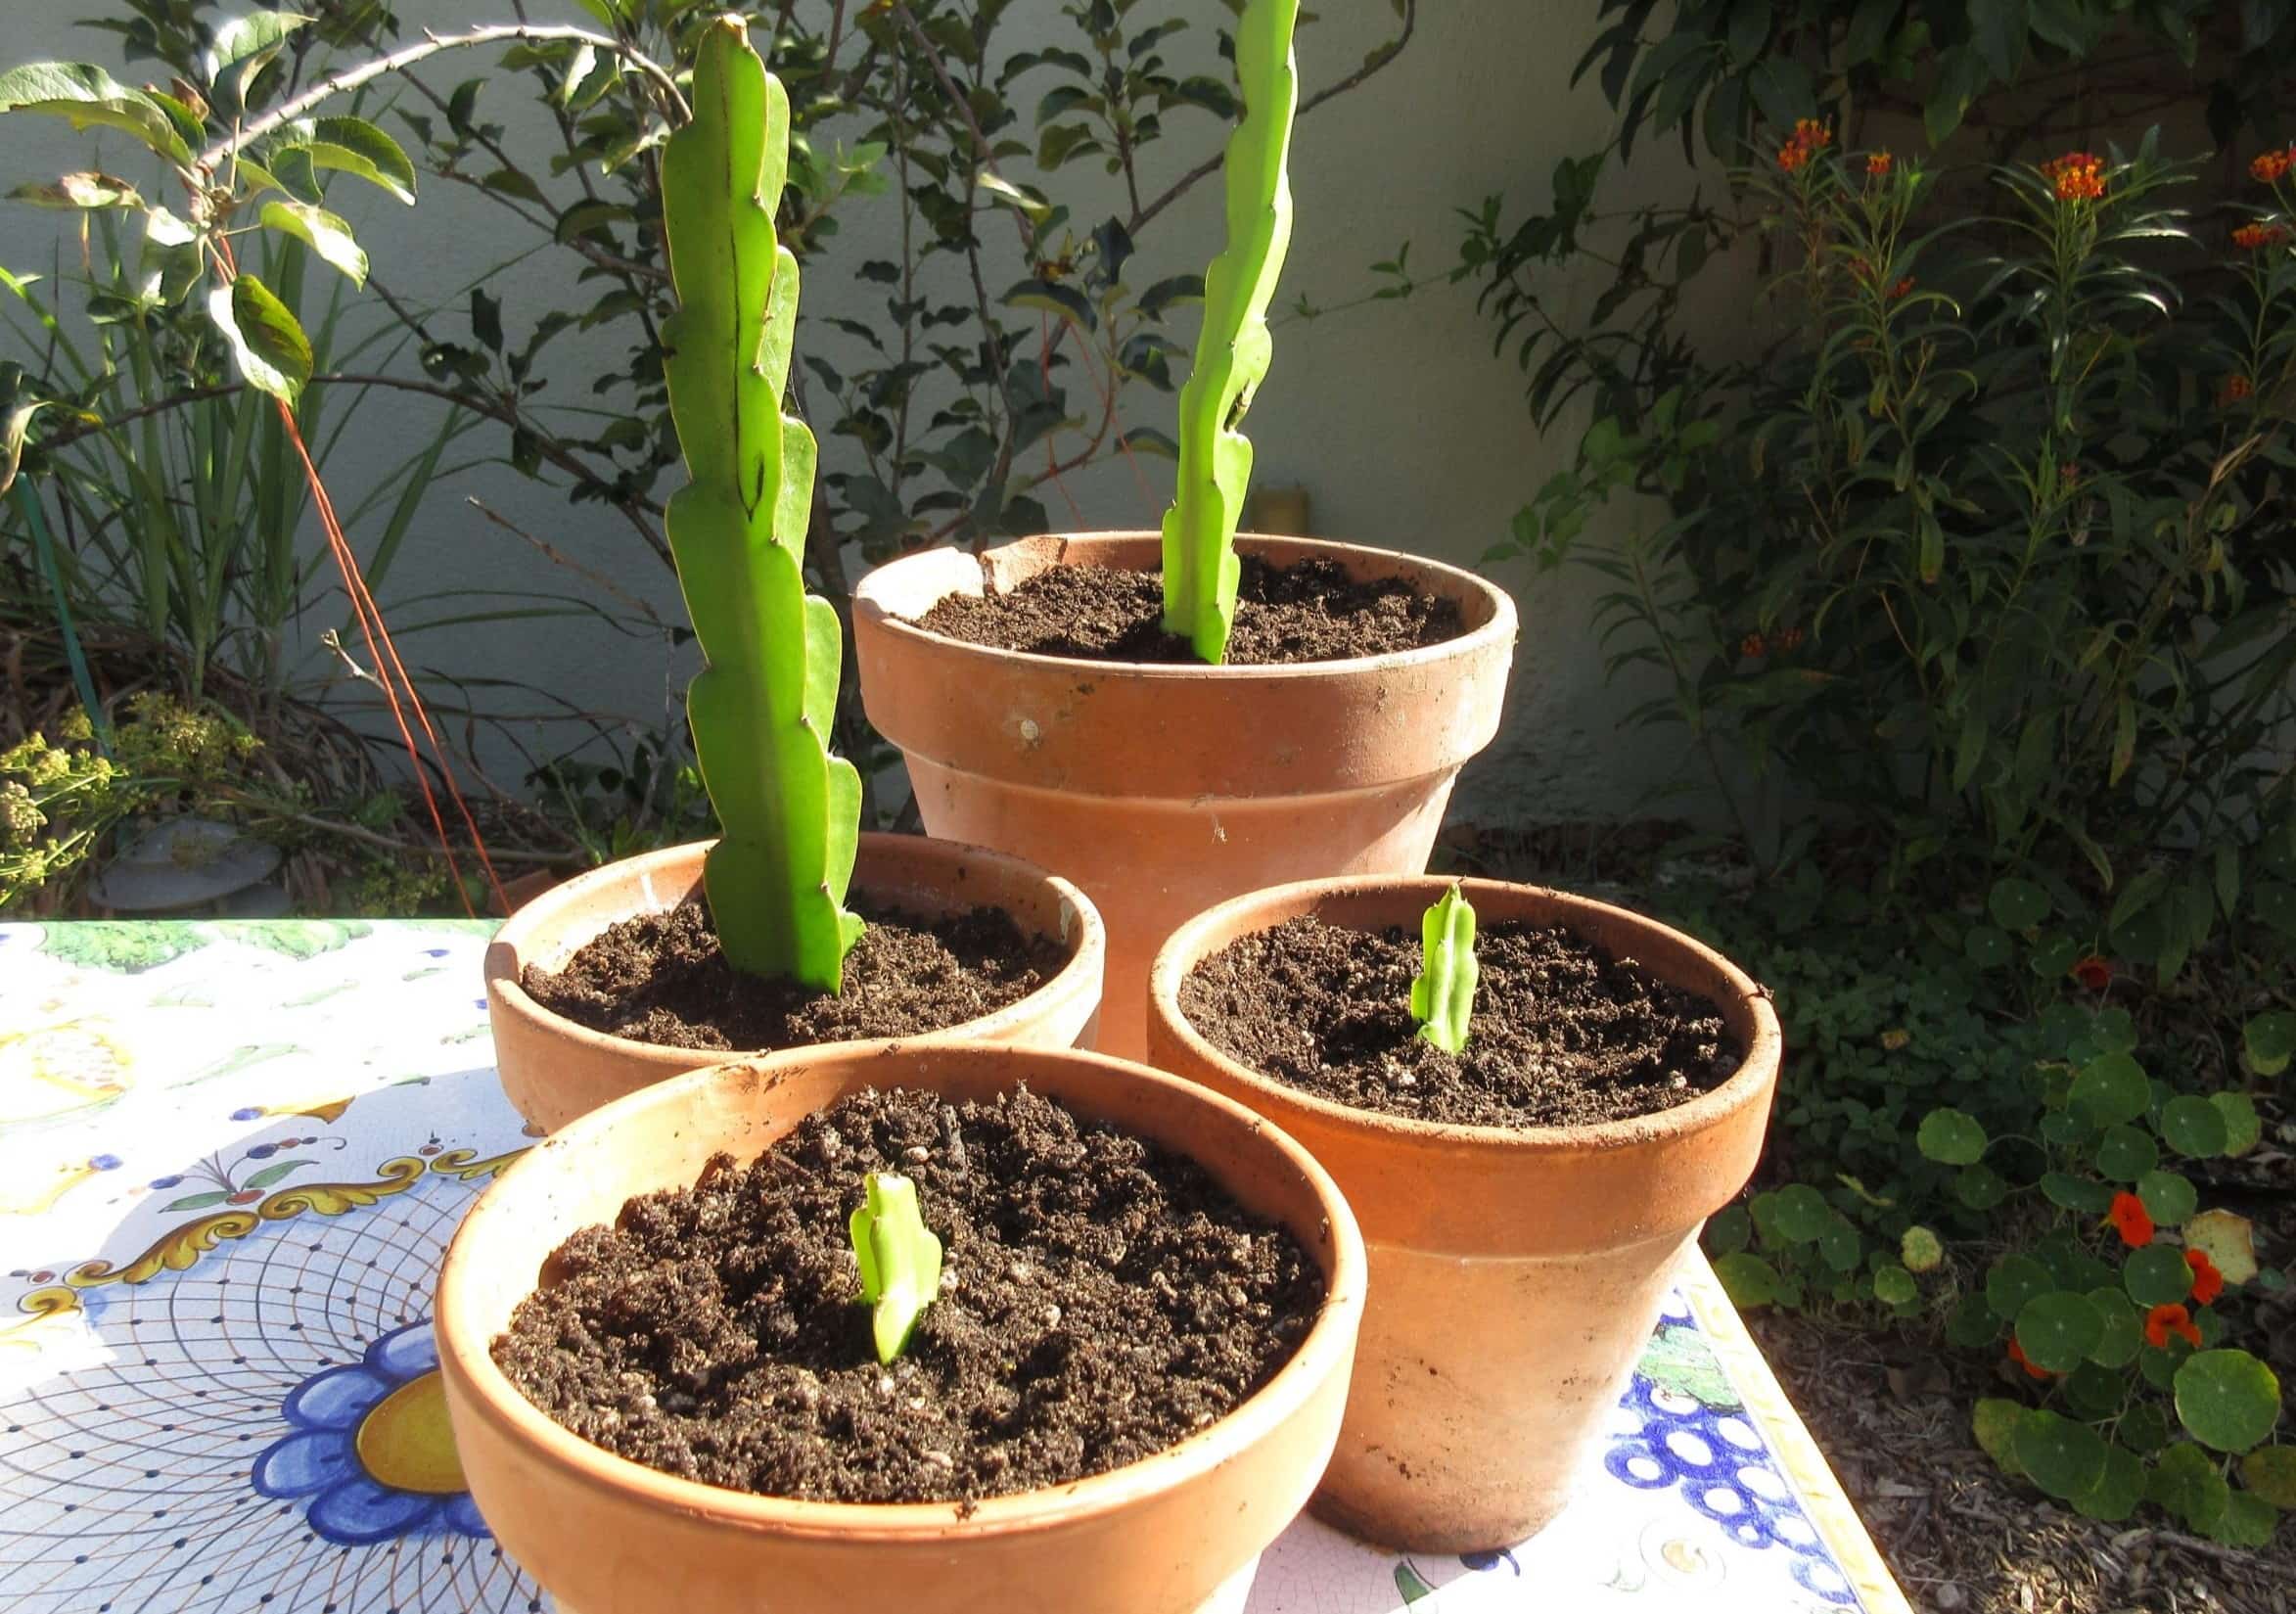
Step 3: Planting the Sprouted Seeds
Now that your Moringa seeds have successfully sprouted and developed seedlings, it’s time to plant them in their designated growing location. Follow these steps to ensure a smooth planting process:
- Select the planting location: Choose a sunny spot in your garden that receives at least 6-8 hours of direct sunlight daily. Moringa trees thrive in warm climates and require ample sunlight for optimal growth.
- Prepare the soil: Prior to planting, prepare the soil by loosening it with a garden fork or tiller. Remove any weeds or debris and ensure the soil is well-draining.
- Dig the planting holes: Dig holes that are approximately twice the size of the root ball of the seedlings. Space the holes at least 10-15 feet apart to provide ample room for the Moringa trees to grow.
- Remove the seedlings from the container: Gently remove the seedlings from their container, being careful not to damage the delicate roots. If the roots are tightly bound, loosen them slightly to encourage proper root growth.
- Plant the seedlings: Place each seedling into the prepared hole and backfill it with soil. Ensure that the seedling is planted at the same depth it was in the container. Firmly press the soil around the base of the seedling to provide stability.
- Water the seedlings: Give the newly planted seedlings a thorough watering to ensure that the soil settles around the roots. Keep the soil consistently moist, but not waterlogged, during the establishment period.
With the sprouted Moringa seedlings now planted in their designated location, it’s time to move on to the next step – caring for the Moringa seedlings.
Read more: How To Eat Moringa Seeds
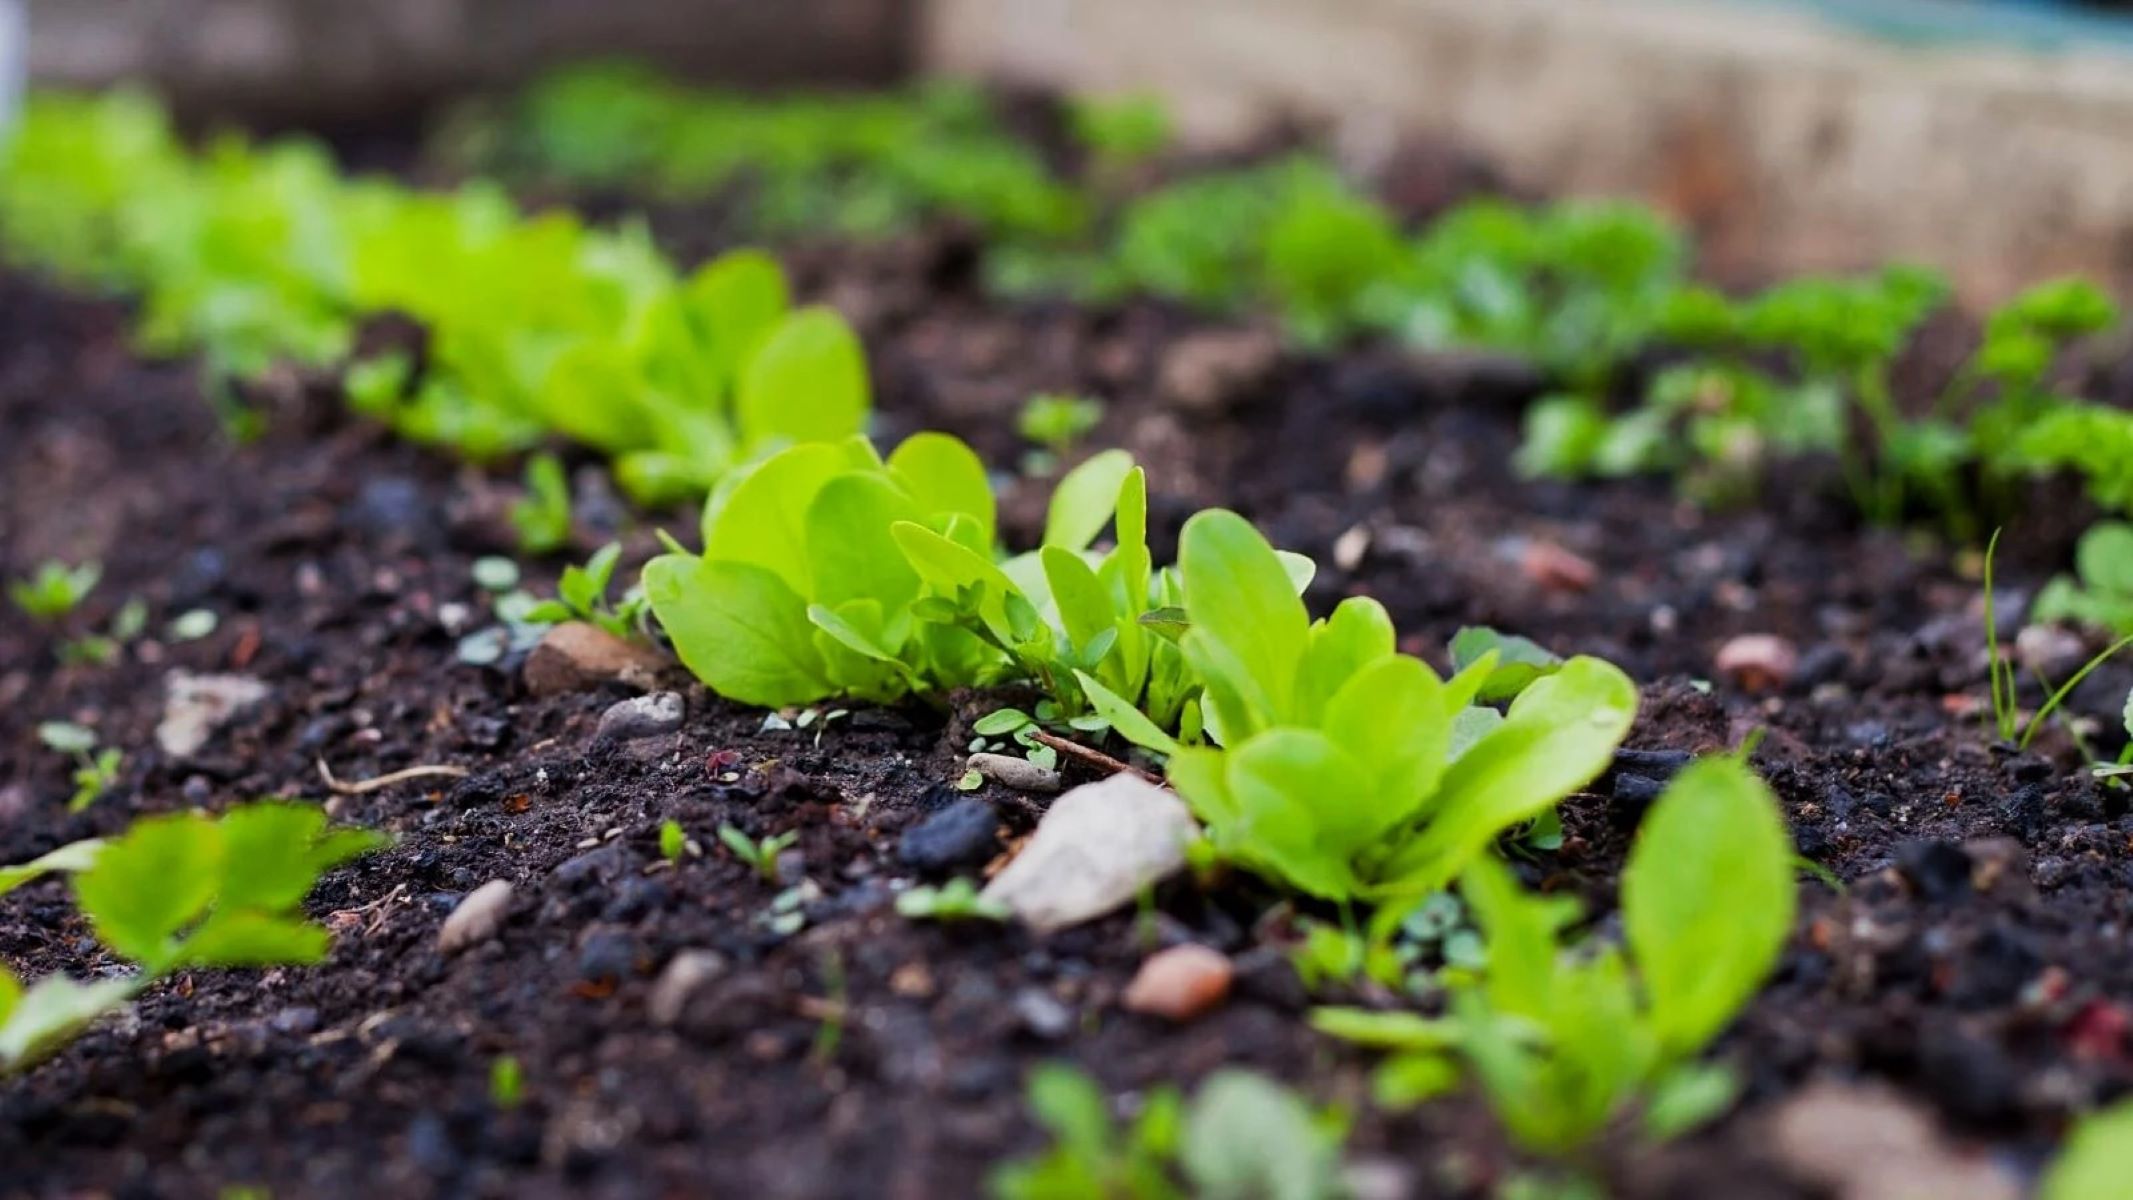
Step 4: Caring for the Moringa Seedlings
To ensure the healthy growth and development of your Moringa seedlings, it’s important to provide them with proper care and attention. Follow these guidelines for caring for your Moringa seedlings:
- Watering: Moringa seedlings require regular watering, especially during their initial growing stages. Water the seedlings deeply, making sure the soil is moist but not soggy. Water them every 2-3 days, adjusting the frequency depending on the weather conditions. Be mindful not to overwater, as this can lead to root rot.
- Sunlight: Moringa trees thrive in full sunlight. Ensure that the seedlings receive at least 6-8 hours of direct sunlight daily. If necessary, provide light shade during the hottest parts of the day to protect the young seedlings from excessive heat stress.
- Pruning: As the seedlings grow, you may notice multiple stems emerging from the base. To encourage a stronger and more productive tree, select the strongest stem and prune away the weaker ones. This will ensure that the energy of the plant is focused on one main trunk.
- Fertilization: Moringa trees are known to be fast-growing and nutrient-demanding. Apply a balanced organic fertilizer, such as compost or well-rotted manure, around the base of the seedlings every 4-6 weeks. This will provide the necessary nutrients for healthy growth.
- Weed control: Regularly inspect and remove any weeds that may compete with the Moringa seedlings for nutrients and water. Keep the area around the seedlings weed-free to promote optimal growth.
- Pest and disease management: Monitor the seedlings for any signs of pests or diseases. Common pests that may affect Moringa trees include aphids, whiteflies, and caterpillars. Use organic pest control methods or insecticidal soap to manage pest infestations.
By providing proper care, watering, sunlight, pruning, and addressing any pest or disease concerns, you will ensure the healthy growth of your Moringa seedlings. Now, let’s move on to the final step – harvesting the Moringa leaves.
Step 5: Harvesting the Moringa Leaves
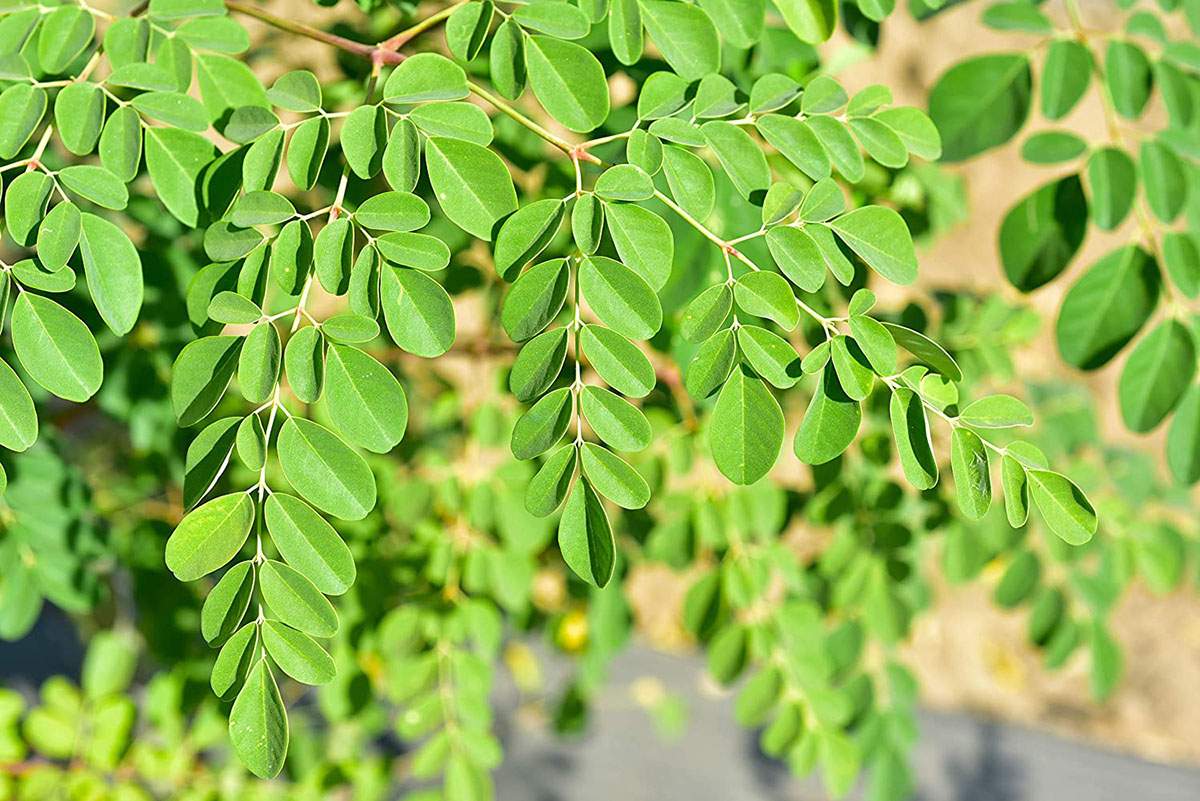
One of the highlights of growing Moringa trees is having the opportunity to harvest its nutritious leaves. Moringa leaves are packed with vitamins, minerals, and antioxidants, and can be used in various culinary dishes and herbal remedies. Follow these steps to harvest Moringa leaves:
- Wait for the right time: Moringa leaves can be harvested once the seedlings have reached a height of about 3-4 feet. This typically occurs within 3-6 months of planting, depending on growing conditions.
- Select the leaves: Choose mature and healthy leaves for harvesting. Look for leaves that are dark green in color and fully expanded. Avoid harvesting too many leaves from a single branch, as this can hinder the growth and vitality of the tree.
- Use clean tools: Before harvesting, ensure that your tools are clean and sanitized. This helps prevent the spread of diseases or pests. Use sharp pruning shears or scissors to cleanly cut the leaves from the stem. Avoid tearing or damaging the leaves.
- Harvesting techniques: There are two common methods for harvesting Moringa leaves:
- Selective harvesting: This method involves selectively picking individual leaves from different branches of the tree. It allows the tree to continue growing and producing new leaves.
- Top-cutting: In this method, the entire upper portion of the tree is pruned, leaving about 2 feet of the main trunk. This encourages the growth of new branches and provides a larger quantity of leaves for harvest.
- Proper storage: After harvesting, rinse the leaves thoroughly to remove any dirt or debris. Allow them to dry completely before storing them in an airtight container or ziplock bags. Keep the leaves in a cool, dry place away from direct sunlight.
Remember, regular harvesting promotes continuous growth and encourages the Moringa tree to produce more leaves. Enjoy the nutritional benefits of Moringa leaves in your culinary preparations or as a healthy herbal supplement.
With the completion of this step, you have successfully learned how to sprout Moringa seeds, plant the sprouted seeds, care for the seedlings, and harvest the leaves. Congratulations on your journey of growing Moringa trees in your garden!
Conclusion
Growing Moringa trees from seeds can be a rewarding and fulfilling experience. By following the steps outlined in this article, you can successfully sprout Moringa seeds, plant the sprouted seeds, care for the seedlings, and harvest the nutritious leaves. From start to finish, the process allows you to witness the transformation of tiny seeds into thriving trees.
Remember to start with high-quality Moringa seeds, properly prepare them through soaking and scarification if needed, and create an ideal environment for germination. Once the seeds have sprouted, transfer them to a sunny location, provide regular watering, and ensure proper care and maintenance.
As the Moringa trees grow, they will reward you with an abundance of nutrient-rich leaves that can be used in various ways. Whether you incorporate them into your cooking, use them for herbal remedies, or share them with others, Moringa leaves provide numerous health benefits.
By embarking on the journey of growing Moringa trees, you not only enjoy the beauty of lush green foliage in your garden but also contribute to a sustainable and eco-friendly lifestyle. Moringa trees are known for their resilience and ability to thrive in various climates, making them a valuable addition to any garden.
So, gather your materials, prepare your seeds, and get ready to witness the fascinating growth of Moringa trees. With proper care, dedication, and patience, you can create a thriving Moringa garden and enjoy the nutritional benefits for years to come.
Happy gardening and may your journey of growing Moringa trees be fruitful and fulfilling!
Frequently Asked Questions about How To Sprout Moringa Seeds
Was this page helpful?
At Storables.com, we guarantee accurate and reliable information. Our content, validated by Expert Board Contributors, is crafted following stringent Editorial Policies. We're committed to providing you with well-researched, expert-backed insights for all your informational needs.


0 thoughts on “How To Sprout Moringa Seeds”