Home>Garden Essentials>How To Grow Moringa Tree From Seed
Garden Essentials
How To Grow Moringa Tree From Seed
Modified: October 18, 2024
Learn how to grow a moringa tree in your garden from seed. Find out the best tips and techniques for successful cultivation.
(Many of the links in this article redirect to a specific reviewed product. Your purchase of these products through affiliate links helps to generate commission for Storables.com, at no extra cost. Learn more)
Introduction
Gardening is not only a rewarding hobby but also a way to connect with nature and enjoy the fruits of your labor. If you’re looking to add a unique and highly nutritious plant to your garden, growing moringa trees from seed is an excellent choice. Moringa, also known as the “miracle tree” or “drumstick tree,” is a fast-growing and drought-resistant tree that is packed with essential vitamins, minerals, and antioxidants.
In this article, we will guide you through the process of growing moringa trees from seed. From gathering materials to harvesting the leaves and pods, you’ll learn everything you need to know to successfully cultivate these versatile trees in your own backyard.
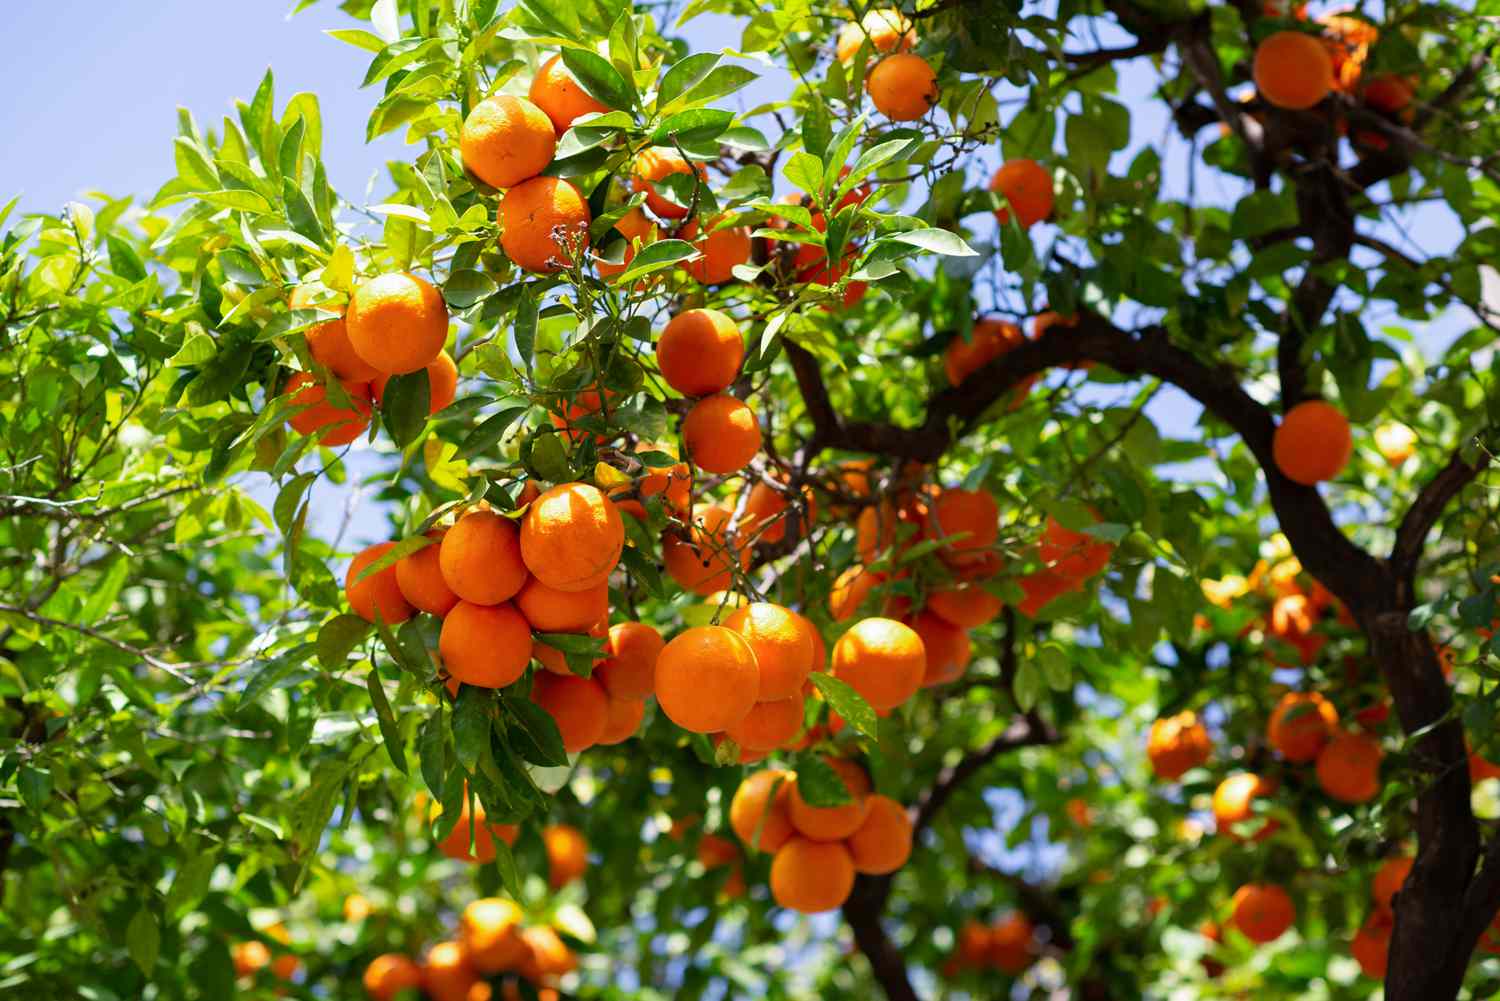
Before we dive into the steps, let’s take a closer look at what makes moringa trees so remarkable. The moringa tree is native to the Indian subcontinent, but it can now be found in various tropical and subtropical regions around the world.
Moringa trees are known for their adaptability and resilience, making them suitable for both rural and urban environments. The leaves, pods, flowers, and roots of the moringa tree are all edible and have been consumed for centuries due to their numerous health benefits. In fact, moringa leaves are rich in protein, vitamin A, vitamin C, calcium, and iron, making them a valuable addition to any diet.
Aside from their nutritional value, moringa trees provide a host of other benefits. They can help combat soil erosion, as their deep root system stabilizes the soil. Moringa trees also have natural pest-repellent properties, making them a fantastic option for organic gardening.
Now that you understand the benefits of growing moringa trees, let’s move on to the first step: gathering the necessary materials.
Key Takeaways:
- Growing moringa trees from seed is a fun and rewarding way to add a nutritious and versatile plant to your garden. With the right care, you can enjoy a bountiful harvest of moringa leaves and pods for your meals.
- By following the eight steps outlined in this guide, you can successfully grow and care for moringa trees, providing your garden with a continuous supply of fresh, nutritious produce. Happy gardening and happy harvesting!
Read more: How To Grow A Tree From A Seed
Step 1: Gathering Materials
Before you start growing moringa trees from seed, it’s essential to gather all the necessary materials. Here’s a list of what you’ll need:
- Moringa seeds: Start by sourcing high-quality moringa seeds. You can purchase them from nurseries, online stores, or even gather them from mature moringa trees if available in your area.
- Potting soil: Choose a well-draining potting soil mix that is rich in organic matter. Moringa trees prefer slightly acidic to neutral soil pH.
- Containers: Select containers that are at least 12 inches deep and have drainage holes at the bottom to prevent waterlogging.
- Watering can or hose: You’ll need a watering can or hose to provide moisture to the growing moringa seeds and seedlings.
- Organic fertilizer: Consider using organic fertilizers such as compost or well-rotted manure to provide the necessary nutrients for healthy growth.
- Gardening tools: Keep basic gardening tools handy, including a trowel or hand shovel for planting the seeds and a pair of pruning shears for maintenance tasks.
- Protective gear: While not mandatory, wearing gardening gloves and protective eyewear can prevent skin irritation and injuries while working with soil and plants.
Once you’ve gathered all the materials, you’re ready to move on to the next step: preparing the soil.
Step 2: Preparing the Soil
A crucial step in growing moringa trees from seed is preparing the soil. Moringa trees thrive in well-draining soil that is rich in organic matter. Here’s how you can prepare the soil:
- Choose a sunny location: Moringa trees love sunlight and require at least 6 hours of direct sunlight each day. Select a spot in your garden that receives ample sunlight throughout the day.
- Clear the area: Remove any weeds, rocks, or debris from the planting area. This will prevent competition for nutrients and ensure better growth for your moringa trees.
- Loosen the soil: Use a garden fork or tiller to loosen the soil to a depth of about 12 inches. This will improve aeration and allow the roots to penetrate easily.
- Amend with organic matter: Incorporate organic matter such as compost, well-rotted manure, or leaf mold into the soil. This will improve the soil structure, fertility, and water-holding capacity.
After incorporating the organic matter, it’s advisable to let the soil rest for a few days to allow the nutrients to settle and the soil to stabilize. During this time, you can move on to the next step: soaking the moringa seeds.
Step 3: Soaking the Moringa Seeds
Soaking the moringa seeds before planting helps to kickstart the germination process and increase the chances of successful seedling development. Follow these steps to soak the moringa seeds:
- Collect the seeds: Gather the moringa seeds that you have obtained from a reputable source.
- Prepare a container: Take a shallow dish or container and fill it with warm water. Make sure the water is not too hot as it can damage the seeds.
- Place the seeds: Carefully place the moringa seeds in the container with warm water. Ensure that the seeds are completely submerged.
- Soak overnight: Allow the moringa seeds to soak in the water overnight or for at least 8 to 12 hours. This soaking period helps to soften the seed coat and promote quicker germination.
- Drain the water: After the soaking period, drain the water from the container. You may notice that the seeds have swelled and become slightly larger.
Soaking the moringa seeds helps to break the dormancy and increases the chances of successful germination. Once the seeds have soaked, it’s time to move on to the next step: planting the moringa seeds.
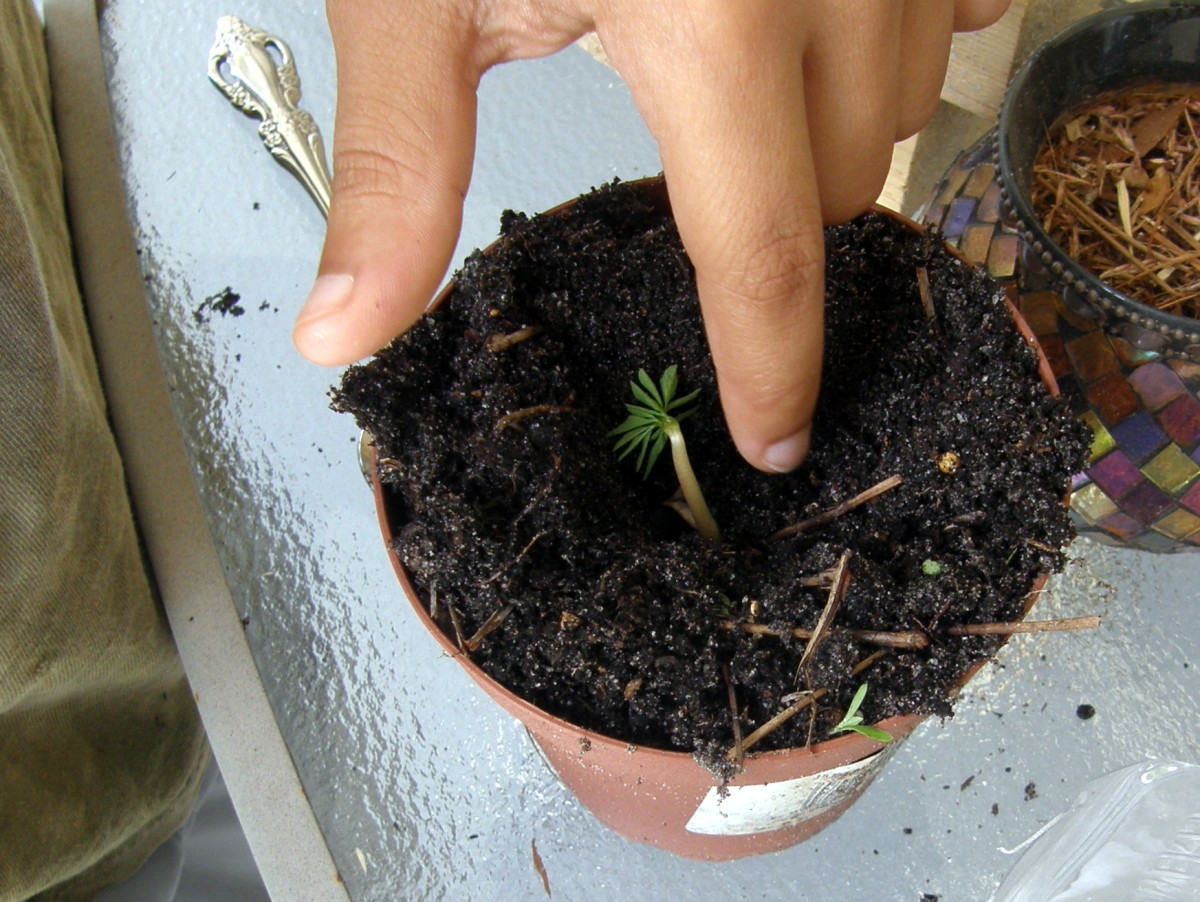
Step 4: Planting the Moringa Seeds
Now that you’ve soaked the moringa seeds and prepared the soil, it’s time to plant the seeds. Follow these steps to ensure proper planting:
- Select the planting site: Choose a location in your garden where the moringa trees will have enough space to grow. Ideally, keep a distance of at least 10 feet between each tree to allow for adequate airflow and sunlight.
- Dig a hole: Dig a hole in the prepared soil that is large enough to accommodate the soaked seed. The depth of the hole should be no more than 1 inch.
- Place the seed: Gently place the soaked moringa seed into the hole with the pointed end facing downwards. Cover the seed with soil and lightly firm it around the seed to ensure good soil-to-seed contact.
- Water the area: After planting the seed, water the area thoroughly to provide moisture to the seed and settle the soil around it.
- Label and maintain: To keep track of the planted seeds, consider labeling each spot with the date of planting. Regularly water the area, keeping the soil moist but not waterlogged.
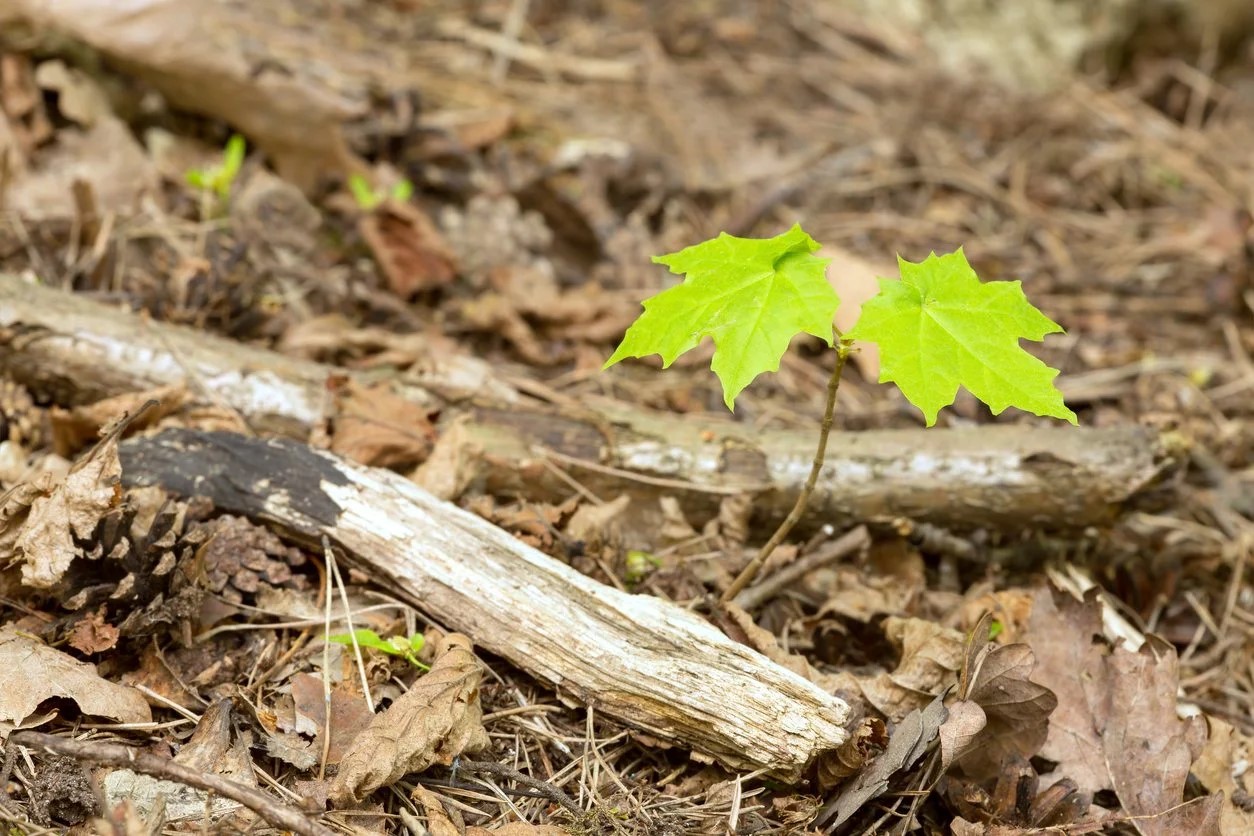
It’s important to note that moringa seeds have a high germination rate, so you can expect to see seedlings emerge within a week or two. However, not all seeds may germinate, so it’s advisable to plant extra seeds to ensure a successful batch of seedlings.
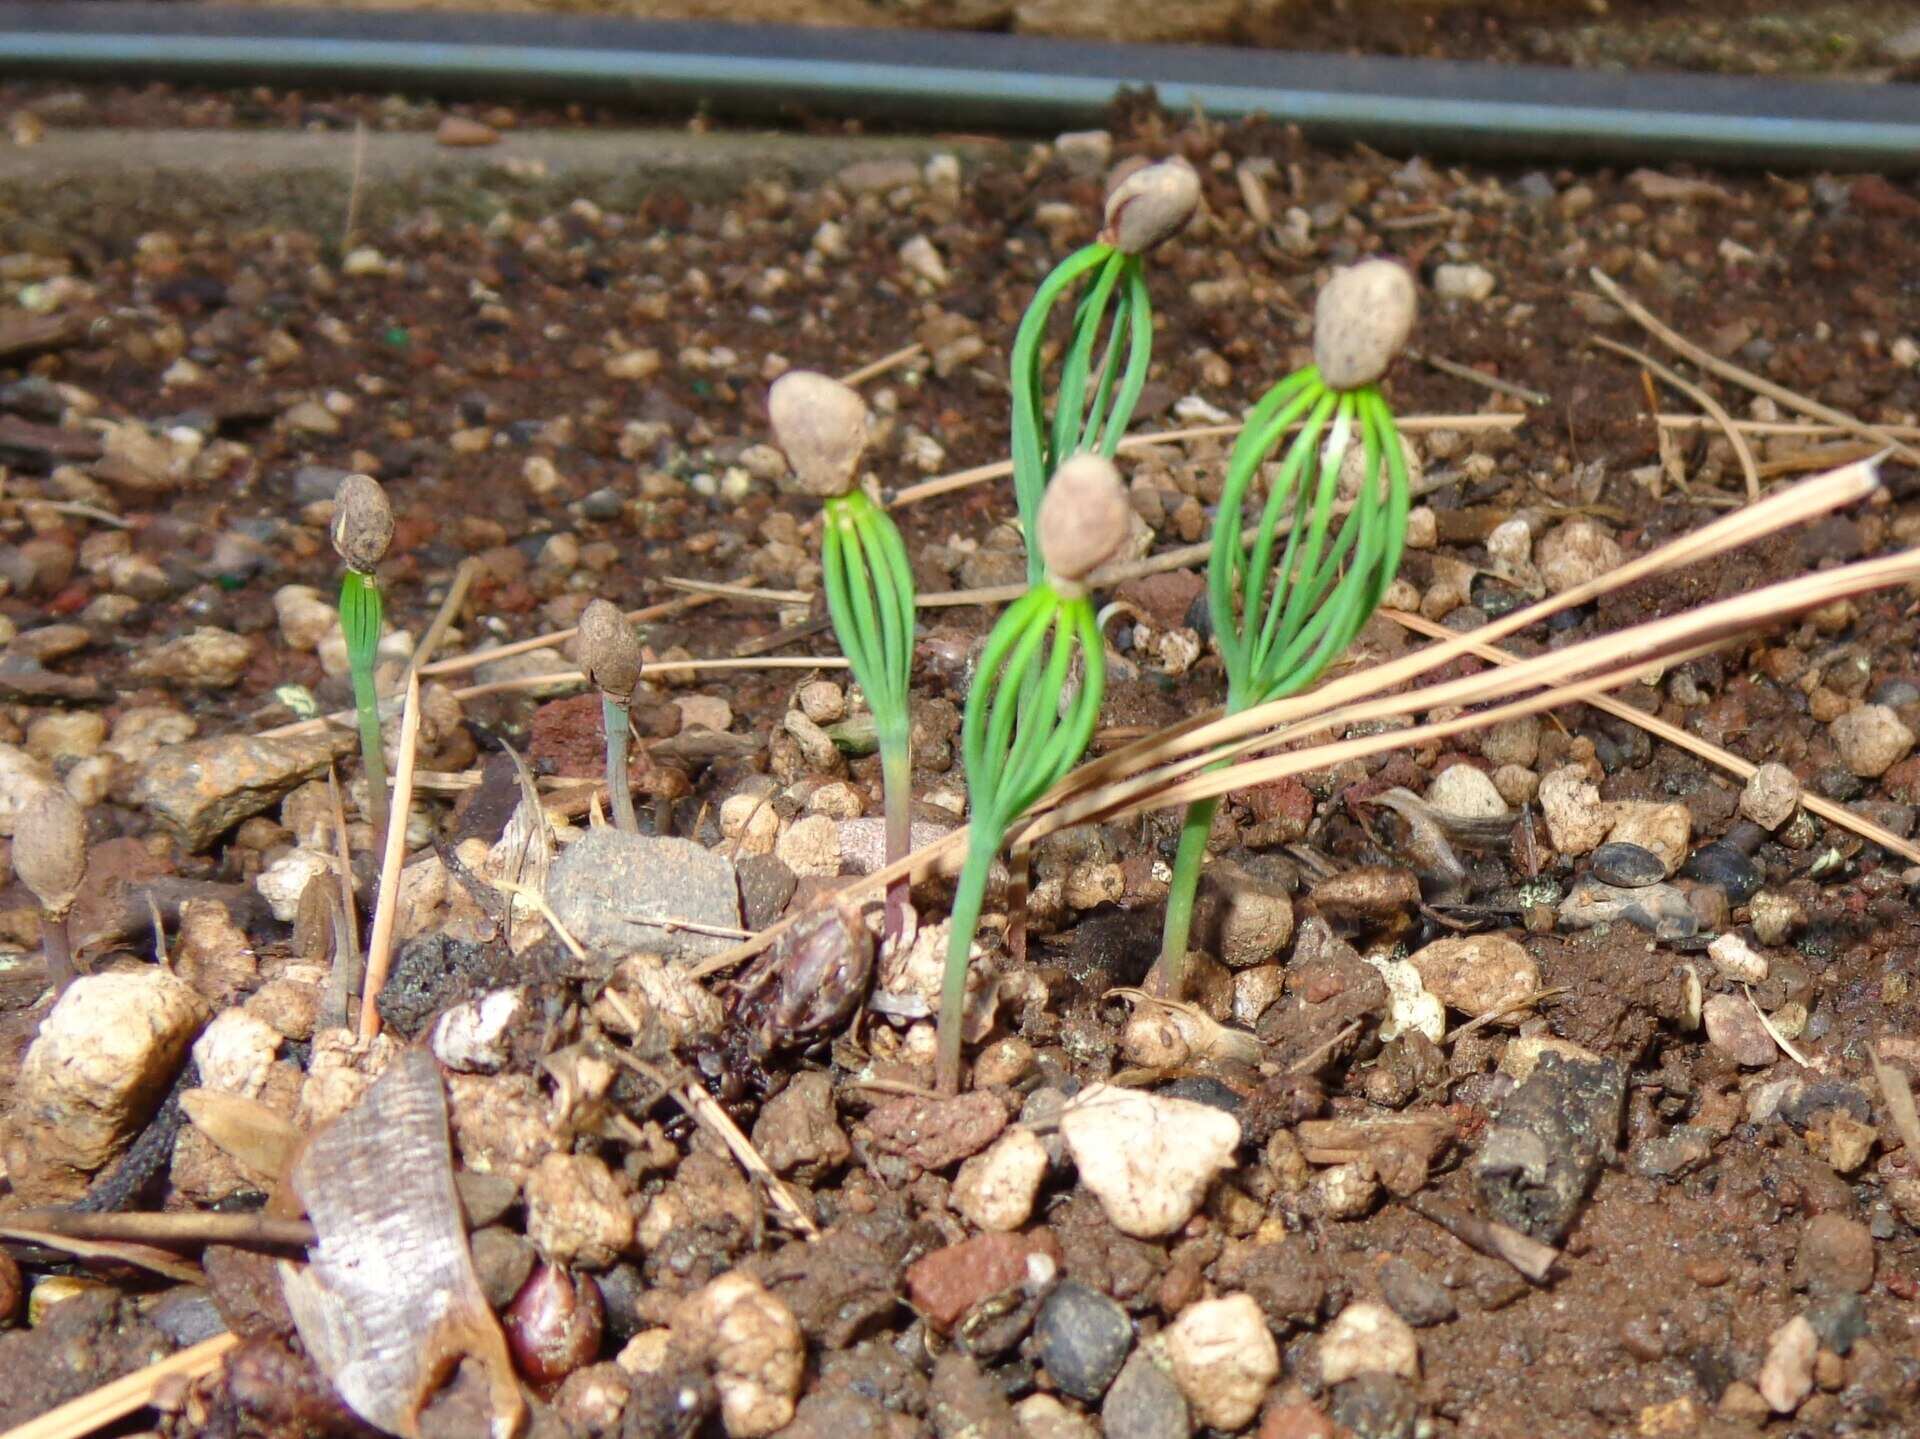
Once the moringa seedlings have emerged and are well-established, it’s time to move on to the next step: watering and caring for the seedlings.
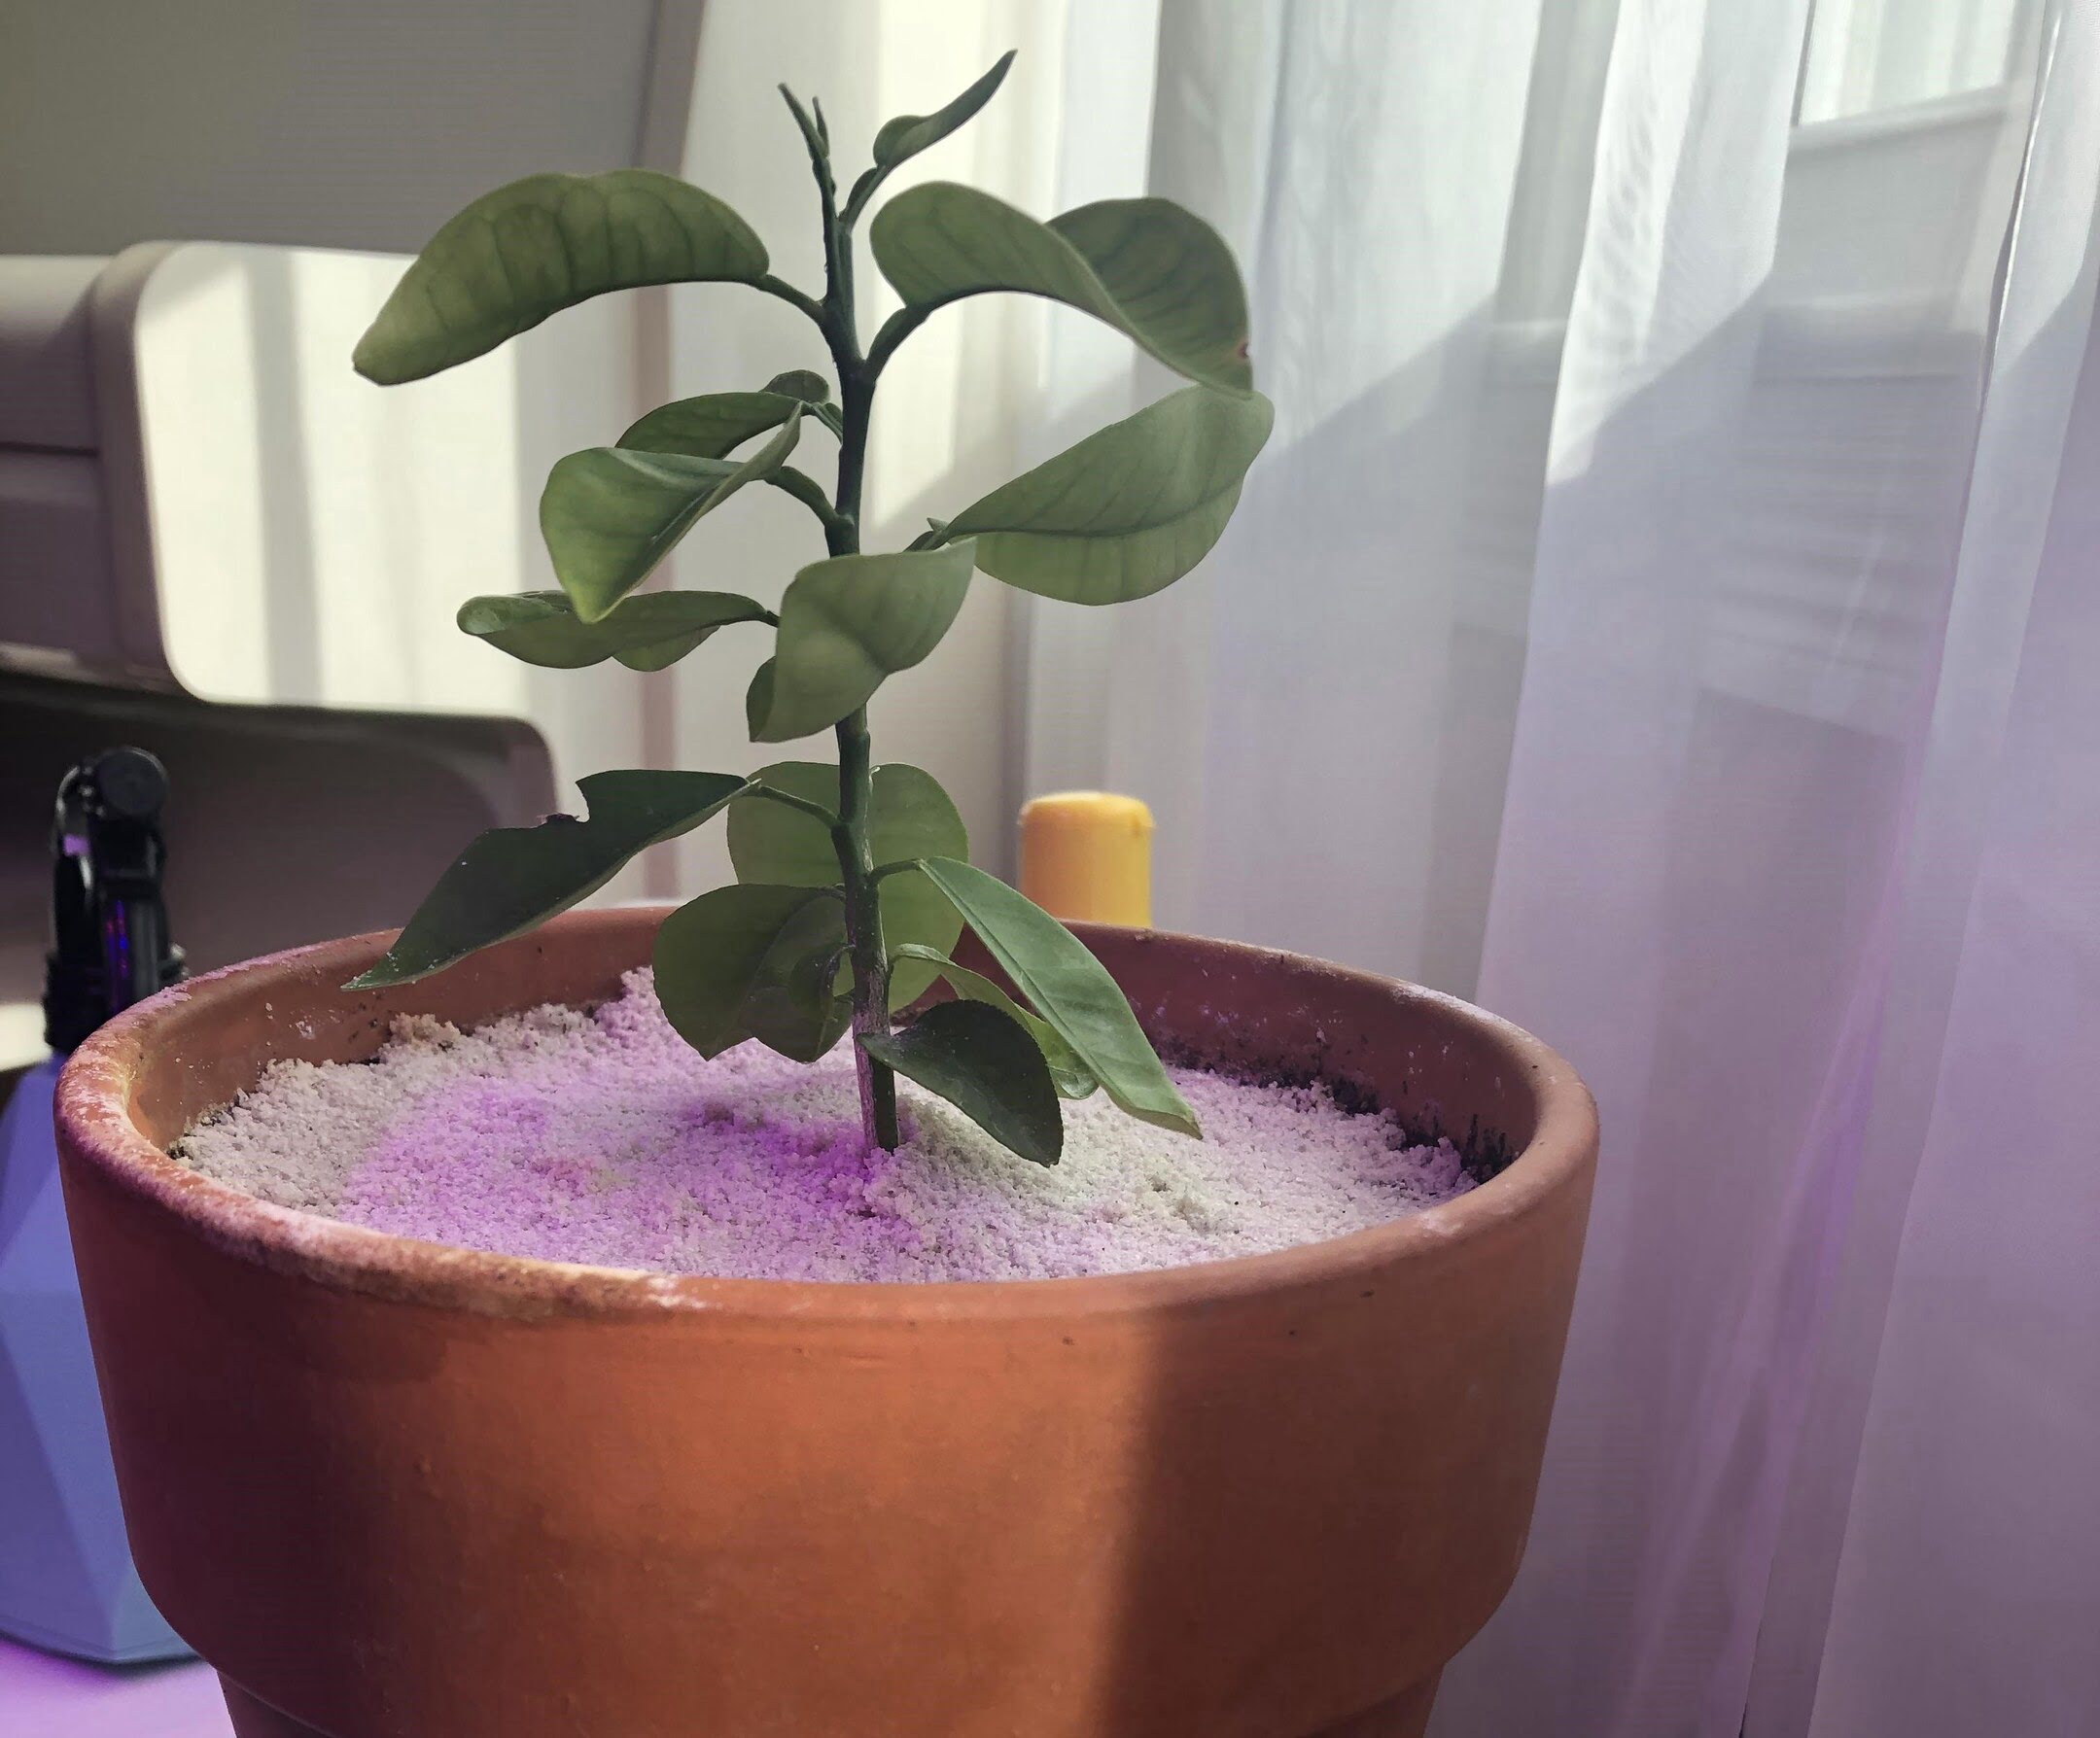
Plant Moringa seeds in well-draining soil, keep them moist but not waterlogged, and place them in a sunny spot. Germination can take 1-2 weeks.
Read more: How To Grow Tree From Seed
Step 5: Watering and Caring for the Seedlings
Watering and providing proper care is essential for the healthy growth of moringa seedlings. Follow these guidelines to ensure optimal care for your moringa seedlings:
- Watering schedule: Moringa seedlings require consistent moisture to establish their root systems. Water the seedlings regularly, aiming for moist, but not waterlogged, soil. Monitor the soil moisture and adjust your watering schedule accordingly, especially during hot and dry periods.
- Fertilization: After the first set of true leaves appears, you can begin fertilizing the seedlings. Use a balanced organic fertilizer or a compost tea solution to provide the necessary nutrients for healthy growth. Apply the fertilizer according to the manufacturer’s instructions or dilute the compost tea solution and water the seedlings with it.
- Protection from pests: Keep a watchful eye for pests that may attack the moringa seedlings. Inspect the leaves regularly for any signs of damage or infestation. Consider using natural pest repellents or organic pest control methods to protect your seedlings.
- Provide support: As the moringa seedlings grow, they may benefit from some support to prevent them from leaning or bending. Use stakes or a plant trellis to offer support and help the seedlings grow straight.
- Thin out seedlings: If multiple seedlings emerge in one planting hole, it’s important to thin them out to allow sufficient space for each tree to grow. Carefully remove the weaker seedlings, leaving the healthiest and strongest one in each hole.
By providing regular watering, proper fertilization, and protection from pests, you will help the moringa seedlings thrive. As they grow stronger and reach a suitable size, it will be time to transplant them into their permanent location. The next step, Step 6, will guide you through the process of transplanting the seedlings.
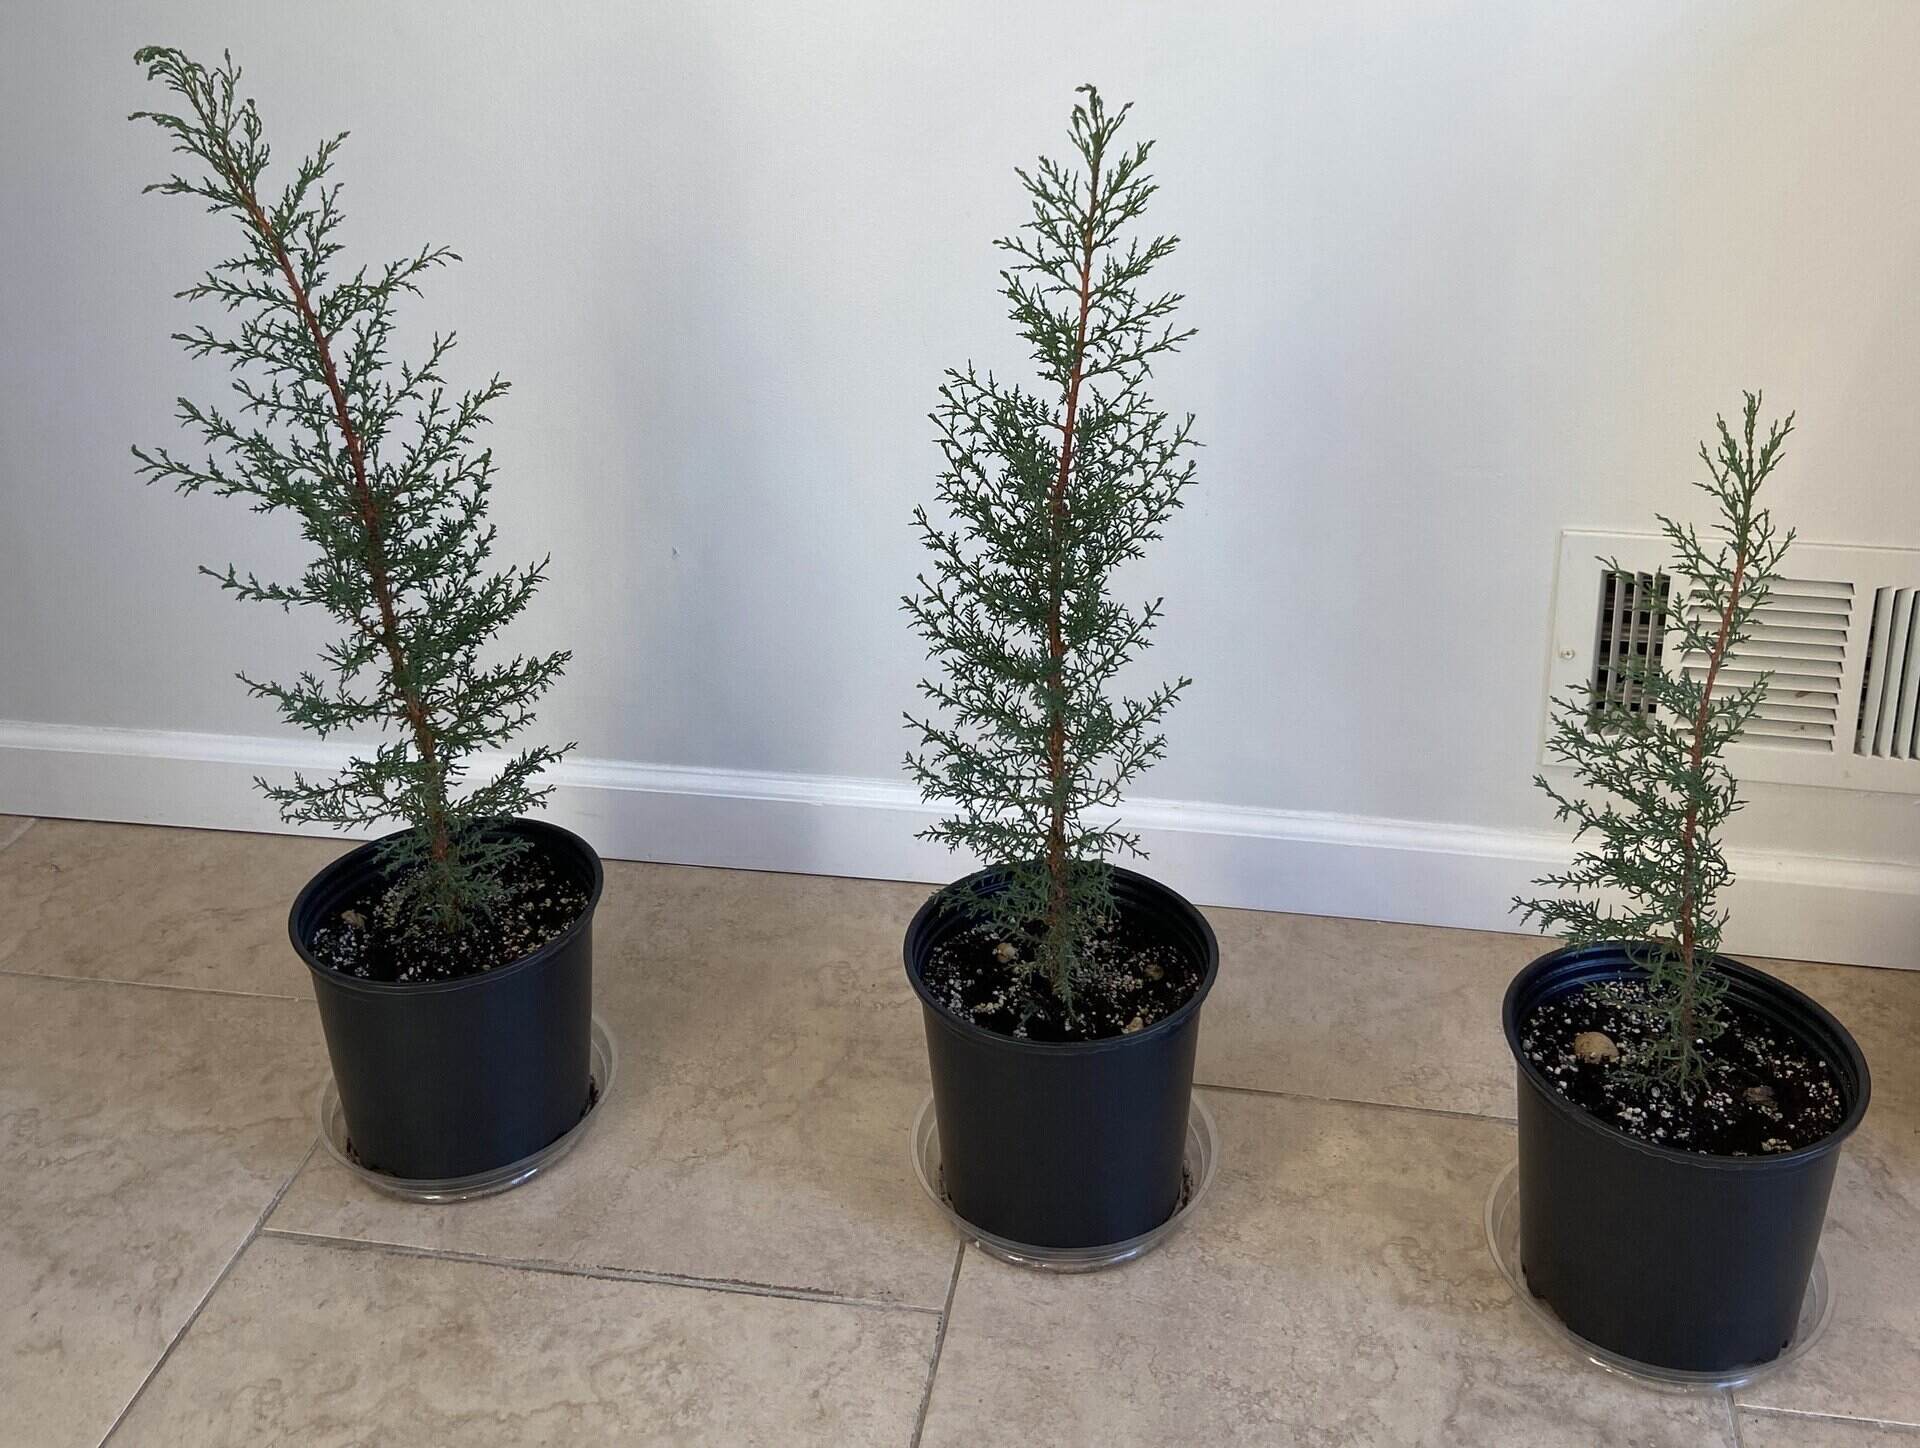
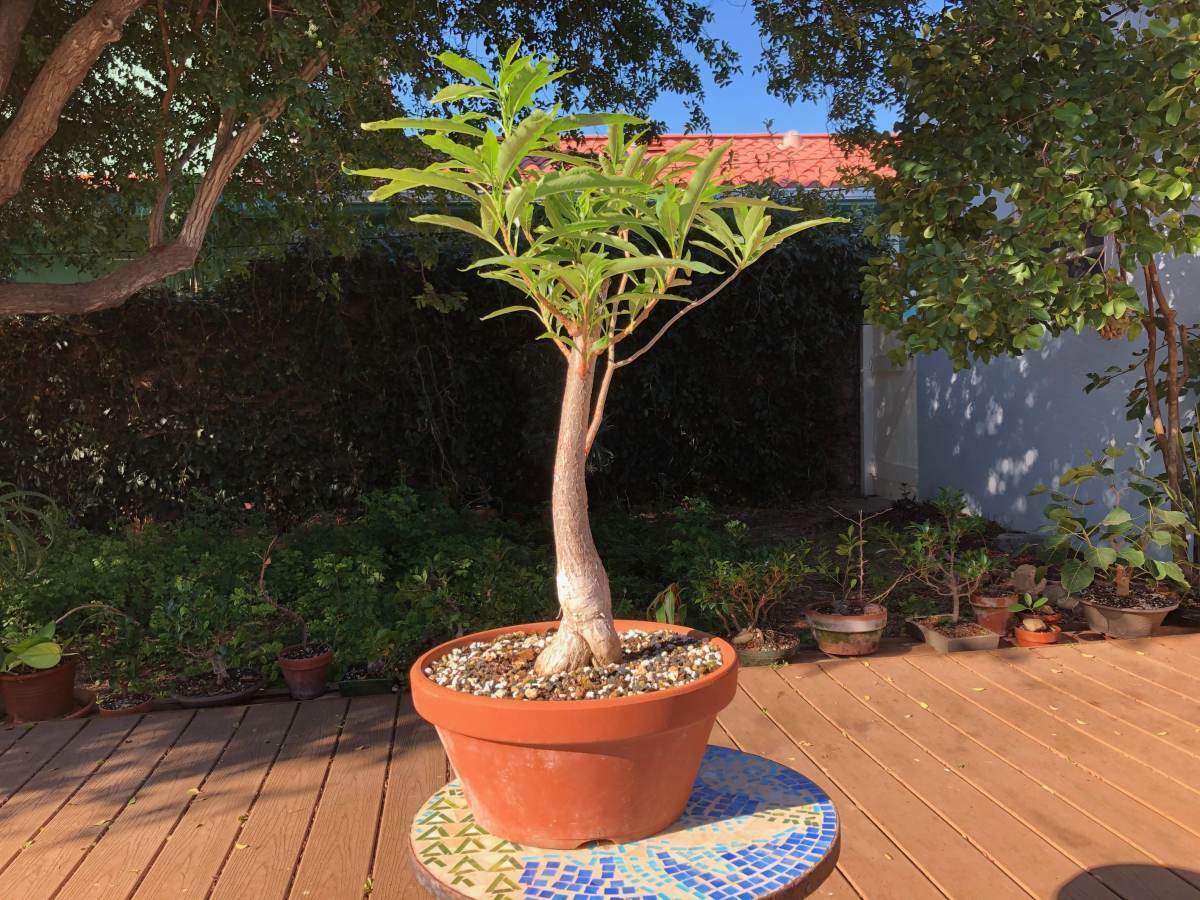
Step 6: Transplanting the Seedlings
Transplanting the moringa seedlings into their permanent location is an important step in their growth journey. When the seedlings have reached a height of about 12 to 18 inches and have developed a strong root system, they are ready to be transplanted. Follow these steps for successful transplanting:
- Choose the right time: Select a suitable time for transplanting when the weather is mild, and the seedlings are actively growing. Early morning or late afternoon is an ideal time as it helps reduce transplant shock.
- Prepare the planting holes: Dig holes in the new planting location that are spacious enough to accommodate the root ball of each seedling. Space the holes at least 10 feet apart to allow the moringa trees enough room to grow.
- Remove the seedlings: Gently loosen the soil around the seedlings and carefully lift them from their original planting spot. Be cautious not to damage the delicate roots.
- Planting: Place each seedling in a planting hole, making sure it sits at the same depth as it was in the original location. Backfill the hole with soil, firming it gently around the roots to eliminate air pockets.
- Watering: Immediately after transplanting, water the seedlings thoroughly to help them settle into their new environment. Provide regular watering in the following weeks to promote root establishment.
- Provide support if necessary: If the transplanted seedlings are tall and prone to bending, consider providing support using stakes or a trellis until they become firmly established.
Transplanting can be a critical phase for the seedlings, so it’s essential to handle them with care and ensure they receive proper aftercare. As the moringa trees continue to grow, they will require regular maintenance, including pruning and general upkeep. The next step, Step 7, will cover the essential tasks of pruning and maintenance.
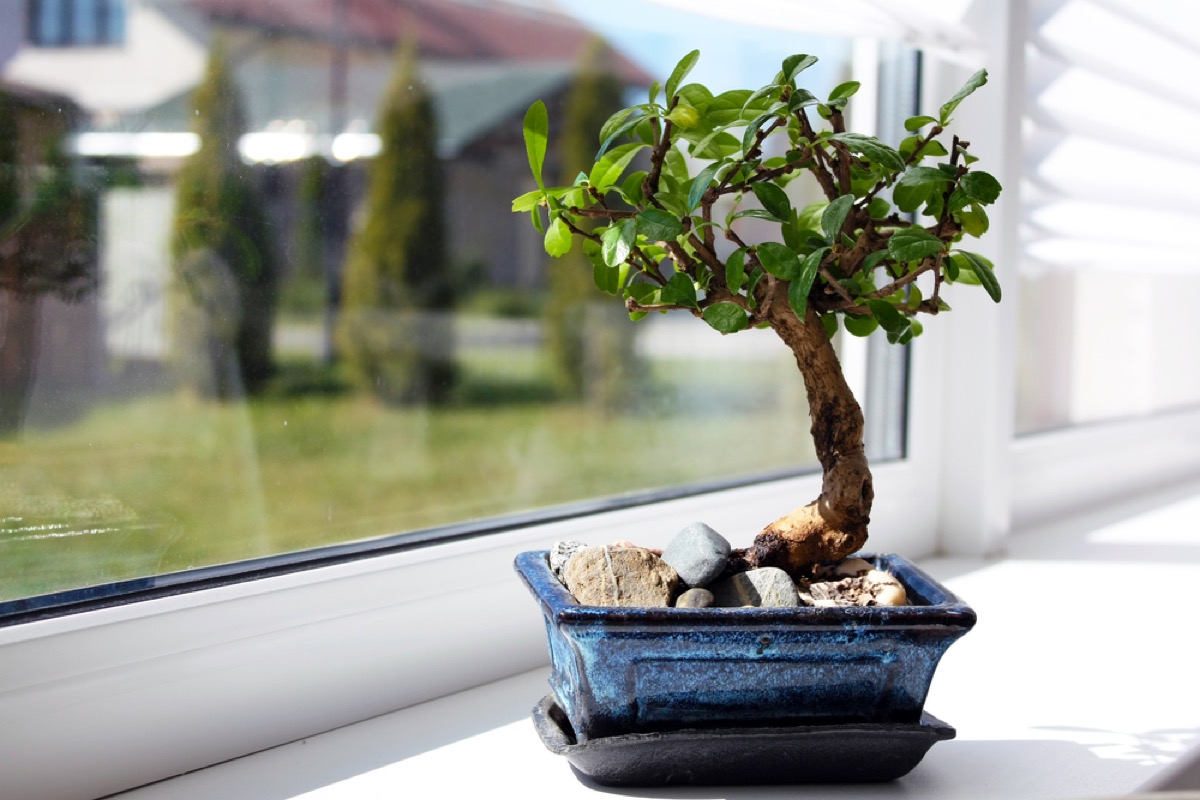
Step 7: Pruning and Maintenance
Pruning and regular maintenance are crucial to keep your moringa trees healthy, manageable, and productive. Follow these guidelines to ensure proper pruning and maintenance:
- Prune for shape: When the moringa trees reach a height of about 3 to 4 feet, you can begin pruning to shape them. Trim the top branches to encourage lateral growth and a bushier appearance. Remove any dead, damaged, or crossing branches.
- Trim for size control: Moringa trees can grow rapidly and become quite tall. If you prefer a more compact size, regularly trim back the top growth to maintain a manageable height.
- Deadhead regularly: Remove spent flowers and seed pods to redirect the plant’s energy towards producing more leaves and promoting continuous growth.
- Keep weeds at bay: Regularly weed around the base of the moringa trees to reduce competition for nutrients and water. This will help ensure their optimal growth and productivity.
- Watering: Provide regular watering to the moringa trees, particularly during dry spells. Remember to adjust the watering frequency based on the weather conditions and the moisture level of the soil.
- Fertilization: Apply a balanced organic fertilizer once or twice a year to provide the necessary nutrients for the moringa trees. Follow the instructions on the fertilizer packaging for proper application rates.
- Monitor for pests and diseases: Keep a close eye on the moringa trees for any signs of pest infestation or disease. Early detection and appropriate action can help prevent damage and ensure the trees’ health.
Regular pruning and maintenance will help keep your moringa trees in good shape and promote continued growth and productivity. With proper care, your moringa trees will reward you with a bountiful harvest of nutritious leaves and pods. In the next step, Step 8, we will explore the final step: harvesting moringa leaves and pods.
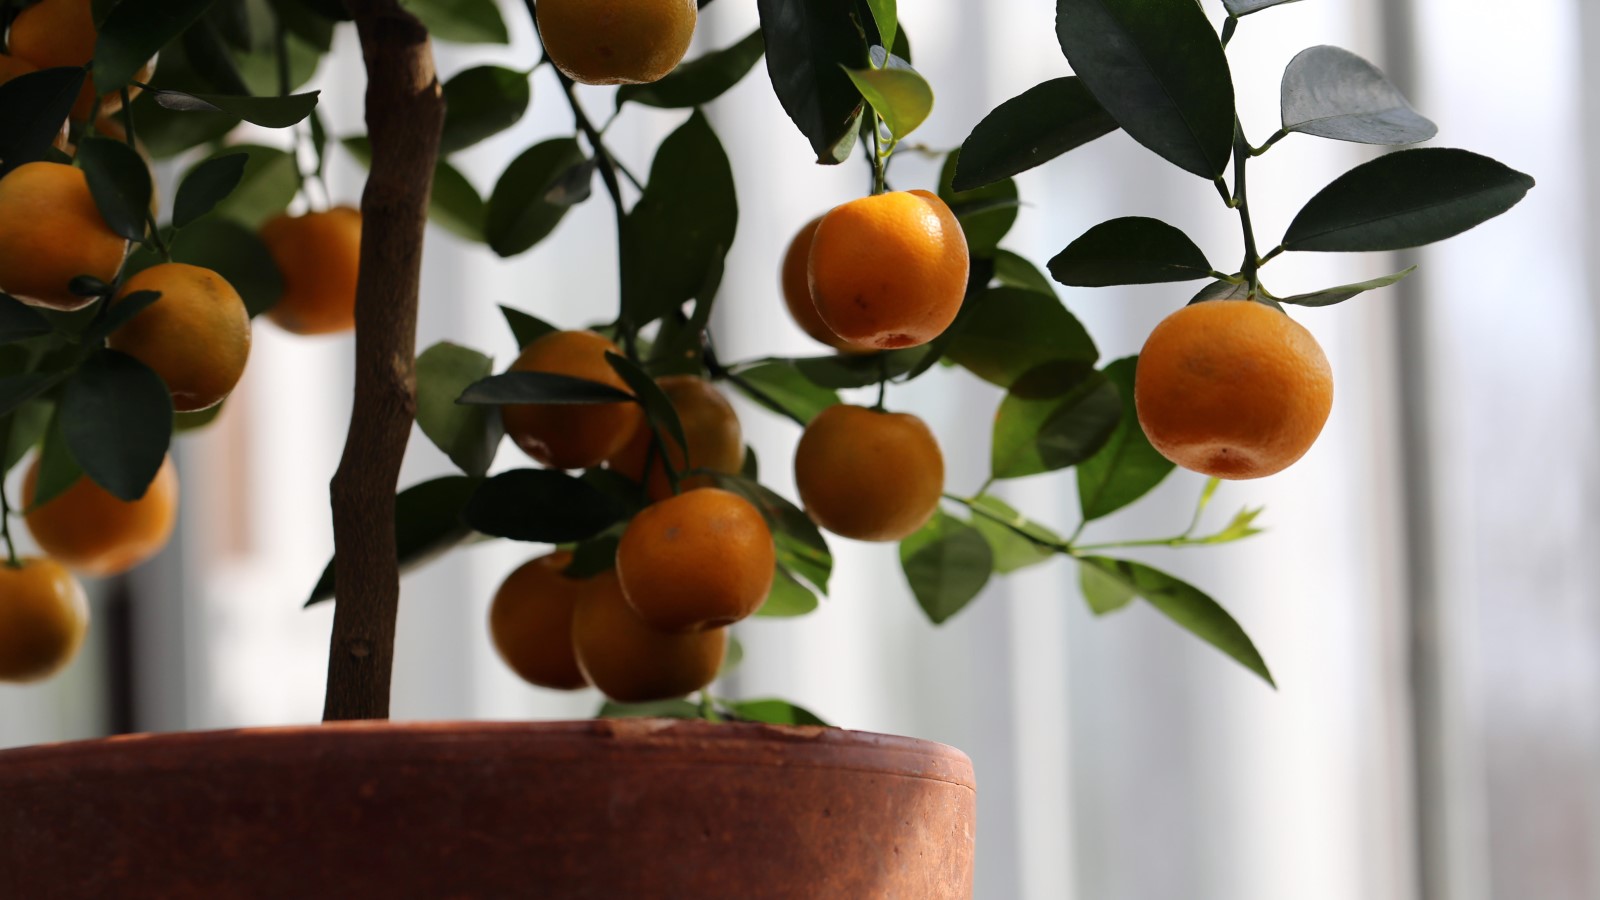
Step 8: Harvesting Moringa Leaves and Pods
Harvesting moringa leaves and pods is the exciting culmination of your efforts in growing these remarkable trees. Moringa leaves and pods are highly nutritious and can be used in a variety of culinary and medicinal preparations. Follow these guidelines for successful harvesting:
- Wait for maturity: Moringa leaves can be harvested when the trees are around 8 to 10 months old. At this stage, the leaves are fully developed and packed with nutrients. The pods can be harvested when they reach a length of 12 to 18 inches.
- Harvest leaves: To harvest moringa leaves, simply pluck the individual leaflets from the branches. Avoid removing all the leaves from a single branch as it may hinder the plant’s growth. Instead, alternate the branches you harvest from to allow for continuous regrowth.
- Collect pods: Harvest the moringa pods by cutting them from the tree using sharp pruning shears or a knife. Choose pods that are firm, bright green, and have not become overly mature and woody.
- Storage: Immediately after harvest, gently wash the moringa leaves and pods in cool water to remove any dirt or debris. Pat them dry and store them in a cool, dry place. Moringa leaves can be stored in an airtight container in the refrigerator for up to a week, while pods should be used within a few days.
- Enjoy the harvest: Moringa leaves can be used fresh or cooked in various dishes such as salads, soups, stir-fries, and smoothies. The pods can be boiled, steamed, or stir-fried for a tasty addition to your meals.
Remember, the more you harvest moringa leaves and pods, the more the plant will continue to produce. Regular harvesting encourages new growth and ensures a continuous supply of fresh, nutritious produce.
Congratulations! By following these eight steps, you have successfully grown moringa trees from seed and have learned how to care for them at each stage of growth. Enjoy the many benefits that this “miracle tree” brings to your garden and your plate.
Happy gardening and happy harvesting!
Read more: How To Grow Moringa Seeds
Conclusion
Growing moringa trees from seed is a rewarding and fulfilling experience that allows you to add an exceptional plant to your garden. With its fast growth, high nutritional value, and versatility, the moringa tree is a valuable addition to any home garden or urban landscape.
Through the eight steps outlined in this guide, you have gained the knowledge and skills to successfully grow and care for moringa trees. From gathering materials to harvesting leaves and pods, you have learned the essential techniques to ensure the health and productivity of your moringa trees.
By providing proper soil preparation, regular watering, pruning, and maintenance, you can enjoy a bountiful harvest of moringa leaves and pods. These nutritious ingredients can be incorporated into your daily diet, adding a powerhouse of vitamins, minerals, and antioxidants to your meals.
Remember to harvest the leaves and pods when they have reached maturity and store them properly to maintain their freshness and nutritional value. By harvesting responsibly and allowing the moringa trees to regrow, you can enjoy a continuous supply of this incredible and beneficial plant.
Whether you choose to use moringa for its nutritional benefits, its environmental advantages, or simply the pleasure of gardening, growing moringa trees will bring joy and satisfaction. So, get your hands in the soil, plant those moringa seeds, and witness the beauty and abundance that this “miracle tree” can bring to your garden and your life.
Happy gardening and happy nourishing!
Frequently Asked Questions about How To Grow Moringa Tree From Seed
Was this page helpful?
At Storables.com, we guarantee accurate and reliable information. Our content, validated by Expert Board Contributors, is crafted following stringent Editorial Policies. We're committed to providing you with well-researched, expert-backed insights for all your informational needs.


0 thoughts on “How To Grow Moringa Tree From Seed”