Home>Garden Essentials>How To Start Moringa Seeds
Garden Essentials
How To Start Moringa Seeds
Modified: March 16, 2024
Learn how to start moringa seeds in your garden and enjoy the benefits of this nutritious plant. Follow our step-by-step guide to ensure successful germination and healthy growth.
(Many of the links in this article redirect to a specific reviewed product. Your purchase of these products through affiliate links helps to generate commission for Storables.com, at no extra cost. Learn more)
Introduction
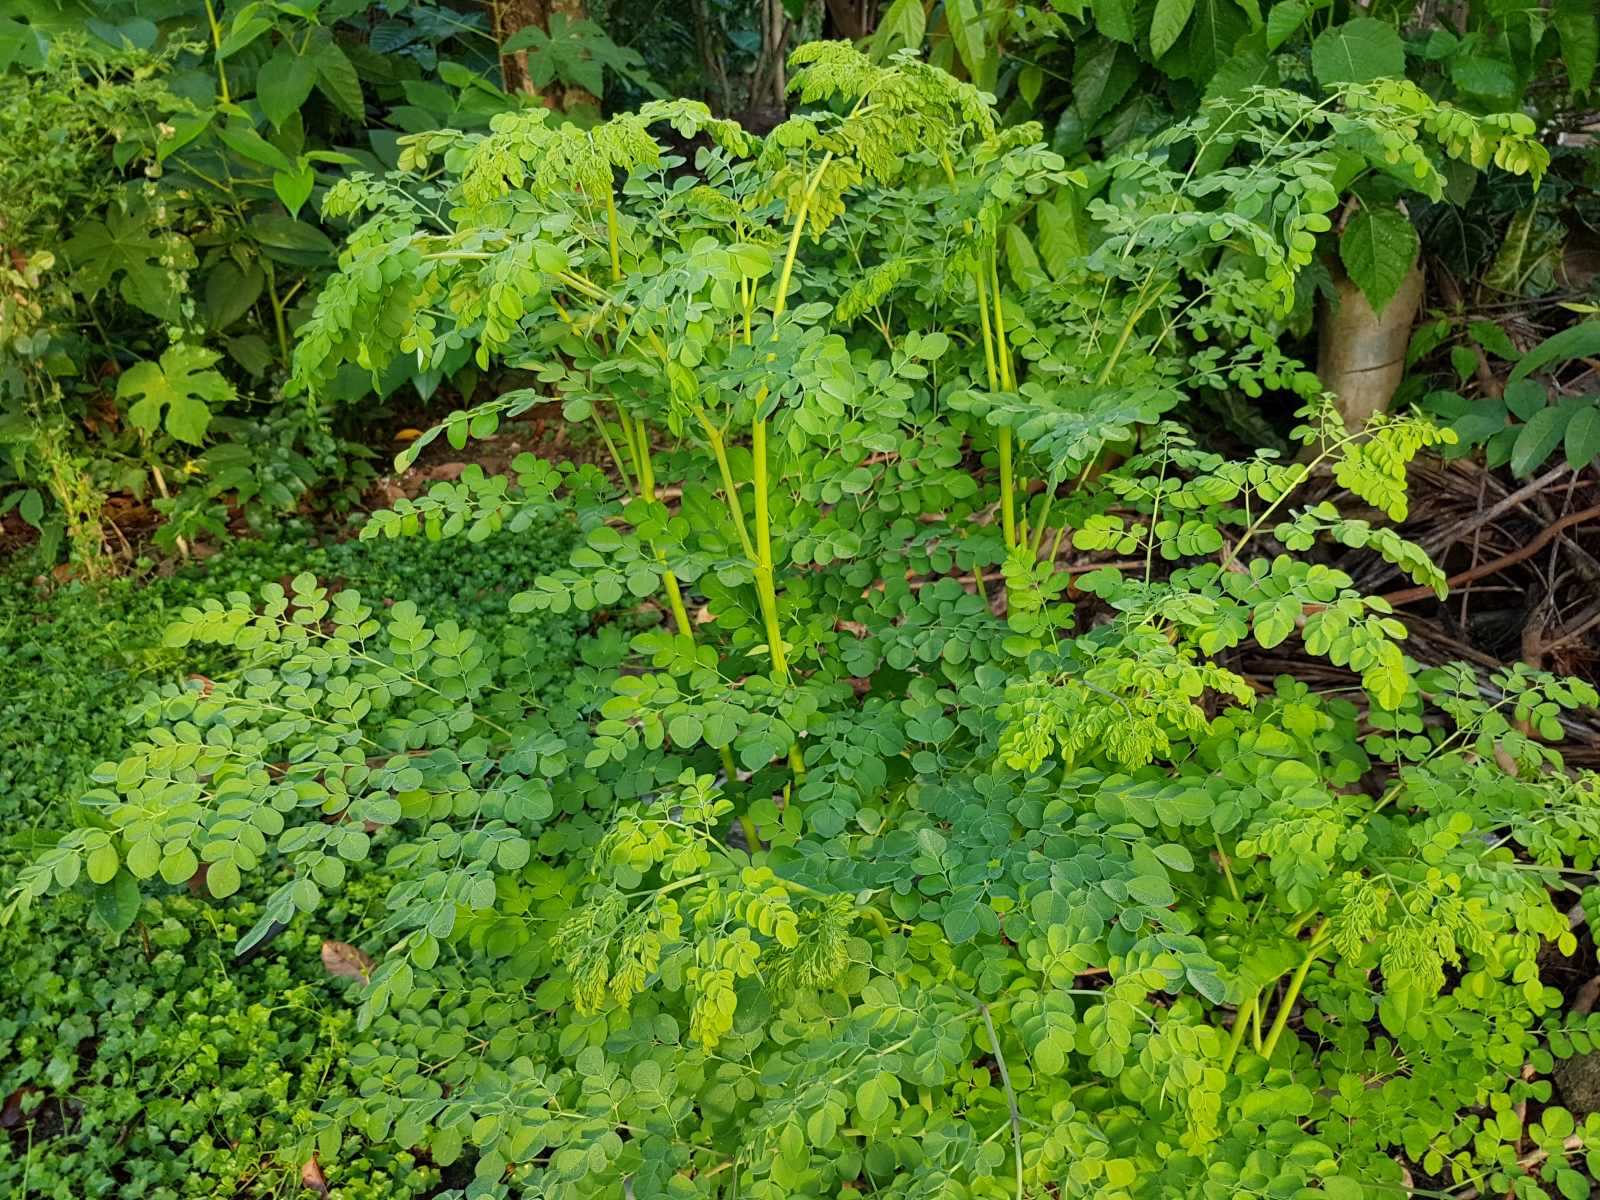
Gardening is a wonderful hobby that allows you to reconnect with nature, cultivate beautiful plants, and even grow your own food. If you’re a plant enthusiast, you might be familiar with the remarkable qualities of the Moringa tree. Known as the “miracle tree” or “tree of life,” Moringa has gained popularity for its numerous health benefits and high nutritional value.
One of the best ways to experience the benefits of Moringa is by growing it from seeds. Starting Moringa seeds can be an exciting and rewarding process, but it requires some knowledge and careful attention to detail. In this article, we will guide you through the steps to successfully start Moringa seeds and nurture them into thriving plants.
Before we get started, it’s important to note that Moringa seeds have a tough outer shell, which can make germination a bit challenging. However, with the right techniques and conditions, you can increase the chances of successful germination and ensure the growth of healthy Moringa plants.
So, let’s roll up our sleeves and dive into the world of Moringa seeds, where we will explore the supplies you need, how to prepare the planting medium, soaking the seeds, planting them, providing optimal growing conditions, caring for the seedlings, transplanting them, and continuing care for the mature plants. By the end of this article, you’ll be equipped with the knowledge and confidence to start your own Moringa seedlings and enjoy the beauty and benefits of this extraordinary tree.
Key Takeaways:
- Starting Moringa seeds requires gathering supplies, preparing the planting medium, soaking the seeds, and providing optimal growing conditions. Care for the seedlings, transplant them, and continue care for mature plants to ensure successful growth.
- Growing Moringa from seeds is a rewarding journey that involves patience, care, and attention to detail. By following the steps outlined in this guide, you can successfully nurture your own Moringa trees and enjoy their many benefits.
Read more: How To Consume Moringa Seeds
Step 1: Gathering Supplies
Before you begin planting Moringa seeds, it’s essential to gather all the necessary supplies. By having everything ready in advance, you can streamline the planting process and ensure a smooth start for your seeds. Here are the supplies you’ll need:
- Moringa seeds: The first and most crucial item on your list is, of course, the Moringa seeds themselves. You can obtain Moringa seeds from reputable nurseries, online seed suppliers, or even by harvesting them from mature Moringa fruits.
- Planting containers: Choose containers that are at least 6-8 inches deep and have drainage holes at the bottom. This will allow excess water to escape and prevent waterlogging, which can be detrimental to the seeds’ germination.
- Planting medium: Moringa seeds require a well-draining planting medium to ensure proper root development. You can use a mix of potting soil, vermiculite, and perlite to create a lightweight and fertile mixture for your seeds.
- Watering can or spray bottle: Having a watering can or spray bottle will make it easier to water the seeds without disturbing the delicate soil surface.
- Transparent plastic cover or dome: Moringa seeds benefit from a warm and humid environment for germination. Using a transparent plastic cover or dome will help create a mini greenhouse effect and retain moisture around the seeds.
- Plant labels: It’s always a good idea to label your planting containers to keep track of different varieties or planting dates.
- Grow lights (optional): If you’re starting your seeds indoors or in an area with limited sunlight, grow lights can provide the necessary light energy for healthy seedling growth.
By gathering these supplies beforehand, you’ll have everything you need to confidently start your Moringa seeds. Now that you’re equipped, let’s move on to preparing the planting medium in the next step.
Step 2: Preparing the Planting Medium
The planting medium plays a crucial role in the successful germination and growth of Moringa seeds. It should provide a balance of nutrients, good drainage, and aeration for the developing roots. Here’s how to prepare the planting medium:
- Choose a well-draining soil: Moringa seeds prefer a sandy, loamy soil with good drainage. Avoid heavy clay soils that can retain too much moisture and suffocate the delicate roots. You can also use a pre-mixed potting soil and add some perlite or vermiculite to improve drainage.
- Add organic matter: Enhance the soil’s fertility by adding organic matter such as compost or well-rotted manure. This will provide essential nutrients for the seedlings’ growth.
- Combine the ingredients: In a bucket or container, mix the soil, organic matter, and any additional amendments you may have. Thoroughly blend everything together until you have a well-incorporated and crumbly mixture.
- Sieve the mixture: To ensure a fine and uniform texture, pass the mixture through a sieve to remove any large clumps or debris. This will create a lighter soil texture and allow the seeds to establish their roots more easily.
- Moisten the planting medium: Before filling your containers with the planting medium, lightly moisten it with water. The soil should be damp but not soggy. This will provide a favorable environment for germination.
Once you have prepared the planting medium, you’re ready for the exciting step of soaking the Moringa seeds. This will help soften the hard seed coats and promote quicker germination. So, let’s move on to the next step!
Step 3: Soaking the Seeds
Soaking the Moringa seeds before planting is an important step to enhance germination rates. The hard outer shell of the seeds can make it difficult for water and oxygen to penetrate, hindering germination. Soaking the seeds helps to soften the outer coat and kickstart the germination process. Here’s how to soak Moringa seeds:
- Fill a container with warm water: Take a bowl or container and fill it with warm water. The water should be warm but not hot, as excessive heat can damage the seeds.
- Place the seeds in the water: Gently place the Moringa seeds into the container of warm water. Ensure that all the seeds are completely submerged beneath the water surface.
- Let the seeds soak: Allow the seeds to soak for 24 to 48 hours. During this time, the water will penetrate the seed coat and initiate the germination process.
- Change the water (optional): If you notice any discoloration or foul odor, consider changing the water once during the soaking period. Fresh water can prevent the growth of bacteria or fungi that may affect seed germination.
- Observe the seeds: After the soaking period, take a close look at the seeds. You may notice that the outer shell has become swollen or developed tiny cracks. This is a positive sign that the seeds are ready for planting.
Once you have soaked the Moringa seeds, it’s time to plant them in the prepared planting medium. We’ll cover the planting process in the next step, so let’s continue on this exciting journey of growing Moringa trees!
Step 4: Planting the Seeds
Now that you have soaked your Moringa seeds and prepared the planting medium, it’s time to plant the seeds and give them a cozy home to begin their journey towards becoming beautiful Moringa trees. Follow these steps to ensure successful planting:
- Fill the planting containers: Take your chosen planting containers and fill them with the prepared planting medium. Leave about 1 inch of space at the top to allow for watering.
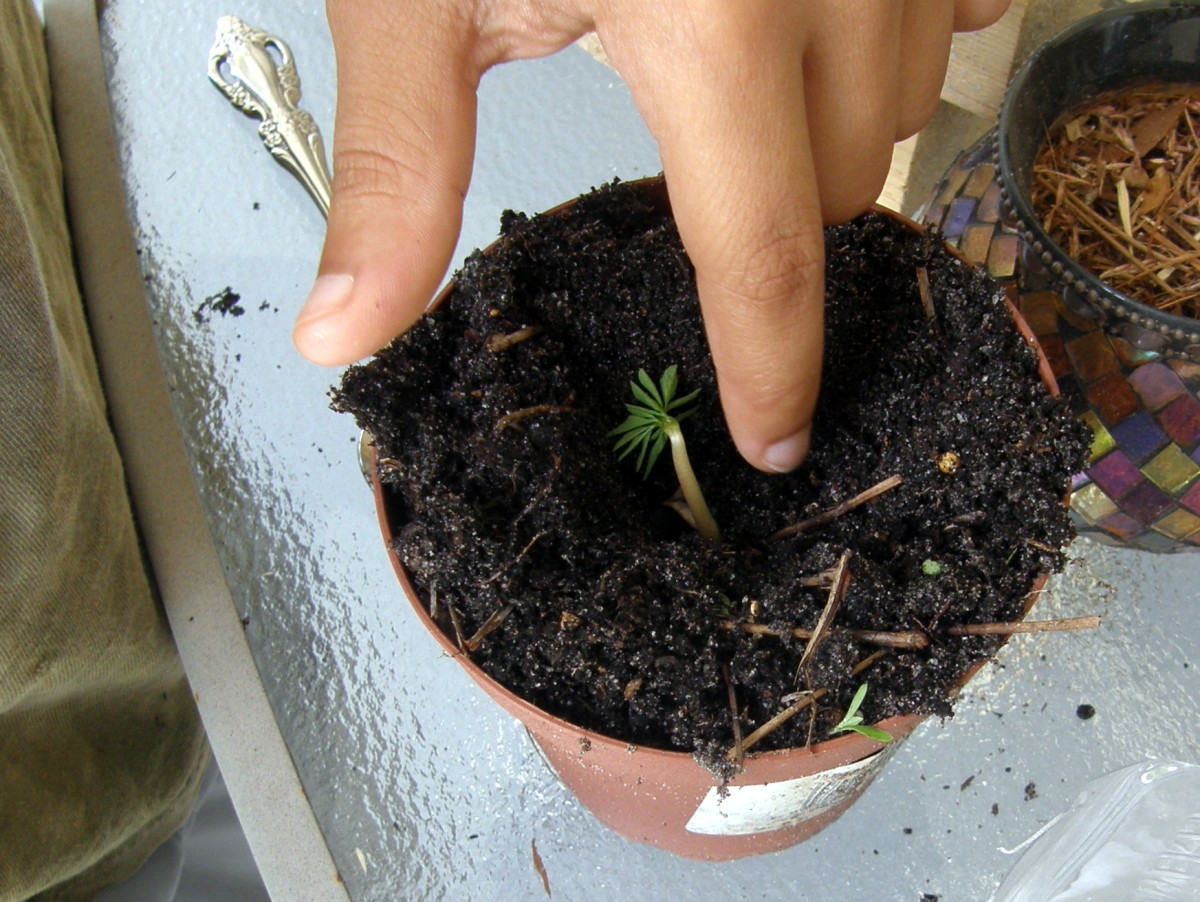
- Make planting holes: Using your finger or the end of a pen, create small planting holes in the soil. The holes should be about 1 inch deep.
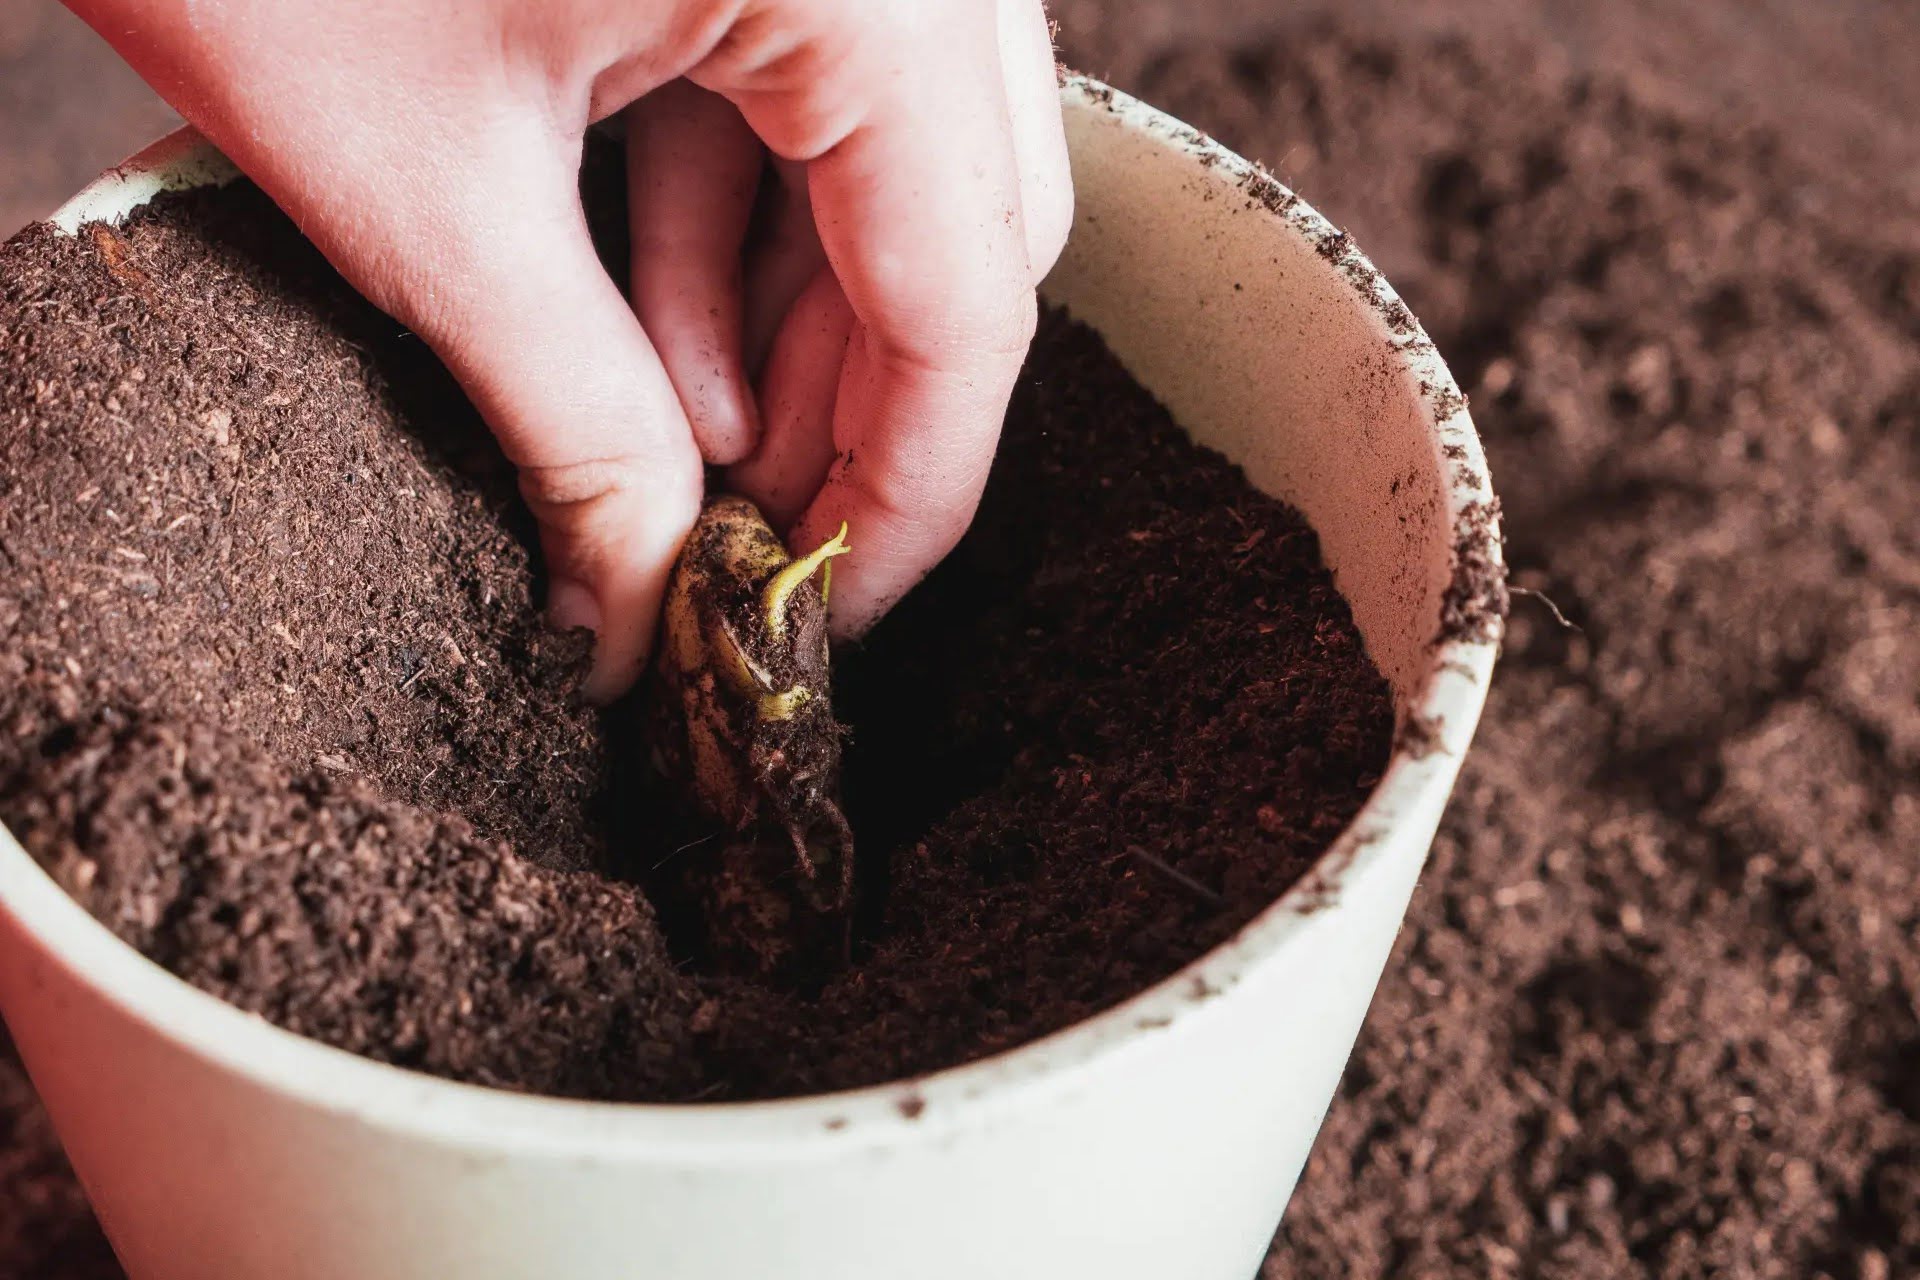
- Plant the seeds: Carefully place one soaked Moringa seed into each planting hole. Ensure the seeds are positioned with the pointed end facing down and the rounded end facing up. Gently cover the seeds with soil, but avoid compacting the soil too much.
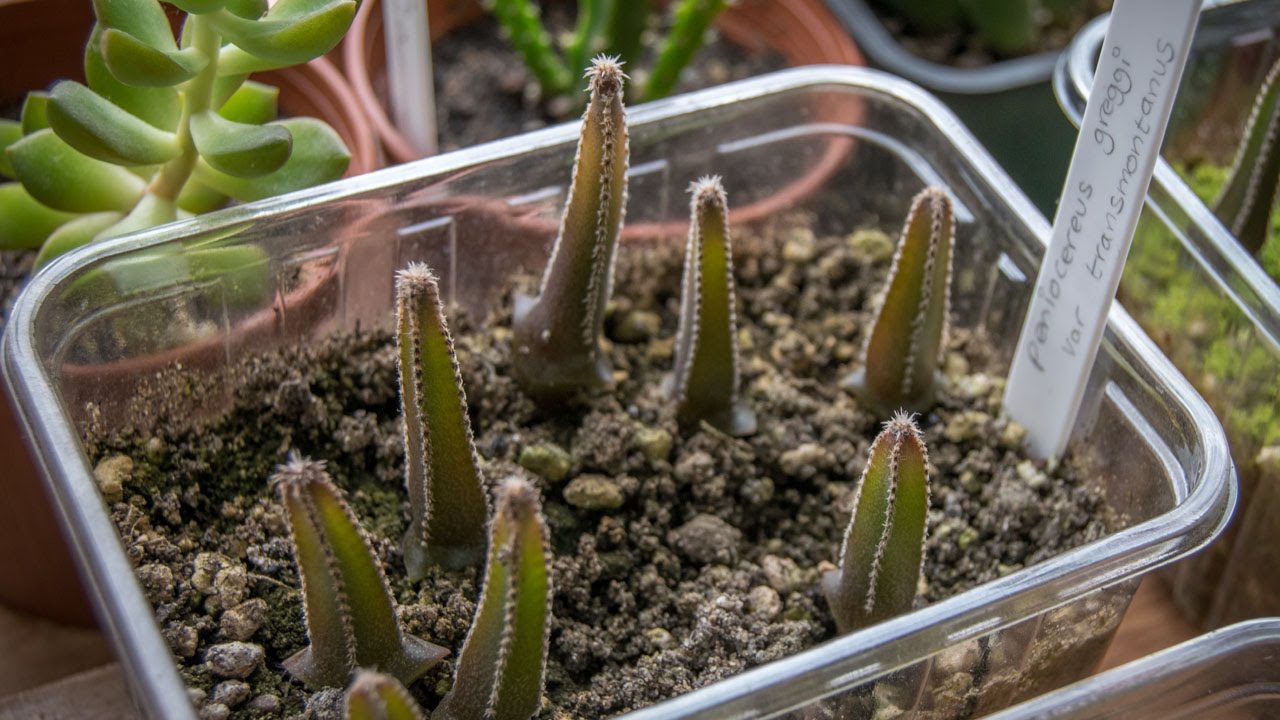
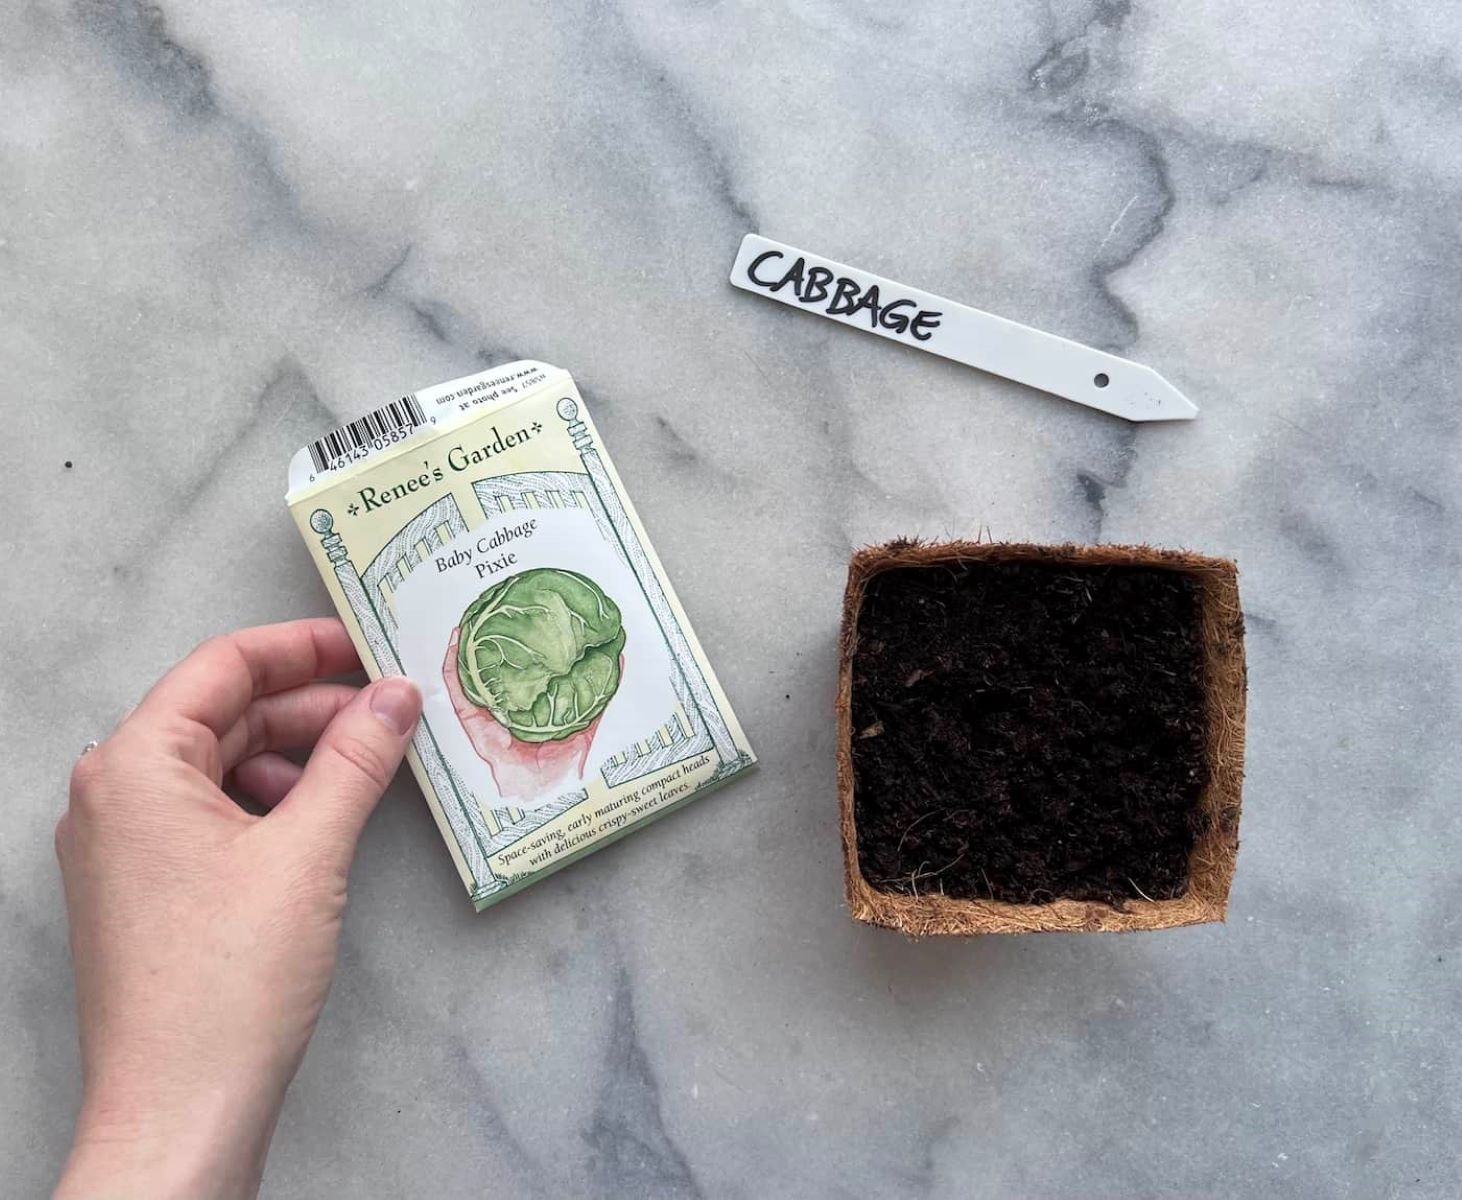
- Label the containers: To keep track of different varieties or planting dates, label each container with the type of Moringa seed you planted.
- Water the seeds: After planting, give the seeds a gentle watering. Use a watering can or spray bottle to moisten the soil around the seeds. Be careful not to water too heavily, as this could dislodge the seeds or create waterlogged conditions.
- Create a mini greenhouse: To facilitate optimal germination, create a mini greenhouse effect by covering each container with a transparent plastic cover or dome. This will help retain moisture and create a warm, humid environment for the seeds.
- Place the containers in a bright location: Find a location that receives bright, indirect sunlight or use grow lights to provide the necessary light energy for the seeds to germinate.
Now that the seeds are planted, it’s time to provide them with optimal growing conditions to encourage healthy and vigorous growth. In the next step, we’ll explore how to provide the best environment for your Moringa seedlings. So, keep reading and get ready to nurture your little Moringa treasures!
Before planting, soak the Moringa seeds in water for 24 hours to help soften the hard outer shell and improve germination. Plant the seeds in well-draining soil, keep them moist, and place in a warm, sunny spot to encourage growth.
Read more: How To Eat Moringa Seeds
Step 5: Providing Optimal Growing Conditions
Ensuring that your Moringa seeds receive the right growing conditions is crucial for their successful germination and early growth. Here are some key factors to consider to provide the optimal environment:
- Temperature: Moringa seeds thrive in warm temperatures. Aim for a temperature range of 77-95°F (25-35°C) for optimal germination. If you’re starting your seeds indoors, consider using a heating mat to maintain a consistent and warm environment.
- Light: Moringa seeds require bright, indirect sunlight to germinate and grow. If you’re growing them indoors, place the containers near a window that receives ample sunlight throughout the day. Alternatively, use grow lights to provide the necessary light energy.
- Humidity: Moringa seeds benefit from a humid environment during germination. The plastic cover or dome you placed over the containers will help retain moisture and create a humid microclimate. However, be cautious not to let the soil become waterlogged, as this can lead to rot. Monitor the humidity levels and adjust ventilation if needed.
- Watering: Keep the soil consistently moist but not soggy. Check the moisture level regularly and water as needed. Avoid overwatering, as excessive moisture can lead to fungal growth or root damage.
- Ventilation: While it’s important to create a humid environment, it’s also crucial to provide adequate air circulation to prevent fungal diseases. Lift the plastic cover or dome periodically to allow fresh air to circulate around the seedlings.
By maintaining the optimal growing conditions, your Moringa seedlings will have the best chance of thriving. Keep a close eye on the seedlings as they start to emerge, and make any necessary adjustments to the temperature, light, humidity, and water to ensure their healthy growth.
In the next step, we’ll delve into the process of caring for the Moringa seedlings as they develop into sturdy plants. So, let’s move forward and explore the world of nurturing these little green wonders!
Step 6: Caring for the Seedlings
Once your Moringa seedlings have emerged from the soil, it’s time to provide them with proper care to promote strong growth and ensure their well-being. Follow these steps to care for your Moringa seedlings:
- Remove the plastic cover or dome: As the seedlings grow, it’s important to gradually reduce the humidity around them. Remove the plastic cover or dome, allowing the seedlings to acclimate to the surrounding air.
- Provide adequate lighting: Place the seedlings in a bright location where they can receive 6-8 hours of sunlight daily. If sunlight is limited, continue using grow lights to provide sufficient light energy for their growth.
- Water regularly: Keep the soil consistently moist, but be careful not to overwater. Check the moisture level by gently touching the soil. If it feels dry about an inch below the surface, it’s time to water the seedlings. Water evenly around the base of the plants to ensure thorough hydration.
- Thin out seedlings (if necessary): If multiple seedlings have sprouted in a single container, thin them out to allow enough space for each plant to grow. Carefully remove the weaker seedlings, leaving the strongest and healthiest ones to develop into mature Moringa trees.
- Fertilize cautiously: Once the seedlings have developed their second set of true leaves, you can start applying a diluted liquid fertilizer to provide them with additional nutrients. Use a balanced fertilizer with a nitrogen-phosphorus-potassium (N-P-K) ratio of 10-10-10 or 20-20-20. Follow the package instructions for proper dilution and frequency of application.
- Protect from pests: Keep an eye out for pests that may attack your Moringa seedlings. Common pests include aphids, caterpillars, and spider mites. If necessary, use organic pest control methods to protect your plants, such as insecticidal soaps or neem oil.
- Support the seedlings: As the seedlings grow taller, provide them with support by inserting small stakes or bamboo poles near their base. Gently tie the stems to the stakes using soft plant ties or twine. This will prevent them from bending or breaking in strong winds.
By following these care instructions, you will establish a strong foundation for your Moringa seedlings to flourish. Enjoy observing their growth and development as they progress towards becoming mature, productive Moringa trees.
Next, we will discuss the crucial step of transplanting the seedlings into their permanent growing location. So, stay tuned and continue on this gardening journey!
Step 7: Transplanting the Seedlings
As your Moringa seedlings grow larger and stronger, they will eventually outgrow their initial containers and need to be transplanted into their permanent growing location. Transplanting is a crucial step in the growth process, as it allows the seedlings to establish deeper roots and access more resources. Follow these steps to successfully transplant your Moringa seedlings:
- Choose the right time: The ideal time to transplant your seedlings is when they are 6-8 weeks old and have developed 4-6 true leaves. This ensures that they are well-established and can handle the stress of transplanting.
- Prepare the new planting location: Select a sunny spot in your garden with well-draining soil. Dig a hole that is slightly larger than the root ball of the seedling. Ensure that the hole is deep enough to accommodate the entire root system without bending or crowding the roots.
- Water the seedlings: Before transplanting, give the seedlings a thorough watering. Moist soil will help hold the root ball intact during the transplanting process.
- Gently remove the seedlings: Carefully loosen the soil around the seedlings in their current containers. Hold the seedlings by their true leaves or the base of their stems and gently lift them out, taking care not to damage the delicate roots.
- Place the seedlings in the new holes: Lower the seedlings into the prepared holes and position them at the same depth they were growing before. The soil line on the stem should be level with the surrounding soil.
- Backfill the holes: Fill the holes around the seedlings with soil, gently pressing it down to eliminate air pockets. Ensure that the soil is in firm contact with the roots for good root-to-soil contact.
- Water the transplanted seedlings: Give the transplanted seedlings a thorough watering to help settle the soil and provide hydration to the roots. Continue to water them regularly during the initial period to promote proper establishment.
- Protect the seedlings: Shield the newly transplanted seedlings from strong winds and intense sunlight for a few days to help reduce stress. You can use temporary shade cloth or plant covers to provide some shade during the hottest parts of the day.
Transplanting your Moringa seedlings into their permanent growing location allows them to continue their growth journey and thrive in a suitable environment. Monitor the transplanted seedlings closely, ensuring they receive adequate watering and protection as they adjust to their new surroundings.
In the next step, we’ll delve into the ongoing care required to ensure the health and productivity of your mature Moringa plants. So, let’s proceed and explore the final step in this Moringa growing guide!
Step 8: Continuing Care for the Mature Plants
Congratulations on successfully growing your Moringa plants to maturity! While the hard work of starting from seeds and transplanting is complete, it’s important to continue caring for your mature Moringa plants to maintain their health and productivity. Here are some key aspects to consider for their ongoing care:
- Watering: Mature Moringa trees require regular watering, especially during dry periods. Ensure that the soil around the plants remains consistently moist but not waterlogged. Consider using a drip irrigation system to provide consistent and efficient watering.
- Pruning: Prune your Moringa trees periodically to maintain their shape, encourage branching, and reduce overcrowding. Remove any dead, damaged, or diseased branches. Additionally, consider pruning to control the size and promote airflow within the canopy.
- Fertilizing: Moringa trees benefit from regular fertilization to support their growth and productivity. Apply a balanced organic fertilizer, such as one with an N-P-K ratio of 10-10-10, during the growing season. Follow the package instructions for proper application rates and frequencies.
- Pest and disease control: Monitor your Moringa trees regularly for any signs of pests or diseases. Common pests include aphids, caterpillars, and whiteflies. If you notice any issues, promptly take appropriate measures, such as applying organic pest control methods or seeking advice from a local gardening expert.
- Harvesting: Once your Moringa trees reach maturity, you can begin harvesting their leaves, pods, and seeds. Harvest the leaves by selectively picking them to encourage continuous growth. Harvest the pods when they are young and tender for culinary use. Allow some pods to mature and produce seeds for future planting.
- Winter care: If you live in a region with cold winters, take measures to protect your Moringa trees from freezing temperatures. Consider wrapping the trunks with burlap or providing temporary shelters to shield them from frost and cold winds.
By providing proper ongoing care, your mature Moringa plants will continue to thrive and provide you with a bounty of nutritious leaves, pods, and seeds. Enjoy the rewards of your gardening efforts and savor the many benefits of Moringa!
With this, we conclude our comprehensive guide on starting Moringa seeds and caring for the plants from germination to maturity. We hope this information has empowered you with the knowledge to successfully grow and nurture your own Moringa trees. Happy gardening!
Read more: How To Grow Moringa Seeds
Conclusion
Growing Moringa from seeds is a rewarding experience that allows you to cultivate a remarkable tree with endless health benefits. By following the steps outlined in this guide, you can successfully start Moringa seeds and guide them through the journey of germination, growth, and maturity.
From gathering supplies and preparing the planting medium to soaking the seeds, planting, and providing optimal growing conditions, each stage is essential for the successful development of your Moringa seedlings. Caring for the seedlings, transplanting them into their permanent location, and continuing their care as mature plants will ensure their long-term health and productivity.
Remember to monitor the soil moisture, provide adequate sunlight, and protect your Moringa plants from pests and diseases. Regular watering, pruning, and fertilizing will further support their steady growth and maintain their vitality. And don’t forget to savor the joy of harvesting Moringa leaves, pods, and seeds as they reach maturity!
As you embark on your Moringa growing journey, remember to stay curious, adapt to the needs of your plants, and enjoy the process of connecting with nature. With patience, care, and the knowledge gained from this guide, you can successfully grow Moringa trees and reap the benefits of this incredible “tree of life” in your own garden.
So, roll up your sleeves, gather your supplies, and let your Moringa adventure begin. Happy growing!
Frequently Asked Questions about How To Start Moringa Seeds
Was this page helpful?
At Storables.com, we guarantee accurate and reliable information. Our content, validated by Expert Board Contributors, is crafted following stringent Editorial Policies. We're committed to providing you with well-researched, expert-backed insights for all your informational needs.


0 thoughts on “How To Start Moringa Seeds”