Articles
How To Insulate A Pole Barn Ceiling
Modified: October 28, 2024
Learn how to insulate your pole barn ceiling with our informative articles. Find expert tips and step-by-step instructions for a well-insulated space.
(Many of the links in this article redirect to a specific reviewed product. Your purchase of these products through affiliate links helps to generate commission for Storables.com, at no extra cost. Learn more)
Introduction
Welcome to this comprehensive guide on how to insulate a pole barn ceiling. Pole barns are versatile structures commonly used for various purposes like storage, workshops, or even as living spaces. However, without proper insulation, they can become uncomfortable, especially during extreme weather conditions.
Insulating your pole barn ceiling is a crucial step to regulate temperature, reduce energy costs, and create a more comfortable environment inside the structure. Whether you plan to use your pole barn for work or leisure, insulating the ceiling will provide numerous benefits.
In this article, we will take you through a step-by-step process of insulating a pole barn ceiling. From assessing the current situation to selecting the right insulation material and through the installation process, we will cover everything you need to know to successfully insulate your pole barn.
Before we dive into the steps, it’s important to mention that there are various insulation materials available in the market, each with its own pros and cons. It’s crucial to consider factors such as budget, climate conditions, and your specific requirements before choosing the right insulation for your pole barn ceiling.
Remember, proper insulation not only keeps your pole barn comfortable but also helps prevent issues like condensation, moisture buildup, and potential damage to the structure in the long run. So, without further ado, let’s get started with the first step: assessing the pole barn ceiling.
Key Takeaways:
- Properly insulating your pole barn ceiling is essential for maintaining a comfortable environment, reducing energy costs, and preventing moisture-related issues. Follow the step-by-step guide to ensure a successful insulation project.
- Choosing the right insulation material, sealing gaps, adding a vapor barrier, and considering finishing touches are crucial for achieving optimal insulation results. Regular maintenance and monitoring will ensure long-term benefits and durability.
Read more: How To Plan For Pole Barn Construction
Step 1: Assessing the Pole Barn Ceiling
Before you begin the insulation process, it’s crucial to assess the current condition of your pole barn ceiling. This step will help you determine the amount of insulation material you will need and identify any potential issues that need to be addressed.
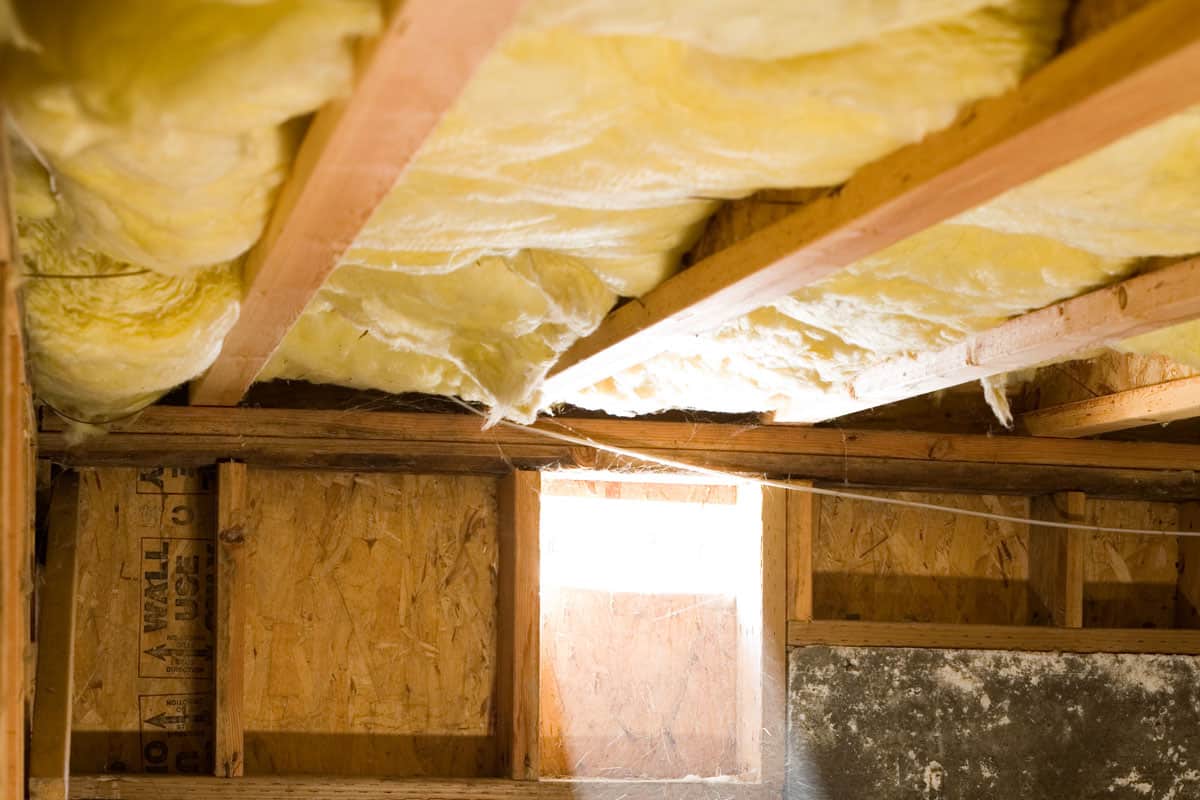
Start by examining the ceiling for any existing insulation. If there is insulation already in place, check its condition. Insulation that is damaged, moldy, or deteriorating will need to be removed and replaced.
Next, inspect the ceiling for any gaps, cracks, or holes. These openings can allow drafts to enter and compromise the effectiveness of the insulation. Use a flashlight to thoroughly examine the entire ceiling surface, focusing on areas like seams, corners, and joints.
If you come across any signs of water damage, such as stains or discoloration, be sure to investigate the source of the problem. Repairing any leaks or addressing moisture issues is essential before proceeding with the insulation.
Consider the climate in your region. If you experience extreme temperatures or high humidity, you might need additional insulation to create a comfortable environment inside the pole barn.
Lastly, measure the dimensions of your ceiling to calculate the square footage. This will help you determine the amount of insulation material you will need. Take into account the thickness of the insulation you plan to use and any gaps or obstructions, such as beams or HVAC systems, that may affect the coverage.
By thoroughly assessing your pole barn ceiling, you will have a clear understanding of the necessary preparations and materials needed for a successful insulation project. With this information in hand, you can move on to step two: choosing the right insulation material.
Step 2: Choosing the Right Insulation Material
Choosing the right insulation material is crucial for the effectiveness and longevity of your pole barn ceiling insulation. There are several options available, each with its own set of advantages and considerations. Let’s explore some of the common insulation materials used:
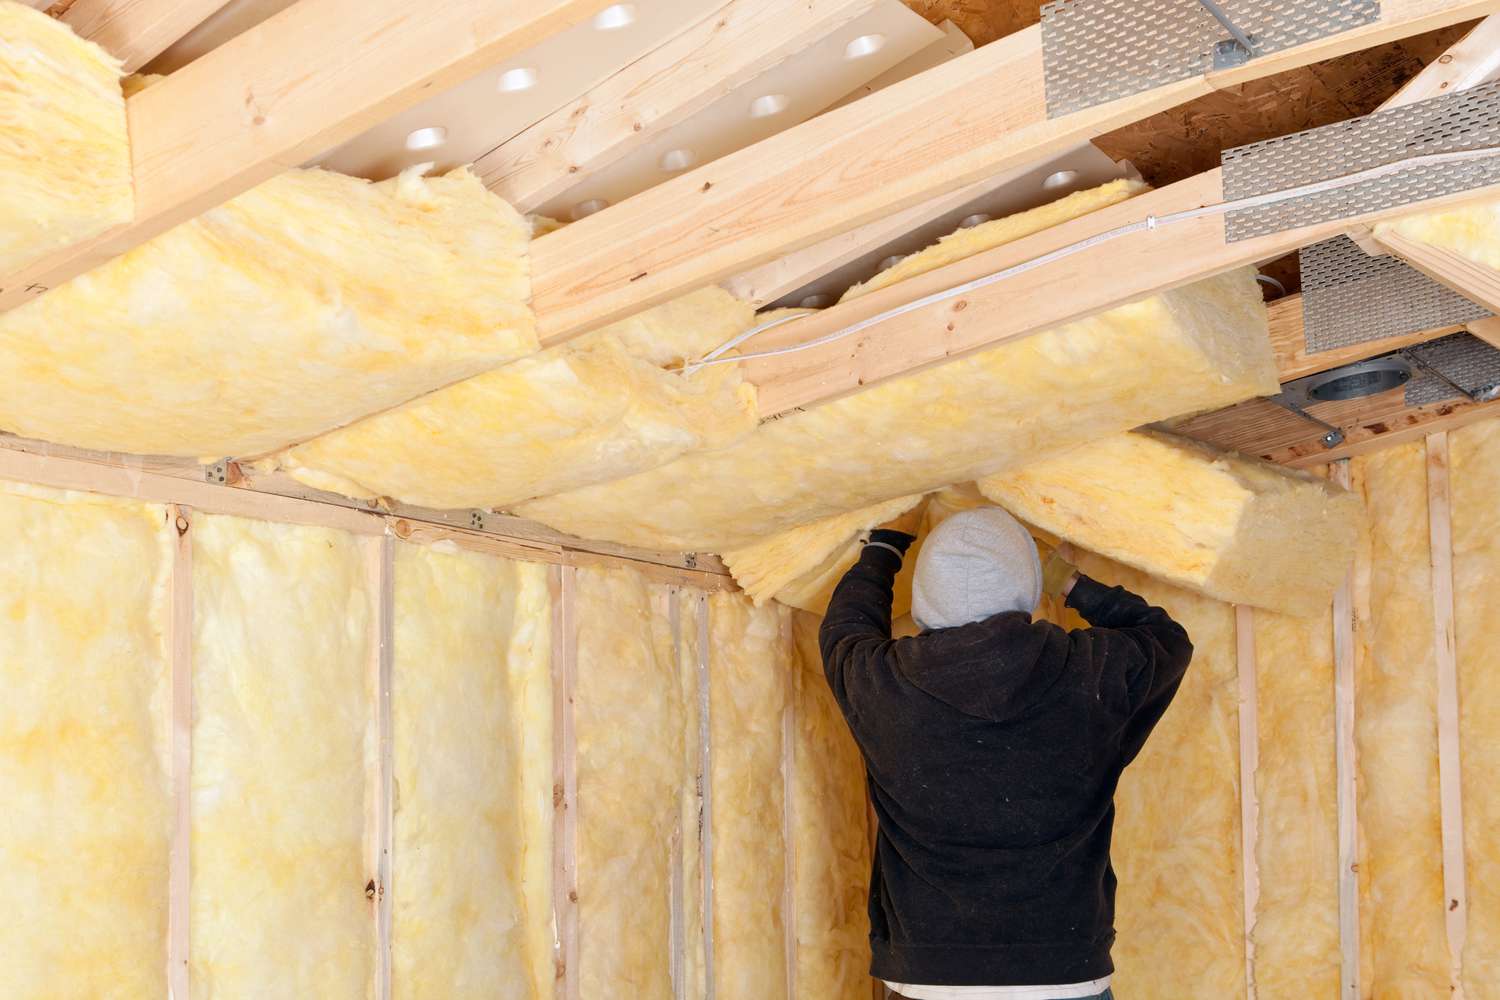
- Fiberglass Insulation: Fiberglass insulation is a popular choice for its affordability and ease of installation. It comes in rolls or batts and is made of tiny glass fibers that trap air to provide insulation.
- Spray Foam Insulation: Spray foam insulation is a versatile option that expands upon application, filling gaps and creating an airtight seal. It offers excellent insulation properties but often requires professional installation.
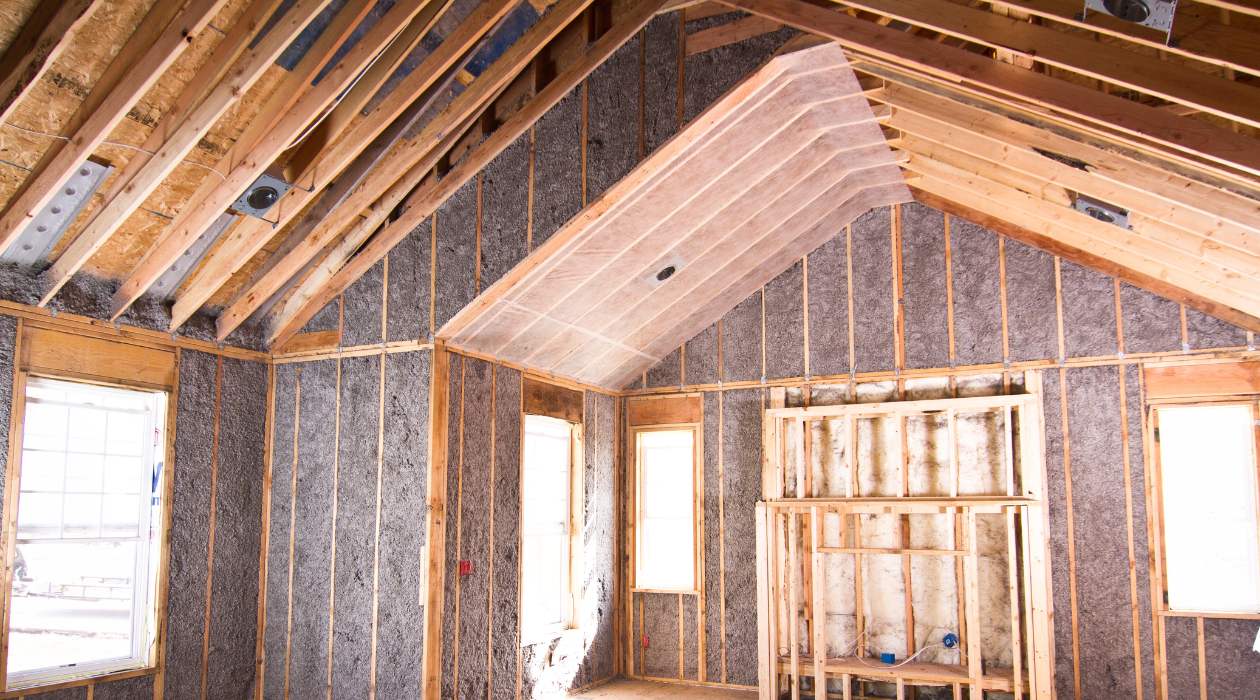
- Cellulose Insulation: Made from recycled paper or plant fibers, cellulose insulation is an eco-friendly choice. It has good insulating properties and can be blown or sprayed into the ceiling.
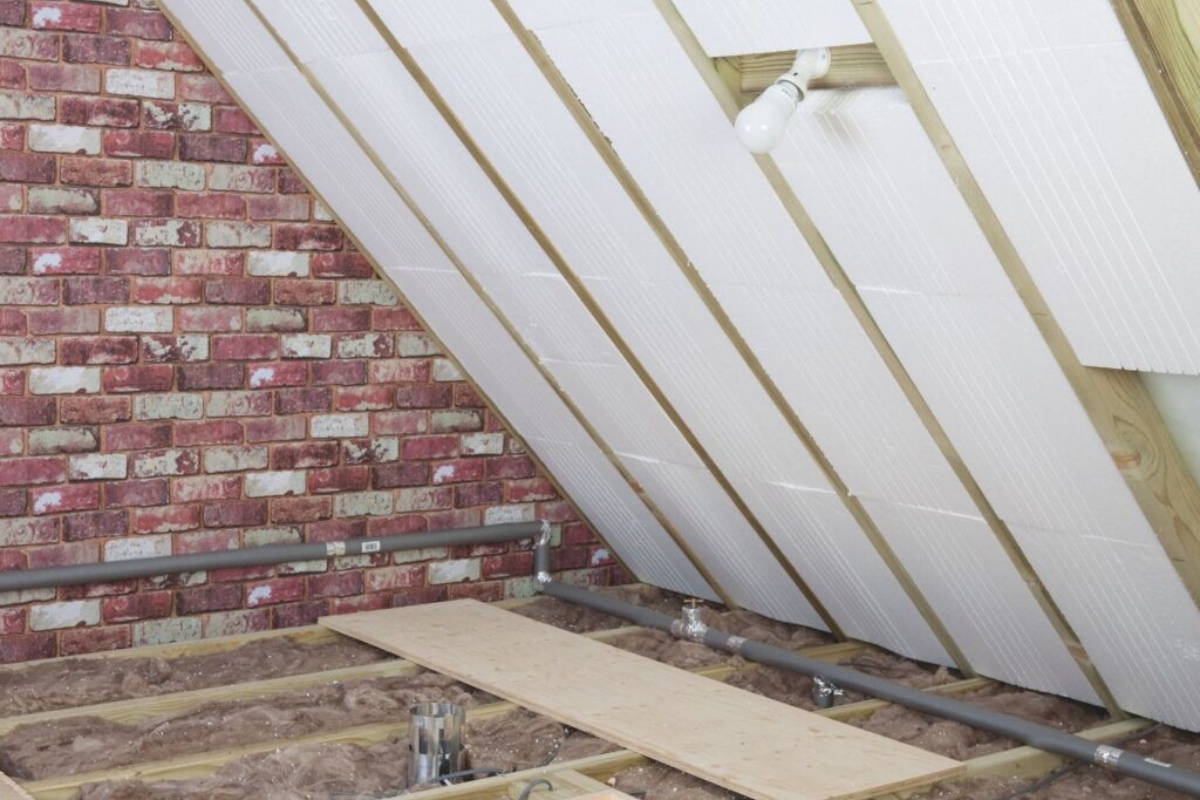
- Rigid Foam Insulation: Rigid foam insulation comes in rigid panels or sheets, offering high thermal resistance. It is durable and excellent for insulating irregular-shaped areas or areas prone to moisture.
Consider factors such as R-value, which measures the insulation material’s thermal resistance. The higher the R-value, the better the insulation. Take into account the climate in your region and the desired level of insulation you want to achieve.
Additionally, consider any specific needs or concerns. For example, if fire safety is a priority, look for insulation materials with fire retardant properties. If you want to reduce noise transmission, opt for insulation with soundproofing capabilities.
Keep in mind that some insulation materials may require additional protective measures, such as a vapor barrier, to prevent moisture buildup and potential damage.
Once you have evaluated your options and selected the appropriate insulation material, you are ready to move on to the next step: gathering the necessary tools and equipment.
Step 3: Gathering the Necessary Tools and Equipment
Now that you have chosen the right insulation material for your pole barn ceiling, it’s time to gather the necessary tools and equipment to complete the installation process effectively. Having the right tools on hand will ensure a smoother and more efficient insulation project. Here are some essential items you will need:
- Utility Knife: A sharp utility knife will be used to cut the insulation material to the required size and shape.
- Tape Measure: Measure the dimensions of the ceiling and insulation accurately to ensure a proper fit.
- Safety Equipment: It’s important to prioritize safety during the installation process. Wear protective gloves, safety glasses, and a dust mask to shield yourself from any potential hazards.
- Staple Gun: A staple gun, along with appropriate staples, will be used to secure the insulation material in place.
- Ladder or Scaffolding: Depending on the height of your pole barn ceiling, you may need a ladder or scaffolding to reach and work comfortably.
- Sealing Materials: Depending on the insulation type and any gaps or cracks in the ceiling, you may require sealing materials such as caulk or expanding foam to fill in and seal any openings.
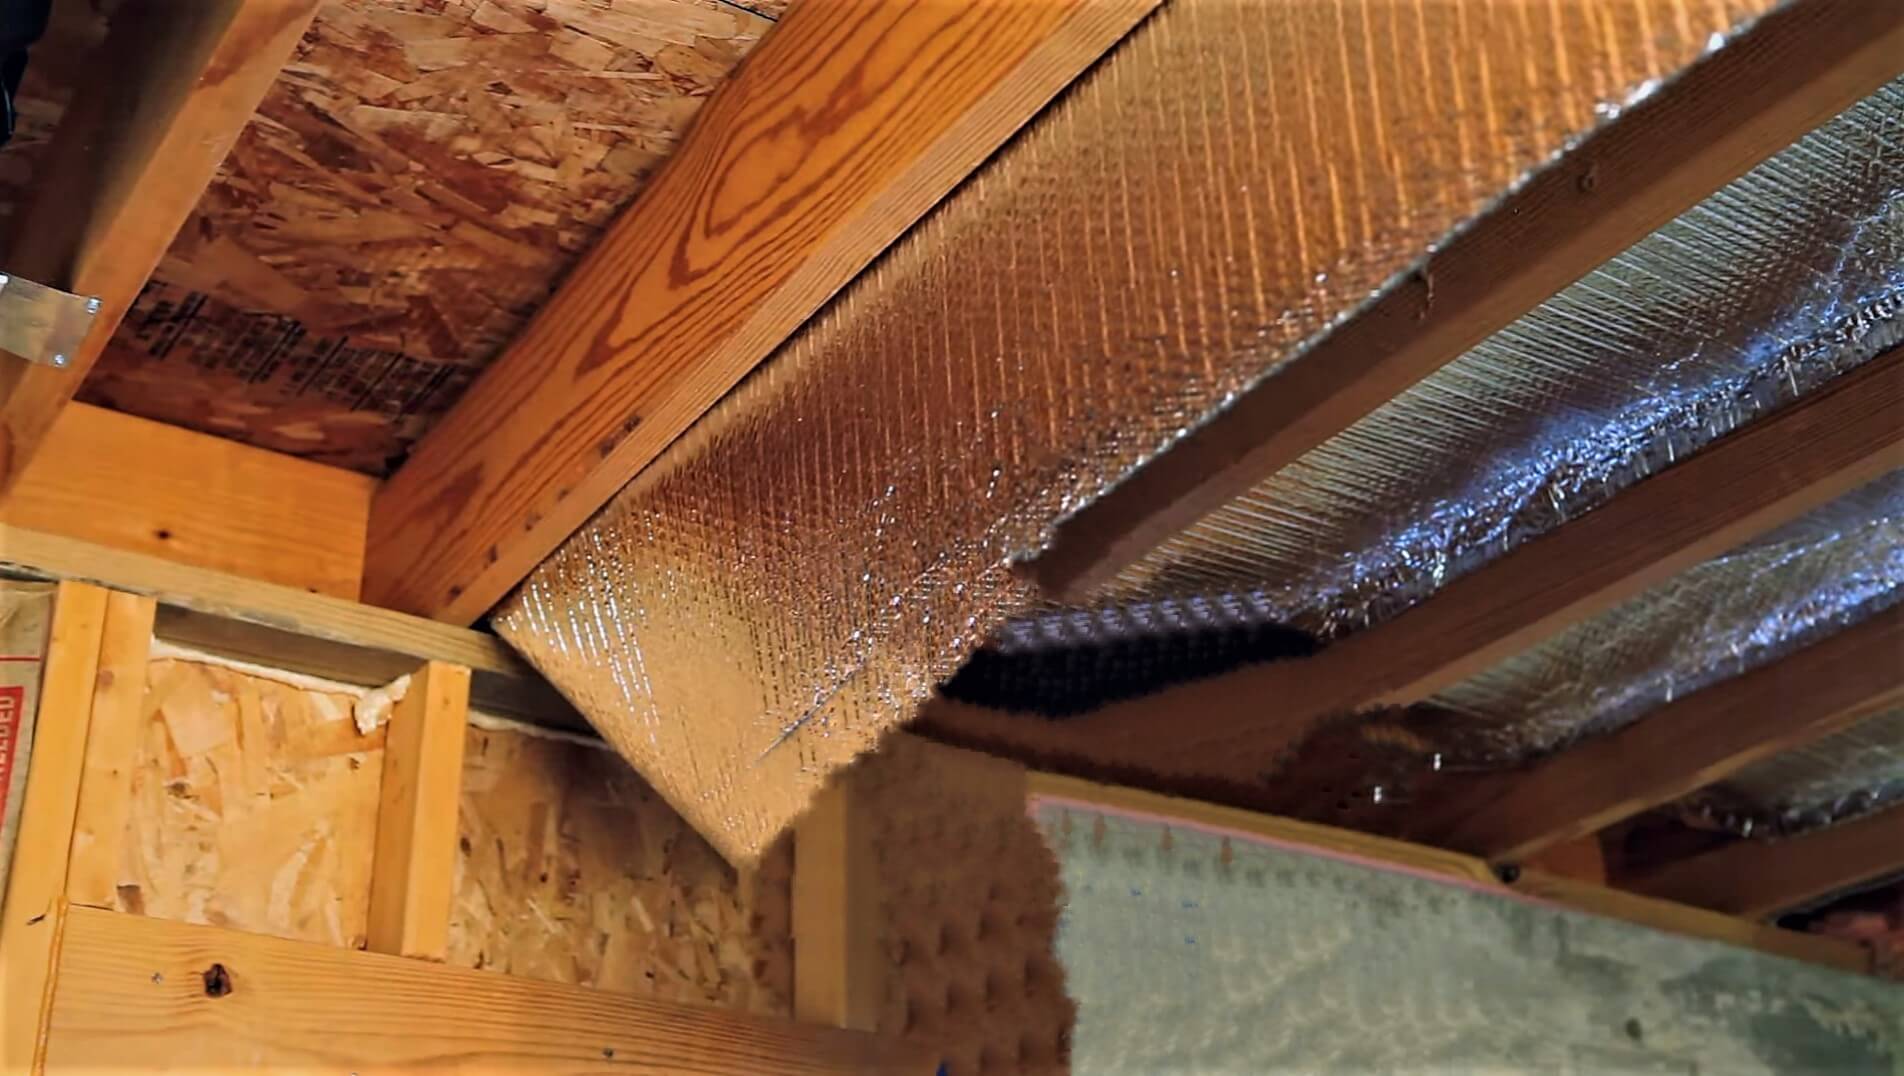
- Vapor Barrier: If the insulation material does not have an integrated vapor barrier, you will need to purchase a separate vapor barrier to install over the insulation to prevent moisture buildup.
It’s essential to have all these tools and equipment readily available before starting the insulation project. Gather them in one place, ensuring they are in good condition and functioning properly. This way, you can work efficiently and avoid unnecessary delays during the process.
Once you have collected all the necessary tools and equipment, you can proceed to the next step: preparing the pole barn ceiling for insulation.
Step 4: Preparing the Pole Barn Ceiling
Before you begin installing the insulation, it’s important to properly prepare the pole barn ceiling. This step will ensure that the insulation adheres well and provides effective insulation. Follow these guidelines to prepare the ceiling:
- Clean the Ceiling: Remove any dust, debris, or loose particles from the ceiling by using a broom or vacuum cleaner. This will provide a clean surface for the insulation to adhere to.
- Repair any Damage: Address any structural issues or damage in the ceiling. Fix loose or damaged boards, repair leaks, and ensure that the ceiling is in good condition before proceeding.
- Seal Gaps and Cracks: Use caulk or expanding foam to seal any visible gaps, cracks, or holes in the ceiling. This will help prevent air leakage and ensure efficient insulation.
- Install Rafter Vents: If your pole barn has rafters, consider installing rafter vents before insulating. Rafter vents create a gap between the insulation and the roof surface, allowing proper ventilation and preventing condensation.
- Clear the Area: Remove any obstructions or obstacles from the ceiling area. This includes removing objects, tools, or equipment that may hinder the installation process.
By properly preparing the pole barn ceiling, you will create a solid foundation for the insulation installation. This step is crucial for maximizing the effectiveness of the insulation and ensuring long-lasting results.
Once the ceiling is prepared, you are ready to move on to the next step: installing the insulation.
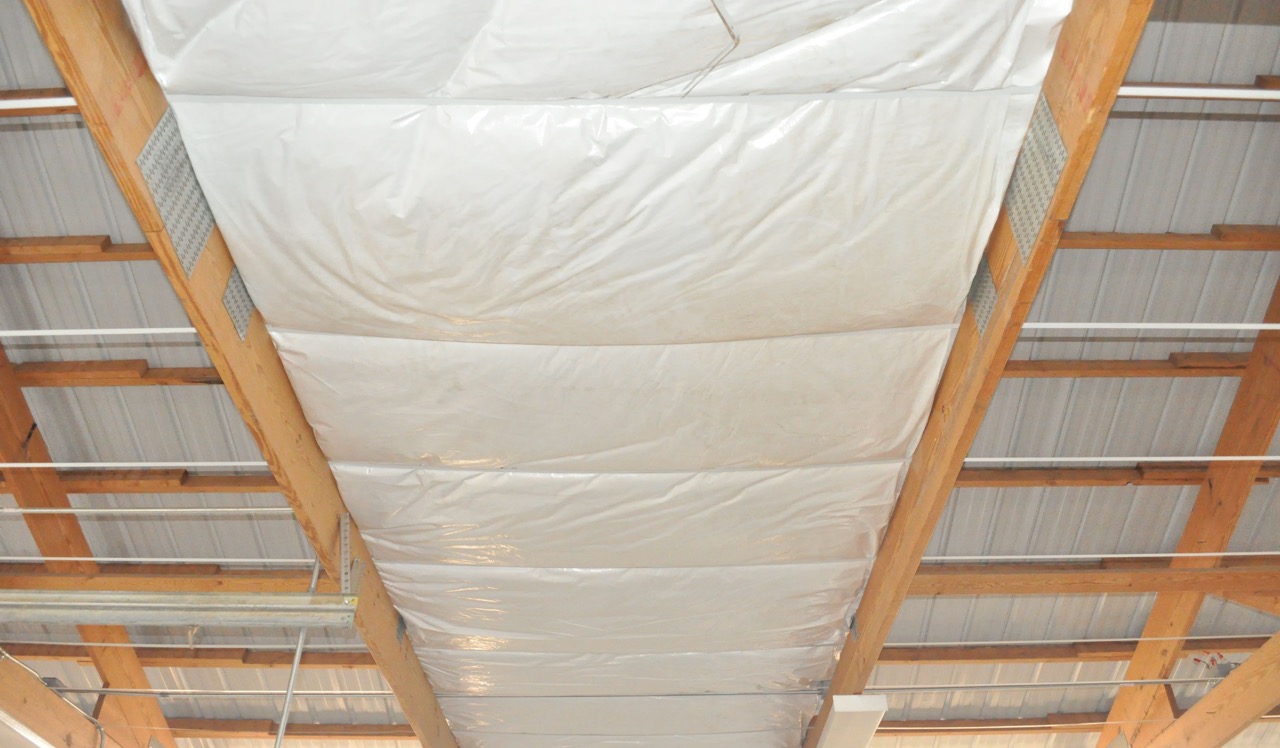
Consider using spray foam insulation for the ceiling of a pole barn. It provides a seamless, airtight seal and has a high R-value, making it an effective option for insulating the space.
Read more: How To Insulate A Garage Ceiling
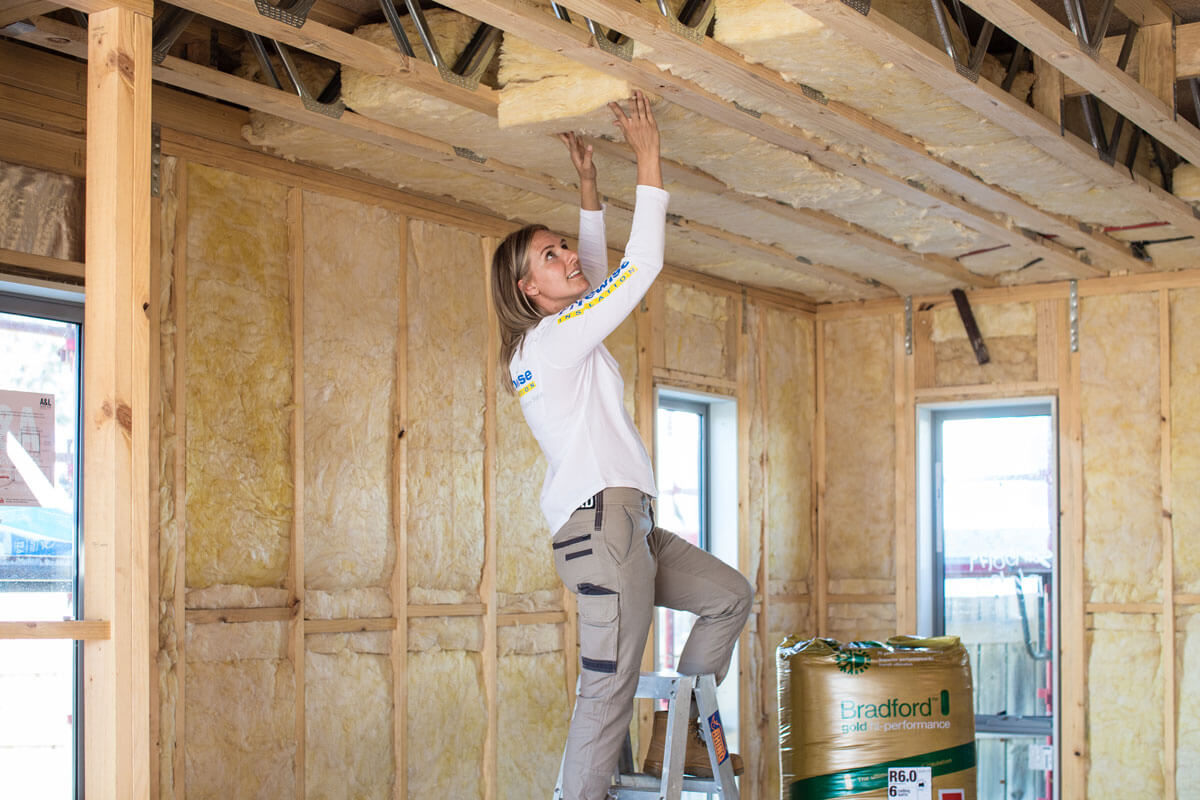
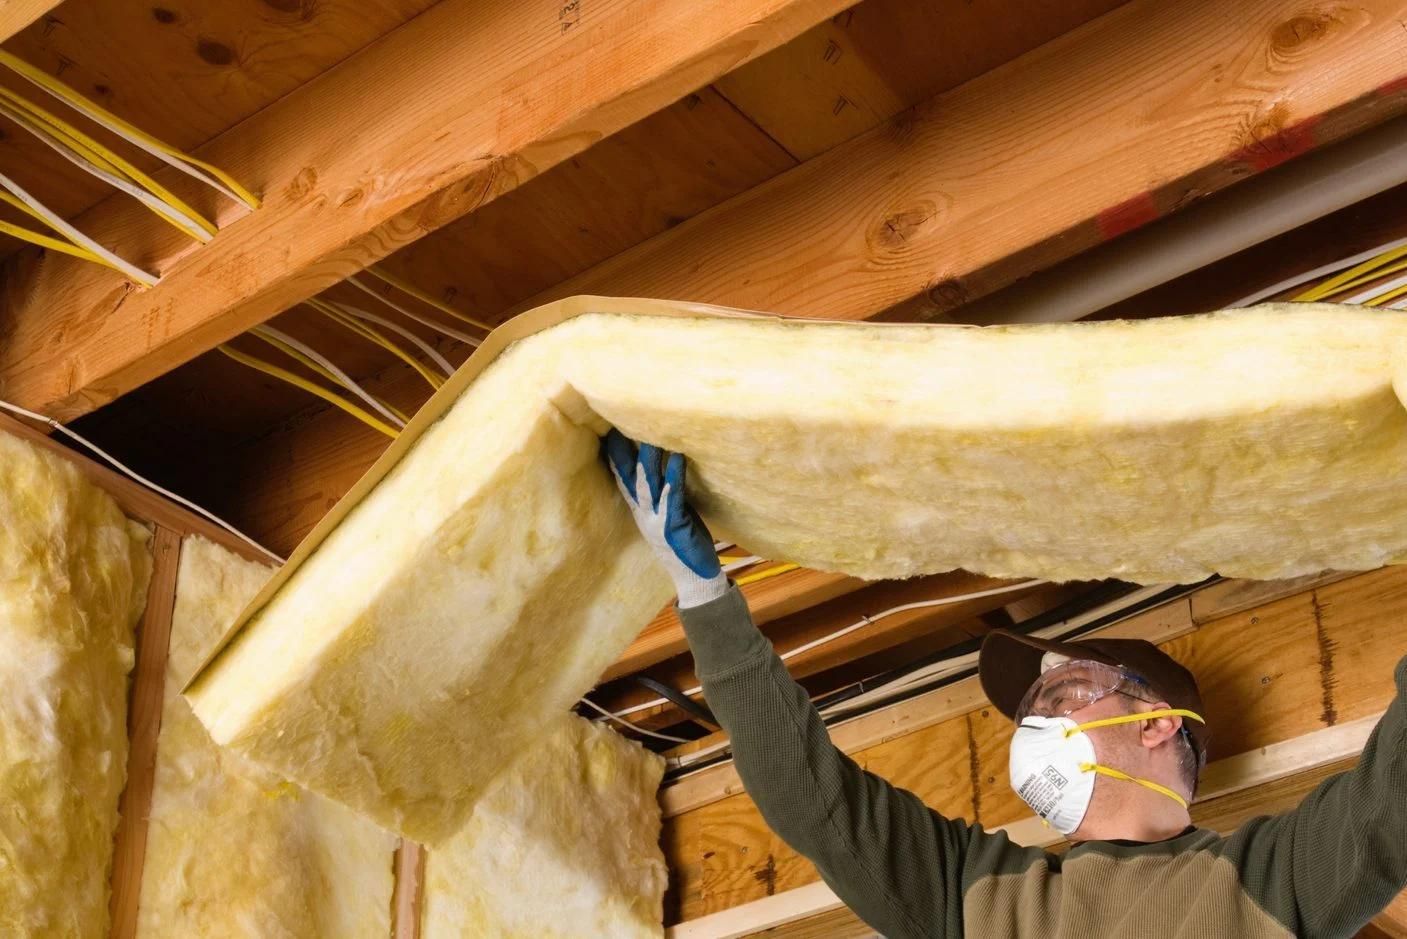
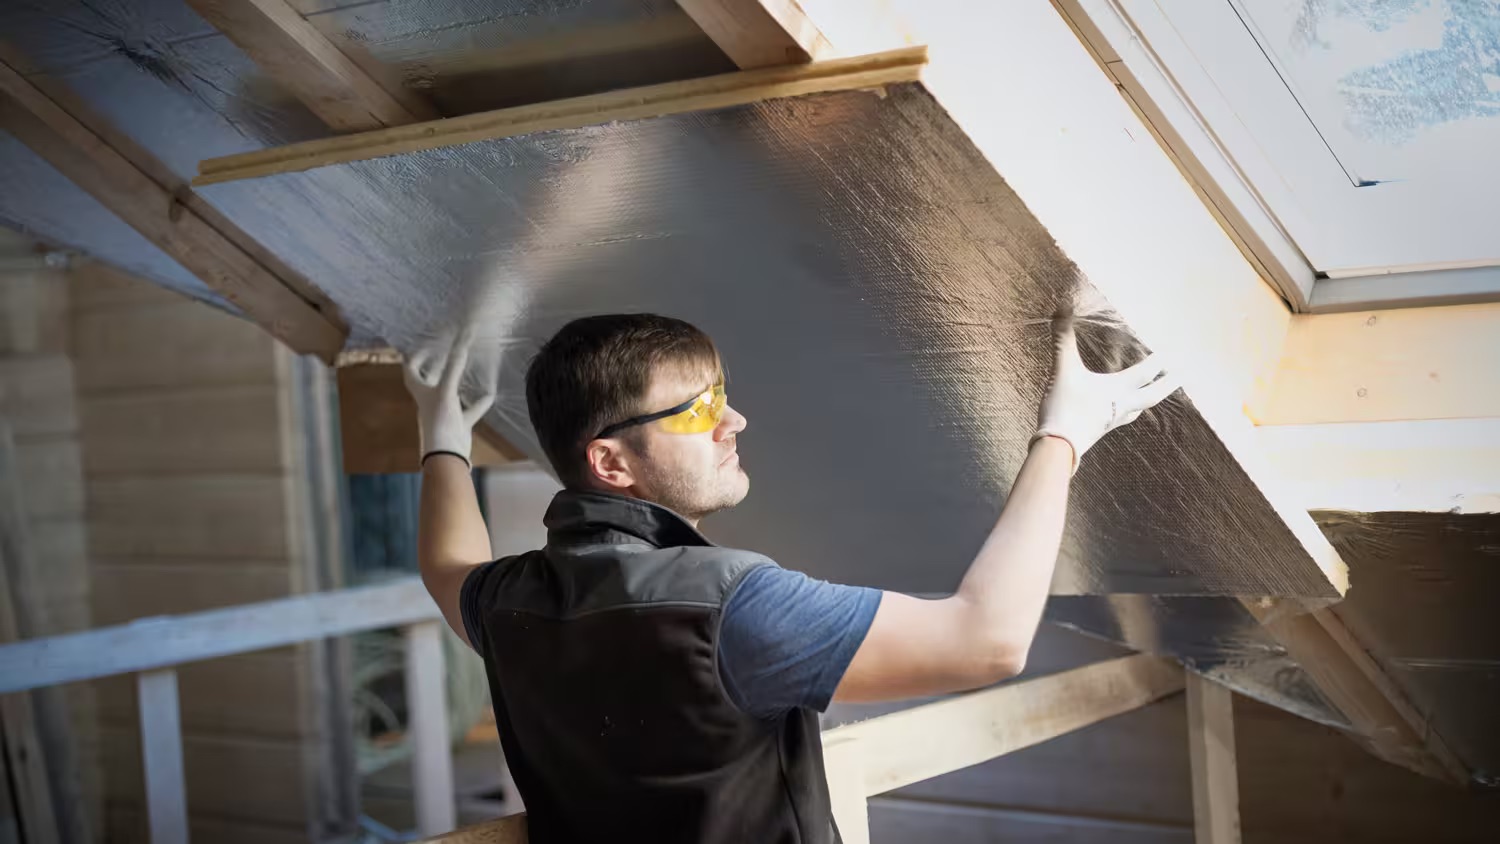
Step 5: Installing the Insulation
Now that you have prepared the pole barn ceiling, it’s time to start installing the insulation. Follow these steps for a successful installation:
- Measure and Cut: Use a tape measure to measure the length and width of the area you are insulating. Cut the insulation material to fit the dimensions, ensuring a snug and precise fit.
- Start from the Farthest Point: Begin installing the insulation from the farthest point of the ceiling and work your way toward the exit or access point. This will prevent you from stepping on already installed insulation.
- Secure the Insulation: Use a staple gun to secure the insulation in place. Staple the edges of the insulation at regular intervals, making sure it stays in position.
- Avoid Compressing the Insulation: Do not compress the insulation material as it will reduce its effectiveness. Allow it to expand and fill the cavity properly.
- Work in Sections: Install the insulation in manageable sections, ensuring uniform coverage. Take breaks between sections if needed, but try to maintain a consistent installation pattern.
- Trim as Necessary: Trim the insulation using a utility knife to fit around any beams, HVAC systems, or other obstructions in the ceiling. This will ensure a clean and professional-looking installation.
- Continue Installing: Repeat the process until you have covered the entire pole barn ceiling with insulation. Ensure that there are no gaps or areas left uninsulated.
Remember to prioritize safety while installing the insulation. Wear protective gloves and a dust mask to avoid any irritation or respiratory issues.
Additionally, if you are using fiberglass insulation, be cautious of the tiny glass fibers when handling the material. These can cause skin irritation or discomfort, so take necessary precautions or wear protective clothing.
Once you have successfully installed the insulation, you can move on to the next step: sealing the insulation gaps.
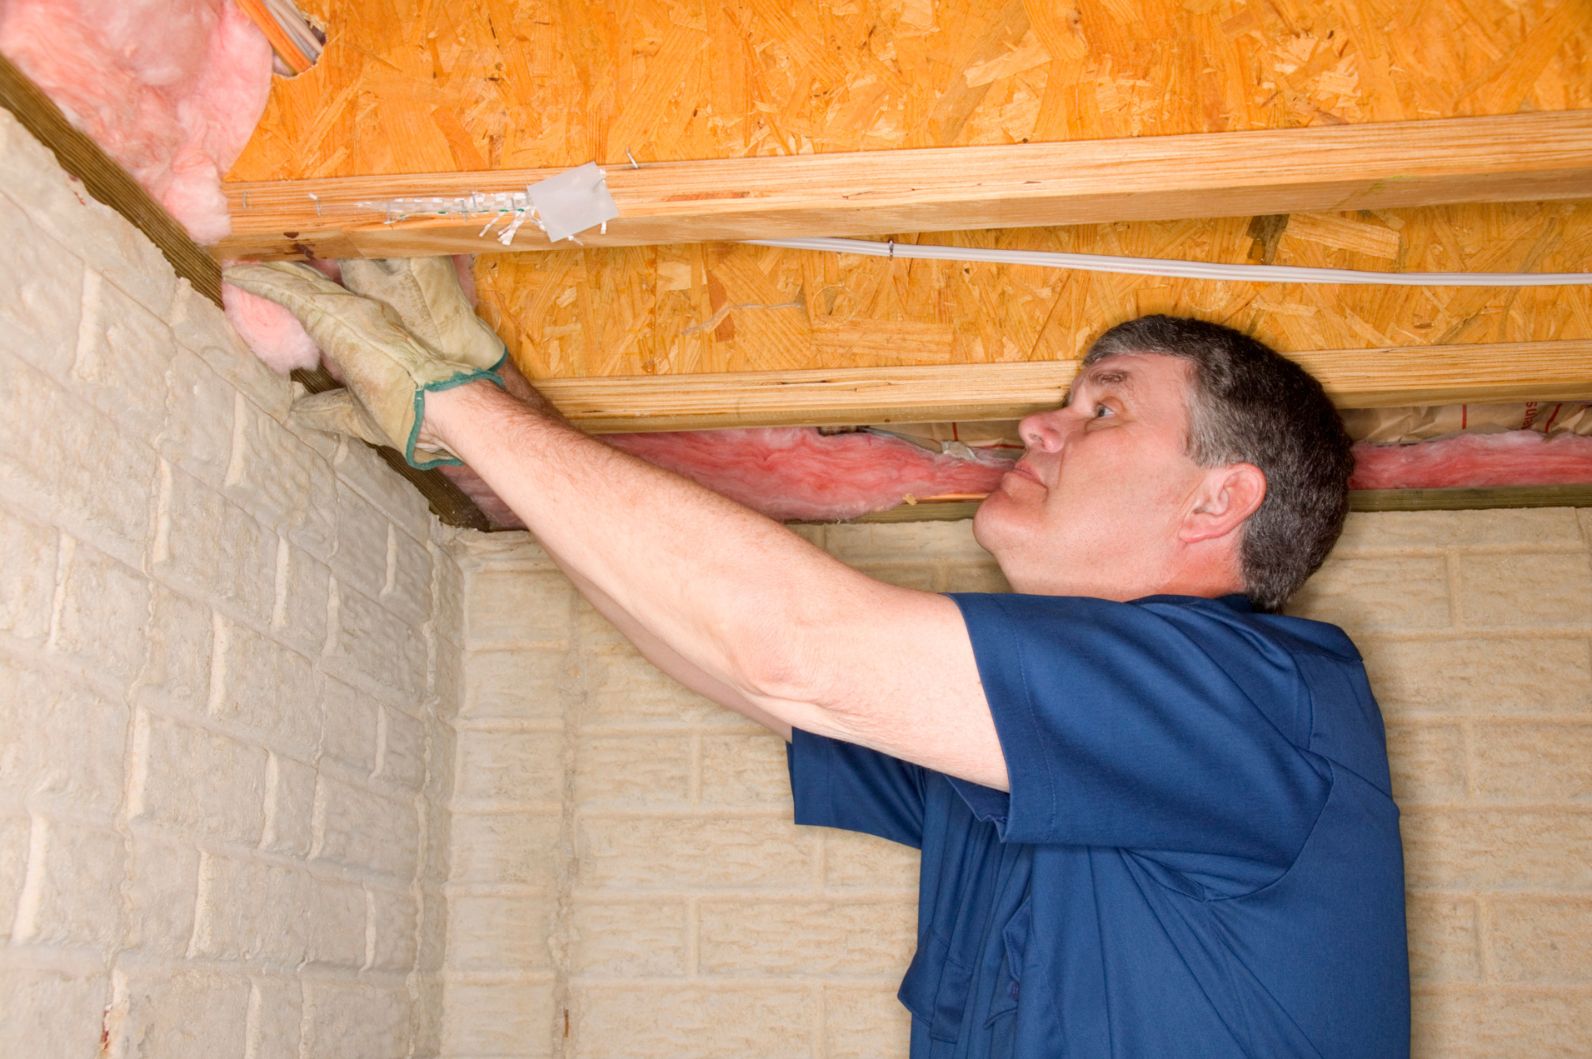
Step 6: Sealing the Insulation Gaps
After installing the insulation in your pole barn ceiling, it’s important to seal any gaps or openings to ensure maximum effectiveness. Sealing the insulation gaps will help prevent air leakage, drafts, and moisture infiltration. Follow these steps to seal the insulation gaps:
- Inspect for Gaps: Thoroughly inspect the installed insulation for any gaps or spaces where air can pass through. Pay close attention to the edges, corners, and seams.
- Use Expanding Foam: Fill the gaps with expanding foam insulation. Spray the foam into the gaps, allowing it to expand and fill the spaces. Be cautious not to overfill, as excess foam can be trimmed away later.
- Trim Excess Foam: Once the foam has cured and expanded, trim any excess foam using a utility knife. This will ensure a neat and flush finish.
- Apply Caulk: Use caulk to seal any smaller gaps or cracks that cannot be filled with foam insulation. Apply a bead of caulk along the gaps, smoothing it with a caulk gun or your finger for a clean finish.
- Check for Proper Sealing: After sealing the gaps, double-check for any remaining openings. Ensure that all gaps are properly sealed and no air can pass through.
Properly sealing the insulation gaps will increase the energy efficiency of your pole barn, reduce heating and cooling costs, and create a more comfortable indoor environment.
Remember to allow the foam and caulk to dry and cure fully before continuing with the next steps. This will ensure that the seals are effective and durable.
Once you have sealed the insulation gaps, you can proceed to the next step: adding a vapor barrier for additional protection.
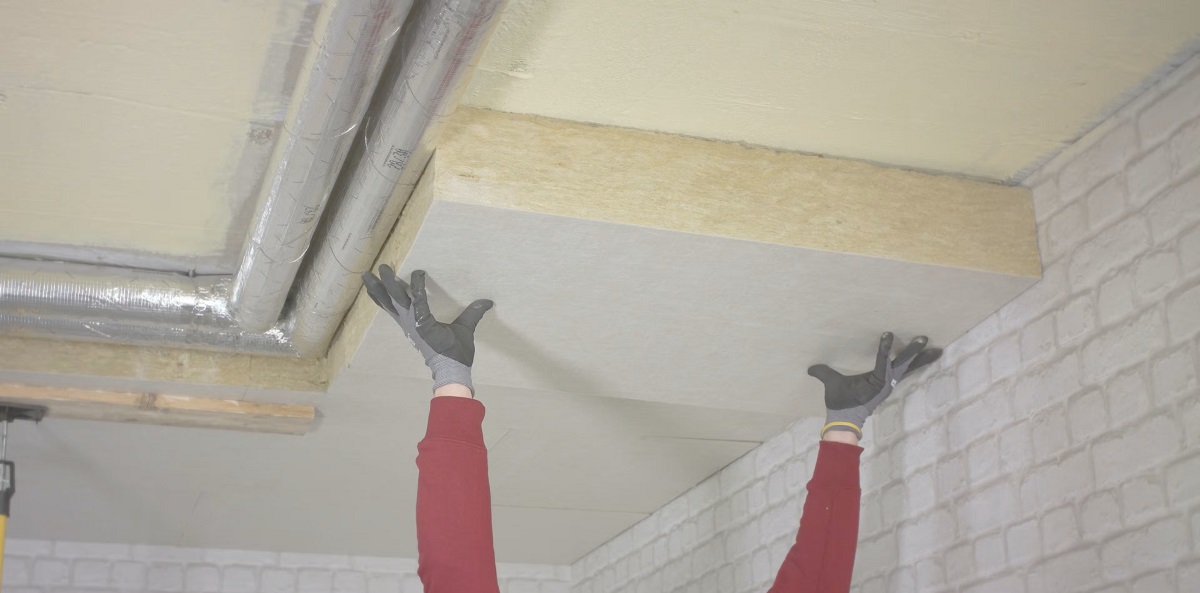
Step 7: Adding a Vapor Barrier
Adding a vapor barrier is an important step in insulating your pole barn ceiling. A vapor barrier helps control moisture levels and prevents condensation from damaging the insulation and the structure itself. Follow these guidelines to add a vapor barrier:
- Select the Right Vapor Barrier: Choose a vapor barrier that suits your specific needs and the insulation material you used. Look for a barrier with a high moisture resistance rating.
- Clean and Dry the Ceiling: Ensure that the ceiling surface is clean, dry, and free from any debris or moisture before installing the vapor barrier.
- Measure and Cut: Measure the dimensions of the ceiling and cut the vapor barrier to fit. Leave a slight overlap at the edges to ensure proper coverage.
- Secure the Vapor Barrier: Attach the vapor barrier to the ceiling using staples or adhesive. Make sure it is taut and properly secured without any wrinkles or gaps.
- Seal the Edges: Seal the seams and edges of the vapor barrier using special tape or caulk designed for vapor barriers. This will create an airtight seal, preventing any moisture from entering.
- Inspect for Proper Installation: Check the vapor barrier thoroughly to ensure there are no tears, punctures, or areas where it is not properly attached. Address any issues immediately.
Adding a vapor barrier is crucial, especially in areas where high humidity or significant temperature differences between the interior and exterior occur. It helps prevent moisture buildup, mold growth, and potential damage to the insulation or structure.
Remember, proper installation and maintenance of the vapor barrier are essential for its effectiveness. Regularly inspect the barrier for any signs of damage or deterioration and address them promptly.
With the vapor barrier successfully installed, you can move on to the final step: applying finishing touches and considering additional considerations.
Step 8: Finishing Touches and Additional Considerations
Congratulations on reaching the final step of insulating your pole barn ceiling! Now it’s time to add some finishing touches and consider a few additional factors for a complete insulation project.
- Inspect the Insulation: Take a final look at the installed insulation to ensure that it is in place and hasn’t shifted or become dislodged during the installation process. Make any necessary adjustments or re-secure any loose sections.
- Check for Air Leaks: Once the insulation is in place, conduct a thorough check to ensure there are no remaining air leaks. Use your hand to feel for any drafts or use a smoke pen to identify areas where air may be escaping.
- Consider Additional Insulation: Depending on your specific needs and climate conditions, you may consider adding additional insulation to enhance the temperature control and energy efficiency of your pole barn. Consult with insulation professionals to determine if more insulation is necessary.
- Monitor Humidity Levels: Regularly monitor the humidity levels inside your pole barn. Excess humidity can lead to condensation and potential moisture issues. Use a hygrometer to measure the humidity and take necessary steps to maintain a healthy and balanced level.
- Maintain the Insulation: Insulation requires regular maintenance to ensure its longevity and effectiveness. Keep the area around the insulation clean and free from debris. Inspect for any signs of damage, moisture, or mold growth, and address them promptly.
Remember, a well-insulated pole barn ceiling not only provides comfort and energy efficiency but also helps protect the overall structure. Proper insulation can contribute to the longevity and resilience of the pole barn.
By following these eight steps, you have successfully learned how to insulate a pole barn ceiling. Your pole barn is now equipped with efficient insulation that will keep it cozy, energy-efficient, and protected from extreme weather conditions.
As always, if you encounter any difficulties, have specific questions, or are uncertain about any step, it is recommended to consult with insulation professionals to ensure a successful insulation project.
Now go ahead and enjoy your well-insulated pole barn!
Read more: How To Attach Insulation To Ceiling
Conclusion
Insulating your pole barn ceiling is a worthwhile investment that brings numerous benefits. By following the steps outlined in this comprehensive guide, you have learned how to assess the ceiling, choose the right insulation material, gather the necessary tools, prepare the ceiling, install the insulation, seal gaps, add a vapor barrier, and consider finishing touches and additional considerations.
Properly insulating your pole barn ceiling provides various advantages, including:
- Improved Temperature Control: Insulation helps regulate the temperature inside your pole barn, making it comfortable year-round regardless of the weather outside.
- Reduced Energy Costs: Insulated ceilings minimize heat loss in the winter and heat gain in the summer, leading to lower energy consumption and decreased utility bills.
- Moisture and Condensation Control: Installing a vapor barrier along with proper sealing helps prevent moisture buildup and condensation, safeguarding your insulation and the structural integrity of the pole barn.
- Enhanced Comfort and Livability: Insulation creates a more enjoyable and comfortable environment inside the pole barn, whether you use it as a workspace, storage area, or living space.
- Long-Term Benefits and Durability: Properly installed and maintained insulation can contribute to the longevity and durability of your pole barn, protecting it from potential damage caused by extreme temperature changes and moisture.
Remember, choosing the right insulation material, taking precautions to seal gaps, and adding a vapor barrier are all essential steps in achieving optimal insulation results. Regularly monitor the condition of your insulation, address any issues promptly, and consider additional insulation if necessary.
Now that you have equipped yourself with the knowledge and steps required to insulate your pole barn ceiling, it’s time to embark on your insulation journey. Enjoy the comfort, energy efficiency, and protection that a well-insulated pole barn provides!
Now that you've mastered insulating a pole barn ceiling, why not tackle more projects to spruce up your living space? Our next guide on DIY home improvements offers practical advice for transforming any part of your house with your own hands. Whether you're looking to update a room or overhaul your garden area, these simple yet effective tips will empower you to take control of your home's aesthetics and functionality. Don't miss out on becoming handier around the house!
Frequently Asked Questions about How To Insulate A Pole Barn Ceiling
Was this page helpful?
At Storables.com, we guarantee accurate and reliable information. Our content, validated by Expert Board Contributors, is crafted following stringent Editorial Policies. We're committed to providing you with well-researched, expert-backed insights for all your informational needs.

0 thoughts on “How To Insulate A Pole Barn Ceiling”