Home>Garden Essentials>When Can I Plant Hollyhock Seeds
Garden Essentials
When Can I Plant Hollyhock Seeds
Modified: March 16, 2024
Learn when to plant hollyhock seeds in your garden and ensure a beautiful bloom. Find expert tips and advice to help you grow stunning hollyhocks
(Many of the links in this article redirect to a specific reviewed product. Your purchase of these products through affiliate links helps to generate commission for Storables.com, at no extra cost. Learn more)
Introduction
Welcome to the wonderful world of hollyhocks! These stunning flowers not only add a pop of vibrant color to any garden but also attract pollinators and create a whimsical, cottage-style charm. If you’re a gardening enthusiast looking to grow these beauties, you might wonder when is the best time to plant hollyhock seeds.
In this article, we will explore the ideal conditions for planting hollyhock seeds, how to prepare the soil for optimal growth, and provide tips on caring for your hollyhock seedlings. We will also touch on common issues you may encounter and how to troubleshoot them, as well as how to harvest and save hollyhock seeds for future plantings.
So, whether you’re a seasoned gardener looking to expand your flower collection or a beginner wanting to try your hand at hollyhocks, we’ve got you covered. Let’s delve into the fascinating world of hollyhock seeds!
Key Takeaways:
- Plant hollyhock seeds in early spring or early autumn, depending on your climate, for vibrant blooms. Prepare rich, well-draining soil and provide proper care for healthy, majestic hollyhocks.
- Harvest and store hollyhock seeds to propagate these stunning flowers year after year. Troubleshoot common issues like poor germination and pests to keep your hollyhocks thriving.
Read more: When To Plant Hollyhock Seed
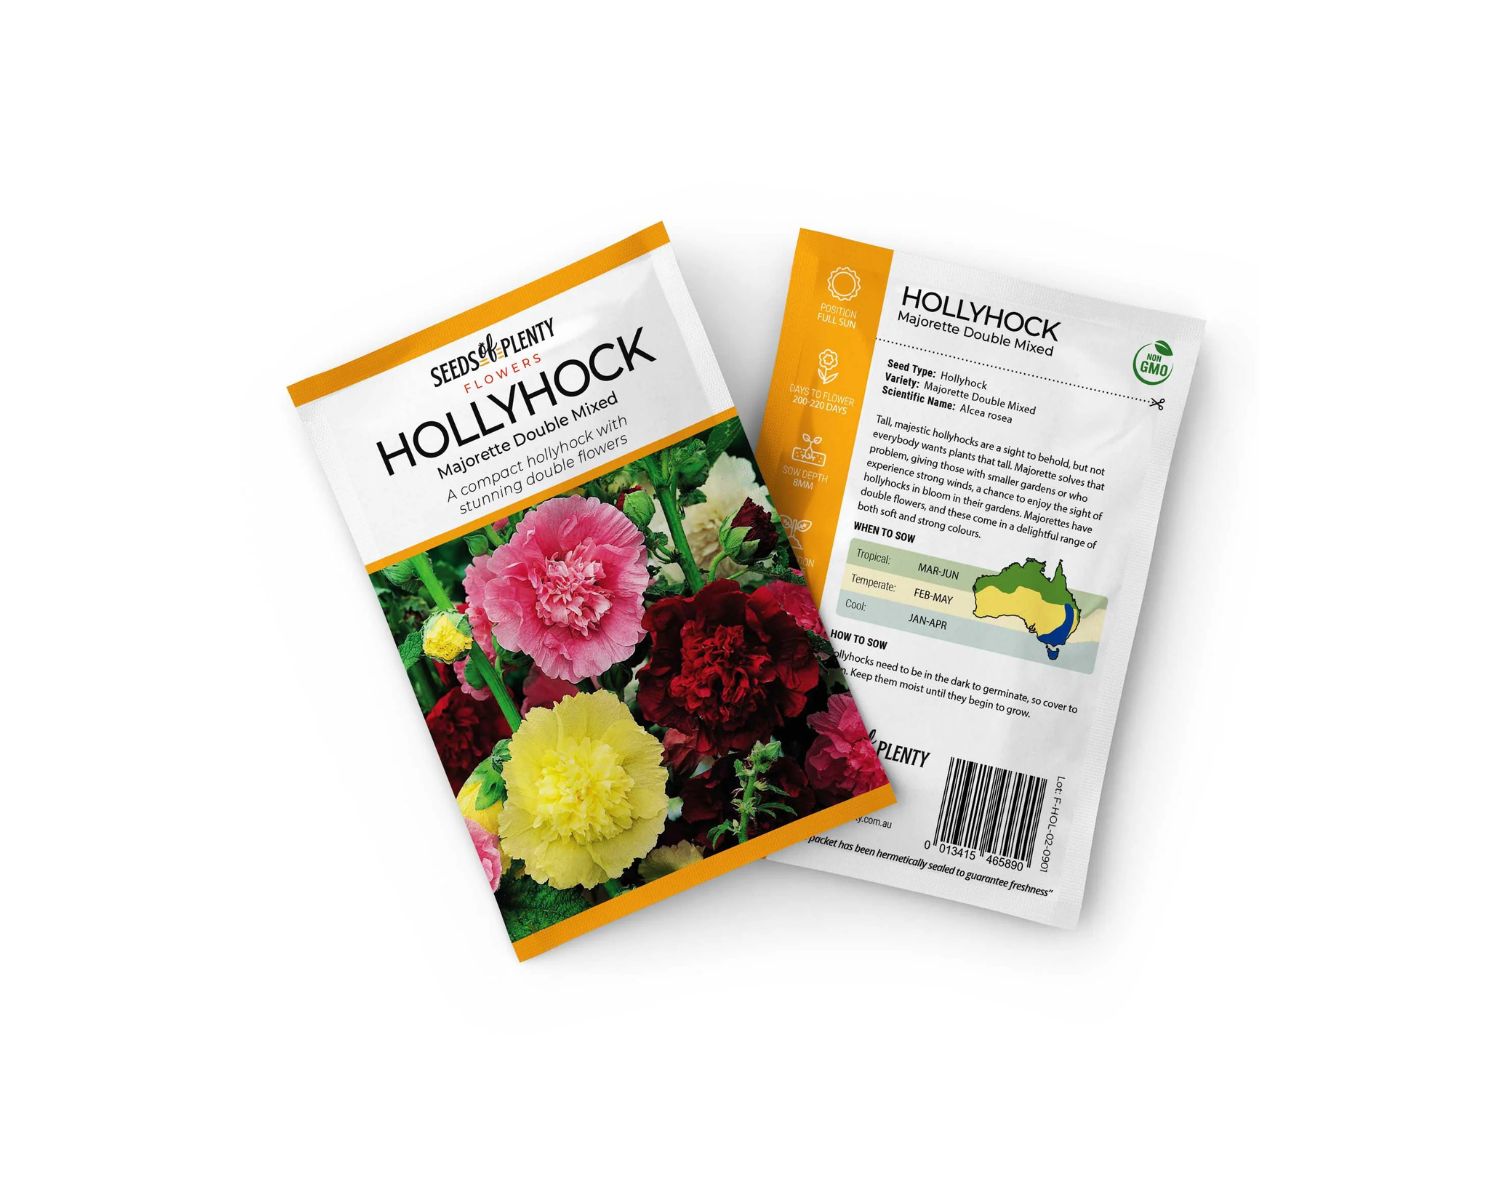
Understanding Hollyhock Seeds
Before we dive into planting hollyhock seeds, it’s important to have a basic understanding of what they are. Hollyhock (Alcea rosea) is a tall and majestic flowering plant that belongs to the Malvaceae family. It is native to regions of Asia and Europe and has been a favorite in cottage gardens for centuries.
Hollyhock seeds are small, oval-shaped capsules that house the future plants. Inside each capsule, you’ll find a multitude of tiny seeds. These seeds are typically black or dark brown in color and have a hard outer shell. The seeds have an impressive longevity and can remain viable for several years if stored properly.
It’s worth noting that while hollyhocks are typically grown from seeds, they can also be propagated through root division or stem cuttings. However, for the purpose of this article, we will focus on the process of planting hollyhock seeds.
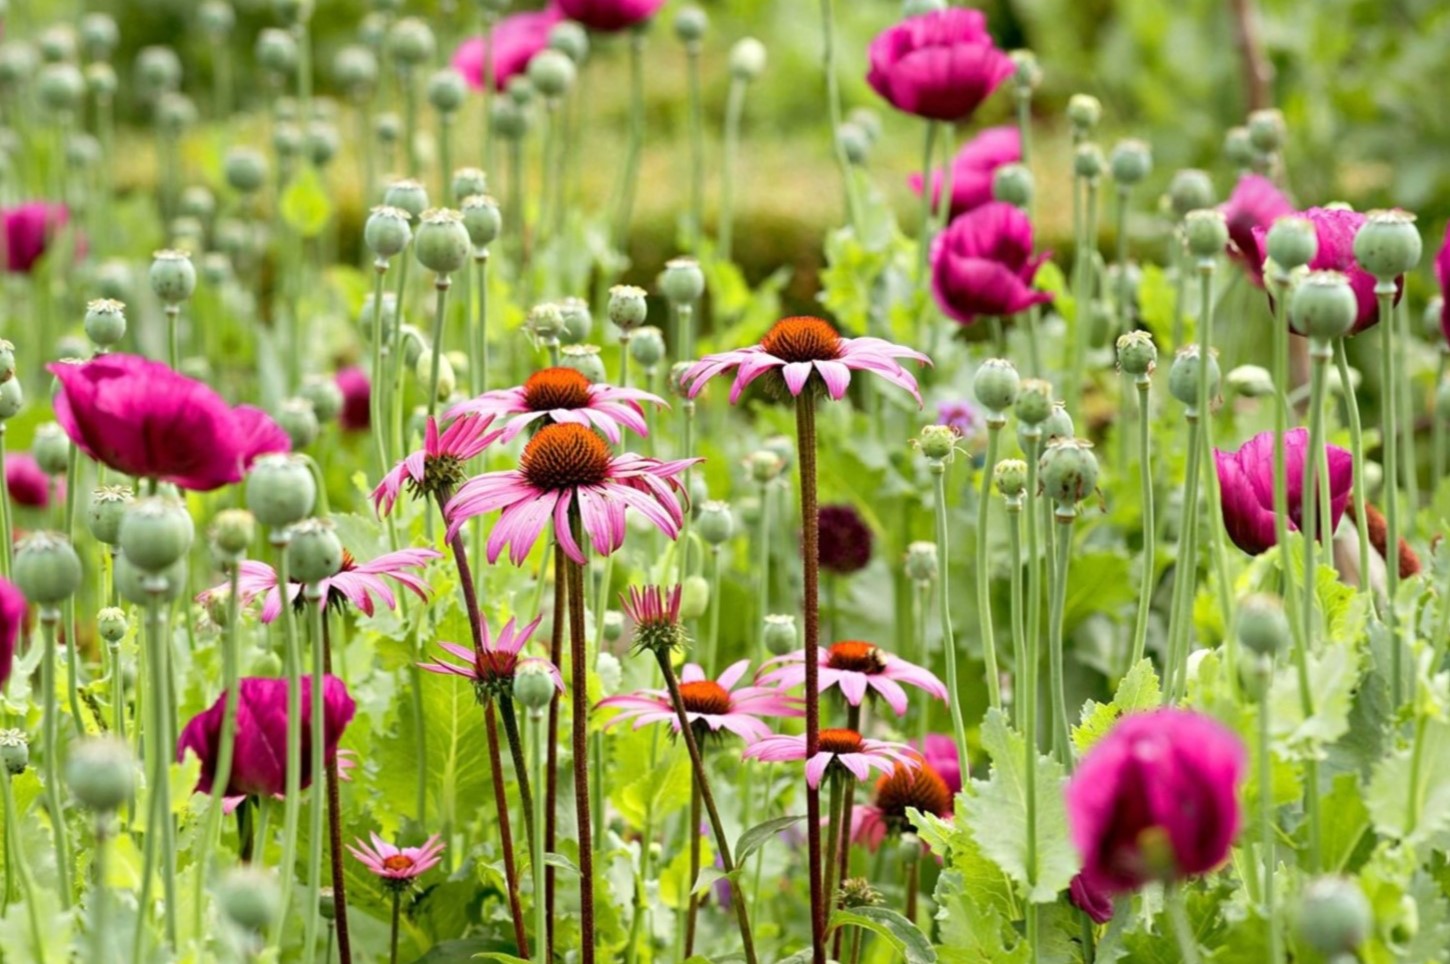
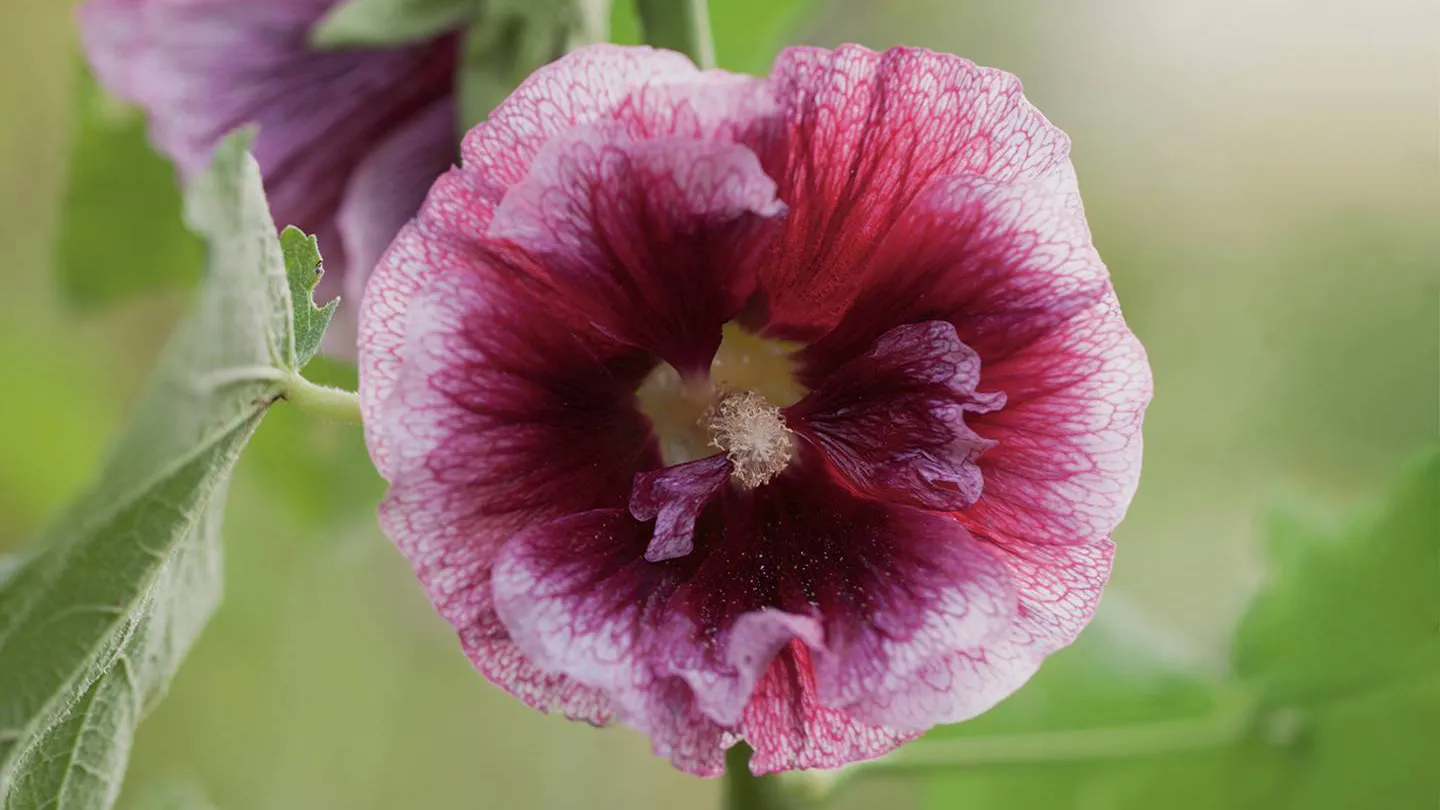
Hollyhocks are biennial plants, which means they have a two-year life cycle. In the first year, the plant develops a rosette of leaves and a long taproot. During the second year, the plant sends up a tall spike or stalk, adorned with beautiful blossoms in various shades such as pink, white, yellow, and deep maroon.
Now that we have a better understanding of hollyhock seeds and their life cycle, let’s explore the optimal time to plant them.
Best Time to Plant Hollyhock Seeds
The best time to plant hollyhock seeds depends on your specific climate and growing conditions. In general, hollyhock seeds are best sown in early spring or early autumn.
If you live in a region with mild winters and moderate summers, it’s recommended to sow hollyhock seeds in early spring, after the last frost has passed. This will give the seeds ample time to germinate and establish themselves before the heat of summer arrives. Sowing in spring will also allow the plants to bloom in the following year.
On the other hand, if you reside in a region with harsh winters and scorching summers, it’s advisable to sow hollyhock seeds in early autumn. By planting in autumn, the seeds will experience a period of cold stratification during the winter months, which mimics the natural conditions they require for germination. This cold period helps to break seed dormancy and promotes healthy growth when spring arrives.
When selecting the right time to plant hollyhock seeds, keep in mind that they prefer cooler temperatures and may struggle to germinate or survive in extreme heat. It’s best to avoid sowing during the peak of summer to give your hollyhocks the best chance of success.
Now that we know the ideal time for sowing hollyhock seeds, let’s move on to the steps for preparing the soil to ensure optimal growth and development.
Preparing the Soil for Planting
Creating the right growing conditions for your hollyhock seeds is crucial for their success. Hollyhocks prefer rich, well-draining soil with a slightly acidic to neutral pH range of 6.0 to 7.0. Follow these steps to prepare the soil before planting:
- Choose the right location: Select a spot in your garden that receives full sun to partial shade. Hollyhocks thrive in sun-drenched areas but can tolerate some shade, especially in hotter regions.
- Clear the area: Remove any weeds, rocks, or debris from the planting area. These can hinder seed germination and compete with young seedlings for nutrients and water.
- Amend the soil: Hollyhocks prefer loamy soil that is rich in organic matter. Add well-rotted compost, leaf mold, or aged manure to enrich the soil and improve its moisture-retaining capacity. Work the amendments into the top 6-8 inches of soil.
- Test the soil: Conduct a soil test to determine its nutrient composition and pH level. This information will help you further adjust the soil if needed. Soil testing kits are readily available at garden centers or through your local agricultural extension office.
- Adjust the soil pH: If the soil pH is too acidic or alkaline, make necessary adjustments. Add lime to raise the pH if it is too low or sulfur to lower it if it is too high. Follow the recommended application rates based on the soil test results.
- Ensure good drainage: Hollyhocks despise standing water, so it’s crucial to ensure proper drainage. If your soil is heavy and prone to waterlogging, amend it with organic matter or consider creating raised beds to improve drainage.
By taking the time to prepare your soil properly, you create an ideal environment for your hollyhock seeds to thrive and flourish. With the soil ready, it’s time to move on to the exciting part — planting your hollyhock seeds!
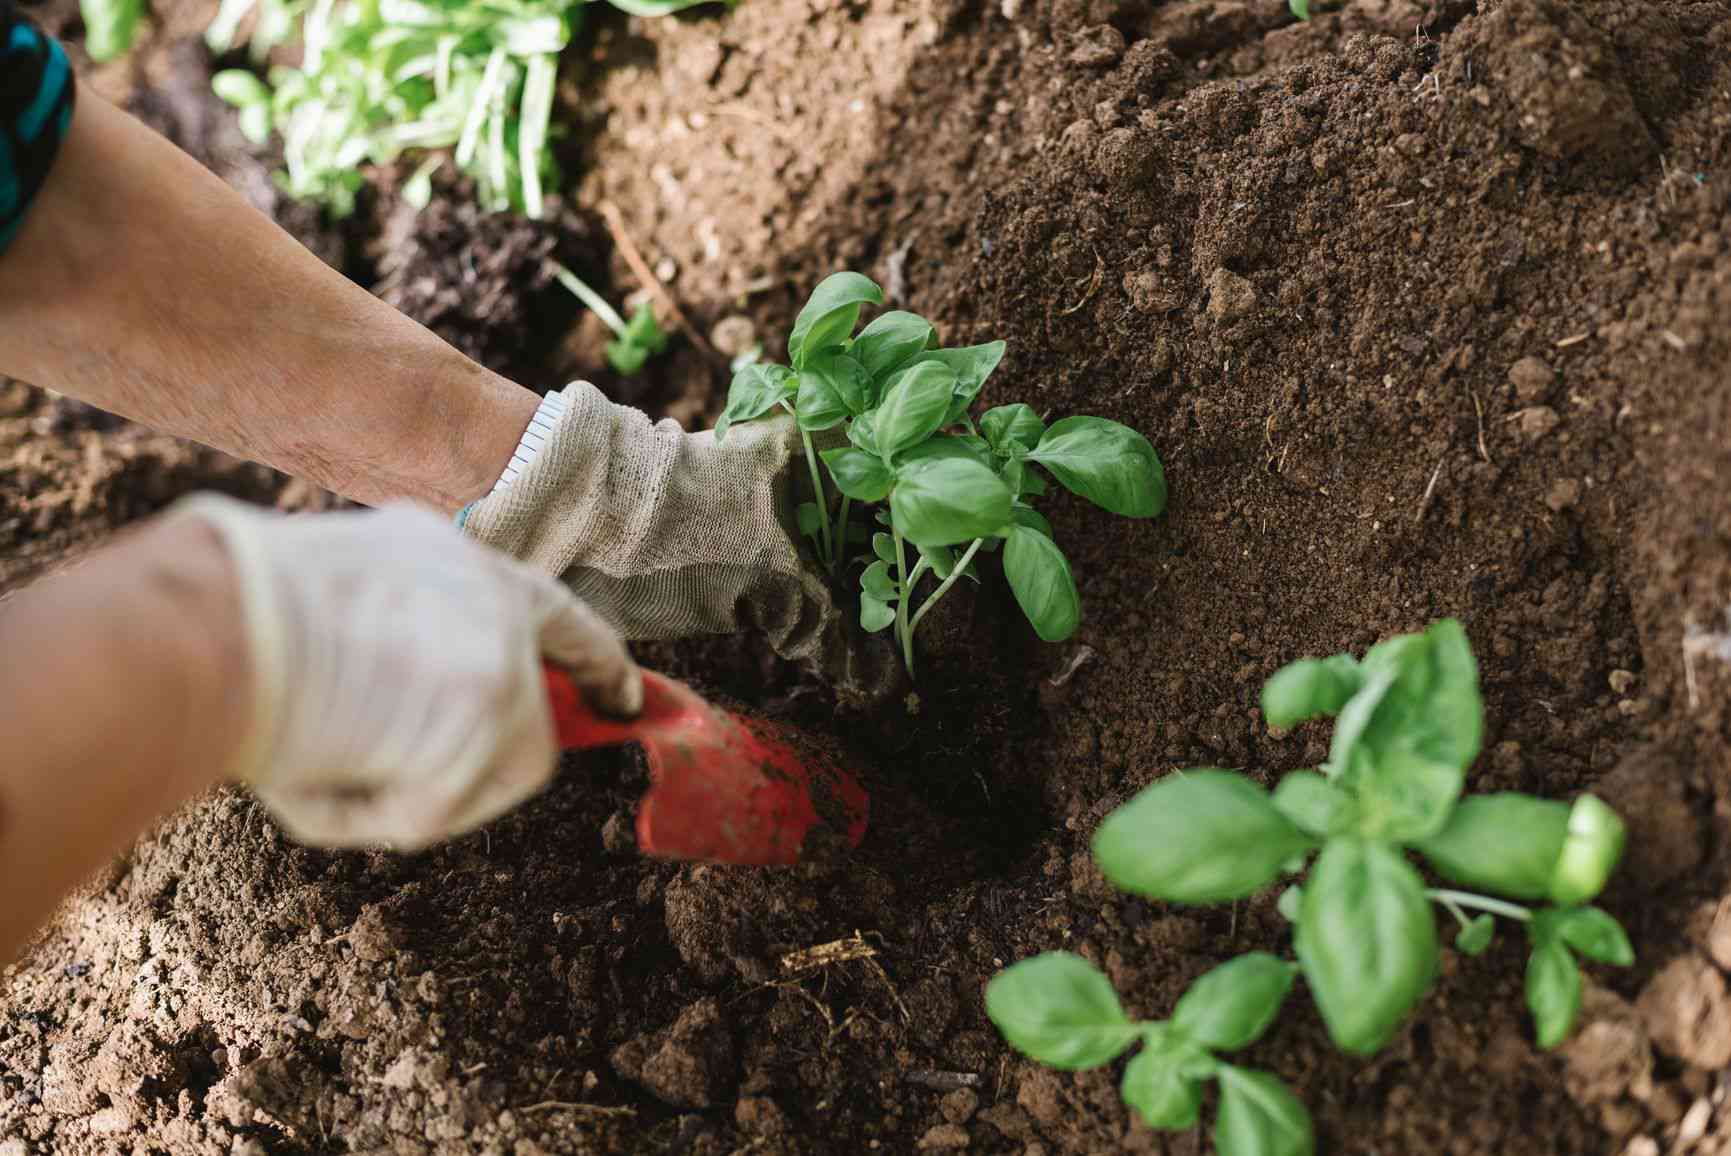
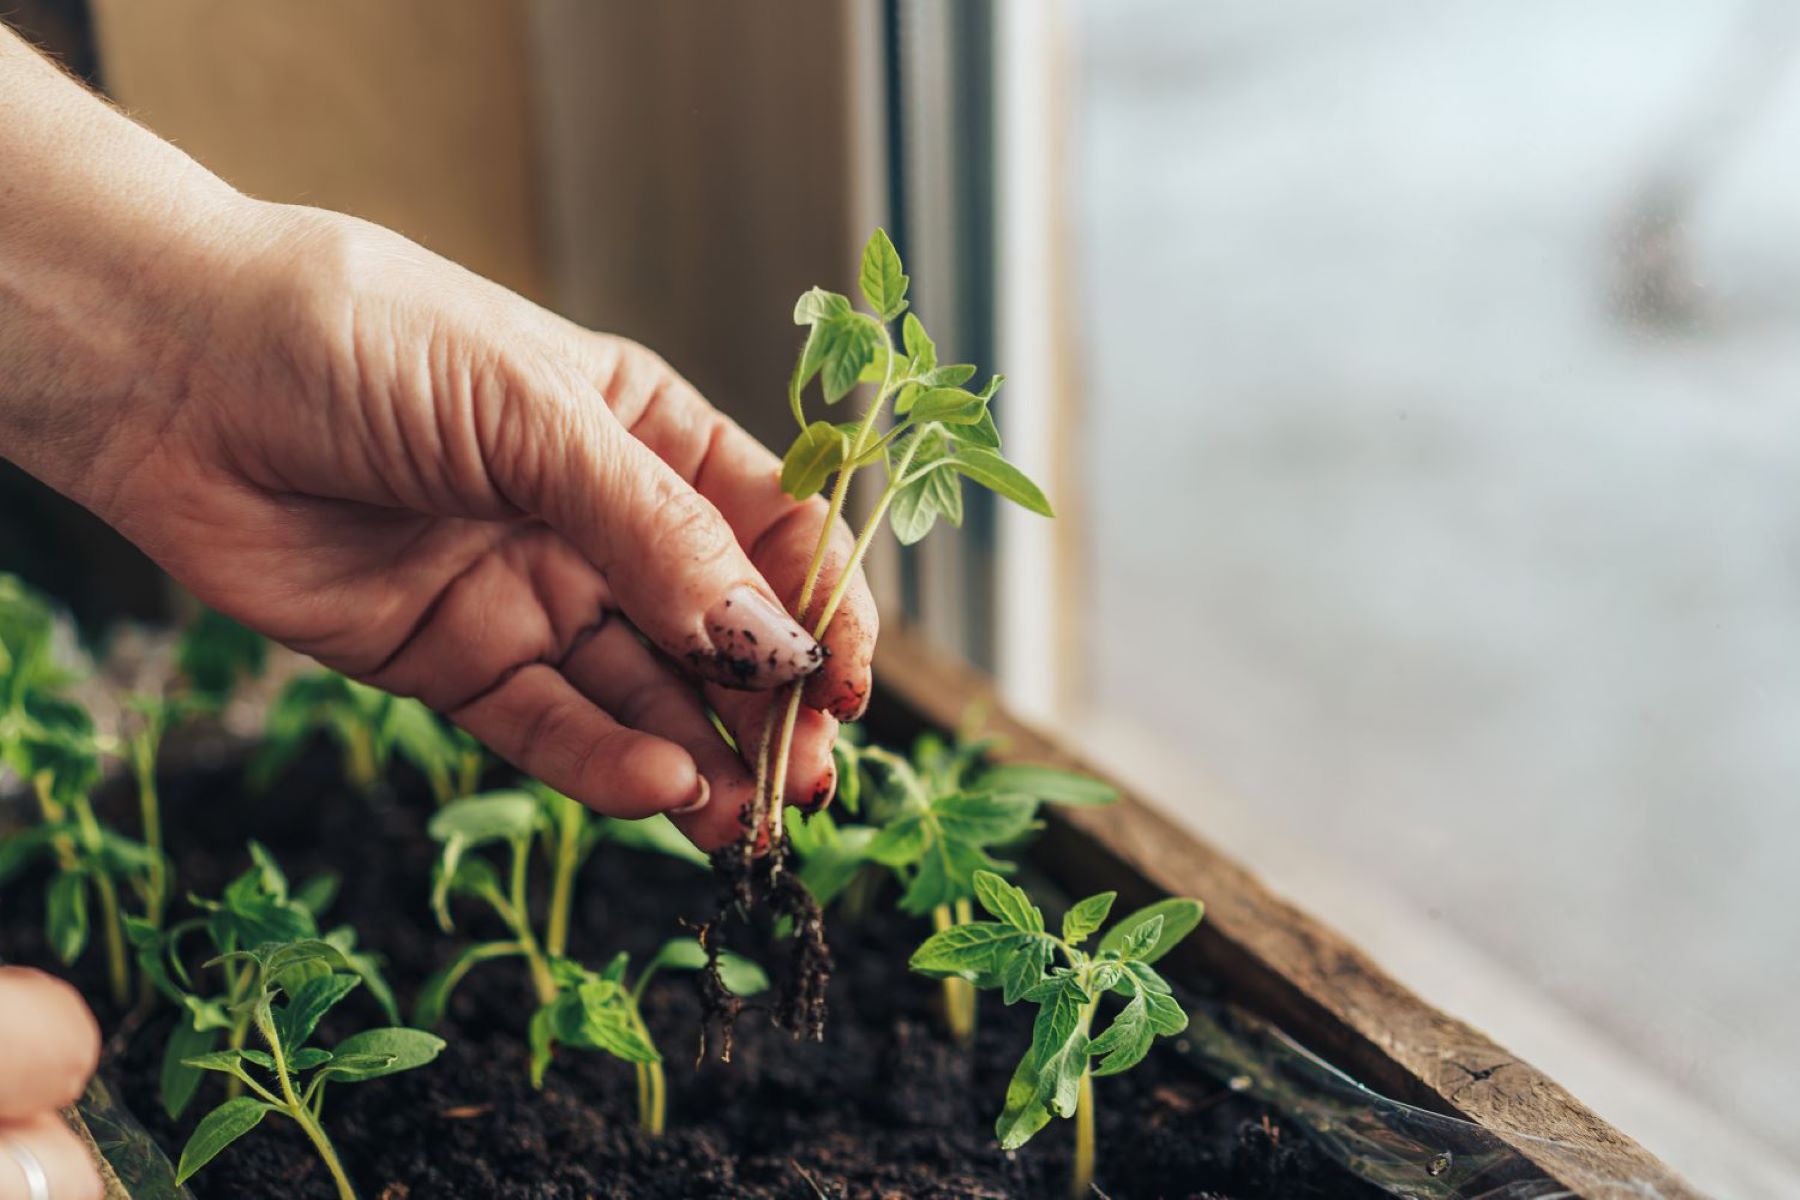
Planting Hollyhock Seeds
Now that you have prepared the soil, it’s time to sow your hollyhock seeds and start the journey towards beautiful blooms. Follow these steps to ensure successful planting:
- Choose the right seeds: Select high-quality hollyhock seeds from a reputable source. You can choose a variety of colors or stick to a specific color scheme, depending on your preference.
- Direct sowing: Hollyhock seeds can be directly sown in the garden bed. Create small furrows or shallow trenches, about 1/4 to 1/2 inch deep, using a garden trowel or your finger. Space the furrows about 12 to 18 inches apart to allow enough room for the hollyhock plants to grow.
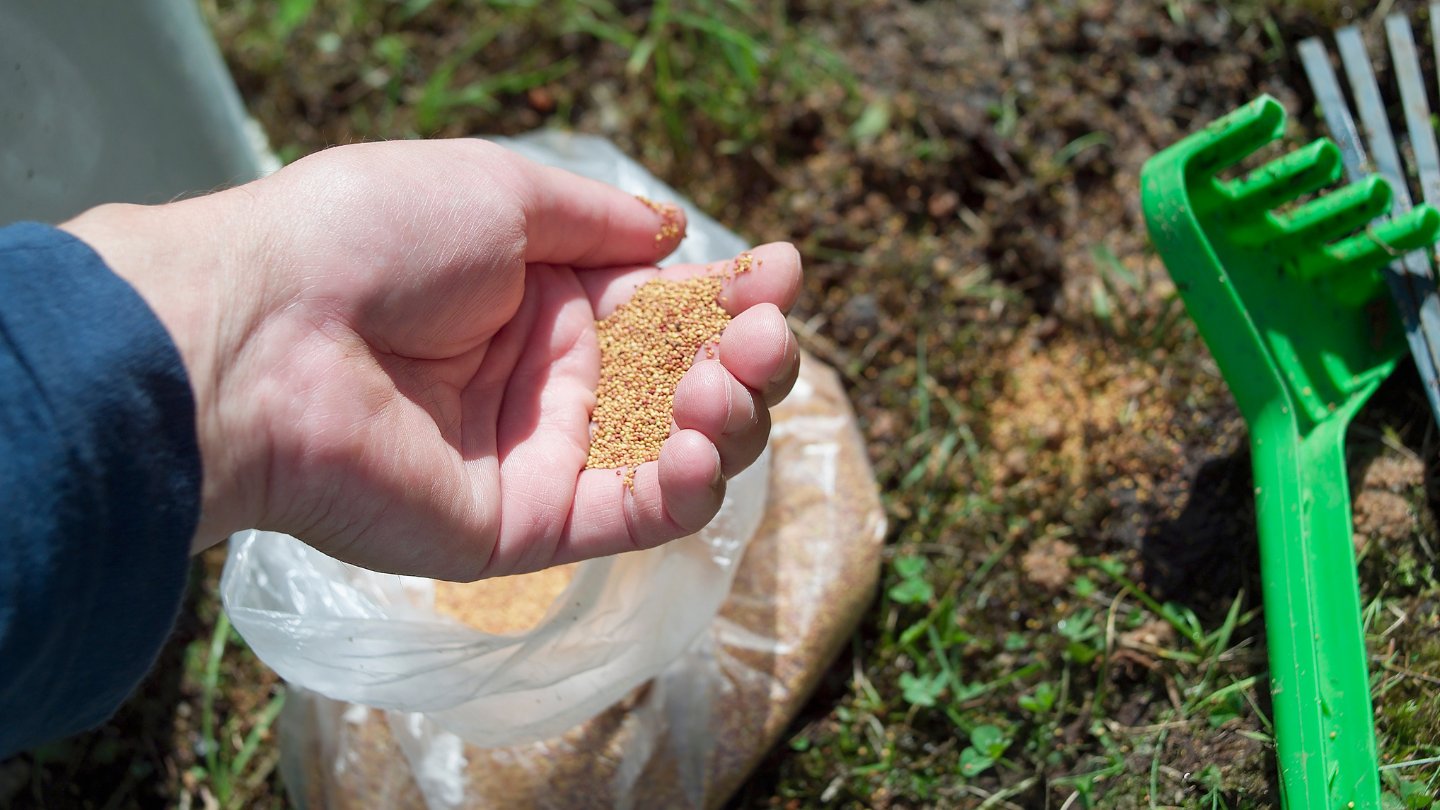
- Sow the seeds: Gently scatter the hollyhock seeds along the furrows, spacing them about 6 to 12 inches apart. Aim for a uniform distribution, but don’t worry too much about precision since the seeds will naturally find their way as they grow.
- Cover and water: Lightly cover the hollyhock seeds with a thin layer of soil or compost. Pat the soil lightly to ensure good seed-to-soil contact. Then, water the area gently to provide moisture for germination. Avoid overwatering, as it can lead to rotting seeds.
- Mulch the area: To conserve moisture and suppress weed growth, apply a thin layer of organic mulch, such as straw or shredded leaves, over the planting area. This will also help regulate soil temperature during germination.
- Keep the soil moist: During the germination period, it’s crucial to keep the soil moist but not soaked. Water the area regularly, providing a light misting to avoid disturbing the seeds. Be patient, as hollyhock seeds can take anywhere from 7 to 21 days to germinate.
Once the hollyhock seeds have germinated and the seedlings have established themselves, it’s time to shift your focus to their care and well-being. We’ll explore this topic further in the next section.
You can plant hollyhock seeds in the early spring or late fall. Choose a sunny spot with well-drained soil and sow the seeds directly into the ground. Keep the soil moist and watch for sprouts in 10-15 days.
Read more: When Can I Plant Grass Seed
Caring for Hollyhock Seedlings
Now that your hollyhock seedlings have emerged, it’s important to provide them with proper care to ensure robust growth and healthy blooms. Here are some essential steps to follow:
- Watering: Water the hollyhock seedlings regularly, keeping the soil consistently moist but not waterlogged. Aim to provide about an inch of water per week, either through rainfall or supplemental irrigation.
- Thinning: If you have sown multiple seeds in one spot, thin out the weaker seedlings to give the stronger ones more space to grow. This will help prevent overcrowding and provide better air circulation, reducing the risk of diseases.
- Support: As the hollyhock seedlings grow taller, they may require support to prevent them from bending or toppling over. Install tall stakes or use a trellis system to provide stability and ensure vertical growth.
- Fertilization: Hollyhocks benefit from regular feeding with a balanced, slow-release fertilizer. Apply the fertilizer according to the manufacturer’s instructions, usually in early spring and again in mid-summer to encourage continuous growth and blooming.
- Pest control: Keep an eye out for common garden pests, such as aphids, slugs, and snails, that may bother your hollyhocks. Use natural remedies or organic pest control methods to manage infestations and protect your plants.
- Deadheading: After the initial bloom period, hollyhocks tend to produce additional flowers if you remove spent blooms promptly. This process, known as deadheading, encourages the plant to redirect energy towards new flower production.
- Weed control: Regularly weed the area around your hollyhock seedlings to minimize competition for nutrients, water, and sunlight. Apply a layer of organic mulch to help suppress weed growth and conserve moisture.
- Monitor for diseases: Keep an eye out for common hollyhock diseases such as rust, which appears as orange or rusty-colored spots on the leaves. If you notice any signs of disease, promptly remove and dispose of the affected foliage to prevent the spread.
By providing proper care and attention to your hollyhock seedlings, you can ensure their healthy growth and enjoy an abundance of stunning flowers in the coming seasons.
Now that we have covered the essentials of caring for hollyhock seedlings, let’s explore some common issues you may encounter and how to troubleshoot them.
Common Issues and Troubleshooting
While hollyhocks are generally resilient plants, they can sometimes face certain challenges. By being aware of common issues and knowing how to troubleshoot them, you can ensure the health and vitality of your hollyhocks. Let’s explore a few potential problems and their solutions:
- Poor or no germination: If your hollyhock seeds fail to germinate, it may be due to several factors. Ensure that the soil remains consistently moist during the germination period and that you’ve planted fresh, viable seeds. Providing the seeds with cold stratification, if required, can also improve germination rates.
- Pest infestations: Hollyhocks may attract various pests, including aphids, caterpillars, and Japanese beetles. Regularly inspect your plants for signs of pest damage and take appropriate action. Use natural remedies like insecticidal soap or Neem oil, or introduce beneficial insects to keep the pest population in check.
- Disease susceptibility: Hollyhocks are susceptible to diseases such as rust, which can cause yellow or orange spots on leaves, along with stunted growth. To prevent the spread of disease, remove and dispose of affected foliage promptly. Ensure good air circulation by spacing the plants adequately and avoid overhead watering.
- Stunted growth: If your hollyhock plants show slow or stunted growth, it could be due to nutrient deficiencies or poor soil quality. Regularly fertilize with a balanced fertilizer to provide the necessary nutrients. Test the soil periodically and amend it with organic matter as needed.
- Wilting: Wilting hollyhock plants can indicate various issues, such as overwatering, underwatering, or root rot caused by poor drainage. Adjust your watering practices accordingly, ensuring that the soil remains evenly moist but not waterlogged. Check for proper drainage and improve it if necessary.
By promptly addressing these common issues and taking appropriate corrective measures, you can help your hollyhocks thrive and flourish. Now, let’s move on to the exciting process of harvesting and saving hollyhock seeds for future plantings.
Harvesting and Saving Hollyhock Seeds
Harvesting and saving hollyhock seeds allows you to continue growing these beautiful flowers year after year. Here’s how you can collect and store hollyhock seeds:
- Timing the harvest: Wait until the hollyhock blooms have faded and the seed pods have turned brown and dried on the stalks. This indicates that the seeds are mature and ready to be harvested.
- Gathering the seed pods: Use clean, sharp scissors or pruners to cut the dried seed pods from the hollyhock stalks. Place them in a clean container or paper bag to prevent seed loss.
- Drying the seed pods: Allow the seed pods to dry in a well-ventilated area for a week or two. This will ensure that the seeds are thoroughly dried and ready for storage.
- Extracting the seeds: Once the seed pods are fully dried, gently open them to reveal the small, dark seeds inside. Carefully separate the seeds from the pod, taking care not to damage or crush them.
- Removing debris: To ensure the purity of your hollyhock seeds, remove any chaff, debris, or plant matter from the seeds. You can do this by gently blowing on the seeds or using a fine-mesh sieve to sift out unwanted particles.
- Storing the seeds: Place the cleaned hollyhock seeds in an airtight container, such as a glass jar or a seed envelope. Make sure the container is labeled with the variety and date of collection. Store the container in a cool, dry, and dark place, such as a refrigerator or a cool basement.
- Seed viability: Hollyhock seeds can remain viable for several years if stored properly. However, it’s recommended to use the seeds within 2-3 years for optimal germination rates.
With these simple steps, you can harvest and save hollyhock seeds to expand your garden or share them with fellow gardeners. Just imagine the joy of planting the seeds you collected and witnessing the beauty of hollyhocks in your garden year after year.
Now that we’ve covered the process of harvesting and saving hollyhock seeds, let’s conclude our journey through the world of hollyhocks.
Conclusion
Congratulations! You have now gained a comprehensive understanding of hollyhock seeds and how to grow them successfully. By following the guidelines outlined in this article, you can plant hollyhock seeds with confidence and watch as these magnificent flowers grace your garden with their vibrant colors and tall, elegant stalks.
Remember, the best time to plant hollyhock seeds depends on your specific climate and growing conditions. Whether you choose to sow them in early spring or early autumn, providing the right soil conditions and care is essential for optimal growth. Preparing the soil by adding organic matter, ensuring proper drainage, and maintaining the right pH level will set the stage for healthy hollyhock seedlings.
Caring for your hollyhock seedlings involves regular watering, fertilization, and pest control. Thinning out weaker seedlings, providing support for the tall stalks, and deadheading spent blooms will encourage continuous growth and future blooms.
While hollyhocks are generally hardy plants, they can face challenges such as poor germination, pest infestations, diseases, and stunted growth. By troubleshooting these common issues promptly and making the necessary adjustments, you can keep your hollyhocks healthy and thriving.
And let’s not forget the joy of harvesting and saving hollyhock seeds! Collecting the mature seed pods, carefully extracting the seeds, and storing them properly allows you to propagate hollyhocks year after year, ensuring a continuous display of their stunning blossoms in your garden.
So, whether you’re an experienced gardener or a beginner, hollyhocks are a fantastic addition to any garden, adding beauty, height, and a touch of nostalgia. With their delightful colors and graceful presence, hollyhocks truly capture the essence of a cottage-style garden.
Now it’s time to get your hands dirty and sow those hollyhock seeds. Enjoy the process, embrace the journey, and witness the magic as your garden transforms into a haven of hollyhocks!
Frequently Asked Questions about When Can I Plant Hollyhock Seeds
Was this page helpful?
At Storables.com, we guarantee accurate and reliable information. Our content, validated by Expert Board Contributors, is crafted following stringent Editorial Policies. We're committed to providing you with well-researched, expert-backed insights for all your informational needs.

0 thoughts on “When Can I Plant Hollyhock Seeds”