Home>Garden Essentials>When To Plant Hollyhock Seed
Garden Essentials
When To Plant Hollyhock Seed
Modified: August 28, 2024
Looking to start a garden? Find out the best time to plant hollyhock seeds and get your garden blooming with beautiful flowers.
(Many of the links in this article redirect to a specific reviewed product. Your purchase of these products through affiliate links helps to generate commission for Storables.com, at no extra cost. Learn more)
Introduction
Welcome to the world of hollyhocks, enchanting flowers that add a touch of elegance and charm to any garden. Whether you’re a seasoned gardener or just starting out, planting hollyhock seeds can be a rewarding and enjoyable experience. In this article, we will discuss when to plant hollyhock seeds and the factors to consider for successful germination and growth.
Hollyhocks, scientifically known as Alcea, are tall and stately biennial or perennial flowers that produce vibrant blooms in a wide range of colors. They are a popular choice among gardeners due to their ability to attract pollinators like bees and butterflies, as well as their long-lasting beauty.
Before diving into the details of when to plant hollyhock seeds, it is important to consider a few key factors to ensure optimal growth and success. These factors include climate and temperature requirements, soil preparation, and seed sowing techniques.
Understanding the specific needs of hollyhocks will help you create the ideal growing conditions for these stunning flowers. So, let’s explore these factors in detail and get ready to embark on a hollyhock gardening adventure!
Key Takeaways:
- Choose the right planting time: For mild to cool climates, plant hollyhock seeds in early spring. In colder regions, consider starting seeds indoors or try winter sowing for successful growth.
- Provide proper care: Water seedlings, thin overcrowded plants, and offer support as they grow. Regular fertilization, pruning, and pest control will help hollyhocks thrive and bloom beautifully.
Read more: How Deep Do You Plant Hollyhock Seeds
Factors to Consider
Before planting hollyhock seeds, it’s essential to consider a few factors that can greatly influence their growth and overall health. By taking these factors into account, you can create a favorable environment for your hollyhocks to thrive. Let’s delve into the key factors:
- Climate and Temperature Requirements: Hollyhocks prefer mild to cool climates and thrive in USDA hardiness zones 3 to 8. They grow best in areas with moderate temperatures and need a cool winter period to initiate blooming. If you live in a region with hot summers, providing partial shade during the hottest part of the day can help protect your hollyhocks from wilting.
- Soil Preparation: Hollyhocks prefer well-draining soil that is rich in organic matter. Prepare the soil by removing any weeds, rocks, or debris and amend it with compost or aged manure to improve fertility. This will help provide the necessary nutrients for healthy growth.
- Seed Sowing Techniques: Hollyhock seeds can either be sown directly into the garden or started indoors and then transplanted. Sowing them directly in the garden is ideal if you have a long growing season, while starting them indoors allows you to get a head start in areas with shorter growing seasons. When sowing the seeds, follow the instructions on the seed packet for proper depth and spacing.
By considering these factors, you can create the right conditions for your hollyhock seeds to germinate and grow into thriving plants. Now that we have covered the important factors, let’s move on to when it is the best time to plant hollyhock seeds.
Climate and Temperature Requirements
Understanding the climate and temperature requirements for hollyhocks is crucial for ensuring their successful growth. These flowers thrive in mild to cool climates and are best suited for USDA hardiness zones 3 to 8.
Hollyhocks are known to perform best in areas with moderate temperatures and a distinct winter period. They need this winter period for proper blooming, as it helps trigger the flowering process. If you live in an area with hot summers, consider providing partial shade during the hottest part of the day to prevent your hollyhocks from wilting.
When it comes to temperature range, hollyhocks can tolerate a wide range of temperatures. However, they do best in temperatures between 60°F (15°C) and 75°F (24°C). These temperatures provide the ideal conditions for their growth and blooming.
If you live in a region with extremely hot or cold temperatures, you may need to take additional precautions to protect your hollyhocks. During hot summers, providing shade and regular watering can help prevent heat stress. In colder regions, you may need to apply a layer of mulch around the base of the plants to protect the roots from freezing.
It’s important to note that hollyhocks are biennial or perennial flowers, depending on the species. Biennial hollyhocks, which live for two years, typically produce foliage in the first year and bloom in the second. Perennial hollyhocks, on the other hand, live for multiple years and continue to bloom year after year.
Understanding the climate and temperature requirements of hollyhocks will help you determine the best time to plant the seeds and create the ideal growing conditions. Now that we have covered the climate requirements, let’s move on to preparing the soil for hollyhock planting.
Soil Preparation
Preparing the soil properly is essential for promoting healthy growth and establishment of hollyhock plants. Hollyhocks prefer well-draining soil that is rich in organic matter.
Begin by removing any weeds, rocks, or debris from the area where you plan to plant your hollyhocks. This will help create a clean and fertile space for the seeds to thrive. Loosen the soil using a garden fork or a tiller to a depth of about 8 to 10 inches (20-25 cm).
Next, amend the soil with organic matter such as compost or aged manure. This will improve the soil’s fertility and drainage capabilities. Spread a layer of compost or aged manure on top of the soil and mix it in thoroughly using a garden rake or a shovel.
Ensure that the soil is well-draining, as hollyhocks do not tolerate soggy or waterlogged conditions. If you have clayey soil that tends to retain water, you can further improve drainage by adding sand or perlite to the soil mixture.
Before planting hollyhock seeds, it’s a good idea to perform a soil test to determine the pH level of your soil. Hollyhocks prefer slightly acidic to neutral soil with a pH range of 6.0 to 7.0. If the pH level of your soil is too acidic or alkaline, you can adjust it by adding lime or sulfur accordingly.
Once the soil is prepared and the pH level is adjusted, your hollyhocks are ready for planting. Create small furrows or rows in the soil and follow the instructions on the seed packet for proper depth and spacing. Gently cover the seeds with soil and lightly firm it down to ensure good seed-to-soil contact.
By preparing the soil properly, you provide the hollyhock seeds with the ideal growing conditions for germination and establishment. Now that we have covered soil preparation, let’s move on to the techniques for sowing hollyhock seeds.
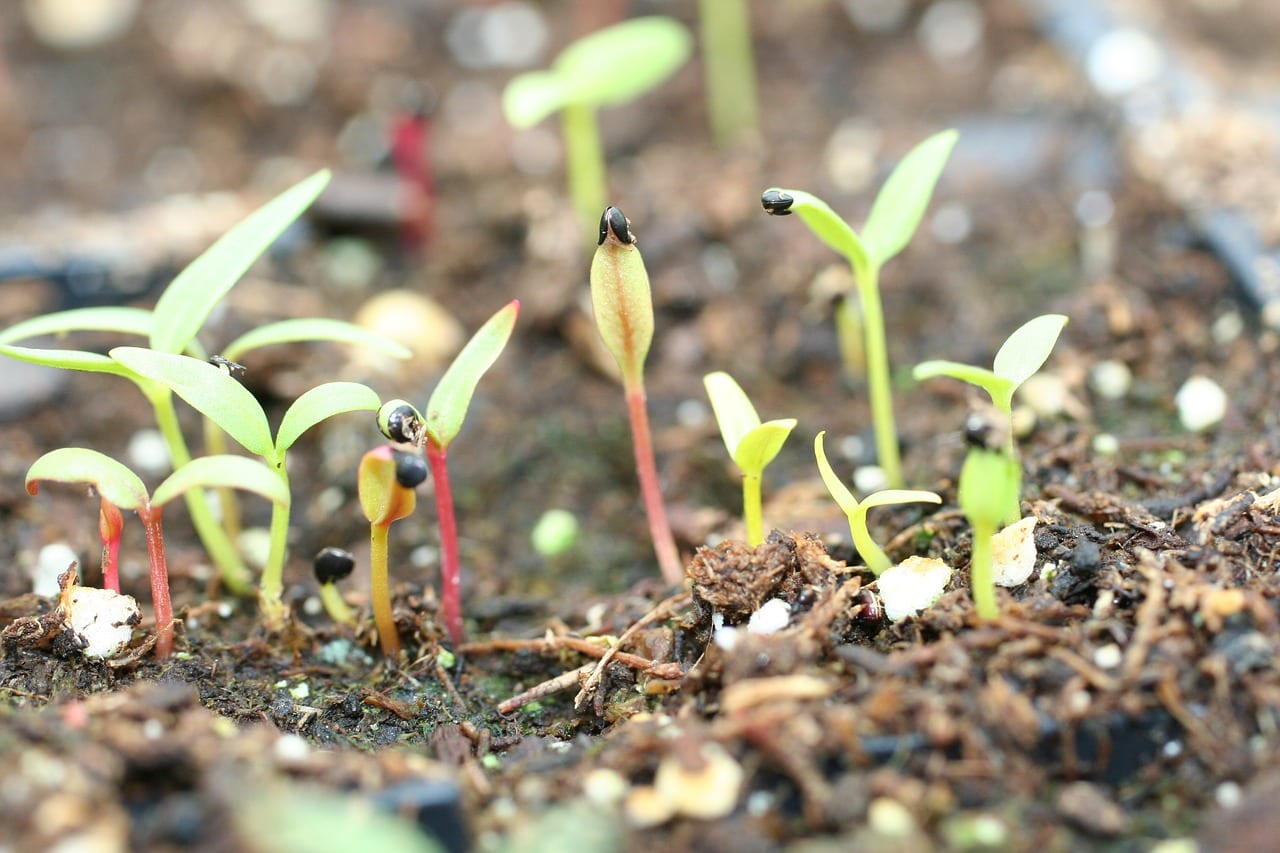
Plant hollyhock seeds in early spring or late fall for best results. Choose a sunny location with well-drained soil and sow the seeds directly into the ground. Keep the soil moist and watch for sprouts in 10-14 days.
Seed Sowing Techniques
When it comes to sowing hollyhock seeds, there are a few techniques you can choose from, depending on your gardening preferences and the climate of your region. Let’s explore the different seed sowing techniques:
- Sowing Directly in the Garden: Direct sowing is the simplest method for planting hollyhock seeds. This technique is ideal for gardeners who have a long growing season and live in areas with mild climates. Wait until after the last frost date in your area and ensure that the soil temperature has reached around 60°F (15°C). Make small furrows or rows in the prepared soil, following the instructions on the seed packet for proper depth and spacing. Place the seeds evenly along the furrows and cover them lightly with soil. Water gently and keep the soil consistently moist.
- Starting Indoors: If you live in an area with a shorter growing season, starting hollyhock seeds indoors can give them a head start. Begin this process 6 to 8 weeks before the last expected frost date in your region. Fill seed trays or small pots with a well-draining seed starting mix. Moisten the mix before sowing the seeds. Place 2 to 3 seeds in each container, gently pressing them into the soil. Cover lightly with additional seed starting mix. Keep the soil consistently moist and place the containers in a warm location with indirect sunlight. Once the seedlings have grown to about 3 inches (8 cm) and the risk of frost has passed, transplant them into the garden.
- Winter Sowing: Another unique technique for sowing hollyhock seeds is winter sowing. This method takes advantage of the natural freezing and thawing cycles of winter to enhance seed germination. Fill small, vented containers with a well-draining potting mix. Sow the hollyhock seeds on the surface of the soil and lightly press them into the mix. Water lightly and place the containers outdoors in a location that experiences winter weather. The freezing and thawing cycles will help to naturally stratify the seeds, promoting germination once spring arrives. As the weather warms up, the seeds will sprout, and the seedlings can be transplanted into the garden.
Choosing the seed sowing technique that works best for you will depend on your gardening style, climate, and available resources. Regardless of the method you choose, make sure to provide proper care and attention to the seedlings as they grow.
Now that you know the different seed sowing techniques, let’s move on to the next section and discuss the best timing for planting hollyhock seeds.
Read more: Where Are Hollyhocks A Native Plant?
Timing for Planting Hollyhock Seeds
The timing for planting hollyhock seeds is crucial for their successful germination and growth. It’s important to consider the climate, temperature requirements, and the specific variety of hollyhock you are planting.
For gardeners in regions with mild climates and long growing seasons, direct sowing in the garden can be done in early spring, after the last frost date has passed. Ensure that the soil temperature has reached around 60°F (15°C) before planting the seeds. This will provide the ideal conditions for germination and establishment.
If you live in an area with a shorter growing season or colder temperatures, starting hollyhock seeds indoors is recommended. Begin this process about 6 to 8 weeks before the last expected frost date in your region. This will give the seeds sufficient time to germinate and grow into healthy seedlings before transplanting them into the garden.
Winter sowing is another intriguing option for planting hollyhock seeds. This technique takes advantage of the natural freezing and thawing cycles of winter to enhance seed germination. As the weather warms up in spring, the seeds will naturally sprout, and the seedlings can be transplanted into the garden.
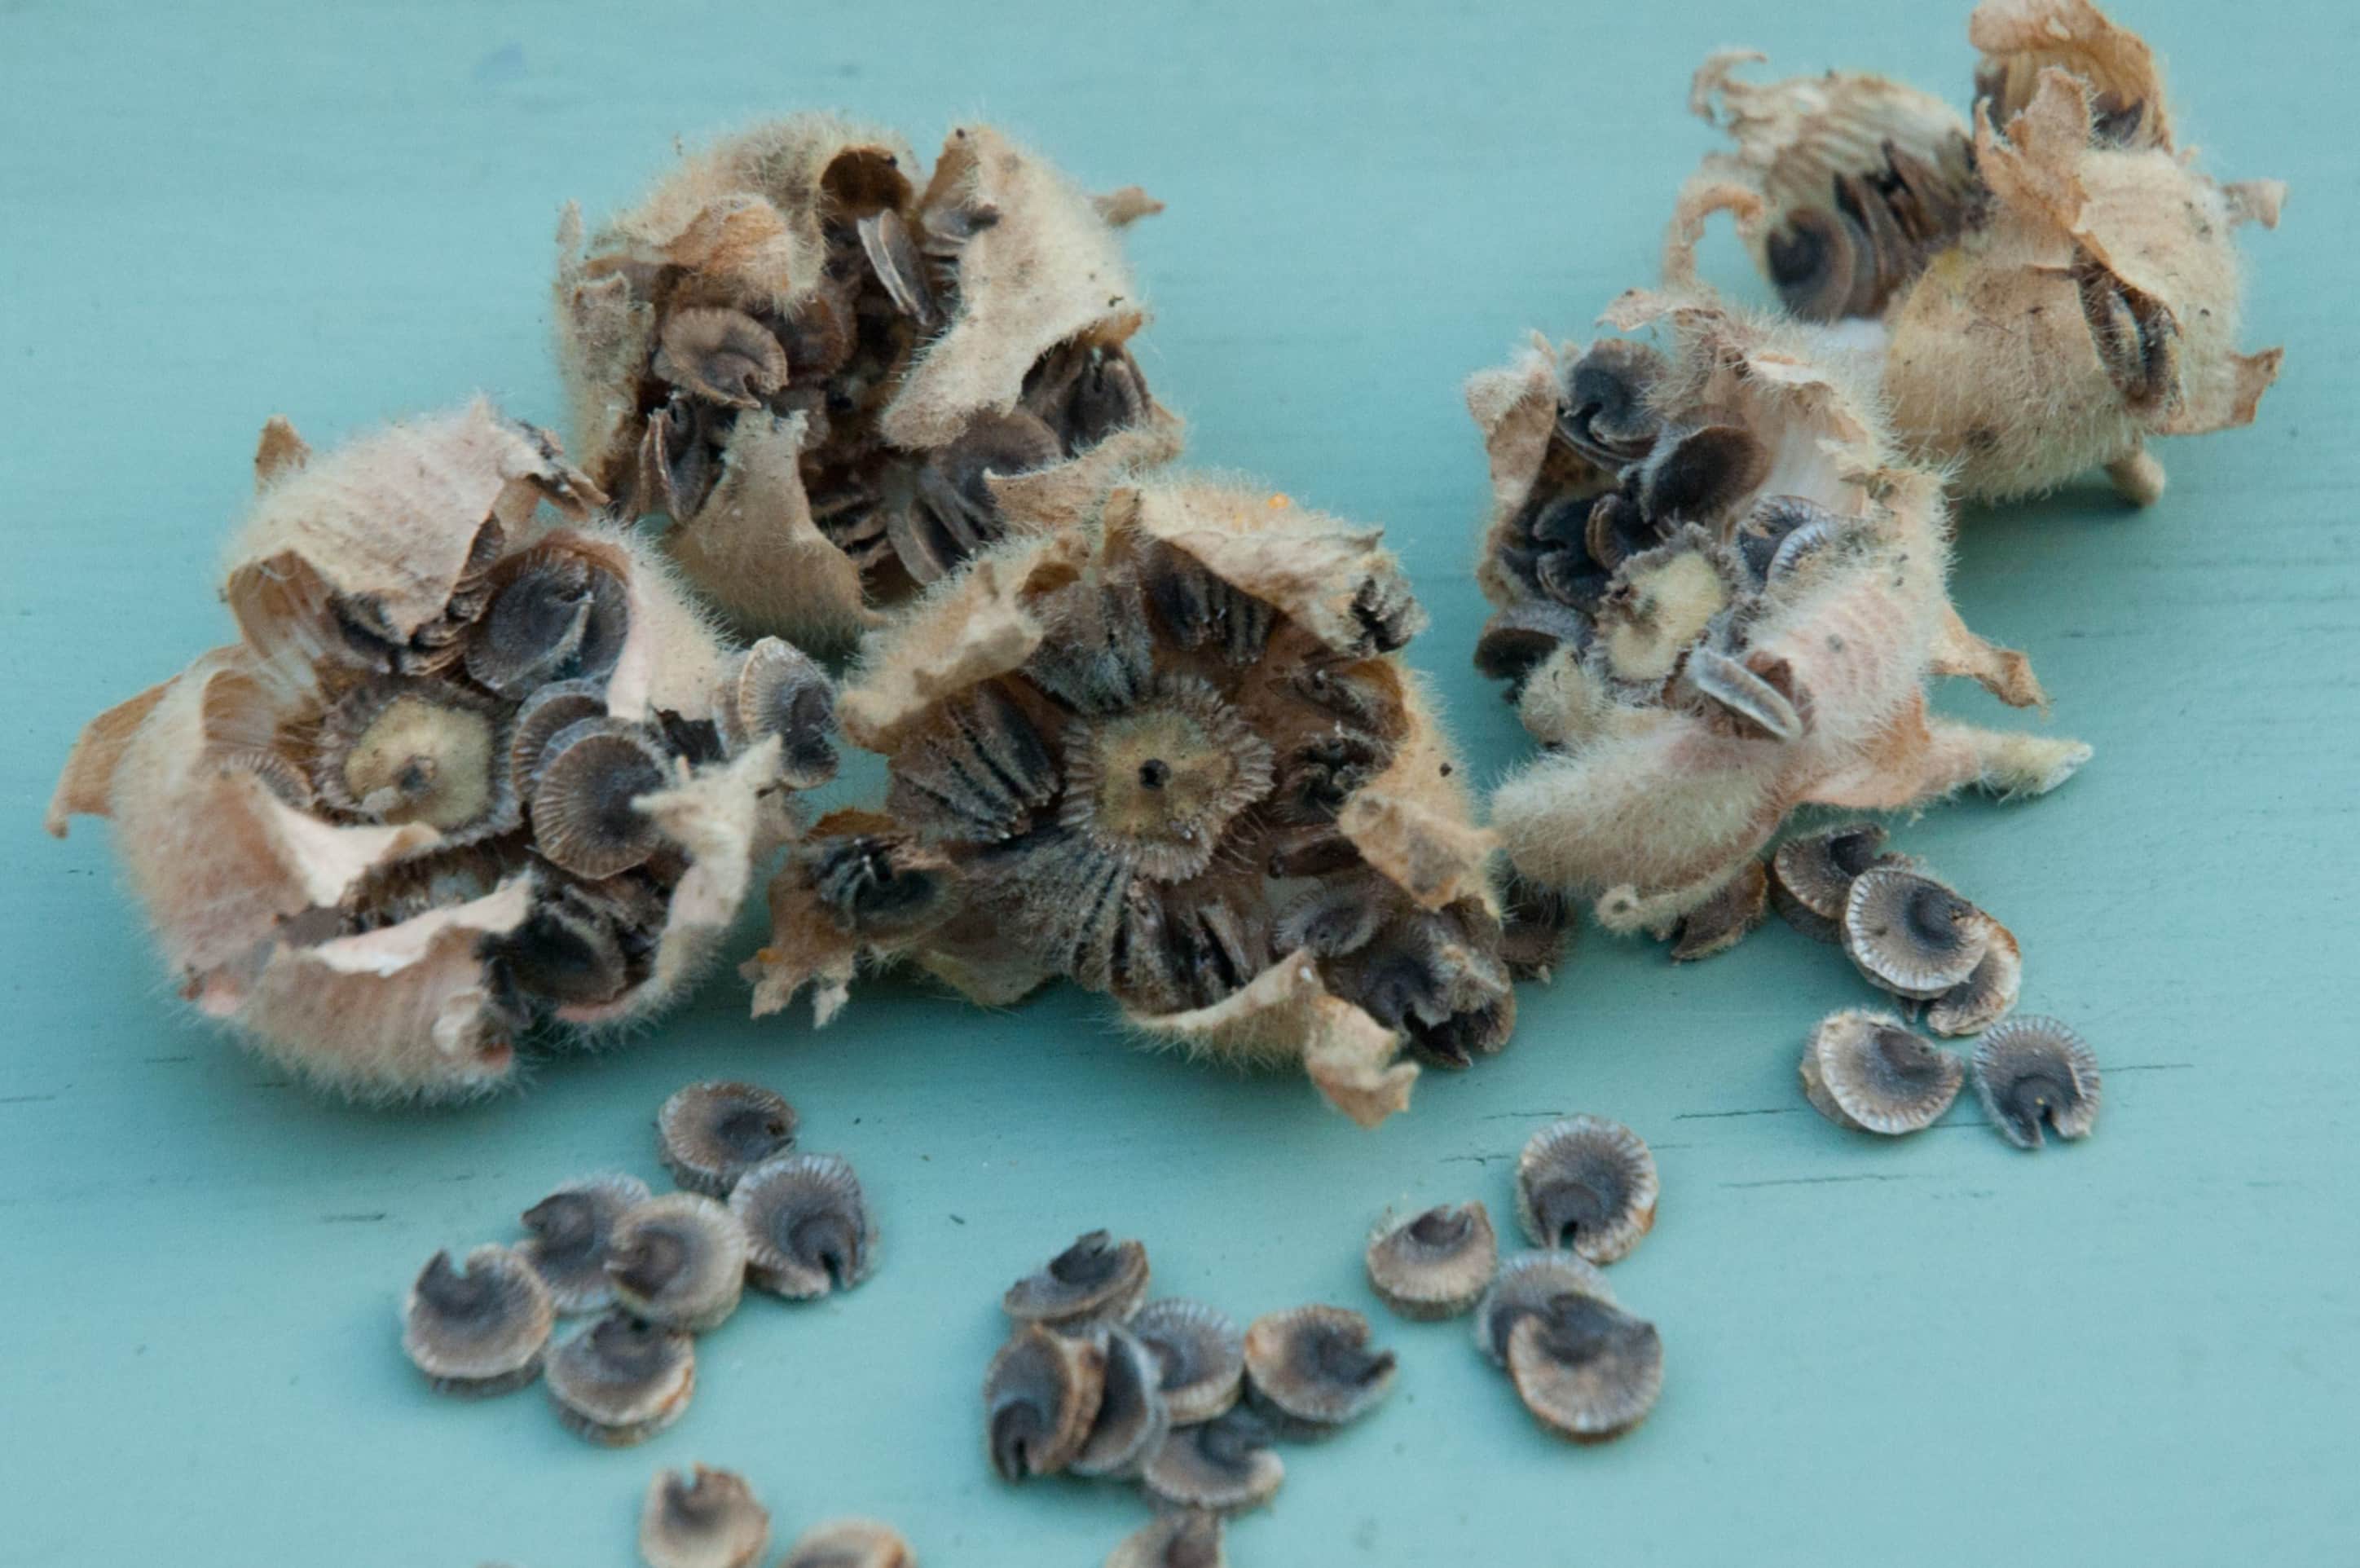
When planting hollyhock seeds, follow the instructions on the seed packet for proper planting depth and spacing. Generally, hollyhock seeds are planted about ¼ to ½ inch (6-12 mm) deep, and spacing can vary depending on the variety and growth habit of the plant.
Keep in mind that hollyhocks are biennial or perennial flowers. Biennial hollyhocks will typically produce foliage in the first year and bloom in the second, while perennial hollyhocks will continue to bloom year after year. With proper timing and care, you can enjoy beautiful hollyhock blooms in your garden for years to come.
Now that you are aware of the best timing for planting hollyhock seeds, let’s move on to the next section and explore the essential steps for caring for hollyhock seedlings.
Caring for Hollyhock Seedlings
Proper care is crucial for the healthy development of hollyhock seedlings. By providing the right conditions and attention, you can ensure that your hollyhocks thrive and produce beautiful blooms. Let’s go through the essential steps for caring for hollyhock seedlings:
- Watering: Adequate watering is important for hollyhock seedlings, especially during their early stages of growth. Keep the soil consistently moist but not soggy. Water the seedlings at the base to avoid wetting the foliage, which can promote disease.
- Thinning: If you have sown multiple seeds in each container or row, thinning is necessary once the seedlings have developed their first true leaves. Carefully remove the weaker or overcrowded seedlings, allowing the stronger ones to have ample space and resources to grow vigorously.
- Light and Air Circulation: Hollyhock seedlings require plenty of sunlight to grow properly. Place them in a location that receives full sun for at least 6 to 8 hours a day. Good air circulation will also help prevent diseases, so avoid overcrowding the seedlings.
- Support and Staking: As hollyhocks grow, they can become tall and top-heavy. Providing support, such as stakes or a trellis, is essential to keep the plants upright and prevent them from falling over. Install the supports early on to avoid damaging the roots of the established seedlings.
- Fertilizing: Hollyhocks benefit from regular fertilization to promote healthy growth and abundant blooms. Apply a balanced, slow-release fertilizer according to the manufacturer’s instructions. Alternatively, you can top-dress the soil with compost or aged manure to provide a natural source of nutrients.
- Pruning: As your hollyhocks grow, you may need to remove any dead or yellowing leaves to promote better airflow and prevent the spread of disease. Additionally, pruning spent flower stalks after blooming can encourage new growth and extend the flowering season.
- Pest and Disease Control: Monitor your hollyhocks regularly for pests such as aphids, slugs, or leaf-eating caterpillars. If you notice any signs of infestation, treat the plants with organic pest control methods or insecticidal soap. Additionally, practice good sanitation by removing any fallen leaves or debris to prevent the spread of diseases.
By following these care steps, you can nurture your hollyhock seedlings into healthy and robust plants, ready to dazzle your garden with their stunning blooms. Remember to observe and respond to the specific needs of your hollyhocks to ensure their long-term success.
Now that you know how to care for hollyhock seedlings, let’s conclude our article with a summary of the key points we have covered.
Conclusion
Congratulations! You are now equipped with the knowledge and understanding of when to plant hollyhock seeds and the factors to consider for successful growth. By taking into account the climate and temperature requirements, preparing the soil, using the right seed sowing techniques, and providing proper care for your hollyhock seedlings, you can cultivate these beautiful flowers in your garden.
Remember to choose a location with the appropriate climate for hollyhocks, ensuring they have sufficient light and well-draining soil. Whether you choose to sow the seeds directly in the garden, start them indoors, or utilize winter sowing, each method has its advantages depending on your specific gardening conditions and preferences.
Once your hollyhock seedlings emerge and begin to grow, be sure to water them adequately, thin them if necessary, provide support as they grow taller, and fertilize them regularly. Pay attention to any pests or diseases that may affect your plants and take prompt action to keep them healthy and thriving.
As your hollyhocks continue to grow, patiently wait for the day when they burst into full bloom, showcasing their vibrant and majestic flowers. And don’t forget to enjoy the pollinators they attract, like bees and butterflies, adding even more life and beauty to your garden.
Now it’s time to put your newfound knowledge into practice and start your hollyhock gardening adventure. Whether you’re a seasoned gardener or a beginner, the journey of growing hollyhocks is a delightful and rewarding one. So, go ahead, get your hands in the soil, plant those hollyhock seeds, and watch as they transform your garden into a spectacular display of color and charm.
Frequently Asked Questions about When To Plant Hollyhock Seed
Was this page helpful?
At Storables.com, we guarantee accurate and reliable information. Our content, validated by Expert Board Contributors, is crafted following stringent Editorial Policies. We're committed to providing you with well-researched, expert-backed insights for all your informational needs.


0 thoughts on “When To Plant Hollyhock Seed”