Home>Garden Essentials>When Do I Plant Tomato Seeds
Garden Essentials
When Do I Plant Tomato Seeds
Modified: March 15, 2024
Discover the best time to plant tomato seeds in your garden and ensure a bountiful harvest with expert gardening tips and advice.
(Many of the links in this article redirect to a specific reviewed product. Your purchase of these products through affiliate links helps to generate commission for Storables.com, at no extra cost. Learn more)
Introduction
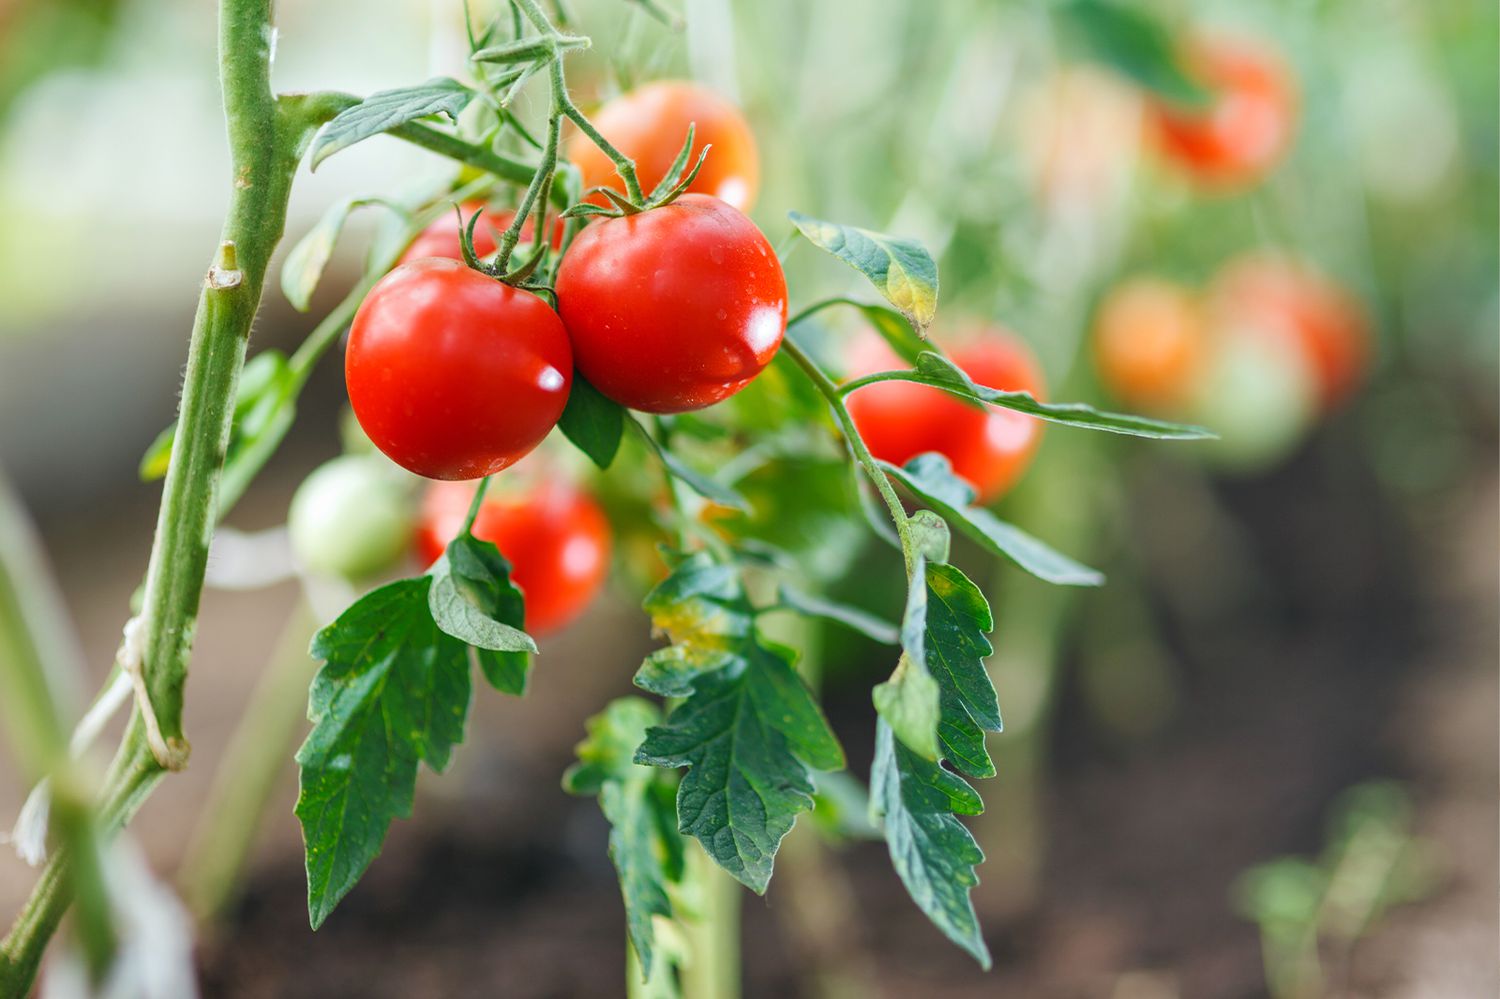
Welcome to the wonderful world of gardening! If you’re considering planting tomatoes from seeds, you’re about to embark on a rewarding journey filled with delicious rewards. Tomatoes are a popular choice among gardeners for their versatility, vibrant colors, and mouthwatering taste.
Before you get your hands dirty, it’s important to understand the appropriate time to plant tomato seeds. In this article, we will guide you through the process of determining the right planting times based on your region, preparing the seeds for optimal germination, and caring for your seedlings until they are ready to be transplanted into the garden.
Whether you’re new to gardening or a seasoned expert, knowing when to plant tomato seeds is crucial for success. Different regions have different planting windows, and understanding these timelines will help ensure that your tomato plants have the best chance of thriving.
So, let’s dive into the fascinating world of tomato seed planting and get ready to sow the seeds of a bountiful harvest!
Key Takeaways:
- Timing is crucial when planting tomato seeds. Consider your climate and last frost date to give your plants the best chance to thrive and produce delicious fruits.
- Properly preparing and caring for tomato seedlings is essential for a successful harvest. From selecting high-quality seeds to providing support, attention to detail is key.
Read more: When Should I Plant Tomato Seeds
Understanding Tomato Seed Planting Times
The best time to plant tomato seeds depends on several factors, including your climate, the last frost date in your region, and the specific variety of tomatoes you’re planting. Tomatoes are warm-season crops that thrive in temperatures between 70°F and 85°F (21°C and 29°C). Therefore, it’s important to time your seed planting to ensure that the seedlings won’t be exposed to frost or cold temperatures.
For most regions, the general rule of thumb is to plant tomato seeds indoors approximately 6-8 weeks before the last frost date. This allows the seedlings to develop and be ready for transplanting when the weather warms up.
To determine the last frost date in your area, you can consult the USDA Hardiness Zone Map or contact your local extension office for accurate information. The last frost date typically falls in the spring, but it can vary depending on your location.
If you live in a region with a longer growing season and milder winters, you may have the option to directly sow tomato seeds outdoors. In this case, you’ll want to wait until the soil has warmed up and the danger of frost has passed.
Keep in mind that tomato seeds germinate best in warm soil, typically between 75°F and 85°F (24°C and 29°C). If the soil temperature is too cool, the seeds may take longer to sprout or fail to germinate altogether.
Understanding the specific planting times for your area will give your tomato plants a head start and increase the chances of a successful harvest. By considering your climate and the last frost date, you can plan your seed planting accordingly and ensure your tomatoes have ample time to grow and produce delicious fruits.
Determining the Last Frost Date
Knowing the last frost date in your region is crucial for determining the optimal time to plant tomato seeds. The last frost date refers to the average date in spring when the risk of frost is minimal. Planting your tomato seeds after the last frost ensures that your seedlings won’t be damaged or killed by cold temperatures.
One of the most reliable sources for determining the last frost date in your area is the USDA Hardiness Zone Map. This map divides the United States into different zones based on average annual minimum temperatures. By finding your zone, you can get a general sense of when the last frost typically occurs in your region. However, it’s important to note that the map provides rough estimates and should be used as a starting point rather than an exact guideline.
In addition to the USDA Hardiness Zone Map, another helpful resource is your local extension office. They have access to more detailed and localized information that can provide a more accurate estimate of the last frost date for your specific area.
It’s important to keep in mind that the last frost date is an average, and there can still be variations from year to year. Mother Nature doesn’t always adhere to a strict schedule, so it’s wise to stay informed about weather patterns and any unexpected temperature drops that could pose a risk to your young tomato plants.
By determining the last frost date in your region, you’ll be able to plan your tomato seed planting accordingly. Remember to give yourself enough time to start your seeds indoors, providing them with the optimal conditions for germination and growth before transplanting them into the garden.
Next, let’s explore the steps for preparing tomato seeds for planting to ensure successful germination and healthy seedlings.
Preparing Tomato Seeds for Planting
Properly preparing tomato seeds before planting is crucial for ensuring optimal germination and healthy seedlings. Here are the essential steps to follow:
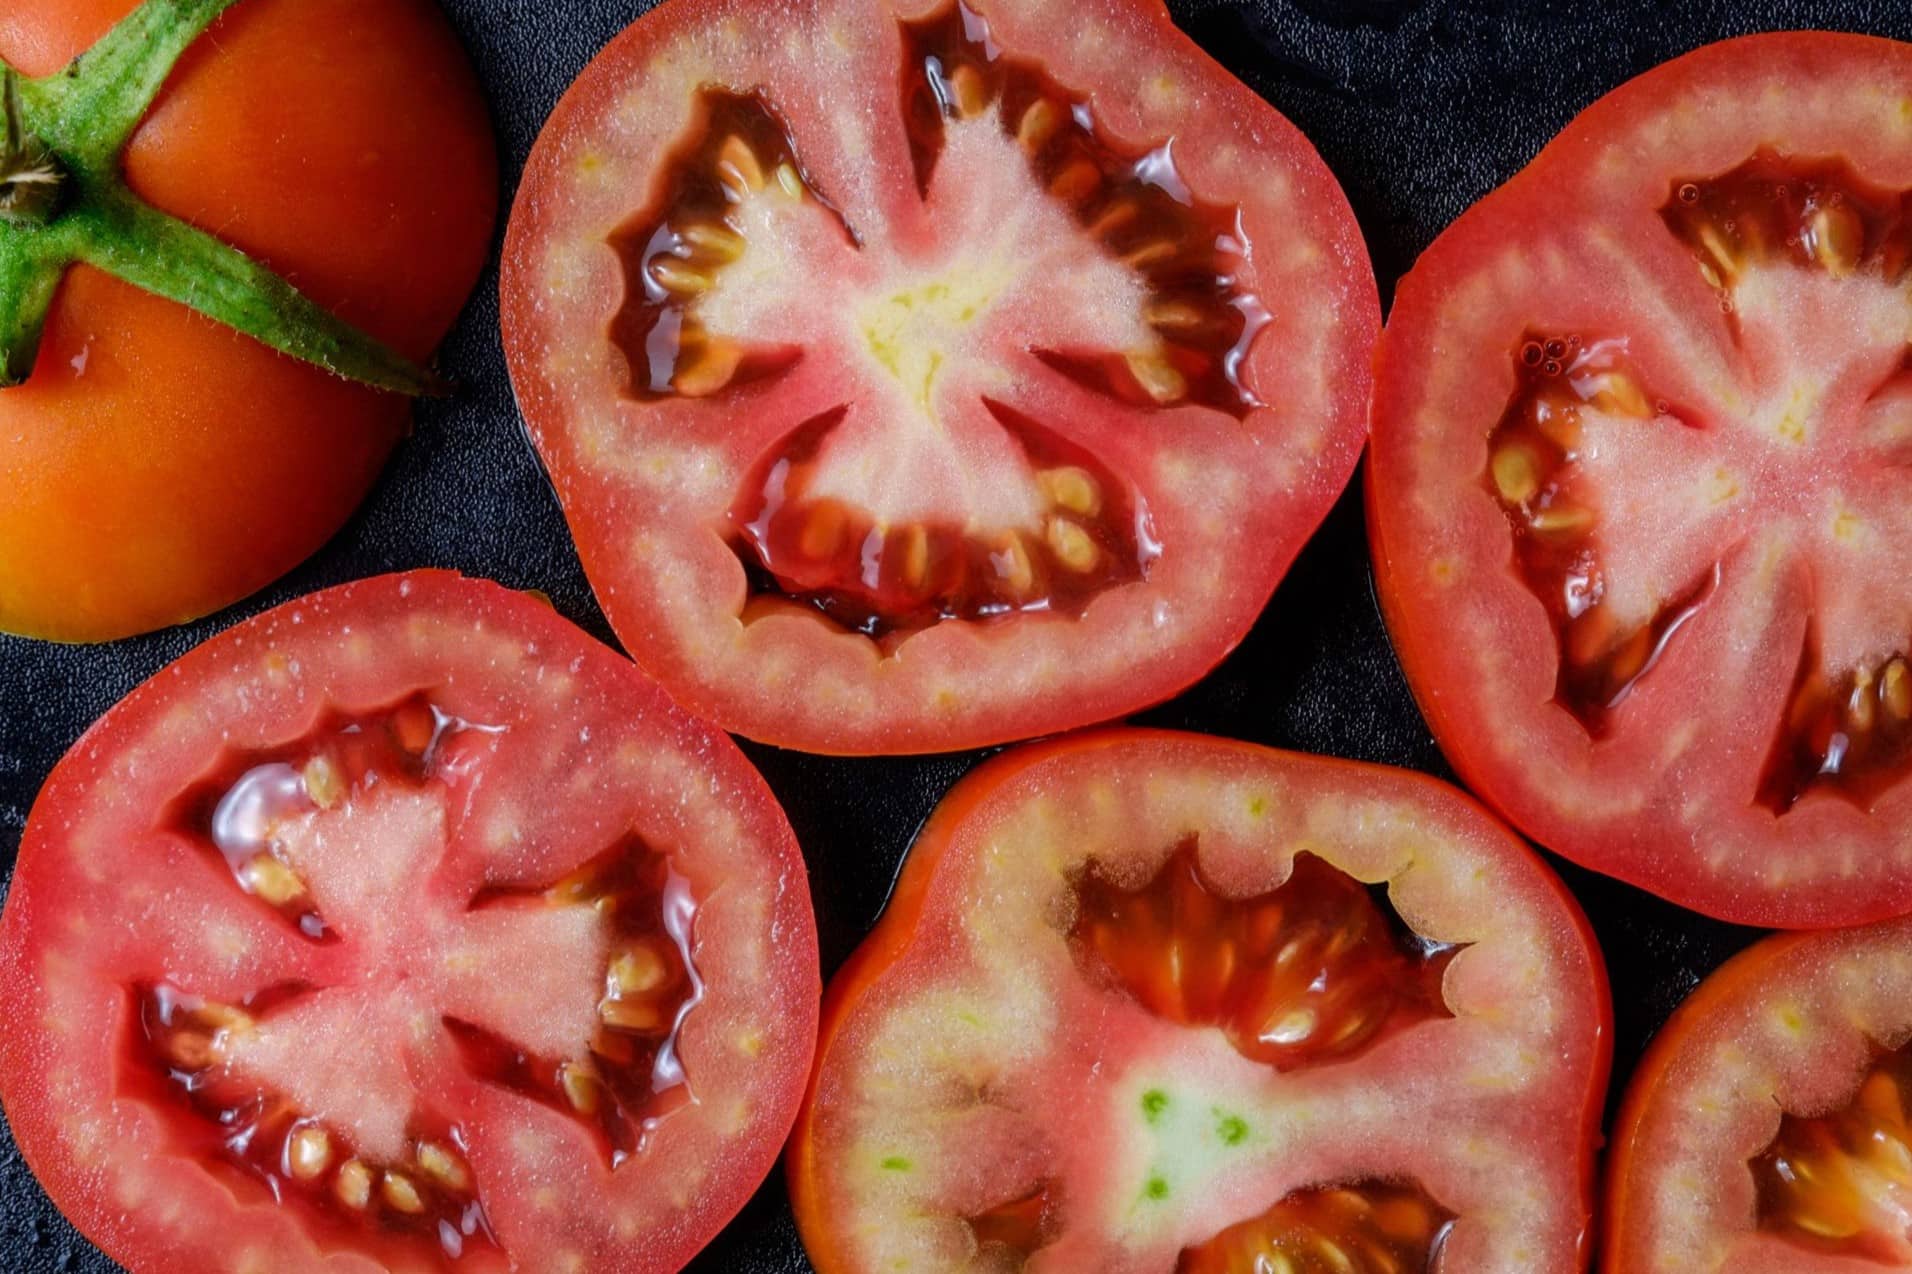
- Selecting High-Quality Seeds: Start by choosing quality tomato seeds from a reputable seed supplier or save them from your own mature fruits. Look for varieties that are well-suited to your climate and desired taste preferences.
- Performing a Seed Viability Test: To test the viability of your seeds, place a few seeds on a damp paper towel and keep them in a warm location for about a week. If the majority of seeds germinate, they are likely viable and can be used for planting.
- Sterilizing Seeds (optional): Some gardeners choose to sterilize their tomato seeds to prevent the transmission of diseases. This can be done by soaking the seeds in a mixture of 1 part bleach to 10 parts water for 10-15 minutes, followed by rinsing them thoroughly.
- Soaking the Seeds (optional): Soaking tomato seeds for 24-48 hours before planting can help speed up germination. This is especially beneficial for older or harder seed coats. However, be cautious not to exceed 48 hours, as it may lead to seed damage.
- Using Seed Starting Mix: Fill small seed trays or pots with a lightweight seed starting mix. This sterile growing medium provides the perfect balance of moisture retention and drainage for successful germination. Avoid using garden soil, which can harbor disease-causing organisms.
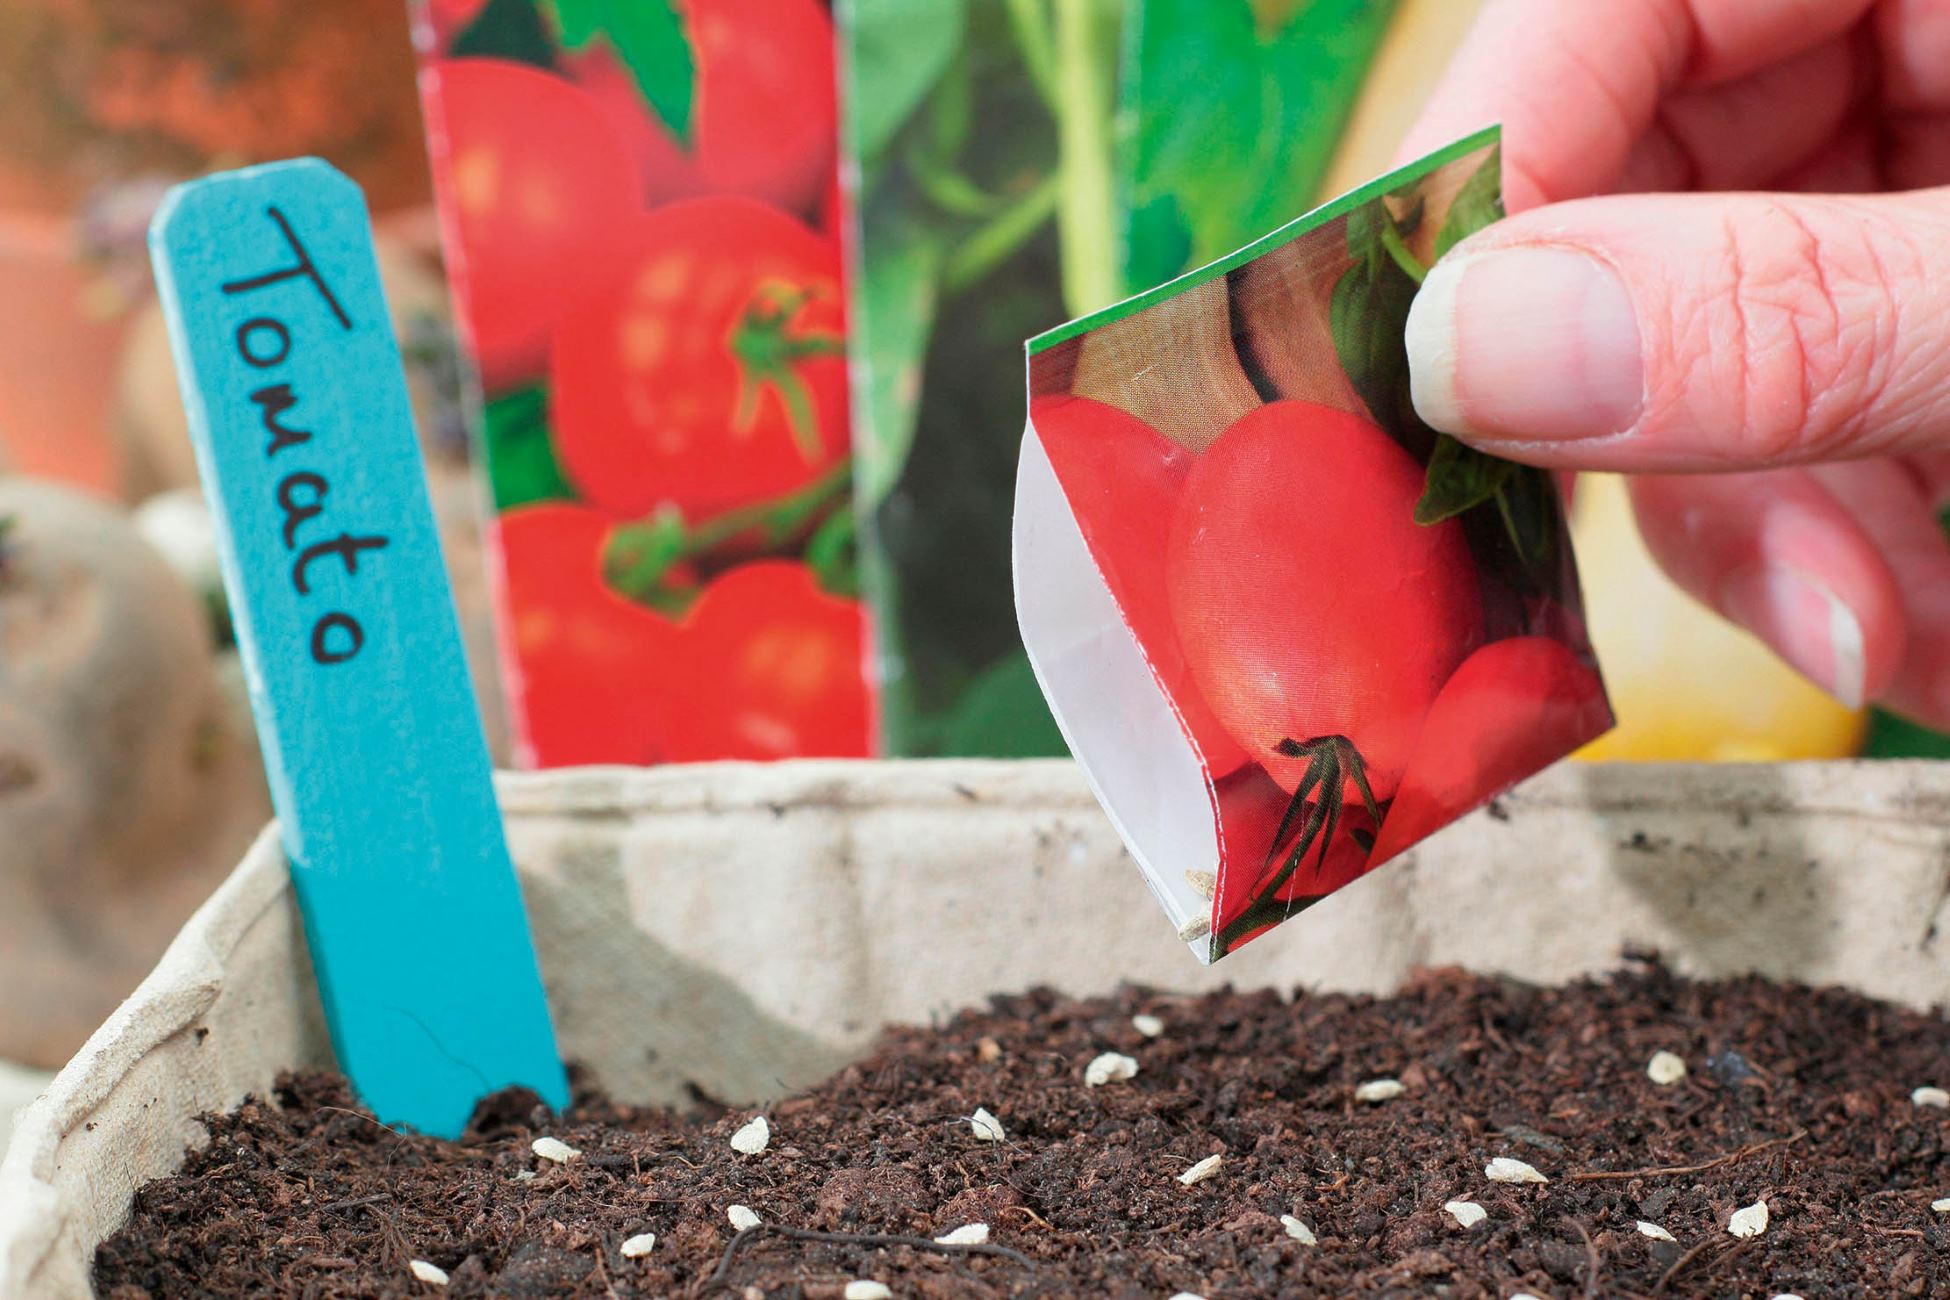
- Planting the Seeds: Sow the tomato seeds about ¼ inch deep in the seed starting mix. Gently press the soil to ensure good seed-to-soil contact while still allowing air circulation around the seeds. Label each tray or pot with the tomato variety to avoid confusion later on.
- Maintaining Optimal Conditions: Place the seed trays or pots in a warm location, ideally between 70-80°F (21-27°C). Provide sufficient light by placing them near a south-facing window or using grow lights. Keep the soil consistently moist but not waterlogged.
- Transferring to Larger Containers: Once the seedlings have developed their first few true leaves, typically 2-4 weeks after germination, it’s time to transplant them into larger containers. This allows for continued root growth and prevents overcrowding.
By following these steps and giving your tomato seeds the necessary care, you’ll set the stage for strong and healthy seedlings. Next, we’ll explore the options for indoor seed starting.
Indoor Seed Starting
Indoor seed starting provides a controlled environment for tomato seeds to germinate and grow into healthy seedlings before being transplanted into the garden. Here are the key steps for successful indoor seed starting:
- Timing: Start your tomato seeds indoors approximately 6-8 weeks before the last frost date in your region. This will give the seedlings enough time to develop before being transplanted outdoors.
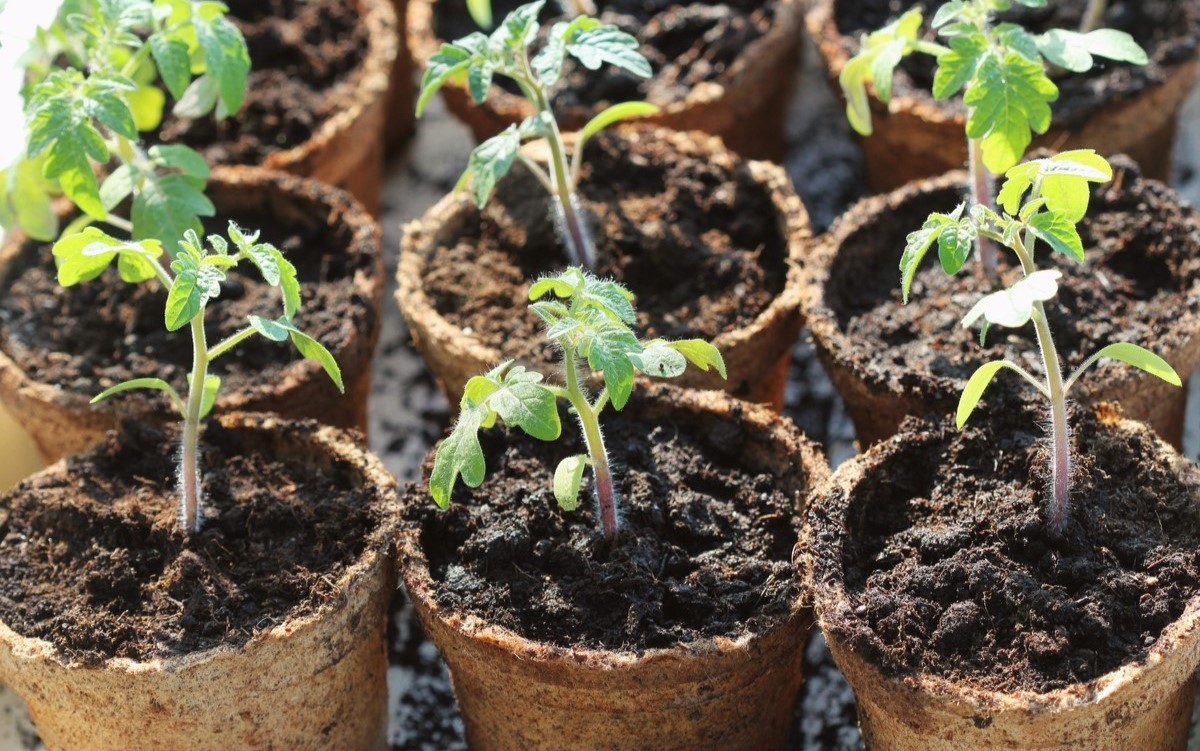
- Containers: Use seed trays, peat pots, or containers that are at least 2-3 inches deep with drainage holes. These containers provide ample space for root development and easy transplanting.
- Seed Starting Mix: Fill your containers with a high-quality seed starting mix. This type of mix is lighter and more moisture-retentive than regular potting soil, providing an optimal growing medium for the seeds.
- Planting: Plant 2-3 tomato seeds per container, placing them about ¼ inch deep in the soil. Gently press the soil around the seeds and water thoroughly, ensuring the soil is evenly moist.
- Warmth and Light: Place the containers in a warm location, ideally between 70-80°F (21-27°C). Tomato seeds require consistent warmth for germination. Supplemental light is also essential, especially during the early stages when natural light may be limited. Use grow lights or fluorescent lights placed 2-3 inches above the seedlings for 14-16 hours a day.
- Maintaining Moisture: Keep the seed starting mix consistently moist but not waterlogged. Water from the bottom by placing the containers in a tray filled with water, allowing the soil to wick up the moisture. Avoid overhead watering to prevent disease and damping off.
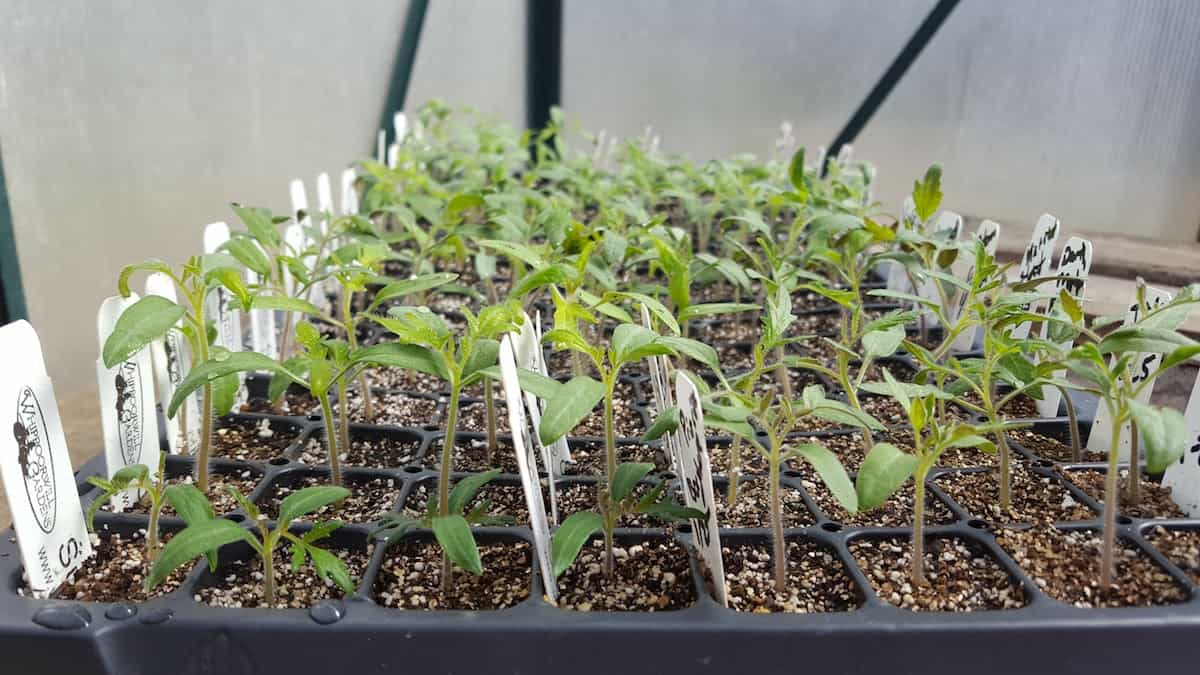
- Thin and Transplant: Once the seedlings have developed their first set of true leaves, thin them by removing the weaker ones, leaving the strongest seedling in each container. When the seedlings have grown 4-6 inches tall and have a well-established root system, transplant them into larger containers or individual pots to allow for further growth.
- Hardening Off: Before transplanting the seedlings outdoors, gradually expose them to outdoor conditions over a period of 7-10 days. Start by placing them outside for a few hours in a sheltered spot, gradually increasing their exposure to sunlight and outdoor elements.
Indoor seed starting allows you to get a head start on the growing season and gives your tomato plants a better chance at success. By providing the right conditions and care, you’ll soon have strong and robust tomato seedlings ready for transplanting. Next, let’s explore the option of direct seed planting for outdoor cultivation.
Plant tomato seeds indoors 6-8 weeks before the last frost date in your area. This will give the seedlings enough time to grow before transplanting them outside. Keep the soil warm and provide plenty of light for healthy seedling growth.
Read more: When Do I Start Tomato Seeds Indoors
Outdoor Seed Planting
If you live in a region with a longer growing season and milder winters, you have the option of directly sowing tomato seeds outdoors. Outdoor seed planting eliminates the need for indoor seed starting and allows your tomato plants to establish themselves directly in the garden. Here are the steps for successful outdoor seed planting:
- Timing: Wait until the soil has warmed up sufficiently and the danger of frost has passed. The soil temperature should be at least 60°F (15°C) for successful germination. This usually occurs a few weeks after the last frost date in your region.
- Preparing the Soil: Choose a sunny spot in your garden with well-draining soil. Remove any weeds or grass and loosen the soil to a depth of about 6-8 inches. Add compost or organic matter to improve soil fertility and drainage.
- Planting: Dig a small hole or furrow in the prepared soil, around ¼ inch deep. Space the holes or furrows based on the recommended spacing for the specific tomato variety you’re planting. Drop 1-2 tomato seeds into each hole and cover them with soil. Gently pat the soil down to ensure good seed-to-soil contact.
- Watering: After planting, water the soil gently but thoroughly. Ensure that the soil remains consistently moist throughout the germination period. Be careful not to overwater, as soggy conditions can lead to fungal diseases.
- Thin and Transplant (optional): If both seeds in a hole germinate, it’s best to thin them out once they develop their first true leaves. Remove the weaker seedling, leaving the stronger one to grow and thrive. If you prefer, you can also transplant the extra seedling to another location in your garden or share it with a fellow gardener.
- Provide Support: Depending on the tomato variety you’re planting, you may need to provide support for the plants as they grow. This is especially crucial for indeterminate varieties that tend to vine and sprawl. Install stakes, cages, or trellises to keep the plants upright and prevent them from bending or breaking.
Outdoor seed planting can be a convenient and rewarding way to grow tomatoes. By choosing the right timing, preparing the soil properly, and providing the necessary care, you can enjoy a bountiful harvest of delicious homegrown tomatoes. Next, let’s explore the important aspects of caring for tomato seedlings.
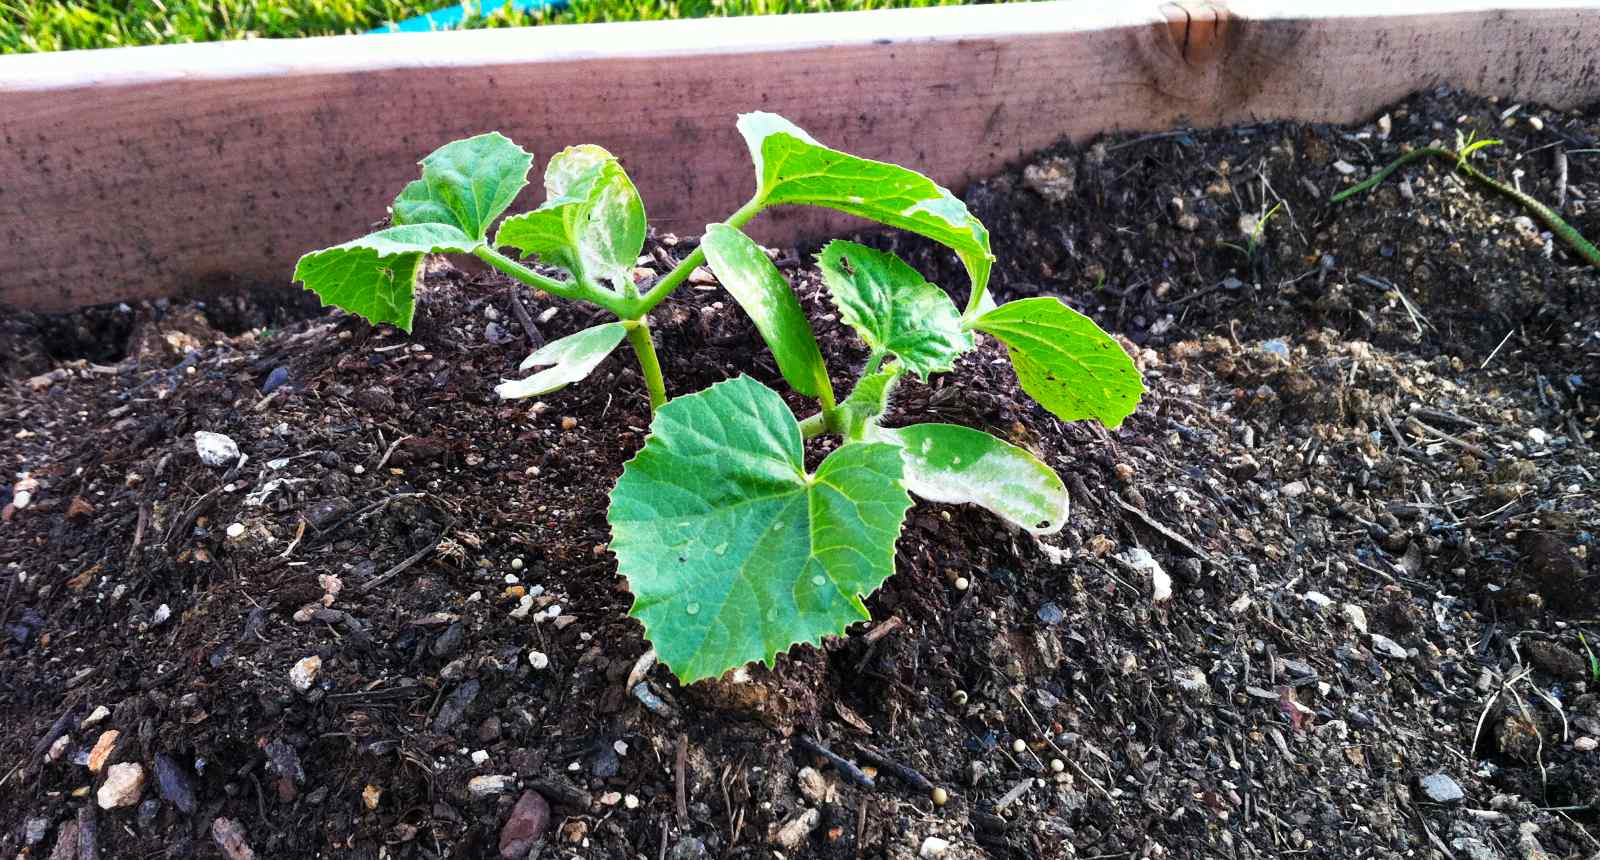
Caring for Tomato Seedlings
Once your tomato seedlings have germinated and are growing, it’s crucial to provide them with proper care to ensure their healthy development. Here are some essential aspects to consider when caring for tomato seedlings:
- Watering: Tomato seedlings need consistent moisture to thrive, so it’s important to water them regularly. Keep the soil evenly moist but not waterlogged. Water at the base of the plants, avoiding overhead watering, as this can lead to water splashing onto the leaves and increase the risk of disease.
- Sunlight: Tomato plants require at least 6-8 hours of direct sunlight per day for optimal growth and fruit development. Place your seedlings in a sunny spot or use artificial grow lights if sunlight is limited.
- Fertilization: Once the seedlings have developed their first set of true leaves, you can start feeding them with a balanced, water-soluble fertilizer. Follow the package instructions for the correct dilution and frequency of application. Avoid over-fertilization, as this can lead to excessive foliage growth at the expense of fruit production.
- Thinning (if necessary): If you have multiple tomato seedlings in a single container or planting hole, thin them out once they have established themselves. Remove the weaker seedlings and leave the strongest one, ensuring enough space for growth and preventing overcrowding.
- Pest Management: Keep a close eye on your tomato seedlings for any signs of pests. Common pests include aphids, caterpillars, and whiteflies. If you notice any damage or infestation, take appropriate measures such as using organic insecticidal soap or implementing natural pest control methods.
- Support and Pruning: As your tomato plants grow, they may need support to keep them upright and prevent them from bending or breaking. Install stakes, cages, or trellises to provide support. Additionally, remove any suckers that develop in the leaf axils to focus the plant’s energy on fruit production.
- Hardening Off: When your tomato seedlings are ready for transplanting into the garden, you must gradually introduce them to outdoor conditions. This process, known as hardening off, involves gradually exposing the seedlings to outdoor elements by placing them outside for a few hours each day, gradually increasing the duration over a period of 7-10 days.
By providing proper care to your tomato seedlings, you’re setting the stage for a successful growing season. With attention to watering, sunlight, fertilization, pest management, and support, your tomato plants will thrive and produce an abundant harvest of delicious fruits. Next, let’s explore the process of transplanting tomato seedlings into the garden.
Transplanting Tomato Seedlings
Transplanting tomato seedlings from their indoor containers to the outdoor garden is a crucial step in their growth journey. Here’s a step-by-step guide on how to successfully transplant your tomato seedlings:
- Choose the Right Time: Wait until the danger of frost has passed, and the soil has warmed up sufficiently. This is usually a few weeks after the last frost date in your region.
- Prepare the Planting Hole: Dig a small hole in your garden bed or raised bed that is large enough to accommodate the root ball of the seedling. Ensure the hole is deep enough so that the soil level will be level with or slightly below the first set of leaves on the plant.
- Water the Seedlings: Thoroughly water the seedlings a few hours before transplanting. This will help the soil hold together around the root ball during the transplantation process.
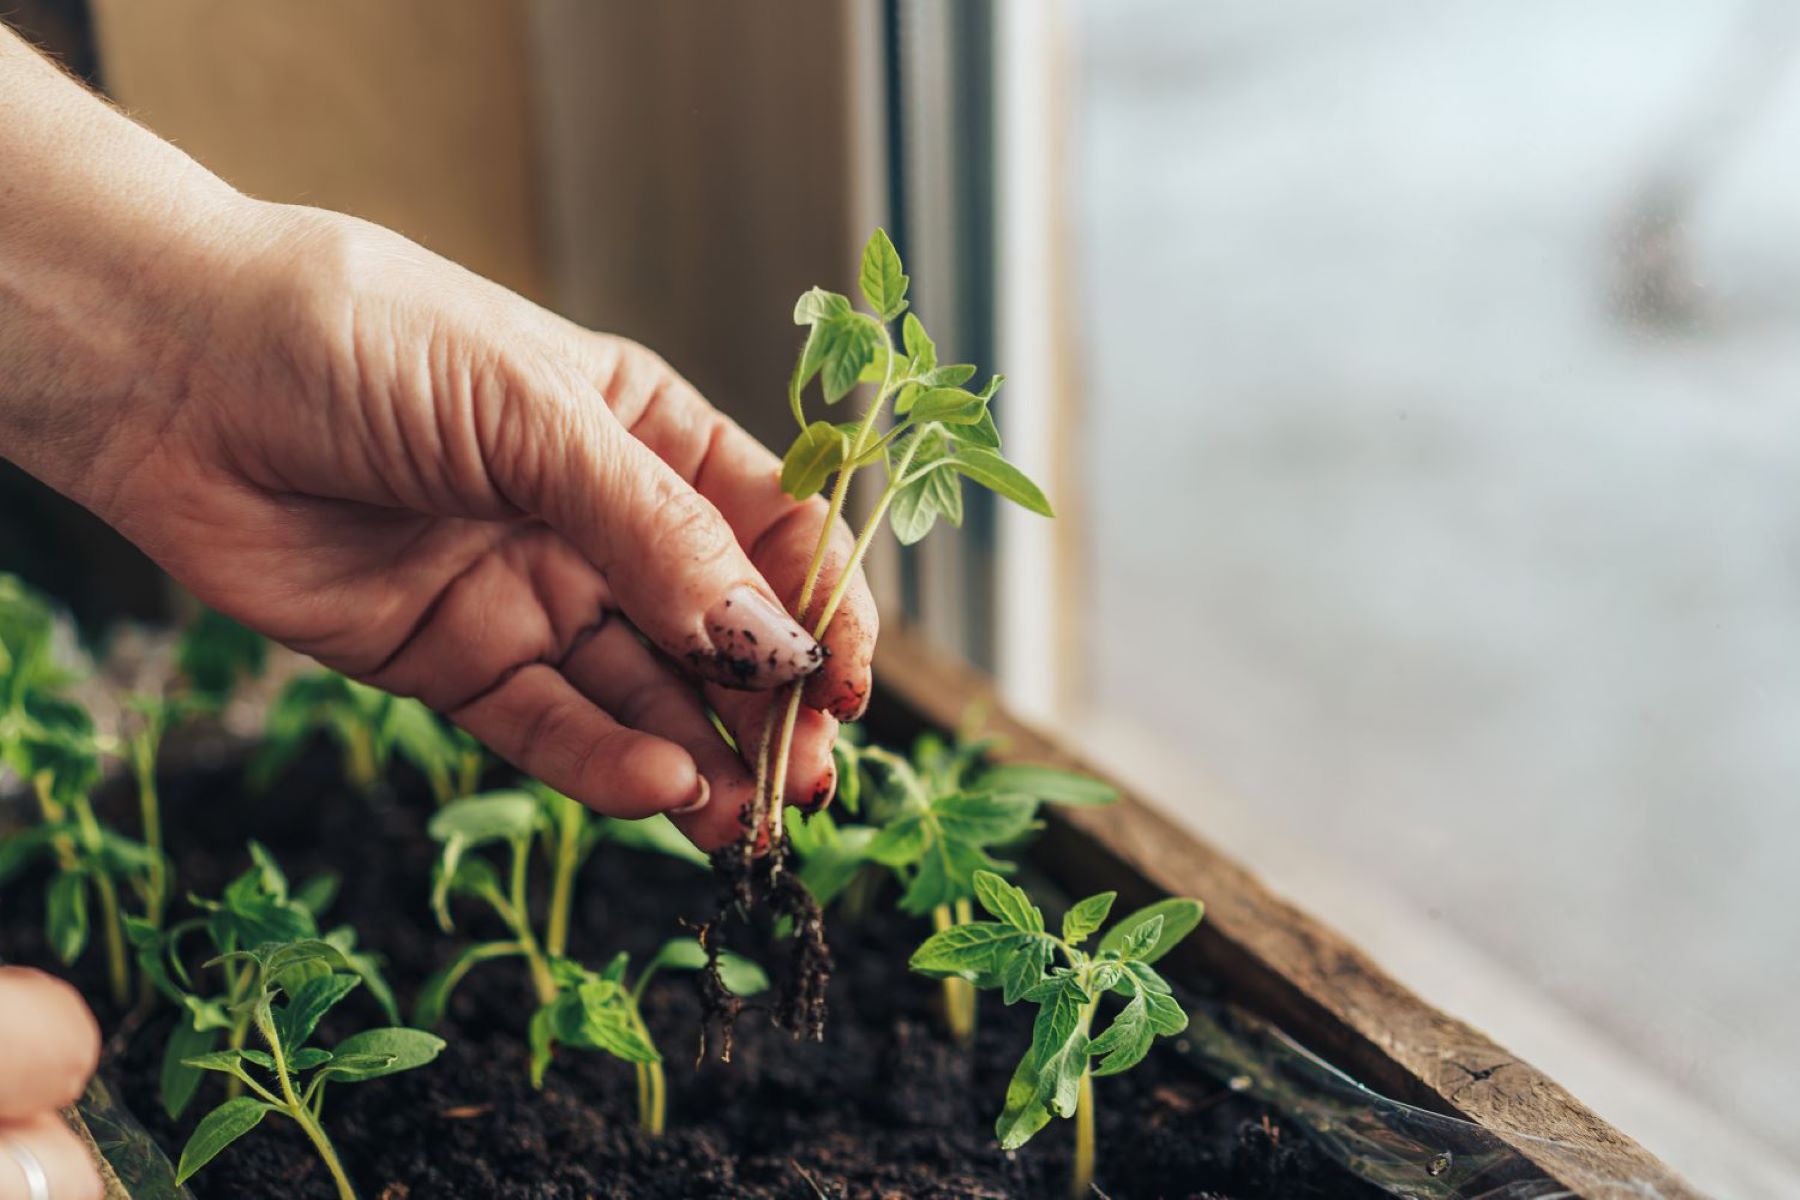
- Carefully Remove the Seedlings: Gently remove each seedling from its container, being careful not to damage the delicate roots. If the seedlings are in peat pots or other biodegradable containers, you can plant them directly into the hole without disturbing the root system.
- Place the Seedlings in the Hole: Set each seedling into its respective hole, making sure the root ball is level with or slightly below the soil surface. Fill the hole with soil, gently firming it around the roots to eliminate any air pockets.
- Water and Mulch: Give the newly transplanted seedlings a thorough watering to help them settle into their new home. Apply a layer of organic mulch, such as straw or wood chips, around the plants to help retain moisture, suppress weeds, and regulate soil temperature.
- Provide Support: Depending on the variety, you may need to provide support for your tomato plants. Install stakes, cages, or trellises near each seedling and gently secure the stem to the support structure using soft ties or twine.
- Maintain Care: Continue to care for your tomato plants by watering them regularly, monitoring for pests and diseases, and providing appropriate fertilization as needed.
- Monitor and Prune: Keep an eye on the growth of your tomato plants and prune them as necessary. Remove any suckers that develop in the leaf axils to focus the plant’s energy on fruit production and prevent overcrowding.
Transplanting your tomato seedlings into the garden is an exciting step that brings you closer to a bountiful harvest. By following these steps and providing proper care, your tomato plants will thrive and reward you with delicious, homegrown tomatoes. Now, it’s time to put all this knowledge into practice and enjoy the journey of growing your own tomatoes!
Remember, gardening is a labor of love, so take the time to enjoy the process and connect with nature. Happy gardening!
Conclusion
Congratulations! You’ve now gained a wealth of knowledge on when to plant tomato seeds, how to prepare them for planting, and how to care for your seedlings until they are ready to be transplanted into the garden. With these insights and techniques, you are well-equipped to embark on a successful tomato-growing adventure.
Understanding the planting times for tomato seeds is essential for maximizing their growth potential. By considering your climate, determining the last frost date in your region, and following the appropriate timelines for indoor or outdoor seed planting, you give your tomato plants the best chance to thrive.
Properly preparing tomato seeds, whether by selecting high-quality seeds, performing viability tests, or appropriately sterilizing and soaking them, sets the stage for successful germination. By using a high-quality seed starting mix, planting the seeds at the right depth, and providing the ideal warmth and light conditions, you ensure strong and healthy seedlings.
Caring for your tomato seedlings involves providing them with consistent moisture, ample sunlight, appropriate fertilization, and support as they grow. By staying vigilant against pests and diseases and practicing proper watering and pruning techniques, you can help your plants flourish and produce an abundant harvest of delicious tomatoes.
Finally, the process of transplanting your tomato seedlings into the garden is a critical step in their growth journey. By choosing the right time, carefully removing the seedlings from their containers, and providing them with a suitable planting hole and support, you allow them to seamlessly transition into their outdoor environment.
Remember, gardening is not just about the end result—it’s also about enjoying the journey. Take the time to connect with nature, observe the growth of your plants, and celebrate each milestone along the way. As you nurture your tomato plants, you’ll witness their transformation from tiny seeds to robust plants bearing beautiful fruits.
So, get your hands in the soil, embrace the joy of gardening, and savor the satisfaction of harvesting your very own delicious homegrown tomatoes. May your garden be abundant and filled with the flavors of summer! Happy planting!
Frequently Asked Questions about When Do I Plant Tomato Seeds
Was this page helpful?
At Storables.com, we guarantee accurate and reliable information. Our content, validated by Expert Board Contributors, is crafted following stringent Editorial Policies. We're committed to providing you with well-researched, expert-backed insights for all your informational needs.


0 thoughts on “When Do I Plant Tomato Seeds”