Home>Garden Essentials>When To Plant Pansy Seeds For Fall
Garden Essentials
When To Plant Pansy Seeds For Fall
Modified: April 22, 2024
Discover when is the perfect time to plant pansy seeds for a beautiful fall garden. Learn expert tips and tricks for a successful flower planting season.
(Many of the links in this article redirect to a specific reviewed product. Your purchase of these products through affiliate links helps to generate commission for Storables.com, at no extra cost. Learn more)
Introduction
Welcome to the wonderful world of gardening! If you’re looking to add a burst of color to your flower beds or containers, pansies are a fantastic choice. These vibrant flowers not only brighten up any space but also have the added benefit of being easy to grow from seed. Whether you’re a seasoned gardener or just starting out, planting pansy seeds is a rewarding experience.
Pansies are known for their cheerful faces, vibrant hues, and delicate yet hardy nature. They are a popular choice for fall gardens, as they can withstand cooler temperatures and even a light frost. Planting pansy seeds allows you to have a stunning display of flowers in your garden or window boxes throughout the autumn season.
In this article, we will guide you through the process of when to plant pansy seeds for fall. We will explore the best climate and temperature conditions for optimum growth, discuss planning and preparation steps, and provide tips for both indoor and outdoor seed starting. Additionally, we will cover maintenance and care tips, potential challenges you may encounter, and how to harvest pansy seeds for future planting. By the end, you’ll be equipped with the knowledge and confidence to create a beautiful pansy-filled garden.
So let’s dive in and learn everything you need to know about planting pansy seeds for a vibrant fall display!
Key Takeaways:
- Pansies are perfect for fall gardens, as they can withstand cooler temperatures and even a light frost. Plant them in well-draining soil with 6 hours of sunlight for a vibrant autumn display.
- Whether starting pansy seeds indoors or sowing them directly outdoors, proper planning and care are essential. Regular watering, fertilizing, and monitoring for pests and diseases will help your pansies thrive.
Read more: When To Plant Pansy Seeds
Understanding Pansy Seeds
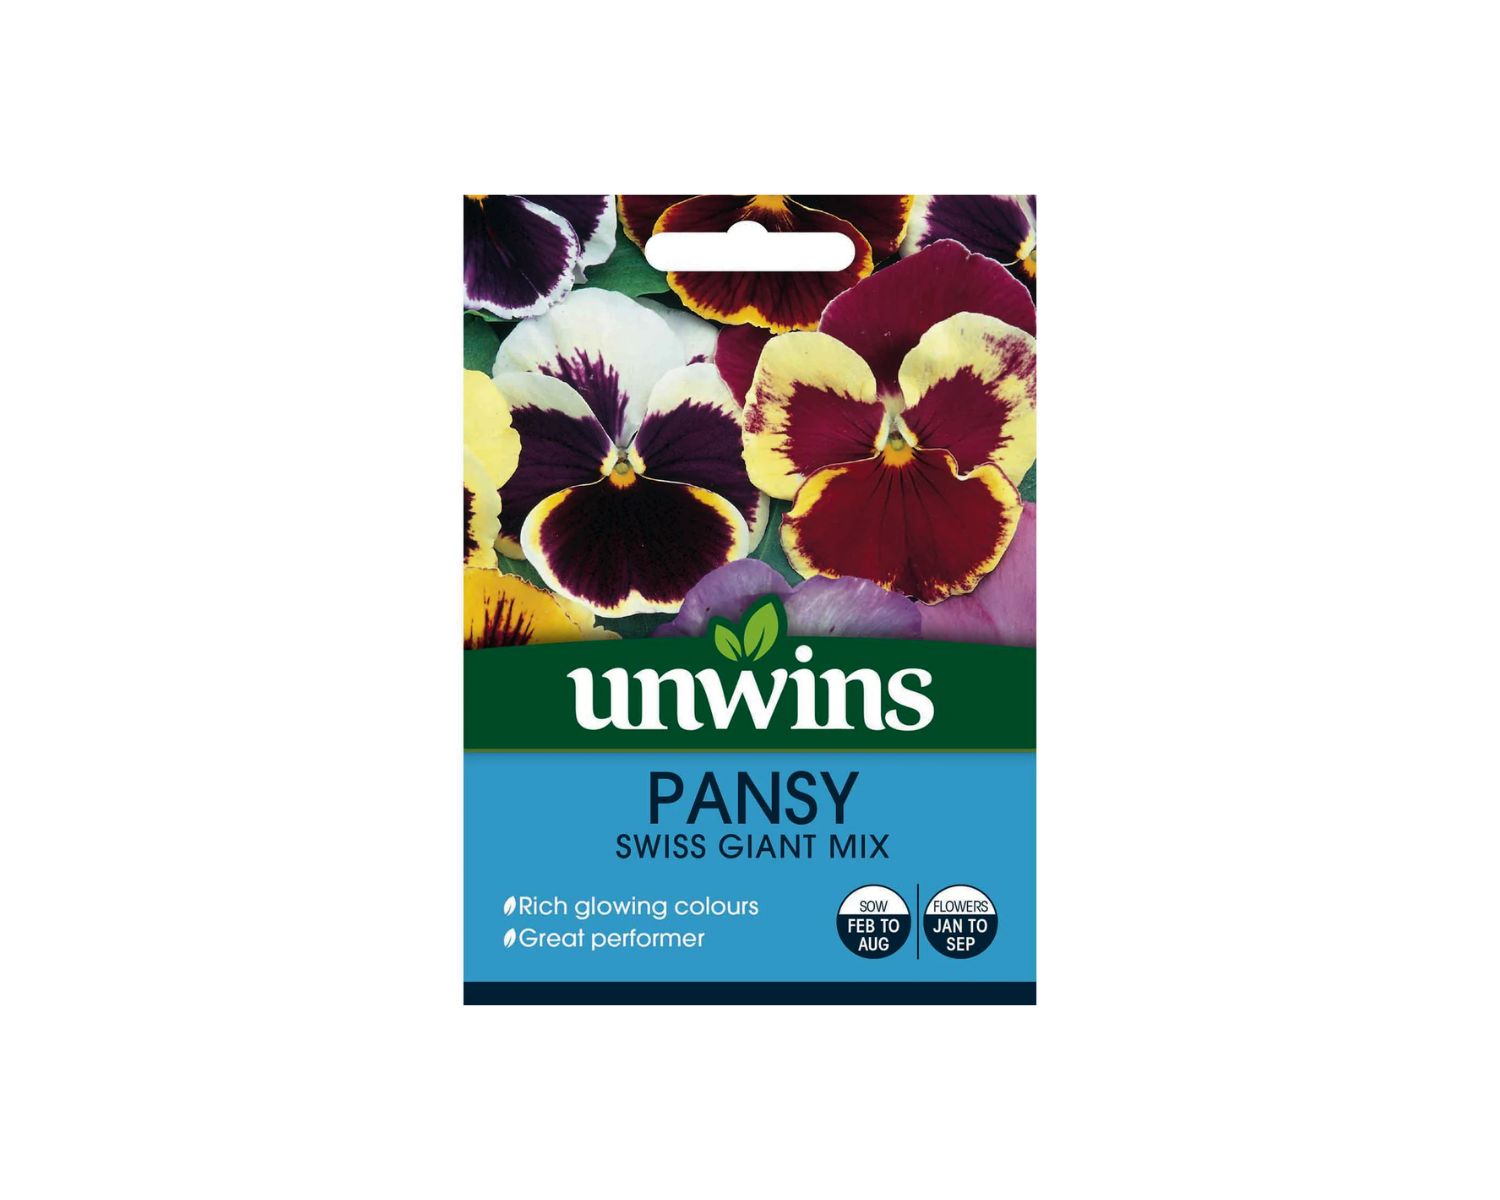
Before you start planting pansy seeds, it’s important to have a basic understanding of what they are and how they grow. Pansy seeds are small, oval-shaped capsules that contain the genetic material necessary for germination and growth. Each seed is capable of developing into a new pansy plant, producing a variety of colorful flowers.
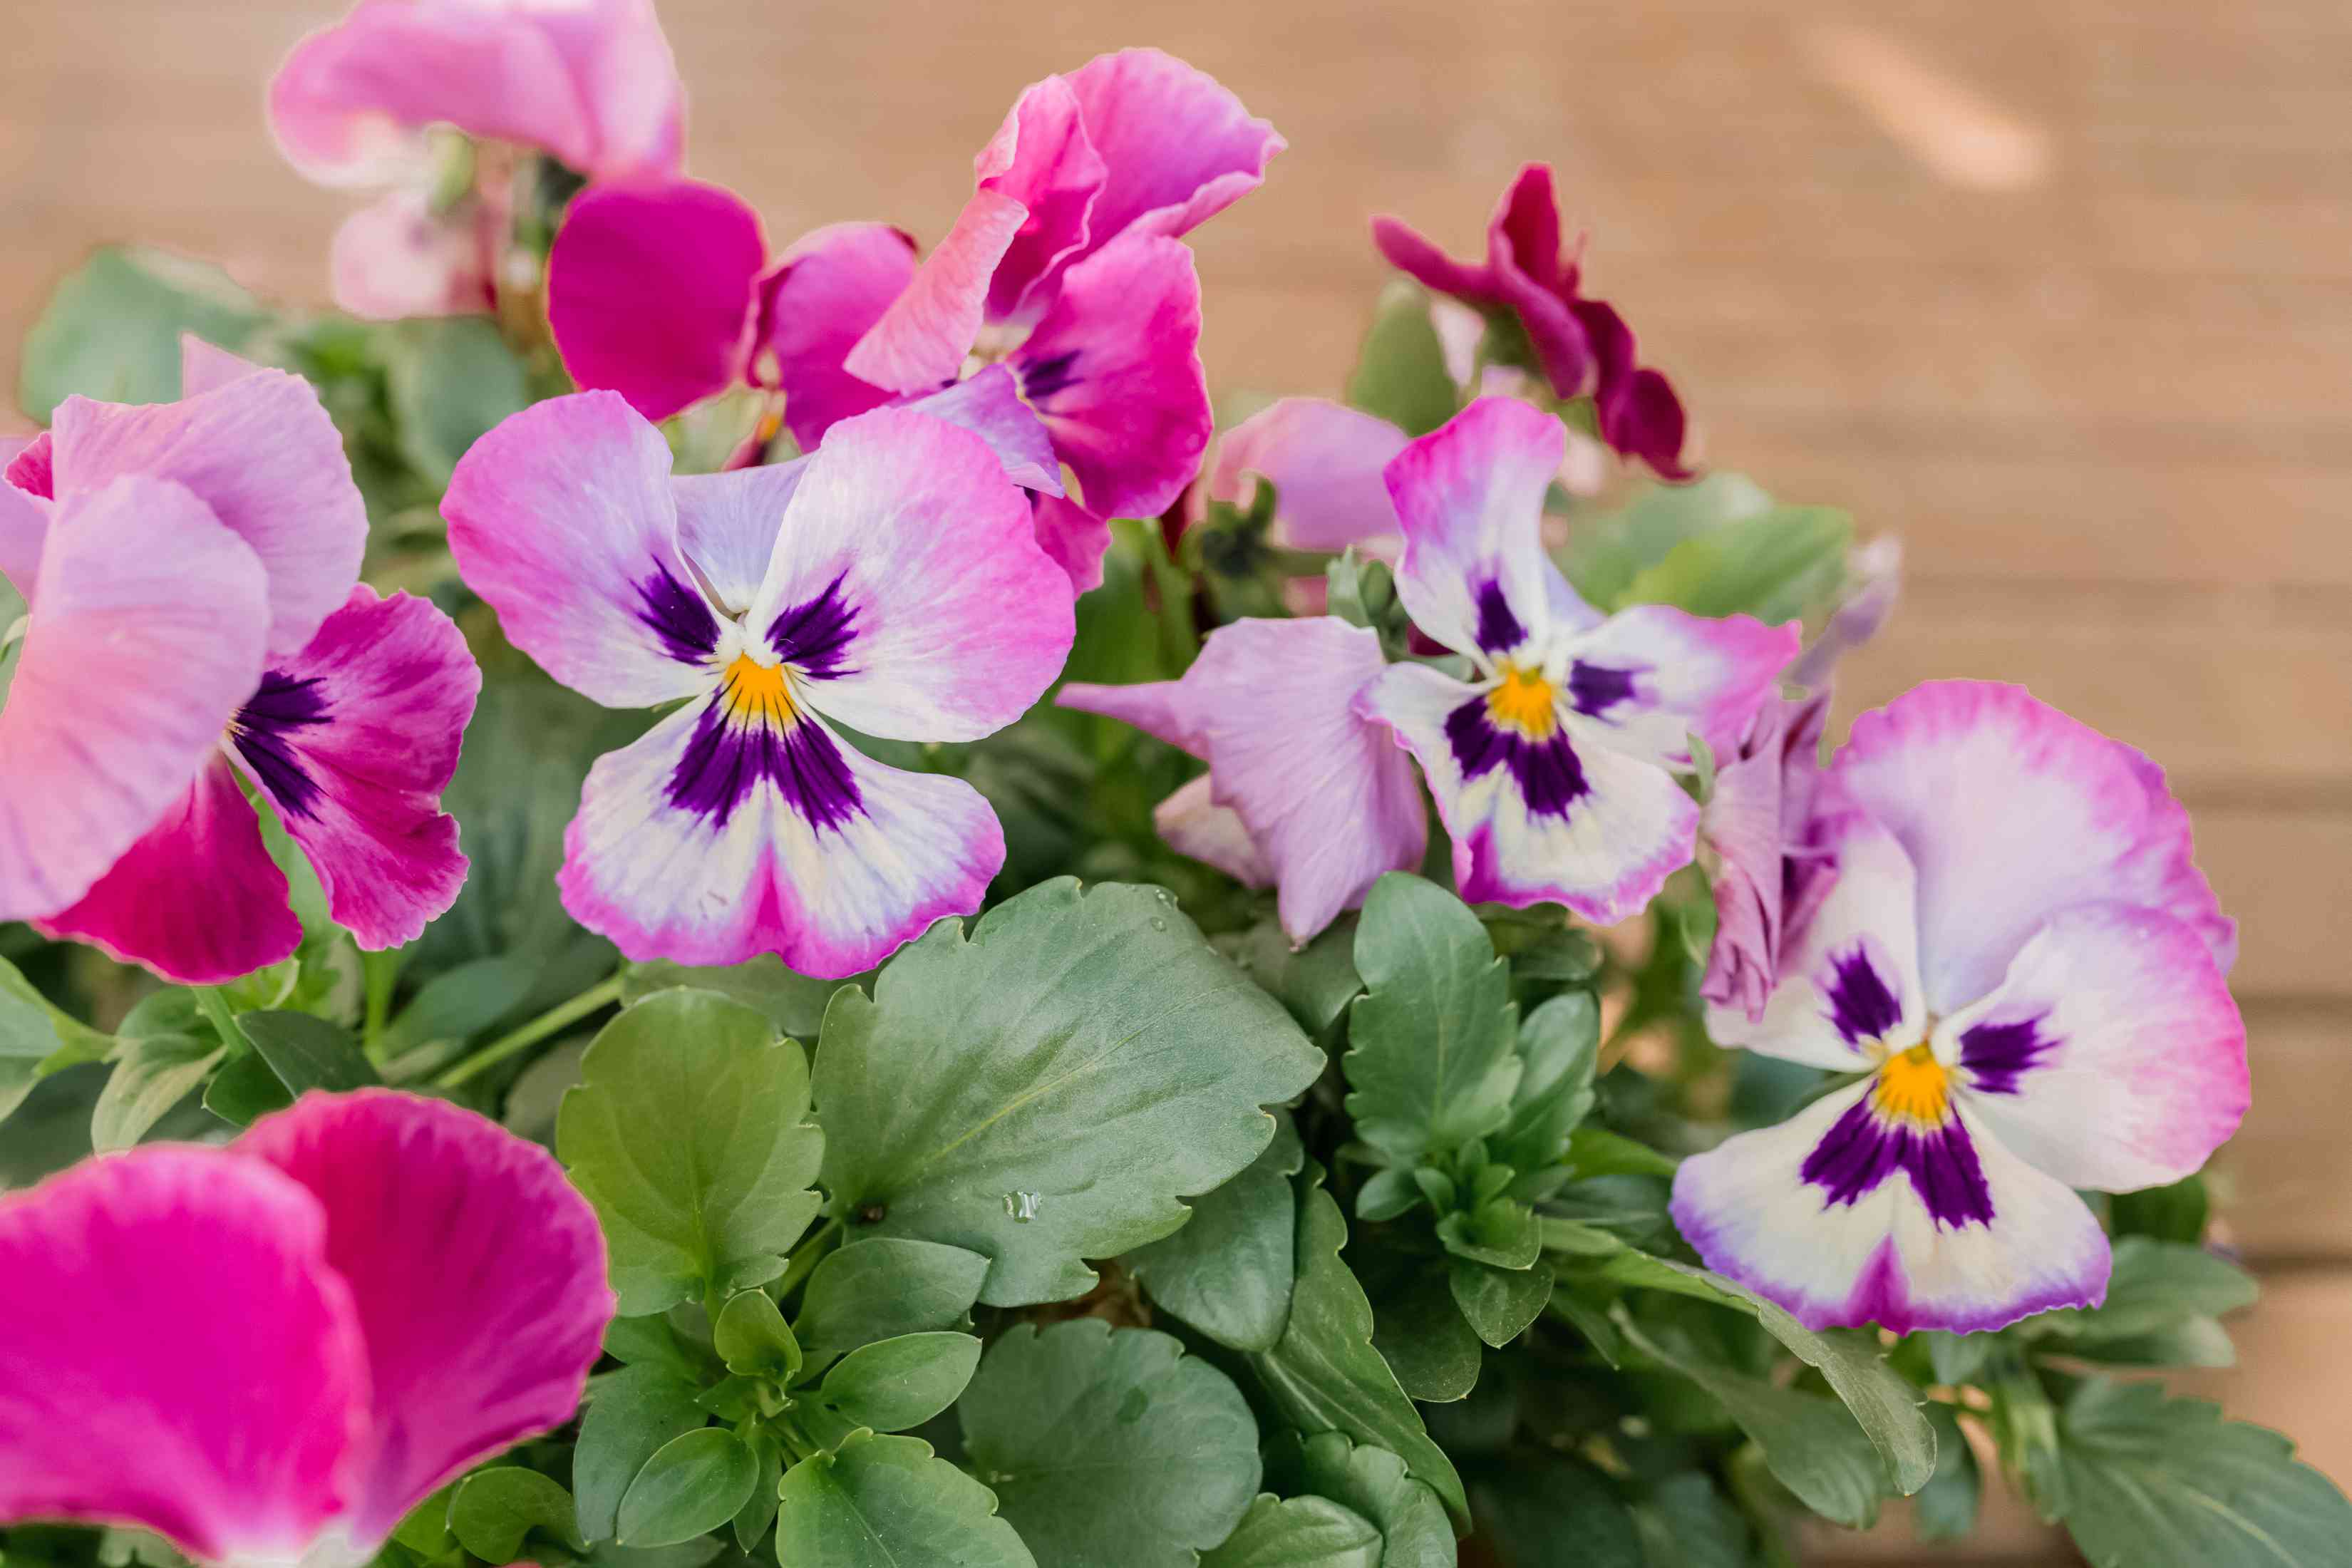
When selecting pansy seeds, you’ll find a wide range of colors and varieties to choose from. Pansies come in shades of purple, blue, yellow, orange, red, and white, often with vibrant patterns and combinations. Some popular pansy varieties include the clear-faced pansies, the blotched or faced varieties, and the trailing pansies.
Pansy seeds can be purchased from local garden centers, online retailers, or harvested from existing plants in your garden. If you decide to save seeds from your existing pansies, make sure to collect them when the pods are dry and brown. Gently remove the seeds and store them in a cool, dry place until you are ready to plant.
It’s important to note that pansy seeds have a relatively short viability period, which means that they lose their ability to germinate over time. Therefore, it’s best to use fresh seeds for optimal results. Check the package or the germination rate of saved seeds to ensure their viability.
Pansy seeds have a preferred temperature range for germination. Generally, they will germinate best when temperatures are between 60°F and 70°F (15°C and 20°C). However, some varieties may have specific temperature requirements, so it’s always a good idea to refer to the seed packet or the specific variety’s guidelines when starting your pansy seeds.
Now that we have a better understanding of pansy seeds and their characteristics, let’s move on to discussing the ideal climate and temperature requirements for successful pansy seed germination and growth.
Climate and Temperature Requirements
Pansies are versatile flowers that can tolerate a range of climates, making them an ideal choice for both cool and mild regions. However, understanding their climate and temperature requirements is crucial for successful growth and flowering.
While pansies can tolerate cooler temperatures, they still require adequate sunlight to thrive. Ideally, they should receive at least 6 hours of direct sunlight each day. If you live in an area with hot summers, partial shade during the hottest part of the day can help protect the plants from scorching.
Pansies prefer well-draining soil that is rich in organic matter. They can adapt to different soil types, including loam, sandy, or clay soil. However, ensure that the soil pH is slightly acidic to neutral, ranging from 5.5 to 7.0, for optimal nutrient uptake.
When it comes to temperature, pansies are considered cool-season plants. They thrive in temperatures ranging from 45°F to 65°F (7°C to 18°C). They can tolerate a light frost, which makes them ideal for fall planting. However, be cautious of prolonged frost or freezing temperatures, as this can damage or kill the plants.
If you live in a region with mild winters, pansies can even withstand temperatures as low as 20°F (-7°C) and continue to bloom. In colder regions, pansies may go dormant during the winter months and resume growth and flowering in spring.
It’s important to keep in mind that different pansy varieties may have specific temperature preferences. Some varieties are more heat-tolerant, while others can handle colder temperatures. Always refer to the specific variety’s guidelines to ensure that you are providing the optimal conditions for growth.
Now that we have a better understanding of the climate and temperature requirements for pansies, let’s explore the planning and preparation steps to ensure a successful growing season.
Planning and Preparation
Planning and preparation are essential steps for a successful pansy growing season. Taking the time to properly plan and prepare your garden or containers will ensure that your pansies have the best chance to grow and flourish.
First, consider the location where you want to plant your pansies. Whether it’s a flower bed, a window box, or containers, make sure the area receives adequate sunlight and has well-draining soil. Pansies appreciate morning sun and some shade during the hottest part of the day.
Next, prepare the soil by removing any weeds, rocks, or debris. Loosen the soil with a garden fork or tiller to improve aeration and drainage. If the soil is heavy or contains a lot of clay, you can enrich it by adding organic matter such as compost or well-rotted manure.
If you plan to grow pansies in containers, choose containers with drainage holes to prevent waterlogging. Fill the containers with a high-quality potting mix that has good drainage and aeration properties. Mixing in some perlite or vermiculite can help improve drainage.
Before planting pansy seeds, it’s important to determine the spacing requirements. Pansies typically require spacing of 6 to 8 inches (15 to 20 cm) apart. This ensures that each plant has enough room to grow and prevents overcrowding.
Once you have prepared the soil and containers, it’s time to decide whether you want to start your pansy seeds indoors or directly sow them outdoors. Both methods have their advantages, so choose the one that works best for you and your gardening style.
Starting pansy seeds indoors allows you to get a head start on the growing season and gives you more control over the germination process. It’s ideal if you live in an area with a short growing season or if you want to ensure a higher germination rate. We will discuss the steps for indoor seed starting in the next section.
Directly sowing pansy seeds outdoors is a convenient and straightforward method, particularly if you live in a milder climate. With this method, you sow the seeds directly into the prepared soil after the threat of frost has passed. We will cover the steps for outdoor seed sowing later in the article.
By planning and preparing in advance, you set the stage for successful pansy growth and flourishing. Now, let’s explore the steps for starting pansy seeds indoors.
Seed Starting Indoors
Starting your pansy seeds indoors is an excellent option if you want to get a jumpstart on the growing season and have more control over the germination process. It allows you to provide optimal conditions for your pansy seeds to sprout and grow before transplanting them outdoors.
Here are the steps for starting pansy seeds indoors:
- Choose the right container: Select containers with drainage holes to prevent waterlogging. Use seed trays, peat pots, or small biodegradable pots that can be easily planted into the soil without disturbing the seedlings’ delicate roots.
- Fill the containers: Fill the containers with a well-draining seed starting mix or a 50/50 mixture of potting soil and vermiculite. Moisten the soil lightly to create a damp environment for the seeds.
- Sow the seeds: Place two to three pansy seeds on top of the soil in each container, spacing them evenly. Gently press the seeds into the soil, but do not bury them too deep – pansy seeds need light to germinate.
- Mist the seeds: Spray the soil surface gently with water to ensure the seeds make good contact with the soil and to keep them moist.
- Provide consistent moisture: Cover the containers with a clear plastic dome or plastic wrap to create a greenhouse-like environment. This helps to retain moisture and warmth. Check the moisture level daily and mist the soil if it starts to dry out.
- Place in a warm location: Pansy seeds germinate best in a warm environment with temperatures between 60°F and 70°F (15°C and 20°C). Find a warm spot in your home, such as near a sunny window or on top of a heat mat, to place the containers.
- Remove the cover: Once the seeds have germinated and the seedlings have emerged, remove the plastic cover to allow for air circulation. Move the containers to a location with bright, indirect light to help the seedlings develop strong and healthy stems.
- Thin and transplant: Once the seedlings have grown their first set of true leaves, thin them out by snipping off the weaker seedlings at the soil level. This gives the remaining seedlings more space and resources to grow. If using biodegradable pots, you can transplant the entire pot into a larger container or directly into the garden.
By following these steps, you’ll give your pansy seeds the best chance to germinate and grow into healthy seedlings. Starting pansy seeds indoors allows you to closely monitor their progress and ensure they are ready for transplanting outdoors when the weather conditions are favorable.
Next, we’ll explore the process of direct seeding pansies outdoors for those who prefer to sow their seeds directly into the soil.
Plant pansy seeds for fall in late summer or early fall, about 6-8 weeks before the first frost. This will give them time to establish before the cold weather sets in.
Read more: When To Plant Seeds For Fall Garden
Direct Seeding Outdoors
If you prefer a more straightforward approach or live in a region with milder weather, you can directly sow your pansy seeds outdoors. Direct seeding allows the seeds to be planted directly into the garden soil, eliminating the need for transplanting seedlings.
Follow these steps for direct seeding pansies outdoors:
- Choose the right time: Wait until the threat of frost has passed and the soil has sufficiently warmed up before sowing pansy seeds outdoors. This is typically in late spring or early fall, depending on your climate.
- Prepare the soil: Clear the area of any weeds, rocks, or debris. Loosen the soil with a garden fork or tiller to improve aeration and drainage. Amend the soil with compost or well-rotted manure to enrich it with nutrients.
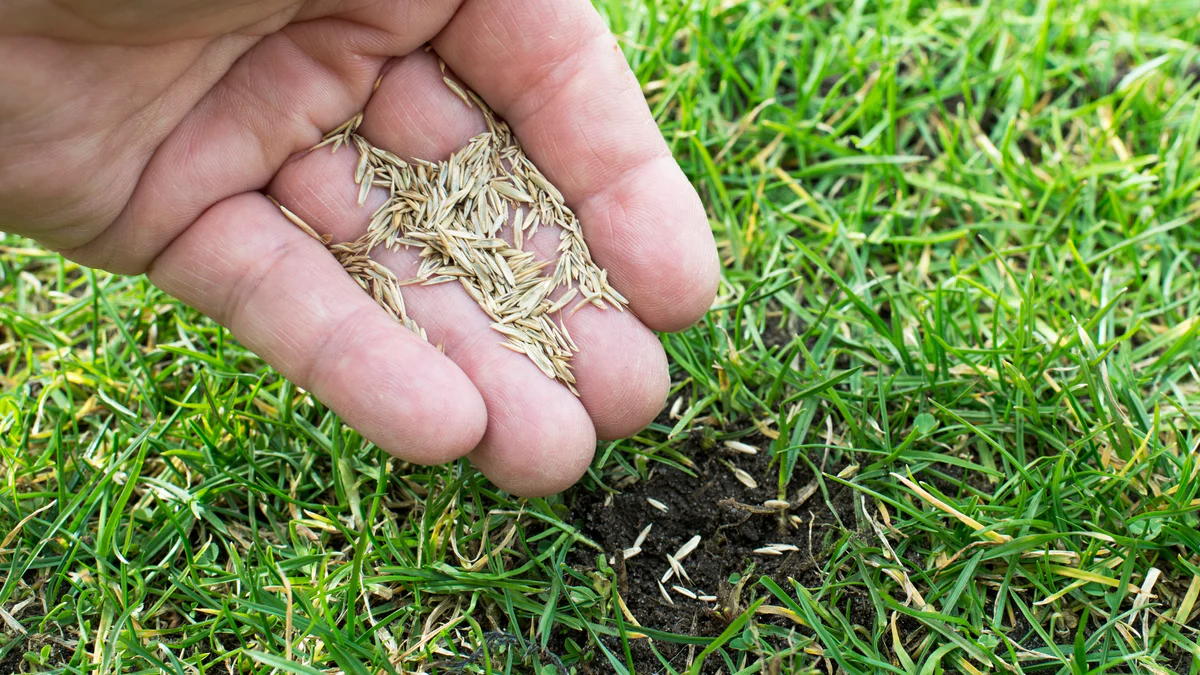
- Sow the seeds: Scatter the pansy seeds evenly over the prepared soil. Aim for a spacing of 6 to 8 inches (15 to 20 cm) between each seed. It’s okay if the seeds are slightly exposed on the soil surface as pansy seeds require light to germinate.
- Lightly cover the seeds: Gently rake the soil over the seeds to lightly cover them. Keep in mind that pansy seeds are tiny, so do not bury them too deep – a thin layer of soil is sufficient.
- Water gently: Water the seeded area gently using a watering can or a gentle spray nozzle. Avoid drenching the area, as excessive water can wash away the seeds.
- Provide consistent moisture: Keep the seeded area consistently moist until the seeds germinate, typically within 7 to 14 days. Water the soil whenever it starts to dry out, but be careful not to overwater, as pansy seeds are prone to rotting in waterlogged soil.
- Maintain proper spacing: As the seedlings emerge and grow, thin them out if they are overcrowded. Remove the weaker seedlings to create enough space for the remaining plants to develop properly.
Direct seeding outdoors provides a natural environment for the pansy seeds to germinate and grow. It’s a straightforward approach that allows the plants to establish their roots directly in the garden soil. Make sure to monitor the soil moisture and provide adequate water as the seedlings take root and grow.
Now that you know how to directly sow your pansy seeds outdoors, let’s move on to the maintenance and care needed to keep your pansies healthy and thriving.
Maintenance and Care
Maintaining and caring for your pansies is key to ensuring their health, vigor, and abundant flowering. By following these maintenance practices, you’ll create an optimal growing environment for your pansy plants.
Watering: Pansies prefer consistent moisture, but it’s important not to overwater them. Aim to keep the soil moist but not waterlogged. Water the plants deeply when the top inch of soil feels dry, and avoid wetting the leaves to minimize the risk of diseases.
Fertilizing: Pansies benefit from regular fertilization to support healthy growth and continuous blooming. Use a balanced, water-soluble fertilizer or a slow-release granular fertilizer specifically formulated for flowering plants. Follow the manufacturer’s instructions for application rates and frequency.
Deadheading: To encourage prolonged blooming, remove faded flowers by pinching or cutting them off at the base of the stem. This process, known as deadheading, redirects the plant’s energy towards producing new blooms instead of seed production.
Mulching: Applying a layer of organic mulch around the base of your pansy plants helps regulate soil temperature, conserve moisture, suppress weed growth, and add nutrients to the soil as it breaks down. Use a layer of mulch that is about 1-2 inches (2.5-5 cm) thick, and keep it a few inches away from the plant stems to prevent rot.
Protection from pests and diseases: Regularly inspect your pansy plants for any signs of pests or diseases, such as aphids, slugs, snails, or powdery mildew. If you notice any issues, take appropriate action using organic pest control methods or consult with a local gardening expert for guidance.
Monitoring for overwintering: In milder climates, pansies can survive winter and resume blooming in spring. Keep an eye on the plants during the colder months, especially if temperatures drop significantly. Provide protection such as a layer of mulch or a floating row cover if needed.
Pruning: Pansies don’t require extensive pruning, but you can lightly trim any straggly or leggy stems to promote compact and bushy growth. Pruning can be done throughout the growing season as needed.
By following these maintenance and care practices, your pansies will thrive and reward you with an abundance of vibrant flowers throughout the fall season and beyond.
Now, let’s explore some potential challenges you may encounter while growing pansies and the solutions to address them.
Potential Challenges and Solutions
While pansies are generally hardy and resilient, they can face some challenges during their growing season. Knowing how to identify and address these issues can help ensure the health and vitality of your pansy plants.
Challenge: Pests
Pests such as aphids, slugs, and snails can occasionally infest pansy plants, damaging the foliage and flowers.
Solution: Monitor your plants regularly and take action at the first sign of pest activity. Use organic pest control methods like handpicking, insecticidal soap, or natural predators like ladybugs to keep the pest population in check.
Challenge: Diseases
Pansies can be susceptible to diseases like powdery mildew, gray mold, and root rot, especially in humid or poorly drained conditions.
Solution: Ensure proper spacing between plants for good air circulation and avoid overwatering. If you notice signs of disease, promptly remove affected plant parts and treat with appropriate fungicides or organic remedies recommended for the specific disease.
Challenge: Leggy Growth
Pansies may become leggy and spindly if they don’t receive sufficient sunlight or if the spacing between plants is too tight.
Solution: Ensure that your pansies receive at least 6 hours of direct sunlight each day. If they become leggy, you can lightly trim the stems to encourage bushier growth. Proper spacing between plants allows for better air circulation and prevents overcrowding.
Challenge: Frost Damage
Pansies are generally tolerant of cooler temperatures, but severe frost or freezing conditions can damage or kill the plants.
Solution: Cover your pansy plants with a frost blanket or a layer of mulch during periods of extremely cold weather. This provides an extra layer of insulation and protection. If frost damage occurs, remove any damaged foliage and allow the plants to recover on their own.
Challenge: Poor Flowering
If your pansies are not producing as many flowers as expected, several factors could be at play such as inadequate sunlight, lack of nutrients, or improper watering.
Solution: Ensure that your pansies are receiving sufficient sunlight, water consistently to keep the soil moist, and fertilize regularly with a balanced flower fertilizer. Proper care and attention to these factors should help stimulate flowering.
By being aware of these potential challenges and implementing the appropriate solutions, you can overcome obstacles and maintain healthy, thriving pansy plants in your garden.
Now that we’ve addressed some common challenges, let’s explore the process of harvesting pansy seeds to continue the cycle of growth and beauty.
Harvesting Pansy Seeds
Harvesting pansy seeds allows you to save and propagate your favorite pansy varieties for future planting. With proper harvesting and storage, you can continue to enjoy these beautiful flowers season after season.
Step 1: Allow seed pods to develop: Pansy seeds develop within seed pods, which form after the flowers have been pollinated. Allow the flowers to fade and petals to drop naturally to give way to seed pod formation. Pansy seed pods are small, oval-shaped, and usually green or brown in color.
Step 2: Monitor seed pod maturity: Check the seed pods regularly to determine their maturity. The seed pods are ready for harvesting when they turn dry and brittle, and can easily be split open to reveal the seeds inside. This usually occurs around 1 to 2 weeks after the flowers have faded.
Step 3: Harvest the seeds: Gently hold the stem of the seed pod, and use your other hand to carefully twist and pull the pod away from the plant. Place the harvested seed pods into a clean container or a paper bag to catch any loose seeds that may fall out.
Step 4: Remove the seeds: Empty the harvested seed pods onto a clean, dry surface. Gently break open the pods to release the seeds. You can do this by rubbing the pods between your fingers or using a small tool, such as a toothpick or a pair of tweezers. Remove any chaff or debris from the seeds.
Step 5: Dry the seeds: Allow the pansy seeds to dry completely before storing them. Spread them out in a single layer on a paper towel or a clean, dry plate, and place them in a well-ventilated area away from direct sunlight. Stir or gently shake the seeds occasionally to ensure even drying.
Step 6: Store the seeds: Once the pansy seeds are completely dry, transfer them to airtight containers, such as glass jars or resealable plastic bags. Label the containers with the variety and date of harvest. Store the containers in a cool, dark, and dry location, such as a pantry or a refrigerator. Properly stored pansy seeds can remain viable for up to 2 years.
By following these steps, you can successfully harvest and store pansy seeds, giving you the opportunity to grow your favorite varieties year after year.
Now that you have learned about harvesting pansy seeds, let’s wrap up this article.
Read more: When To Start Pansy Seeds
Conclusion
Congratulations on acquiring the knowledge and expertise to successfully plant, care for, and harvest pansy seeds for a vibrant fall display! By understanding the characteristics of pansy seeds and considering their climate and temperature requirements, you can create an optimal growing environment for these beautiful flowers.
Whether you choose to start your pansy seeds indoors or directly sow them outdoors, proper planning and preparation are crucial for a successful growing season. From selecting the right containers and preparing the soil to sowing the seeds and providing the necessary care, every step is essential for the health and vigor of your pansies.
Maintaining your pansy plants through regular watering, fertilizing, and deadheading ensures their continued growth and abundant flowering. Being mindful of potential challenges such as pests, diseases, leggy growth, frost damage, or poor flowering allows you to take timely action and address any issues that may arise.
While enjoying the beauty of your pansy plants, you also have the opportunity to harvest and save the seeds for future planting. By following the proper steps of seed harvesting and storage, you can preserve your favorite pansy varieties and continue their cycle of growth and beauty.
In conclusion, planting pansy seeds for a fall display is an enriching and rewarding experience. These resilient and colorful flowers add a burst of vibrancy to any garden or container arrangement. With their cheerful faces and wide range of hues, pansies are sure to bring joy and delight throughout the autumn season.
So, embrace your green thumb, have fun growing pansies, and let the beauty of these charming flowers brighten your fall garden!
Happy planting!
Frequently Asked Questions about When To Plant Pansy Seeds For Fall
Was this page helpful?
At Storables.com, we guarantee accurate and reliable information. Our content, validated by Expert Board Contributors, is crafted following stringent Editorial Policies. We're committed to providing you with well-researched, expert-backed insights for all your informational needs.


0 thoughts on “When To Plant Pansy Seeds For Fall”