Home>Garden Essentials>When To Start Pansy Seeds
Garden Essentials
When To Start Pansy Seeds
Modified: August 28, 2024
Discover the best time to start planting pansy seeds in your garden and ensure a beautiful bloom in no time! Choose the perfect season to sow and grow your vibrant pansies.
(Many of the links in this article redirect to a specific reviewed product. Your purchase of these products through affiliate links helps to generate commission for Storables.com, at no extra cost. Learn more)
Introduction
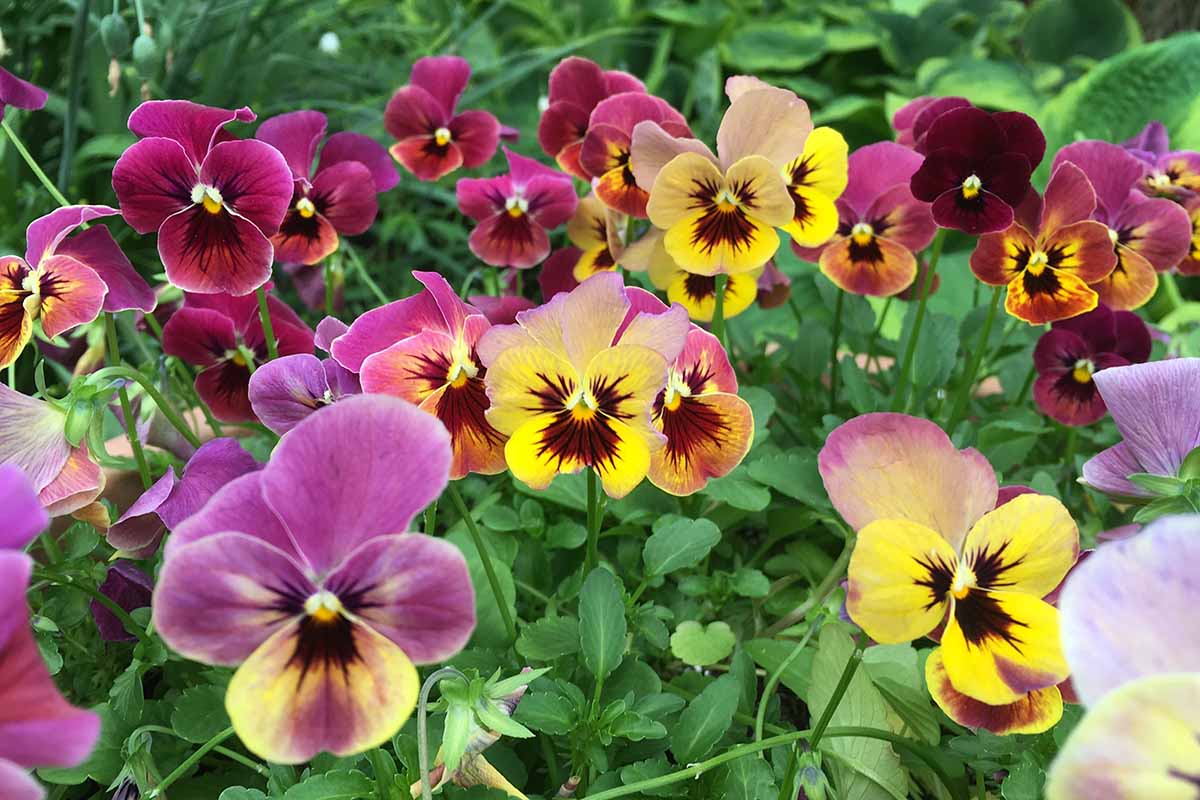
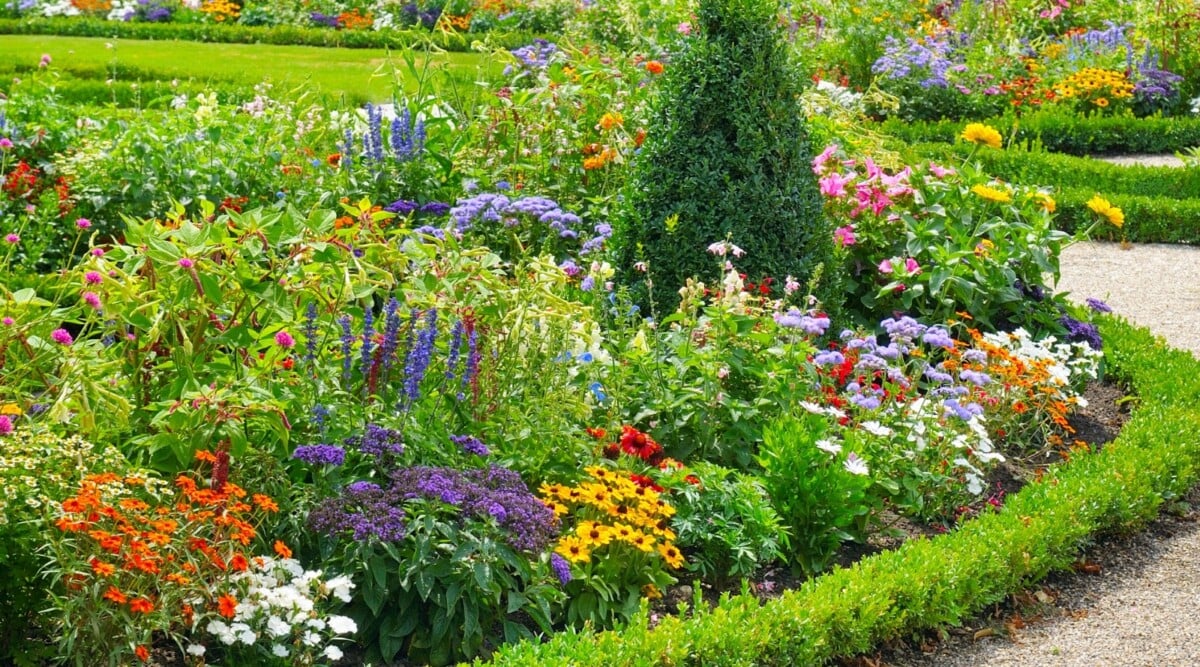
Growing pansies from seeds is a rewarding and fulfilling experience for any gardener. These vibrant and cheerful flowers add a splash of color to any garden, making them a popular choice for both beginner and experienced gardeners alike. But when is the best time to start pansy seeds? In this article, we will explore the factors to consider and provide guidance on when to start pansy seeds, whether you are starting them indoors or outdoors.
Pansy seeds are tiny and delicate, requiring specific conditions to germinate and grow into healthy plants. Understanding the needs of these seeds is crucial to ensure successful growth and a bountiful display of blooms. Let’s delve into the world of pansy seeds and discover how to give them the optimal start.
Key Takeaways:
- Start pansy seeds indoors 10-12 weeks before the last frost for healthier plants and a head start on your garden. Provide warmth, light, and care for successful germination and growth.
- Start pansy seeds outdoors 4-6 weeks before the last frost for acclimation to natural conditions. Protect from frost, provide moisture, and enjoy vibrant blooms in your garden.
Read more: When To Plant Pansy Seeds
Understanding Pansy Seeds
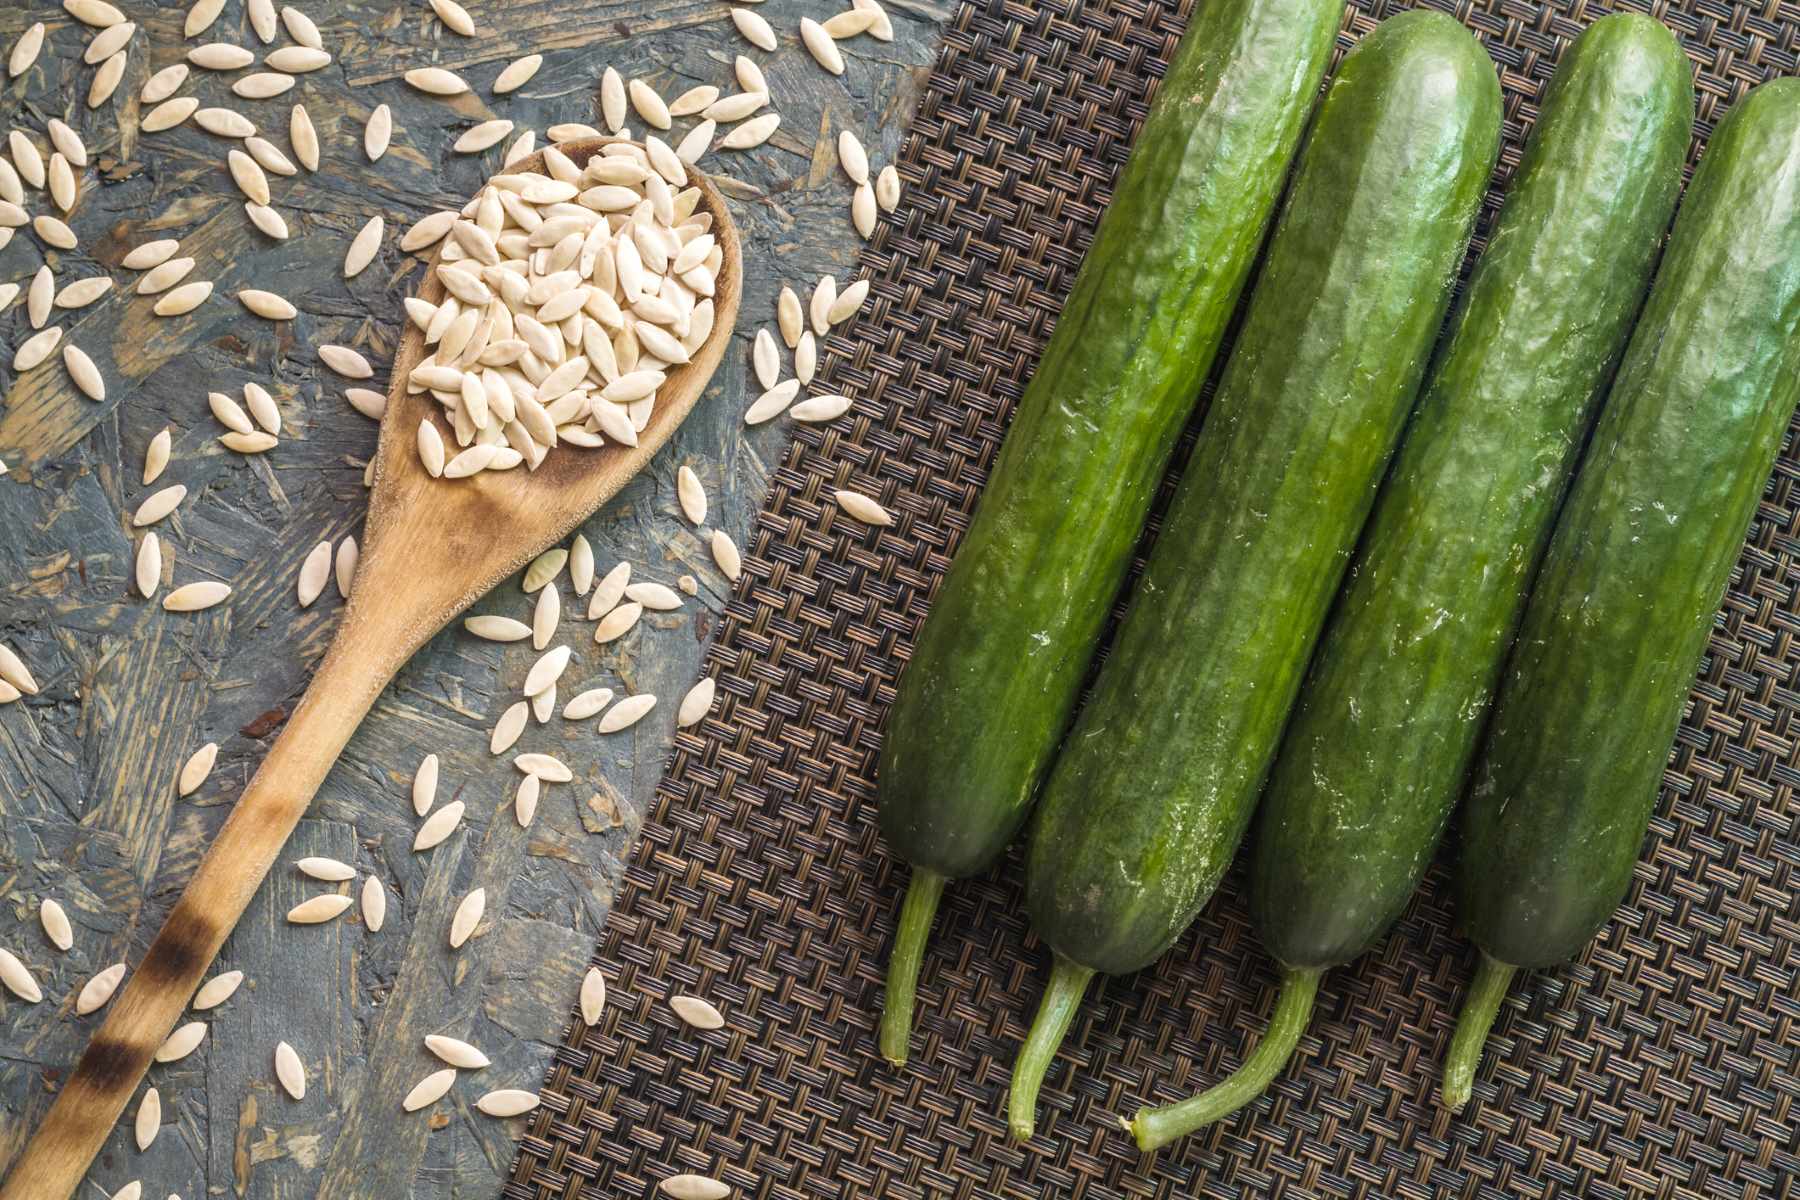
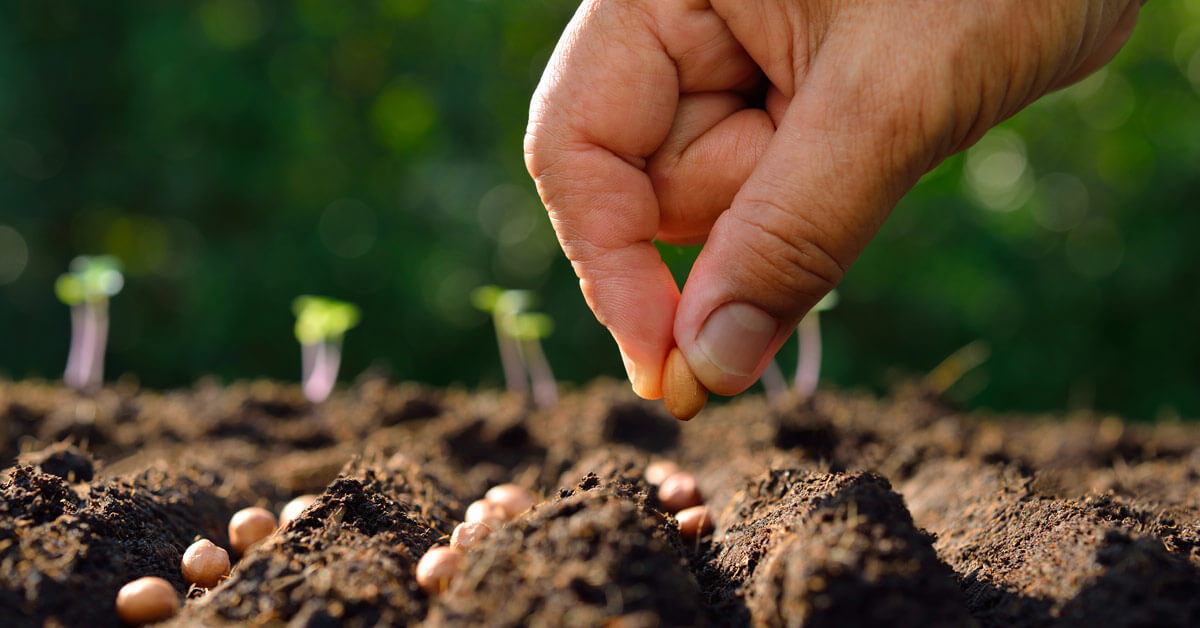
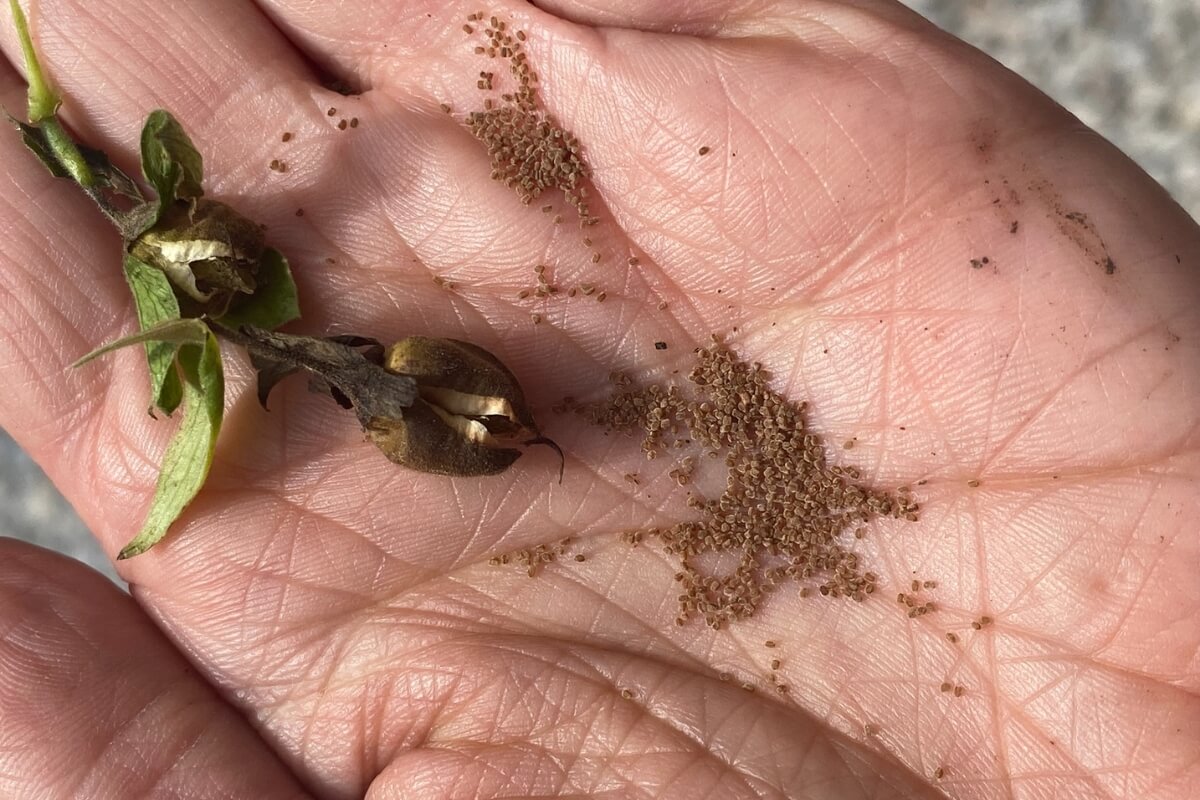
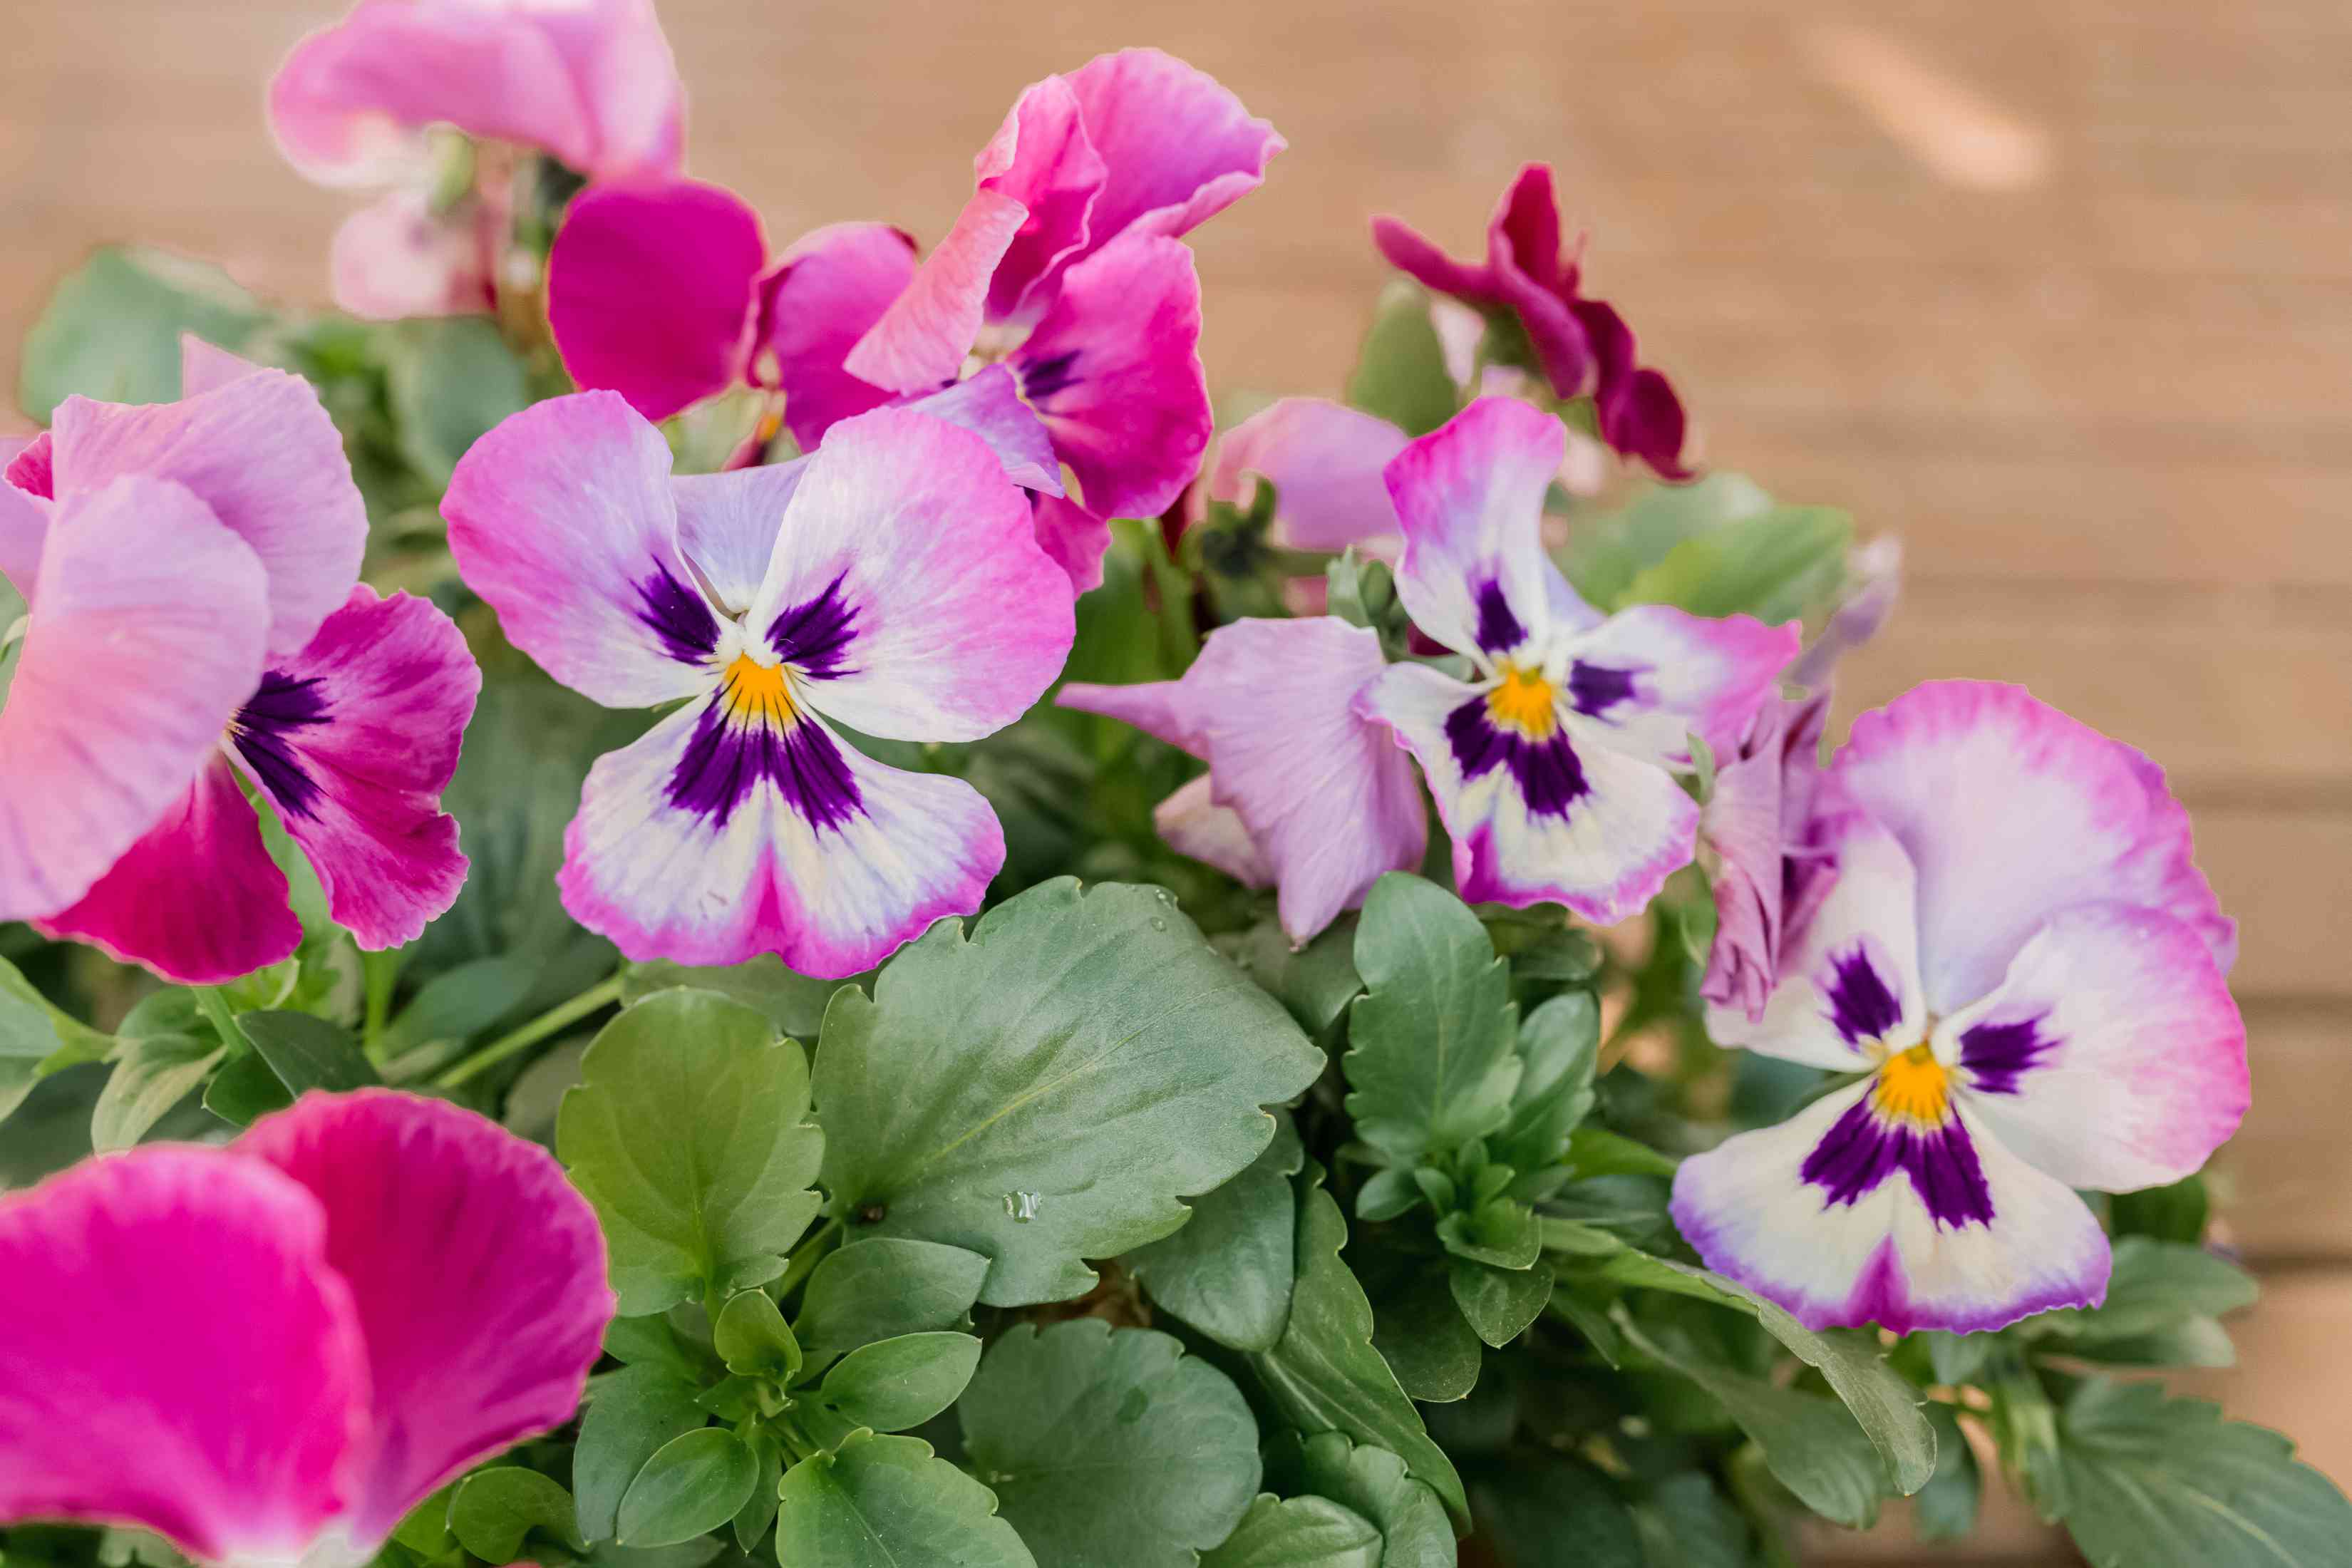
Before we dive into the optimal time to start pansy seeds, it’s essential to understand the characteristics of these seeds. Pansy seeds are small, oval-shaped, and come in a variety of colors, ranging from black to light brown. Each seed contains the genetic material needed to develop into a beautiful pansy plant.
Pansy seeds have a hard outer shell that protects them from harsh environmental conditions and helps them remain dormant until favorable conditions for germination occur. Inside this shell, the seed contains the embryo, which is the tiny plant waiting to sprout and grow.
One key factor to keep in mind is that pansy seeds have a relatively short viability period. This means that they have a limited lifespan, and their germination rates decline as they age. It is best to use fresh, high-quality pansy seeds to increase the chances of successful germination and healthy plant growth.
Another important consideration is the specific cultivar or variety of pansy seeds you have. Different cultivars may have specific requirements for optimal germination and growth. It’s always a good idea to check the seed packet or consult a reputable gardening resource for any additional guidelines related to your specific pansy seed variety.
Factors to Consider
When determining the best time to start pansy seeds, several factors come into play. These factors affect the overall success and growth of the plants, so it’s crucial to consider them before sowing the seeds. Let’s take a look at the key factors that influence the timing of pansy seed planting:
- Climate: The climate of your region plays a significant role in determining when to start pansy seeds. Pansies are cool-season flowers that thrive in temperatures between 45°F and 65°F (7°C to 18°C). If you live in a region with mild winters and cool springs, you have more flexibility in starting pansy seeds. However, if you have harsh winters or a short growing season, starting seeds indoors may be necessary.
- Frost dates: Pansies are tolerant of light frosts, but it’s crucial to consider the frost dates in your area. Starting pansy seeds too early can expose young seedlings to late spring frosts, which can damage or kill them. Check the average last frost date in your region to determine when it’s safe to plant pansy seeds outdoors.
- Growing method: The method you choose for starting pansy seeds also affects the timing. Starting seeds indoors allows for an earlier start as you have more control over the growing conditions. However, if you prefer direct seeding in the garden, you need to wait until the soil has warmed up adequately and the risk of frost has passed.
- Transplanting timeline: If you plan to transplant pansy seedlings, it’s important to factor in the time required for them to mature and develop a strong root system. Transplanting too early can result in stunted growth, while waiting too long may lead to overcrowding and competition among seedlings. Consider the recommended transplanting timeline for pansy seedlings in your area.
- Growing season: Additionally, consider the length of your growing season. Pansies are cool-season flowers that prefer blooming in spring and fall. If your growing season is short and hot summers are common, starting pansy seeds in early spring or late summer/early fall may be the ideal time to ensure the plants thrive and produce abundant blooms.
By considering these factors, you can determine the optimal timing to start pansy seeds and ensure the best possible conditions for their germination and growth. In the next sections, we will explore the recommended timing for starting pansy seeds indoors and outdoors, along with useful tips for success.
Best Time to Start Pansy Seeds
The best time to start pansy seeds varies depending on whether you are starting them indoors or outdoors. Let’s take a closer look at each option:
Starting Pansy Seeds Indoors:
If you want to get a head start on your pansy plants or live in an area with a short growing season, starting pansy seeds indoors is an excellent option. Generally, it is recommended to start pansy seeds indoors about 10-12 weeks before the last expected frost date in your region.
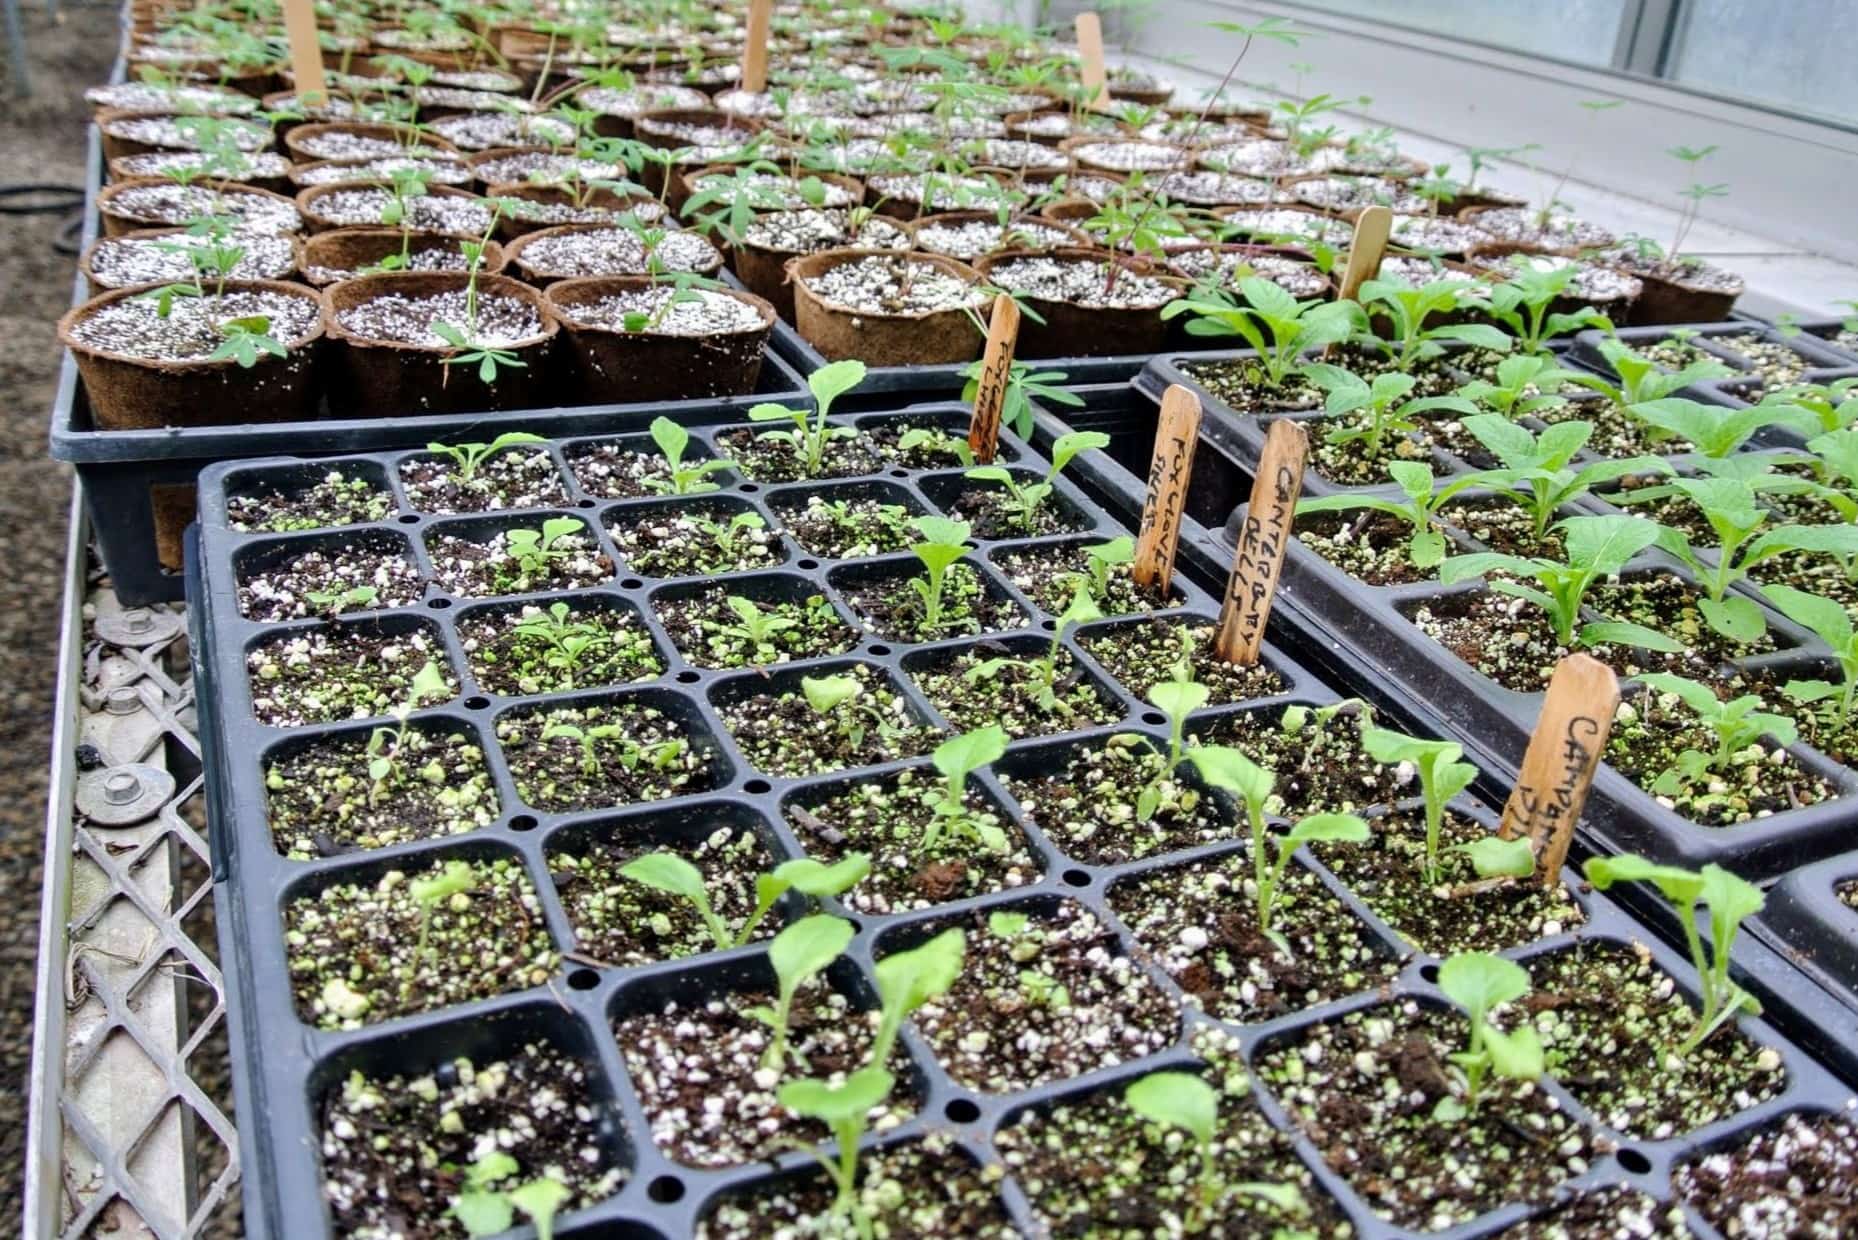
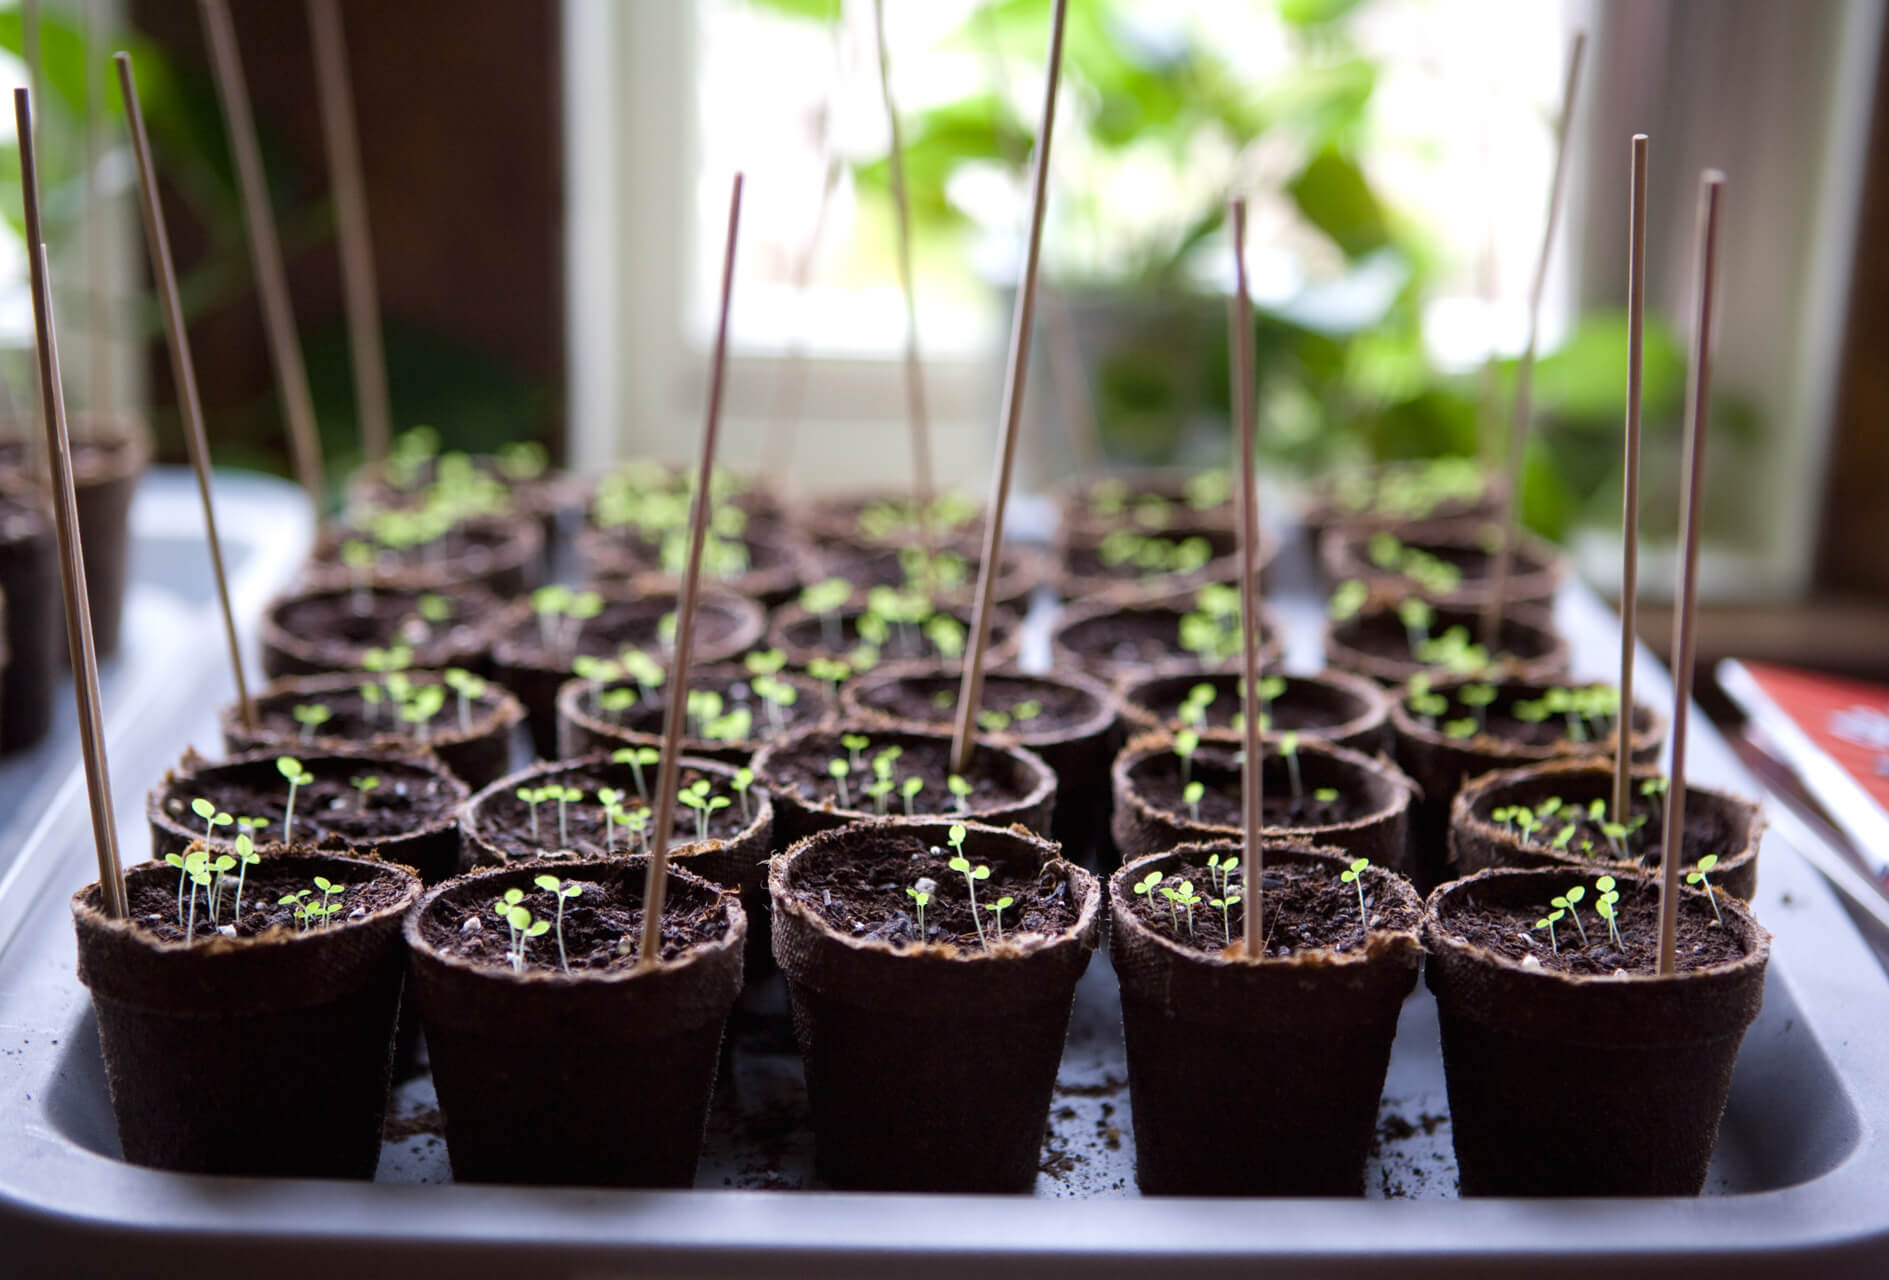
You can sow the seeds in seed-starting trays or small pots filled with a well-draining seed starting mix. Press the seeds lightly into the soil surface, but avoid burying them too deep. Keep the soil moist and provide bottom heat to help promote germination. Place the trays or pots in a warm location, ideally around 65-70°F (18-21°C).
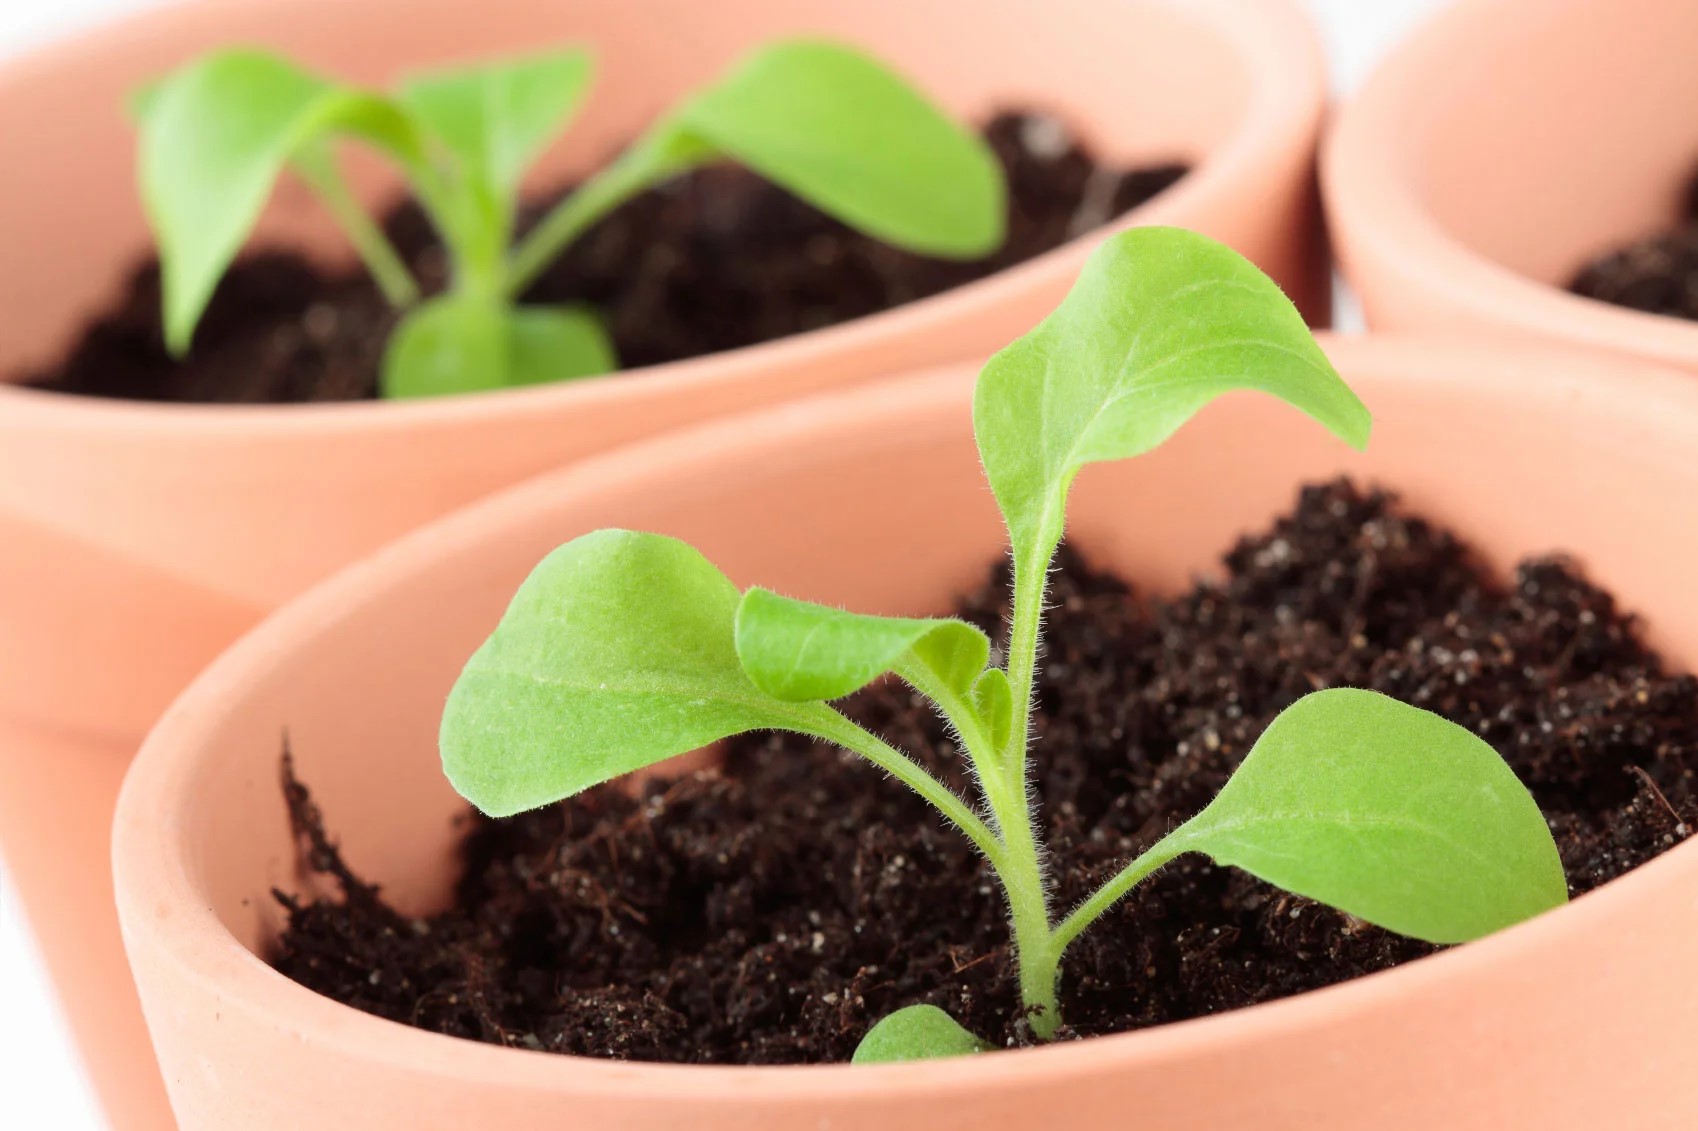
Once the seedlings have emerged and developed a few true leaves, you can transplant them into larger containers to allow for further growth. Continue to provide them with adequate light, water, and fertilizer as they mature.
Starting Pansy Seeds Outdoors:
If you prefer direct seeding in the garden or live in an area with mild winters and cool springs, you can start pansy seeds outdoors. Aim to sow the seeds directly in the garden about 4-6 weeks before the average last frost date in your area.
Prepare the soil by loosening it and removing any weeds or debris. Scatter the pansy seeds over the desired area and lightly press them into the soil. Keep the soil consistently moist, and once the seedlings emerge, thin them to a desired spacing to give each plant room to grow and flourish.
It’s important to monitor the weather forecast and protect the young seedlings from late spring frosts, either by covering them with lightweight fabric or bringing them indoors overnight until the danger of frost has passed.
By following these guidelines, you can ensure optimal timing for starting your pansy seeds and give them the best chance for success. Remember to factor in your specific climate, frost dates, and growing method to determine the appropriate planting time for your region.
Start pansy seeds indoors 6-8 weeks before the last frost date in your area. This will give them enough time to grow and be ready for transplanting outdoors once the weather warms up. Keep the soil moist and provide plenty of light for healthy seedling growth.
Starting Pansy Seeds Indoors
Starting pansy seeds indoors is an excellent way to get a head start on your garden and ensure healthy and robust plants. Here’s a step-by-step guide on how to start pansy seeds indoors:
- Gather your supplies: You will need seed-starting trays or small pots, a well-draining seed starting mix, pansy seeds, a spray bottle filled with water, and bottom heat (optional).
- Prepare the seed-starting trays or pots: Ensure that your trays or pots are clean and sterilized before use. Fill them with a high-quality seed starting mix, leaving about ¼ inch of space from the top.
- Sow the seeds: Take the pansy seeds and carefully press them into the surface of the soil. Avoid burying them too deep, as pansy seeds require exposure to light for germination. Space the seeds about one inch apart to allow room for growth.
- Mist the soil: Use a spray bottle filled with water to gently mist the soil surface. Ensure that the soil remains moist but not saturated. Using bottom heat can also promote germination, as pansy seeds prefer warmer temperatures.
- Provide proper lighting: Place the tray or pots in a well-lit area or under grow lights. Pansy seeds need sufficient light to germinate and develop into healthy seedlings. If using artificial lighting, keep it on for about 14-16 hours a day.
- Maintain ideal temperature and humidity: Pansy seeds germinate best at temperatures between 65-70°F (18-21°C). Keep the seed-starting area consistently warm and provide gentle airflow to prevent fungal diseases. If needed, you can use a humidity dome or cover the trays with plastic wrap to maintain moisture.
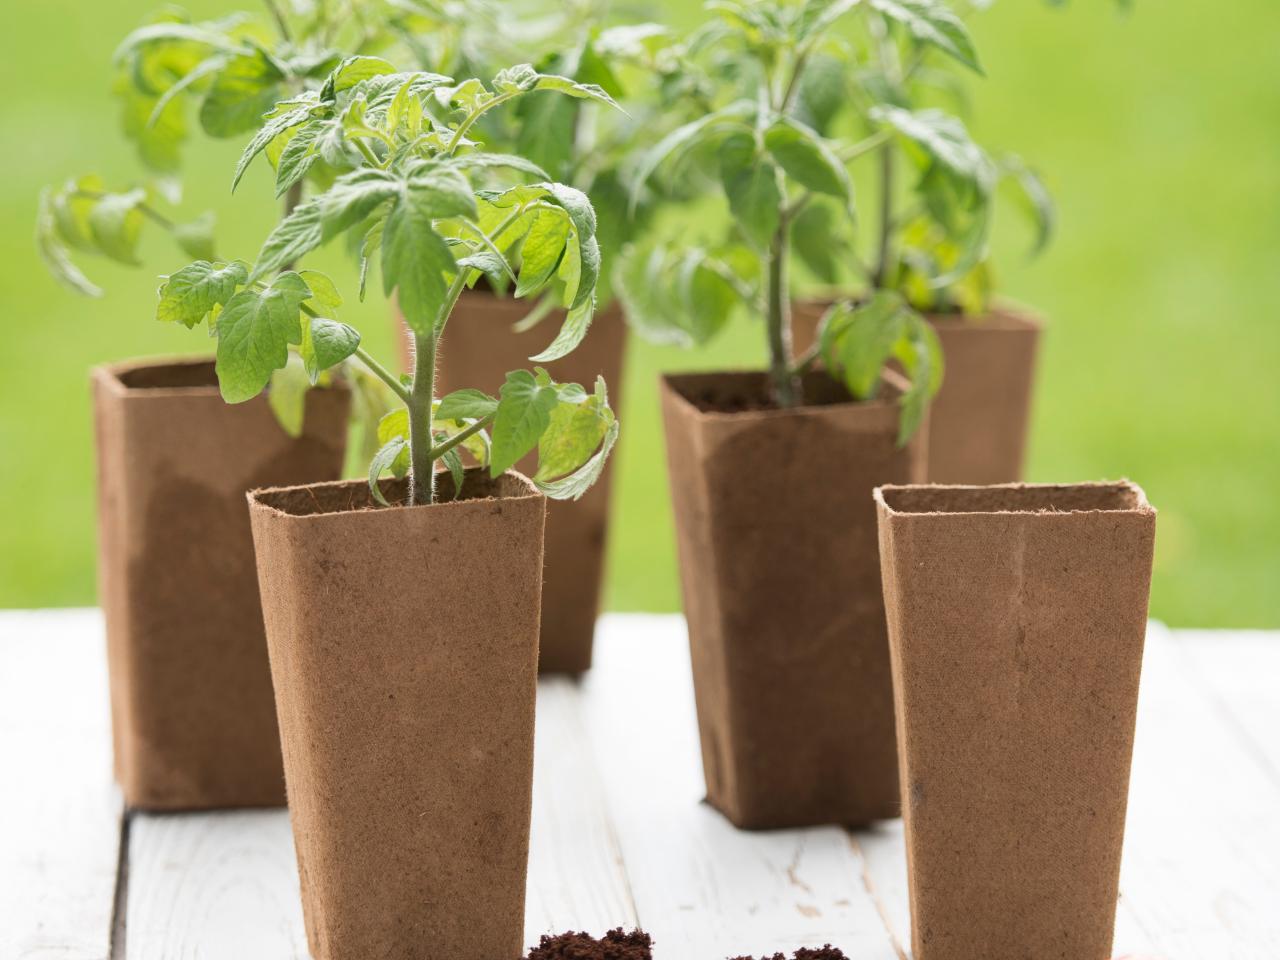
- Transplant the seedlings: Once the seedlings have developed a few true leaves (typically after 4-6 weeks), they are ready to be transplanted into larger containers. Choose pots with adequate drainage holes and fill them with a well-draining potting mix. Gently remove the seedlings from the tray or pots and transplant them into their individual containers, burying the stem up to the first set of leaves.
- Provide proper care: Place the transplanted seedlings in a sunny location or under grow lights. Water them regularly, allowing the soil to dry slightly between waterings. Apply a balanced fertilizer according to the package instructions to promote healthy growth.
- Harden off and transplant: Before transplanting the pansies outdoors, gradually acclimate them to outdoor conditions by exposing them to the outdoors for a few hours each day. Increase the duration of outdoor exposure over a period of one to two weeks. Once hardened off, carefully transplant the pansy seedlings into their designated spots in the garden.
Starting pansy seeds indoors gives you greater control over the growing conditions and allows the seedlings to establish a strong root system before being exposed to outdoor elements. With proper care and attention, your indoor-started pansy seedlings will grow into healthy and beautiful plants that will bring joy to your garden.
Read more: When To Start Corn Seeds
Starting Pansy Seeds Outdoors
If you prefer to sow pansy seeds directly in your garden, starting them outdoors is a viable option. Follow these steps to successfully start pansy seeds outdoors:
- Choose the right location: Select a location in your garden that receives partial shade to full sun. Pansies thrive in cool temperatures, so avoid areas that receive intense afternoon heat.
- Prepare the soil: Clear the area of any weeds, rocks, or debris, and loosen the soil using a garden fork or tiller. Pansies prefer well-draining soil, so amend heavy clay or compacted soil with organic matter, such as compost or peat moss.
- Sow the seeds: Scatter the pansy seeds over the prepared soil, ensuring that they are distributed evenly. Press them gently into the soil using the back of a rake, but avoid burying them too deep. Aim for a seed depth of about 1/8 to 1/4 inch.
- Water thoroughly: After sowing the seeds, water the area thoroughly to ensure that the soil is evenly moist. Be careful not to wash away the seeds or create waterlogged conditions.
- Thin the seedlings: As the pansy seedlings emerge and begin to grow, thin them out to provide adequate spacing. Aim for a spacing of about 6-8 inches between each seedling. Thin the seedlings by gently pulling out the weaker or crowded plants, allowing the remaining ones to flourish.
- Maintain moisture: Keep the soil consistently moist but avoid overwatering, as pansies are susceptible to root rot in waterlogged conditions. Monitor the moisture level regularly and adjust your watering accordingly.
- Protect from frost: Pansy seedlings can tolerate light frosts, but it’s important to protect them from severe cold snaps. Cover the seedlings with a light fabric or frost blanket if a frost is expected, or bring them indoors overnight until the temperatures rise.
- Provide care and maintenance: Once the pansy seedlings have established themselves, continue to provide them with proper care. Water them consistently, especially during dry spells, and apply a balanced fertilizer to support healthy growth and abundant blooms.
Starting pansy seeds outdoors allows them to acclimate to the natural environment from an early stage. With proper care and attention, your outdoor-started pansy seedlings will thrive and bring vibrant colors to your garden.
Remember to monitor the weather conditions, protect the seedlings from frost, and provide adequate moisture throughout their growth. Enjoy watching your pansies flourish and add beauty to your outdoor space.
Tips for Success
Whether you choose to start pansy seeds indoors or outdoors, here are some essential tips to ensure successful growth and vibrant blooms:
- Choose high-quality seeds: Opt for fresh, high-quality pansy seeds. Check the expiration date on the seed packet and select reputable seed suppliers to ensure the best germination rates.
- Provide adequate lighting: Pansy seeds require sufficient light for optimal germination and growth. If starting seeds indoors, place them in a well-lit area or use grow lights to provide the necessary light intensity.
- Monitor soil moisture: Pansy seeds need consistently moist soil for germination, but be careful not to overwater. Check the soil moisture regularly and adjust your watering accordingly to prevent waterlogged conditions.
- Transplant carefully: When transplanting pansy seedlings, handle them gently to avoid damaging the delicate roots. Plant them at the same depth they were in their original containers, burying the stem up to the first set of leaves.
- Protect from pests and diseases: Keep an eye out for common pests like aphids, slugs, and snails. Take preventive measures such as applying organic pest control methods, using physical barriers, or companion planting to deter pests. Additionally, monitor for diseases like powdery mildew and promptly treat any signs with appropriate fungicides.
- Deadhead spent blooms: Regularly deadhead (remove) faded or spent blooms to encourage continuous blooming throughout the season. This also helps divert plant energy to new flower production.
- Fertilize regularly: Feed your pansy plants with a balanced fertilizer every 4-6 weeks to provide essential nutrients for healthy growth. Follow the manufacturer’s instructions for application rates.
- Mulch to conserve moisture: Apply a layer of organic mulch around your pansy plants to prevent moisture loss, suppress weed growth, and regulate soil temperature. This helps create a favorable environment for the roots to thrive.
- Enjoy the blooms: Finally, take the time to appreciate the beauty and vibrant colors of your pansy blooms. Regularly cut and display them in vases to enjoy their cheerful presence indoors as well.
By following these tips, you can ensure the successful growth and flourishing of your pansy plants. Remember that each garden and growing environment is unique, so adjust the care and maintenance based on your specific conditions.
Pansies are resilient and versatile flowers that can bring joy and color to your garden. With proper care and attention, you’ll be rewarded with a stunning display of pansy blooms to brighten your outdoor space.
Conclusion
Pansies are beautiful and vibrant flowers that can bring life and color to any garden. Starting pansy seeds at the right time is crucial for their successful growth and abundant blooms. By understanding the characteristics of pansy seeds, considering relevant factors such as climate and frost dates, and choosing the appropriate method for starting seeds, you can ensure a successful gardening experience.
Whether you choose to start pansy seeds indoors or outdoors, each method has its advantages and considerations. Starting pansy seeds indoors allows for an earlier start, better control over growing conditions, and healthier seedlings. Starting them outdoors brings the benefits of acclimation to natural conditions and eliminates the need for transplanting.
Regardless of the method you choose, providing the ideal growing conditions, such as sufficient light, moisture, and proper care, is essential. Monitoring pests and diseases, deadheading spent blooms, and regular fertilization will also contribute to the success and longevity of your pansy plants.
Remember to choose high-quality seeds, follow the recommended guidelines for spacing and depth, and pay attention to specific factors such as climate and soil conditions in your area. By following these tips and guidelines, you can enjoy the beauty and vibrancy of pansy blooms throughout the growing season.
So go ahead, start your pansy seeds at the appropriate time, nurture them with care, and get ready to embrace the delightful colors and cheerfulness that pansies bring to your garden. Happy gardening!
Frequently Asked Questions about When To Start Pansy Seeds
Was this page helpful?
At Storables.com, we guarantee accurate and reliable information. Our content, validated by Expert Board Contributors, is crafted following stringent Editorial Policies. We're committed to providing you with well-researched, expert-backed insights for all your informational needs.

0 thoughts on “When To Start Pansy Seeds”