Home>Garden Essentials>When To Start Seeds For Fall Garden
Garden Essentials
When To Start Seeds For Fall Garden
Modified: August 28, 2024
Looking to start your fall garden? Discover when to sow seeds for a bountiful autumn harvest. Get expert tips and advice for a successful garden.
(Many of the links in this article redirect to a specific reviewed product. Your purchase of these products through affiliate links helps to generate commission for Storables.com, at no extra cost. Learn more)
Introduction
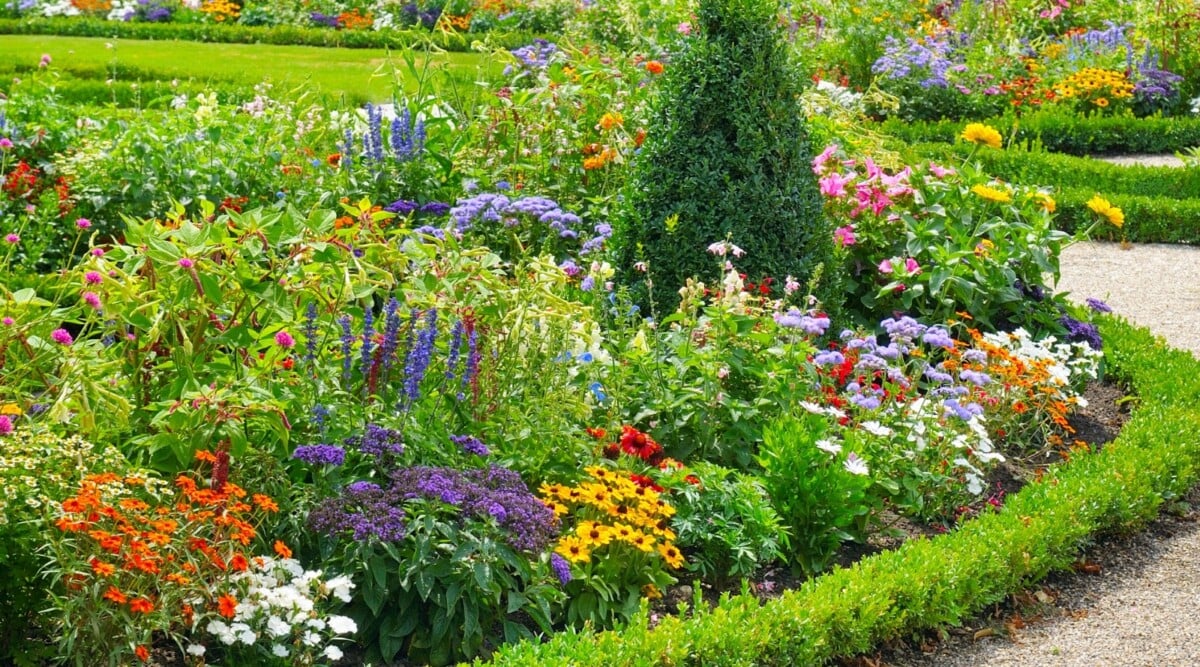
Fall is a wonderful time to continue gardening and enjoy the bounties of nature. While most people associate gardening with spring and summer, the cooler temperatures and milder weather of fall create optimal conditions for certain plants to thrive. Starting seeds for a fall garden is a great way to extend your growing season and enjoy a variety of fresh vegetables, herbs, and flowers well into the autumn months.
When it comes to starting seeds for a fall garden, there are several factors to consider. From choosing the right seeds to preparing the soil, sowing indoors, and transplanting seedlings outdoors, each step is crucial in ensuring a successful and vibrant fall garden. In this article, we will guide you through the process of starting seeds for a fall garden, providing you with the knowledge and confidence to create a beautiful and productive outdoor space.
Key Takeaways:
- Extend your gardening season by starting seeds for a fall garden. Consider climate, plant selection, and seed quality for a successful harvest. Embrace the joys of growing your own food and connecting with nature.
- Prepare your fall garden by choosing the right seeds, preparing the soil, and sowing indoors or directly in the garden. Care for your plants by watering, fertilizing, and protecting them from frost and pests. Enjoy the flavors of your homegrown harvest and share the bounty with others.
Read more: When To Plant Fall Garden In Texas
Factors to Consider
Before diving into the process of starting seeds for a fall garden, it’s important to consider a few key factors that will impact your success. By taking these factors into account, you can make informed decisions and set yourself up for a thriving fall garden.
Climate: Understanding your local climate is essential in determining the right timing for starting seeds. Fall garden planting times can vary widely depending on your location. For example, in regions with mild winters, you may be able to start seeds as early as late summer, while in colder regions, it’s best to wait until late summer or early fall.
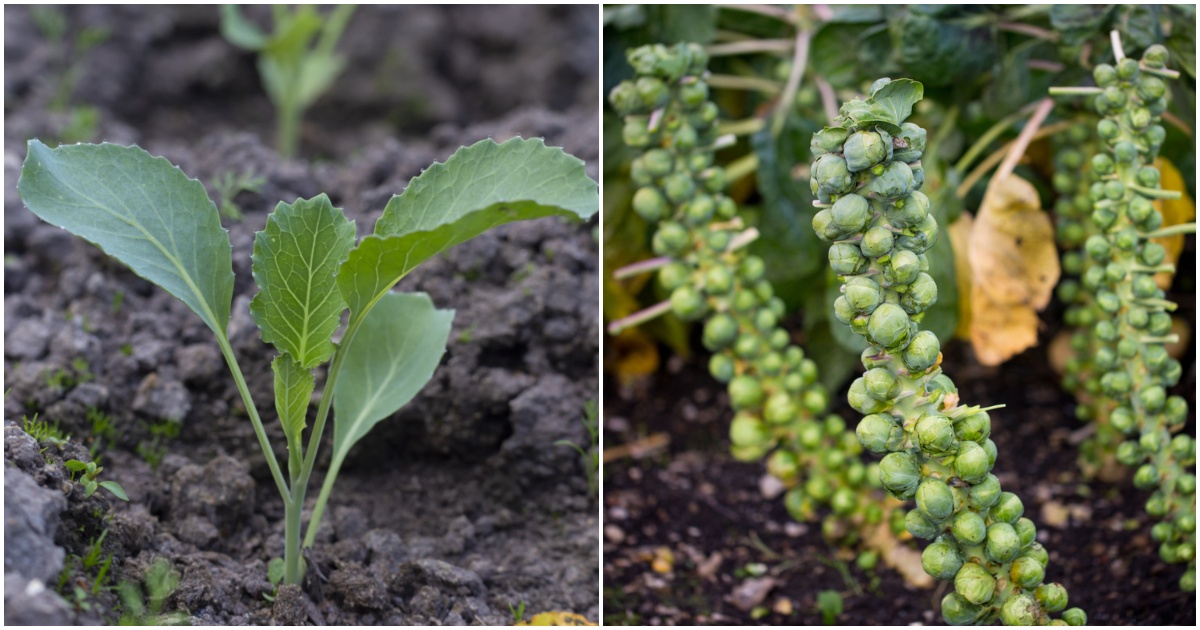
Plant Selection: Not all plants are suitable for a fall garden. Some varieties, such as cool-season crops like lettuce, broccoli, and spinach, thrive in the milder temperatures of fall. On the other hand, warm-season crops like tomatoes and peppers may struggle as temperatures begin to cool. Research which plants are best suited for your fall garden to ensure a successful harvest.
Seed Availability: While seed availability is less of an issue nowadays due to the availability of online seed suppliers, it’s still worth considering specific varieties and availability. Some seeds may be more readily available in the spring, so plan ahead and ensure you have access to the seeds you need for your fall garden.
Garden Space: Assessing your available garden space is crucial in determining how many seeds to start. Consider the size and layout of your garden beds or containers and plan accordingly to avoid overcrowding. Remember, fall plants need space to grow and proper airflow to prevent disease.
Growing Conditions: Fall gardens can experience a wide range of conditions, from warm and sunny days to cool and frosty nights. Consider the specific growing conditions in your area. If you live in an area prone to early frosts, you may need to take extra precautions to protect your plants.
By taking these factors into consideration, you can make informed decisions about the timing, selection, and care of your fall garden seeds. This will set you up for success and help you create a garden that thrives throughout the autumn months.
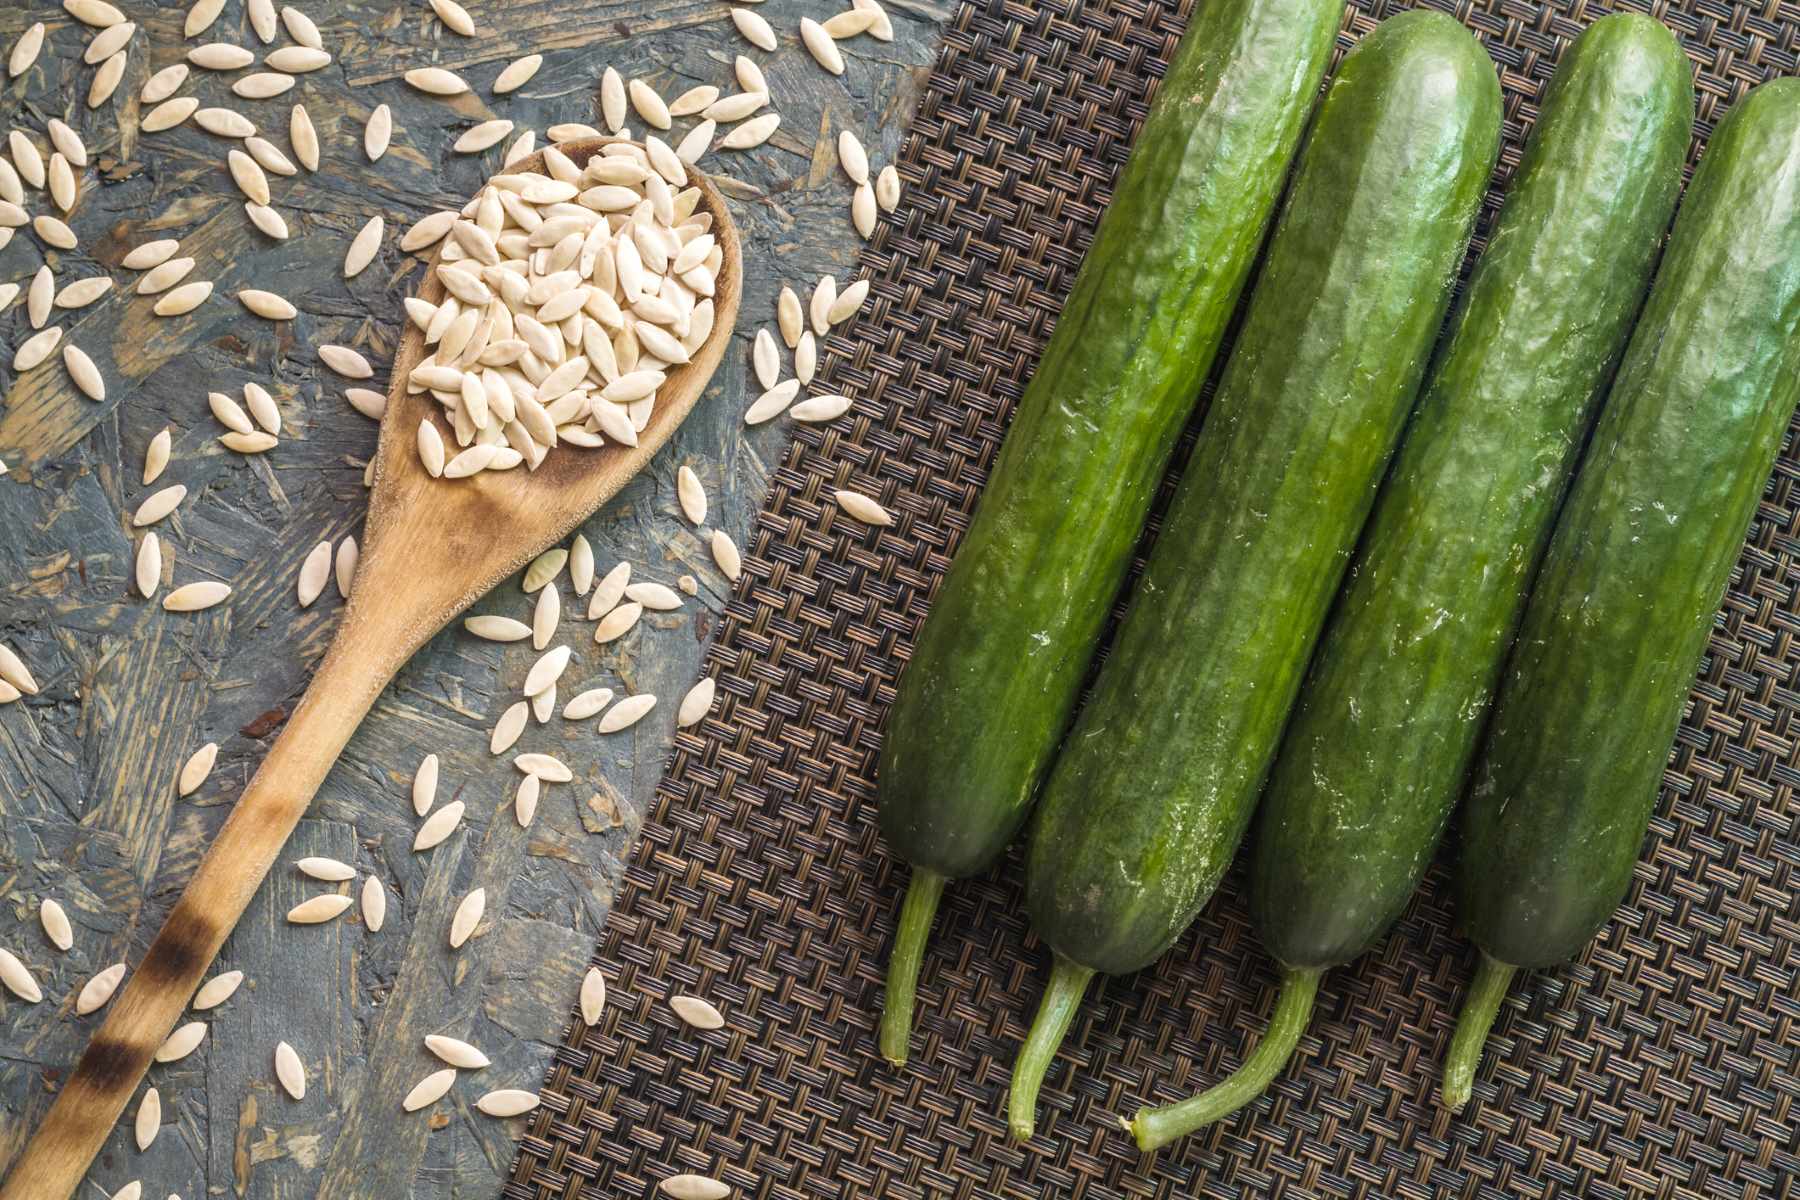
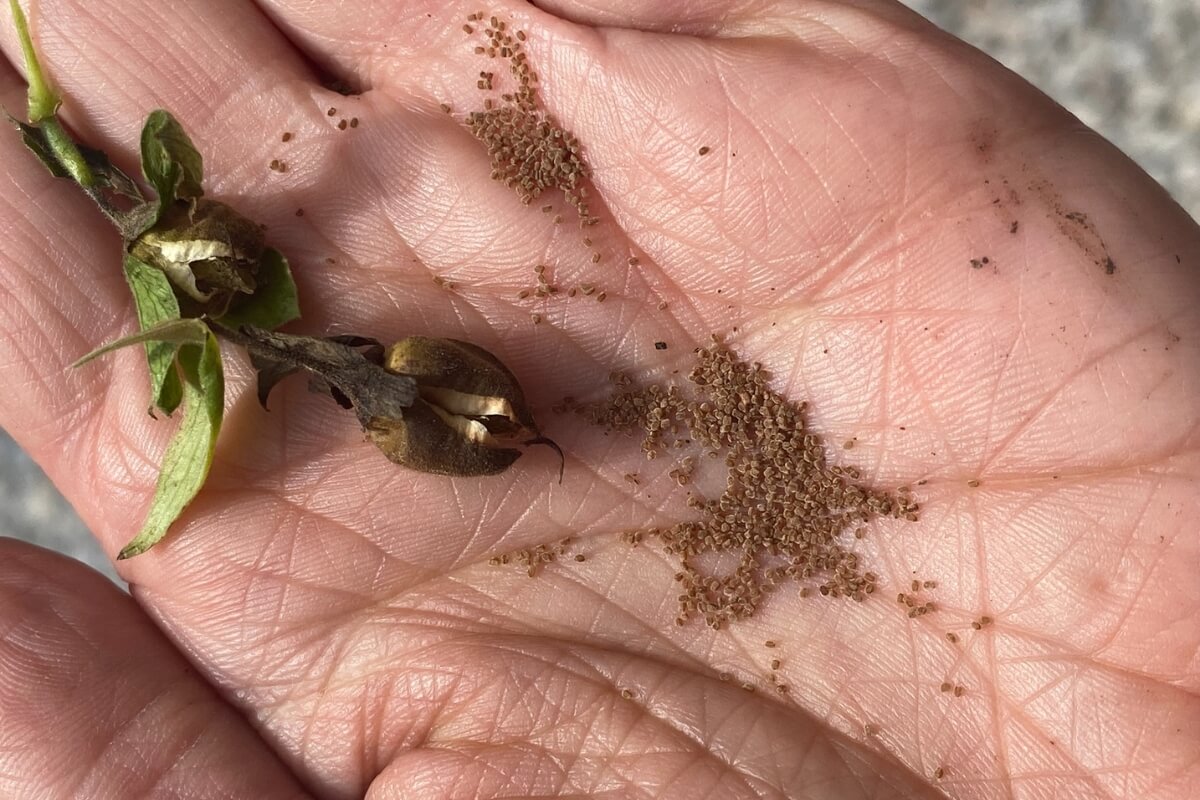
Choosing the Right Seeds
Choosing the right seeds is a critical step in starting a successful fall garden. Taking into account the specific needs and preferences of your chosen plants will increase the likelihood of a bountiful harvest. Consider the following factors when selecting seeds for your fall garden:
Planting Season: Fall gardens consist mostly of cool-season crops that are able to withstand lower temperatures. Look for seeds that are suitable for fall planting and can withstand the specific climate conditions in your area. Cool-season vegetables like lettuce, kale, spinach, and radishes are popular choices for fall gardening.
Growing Duration: Pay attention to the number of days to maturity listed on the seed packets. Since fall gardens have a shorter growing season compared to spring and summer gardens, it is crucial to choose varieties that have a shorter growing duration. Look for quick-maturing varieties that will reach harvest within the limited time frame of fall.
Resistance and Hardiness: Consider selecting seeds that are known for their resistance to common pests and diseases. This will help prevent potential damage and ensure healthier plants. Additionally, choose seeds that are suitable for your region’s hardiness zone. Seeds labeled as “cold hardy” or “frost tolerant” are ideal for fall gardening.
Variety: Fall gardens offer an opportunity to grow unique and less common vegetable and flower varieties. Explore heirloom or specialty seeds to add diversity to your garden. These unique varieties often have exceptional taste and visual appeal, enhancing your fall garden experience.
Seed Quality and Source:Purchase seeds from reputable suppliers to ensure they are of high quality and have a good germination rate. Check the packaging for the “packed for” or “use by” date to ensure freshness. Consider supporting local seed companies or farmers who specialize in seeds adapted to your specific region.
Quantity: Determine the desired quantity of seeds based on the size of your garden space and the number of plants you intend to grow. It’s always a good idea to have a few extra seeds on hand in case some do not germinate or if you need to replant due to unexpected weather or pest issues.
By considering these factors when choosing seeds for your fall garden, you can ensure that you’re selecting the most suitable varieties for a successful and productive autumn harvest.
Preparing the Soil
Preparing the soil properly is crucial for the success of your fall garden. Healthy soil provides the necessary nutrients and structure for plants to grow and thrive. Follow these steps to prepare your soil for sowing seeds in the fall:
Clean Up: Start by removing any weeds, rocks, or debris from the garden area. Clearing the space will make it easier to work the soil and prevent competition for nutrients and water.
Loosening the Soil: Use a garden fork or tiller to loosen the soil to a depth of about 8-10 inches. This process helps break up compacted soil and improves drainage and root penetration. Avoid working the soil when it is overly wet to prevent soil compaction and damage to its structure.
Amendments: Incorporate organic matter into the soil to improve its fertility and structure. Add compost, well-rotted manure, or aged leaf mulch, and work them into the top few inches of soil. Organic matter enriches the soil by providing essential nutrients and promoting beneficial microbial activity.
Soil Testing: Consider performing a soil test to determine the pH level and nutrient content of your soil. This information will help you determine if any additional amendments, such as lime or fertilizer, are needed to optimize soil conditions for your desired plants. Follow the recommendations provided by the soil test results.
Level and Rake: Once you have incorporated amendments, level the soil surface using a rake. This will create a smooth and even surface for sowing seeds. Remove any large clumps or debris that may hinder seed germination.
Mulching: Apply a layer of organic mulch, such as straw or wood chips, to help retain moisture, suppress weed growth, and regulate soil temperature. Mulching also adds organic matter to the soil as it decomposes over time. Leave a small space free of mulch around the base of the plants to prevent moisture-related issues.
Watering: Before sowing seeds, water the prepared soil thoroughly. Moist soil provides an ideal environment for seed germination. Avoid overwatering, as this can lead to soil compaction and root rot. Monitor soil moisture levels as the plants grow and adjust watering accordingly.
By following these steps to prepare the soil, you will provide an optimal growing environment for your fall garden. Healthy soil sets the foundation for vigorous plant growth, maximizing your chances of a successful and abundant harvest.
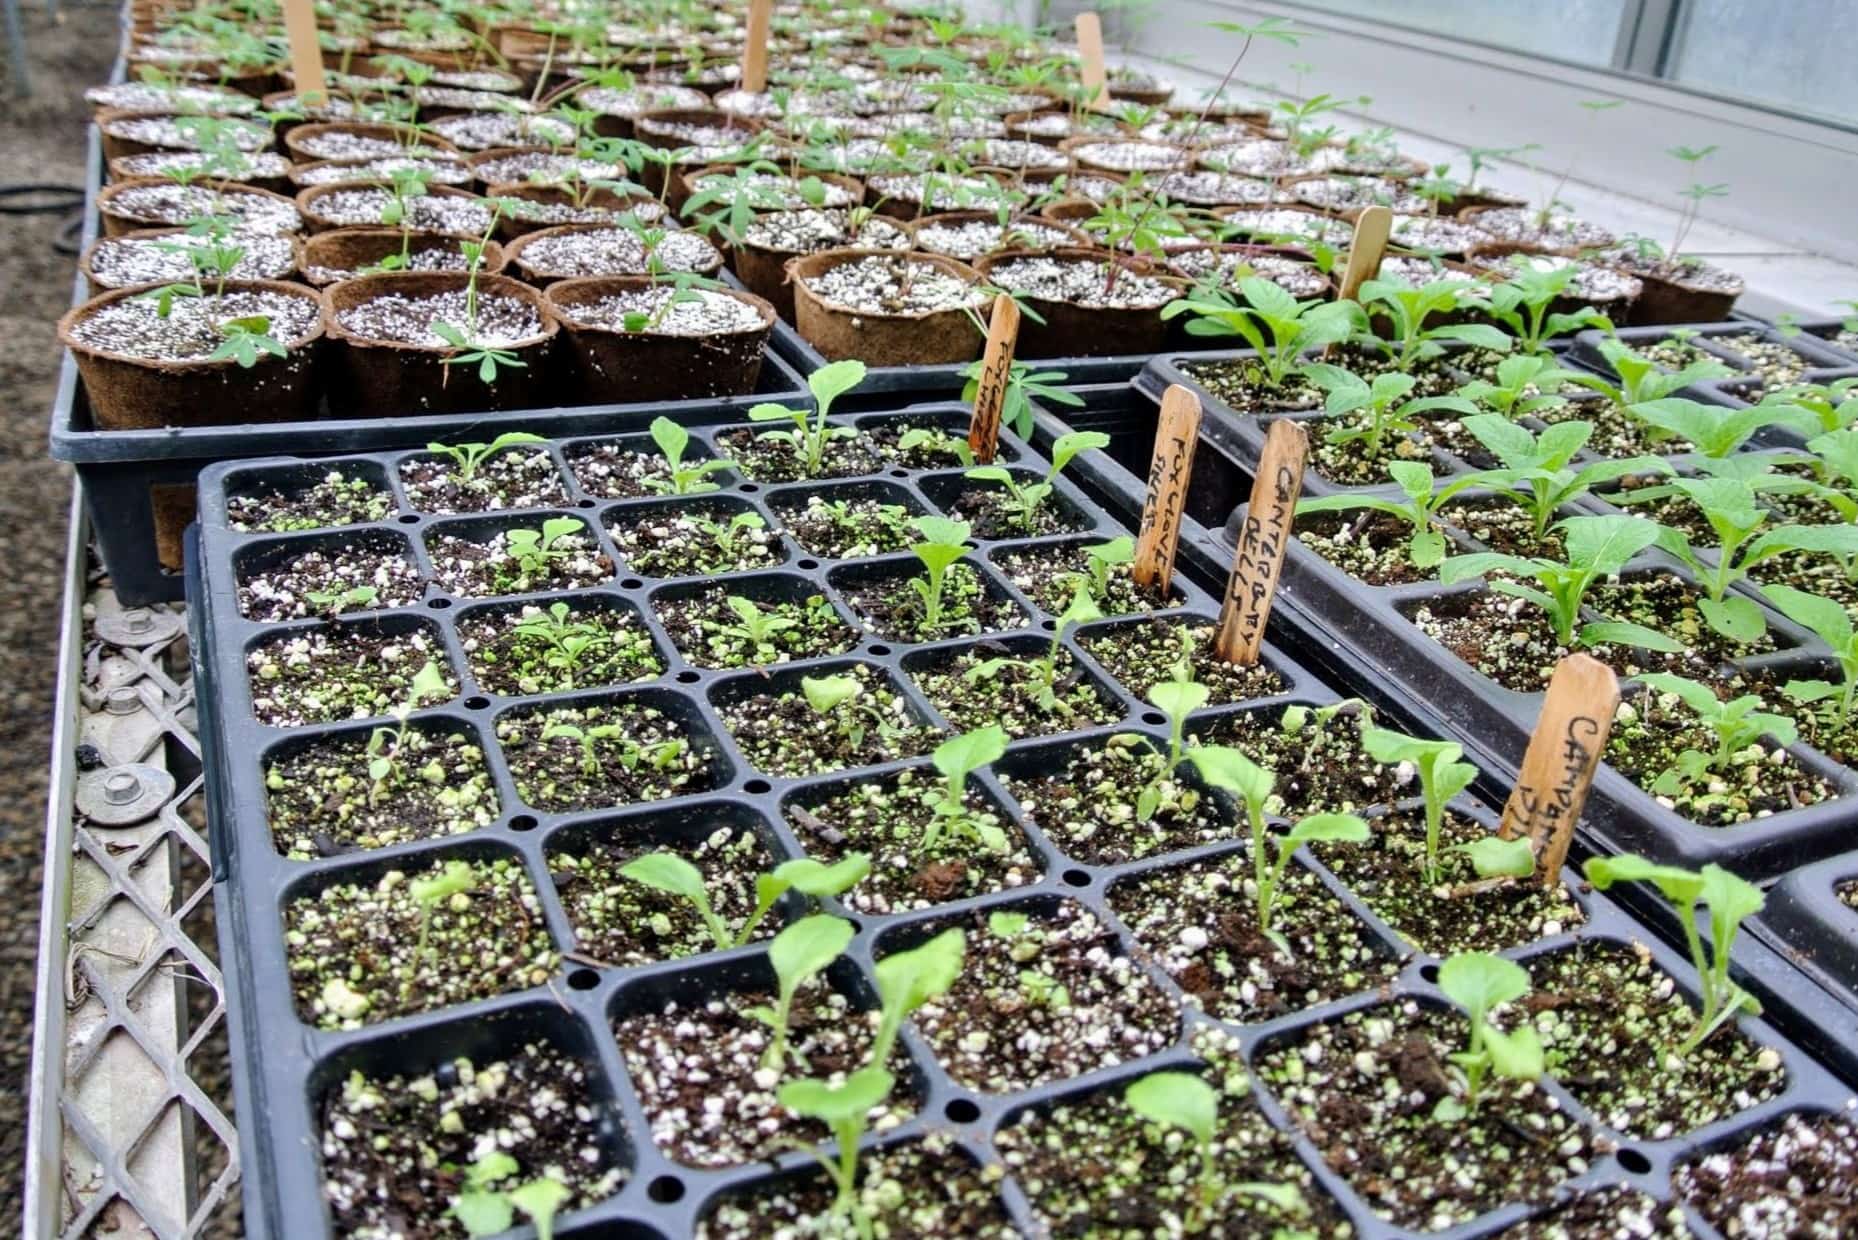
Sowing Seeds Indoors
Sowing seeds indoors is a practical and effective way to get a head start on your fall garden. This method allows you to control the growing conditions and gives your seeds a better chance of germination and healthy growth. Follow these steps to sow your seeds indoors:
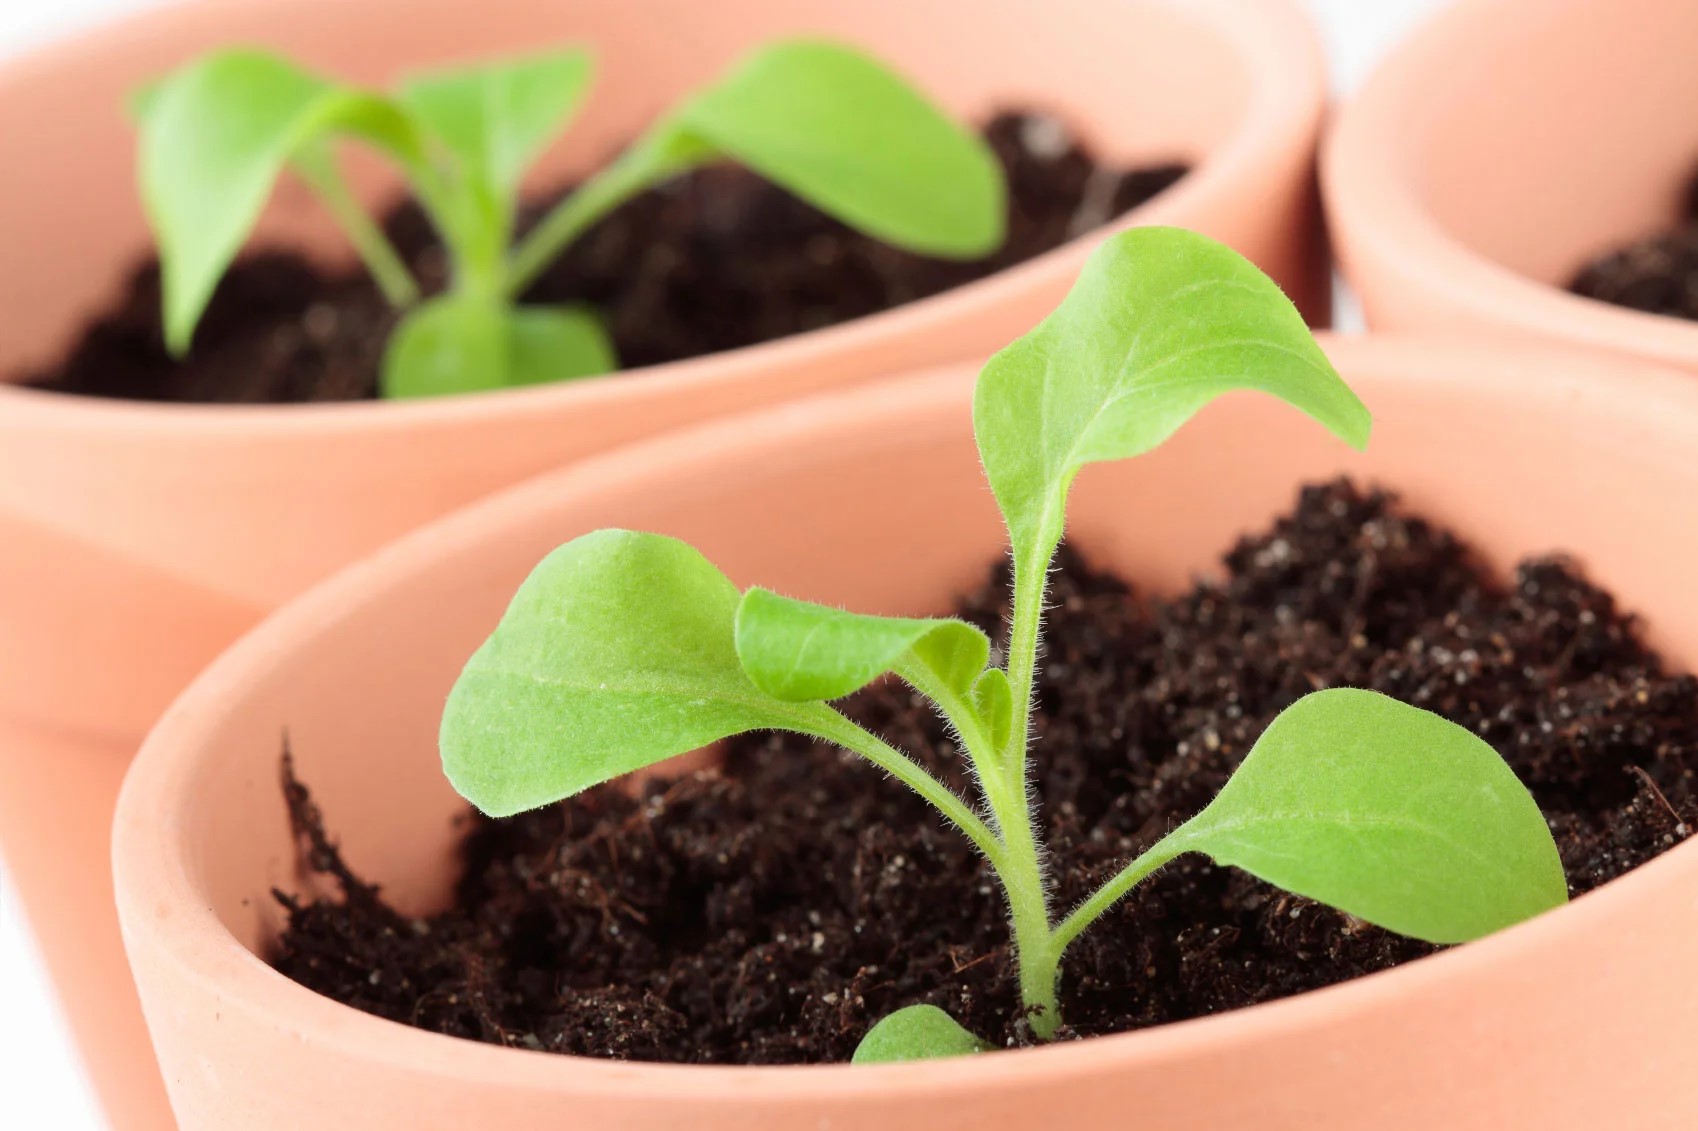
Select Containers: Choose containers that are deep enough to accommodate the root growth of your plants. Options include seed trays, pots, or even recycled containers, as long as they have drainage holes to prevent waterlogging. Ensure the containers are clean and sterilized to minimize the risk of disease.
Prepare Seed Starting Mix: Use a well-draining seed starting mix or create your own by combining equal parts of compost, vermiculite, and peat moss. This mixture provides a light and airy medium for seed germination. Avoid using garden soil, as it may contain pests, diseases, or weed seeds.
Sow the Seeds: Fill the containers with the seed starting mix, leaving a small gap at the top for watering. Sow the seeds according to the recommended depth specified on the seed packet. Generally, smaller seeds are sown shallowly, while larger seeds are sown deeper. Gently press the seeds into the soil and cover them with a thin layer of the seed starting mix.
Moisten the Soil: Using a spray bottle or watering can with a fine rose attachment, moisten the soil thoroughly. Be careful not to overwater, as excess moisture can lead to damping off disease. Ensure the soil remains consistently moist but not waterlogged throughout the germination period.
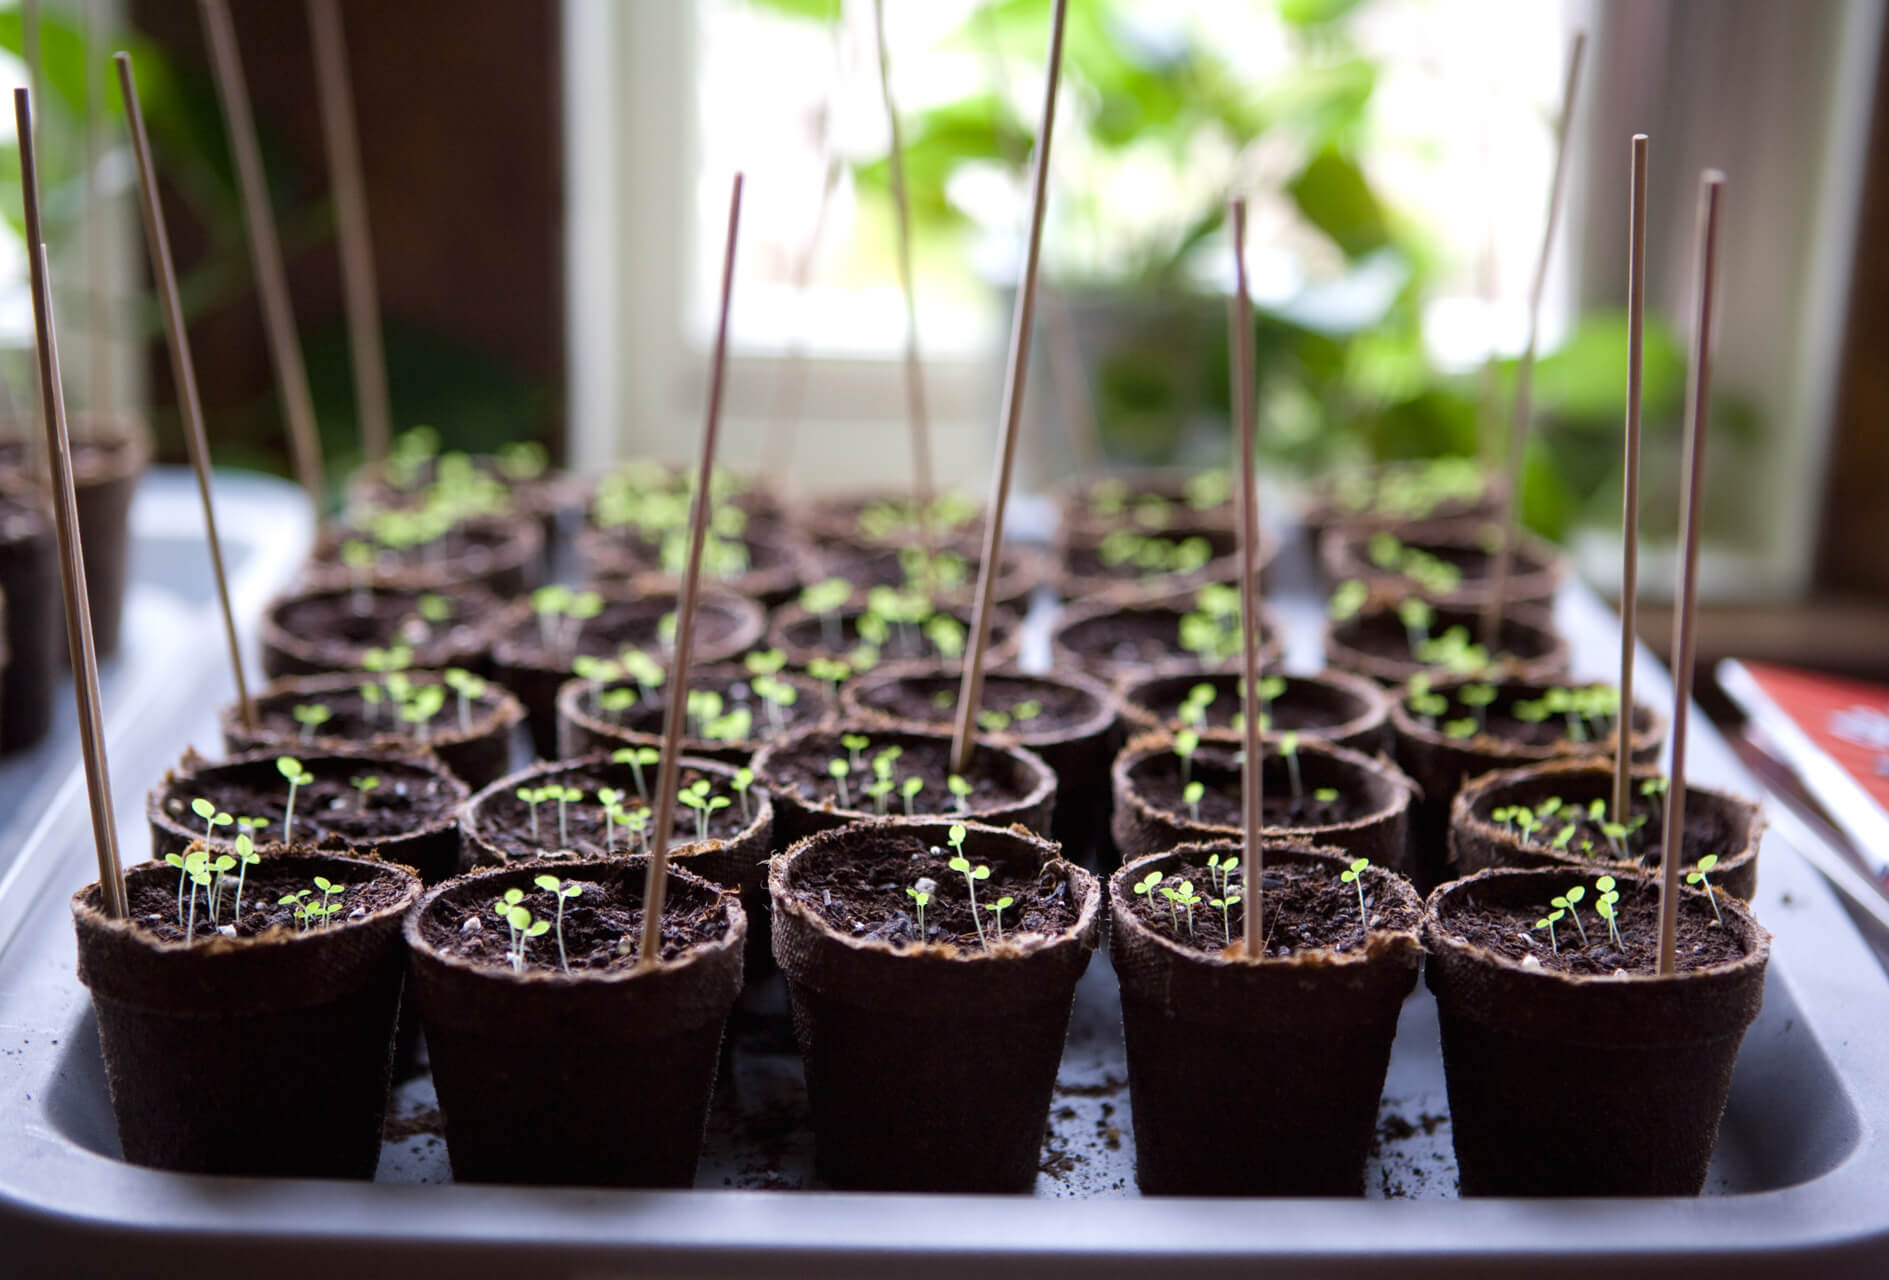
Provide Ideal Conditions: Place the containers in a warm area with consistent temperature and indirect light. A temperature range of 60-75°F (15-24°C) is generally suitable for most seeds to germinate. Consider using a seedling heat mat or placing the containers on top of a warm surface to promote faster germination.
Monitor and Care: Keep a close eye on the seeds for signs of germination. Once the seedlings emerge, provide them with adequate light to prevent them from becoming leggy. Place them under grow lights or provide them with at least 12-14 hours of bright, indirect light daily. Rotate the containers daily to ensure even growth.
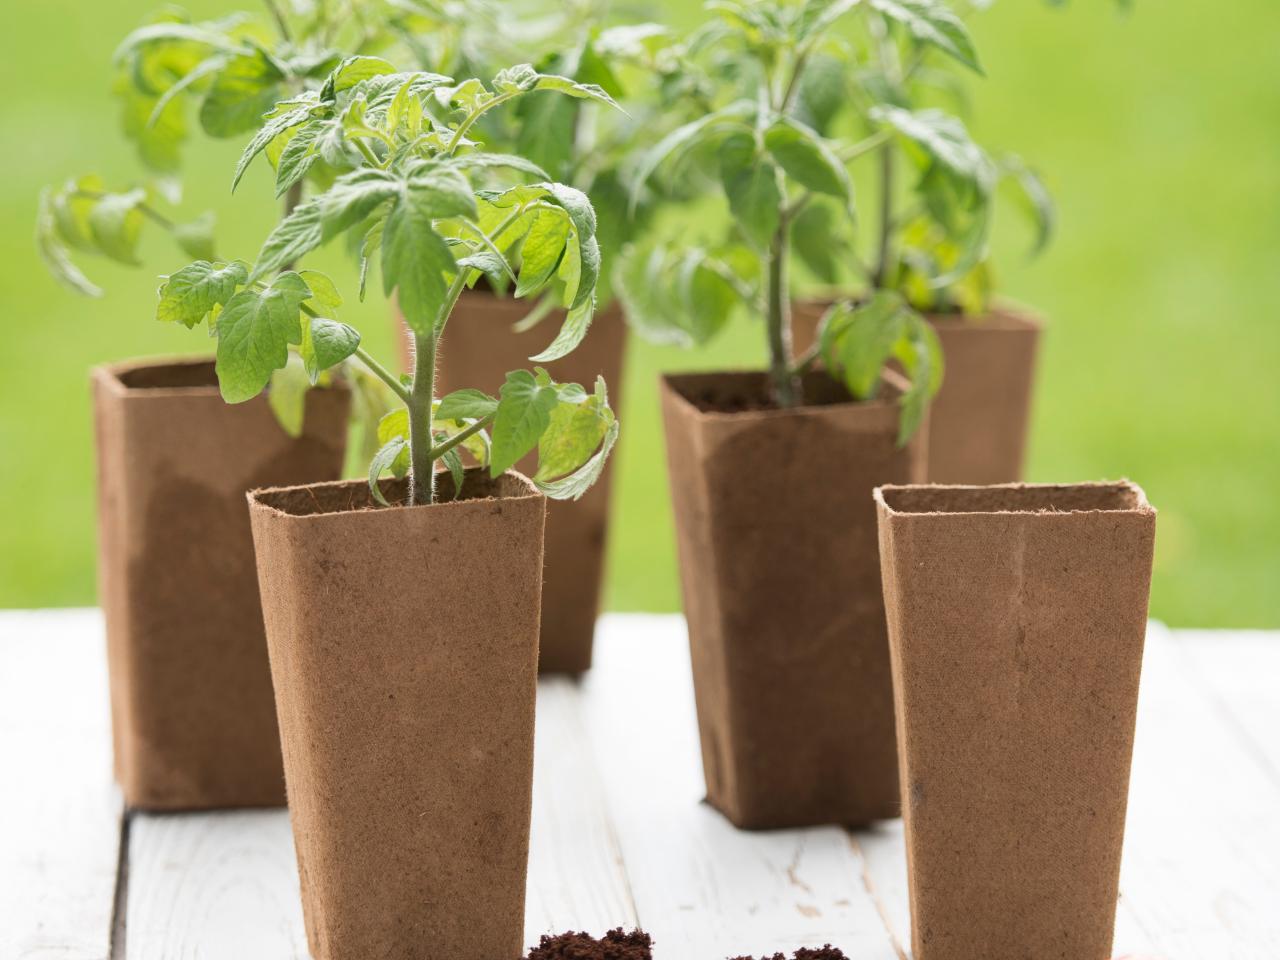
Transplanting: Once the seedlings have developed a few sets of true leaves and the weather conditions are favorable, transplant them into larger individual pots or into the garden beds. Harden off the seedlings by gradually exposing them to outdoor conditions over the course of a week before planting them in the garden.
Sowing seeds indoors allows you to get a head start on your fall garden and gives your plants a better chance of success. By following these steps, you can enjoy a stronger and healthier crop that will thrive when transplanted into your outdoor garden space.
Read more: When To Start An Indoor Garden
Transplanting Seedlings Outdoors
Once your seedlings have reached a suitable size and the weather conditions are favorable, it’s time to transplant them outdoors into your fall garden. Transplanting seedlings allows them to establish stronger root systems and adapt to the outdoor environment. Follow these steps to ensure a successful transplanting process:
Timing: Choose the right time to transplant your seedlings. Ensure that the threat of frost has passed and the soil temperature is suitable for the specific plants you are transplanting. Check the recommended planting dates for each variety and adjust based on your local climate.
Prepare the Planting Area: Before transplanting, prepare the planting area by removing any weeds, debris, or rocks. Amend the soil with compost or organic matter if necessary to improve its fertility and structure.
Harden Off the Seedlings: Gradually acclimate your seedlings to outdoor conditions by exposing them to outdoor elements gradually. Start by placing them outdoors in a shaded area for a few hours each day, gradually increasing their exposure to direct sunlight and fluctuating temperatures. This process, called hardening off, helps the seedlings adjust without experiencing shock.
Dig Proper Holes: Dig holes in the garden bed that are larger and deeper than the root balls of the seedlings. This will give the roots plenty of room to spread out and establish themselves in the soil. Space the holes according to the recommended spacing for each plant variety.
Transplant Carefully: Gently remove the seedlings from their containers, being mindful not to damage the roots. Place each seedling in its respective hole, making sure it sits at the same depth as it was in its container. Fill the hole around the seedling with soil, firming it gently to eliminate air pockets. Water the newly transplanted seedlings thoroughly.
Water and Mulch: After transplanting, water the seedlings deeply to help them establish in their new environment. Apply a layer of organic mulch around the seedlings to conserve moisture, suppress weed growth, and regulate soil temperature. Leave a small space around the base of the plants free of mulch to prevent moisture-related issues.
Monitor and Maintain: Keep a close eye on the transplanted seedlings and provide regular care. Water them regularly, especially during dry spells, to ensure they receive adequate moisture. If needed, provide support to taller plants using stakes or cages. Monitor for any signs of pests or diseases and take appropriate action if necessary.
Transplanting seedlings outdoors is a crucial step in the process of starting a fall garden. By following these steps and providing proper care, you can ensure that your seedlings adjust well and grow into healthy and productive plants for your fall garden.
Start seeds for your fall garden 6-8 weeks before the first frost date. Research the specific timing for each vegetable to ensure they have enough time to mature before the cold weather sets in.
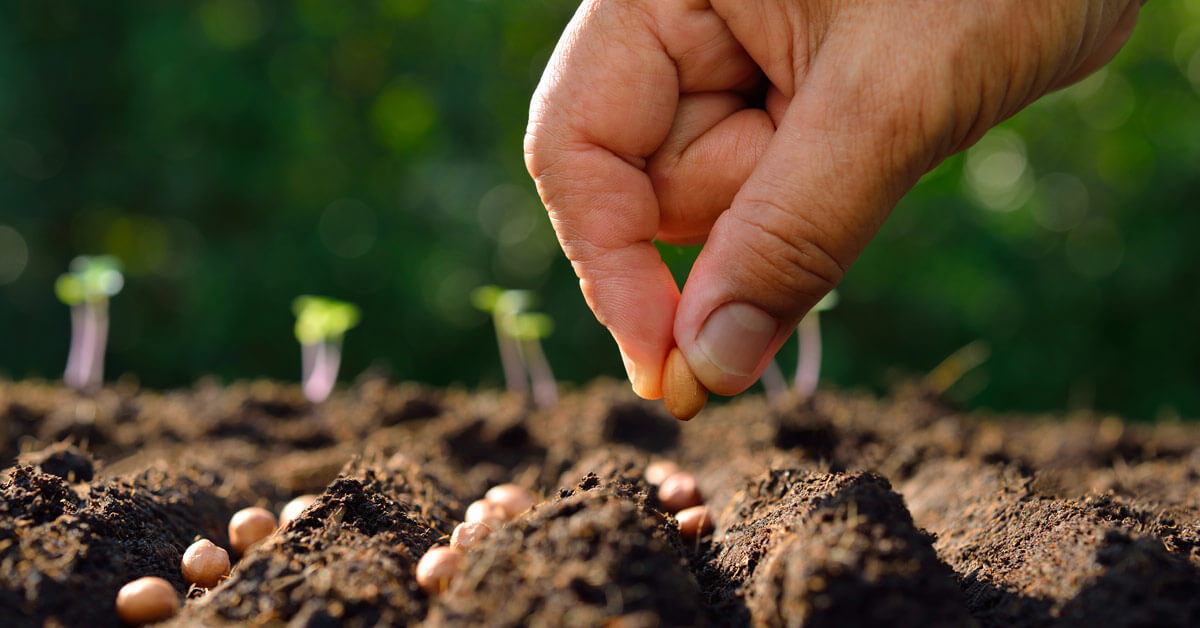
Direct Sowing in the Garden
Direct sowing is a straightforward and convenient method of planting seeds directly into your garden soil. It eliminates the need for starting seeds indoors and transplanting seedlings. Direct sowing is ideal for plants that have a short growing season or prefer to be directly grown in the garden. Follow these steps to successfully direct sow seeds in your fall garden:
Prepare the Soil: Before sowing seeds, prepare the garden soil by removing any weeds, rocks, or debris. Loosen the soil with a garden fork or tiller to improve its aeration and drainage. Incorporate compost or organic matter to enrich the soil and provide essential nutrients.
Select the Right Seeds: Choose seeds suitable for direct sowing in the fall. Look for varieties that have a shorter maturity period and are tolerant of cooler temperatures. Common choices for direct sowing in the fall include radishes, lettuce, spinach, carrots, and beets.
Sowing Depth and Spacing: Consult the seed packet for specific instructions regarding the recommended sowing depth and spacing for each type of seed. As a general rule, smaller seeds are sown shallowly, while larger seeds are sown deeper. Leave enough space between each seed to accommodate their respective growth requirements.
Watering: After sowing the seeds, water the garden bed thoroughly. Ensure that the soil is evenly moist, but avoid overwatering, as it can lead to poor germination and fungal diseases. Monitor the soil moisture levels regularly and water as needed to keep the seeds and emerging seedlings hydrated.
Thinning the Seedlings: As the seedlings begin to emerge and grow, thin them out to ensure proper spacing and prevent overcrowding. Thin the seedlings according to the recommended spacing provided on the seed packet. This allows the remaining plants to have adequate room to grow and access to sunlight and nutrients.
Protection from Pests and Weather: Protect your direct-sown seeds and young seedlings from potential pests and adverse weather conditions. Use row covers, garden fabric, or netting to shield the plants from pests such as birds, rabbits, and insects. Monitor the weather forecast and provide protection, such as cloches or frost blankets, if there is a risk of frost or extreme cold temperatures.
Regular Care and Maintenance: Proper care and maintenance are essential for the success of your direct-sown seeds. Monitor the growth of the plants, water them consistently, and provide ongoing weed control. Apply organic mulch to help suppress weed growth, retain soil moisture, and regulate soil temperature.
Direct sowing in the garden simplifies the process of starting your fall garden. By following these steps and providing proper care, you can enjoy a fruitful harvest of fresh vegetables and herbs directly from your garden.
Protecting Seedlings from Frost
Frost can be detrimental to seedlings, especially those in the early stages of growth. Protecting your seedlings from frost is crucial to ensure their survival and continued development. Here are some effective methods to safeguard your seedlings from frost:
Monitor Weather Conditions: Stay informed about the weather forecast, particularly during the fall season when the risk of frost increases. Keep an eye out for frost advisories or freeze warnings in your area. Knowing when a frost is expected allows you to take proactive measures to protect your seedlings.
Cover with Fabric or Blankets: When frost is predicted, cover your seedlings with a breathable fabric, such as frost blankets or row covers. These materials provide insulation and trap heat close to the plants. Secure the fabric loosely over the plants, ensuring that it is not touching the leaves to avoid damage. Remove the covers when the temperature rises above freezing during the day.
Utilize Cloches: Cloches are protective covers that you can place over individual plants or rows. These can be made from glass jars, plastic containers, or purchased cloche structures. Cloches create a microclimate around the plants, trapping warmth and shielding them from frost. Make sure to ventilate the cloches during the day to prevent overheating.
Water the Plants: Water the plants thoroughly before the expected frost. Moist soil retains heat better, providing some protection to the roots. However, avoid overwatering, as overly wet soil can lead to root rot or other issues. Additionally, water the plants during the day when frost is predicted, as the release of latent heat during freezing can help reduce damage.
Move Containers Indoors: If you have seedlings growing in containers, consider bringing them indoors during frosty nights. Find a suitable location with adequate light, such as a sunny window or a greenhouse. Ensure that the indoor environment is suitable for the specific plants you are growing.
Select Frost-Tolerant Varieties: When choosing seeds for your fall garden, opt for varieties that are more tolerant of cold temperatures. These plants have genetic adaptations that can withstand colder conditions. Research the frost tolerance of different plant varieties and select those best suited for your climate zone.
Grow Under Protective Structures: Set up hoop houses, cold frames, or a polytunnel to shelter your seedlings from frost. These structures provide a physical barrier and help trap heat, creating a warmer environment for the plants. Monitor the temperature within these structures and ventilate them during the day to prevent overheating.
Mulch Beds: Apply a layer of organic mulch around your seedlings to insulate the soil and regulate temperature. This will help reduce temperature fluctuations and protect the roots from frost damage. Mulch also helps retain soil moisture and suppress weed growth.
Protecting your seedlings from frost is essential for their survival and healthy growth. By employing these methods, you can ensure that your seedlings remain safe and continue to thrive even in the face of chilly temperatures.
Maintaining and Caring for Fall Garden
Maintaining and caring for your fall garden is essential to ensure the health and productivity of your plants. While fall gardens generally require less maintenance compared to spring and summer gardens, certain tasks and practices are still necessary to keep your garden thriving. Here are some key tips for maintaining and caring for your fall garden:
Watering: Although the cooler temperatures of fall reduce water evaporation, it’s important to monitor soil moisture levels and provide adequate water to your plants. Water deeply and less frequently, ensuring the soil is evenly moist. Take note of rainfall in your area and adjust your watering accordingly.
Fertilizing: Although the soil may have been amended prior to planting, some plants in your fall garden may benefit from additional feeding. Apply a balanced organic fertilizer or a specific formulation suitable for the type of plants you are growing. Follow the recommended application rates and timing indicated on the fertilizer packaging.
Weeding: Weed growth can still occur in the fall garden, competing with your plants for nutrients and resources. Regularly inspect your garden beds and remove any weeds that may appear. Weeding is easier when the soil is moist, so consider doing this task right after watering or rainfall.
Pest Control: Pests may still be active in the fall, so monitor your plants for any signs of pest infestations. Inspect leaves, stems, and flowers for pest damage or the presence of insects. If necessary, apply organic pest control methods or use insecticidal soap to manage pest populations and protect your plants from damage.
Supporting Plants: As your fall garden plants grow, some may require support to prevent them from collapsing under their weight or falling prey to strong winds. Use stakes, trellises, or cages to provide support to taller or vining plants, such as tomatoes or beans. Secure the plants gently to the supports using soft plant ties or twine.
Pruning and Harvesting: Regularly prune your plants to encourage bushier growth and enhance air circulation. Remove any dead or diseased foliage, as well as spent flowers or fruits. Harvest ripe produce promptly to encourage continued yields and prevent over-ripening or spoilage.
Monitor for Diseases: Keep an eye out for signs of diseases in your fall garden. Common diseases in fall include powdery mildew, leaf spot, and rot. Monitor the leaves and stems for any discoloration, spots, or fungal growth. If you detect any signs of disease, promptly remove and dispose of affected plant material to prevent the spread of infection.
Extend the Season: Consider using season extension techniques to prolong your fall garden’s productivity. Techniques such as using row covers, cold frames, or hoop houses can provide additional protection from frost and temperature fluctuations, allowing you to harvest fresh produce for a longer period.
Continuous Planting: For a continuous harvest, practice succession planting by sowing seeds or transplanting seedlings at intervals. This helps ensure a steady supply of fresh vegetables throughout the fall season. Take note of the recommended days to maturity for each plant and plan your plantings accordingly.
Enjoy and Learn: Take the time to enjoy the beauty and flavors of your fall garden. Observe and learn from your gardening experiences, noting which plants thrived and which may require different strategies next time. Use this knowledge to improve and plan for future fall gardens.
By implementing these maintenance and care practices, you can keep your fall garden healthy, productive, and visually appealing. Embrace the seasonal joys of gardening and enjoy the rewards of your efforts in the form of a vibrant and fruitful autumn garden.
Read more: When To Start Corn Seeds
Harvesting from the Fall Garden
The harvest season is a rewarding time for gardeners, as it is the culmination of their hard work and patience. Harvesting from your fall garden allows you to enjoy the freshest and most flavorful produce right at your doorstep. Here are some tips to optimize your harvest from the fall garden:
Timing: Harvest your crops at the right time to maximize flavor and quality. Different types of plants have specific indicators of readiness. For leafy greens like lettuce and spinach, harvest when leaves are young and tender. Root vegetables such as carrots and beets are ready when they have reached the desired size. Consult seed packets or online resources for specific information on each plant’s harvest time.
Harvesting Techniques: Use appropriate techniques to harvest various crops. For leafy greens, use scissors or a sharp knife to cut the outer leaves, allowing the inner leaves to continue growing. For root vegetables, gently loosen the soil around the base of the plant and pull them out by grasping the foliage near the root crown. Be careful not to damage the delicate roots.
Harvesting Herbs: Harvest herbs in the morning when their essential oils are at their peak. Pick leaves individually or cut stems just above a leaf node. Regularly harvest herbs to encourage continued growth and prevent them from becoming woody or flowering.
Storage: Proper storage is crucial to maintain the quality and freshness of your harvested produce. Remove any dirt or excess foliage, and handle the crops gently to avoid bruising or damage. Store vegetables such as carrots and beets in cool, dark, and humid conditions to retain their crispness. Leafy greens can be washed, dried thoroughly, and stored in a plastic bag or container lined with a paper towel to maintain moisture.
Preserving the Harvest: If you have an abundance of produce, consider preserving it for future use. Options include freezing, canning, drying, or making preserves. Each preservation method has specific techniques, so consult reliable resources or recipes for guidance.
Regrowing from Harvest: Some crops can be regrown from kitchen scraps. For example, you can regrow green onions from their white root ends or propagate herbs such as basil or mint from cuttings. This allows you to enjoy a continuous supply of fresh produce from your fall garden.
Celebrate Diversity: Enjoy the variety that your fall garden offers. Experiment with different recipes to fully appreciate the unique flavors of your freshly harvested vegetables and herbs. Incorporate them into salads, soups, stir-fries, or roasted dishes.
Share the Bounty: If you find yourself with an abundant harvest, consider sharing it with friends, family, or neighbors. The joy of gardening is not only in the act of growing but also in the act of sharing and fostering a sense of community.
Harvesting from the fall garden is a fulfilling experience that allows you to reap the rewards of your gardening efforts. Take pleasure in the flavors and satisfaction of enjoying the freshly picked produce and the sense of accomplishment that comes with growing your own food.
Conclusion
Starting seeds for a fall garden presents a wonderful opportunity to extend your gardening season and continue enjoying the beauty and bounty of nature. By considering important factors such as climate, plant selection, and seed quality, you can make informed decisions and set yourself up for success.
Preparing the soil and sowing seeds indoors or directly in the garden are essential steps in the journey towards a thriving fall garden. Proper care and maintenance, including watering, fertilizing, and protecting seedlings from frost and pests, will ensure healthy growth and abundant harvests.
Harvesting the fruits of your labor is a gratifying experience, allowing you to appreciate the flavors and freshness of homegrown produce. Proper storage and preservation methods can help extend the enjoyment of the harvest throughout the season.
As you embark on your fall gardening journey, remember to embrace the joys and lessons that come with it. Each season provides unique opportunities for growth, learning, and connecting with nature. Enjoy the process, celebrate the diversity in your garden, and share the bountiful harvest with others.
Whether you’re a novice gardener or an experienced green thumb, starting seeds for a fall garden offers a chance to deepen your connection with the natural world and experience the satisfaction of cultivating your own plot of land. So, roll up your sleeves, get your hands dirty, and let the magic of fall gardening unfold.
Frequently Asked Questions about When To Start Seeds For Fall Garden
Was this page helpful?
At Storables.com, we guarantee accurate and reliable information. Our content, validated by Expert Board Contributors, is crafted following stringent Editorial Policies. We're committed to providing you with well-researched, expert-backed insights for all your informational needs.


0 thoughts on “When To Start Seeds For Fall Garden”