Home>Garden Essentials>When To Plant Mullein Seeds
Garden Essentials
When To Plant Mullein Seeds
Modified: March 15, 2024
Discover the optimal planting time for mullein seeds in your garden. Learn the best practices for successful cultivation and enjoy a thriving garden with beautiful mullein plants.
(Many of the links in this article redirect to a specific reviewed product. Your purchase of these products through affiliate links helps to generate commission for Storables.com, at no extra cost. Learn more)
Introduction
Welcome to the world of gardening! Whether you’re a seasoned gardener or just starting out, there’s something truly rewarding about growing your own plants and seeing them thrive. One plant that you may want to add to your garden is the mullein plant. Known for its striking appearance and various medicinal uses, mullein is a versatile and fascinating addition to any garden.
In this article, we’ll explore the world of mullein seeds and provide valuable insights on when and how to plant them. By understanding the ideal planting conditions and following the right steps, you’ll set yourself up for success with your mullein plants.
But before we dive into the details of when to plant mullein seeds, let’s take a closer look at the seeds themselves and what factors you need to consider for optimal growth.
Key Takeaways:
- Plant mullein seeds in spring after the last frost for best results. Remember to give them space to grow, provide sunlight, and avoid overwatering. Be patient and watch your mullein plants thrive!
- Harvest mature mullein plants in their second year for medicinal use. Dry the leaves, store them properly, and enjoy their soothing properties in teas and oils. Happy gardening and harvesting!
Read more: How To Collect Mullein Seeds
Understanding Mullein Seeds
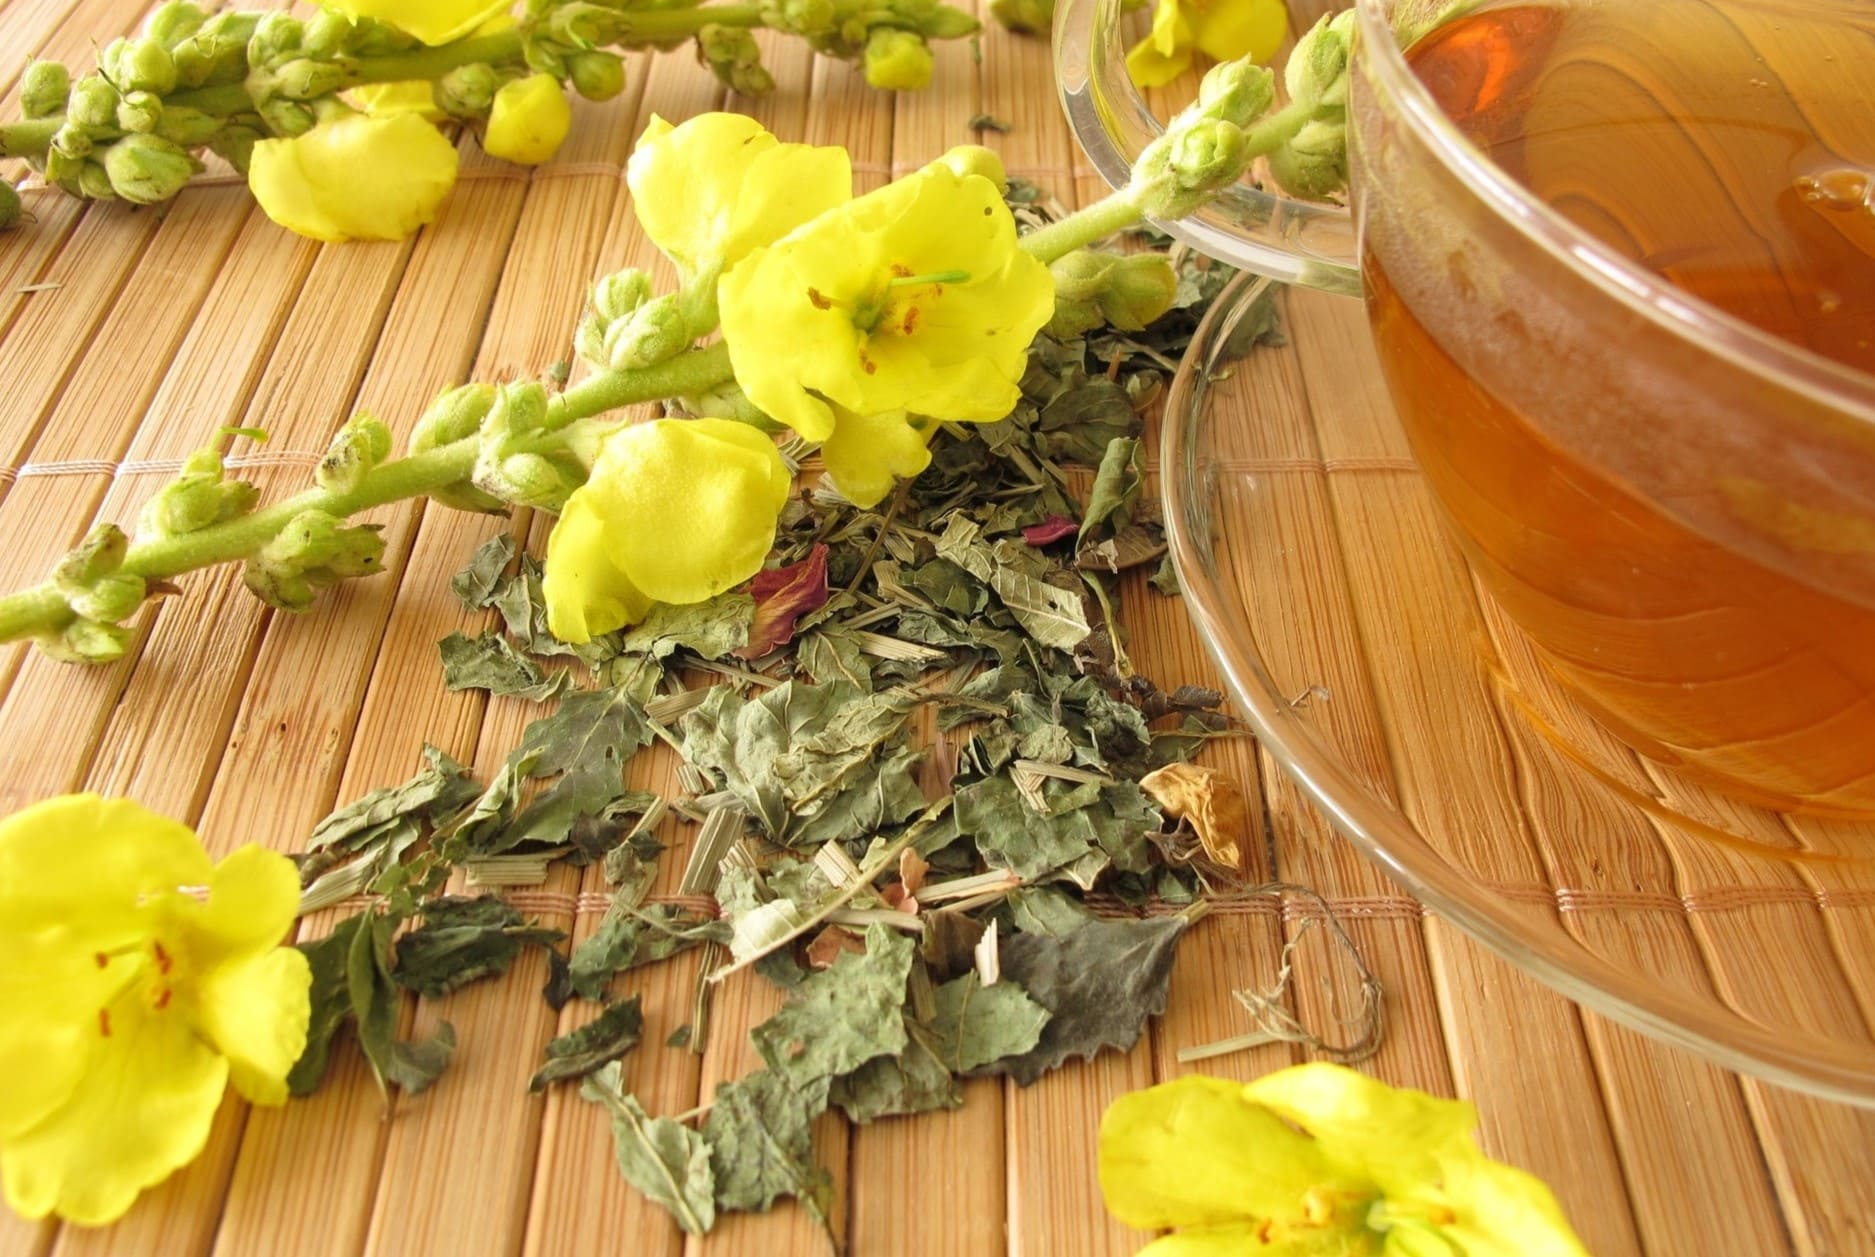
Mullein seeds are the tiny, oval-shaped structures enclosed in the dried flowers of the mullein plant (Verbascum thapsus). These seeds are relatively small, measuring around 1-2 millimeters in length, and are usually brown or black in color. Each flower head contains numerous seeds that are dispersed when the flowers dry up and the seed capsules split open.
Mullein seeds have a hard outer shell that protects the embryo inside. This protective layer helps the seeds remain dormant until conditions are favorable for germination. The seeds contain all the genetic information necessary for the growth and development of the mullein plant.
It’s important to note that mullein seeds have a relatively short viability period. Freshly harvested seeds have the highest germination rate, which gradually decreases over time. If you’re planning to plant mullein seeds, it’s best to use fresh or recently collected ones to increase your chances of success.
Additionally, mullein seeds are not typically sold in commercial seed packets. Instead, they are often obtained by harvesting the dried flower heads of mature mullein plants. If you don’t have access to mature mullein plants or their dried flower heads, you can try sourcing mullein seeds from specialized seed suppliers or online platforms that cater to unique and medicinal plant species.
Now that we have a basic understanding of mullein seeds, let’s explore some important factors to consider before planting them.
Factors to Consider
Before planting mullein seeds, there are several important factors to consider to ensure the successful growth of your plants. Taking these factors into account will help create the optimal conditions for germination and establishment.
- Climate: Mullein is a hardy plant that can tolerate a wide range of climates. However, it thrives best in temperate regions with mild summers and cool winters. Consider the climate of your area and determine if it aligns with the preferred growing conditions for mullein.
- Sunlight: Mullein is a sun-loving plant and requires full sun exposure to thrive. Choose a planting location that receives at least 6-8 hours of direct sunlight per day.
- Soil Type: Mullein prefers well-draining soil that is slightly alkaline to neutral in pH. Sandy or loamy soils with good drainage are ideal for mullein plants. Conduct a soil test to determine the pH level of your soil and make necessary amendments if needed.
- Moisture: While mullein is drought-tolerant once established, it’s important to provide sufficient moisture during the germination and early growth stages. Water the soil evenly and avoid overwatering, as excessive moisture can lead to root rot.
- Spacing: Mullein plants can reach a height of 3-6 feet and have a spread of 1-3 feet. Allow enough space between plants to accommodate their growth and prevent overcrowding.
- Companion Plants: Consider planting mullein near other beneficial plants, such as lavender, yarrow, or echinacea. These companion plants can attract pollinators and provide natural pest control, creating a healthier environment for your mullein plants.
- Pests and Diseases: Mullein is generally resistant to pests and diseases. However, it can occasionally be susceptible to aphids or powdery mildew. Monitor your plants regularly and take appropriate measures if any pest or disease issues arise.
By carefully considering these factors, you’ll be well-prepared to create the perfect environment for your mullein seeds to flourish. Now, let’s move on to the exciting part: the best time to plant mullein seeds!
Best Time to Plant Mullein Seeds
The best time to plant mullein seeds is in the spring, after the last frost has passed. Mullein plants are considered biennials, meaning they have a two-year life cycle. During the first year, the plant develops a rosette of large, fuzzy leaves close to the ground. In the second year, the plant produces a tall flowering stalk that can reach heights of 6 feet or more.
By planting mullein seeds in the spring, you give the plant ample time to establish its root system and develop a strong foundation before the flowering stage. The mild temperatures and longer daylight hours of spring provide optimal conditions for germination and early growth.
It’s worth noting that mullein seeds require a period of cold stratification to break their dormancy and stimulate germination. Cold stratification is a natural process that mimics the winter conditions necessary for seed germination. You can achieve this by chilling the seeds in the refrigerator for 2-4 weeks prior to planting.
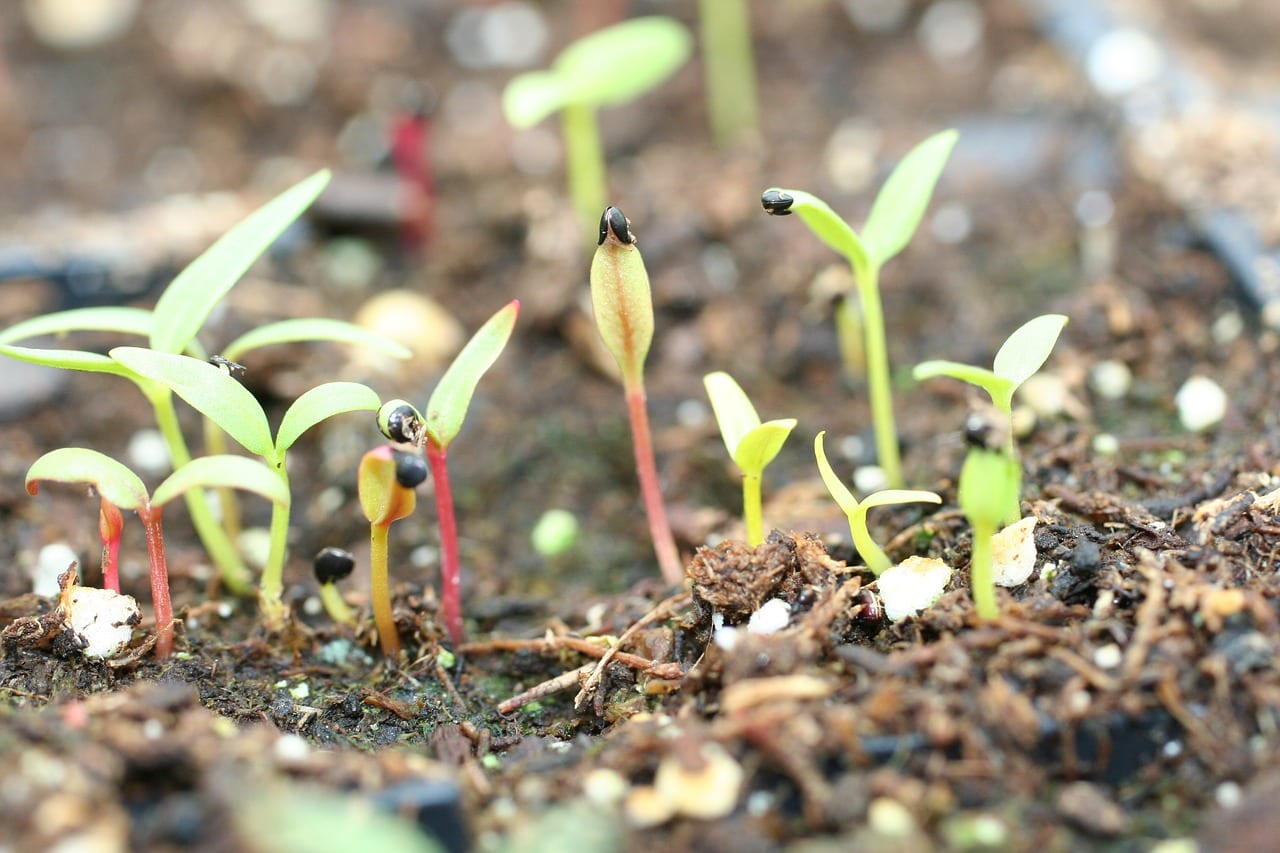
Once the seeds have undergone cold stratification, you can sow them directly in the prepared planting area. Gently press the seeds into the soil, but avoid burying them too deeply, as they require light to germinate properly. Aim for a planting depth of around 1/8 to 1/4 inch.
Remember to keep the soil consistently moist during the germination period, which typically takes around 14-21 days. Be patient and allow nature to take its course.
By planting mullein seeds in the spring and following the process of cold stratification, you’ll give your plants the best chance of success. Now, let’s dive into the steps for preparing the planting area to ensure optimal growth!
How to Prepare the Planting Area
Preparing the planting area properly is crucial for the successful growth of mullein plants. By following these steps, you’ll create the ideal environment for your seeds to thrive:
- Select a Location: Choose a well-draining area in your garden that receives full sun. Mullein plants prefer sandy or loamy soil but can tolerate a variety of soil types. Ensure that the site is free from any competing weeds or grass.
- Clear the Area: Remove any existing vegetation, rocks, or debris from the planting area. Dig up the soil to a depth of 6-8 inches to loosen it and improve aeration and drainage.
- Amend the Soil: While mullein can tolerate a range of soil conditions, adding organic matter can enhance the soil structure and fertility. Incorporate compost, well-aged manure, or leaf mold into the soil to enrich it with nutrients.
- Address pH Levels: Test the pH level of your soil using a soil testing kit. Mullein thrives in slightly alkaline to neutral soil with a pH range of 6.0-7.5. If your soil is too acidic, add lime according to the recommendations of the soil test results.
- Provide Drainage: If you have heavy clay soil that tends to retain water, consider adding some sand or perlite to improve drainage. This will prevent waterlogged conditions that can be detrimental to the mullein plants.
- Level and Rake: Level the soil surface using a rake to create a smooth and even planting area. This will help with seed sowing and future maintenance.
- Mark Rows or Beds: If you’re planting multiple mullein plants, it can be helpful to mark rows or beds in the planting area. This will allow for easy spacing and organization.
By following these steps, you’ve prepared a suitable planting area that promotes healthy growth and development for your mullein plants. Now, it’s time to move on to the exciting part: planting mullein seeds!
Plant mullein seeds in the spring after the last frost, as they prefer cooler temperatures. Choose a sunny location with well-drained soil, and sow the seeds directly into the ground or in containers. Keep the soil moist until the seeds germinate.
Read more: How To Harvest Mullein Seeds
Planting Mullein Seeds
Now that you’ve prepared the planting area, it’s time to plant your mullein seeds. Follow these steps to ensure successful seed sowing:
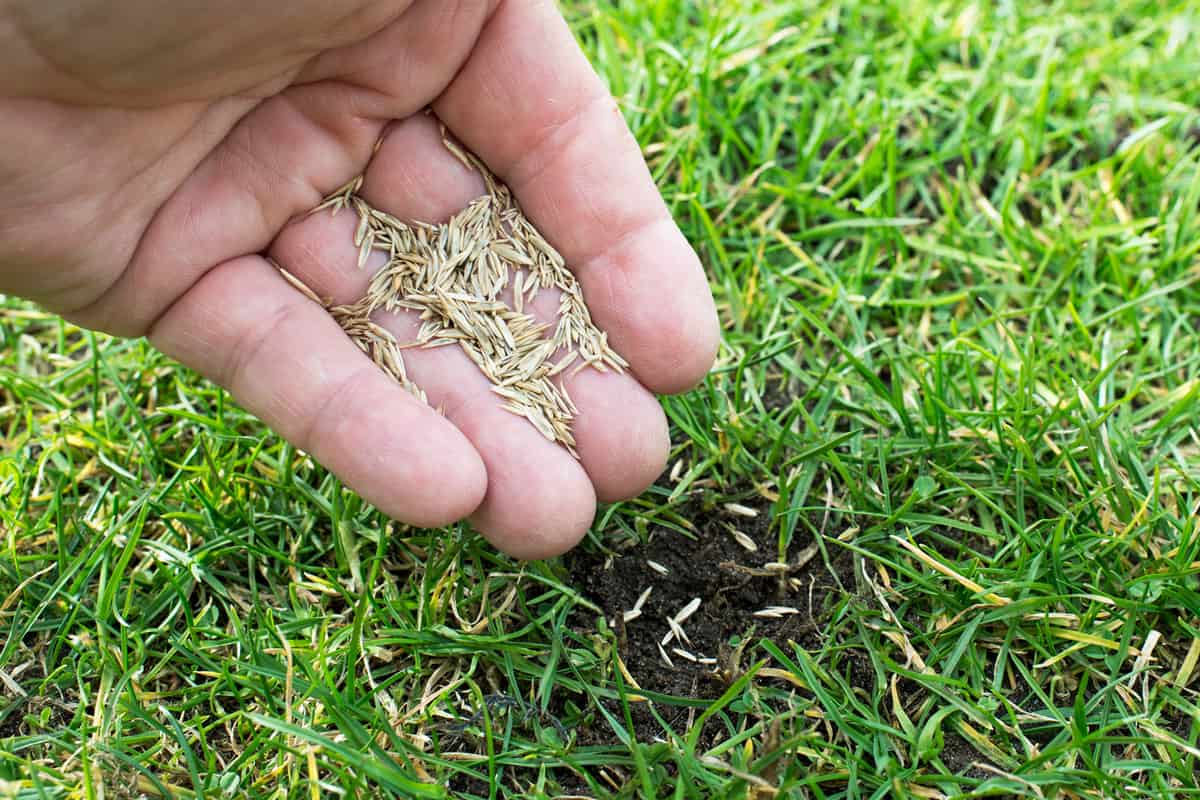
- Sow the Seeds: Take the chilled mullein seeds and gently sprinkle them over the prepared soil surface. Aim for a spacing of about 12 to 18 inches between each seed to allow for proper airflow and growth.
- Press the Seeds: Once you’ve scattered the seeds, lightly press them into the soil using the back of a rake or your hand. Avoid burying the seeds too deeply, as they need light to germinate. A planting depth of around 1/8 to 1/4 inch is sufficient.
- Water the Soil: After planting, water the soil thoroughly but gently. Ensure that the soil is evenly moist, but avoid overwatering, as excessive moisture can lead to fungal diseases. Use a watering can or hose with a gentle spray nozzle to provide a gentle and even distribution of water.
- Mulch the Area: Apply a layer of organic mulch, such as straw or wood chips, around the planted area. Mulching helps conserve moisture, suppresses weed growth, and regulates soil temperature. Keep the mulch a few inches away from the base of the mullein plants to prevent rotting.
- Monitor and Maintain: Regularly check the moisture levels of the soil and water as needed to keep it consistently moist during the germination period. Keep an eye out for any weed growth and promptly remove them to avoid competition with the mullein plants.
- Be Patient: Germination typically takes around 14-21 days, but it can vary. Be patient and allow nature to take its course. Once the seedlings emerge, continue to provide them with proper care and maintenance.
With these steps, you’ve successfully planted your mullein seeds. Now, let’s move on to the next stage of caring for your mullein plants to ensure they thrive in your garden.
Caring for Mullein Plants
Once your mullein plants have germinated and started to develop, it’s important to provide them with the proper care to ensure their continued health and growth. Here are some essential steps to follow when caring for mullein plants:
- Watering: Mullein plants are drought-tolerant once established, but they still require regular watering during the early stages of growth. Water the plants deeply, ensuring that the soil is evenly moist. Avoid overwatering, as mullein plants are susceptible to root rot in waterlogged conditions.
- Mulching: Apply a layer of organic mulch around the base of the mullein plants, maintaining a few inches of space around the stems. Mulching helps retain soil moisture, suppresses weed growth, and regulates soil temperature.
- Pruning: Mullein plants don’t require extensive pruning, but you can remove any damaged or diseased leaves or flower stalks. Pruning can also help maintain the overall shape and size of the plant and improve airflow around the foliage.
- Fertilizing: Mullein plants typically don’t require heavy fertilization. However, if you notice poor growth or pale leaves, you can apply a balanced organic fertilizer sparingly during the active growing season. Follow the manufacturer’s instructions for the appropriate dosage.
- Staking: As mullein plants grow taller, their flowering stalks may require support to prevent them from bending or breaking. Use stakes or gardening supports to keep the plants upright and stable.
- Pest and Disease Management: Mullein plants are generally resistant to pests and diseases. However, occasional issues like aphids or powdery mildew may arise. Monitor your plants regularly and address any pest or disease problems promptly. Natural remedies like neem oil or insecticidal soap can help control aphids, while proper plant spacing and good airflow can prevent powdery mildew.
- Encouraging Wildlife: Mullein plants attract a variety of beneficial insects, such as bees and butterflies, which aid in pollination. By providing a diverse and pesticide-free garden environment, you can attract these pollinators and enhance the overall health of your mullein plants.
- Winter Care: In colder climates, mullein plants may die back in winter but will regrow from the base the following spring. If desired, lightly mulch the base of the plants in late fall to provide some insulation and protect them from extreme cold.
By following these care tips, you will help ensure the success and longevity of your mullein plants. Now, let’s explore some common issues and troubleshooting methods that you may encounter along the way.
Common Issues and Troubleshooting
While mullein plants are generally hardy and resilient, they can still encounter a few common issues. Here are some of the problems you may come across with your mullein plants and ways to troubleshoot them:
- Aphid Infestations: Aphids can sometimes be a nuisance for mullein plants. To control these tiny sap-sucking insects, you can spray a solution of water and mild dish soap onto the foliage, or use insecticidal soap or neem oil. Encouraging natural predators, like ladybugs and lacewings, can also help keep aphid populations in check.
- Powdery Mildew: Powdery mildew is a fungal disease that can affect mullein plants, especially in humid conditions. To prevent powdery mildew, ensure proper spacing between plants for good airflow, avoid overhead watering, and keep the foliage dry. If you notice powdery white patches on the leaves, you can treat the plants with a fungicidal spray formulated for powdery mildew.
- Drooping Leaves or Stems: If you observe drooping leaves or stems, it may indicate under-watering or over-watering. Check the soil moisture levels and adjust your watering accordingly. Mullein plants prefer evenly moist soil but with good drainage to prevent waterlogging.
- Yellowing Leaves: Yellowing leaves can be a sign of nutrient deficiency or over-watering. Ensure your mullein plants are receiving sufficient sunlight, and consider applying a balanced organic fertilizer sparingly if the yellowing persists. Adjust your watering practices if necessary.
- Stunted Growth: Stunted growth can occur if the plants are not receiving enough sunlight or if they are planted in poor soil conditions. Ensure your mullein plants are getting at least 6-8 hours of direct sunlight each day, and make sure the soil is well-draining and fertile. Consider enriching the soil with compost or organic matter if growth remains stunted.
By being vigilant and addressing these common issues promptly, you can help safeguard the health and vitality of your mullein plants. Now, let’s move on to the next topic: harvesting mullein.
Harvesting Mullein
Harvesting mullein can be a rewarding process, as you get to enjoy the beauty of the plant and harness its medicinal properties. Here are some tips for harvesting mullein:
Timing: The ideal time to harvest mullein is during the second year of the plant’s growth, when the flowering stalks have fully developed. Wait until the flowers have bloomed and started to fade. This is when the medicinal compounds in the plant are at their peak.
Equipment: Before harvesting, gather a pair of garden shears or sharp scissors and a clean, sterilized jar or container to store the harvested plant material. Having a pair of gloves is also recommended to protect your hands from the fine hairs on the mullein leaves.
Harvesting Method: Begin by cutting the mullein stalks just above the base of the plant, where they emerge from the leaves. Choose healthy and mature stalks that are free from any signs of disease or pest damage. Cut several stalks at a time, ensuring that you leave enough foliage on the plant to support its growth.
Drying: After harvesting, bundle the stalks together and tie them with twine or a rubber band. Hang the bundles upside down in a well-ventilated and dry area, such as a warm room or a shaded outdoor spot. Allow the stalks to dry completely, which usually takes about 1-2 weeks. Proper drying is essential to prevent mold or moisture-related issues.
Storage: Once the stalks are fully dried, remove the leaves from the stems. Gently crumble the leaves into smaller pieces and store them in a clean, airtight container, such as a glass jar or airtight plastic bag. Keep the container in a cool, dark, and dry place to maintain the potency of the dried mullein leaves. Properly stored mullein leaves can last for up to a year.
Utilization: Dried mullein leaves can be used to make herbal teas, tinctures, or infused oils. They are commonly utilized for their soothing properties on the respiratory system, such as relieving coughs, congestion, and respiratory irritation. However, it’s always recommended to consult with a healthcare professional or herbalist before using any herbal preparations.
By following these guidelines, you can harvest mullein and utilize its medicinal properties for various purposes. Now, let’s conclude our journey into the world of mullein.
Read more: When To Plant Borage Seeds
Conclusion
Congratulations on your journey into the world of mullein! By understanding the basics of mullein seeds, the factors to consider when planting them, and how to care for the plants, you are well-equipped to successfully grow mullein in your garden.
Mullein, with its unique appearance and medicinal properties, adds beauty and value to any garden. From its vibrant yellow flowers to its fuzzy leaves, mullein plants are a sight to behold. Not only do they attract beneficial insects, but they also have a rich history of traditional medicinal uses.
Remember to choose the right planting location, provide the optimal conditions for growth, and be mindful of watering and maintenance practices. By addressing common issues and troubleshooting problems promptly, you can ensure the health and vitality of your mullein plants.
When the time is right, harvest your mullein plants and harness the benefits of their dried leaves. They can be used in various herbal preparations, particularly for soothing respiratory ailments.
As you continue your gardening journey and explore the wonders of different plants, mullein will always hold a special place in your heart. Share your experiences with others and inspire them to embark on their own gardening adventures.
Remember, gardening is a continuous learning process, and each plant has its unique requirements. Embrace the joy of nurturing plants and enjoy the rewards that come with it. Happy gardening and may your mullein plants flourish!
Frequently Asked Questions about When To Plant Mullein Seeds
Was this page helpful?
At Storables.com, we guarantee accurate and reliable information. Our content, validated by Expert Board Contributors, is crafted following stringent Editorial Policies. We're committed to providing you with well-researched, expert-backed insights for all your informational needs.


0 thoughts on “When To Plant Mullein Seeds”