Home>Garden Essentials>When To Seed After Aeration
Garden Essentials
When To Seed After Aeration
Modified: April 22, 2024
Learn when is the best time for seeding your garden after aeration to ensure optimal growth and results. Expert gardening tips for a thriving garden.
(Many of the links in this article redirect to a specific reviewed product. Your purchase of these products through affiliate links helps to generate commission for Storables.com, at no extra cost. Learn more)
Introduction
Having a lush and healthy garden is the dream of every garden enthusiast. However, achieving that perfect garden requires careful planning and proper maintenance. One key aspect of maintaining a thriving garden is aeration. Aeration is the process of creating small holes in the soil to improve air circulation, water absorption, and nutrient uptake by the plants. This promotes root growth and overall plant health.
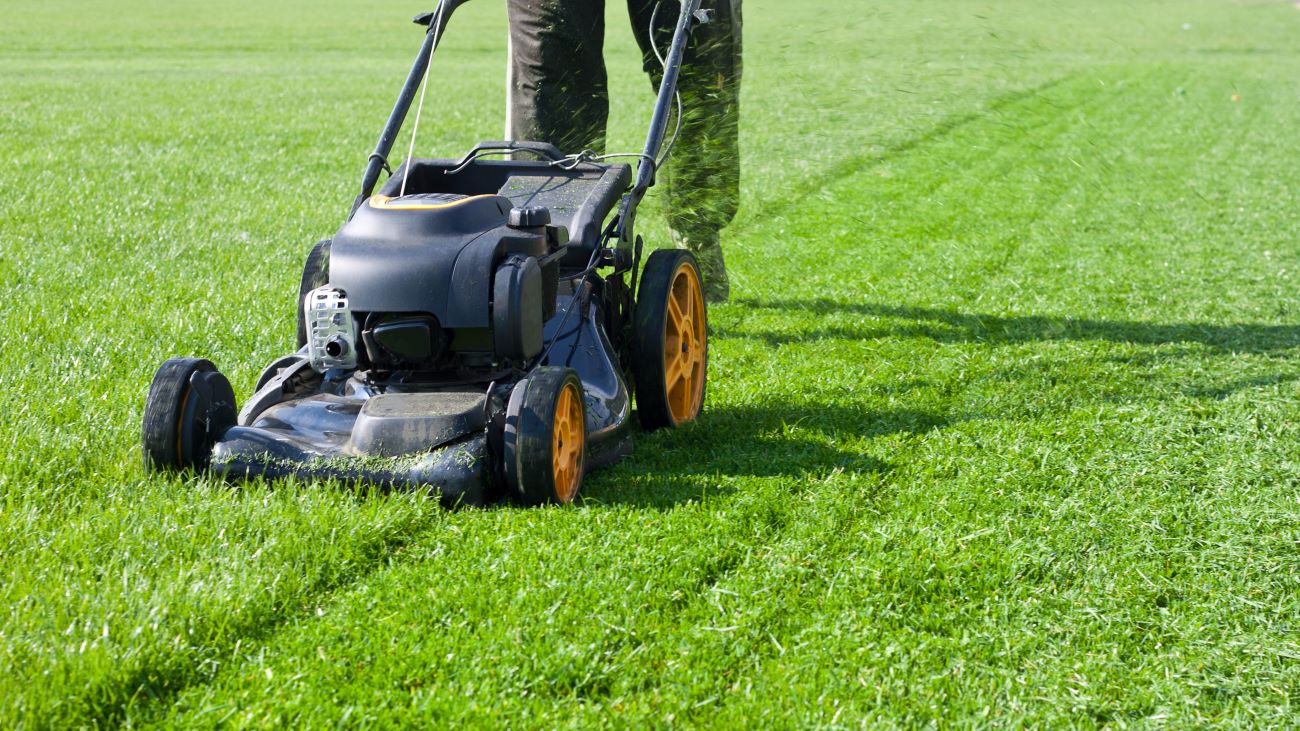
While aeration alone can bring significant benefits to your garden, combining it with seeding can take your garden to the next level. Seeding is the process of introducing new grass seeds into your lawn, filling in bare spots, and promoting new growth. It is an essential step in rejuvenating your lawn and achieving that lush, green carpet-like appearance.
But the question arises: when is the best time to seed after aeration? Timing is crucial to ensure the success of your lawn seeding efforts. In this article, we will explore the optimal timing for seeding after aeration and guide you through the process of preparing and caring for your newly seeded lawn.
Key Takeaways:
- Timing is crucial for seeding after aeration. Warm-season grasses thrive when overseeded in late spring or early summer, while cool-season grasses do best in early fall.
- Before seeding, assess your lawn’s condition, prepare the soil, and choose the right seed. Proper post-seeding care is essential for successful germination and establishment.
Read more: How Long After Aerating Should You Seed
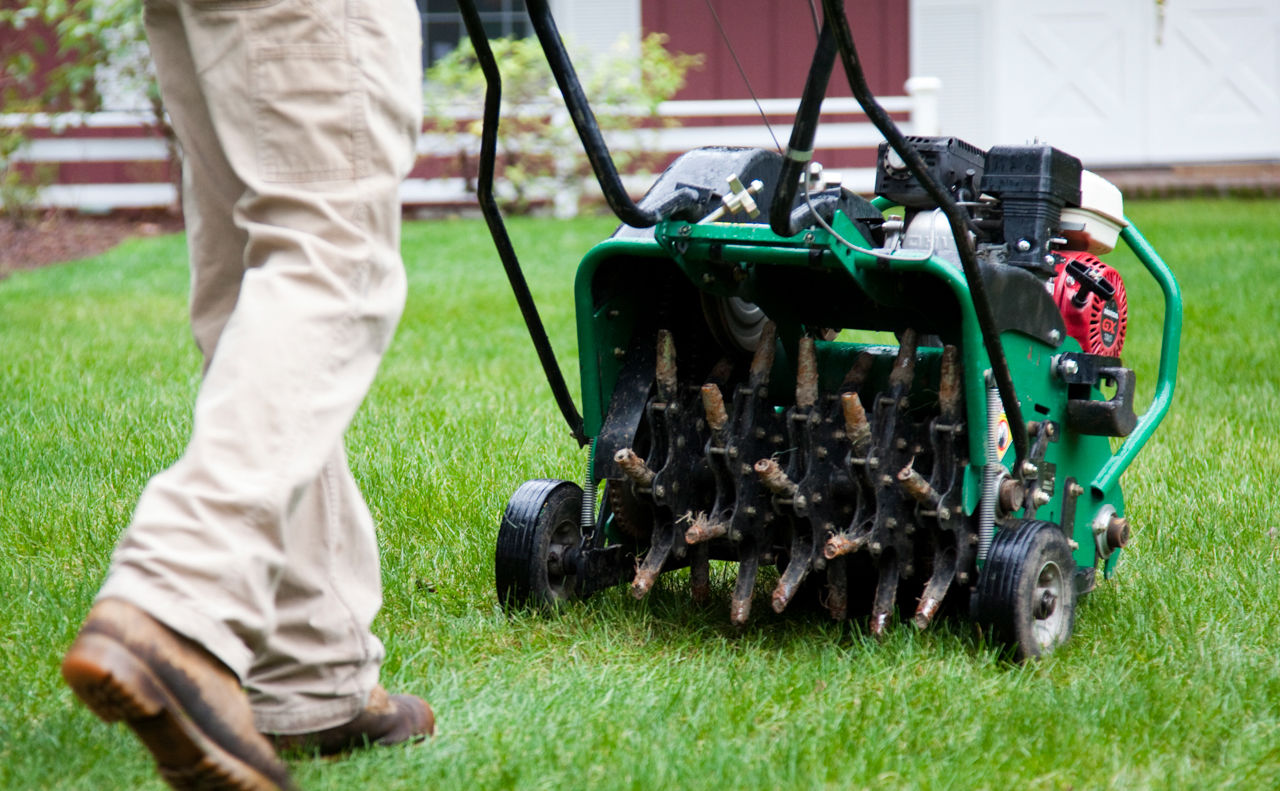
Understanding Aeration
Aeration is a process that involves creating small holes in the soil to alleviate compaction and improve the overall health of your lawn. Over time, soil naturally becomes compacted due to factors such as foot traffic, heavy machinery, and weather conditions. When soil is compacted, it becomes difficult for water, air, and nutrients to penetrate deep into the root zone of your plants.
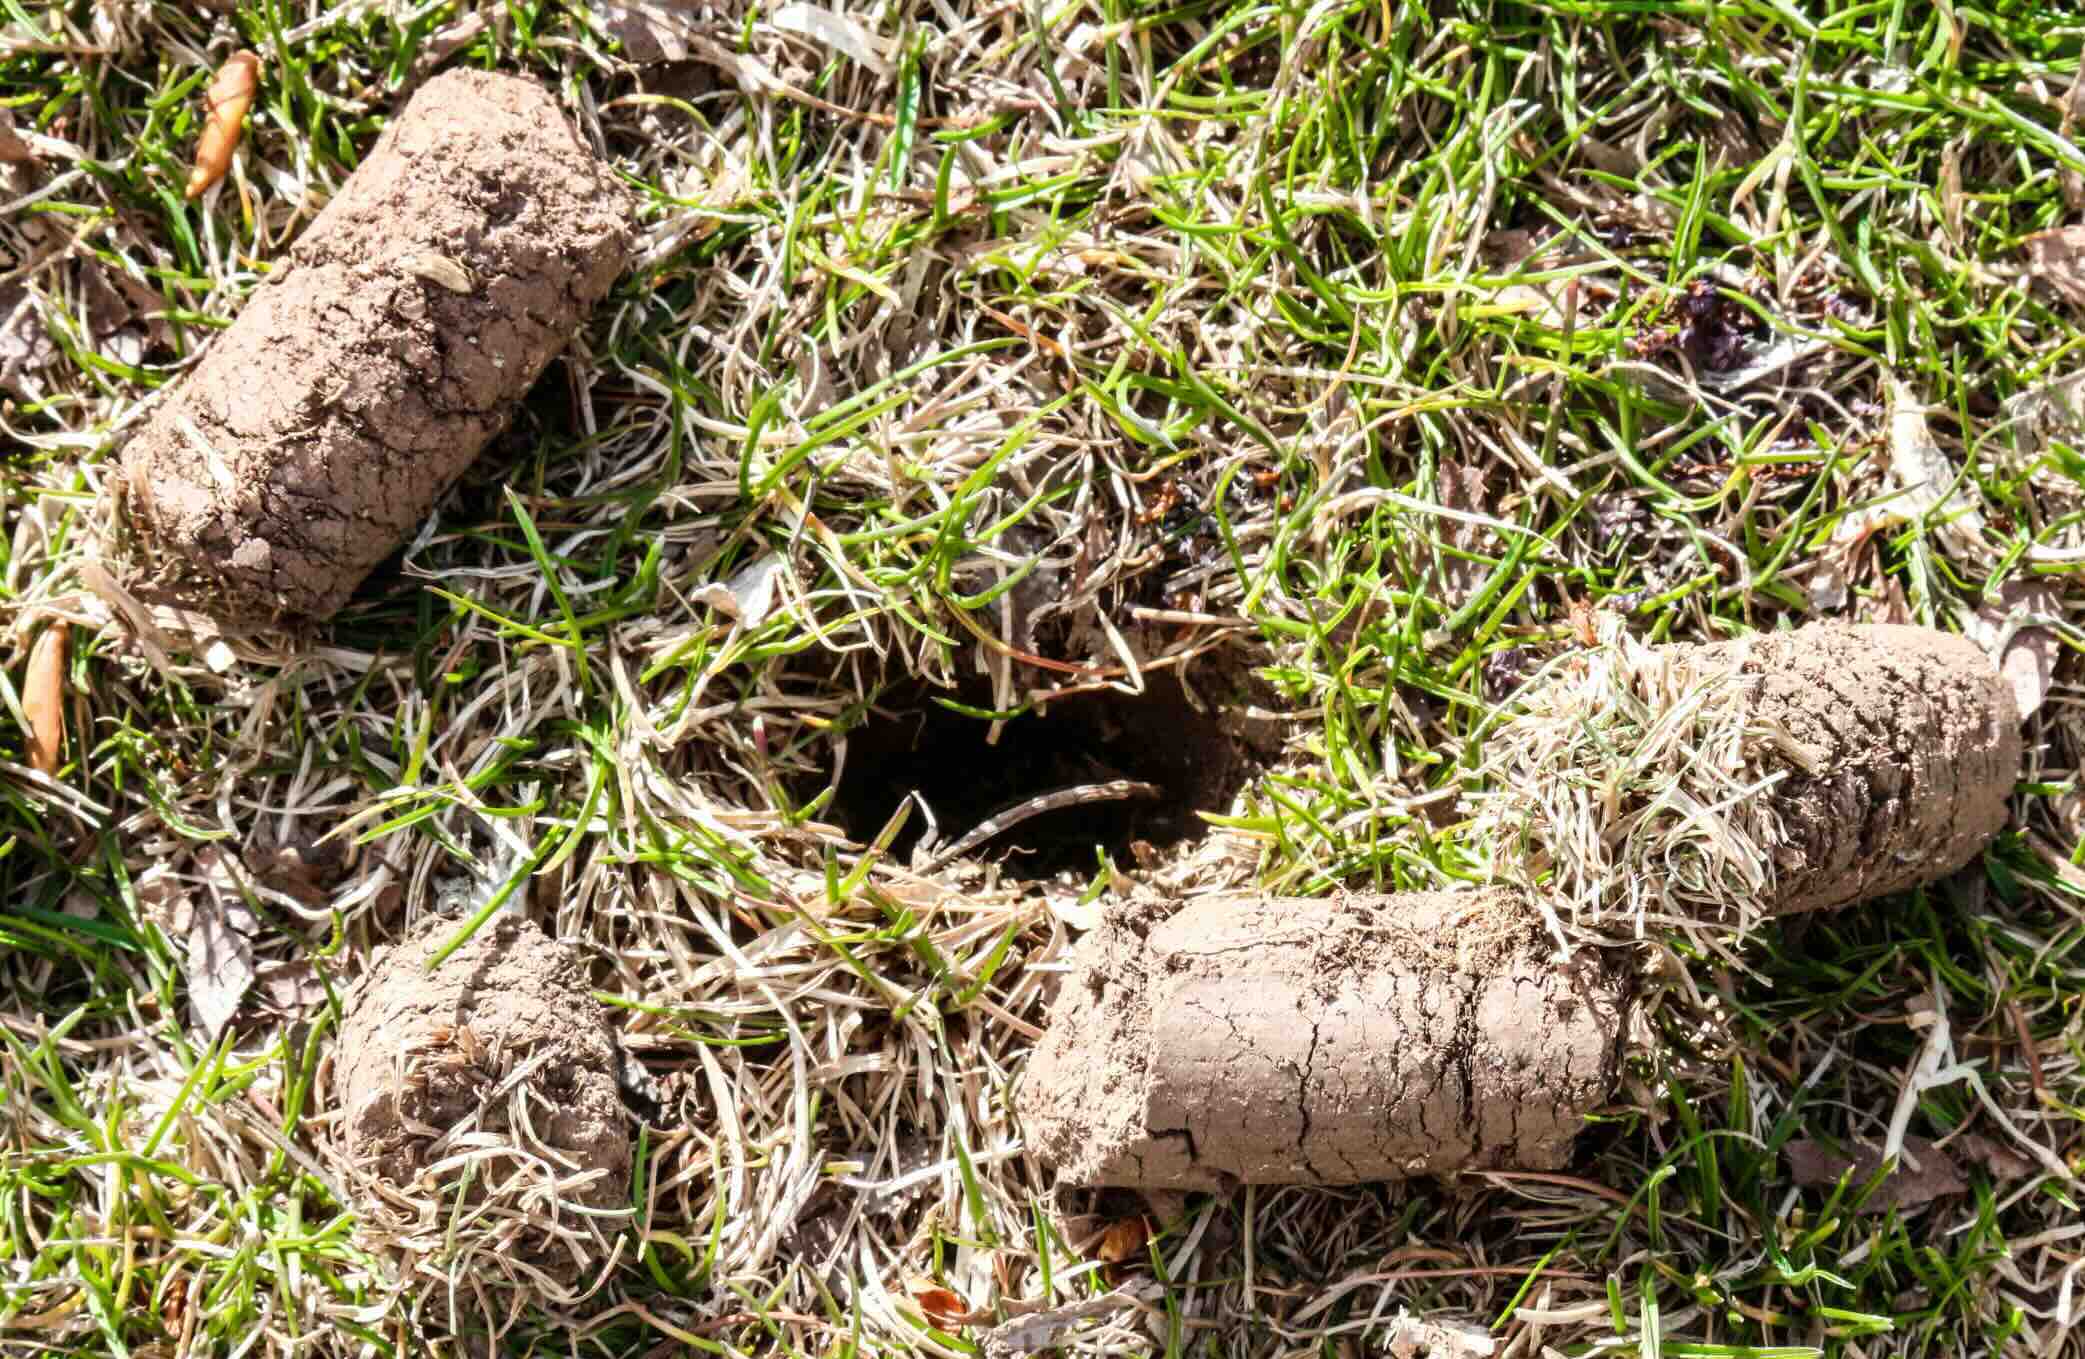
Aeration helps counteract this problem by creating space for air, water, and nutrients to reach the roots. It loosens the soil, allowing the roots to spread out and access vital resources. Additionally, aeration helps to break up thatch, a layer of organic debris that builds up on the surface of the soil. Thatch can impede water penetration and nutrient absorption, hindering plant growth.
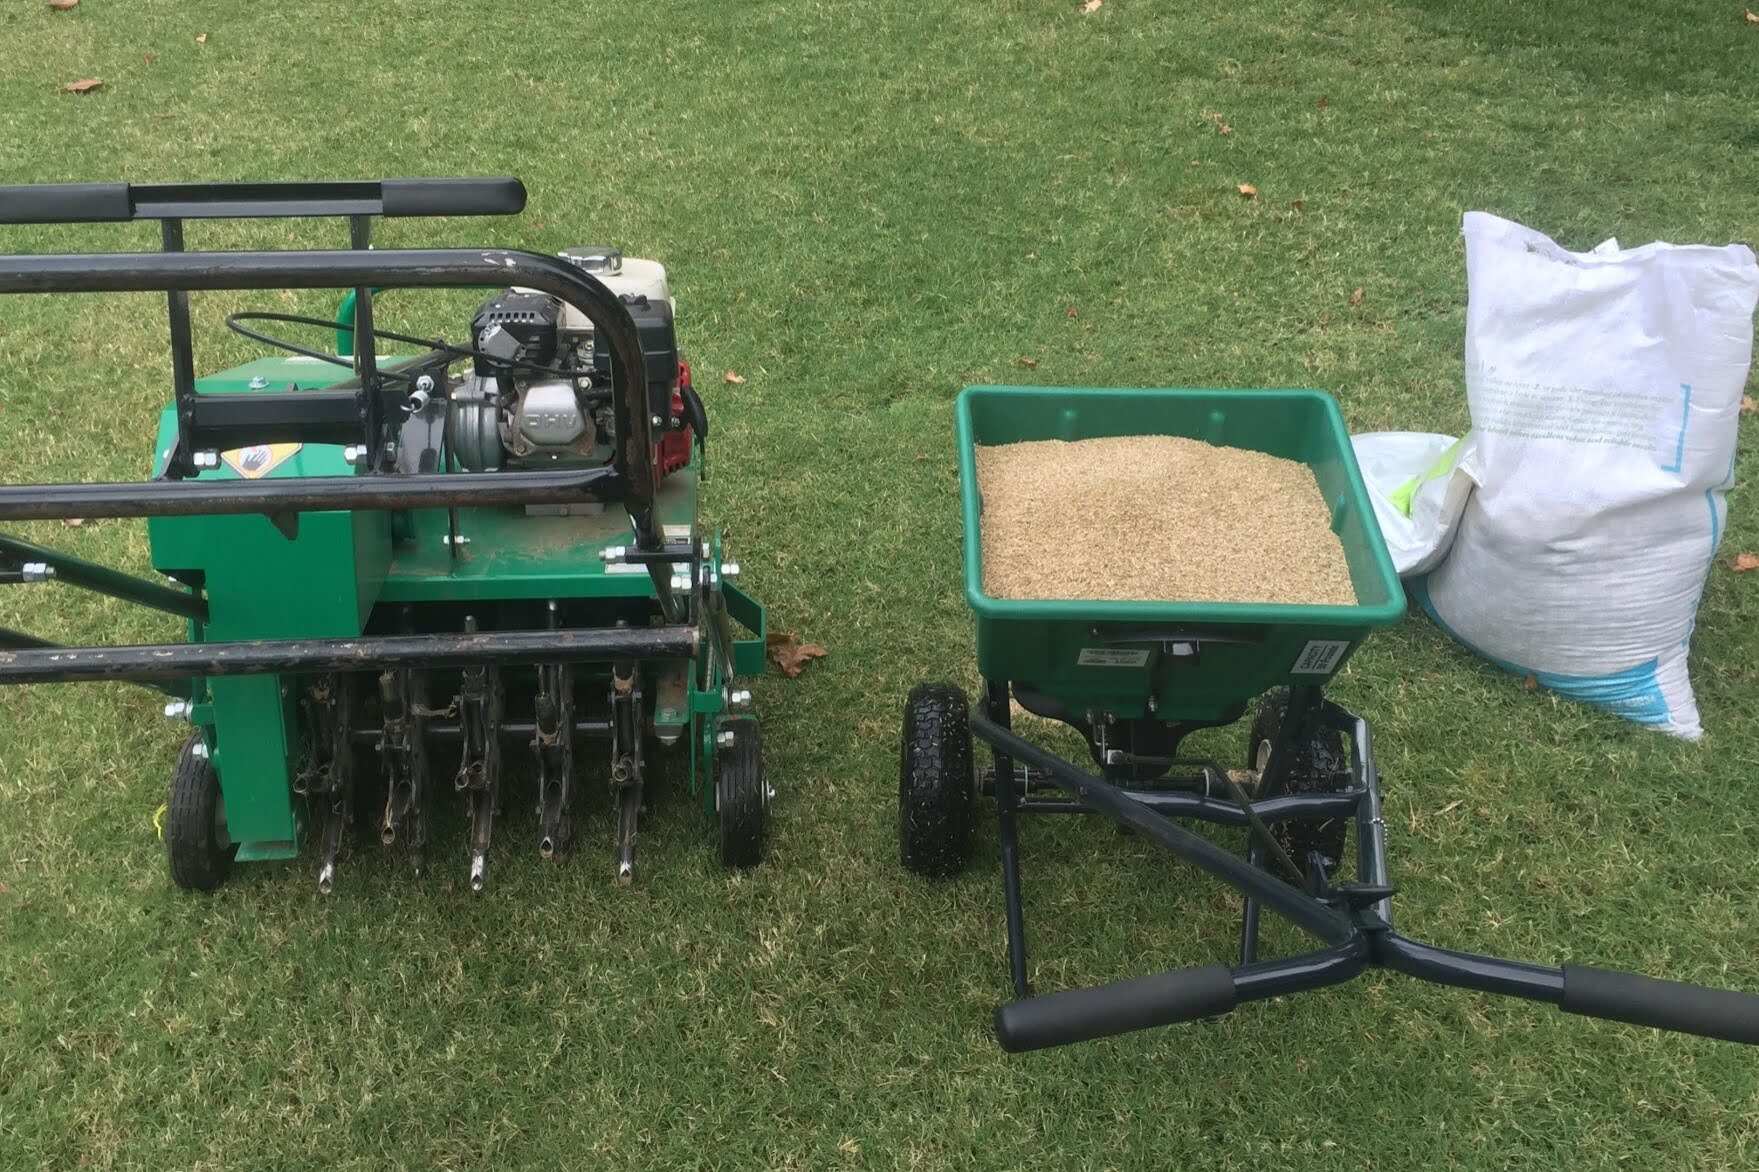
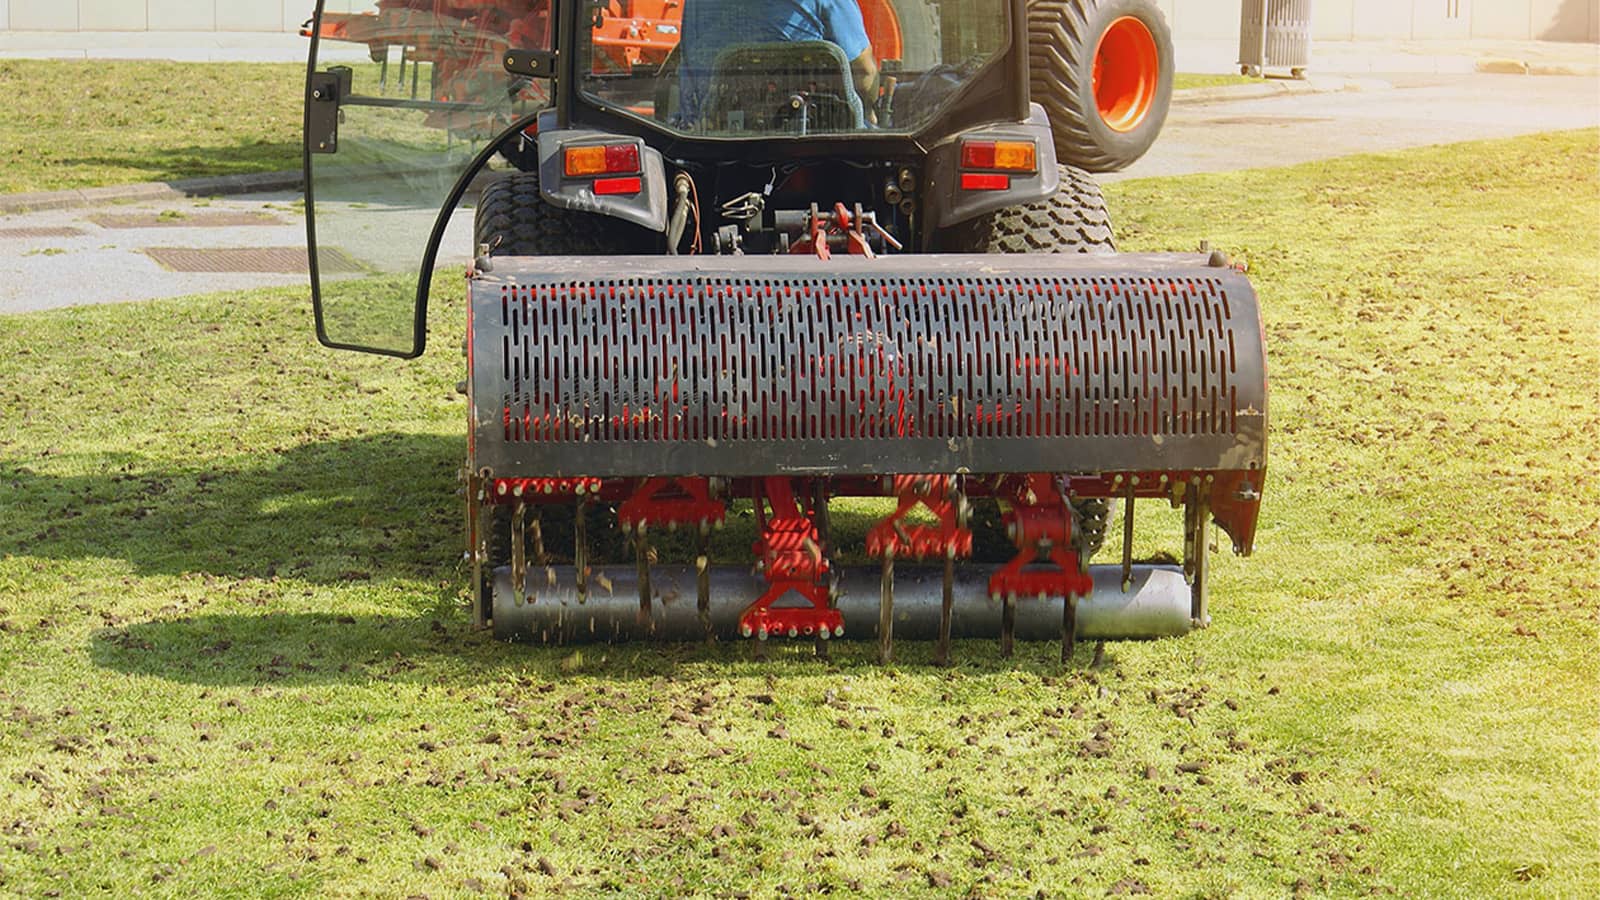
There are two primary methods of aeration: core aeration and spike aeration. Core aeration involves using a machine to remove small plugs or cores of soil from the lawn. This process not only loosens the soil but also creates channels for air, water, and fertilizer to enter the root zone. Spike aeration, on the other hand, uses solid tines to poke holes into the ground without removing any soil. While spike aeration can be effective for minor compaction, core aeration is generally more beneficial in the long run.
Aeration is best performed when the grass is actively growing, ensuring that it can quickly recover from the stress of the process. The ideal time for aeration depends on the type of grass you have, but it typically falls within the spring or fall seasons. However, it’s important to note that the specific timing may vary depending on factors such as climate, soil condition, and local recommendations.
Now that we have a better understanding of aeration and its benefits, let’s delve into the significance of combining aeration with seeding for a healthier and more vibrant lawn.
Significance of Seeding
Seeding is a crucial step in maintaining a lush and healthy lawn. While regular maintenance such as mowing, watering, and fertilizing can help maintain your lawn, it is the process of seeding that ensures its long-term health and vitality.
Introducing new grass seeds into your lawn has several significant benefits. First and foremost, it helps fill in bare spots and patches in your lawn. Over time, factors like heavy foot traffic, pests, diseases, or extreme weather conditions can cause bare spots to develop in your lawn. Seeding these areas helps to restore a consistent and uniform appearance.
Furthermore, seeding can help improve the overall density of your lawn. A denser lawn has many advantages: it helps crowd out weeds, provides a more solid and aesthetically pleasing look, and reduces soil erosion. By filling in sparse areas with new grass, you create a stronger and more resilient turf.
Seeding also allows you to introduce new grass varieties or improved cultivars into your lawn. There are numerous grass species available, each with its own characteristics, such as drought-resistance, disease-resistance, or shade tolerance. By carefully selecting the right type of grass seed and incorporating it into your lawn, you can enhance its overall quality and resilience.
Another benefit of seeding is that it promotes new growth and rejuvenation. Over time, grass plants age and become less vigorous. By seeding regularly, you introduce young and vibrant grass plants that establish strong root systems and contribute to the overall health and longevity of your lawn.
Combining seeding with aeration amplifies these benefits. Aeration creates the ideal conditions for seed germination by providing the necessary air, water, and nutrient exchange. The holes created during aeration also offer a perfect environment for the new grass seeds to make direct contact with the soil, maximizing their chances of successful establishment.
Seeding after aeration not only promotes the growth of new grass but also helps in the recovery and renovation of your existing lawn. By revitalizing your turf, you can enjoy a healthier, greener, and more vibrant lawn.
Now that we understand the significance of seeding, let’s explore the factors that you need to consider when determining the optimal timing for seeding after aeration.
Factors to Consider
When determining the ideal timing for seeding after aeration, several factors need to be taken into consideration. By considering these factors, you can ensure the success and long-term health of your newly seeded lawn.
The first factor to consider is the type of grass you have in your lawn. Different grass species have varying growth rates and optimal germination temperatures. Warm-season grasses such as Bermuda grass or Zoysia grass thrive in warmer climates and have different seeding requirements compared to cool-season grasses like Kentucky bluegrass or fescue, which prefer cooler temperatures. Understanding the growth characteristics and preferred growing conditions of your grass will help you choose the right time for seeding after aeration.
Next, consider the climate and weather conditions in your area. Ideally, you want to seed when the weather conditions are favorable for seed germination. The soil temperature should be consistently above the optimal germination temperature for your chosen grass species. Additionally, it’s important to avoid seeding during extreme weather conditions such as excessive heat or cold, as this can hinder the germination process.
The timing of aeration also plays a role in determining when to seed. It’s generally recommended to seed immediately after aeration to take advantage of the improved soil conditions and maximize seed-to-soil contact. However, if aeration is done in spring, you may need to wait a few weeks before seeding to ensure the soil temperature is ideal for germination.
Consider the timing in relation to other lawn maintenance activities as well. Avoid applying herbicides or pre-emergent weed control products before or after seeding, as they can hinder seed germination and establishment. It’s important to read and follow the recommended waiting period mentioned on the product label before seeding.
Furthermore, the current condition of your lawn plays a role in determining the timing of seeding after aeration. If your lawn has significant bare spots or thin areas, it may require immediate overseeding after aeration. On the other hand, if your lawn is in good condition with only minor issues, you may choose to delay the seeding process until the next suitable time.
Lastly, it’s essential to consider your own availability and ability to provide proper care to the newly seeded lawn. Seeding requires consistent watering, monitoring, and maintenance to ensure successful germination and establishment. Make sure you have enough time to devote to the post-seeding care, as neglecting this critical phase can result in poor seedling growth and potential weed invasion.
By taking these factors into account, you can determine the optimal timing for seeding after aeration that suits your specific grass type, climate, lawn condition, and personal schedule. Now, let’s explore when the best time to seed after aeration is in different scenarios.
Optimal Timing for Seeding After Aeration
The ideal timing for seeding after aeration depends on various factors such as grass type, climate, and the specific condition of your lawn. Here, we’ll discuss the general guidelines for different scenarios to help you determine the optimal timing for your particular situation.
If you have warm-season grasses like Bermuda grass or Zoysia grass, it’s best to aerate and seed during late spring or early summer. These grasses thrive in warm temperatures and require soil temperatures consistently above 65°F (18°C) for optimal germination. Seeding after aeration in late spring allows the newly seeded grass to establish its root system throughout the summer for maximum growth and resilience.
If you have cool-season grasses like Kentucky bluegrass or fescue, the optimal timing for seeding after aeration is during early fall. Cool-season grasses prefer cooler temperatures and can experience a growth surge during the milder fall weather. Aerating and seeding in early fall gives the grass ample time to establish before the onset of winter dormancy. The soil temperature should be around 50-65°F (10-18°C) for successful germination.
For transitional zone areas with a mix of warm and cool-season grasses, the best time to seed after aeration is often in early fall. This timing allows both grass types to benefit from the moderate temperatures of the season. However, it’s important to choose a grass seed variety that is suitable for the specific conditions in your area.
In general, it’s recommended to seed immediately after aeration to take advantage of the improved soil conditions and ensure maximum seed-to-soil contact. However, if aeration is performed in spring, it may be necessary to wait a few weeks before seeding, especially if the soil temperature is not yet optimal for germination.
It’s important to keep in mind that these are general guidelines, and the optimal timing may vary based on your specific location, climate, and grass type. To determine the best timing for seeding after aeration in your area, it’s a good idea to consult with local garden centers, landscaping professionals, or cooperative extension services for region-specific recommendations.
Now that you understand the optimal timing for seeding after aeration, let’s explore how to assess your lawn’s condition before deciding to proceed with the seeding process.
Wait at least 2 weeks after aeration to seed your lawn. This allows the soil to settle and gives the new seeds a better chance to establish.
Read more: When Should I Aerate And Seed My Lawn
Assessing Lawn Conditions
Before proceeding with the seeding process after aeration, it’s important to assess the current condition of your lawn. This evaluation will help you determine if your lawn requires overseeding and identify any underlying issues that need to be addressed. Here are some key factors to consider when assessing your lawn’s condition:
1. Bare Spots and Thin Areas: Take a close look at your lawn and identify areas that have bare patches or thin grass coverage. These areas may require overseeding to promote new growth and fill in the gaps. Pay attention to high-traffic areas, shaded regions, or spots damaged by pests, diseases, or extreme weather conditions.
2. Weed Infestation: Notice if there are significant weed infestations in your lawn. Weeds compete with grass for nutrients, water, and sunlight, and can hinder the success of your seeding efforts. If weed growth is extensive, it’s recommended to address the weed issue before proceeding with overseeding.
3. Thatch Buildup: Thatch is a layer of decomposing organic matter that accumulates between the grass blades and the soil surface. Excessive thatch can hinder water absorption and nutrient delivery to the roots. Check the thickness of the thatch layer using a garden fork or a thatch rake. If the thatch layer is more than half an inch thick, consider dethatching before seeding.
4. Soil Quality: Evaluate the overall quality of your soil. Consider factors like soil compaction, pH level, and nutrient content. Compact soil can hinder root growth, while imbalanced pH levels and nutrient deficiencies can lead to poor grass health. Conduct a soil test to determine the pH level and nutrient deficiencies, and take necessary steps to amend the soil if needed.
5. Drainage Issues: Observe how well your lawn drains after watering or rainfall. Poor drainage can lead to waterlogging, which can suffocate the roots and promote disease development. If your lawn has persistent drainage issues, consider addressing them before overseeding.
By assessing these key factors, you will have a better understanding of your lawn’s specific needs. It will help you determine if overseeding after aeration is necessary and provide insights into any underlying problems that should be addressed before proceeding with the seeding process.
Now that you’ve evaluated your lawn’s condition, let’s move on to the necessary preparations before seeding after aeration.
Preparing for Seeding
Proper preparation is essential to ensure the success of seeding after aeration. Taking the time to prepare your lawn adequately will create an optimal environment for seed germination and establishment. Here are the key steps to follow when preparing for seeding:
1. Remove Debris: Before seeding, it’s crucial to remove any debris or thatch from the lawn surface. Use a rake or a dethatching machine to loosen and remove the accumulated organic matter. This will create a clean and level surface for the new grass seeds to make direct contact with the soil.
2. Test and Amend the Soil: Conduct a soil test to determine the pH level and nutrient content of your soil. This information will guide you in selecting the appropriate soil amendments. If the pH level is too high or low, add lime or sulfur respectively to bring it to the desired range. Additionally, consider adding organic matter or compost to improve the soil’s structure and fertility.
3. Level the Surface: Use a garden rake or a leveling tool to smooth out any unevenness or low spots in the soil. This step ensures that the seeds are distributed evenly, promoting uniform germination and growth.
4. Adjust Soil Moisture: Before seeding, it’s important to ensure that the soil is moist but not waterlogged. Irrigate the lawn a day or two before seeding to achieve the optimal soil moisture level. However, avoid overwatering, as excessive moisture can hinder seed germination and lead to fungal diseases.
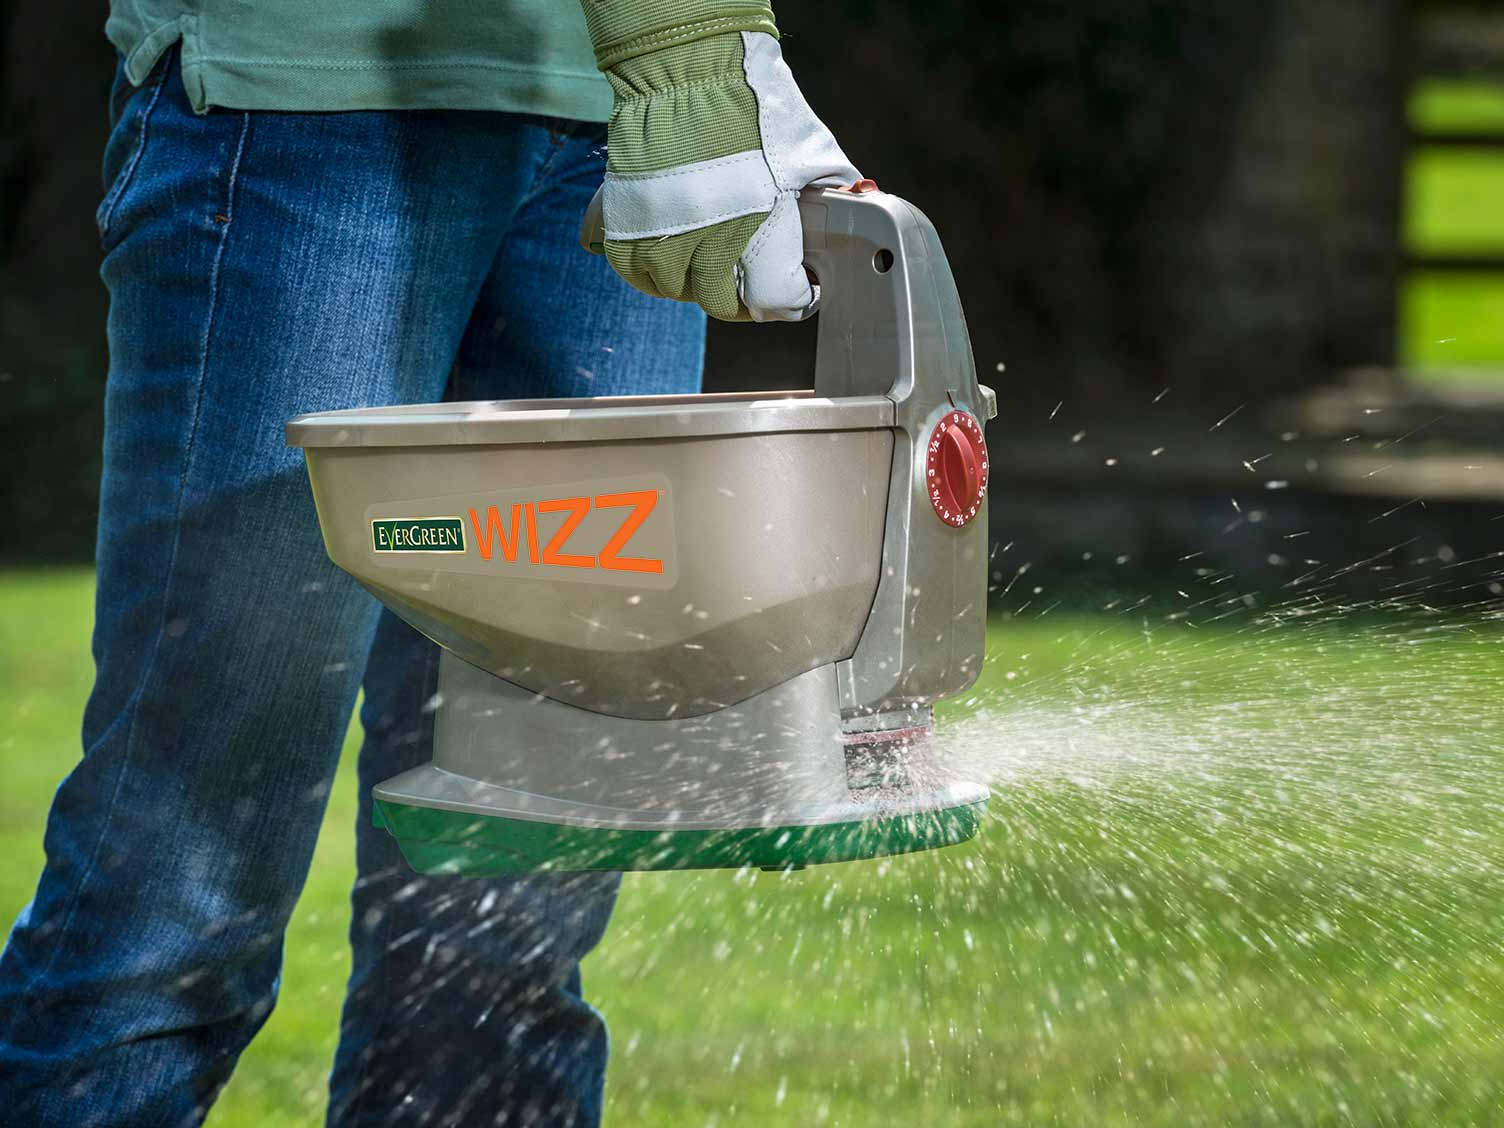
5. Choose the Right Seed: Select high-quality grass seed that is suitable for your climate, soil type, and the specific conditions in your lawn. Consider factors such as shade tolerance, drought resistance, and disease resistance when choosing the grass seed varieties. Read the seed label to determine the recommended seeding rate for optimal coverage.
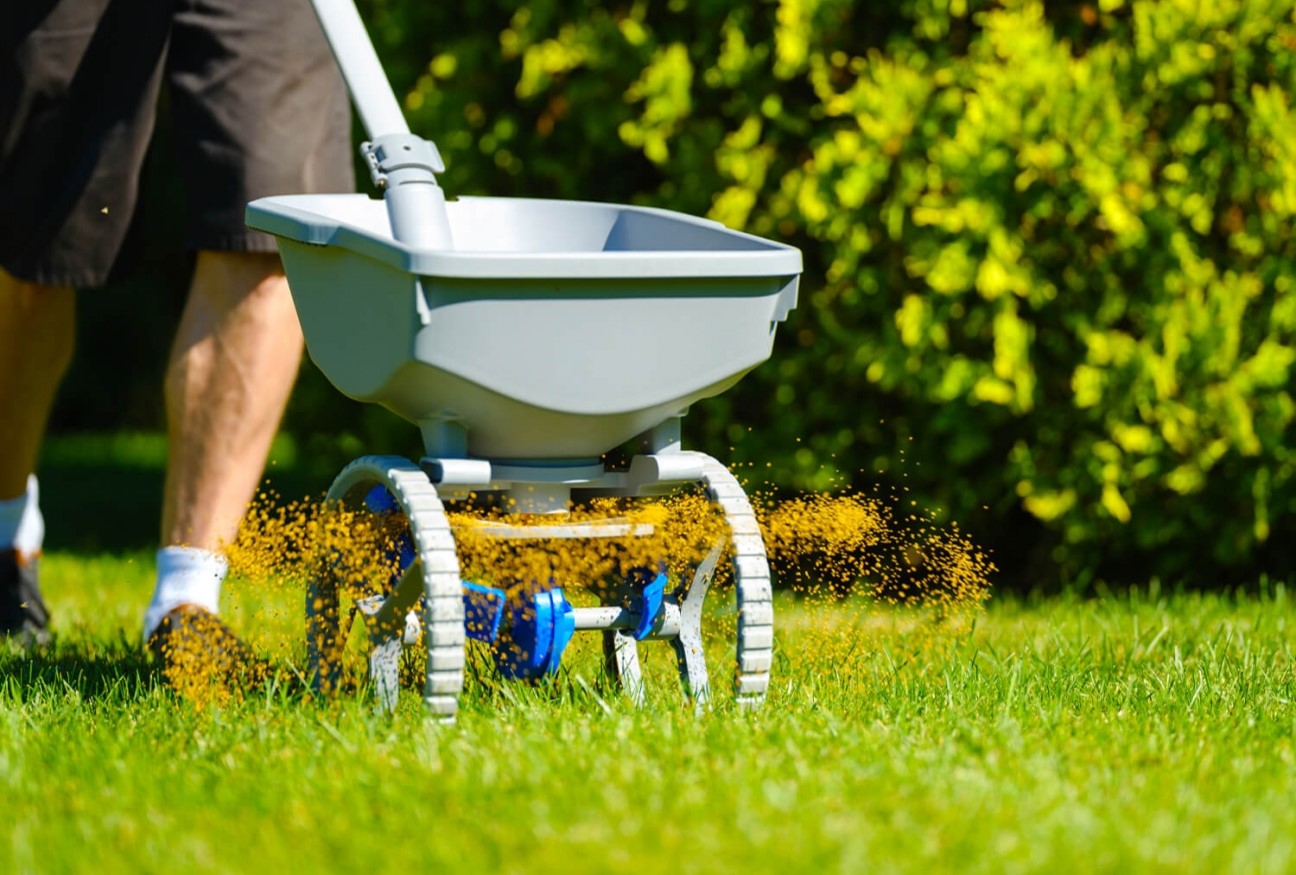
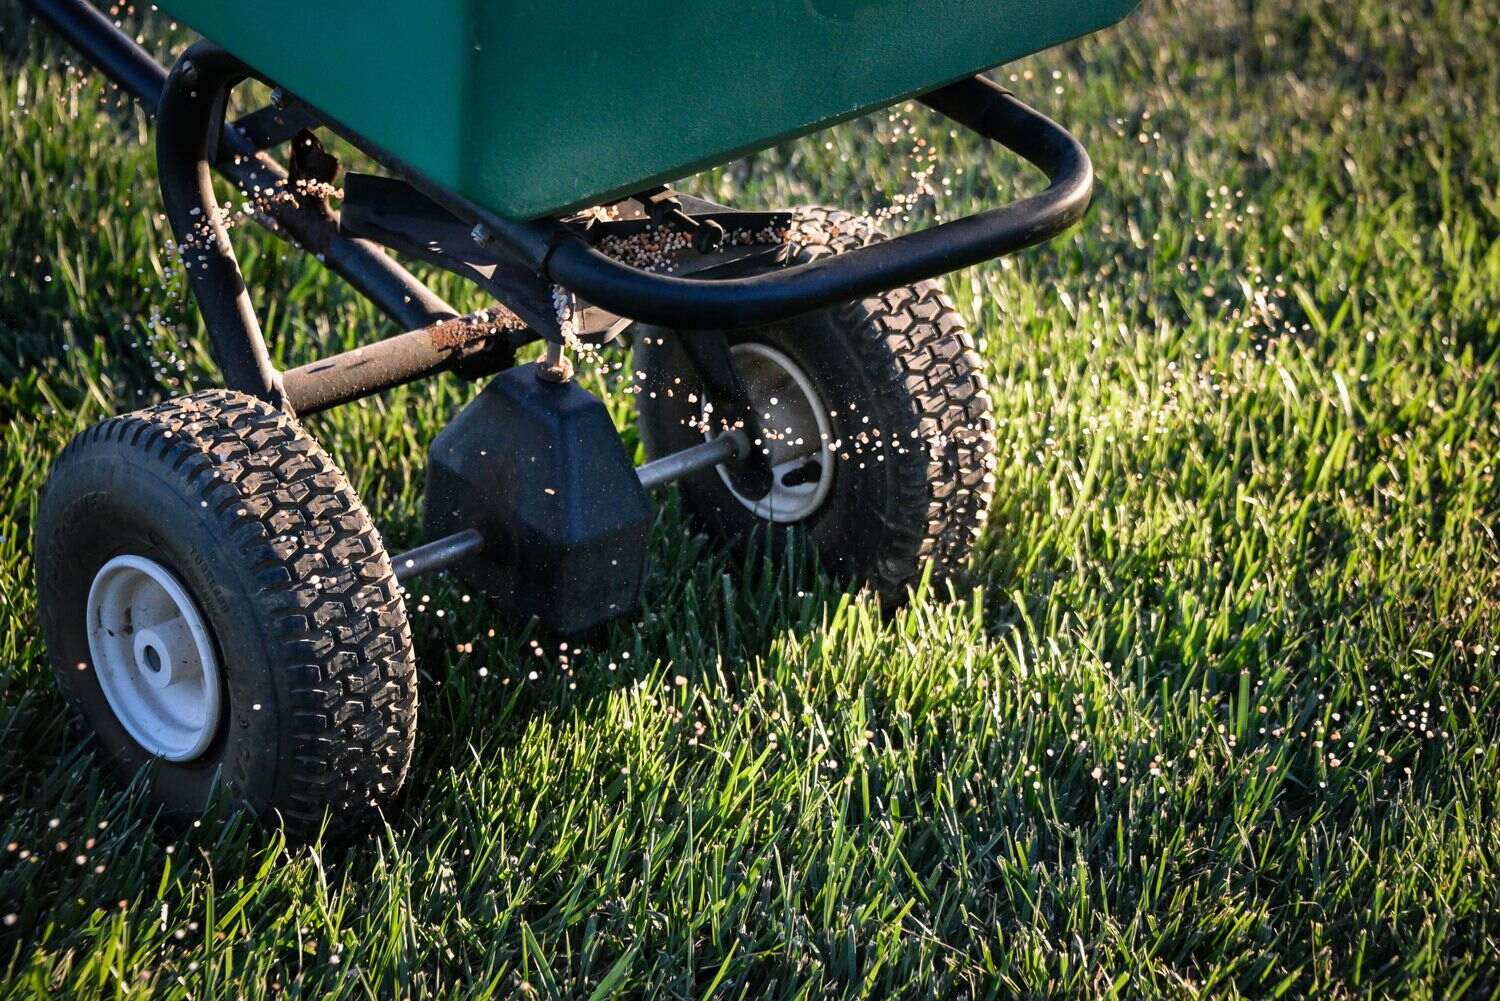
6. Prepare the Seeder: Use a seed spreader or a mechanical seeder to evenly distribute the grass seeds over the prepared soil. Follow the manufacturer’s instructions for proper calibration of the seeder and adjust the settings to ensure accurate and uniform seed distribution.
7. Seed Application: Start by spreading half of the seeds in one direction and then spread the remaining seeds perpendicular to the initial direction. This crisscross pattern ensures even coverage and reduces the risk of missed or sparse areas.
8. Lightly Rake the Seeds: After the seeds are evenly distributed, use a garden rake to lightly rake the soil. This will help ensure good seed-to-soil contact, enhancing germination rates. Be gentle while raking to avoid disturbing the seeds too much.
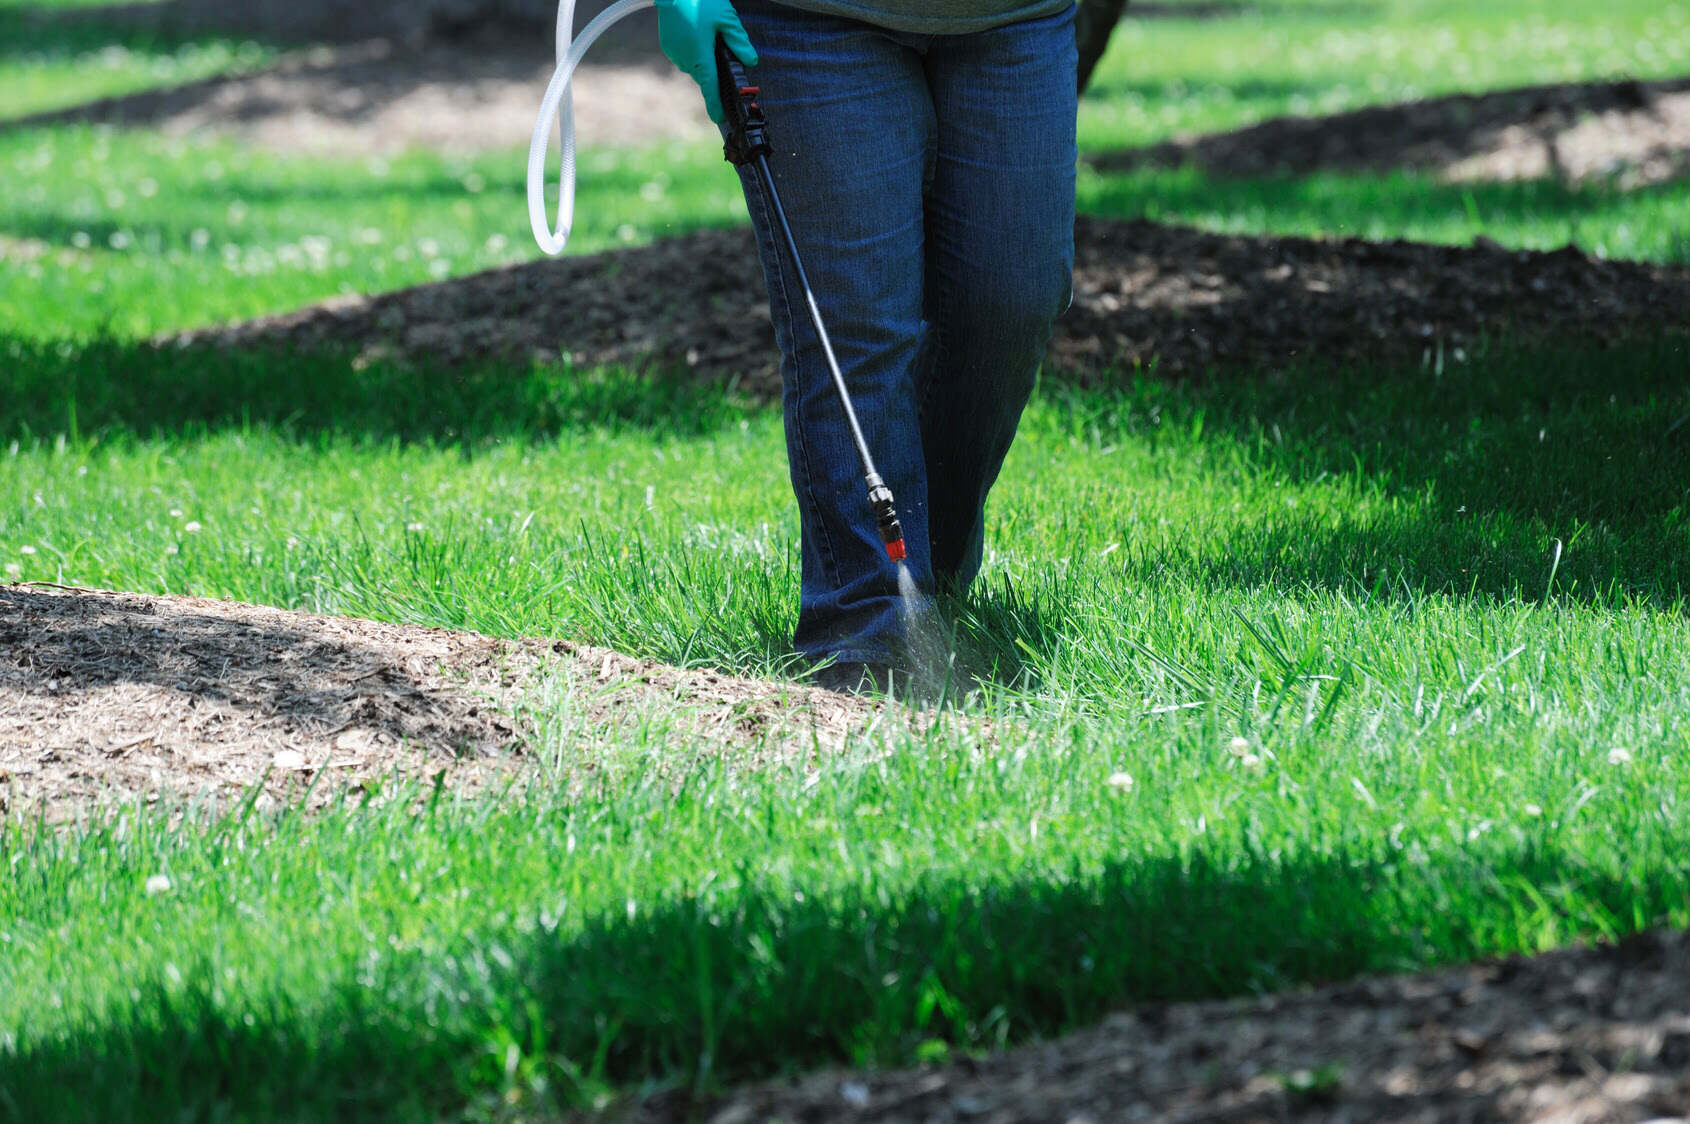
9. Water the Seeded Area: After seeding, water the area lightly to settle the seeds into the soil. Use a fine mist or a sprinkler with a gentle spray to avoid washing away the seeds. Keep the newly seeded area consistently moist by lightly watering daily, especially during dry periods, to support seed germination and establish the new grass.
By following these steps and properly preparing your lawn, you will create the ideal conditions for successful seed germination and establishment. Now, let’s explore some effective seeding techniques to maximize the effectiveness of your seeding efforts.
Seeding Techniques
When it comes to seeding after aeration, employing effective seeding techniques will greatly enhance the chances of successful germination and establishment of the new grass. Here are some key techniques to consider:
1. Overseeding: Over time, lawns can develop thin areas or bare patches. The process of overseeding involves spreading grass seeds over the existing lawn to promote new growth and fill in these bare spots. Overseeding helps to improve the overall density of the grass, creating a lush and uniform appearance. It’s recommended to overseed at a higher rate in thin areas, as these spots may require more seeds for adequate coverage.
2. Custom Blends: Consider using custom seed blends that are tailored to your specific lawn needs. Custom blends consist of a mixture of grass seed varieties that complement each other in terms of growth habits, disease resistance, and overall performance. These blends can help create a more resilient and visually appealing lawn.
3. Slit Seeding: Slit seeding is a technique that involves using a specialized machine to create small furrows or slits in the soil and simultaneously depositing the grass seeds into these furrows. This technique ensures excellent seed-to-soil contact, improving the chances of successful germination. Slit seeding is particularly beneficial for areas with moderate to severe thinning or bare spots.
4. Topdressing: Topdressing involves applying a thin layer of compost, topsoil, or a soil mixture over the newly seeded area. This technique helps to protect the seeds, conserve moisture, and provide additional nutrients to the developing grass. Topdressing can also help to level the surface and promote a smoother lawn appearance.
5. Mulching: Consider using mulch as a protective layer over the newly seeded area. Mulch helps retain moisture, prevent soil erosion, and protect the seeds from extreme temperatures. Organic materials such as straw or wood chips make excellent mulch choices. Apply a thin layer of mulch, ensuring it does not smother the grass seeds.
6. Watering Techniques: Proper watering is essential for seed germination and establishment. After seeding, water the area lightly to settle the seeds into the soil. For the first few weeks, keep the seeded area consistently moist by lightly watering daily or as needed. It’s important to water gently with a fine mist or a sprinkler to prevent excessive runoff or disturbance of the seeds.
7. Mowing Considerations: Once the new grass has reached a height of about 3-4 inches (7-10 cm), it’s time for the first mowing. Set your mower to a higher setting initially to avoid removing too much of the new growth. Gradually lower the cutting height with subsequent mowing sessions. Avoid bagging the clippings, as they provide valuable nutrients and organic matter to the soil.
By employing these seeding techniques, you can maximize the effectiveness of your seeding efforts and promote healthy growth and establishment of the new grass. With the seeds sown and the techniques implemented, it’s crucial to provide proper care and maintenance to ensure the long-term success of your lawn. Let’s explore the post-seeding care steps in the next section.
Post-Seeding Care
Proper post-seeding care is essential to ensure the successful germination and establishment of the newly seeded grass. By following these care steps, you’ll provide the necessary conditions for healthy growth and a vibrant lawn:
1. Watering: Consistent and adequate watering is crucial during the germination process. Keep the top inch (2.5 cm) of soil consistently moist until the grass seeds have fully germinated, which typically takes around 7-14 days. Water lightly as needed to prevent the soil from drying out. As the grass begins to establish, gradually reduce the frequency of watering while increasing the amount of water applied to encourage deep root growth.
2. Avoid Foot Traffic: Minimize foot traffic on the newly seeded area until the grass has established strong roots. Walking on the germinating seeds can disrupt their growth and potentially create bare spots. If necessary, place temporary barriers or signs to prevent people and pets from accessing the area.
3. Fertilization: After the new grass has established and undergone a few mowings, apply a slow-release, balanced fertilizer to provide essential nutrients for continued growth. Check with your local garden center or cooperative extension service for recommendations on the appropriate fertilizer and application rates for your specific grass type.
4. Weed Control: Controlling weeds is crucial during the establishment phase of the new grass. However, it’s important to review and adhere to the herbicide manufacturer’s recommendations before applying any weed control products. Most herbicides have specific waiting periods after seeding, and using them prematurely can harm the newly germinating grass. Hand-pulling weeds or spot-treating with approved herbicides can help maintain the integrity of the new lawn.
5. Mowing Practices: Once the new grass has reached a height of about 3-4 inches (7-10 cm), it’s time for the first mowing. Set your mower to a height that removes no more than one-third of the grass blade’s length. Regular and frequent mowing promotes a denser and healthier turf. Avoid scalping the lawn, as it can stress the new grass and leave it more susceptible to weeds and diseases.
6. Continued Maintenance: As the new grass continues to grow and establish, continue with regular maintenance practices such as watering, mowing, and fertilizing. Monitor the lawn for pests or diseases and take appropriate action if necessary. A well-maintained lawn will have better long-term health and resilience.
Remember, the post-seeding care you provide will directly impact the success of the newly seeded grass. By following these care steps and providing the necessary attention and maintenance, you’ll be rewarded with a healthy, vibrant, and lush lawn that you can enjoy for years to come.
Now that you’re well-versed in post-seeding care, let’s summarize the key points discussed in this article.
Read more: When Should Lawns Be Aerated
Conclusion
Aeration and seeding are two essential practices for maintaining a healthy and vibrant lawn. Aeration helps improve soil compaction and promote better nutrient absorption, while seeding fills in bare spots and promotes new growth. When done in combination, these practices can rejuvenate your lawn and take its health and appearance to a whole new level.
Timing is crucial when it comes to seeding after aeration. The optimal timing varies based on factors such as grass type, climate, and lawn condition. Warm-season grasses are best overseeded in late spring or early summer, while cool-season grasses thrive when overseeded in early fall. Transitional zone areas often benefit from overseeding in early fall as well.
Before seeding, it’s important to assess your lawn’s condition. Identify bare spots, evaluate weed infestations, check for thatch buildup, assess the soil quality, and address any drainage issues. By understanding your lawn’s specific needs, you can create better conditions for successful seeding and growth.
When preparing for seeding, remove debris, test and amend the soil, level the surface, and ensure the right soil moisture. Choose high-quality grass seed and apply it using appropriate seeding techniques like overseeding, slit seeding, and topdressing as needed. Proper watering, avoiding foot traffic, and following mowing and maintenance practices are crucial for post-seeding care.
In conclusion, by combining aeration with seeding and following the correct timing, you can transform your lawn into a lush, healthy, and visually appealing landscape. Remember to consider the specific needs of your grass type, climate, and lawn condition, and devote proper care to ensure successful germination and establishment. With the right techniques and a little patience, you’ll be rewarded with a beautiful, thriving lawn that will be the envy of the neighborhood.
Now, armed with knowledge and understanding, go ahead and embark on the journey to create the garden of your dreams!
Frequently Asked Questions about When To Seed After Aeration
Was this page helpful?
At Storables.com, we guarantee accurate and reliable information. Our content, validated by Expert Board Contributors, is crafted following stringent Editorial Policies. We're committed to providing you with well-researched, expert-backed insights for all your informational needs.


0 thoughts on “When To Seed After Aeration”